Yes, I am experiencing a period of creative lack of focus. I am all over the place, working on lots of different projects, starting new things and thinking about new ideas…and not finishing anything. Normally, this behaviour makes me crazy. I like to focus and really delve into a project and think about it hard, but at the moment I am happy to just be working on something creative. This will create a creativity chaos later, but I keep telling myself that it will shake out… later and I will be able to pick up the pieces and create order…later.
As mentioned in my Second Cup of Tea post, I am back to working with Julie and Adrienne on our Bullseye project. There are links to previous quilts in the project, so go look at that post if you have no idea what I am talking about.
I finished sewing the circles on to Julie’s backgrounds yesterday. Nothing like people relying on you to get me going. Now I am I working on cutting out the backs of the circles before I send them off to Adrienne for the next round. Above are Julie’s squares with my circles on top. These are not all of them as they would not all fit on my design wall.
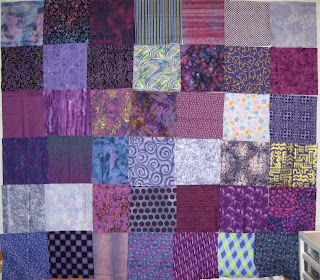 These are Adrienne’s backgrounds
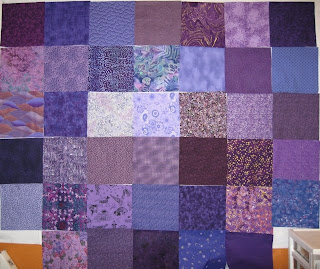 Above are Julie’s backgrounds, which you can also see above with my circles on them. If you want to make bullseye blocks, first you find two friends, then you cut 9″ background squares. We actually cut them 10″ inches so we can trim them to the correct size later. I am a big fan of trimming after working with TFQ on many projects.
This ends our agreed upon instructions. What follows is how I make them. Whether or not this is correct, I don’t know. It works for me. If you want another opinion, take a look at Mary Tendall Etherington and Connie Tesene’s book, Quilts from Aunt Amy. It has all the sizes and the original inspiration.
After you have cut the background squares, fold them in quarters and press, then send them to your friend. Once that is done, you need to cut the same number of 8″ squares. Then press in quarters again. Pressing in quarters helps you line up the circles on the background. Aunt Amy doesn’t tell you this as far as I remember.
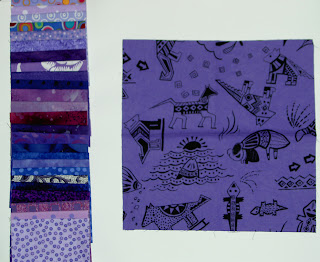 Above are the 8″ squares folded and press with one of Julie’s backgrounds.
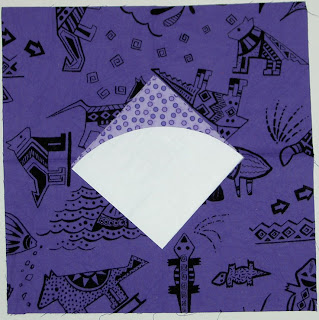 I have paper templates from the previous bulleyes- one for each size of square. I place the 8″ paper template, folded, on the folded fabric square, being careful to line up the openings and folds of the paper and the fabric.
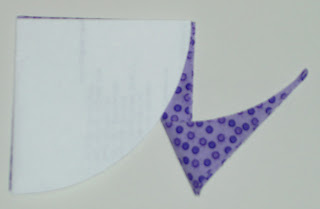 Then I cut…
 Once the circle is cut, I open it up, line up the pressed fold lines of the background and the circle and, voila’, the piece is ready to sew.
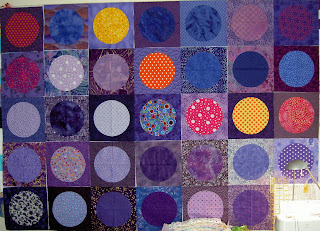
Looking great! We’re off to a fabulous start.