Frances finally let me know she was ready to move on with her sampler quilt. We decided to make the Flower Basket Block, so I sent her the pattern, promised the tutorial and did nothing.
Christmas got in the way.
I wasn’t in the mood.
I had to finish another tutorial.
I have a lot of projects on which to work.
My muse was on vacation.
Finally!
Christmas was over.
I was in the mood.
The other tutorial was finished.
The projects will wait and my muse was back.
I was shocked to find that the last tutorial I did for this project was last year! I really should do them in advance. Perhaps for the next block?
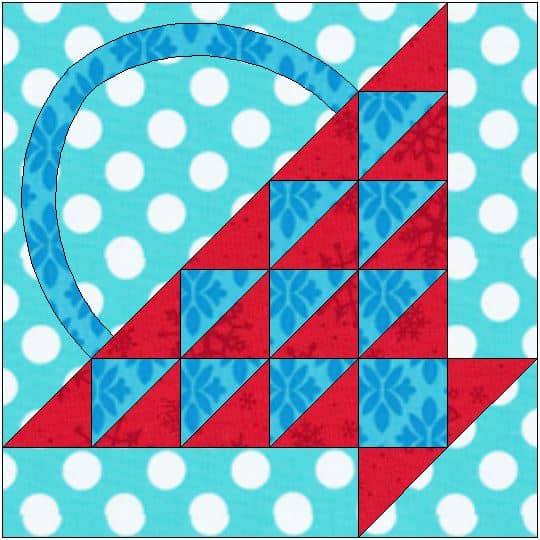
Regardless, I am now ready to show you how to make the Flower Basket block, the next block in our Sampler Quilt Class.
These directions are for machine sewing your Flower Basket and include a little applique’, which can be done by machine or hand.
Will you play along?
Complete Supply List
- Flower Basket Directions & Templates
- paper scissors
- mechanical pencil
- thin Pigma pen (or similar)
- template plastic
- glue stick
- 2 (or more) foreground fabrics
- 12.5″ x 12.5″ piece of background fabric, which you will cut in half
- FQ of same background fabric
- Rotary ruler, including a long one, such as Creative Grids 4.5″x18.5″
- Rotary cutter
- Fabric scissors
- thread
- pins
- Stiletto
- Design wall or sandpaper board
- sewing machine
Optional
- Mary Ellen’s Best Press
- hand sewing needle
- hand sewing thread
- Judy Martin’s Point Trimmer
- tearaway stabilizer
- numbered and lettered pins
Important information:
- Block is 12.5″ unfinished, 12″ finished
- These directions use a quarter inch seam allowance. Check your seam allowance before you begin. If you don’t know how to do that, there are resources available, including one from Connecting Threads and another from Craftsy. You can search the web for others if you don’t like these.
- You will be directed to use the Triangle Technique. Make sure you have the chart as well as the instructions handy.
- Respect the bias.
Templates
You really only a need a template for the basket handle. If you are using templates for all of your pieces, then prepare all the templates for pieces in the patterns as directed below.
Prepare pattern for your basket handle template by printing two copies of the pattern. I am telling you to do this first so when you get into the throes of sewing you won’t have to stop and fiddle around with templates.
You will eventually place one copy of the pattern in your binder, but keep it handy so you can use it as reference.
Nota bene: You probably know how to make templates. However, I am including a quick refresher. Look for a comprehensive tutorial soon. (I’ll update this post and link it from here)
- Rough cut* the handle pattern out of the second printout.

- Glue the paper pattern (with seam allowances) using the glue stick (or other suitable adhesive) to the template plastic.

It is okay to use scraps of template plastic. Put a piece of tape on seam lines to keep the joins stiff.
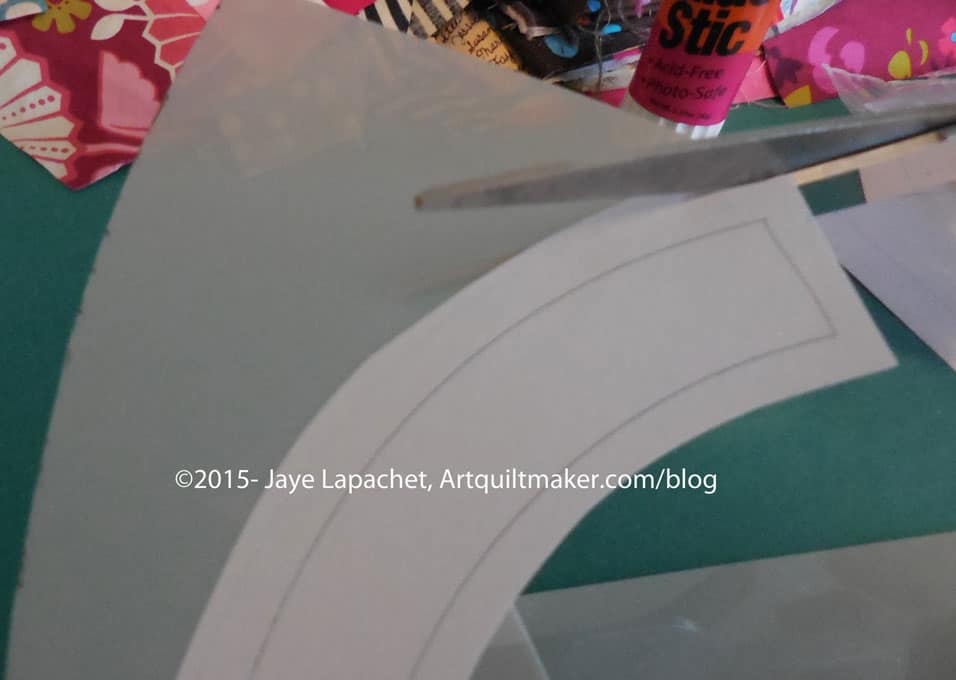
- Fine cut** the paper pattern and template plastic you have adhered so you have an accurate template, cutting off any seam allowance that may have printed.
 If you plan to machine sew the handle at all, you will want to prepare another basket handle template, in the same manner, without seam allowance.
Fabric
Gather your fabric and press it all. You can rough cut some pieces and press it with Mary Ellen’s Best Press to help deal with the bias. Consider this step for the large background triangle and the basket handle.
Cutting
Basket Handle
In my example basket, above (same as at the beginning of the post), this fabric is the medium blue.

Draw around the template with your black fine tip marker. Rough cut a piece of fabric large enough for your basket handle.
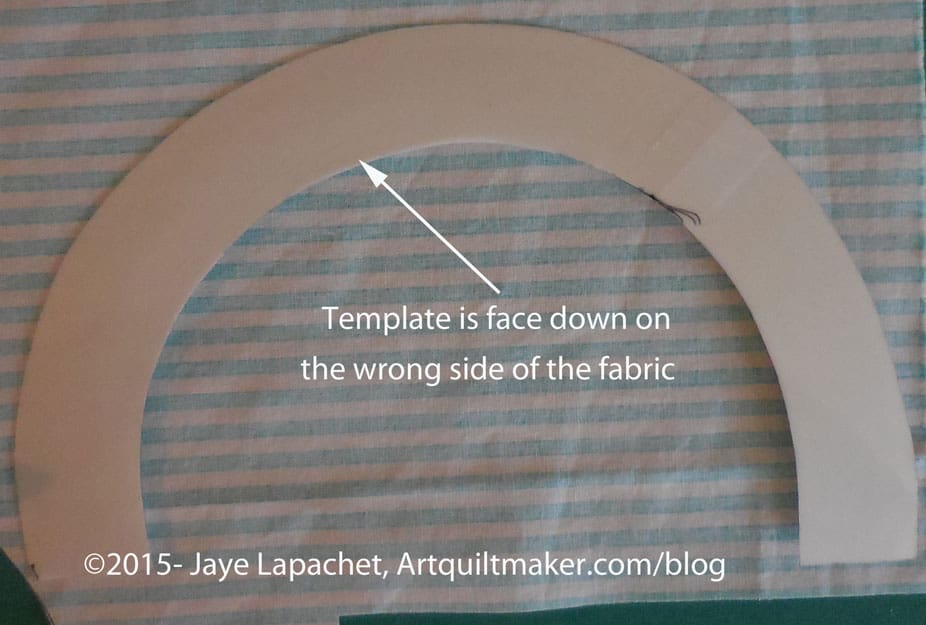
Place your handle template right side down on the wrong side of the fabric. Trace around the template carefully with your Pigma pen. Trace carefully without pulling or tugging at the fabric. You will be dealing with some bias on the curves. You will need to carefully move your hand along the template to keep it in place while you trace. Use the Pigma pen with a light touch.
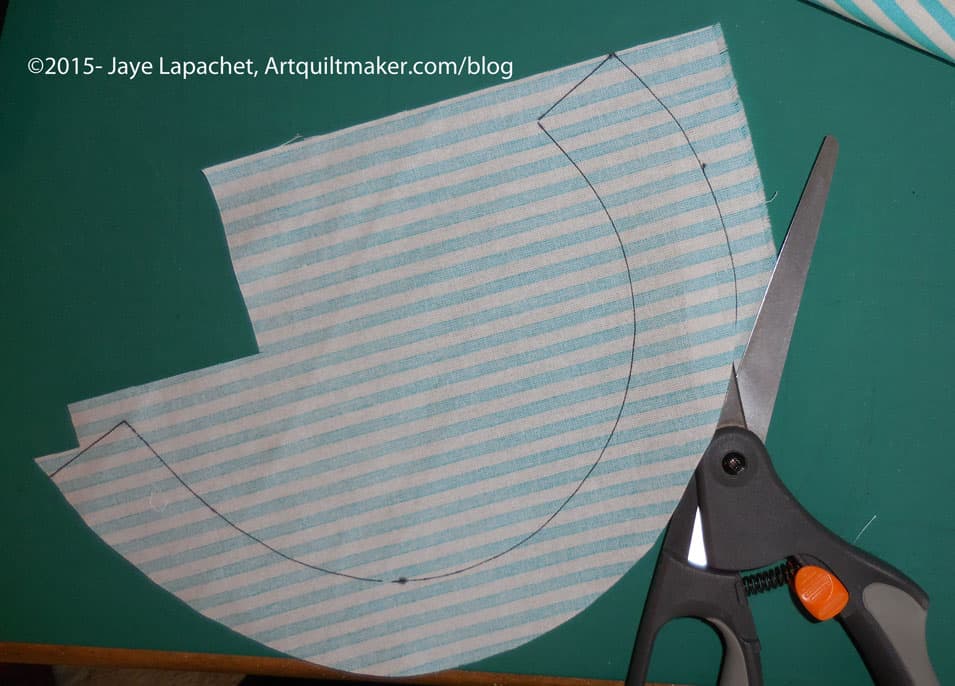
Using your fabric scissors, cut around the traced image, cutting the drawn line off. If you are using a template with no seam allowance, leave approximately a quarter inch seam allowance on all sides.
Background:
In my example, above, this fabric is the blue Michael Miller Ta Dot with white dots.
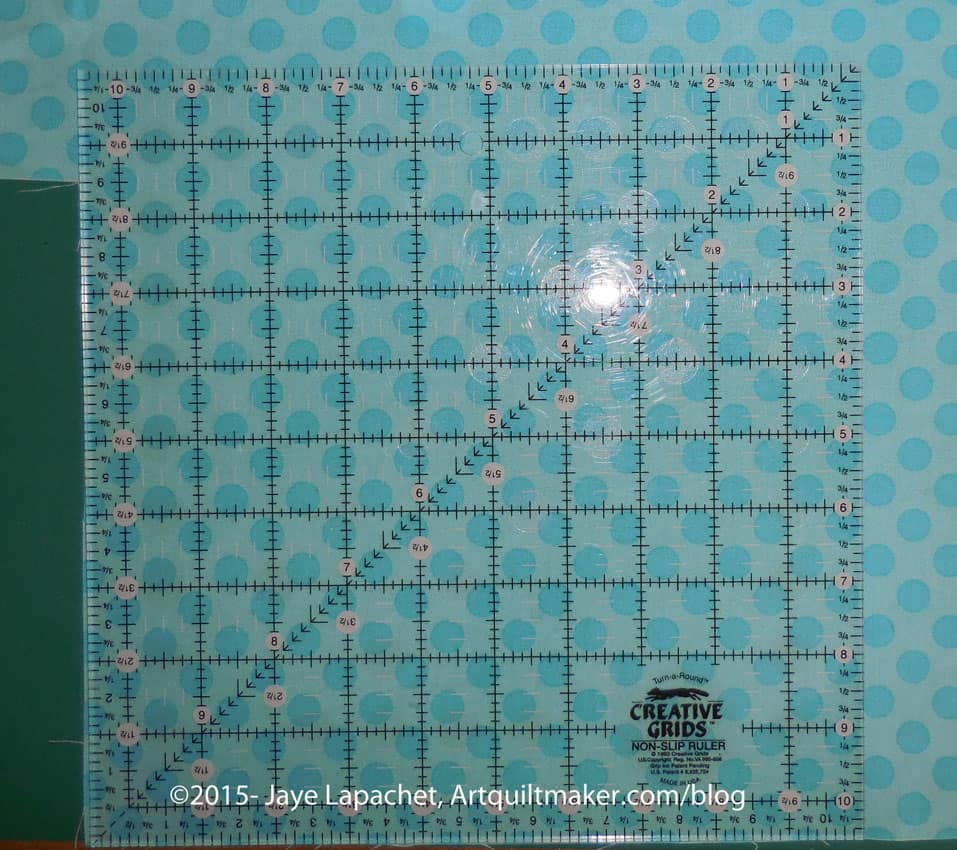
Measure the template for the large triangle of background fabric. It should be 10″ on each of the outside edges WITH seam allowance. Cut a square 10.5″ x 10.5″. You can trim it later. Better safe than sorry. Press the square with Mary Ellen’s Best Press.
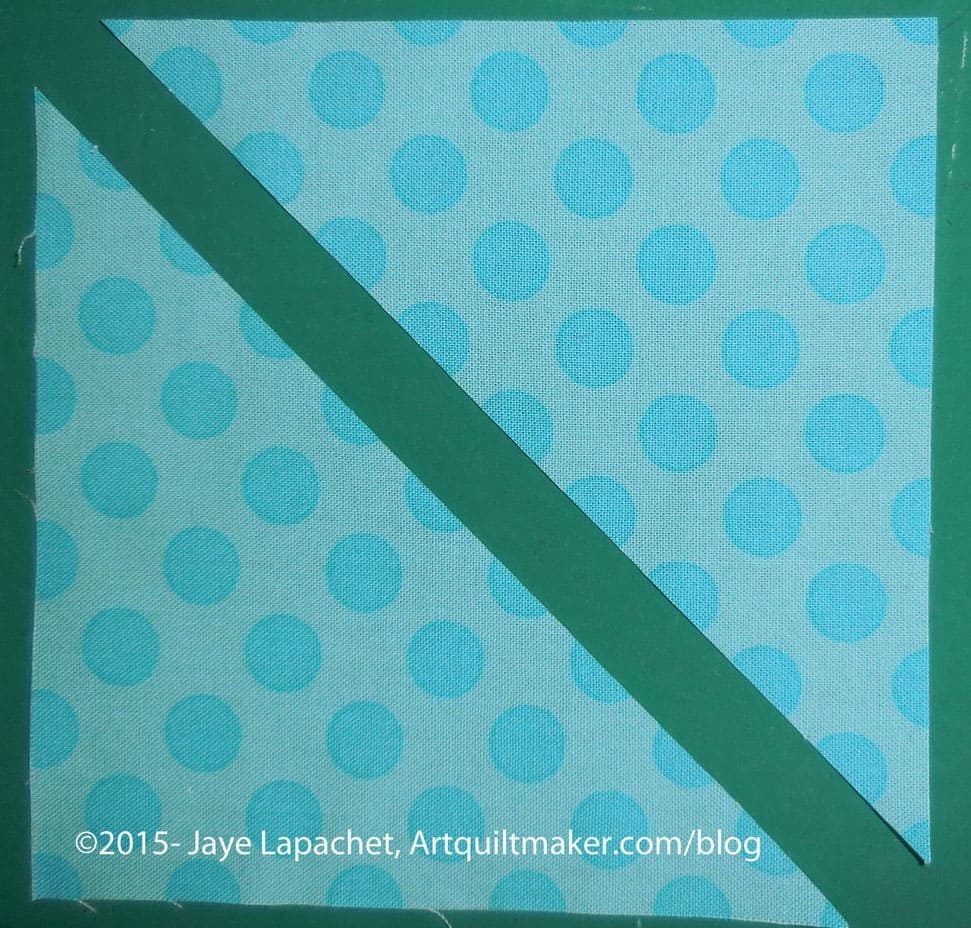
Cut the square in half along the diagonal.
Cut the following additional pieces according to the measurements given:
Background fabric:
- 2 patches: 2.5″x8.5″

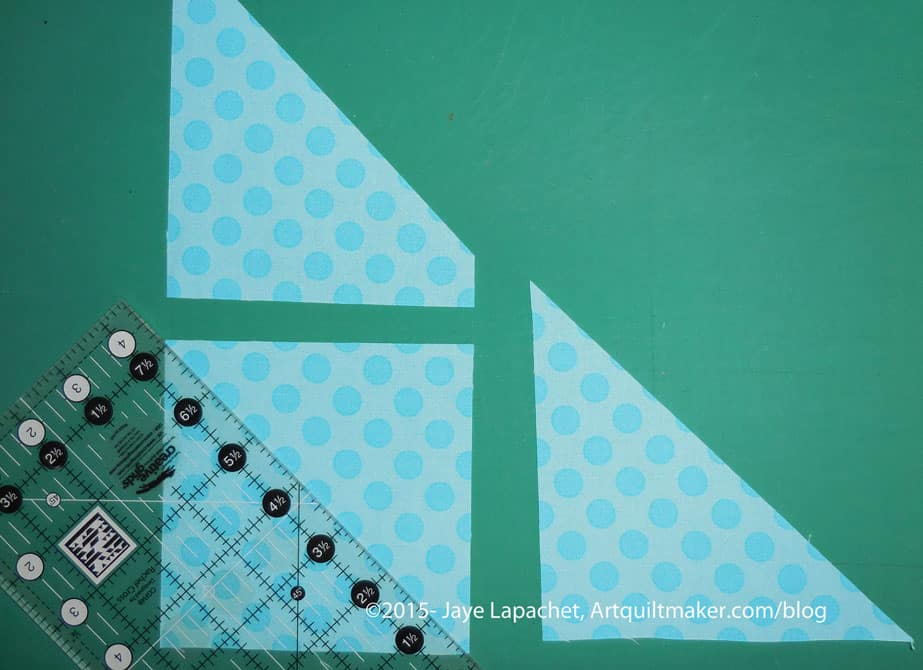
- 1 patch: square 4 7/8″x 4 7/8″. Cut in half. Nip off the bunny ears with the Judy Martin Point Trimmer
- 1 square: 5″ x 5″. Cut in half on the diagonal and set your second triangle aside
- Remember: you have already cut the large background triangle
You can cut some of the background pieces out of the leftover triangle.
Foreground fabric:
The foreground fabric is used for the basket. You will need at least two fabrics for this part. In my example I am using a scarlet red and a medium blue. See picture above for placement of foreground fabrics.
- 1 square: 2.5″ square
- For the HSTs, you will need 2 squares, according to the Triangle Technique Chart, 6.25″ x 6.25″. Each square should be from a different foreground fabric. See the picture above.
- Nota bene: The above Triangle Technique only yields 8 HSTs. You can make another set using the Triangle Technique directions and have some extras, or you can cut the triangles themselves
- 1 square 2.5″ x 2.5″

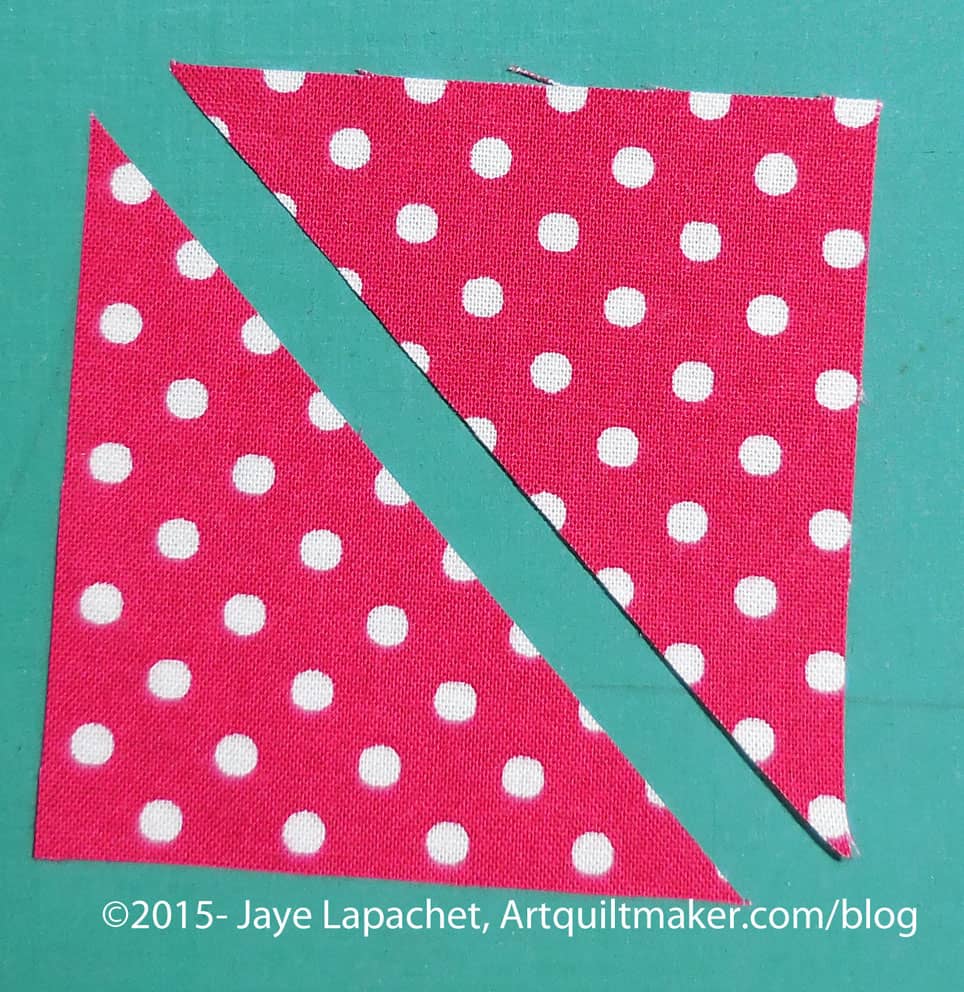
- Cut 4 squares 2 7/8 in by 2 7/8 in the second background fabric (red in my project). Cut in half. These are the base and top line of your flower basket.

You should now have all of your pieces cut. Look for the next part of the tutorial on sewing the block together.
* Rough cut means that you cut around the outside line and a little away from it, leaving some extra paper. This helps to position the template properly and eventually cut it accurately.
** Fine cut means that you cut the template out very exactly and carefully getting rid of any extra paper and template material used when you rough cut. This is the shape you will use to cut your fabric so prepare this step with care.