
We are midway through the foundation piecing class making a New York compass block. This is a long tutorial, but there are a lot of steps and I want all of the parts to be clear.
This segment discusses more foundation piecing. In order to get to this point, you should have completed parts 1 and 2. All of the supplies are listed in Part 1
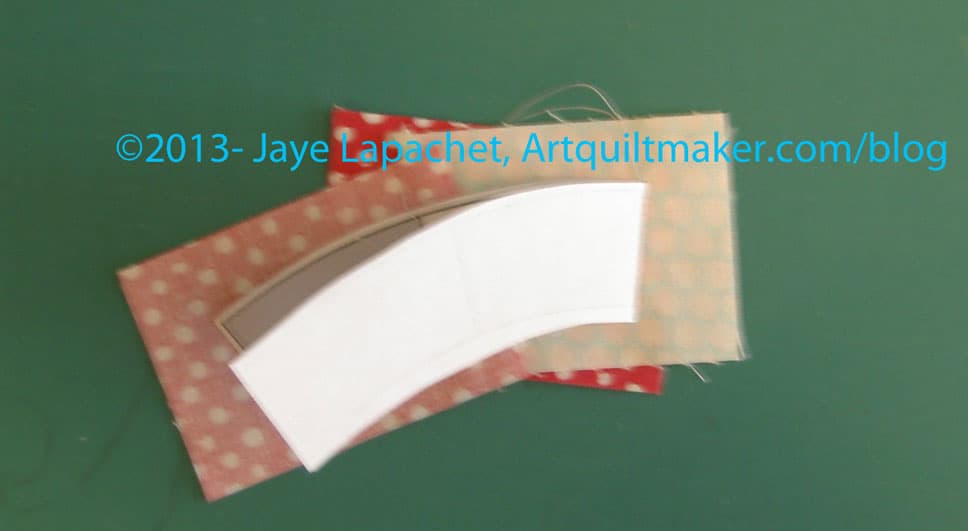
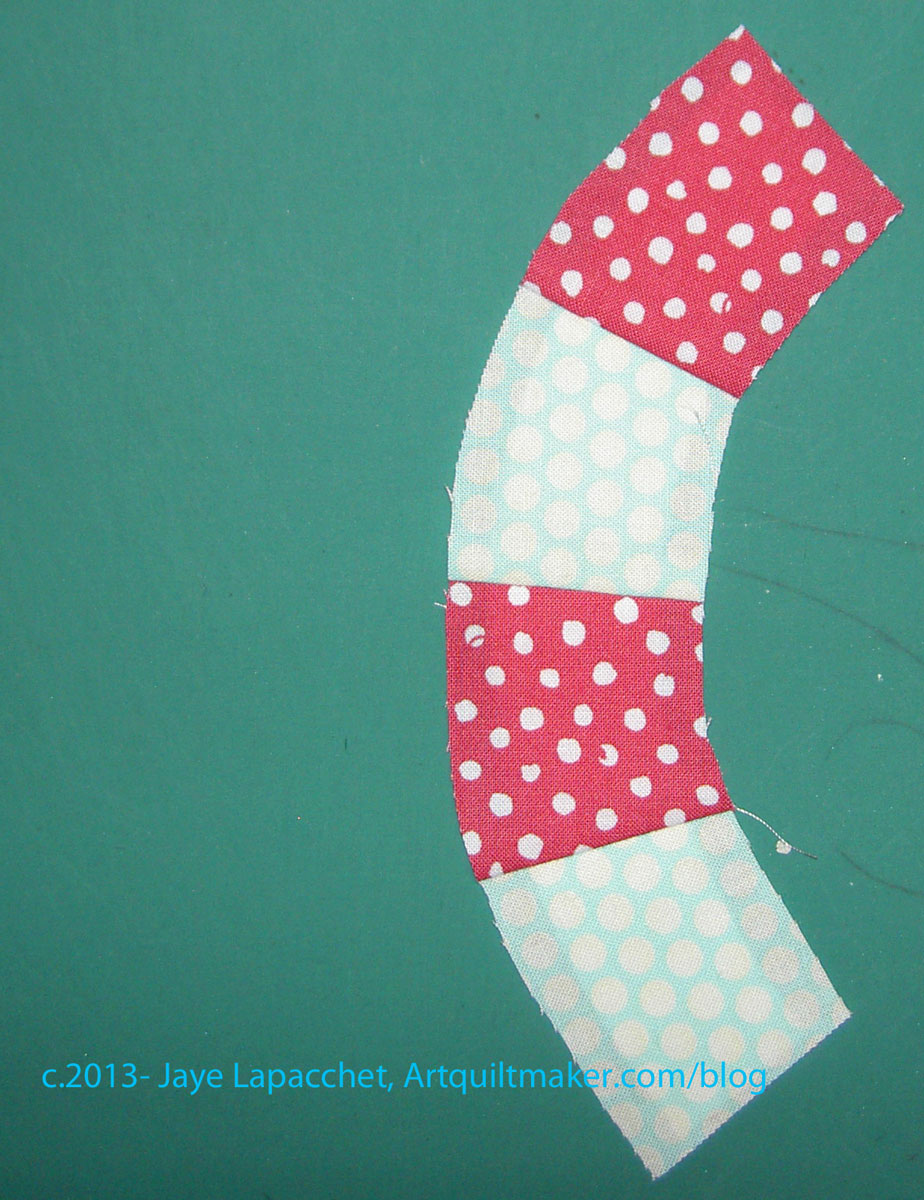
Remember our goal:

Next, we need to foundation piece the small strip called Section D.
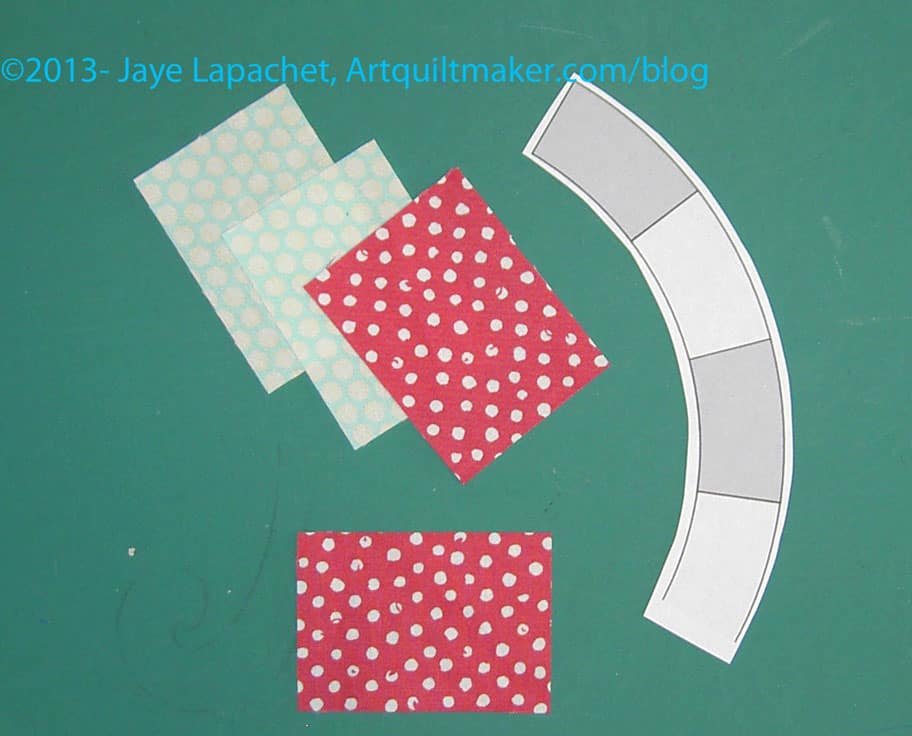
Cut 4 pieces of fabric that coordinate with the fabrics of your block. The pieces should be about 2.5″x 1.75″, which is generous. You may be able to use scraps for these pieces.

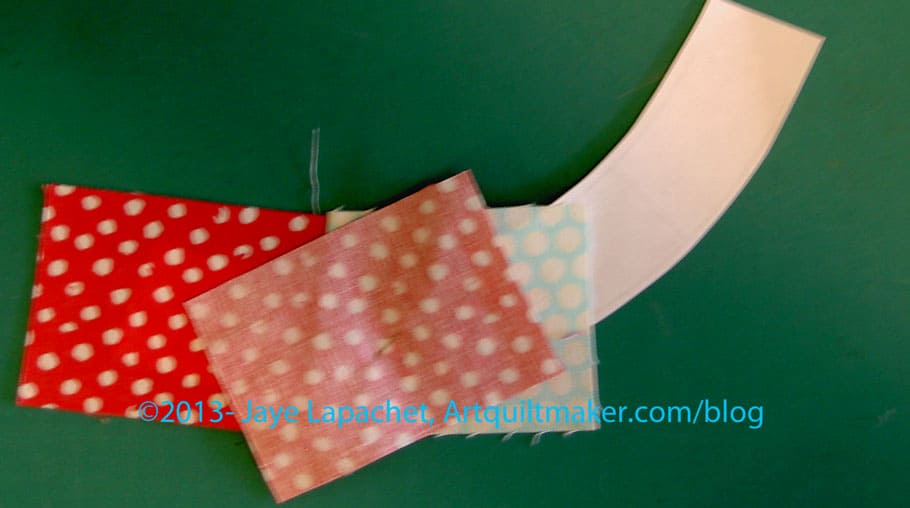
As you did in Part 2, you will work on placing 2 fabrics on the line between D1 & D2 with about a quarter inch hanging over into D2 as a seam allowance. Note the printed part of the pattern (the lines on which you sew) are face down for this step.

I like to pin the first piece of fabric to my pattern. It helps keep the fabric from shifting as I work on the second piece of fabric. Note the printed part of the pattern (the lines on which you sew) are face up for this step.
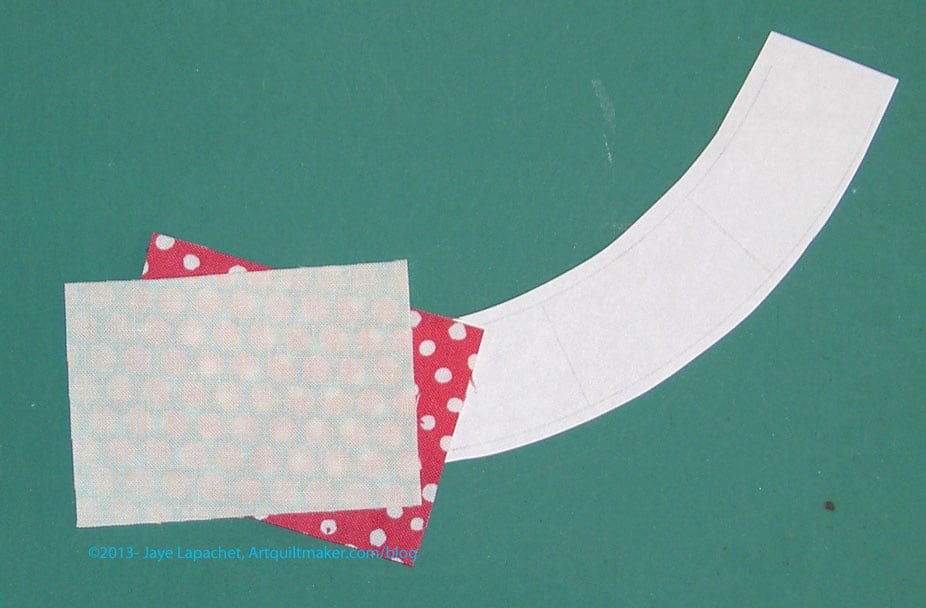
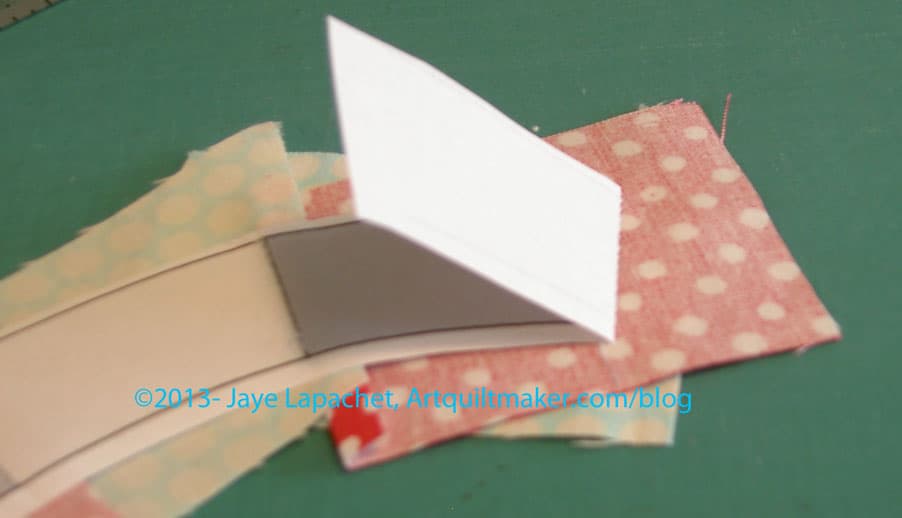
Flip Section D back over and position the second piece of fabric over the first. I often hold the pieces up to the light (or use a lightbox) to position the second piece.
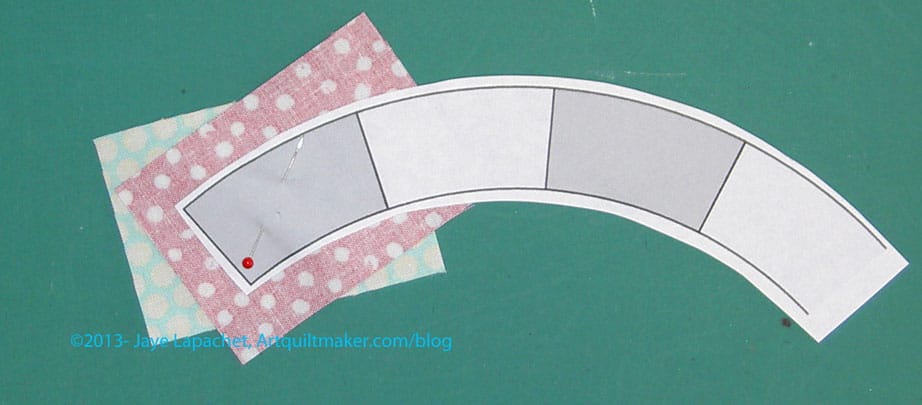
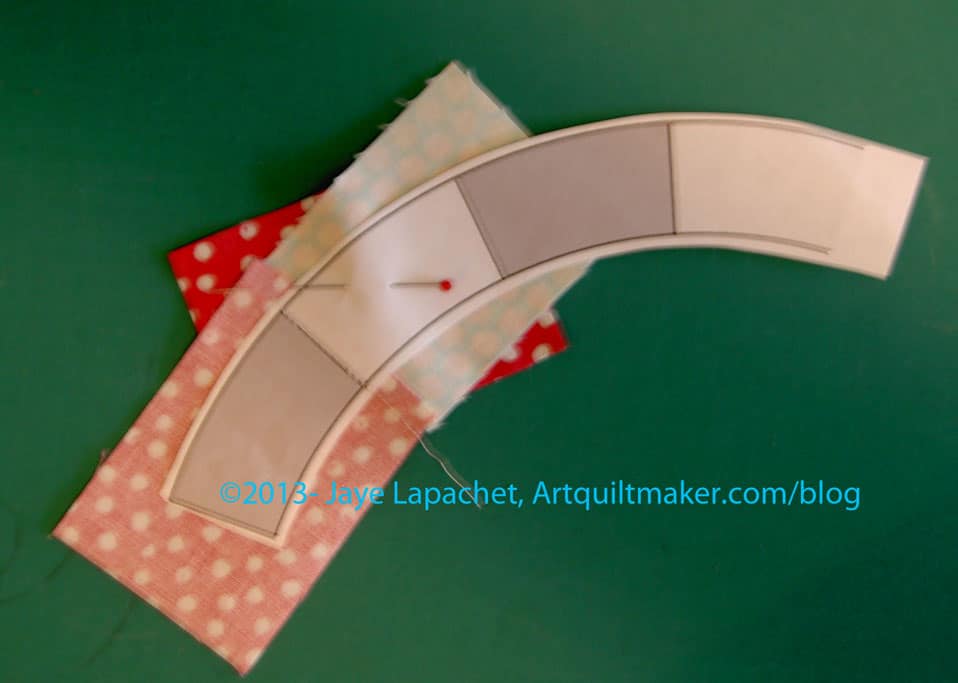
When you have both of your pieces placed like you like them, pin in place. I like to use thin pins. Your piece should now look like the above photo.
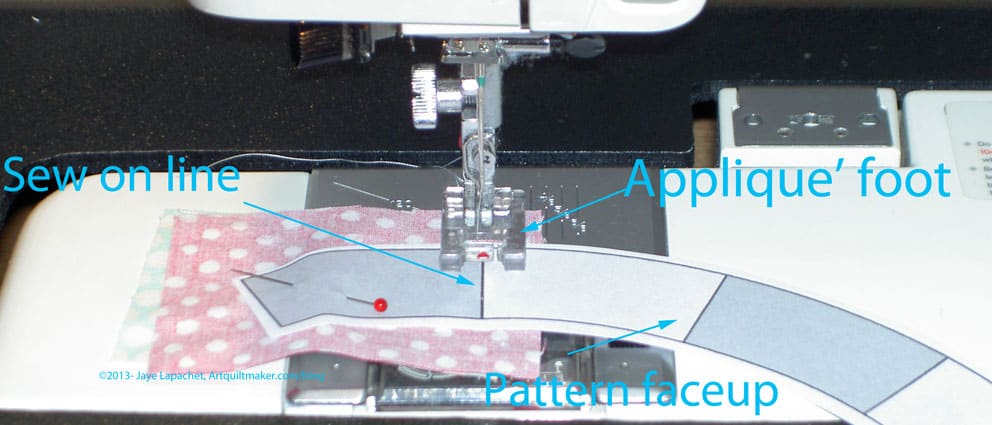
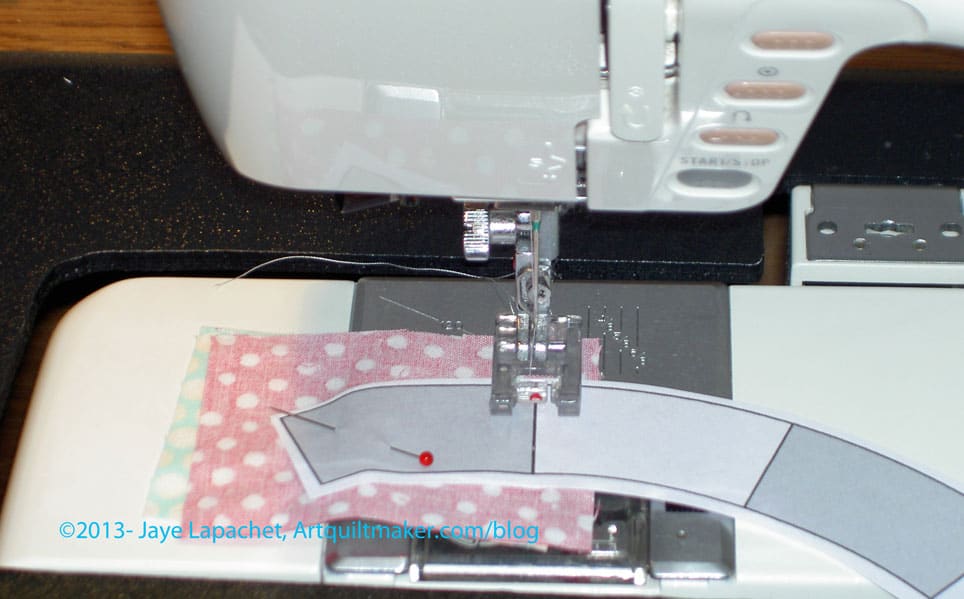
With the applique’ foot on your machine. Sew on the line between D1 & D2. Do not cross the perpendicular line at the top or bottom. Back stitch one stitch at the beginning and the end.

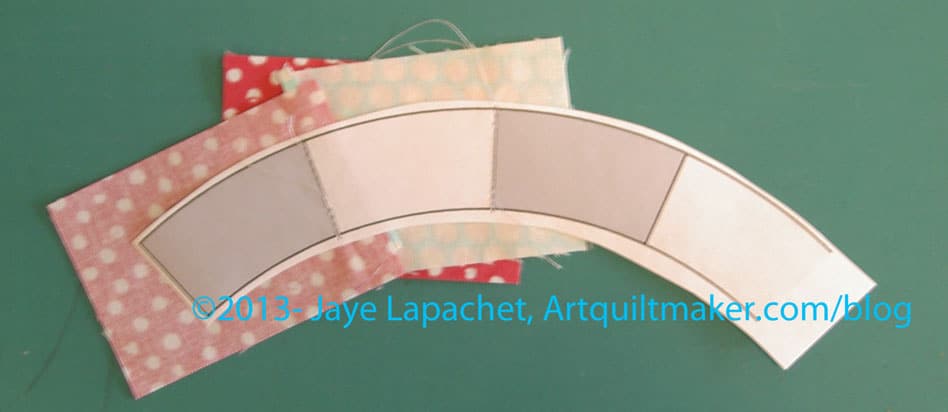
Once you have sewn on the line, your piece should look like the above photo.
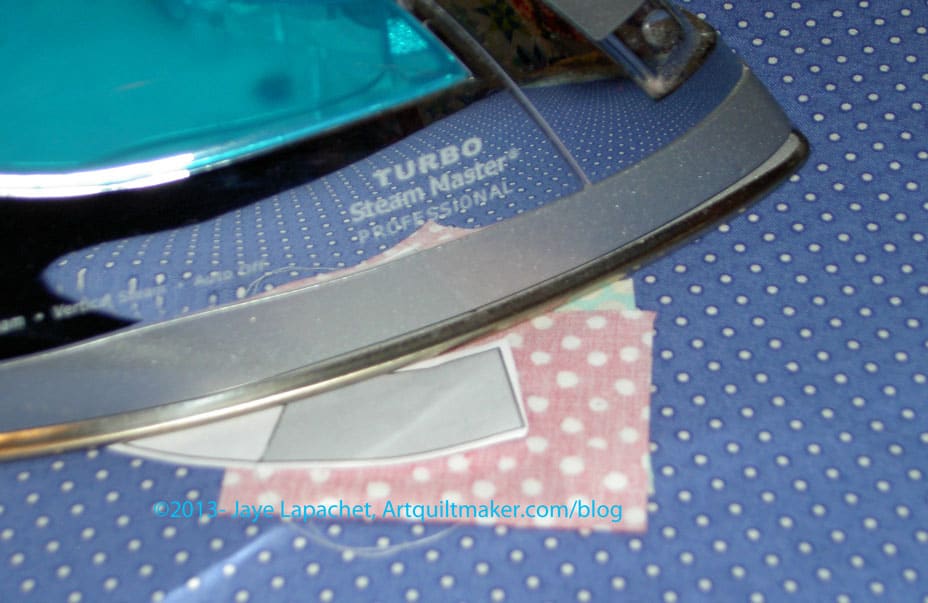
Open up both pieces and make sure they cover D1 & D2. Once you are convinced that you have covered both D1 & D2 with your fabric and there is a 1/4″ seam allowance, press your piece. Press with the pattern on top. Note the pattern is face up and you can see the sewing lines. (Nota bene: if you have taped your pattern, use a press cloth so that you do not get melted tape on your iron)
Flip your Section D over again, so you are ready to trim.

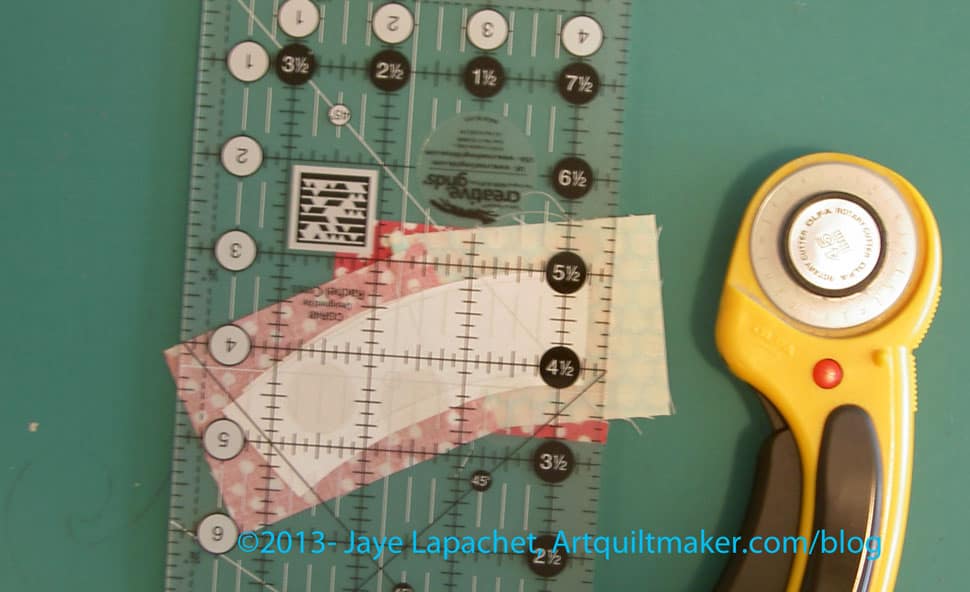
Lay your pattern, with sewn fabric, pattern side up (fabric down) on your cutting mat. The inside part of the curve will be facing your body. You may want to flip Section D around if you are left handed.
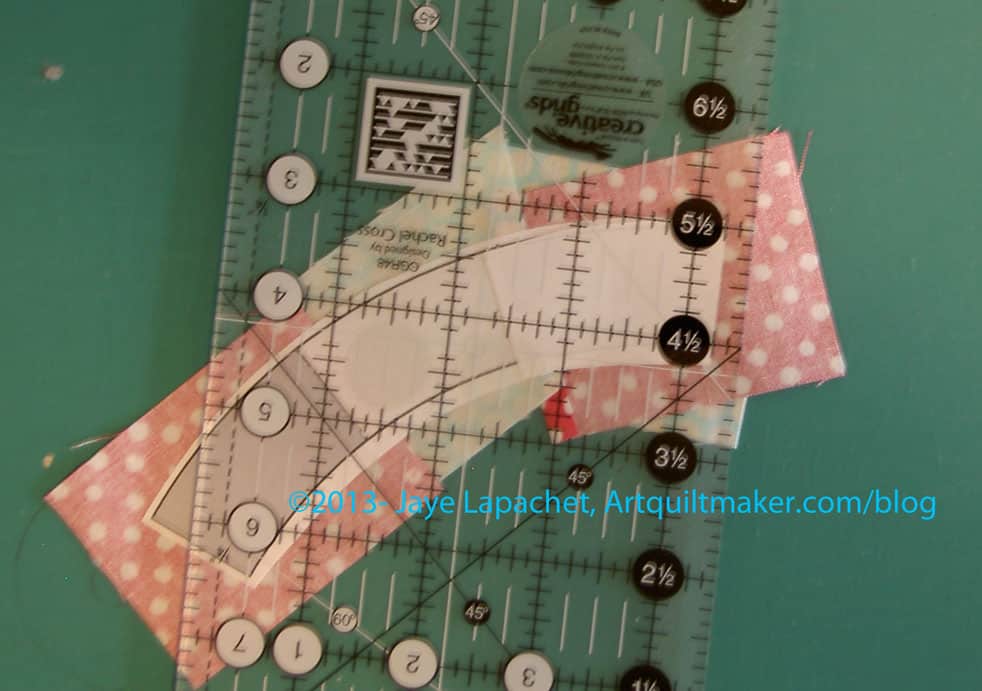
Fold the longer piece of the pattern over to the left using the seam line as the fold line. This will expose the fabric that will be your seam allowance.
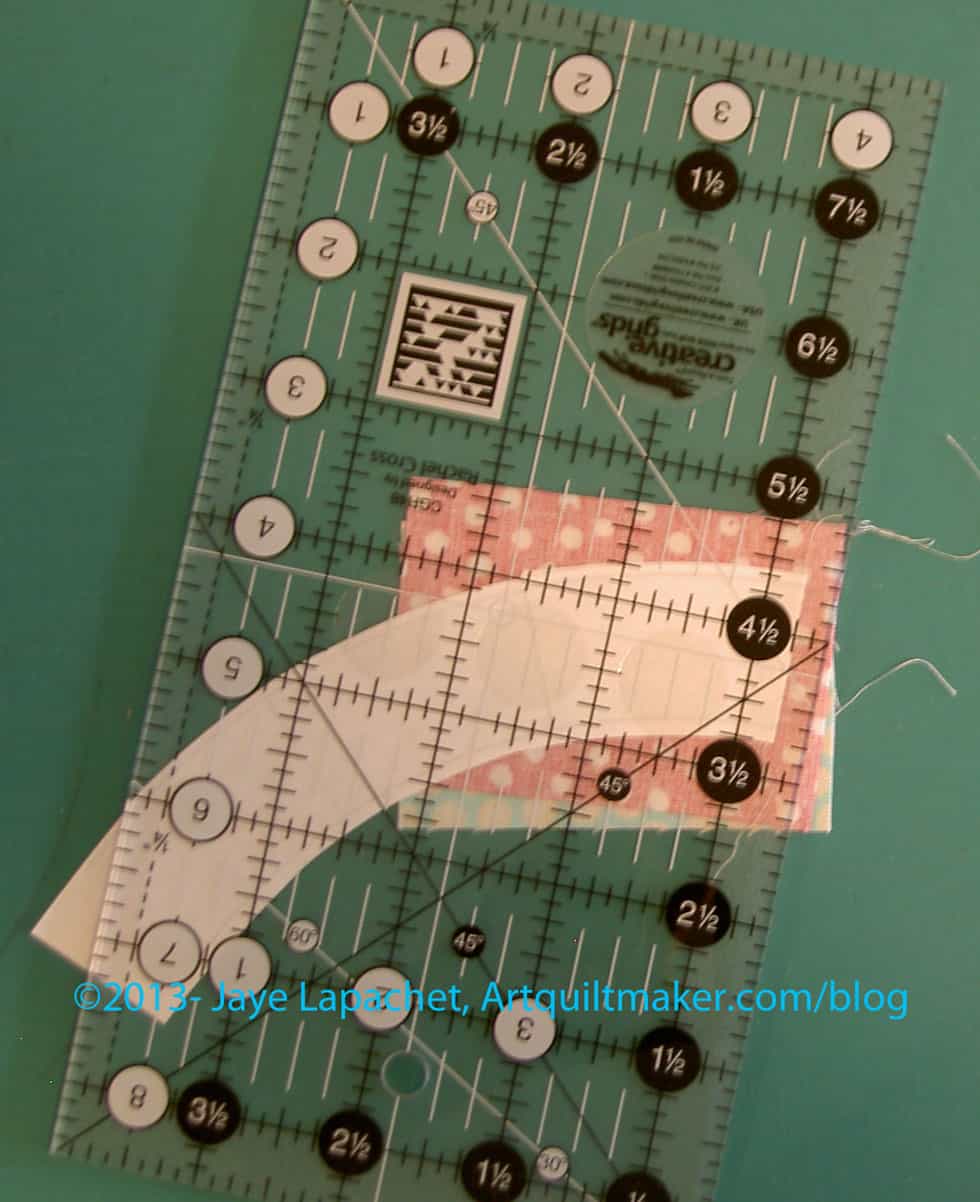
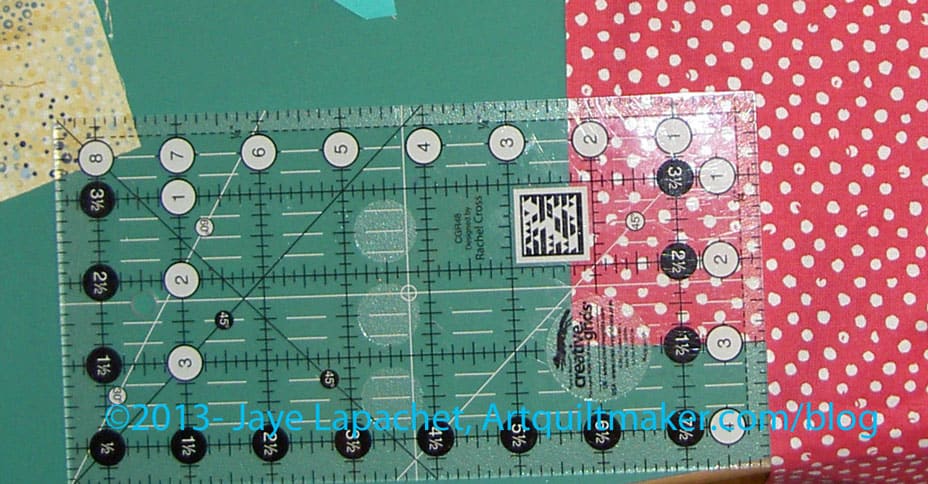
Line up your ruler’s 1/4″ mark on the seam/fold line and trim your seam allowance to 1/4″.

Trim seam allowance to 1/4″.

Go back to the ironing board and position your piece so the fabric is up, pattern side down and smooth the fabric towards D2, lightly finger pressing.
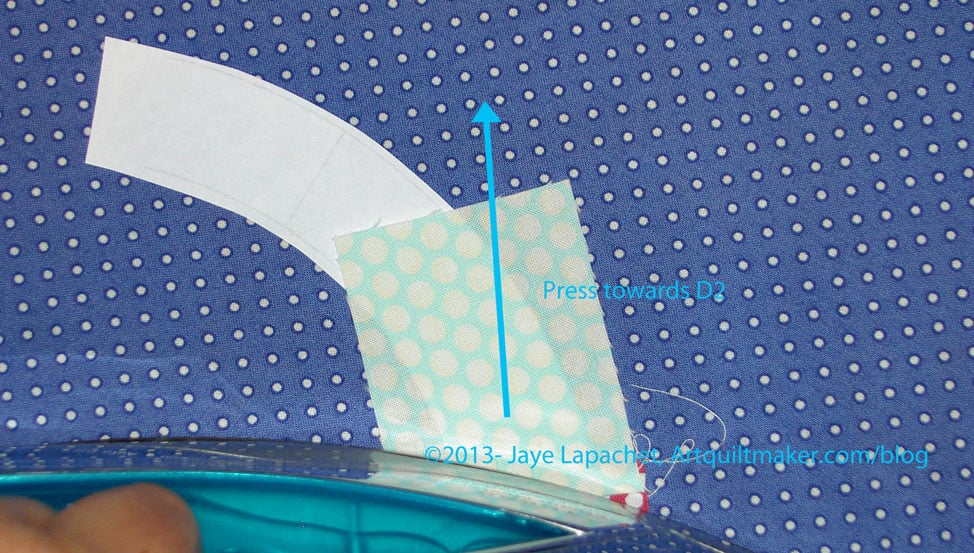
Take the piece to the iron and press carefully towards D2.
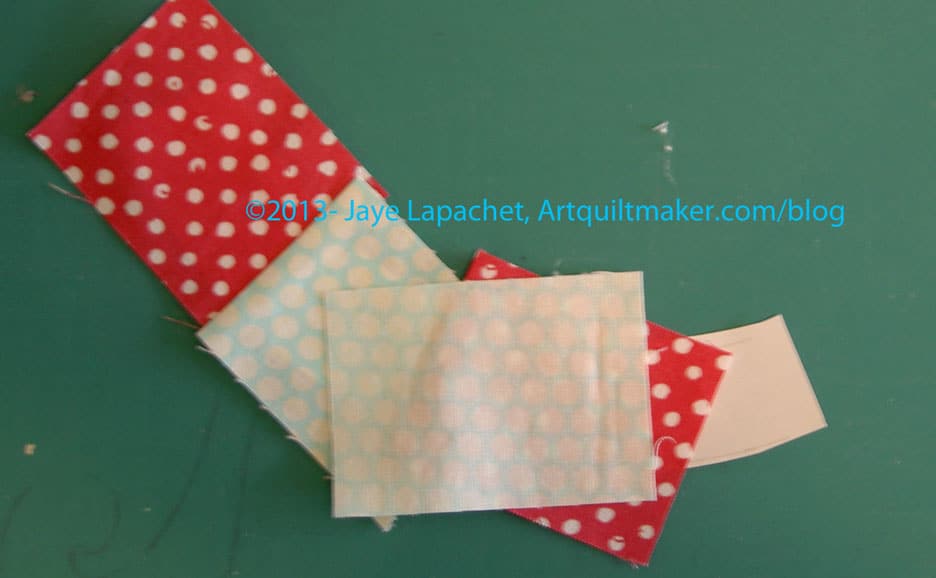
Place your next fabric with the longer part towards D2 and the future seam allowance closer to D3. Hold the whole piece up to the light to make sure your placement is correct.
Pin in place.
Get ready to sew on the line between D2 & D3.

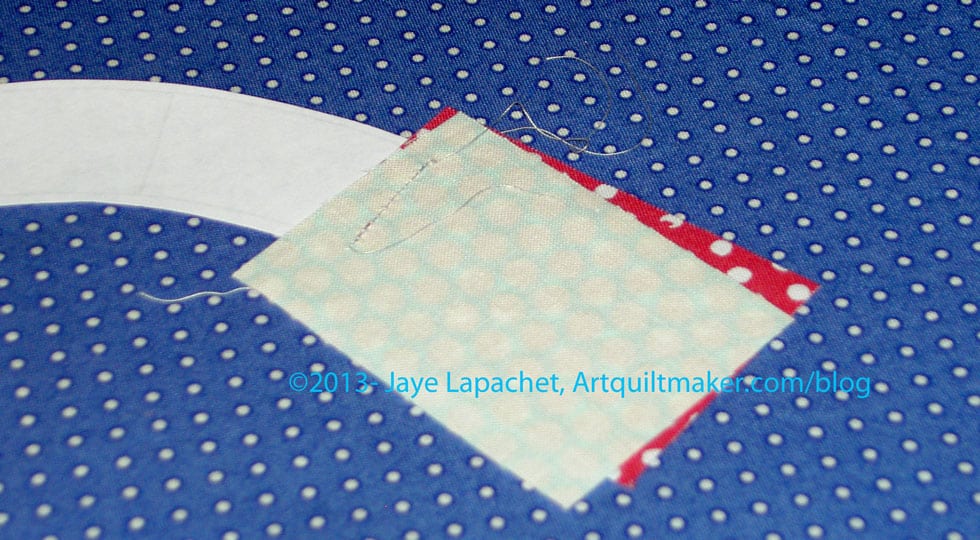
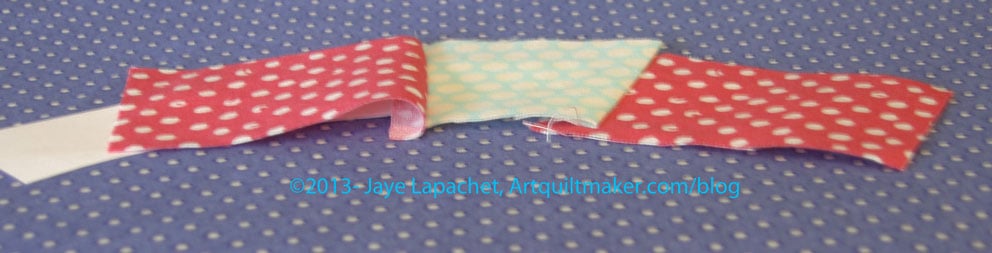
Once sewn, your piece should look like the photo above.
Check to make sure your fabric covers pattern section D3. You do this by folding the fabric over and looking to see that you have about 1/4″ on all sides.
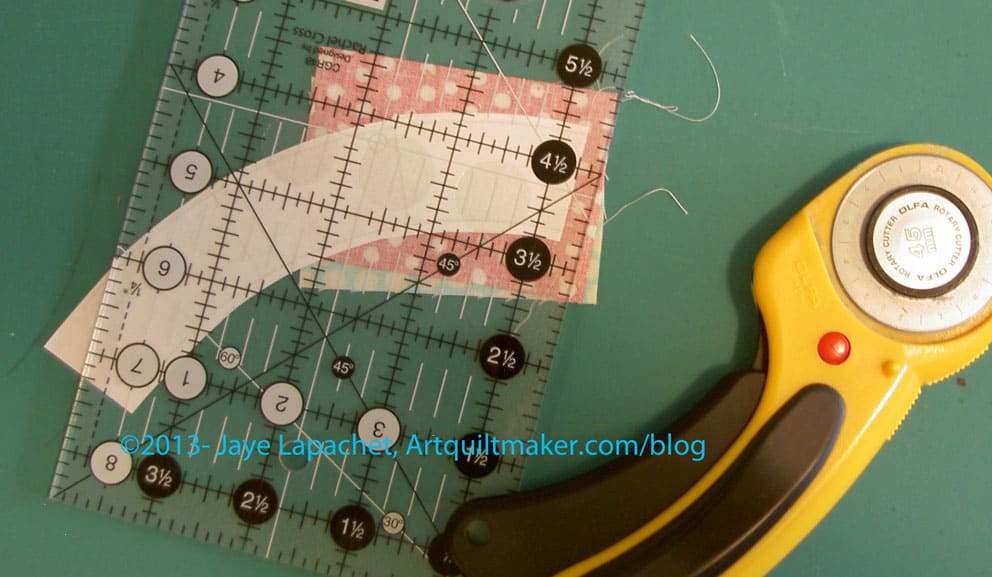
Now, get ready to trim. Put your piece on the cutting mat pattern side up.
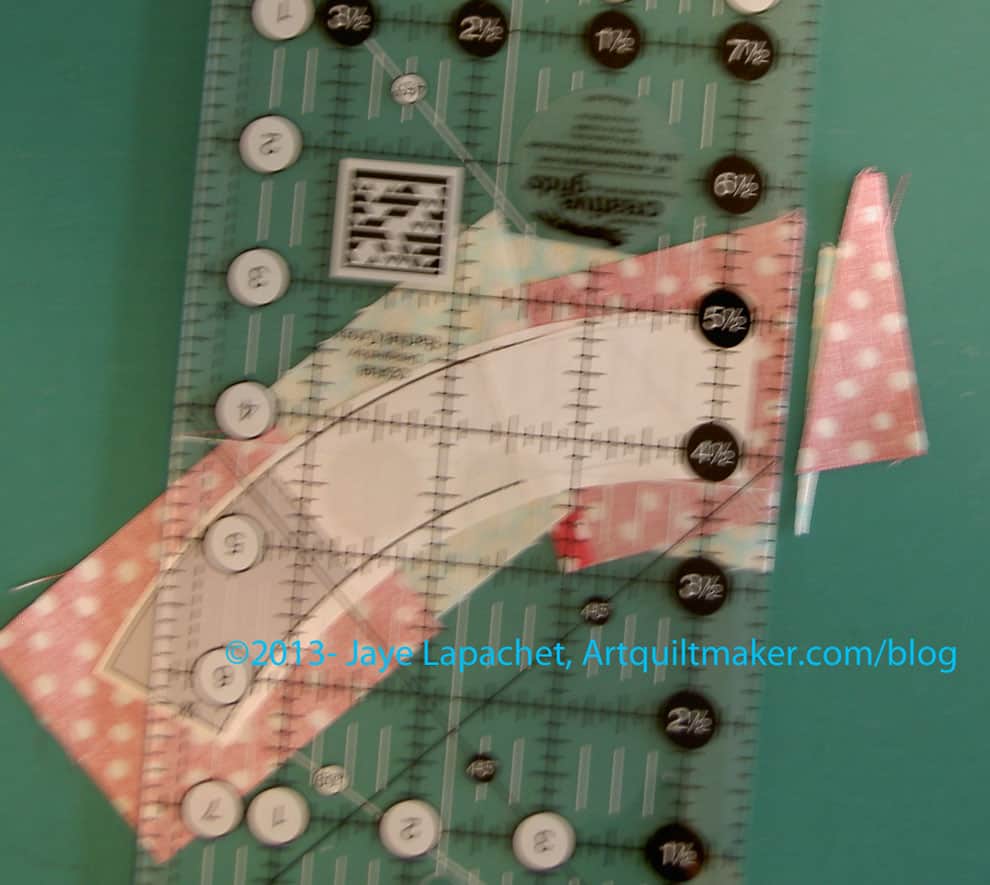
Fold your pattern to the left again, like you did before.
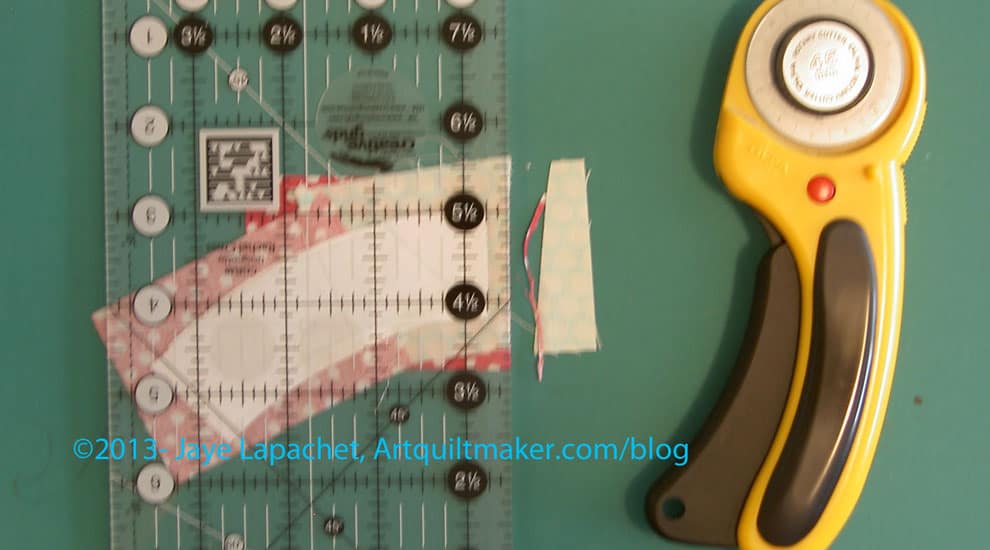
Line up your ruler’s 1/4″ mark on the seam/fold line and trim your seam allowance to 1/4″.
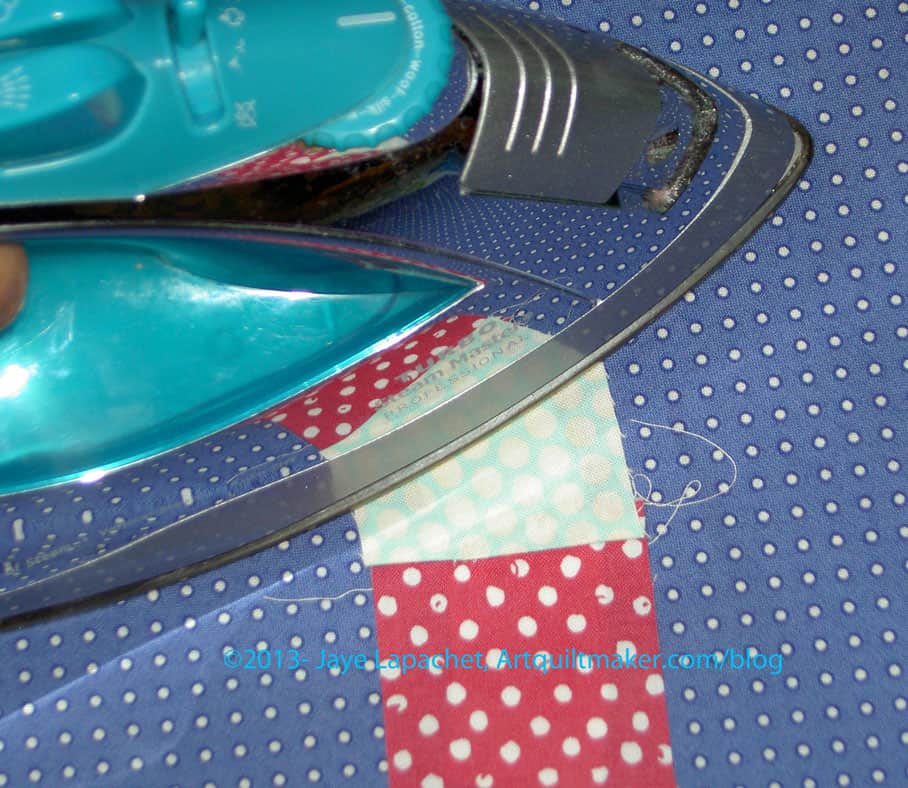
See that bump in the photo above? You do not want that bump to show once you have pieced D4 on to the parts of Section D you have already pieced. Press again, this time towards D4. Avoid the bump by pressing!
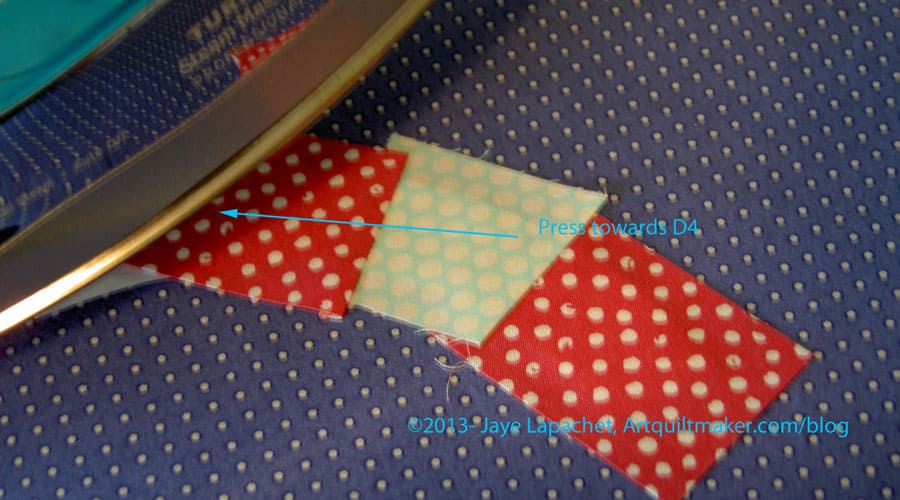
Press towards D4. No ironing!
We are heading to the home stretch!
Position your last piece as you have done before. It is going to look at little weird and out of alignment, because you are working with a curve. Remember to position the fabric so it covers D5 plus 1/4″ seam allowance. Pay no attention to the edges of the other pieces, such as D4, that you have already sewn.
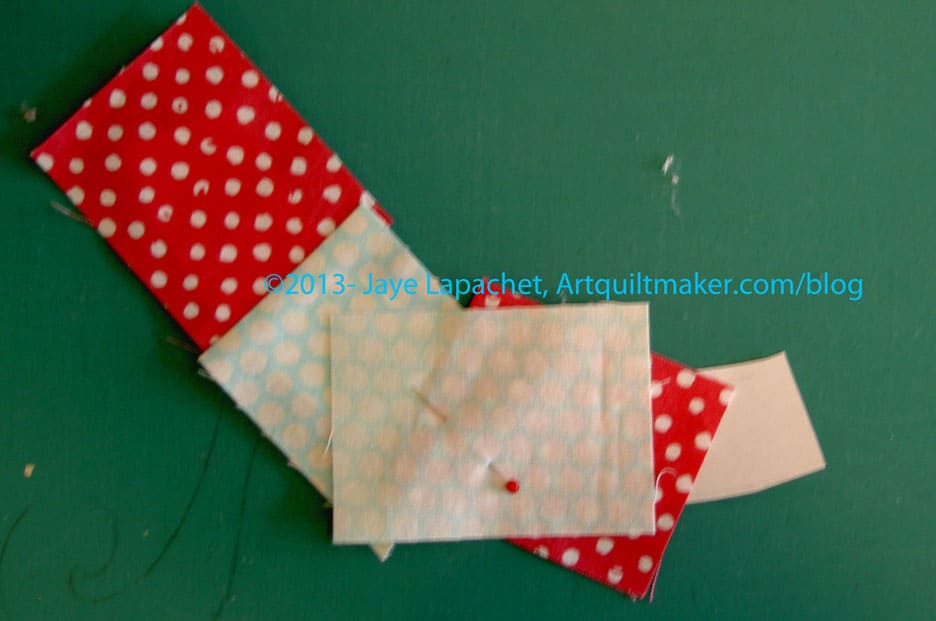
It is easier for me to see whether or not piece D5 was in the right position by pinning it. Note, I would pin it on the pattern side to sew, because then I can see where the pin is in relation to where my sewing machine foot and needle are. The pin in the photo is temporary.
Once you have the placement finalized, go ahead and sew.
Now you have to fold back the pattern one last time and prepare to trim the seam allowance.
Trim!

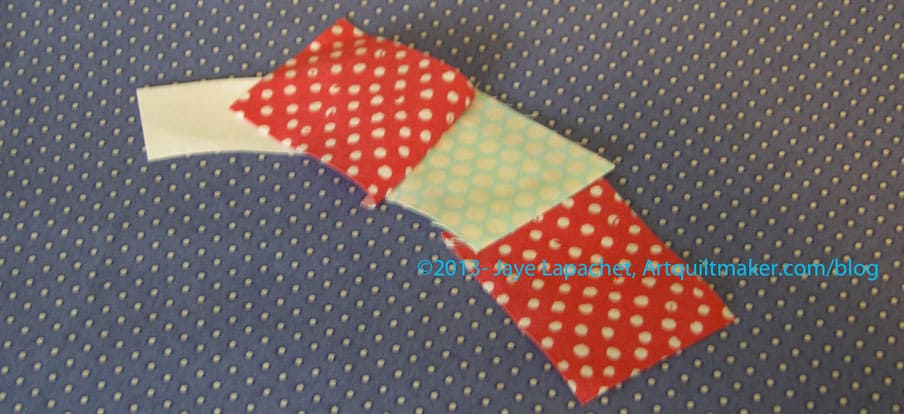
Now your piece is done. Fold back the D5 fabric and press. Place your ruler on the lines at the end of the pattern and trim a 1/4″ seam allowance. I know you can do this without photos.
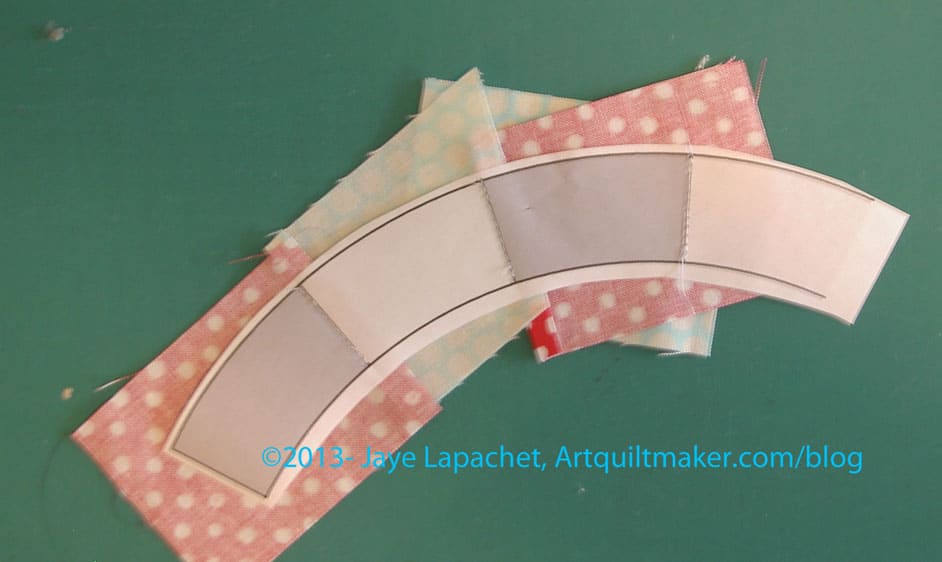
Now you have to trim the curved parts of Section D

It is too difficult to sew the untrimmed Section D, so you will have to trim.
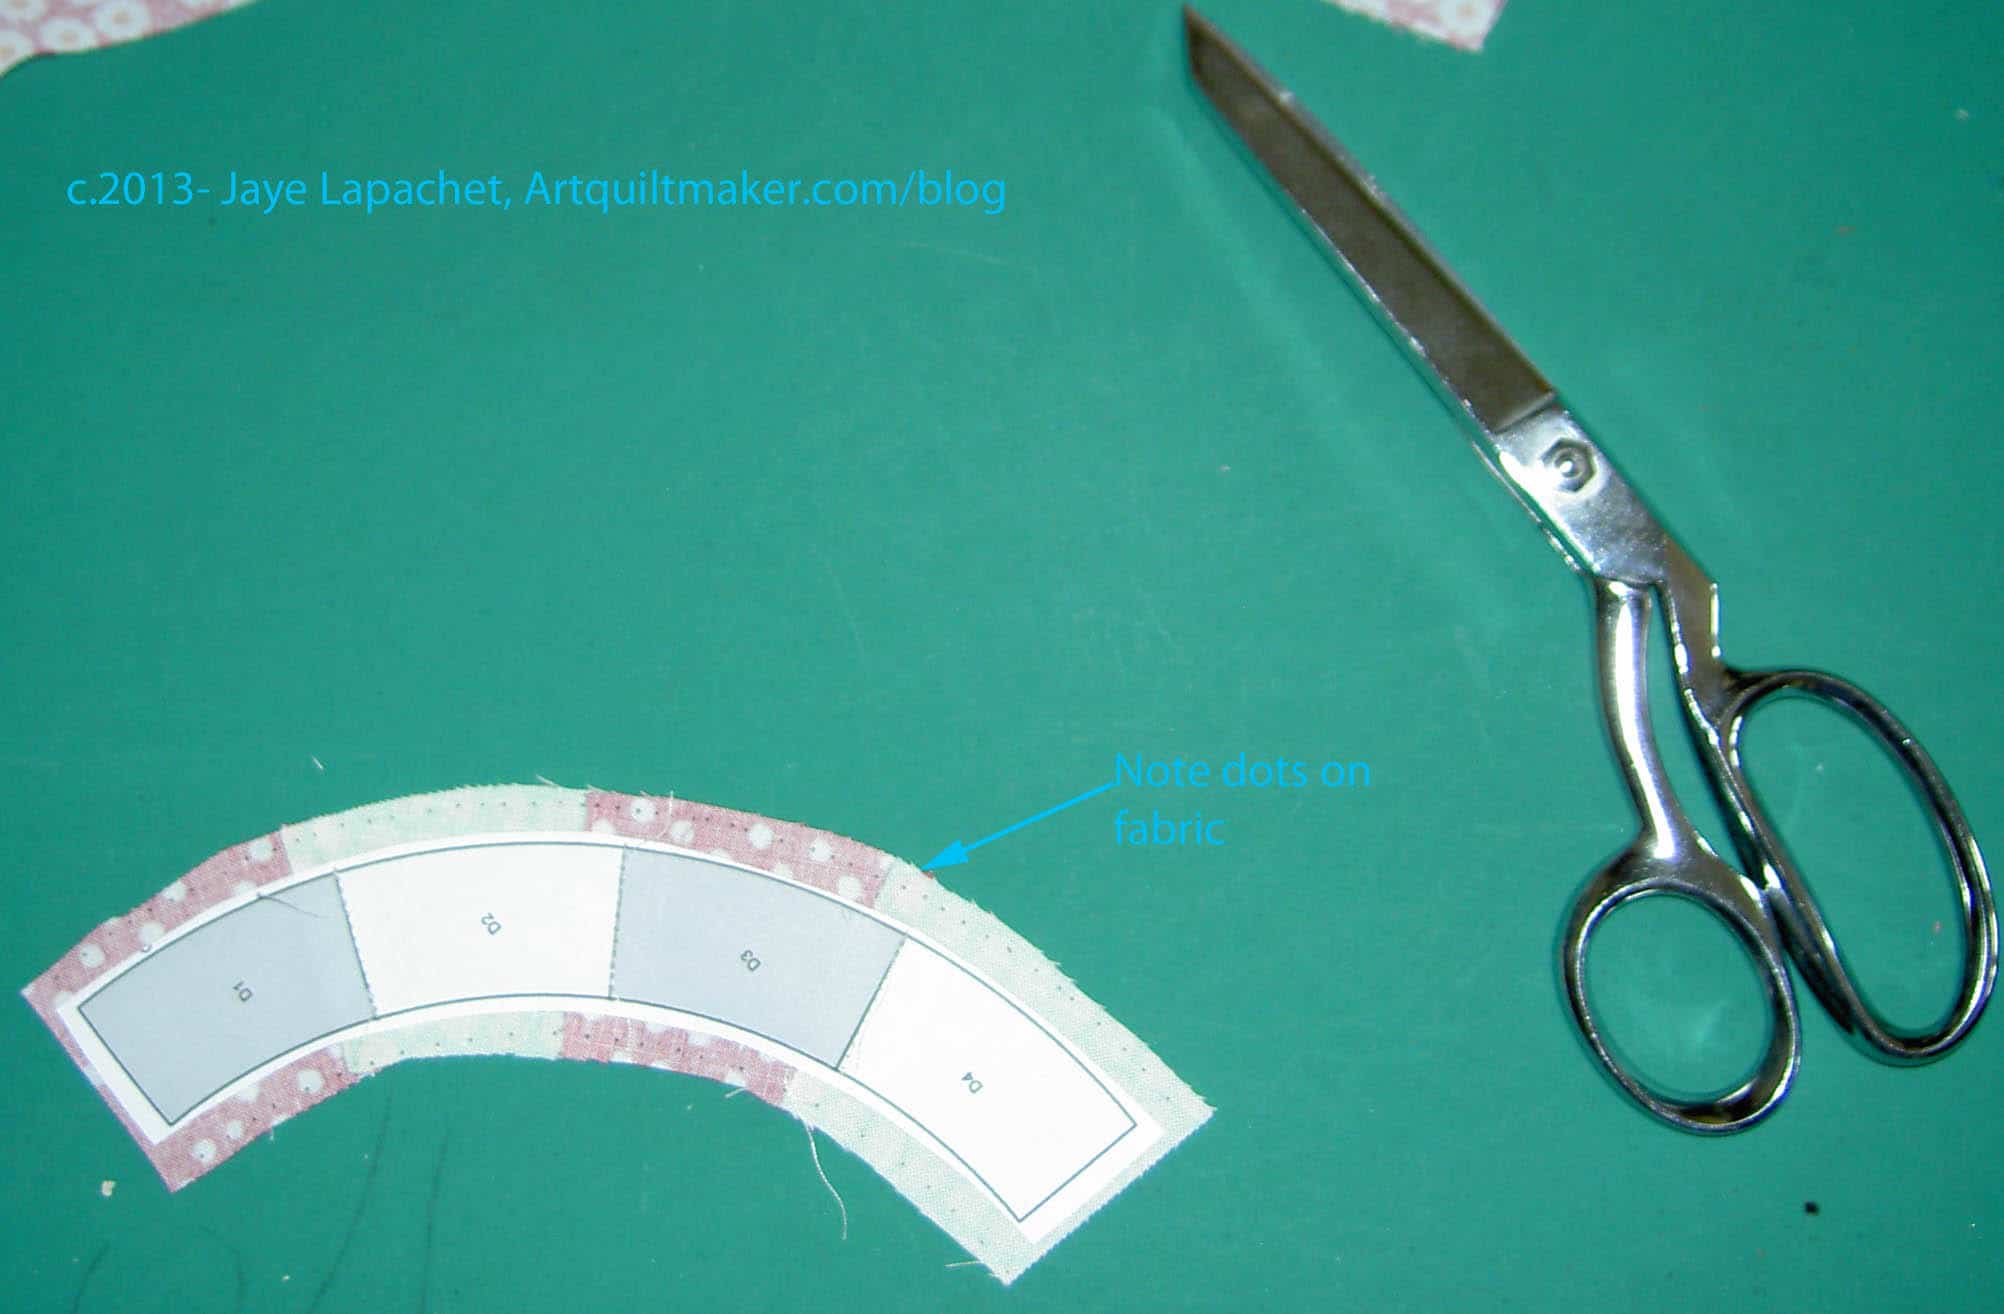
To trim, mark 1/4″ away from the dark line. The dots in the photo above mark 1/4″. I have trimmed the straight ends with a rotary cutter and I am ready to play “dot to dot” with my scissors. I am going to cut from dot to dot to create a 1/4″ seam allowance.

On to part 4!
Tips:
- If you have to rip out stitches, rip them out from the fabric side, not the paper side.
- Pay attention to putting the next piece on the foundation.
- Avoid the bump by pressing!
Resources:
- Christine Thresh’s Paper Piecing Primer
- Cindi Edgerton’s How to Foundation Piece instructions
- Foundation Piecing video
- Paper Panache’s Foundation Piecing Instructions
- Paper Piecing the Carol Doak way
- Johanna Masko’s Flickr-based Machine paper piecing tutorial