
I gave a group of gifts, as described in a recent post, to my friend Mary who is making a dress for me.
This is the first time I have followed my advice and given a group of gifts. I have made all of the items before; just never given them away as a group. I wouldn’t have recommended it to you if I didn’t think it would be a good idea. However I had to test it and I am pleased with how it came out.
The One Hour Basket, which is the carrier, though I did wrap the whole thing, contains a journal cover (with journal), a pencil roll, on the go tissue cover, needle safe, pincushion, lanyard and scissor sheath. I think the mix of items is good, though I could have put a little tissue paper underneath to fill up the One Hour Basket some more.
I wanted the whole set to match, so I used pieces from two FQ bundles I received at the BAM Retreat. I have much more to use, so I can make more items, if I can think of what to make.
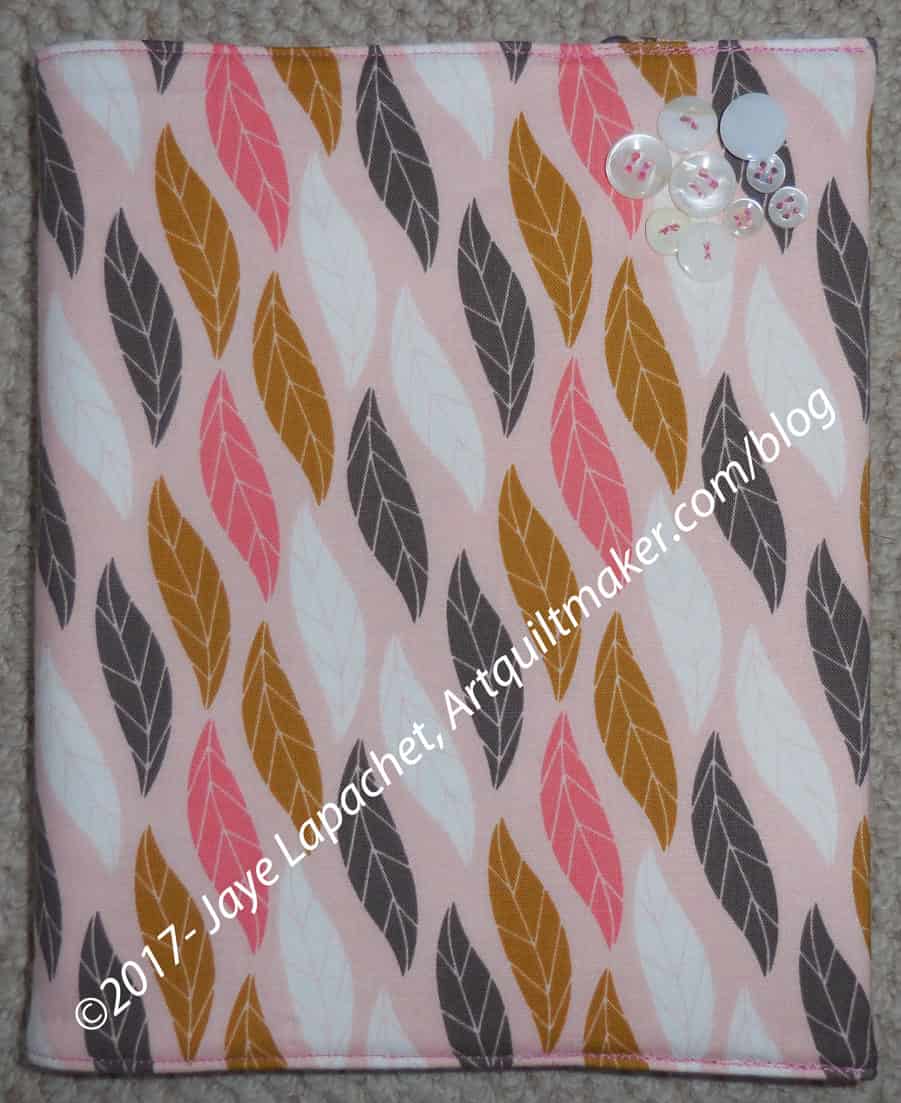
As you know I normally make journal covers using mosaic piecing. Mosaic piecing is good for using up scraps and for leaders and enders. Since I was using a constrained color palette, I used two fabrics and didn’t piece the front or inside cover. In order to make it less boring, I did embellish the cover with some buttons.
I used buttons TFQ bought for me at Road to California in 2012 and some colored thread. The embellishing is simple and I don’t think I have ever embellished a journal cover before, but I think it worked really well on this piece. Mary said that she could use it for committee work since the Miquelrius journals have sections with different colored page edges. I am thrilled.
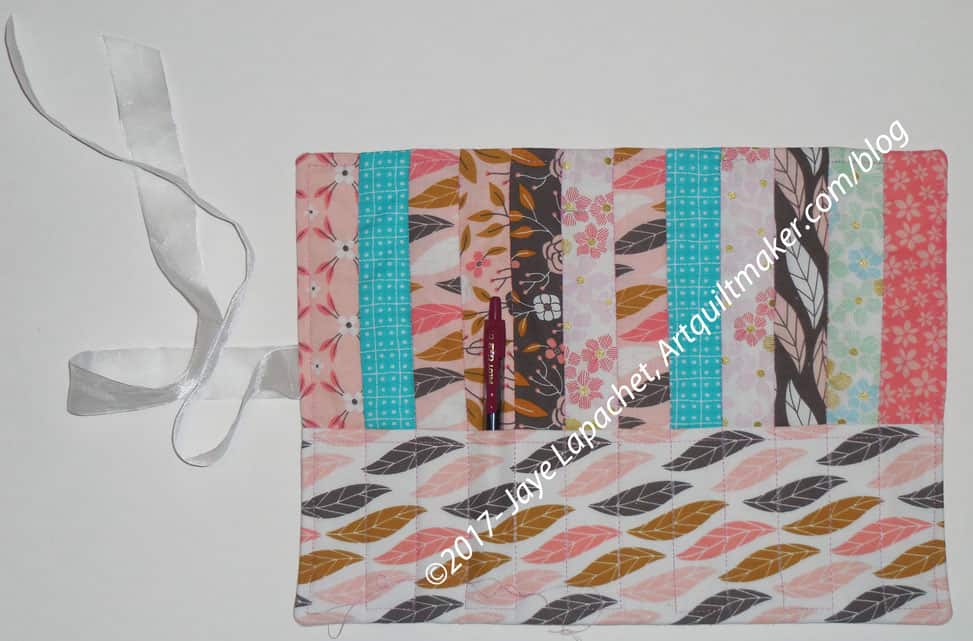
As mentioned, I love the Pink Chalk pencil roll pattern. I am so sorry it is no longer available as I have made a number of them and it is a great gift. Try to find a used copy on Etsy or somewhere. It is well worth the hunt. Since I have the pattern I used it to make a 12 slot pencil roll for Mary. I always put a pen in so that people know its intended use. It is a good size for crochet hooks as well, though YMMV on those. I haven’t tried it.

This piece was GREAT for using up many of the different patterns in the fabric line (above photo). You can see all the different choices. I did use the turquoise more than once just to add some contrast. For the back I used a coordinating print from a different line. I wanted to mix the group up a bit so it didn’t get too monochromatic. There is a baby poop brown print in that line that I am sure would look fantastic, but I couldn’t bring myself to use it.

Yet. I am thinking about what else I can make for Mary and it might come into play, but most likely not. I have plenty of other fabrics.

The tissue cover seriously takes less than half an hour to make. I used the video mentioned in the Updated Gift Ideas post and it is so easy. I should have used a better contrasting fabric for the lining, but the fabric work well together. I don’t use one, personally, but I should. I am now out of travel packets of Kleenex which means I’ll have to get more. It is much nicer to put one in, as with the pens in the pencil roll, so people know what you have made. It prevents confusion.
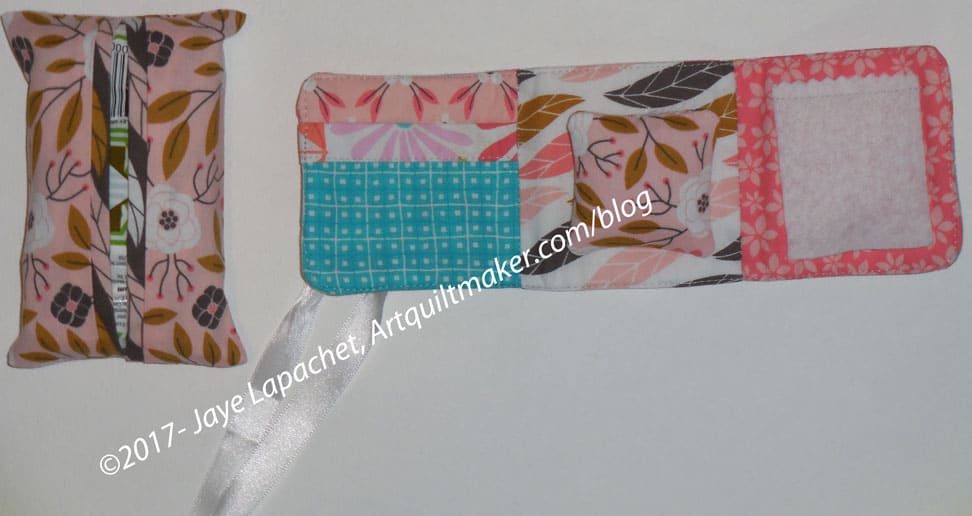
I have a couple of needle safes that I use for various projects. This one has three parts: pincushion, needle holder and a section with a pocket where one can store a small needle threader, a pack of needles or one of those rubber circles used to pull the needle through thick fabric. The pattern for this project asks that the maker use fabric for the needle storage. I have always used felt. Wool felt is pretty good because the lanolin helps keep needles sharp. I don’t always have wool felt in the right colors, so I use what I have an cut it with a decorative blade.
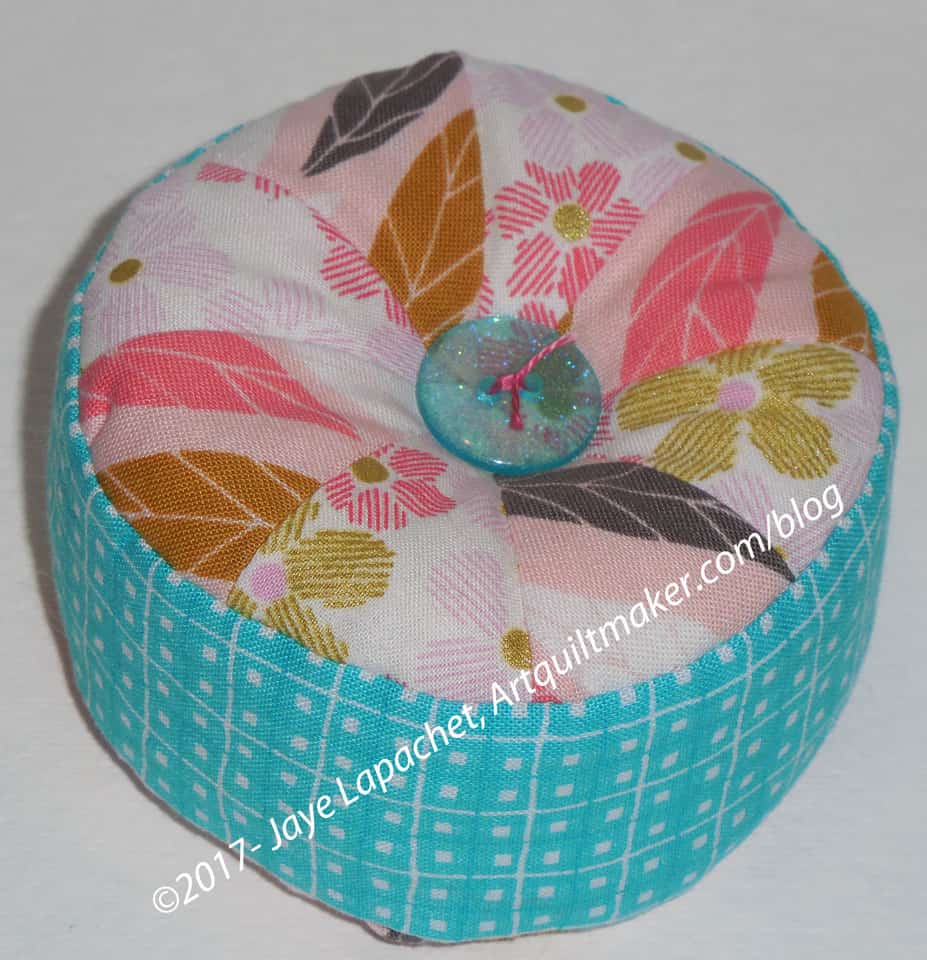
The pincushion is just fun to make, for me. I love this Fig Tree pattern, because it looks like my ideal of a pincushion. I need to make a few more of these so I can get the contrast right. The colors and motifs on the fabric I used blend quite a bit. It is a nice effect, but I want to experiment with more contrast. I often have a hard time finding the right buttons. Yes, of course, I could buy buttons, but I prefer to use some from my button box. I found the perfect buttons this time. I love the see-through aspect and the color.
I am pretty happy with the filling. I use a combination of Craft (Beanie Baby) pellets and wool roving. The pellets give the pincushion some weight and the wool roving feels nice.
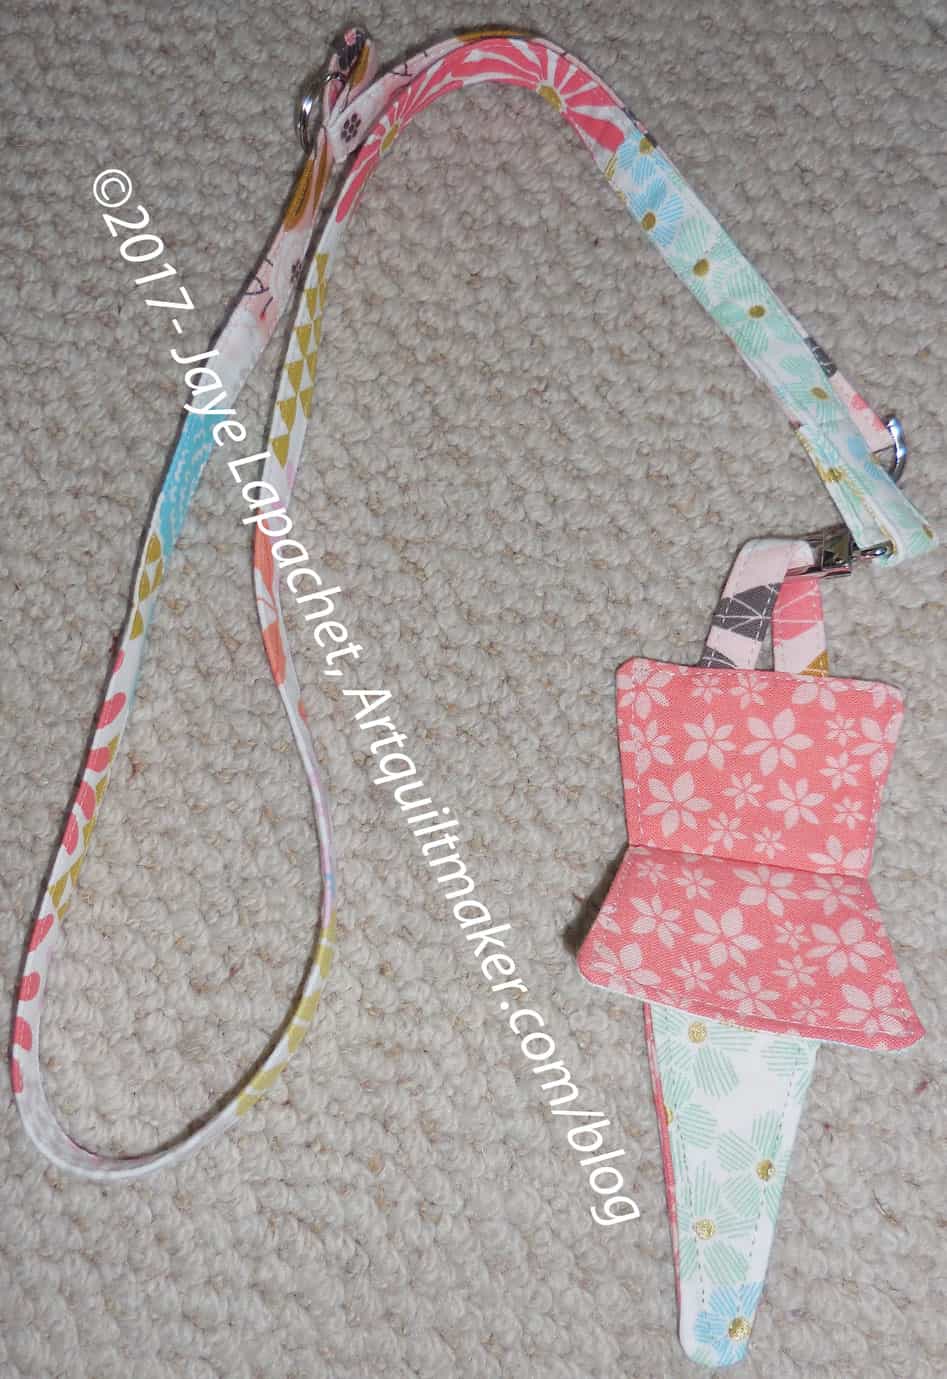
I was pretty happy with the items above. I decided at the last minute to add a lanyard and a scissor sheath. Why not? I was shocked that I couldn’t understand my own lanyard tutorial. I am sure the instructions made sense to me at the time. I had to rewrite them, so I did that as I went along. My machine was unhappy going through all the layers of lanyard as I finished it, so I had to be careful. Both are done and I think they add something to the whole gift basket.
None of these projects take very much time. I did multiple items in one day. Over the course of approximately 3 days, I was able to make everything including the handwork. Try out a similar project. You have a friend that would adore it.
Update: Check out Tooly McToolston, another gift I made for Mary C.