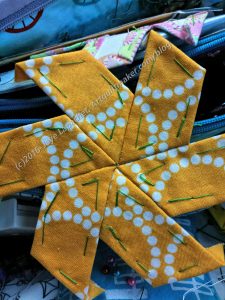
I haven’t been happy with the right sides together method of whip stitching my EPP pieces together. I don’t like the stitches showing on the front. No matter how careful I am, I seem to always get a few stitches showing. ERGH!!!

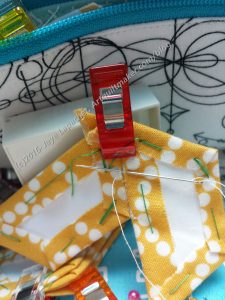
I mentioned recently that I had heard about the Flat back stitch for sewing EPP shapes together. I watched the video thoroughly, eventually, and tried it. I like the technique, although it isn’t without hassle and have modified my stitching accordingly.
One thing the video shows is starting inside a seam. The idea is to slip the needle between the fabric and the paper, catching the knot on the inside. I never thought of that!

I have been using WonderClips to hold my pieces together. It is imperfect at best despite the fabulousness of WonderClips. The video shows using regular transparent tape. Another great idea.
There are a couple of other good things about the flat back stitch. First, you don’t have to bend the paper/card pieces when you insert a piece (Y seam idea). This makes the card last longer. Second, the stitches don’t show at the beginning of the line of stitching, which they can if you are even a tiny smidge not careful. DIY Addict has some info about this after the 2:50 minute mark on her video.
This technique takes me longer, but I like the look and really am not in a rush to get another star attached to this piece.
It is a good day when I learn something new.
Other resources
DIY Addict video: flat back stitch