2-in-1 Case Continues

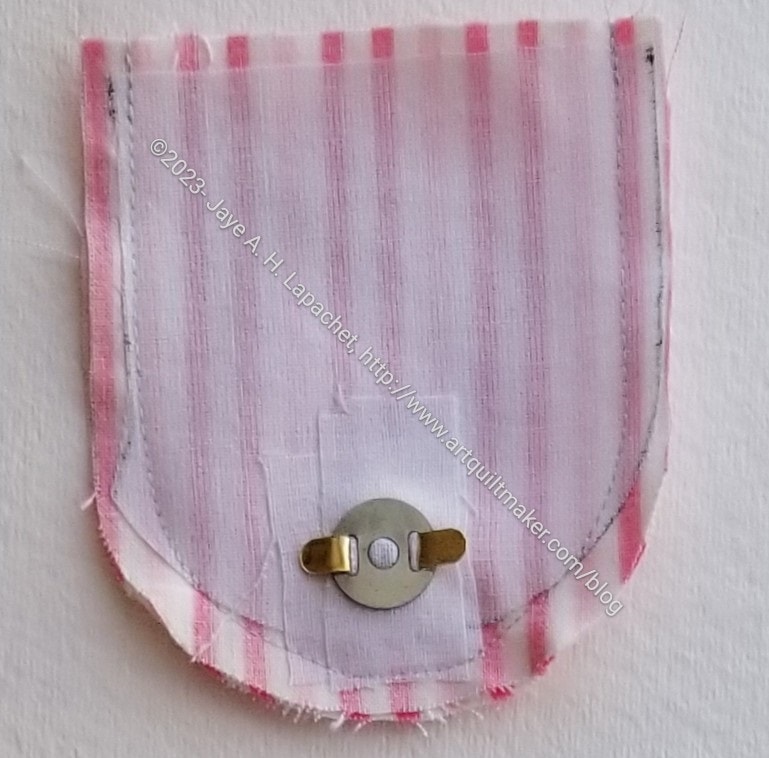
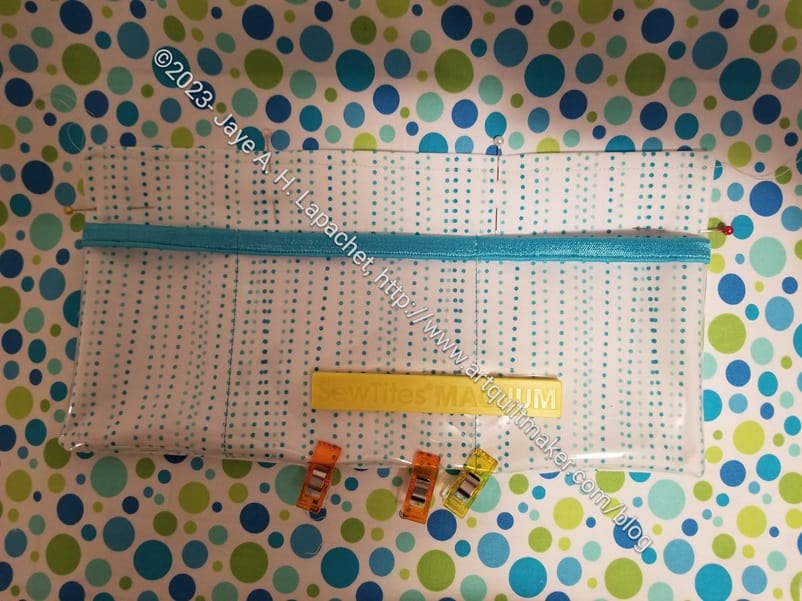
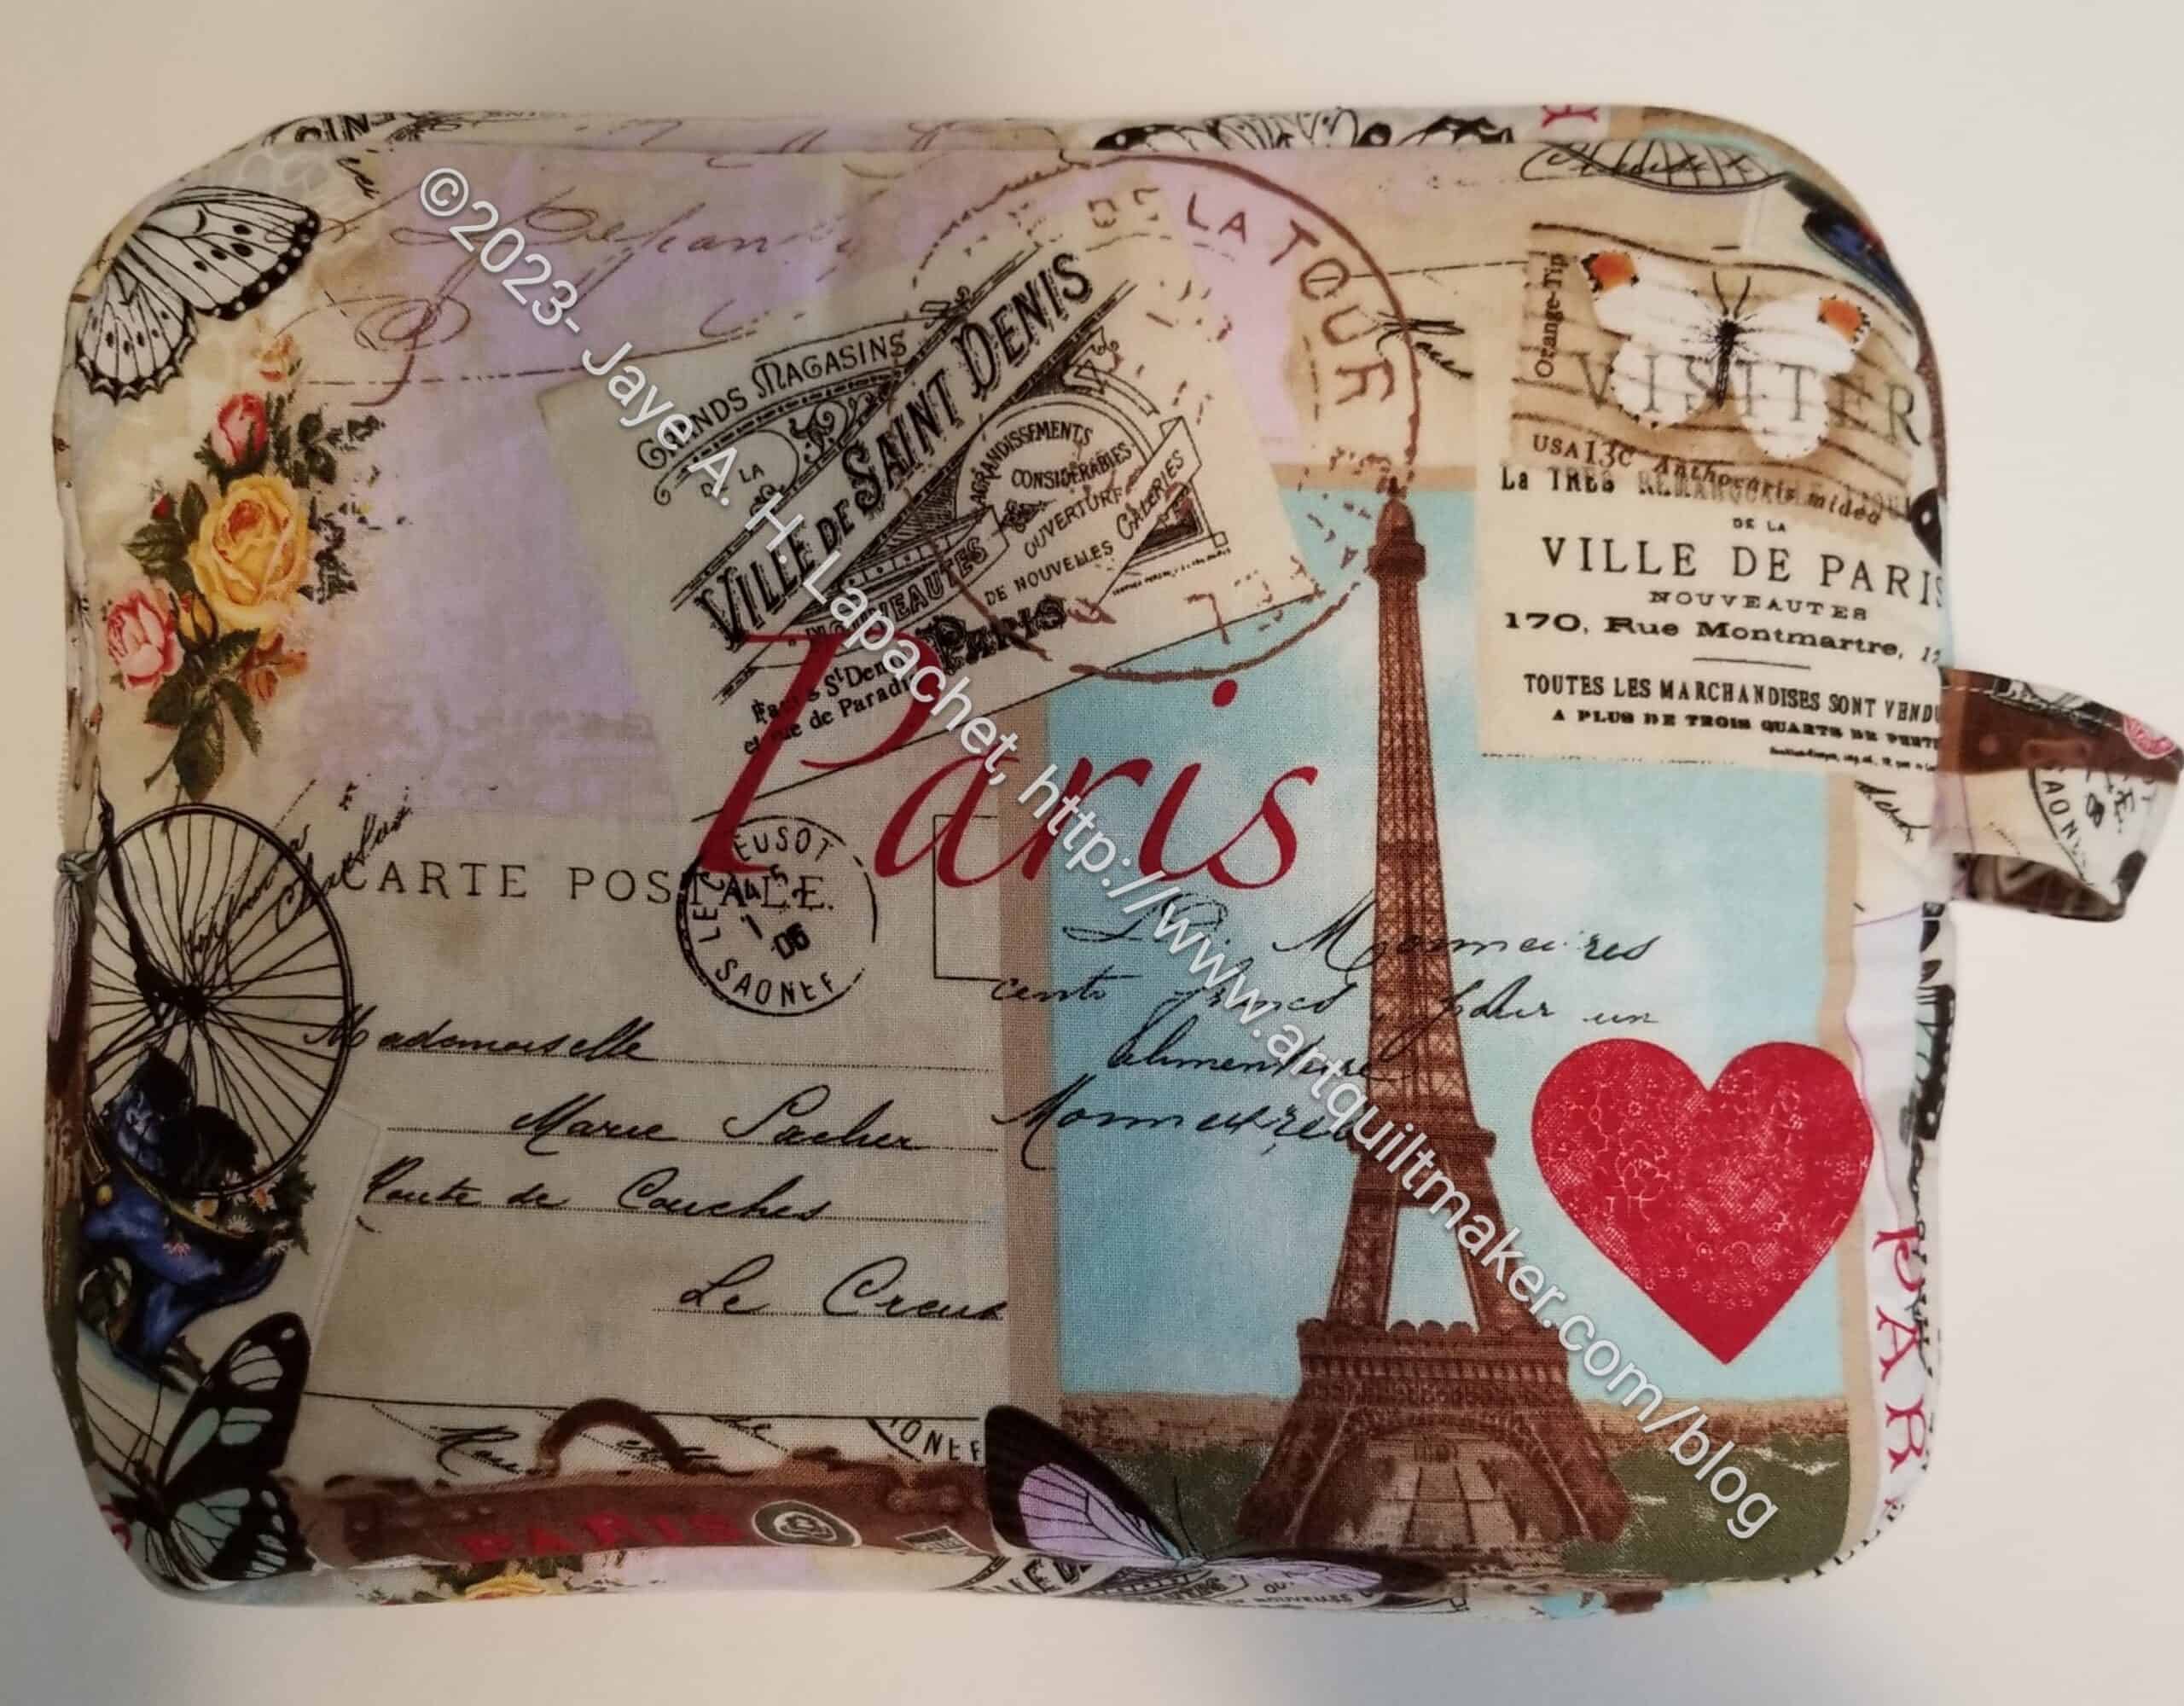
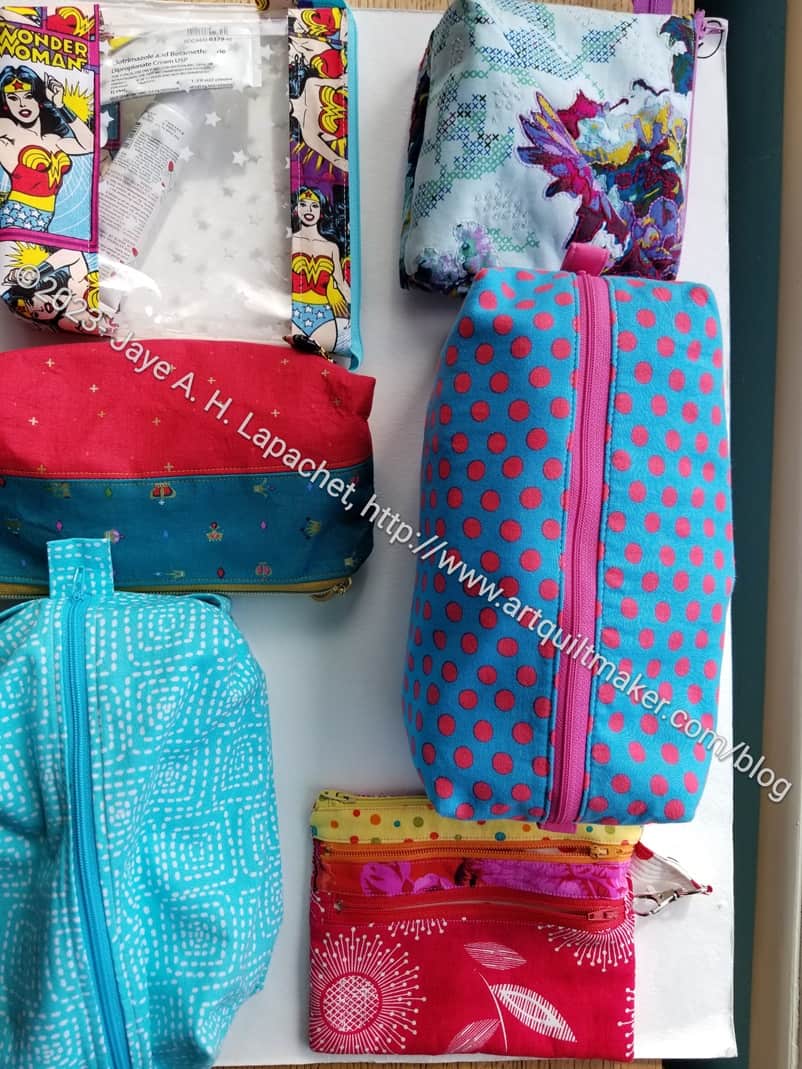
I continued to work on the 2-in-1 Case (#4) and have decided that making at least two of each bag is the best way to go. This one is so much easier than the others. Still, I am taking my time.

2-in-1 Case #4 - zipper stop
2-in-1 Case #4 – zipper stop

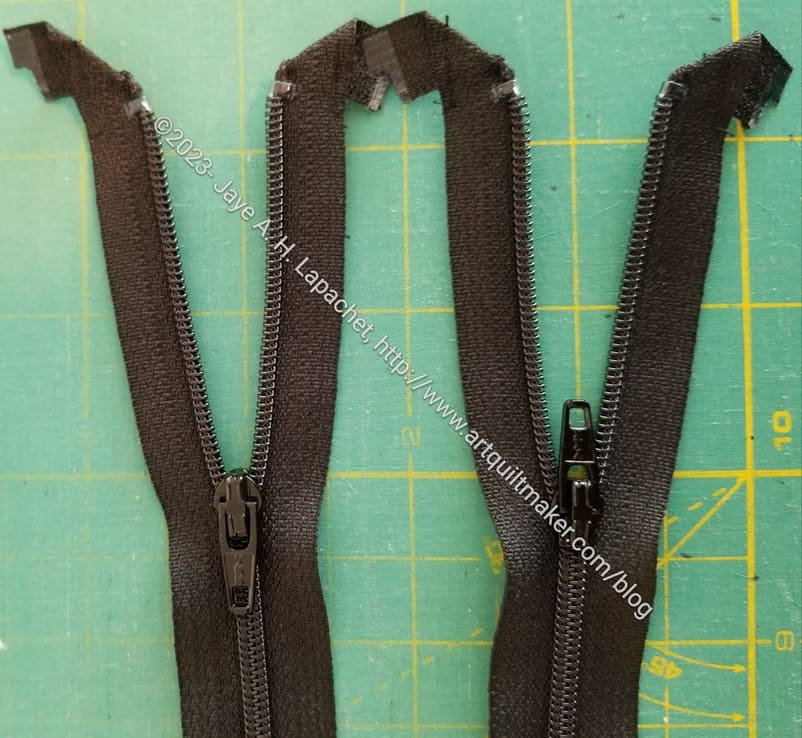
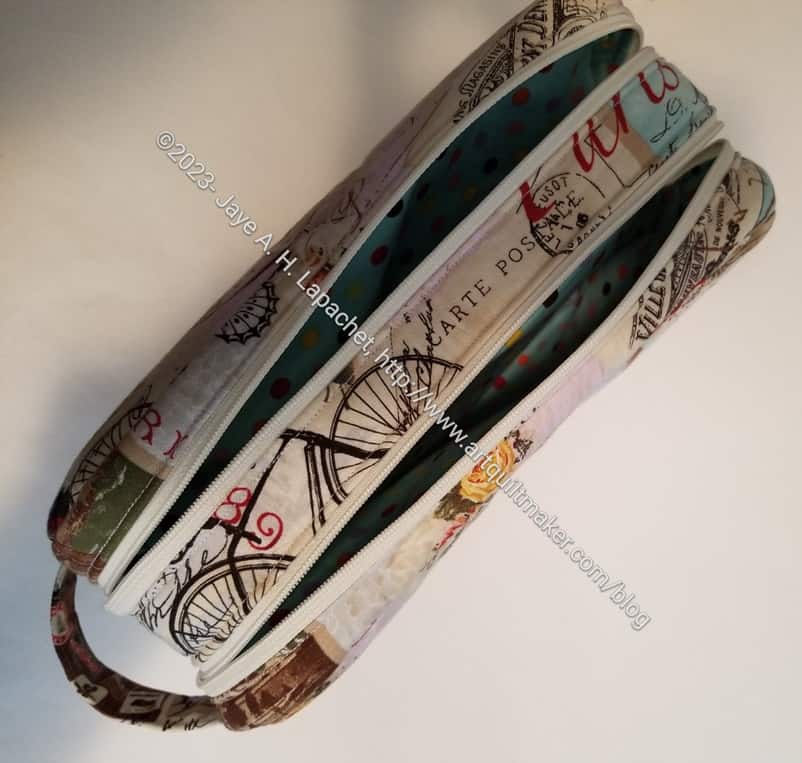
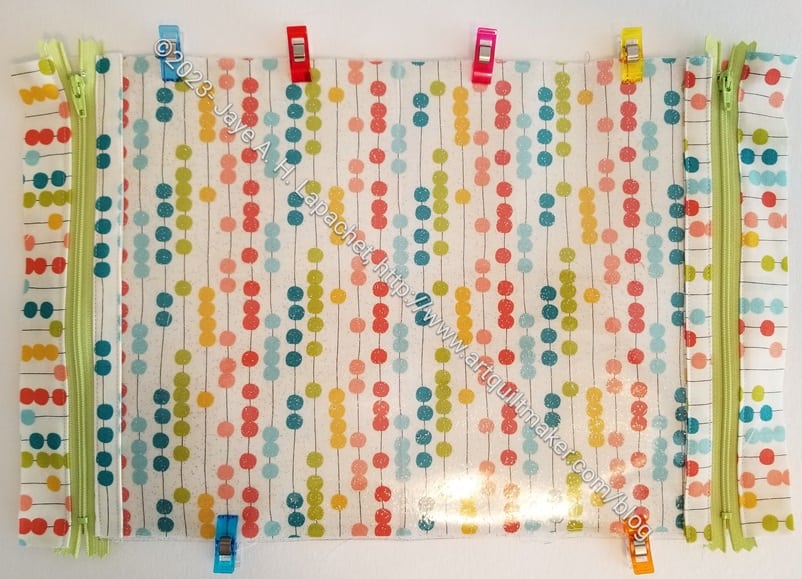
I forgot that I thought I should use a longer zipper than the one the pattern calls for and broke a needle.

The pattern calls for 8″ zippers. Inevitably one or other of the stops gets in the way and I break a needle. ERGH!! I wrote myself a note to use a 10″ zipper or continuous zipper tape. It doesn’t matter if the stops get cut off as the binding acts like a stop anyway.

2-in-1 Case #4 interior

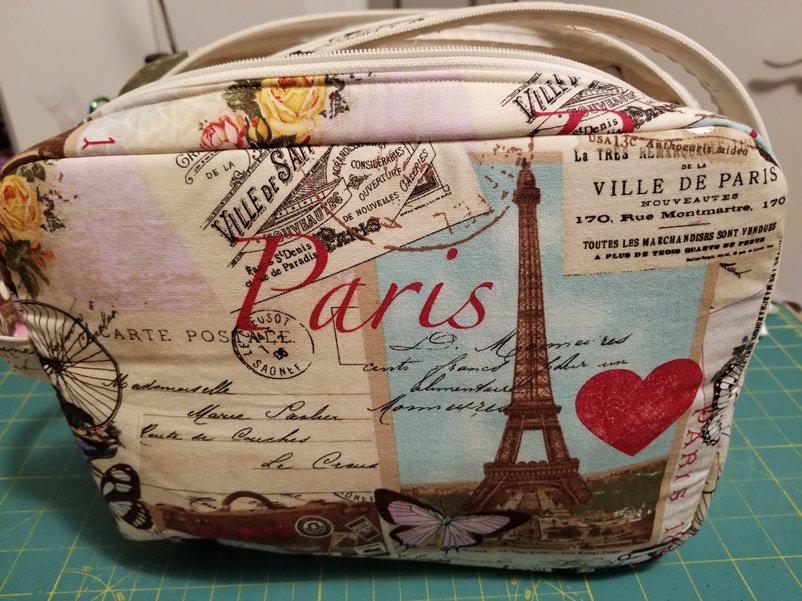
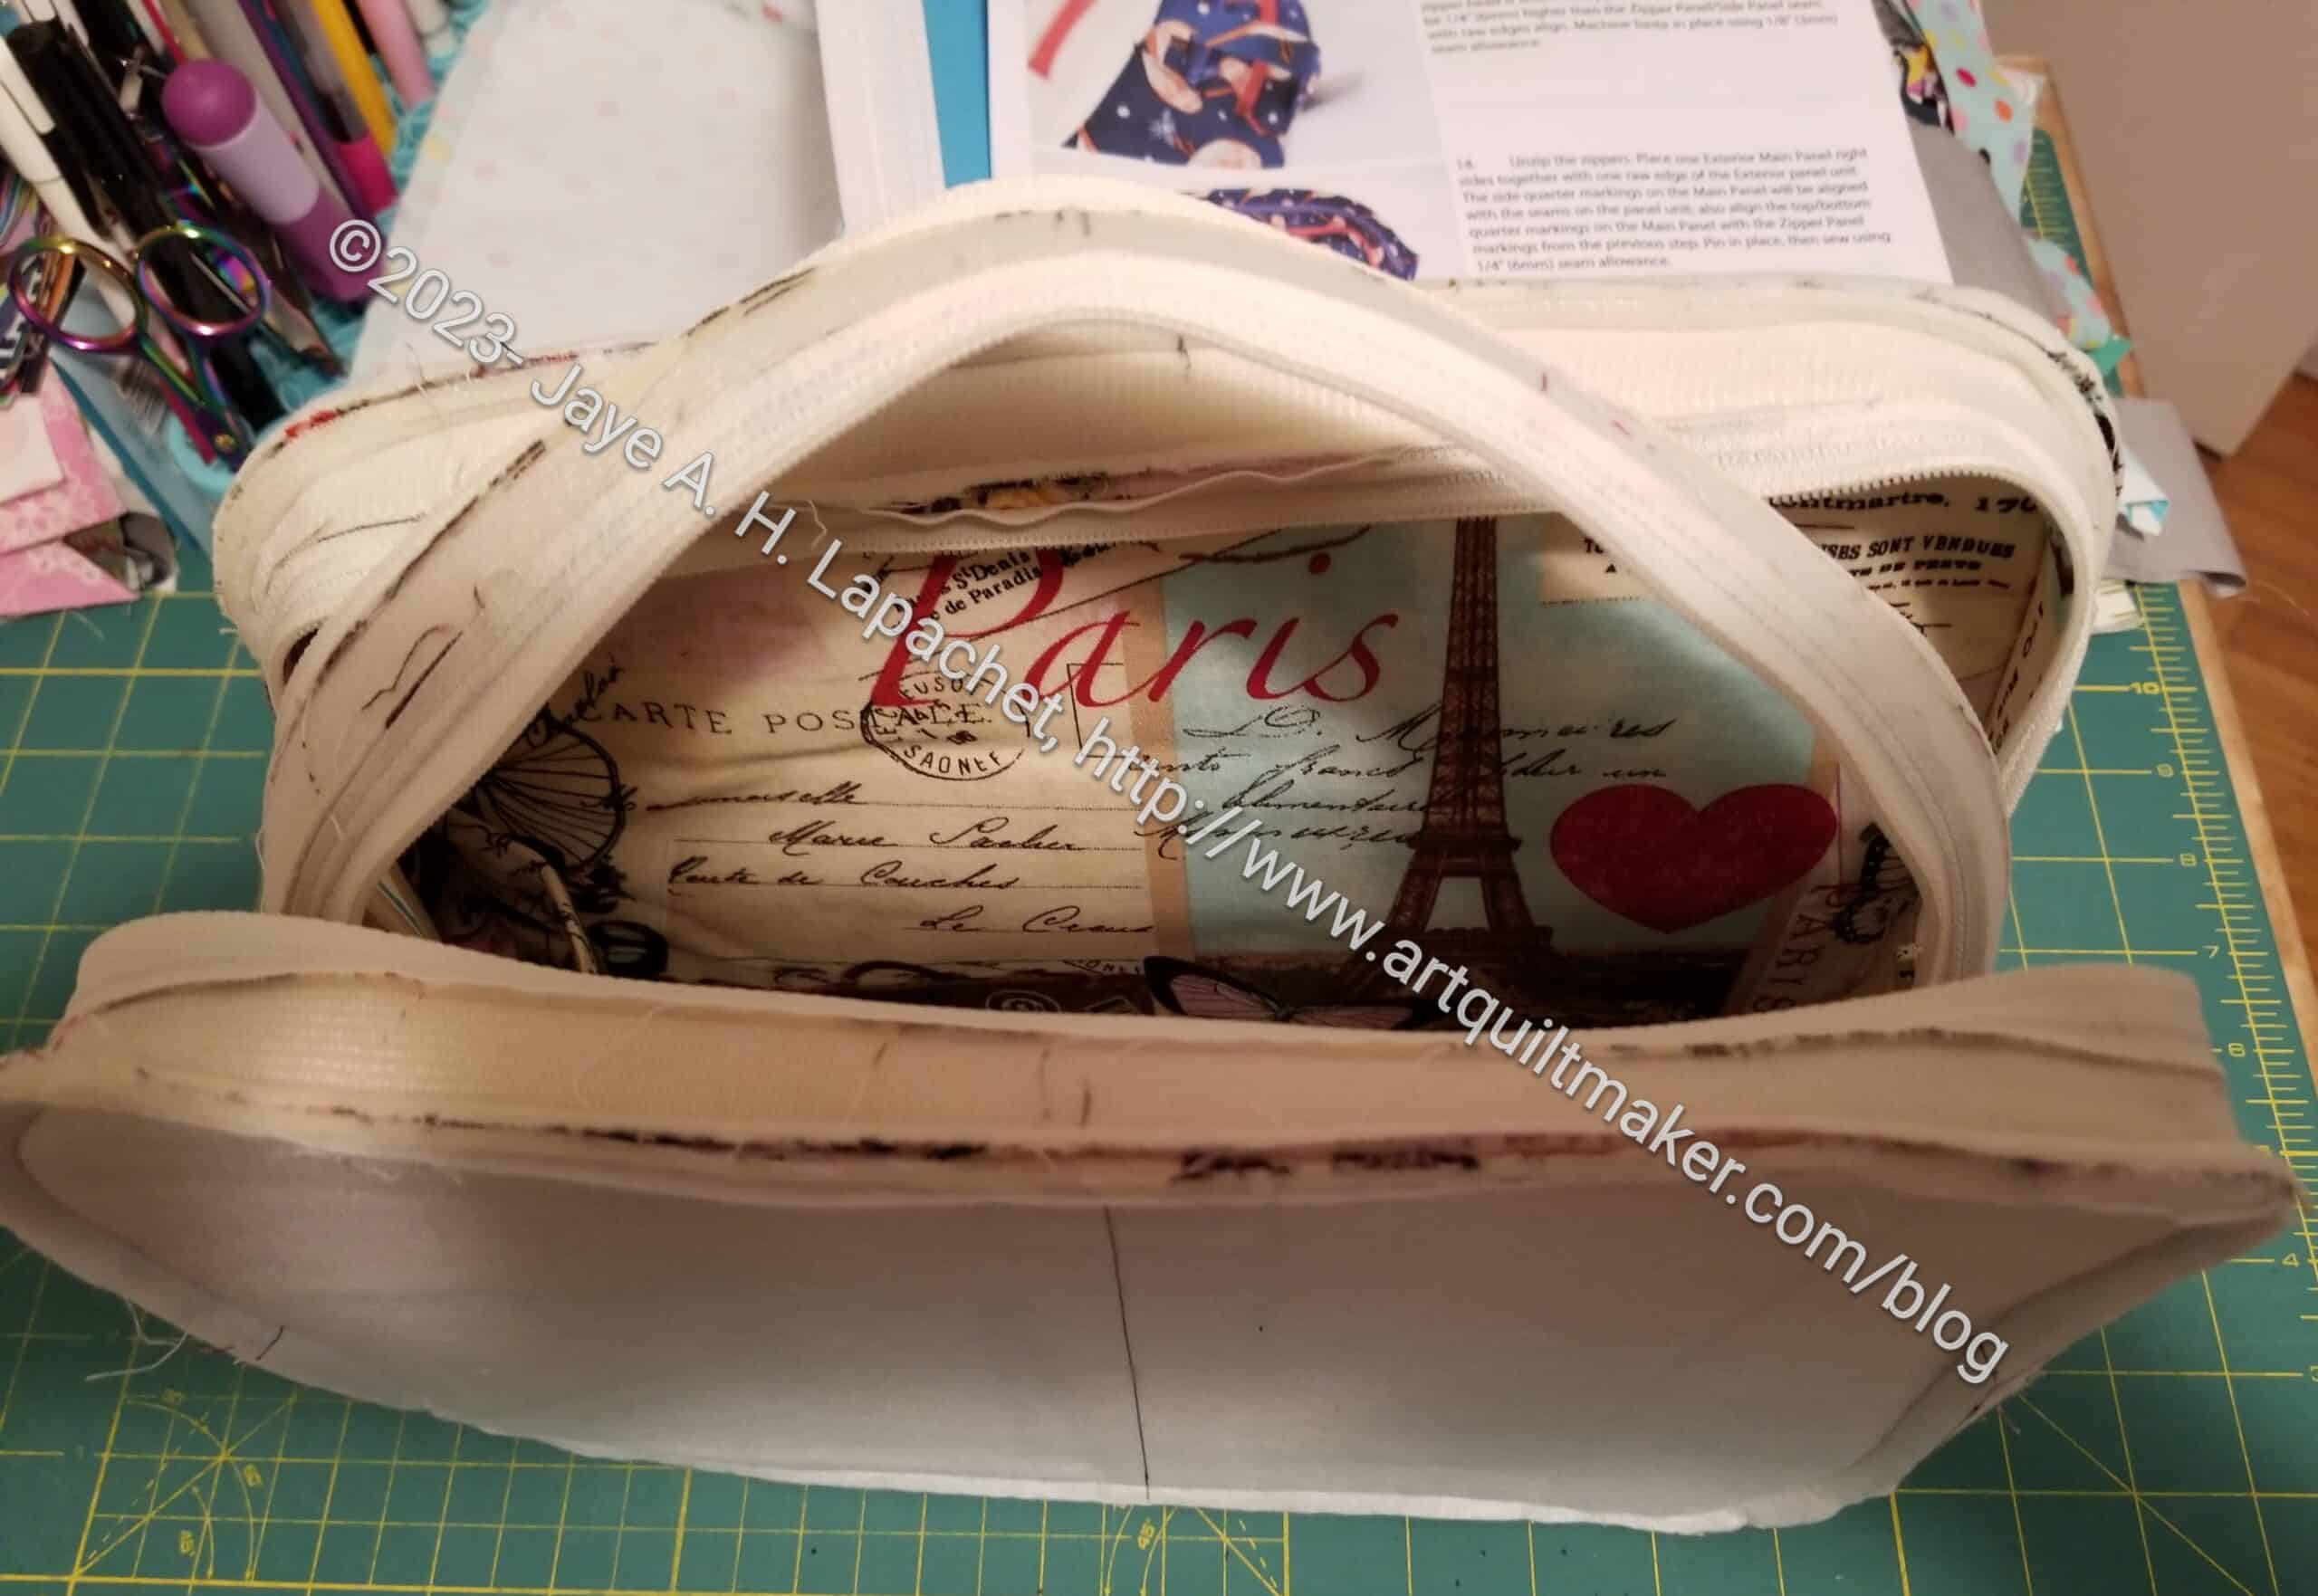
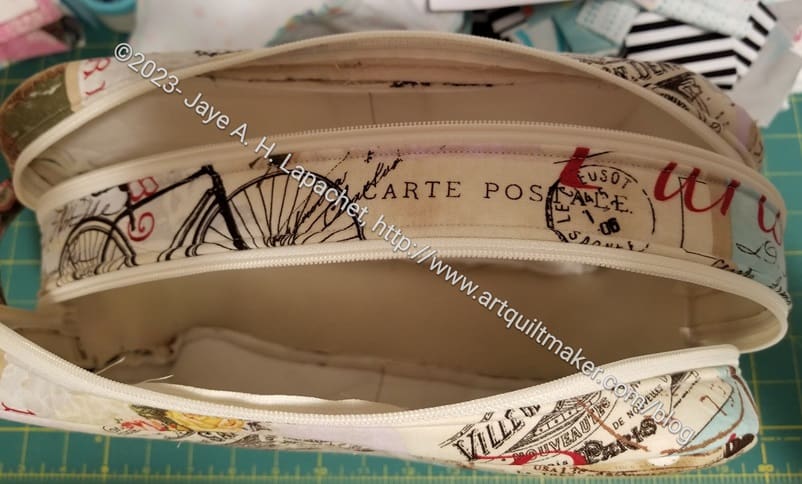
Besides breaking a needle, the case is coming together.

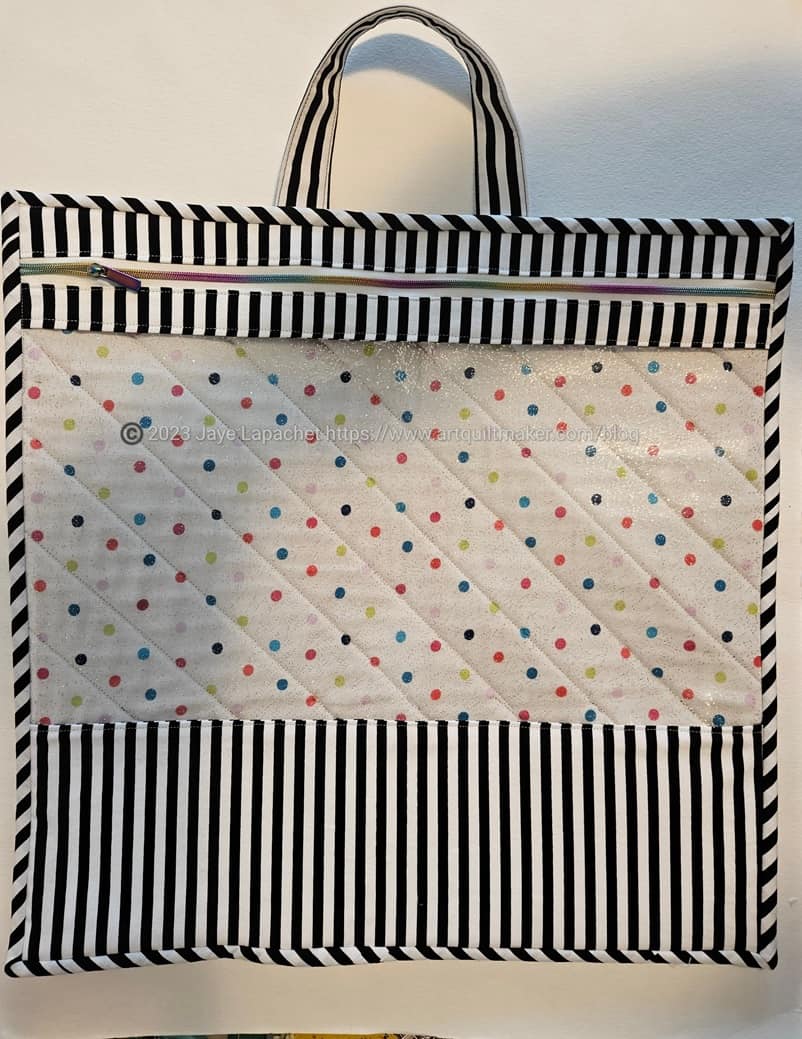
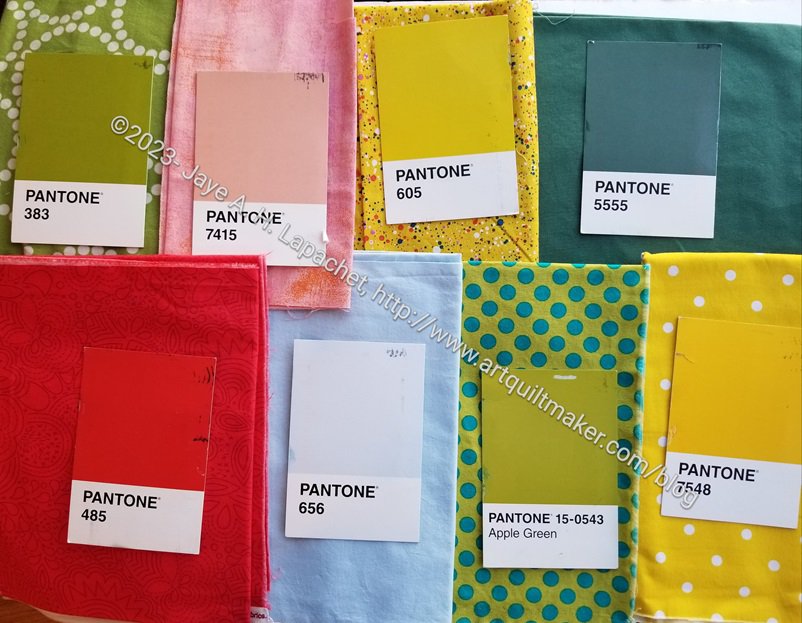
I changed zipper colors right before I sewed them to the vinyl. The ones I chose match the light green in the fabric pretty well. I was going to use a brighter green, but like these better.

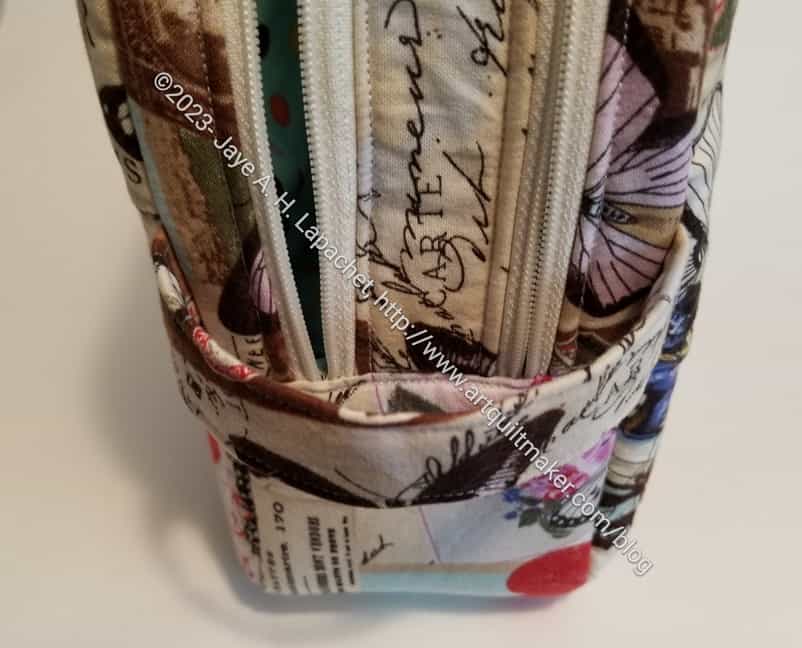
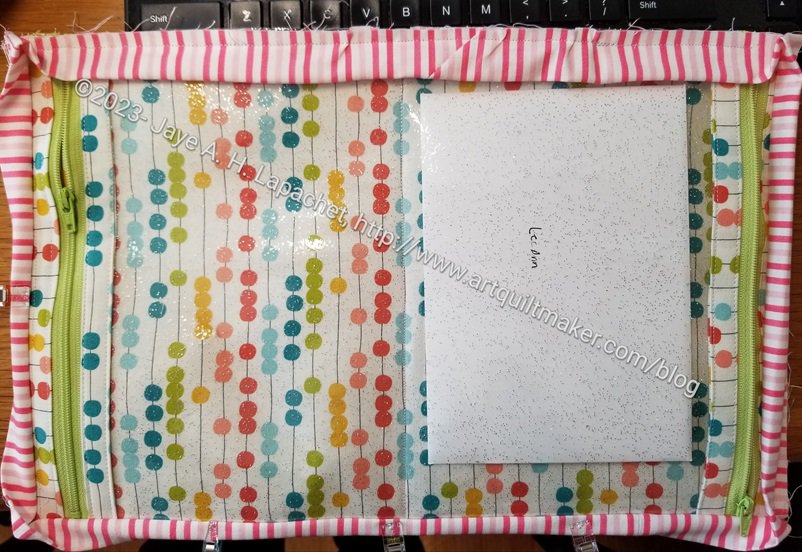
I followed the seam allowance directions, but the section with the vinyl and the zippers was still too big. I could have ripped it out and done one part over, but decided just to center the section with the vinyl and cut off the extra. Maybe lame, but it will look fine.

2-in-1 Case #4 with binding

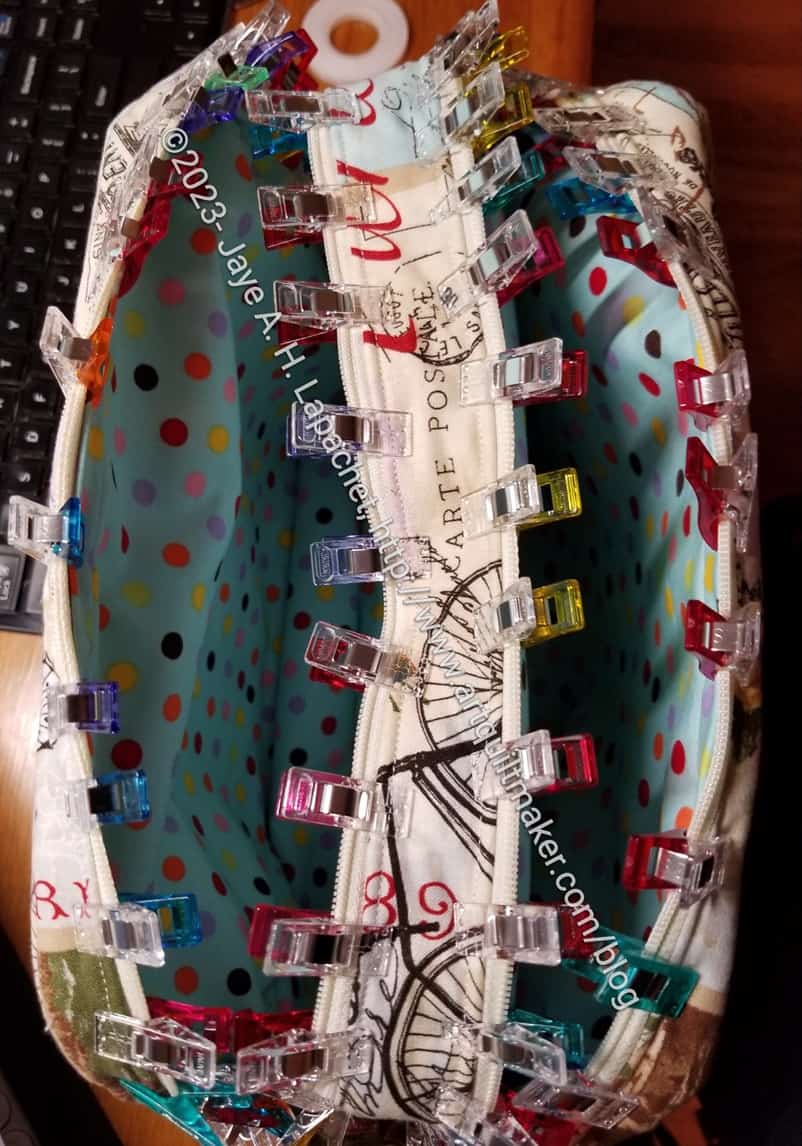
The binding is on and I will hand sew it to the back.

Almost there!

Finished: My Jumbo Project Bag

My Jumbo Project Bag

I was able to finish my Project Bag while I listened to a presentation at work the other day. You might think I was cheating on work, but I find that if I do some handwork, I can pay better attention to the presentation.

I was going to make Mom another one for Christmas, but decided on something else and made this one for myself with some of the fabric Colleen quilted for me. It is already in use for the EPPic bag pieces I cut out at Sew Day some time ago.

A New 2-in-1 Case

2-in-1 Case interior

I decided that 2-in-1 Cases would be great to use for the gifts going to the guild officers. I am, once again, in charge of organizing that effort. I think it is important to thank the officers, but I seem to be one of the few who wants to organize the effort. Sue and Carrie are helping, which is great. they are sensible friends who offer excellent advice.

2-in-1 Case #3 size test
2-in-1 Case #4 size test

In the past I have made large bags and then had people make small gifts to fill the bags. I didn’t have time for that this year, so I am gathering cash and gift cards. I needed something to hold cards and gifts and the 2-in-1 cases are the thing. They are useful for sewing supplies, but also the right size for cards and gift cards. I am gathering quite a hoard, so I hope they are large enough.

This strategy also means I do not have to cajole people into making large bags or small gift items. I was prepared to make all of these 2-in-1 cases, but a few people volunteered. I was very grateful for the others efforts. I am making one, as you see.

I had to take a break for some seam ripping on the Kit Supply Tote and do some handwork on the other bags I worked on over the weekend. That meant I was able to start sewing this bag. I cut it out at Sew Day earlier this month. It is going together much more quickly than the first ones.

2-in-1 Case #4 magnetic snap

One of the things I did was try a magnetic snap, which is recommended in the pattern. These are different than the other snaps, installed with a Snap Setter, that I used before.

Except for being quite large, I think the magnetic snap came out pretty well. The instructions in the book for installing it were a little vague, but I used some pliers to bend the arms of the snap down. That worked for me.


La Pass Border Again

La Pass border side
La Pass border side

I finally dragged La Pass out again and started working on the side of the border I talked about before. I haven’t worked on it lately because I was gone, then the cleaners were coming, and [ add in a bunch of other excuses ]. I meant to work on it last weekend, but only had one day to do my own projects at home and just didn’t get to it. I regretted it and determined to, at least, baste a few pieces during the immediate past weekend. I made good progress and followed up with some basting during Craft Night.

La Pass Border again

The section, left, is about halfway down the side. I plan to add in that purple dot star point so it sticks into the border a little. I like that rosette with the orange striped diamonds and think it will look good finished.

I am going back and forth with combining pieces and adding a lot of single pieces. It should have been obvious, but I am finding that a weirdly shaped piece is harder to baste than single pieces and the mess ends up looking weird in the end. I am back to combining some shapes, but not as many as I thought I would.

Thinking about Zippers

As mentioned, I am making another Kit Supply Tote. For some reason, I am thinking a lot about this bag. Sometimes, making the pattern a second time gives me new insights.

Over the weekend, I worked on the zippers in addition to the pockets.

The bag requires one separating zipper. I am getting more experience with them after the UCAB and my own Kit Supply Tote.

Zipper tape at 90 degrees

Some designers have makers fold back the zipper tape at a 90 degree angle. I have always found this problematic. Over the weekend, looking at the pattern, I realized that I didn’t have to totally secure the piece so it would never come out. I only had to secure it enough to keep it in place until I sewed the zipper in. I sewed a few stitches just where the open edge of the 90 degree folded piece. I had no problems with the zipper tape sticking under the presser foot and developing a thread blob.  

What a revelation!

Now, I just need to install them into the bag.

Thinking about Pockets

I am working on another Kit Supply Tote. As an aside, having a model to look at as I make the pattern again makes the second one much easier.

In this case, I worked on the pockets on Saturday night. I modified the pockets in the pattern, because I thought I could add more pockets. I prepared the modified pockets some time ago, but just started to sew them over the weekend.

Kit Supply Tote pocket modification

My pockets have the pockets from the pattern on the bottom (white fabric with blue lines of dots) and another vinyl pocket (top of vinyl has blue double fold elastic) layered on top. I thought this was a great idea until I started to sew it. I had to fold the vinyl under to make a seam, which makes the whole piece really thick. It worked, but it wasn’t ideal. I had to rip out one section at the bottom, because I didn’t quite catch the vinyl. After that I was very careful about catching the vinyl.

I could always add an internal zipper pocket, but I think these slip pockets are more useful. I think this idea has potential; I just have to work on it a little more.

N. B. In the photo, I am using Sew Tites**, pins** and WonderClips** to hold the pocket in place. The pins cannot be used on vinyl. I know I have mentioned this before, but it is always useful to hear it again. Vinyl doesn’t self heal, so WonderClips and Sew Tites are a must when you work with vinyl. That Sew Tite Magnum** was great! I use the pins linked above because they work better for me with bags. The super thin pins that some quiltmakers love bend when used with the layers required for bagmaking.


**N. B. : Obviously, you should shop at local quilt shops and small businesses. However, if you are too busy or can’t find what you need there, I use Amazon affiliate links and may be paid for your purchase of an item when you click on an item’s link in my post. There is no additional cost to you for clicking or purchasing items I recommend. I appreciate your clicks and purchases as it helps support this blog.

Finished: Disco Double Zip Pouch

Disco Double Zip Pouch - finished
Disco Double Zip Pouch – finished

I finished the Disco Double Zip Pouch, so I have another gift, not wrapped but, otherwise, ready for the holidays. It’s a nice firm pouch so my fix for the Frankenfoam worked well.

The pouch itself is quite large and with the extra Decor Bond, it is not very squishable. It would fit well into a Chubby Charmer to organize all the things someone needs to take somewhere.

Disco Double Zip Pouch - top
Disco Double Zip Pouch – top

If I were to make this pouch again, I might add some interior zipper pockets. I am not sure how useful they would be, but there is enough space and I think you can never have too many pockets. It would also be good to add some pen holders. As the pattern is written, you just toss things into the pouch. It would fit my Leuchtturm notebook, but then what? I just don’t know how I would use this pouch.

Disco Double Zip Pouch - handle
Disco Double Zip Pouch – handle

The handle is very useful, I think. One of the reasons I added a handle to the Hackney was that it made the bag more usable. I am glad the pattern included a handle for this pouch. The weird thing is that the zippers are behind the handle. I might add some zipper pulls.

This pouch is great if you want to fussy cut some special fabric, or use an embroidery design. The large size has a great space for a specific motif. Frankly, I am not sure how I would use this pouch, but I am glad I made it.

Finally! Starting the Ultimate Project Bag

Ultimate Project Bag pieces

I spent some time at the November Sew Day cutting out this bag. I am kind of shocked at how little there is to cut out.

These are just the fabric pieces. I have interfaced some of them with SF101, but not all. I need to cut out the foam and do some quilting (sad face), but I am kind of excited to get this far…..finally after YEARS. This club was in 2018. Apparently cutting this out made me so excited that I want to push aside some of my other projects and get this done! I need to control myself, or do a little and then get back to making gifts.

The black and white fabric is intended to be the exterior. I bought it at Sew Creative in Ashland the first time I visited with Mary M. It is a cotton-linen blend and kind of thick. It isn’t quite canvas, but it is tending that way. I always intended to make bags from it. I just haven’t gotten around to it until now. I also have the same fabric in grey.

The interior fabric was used a thousand years ago on one of the first bags that I made. I think it is a reproduction of a 1940s print. It shreds like crazy, so I think it must be a Moda, but I love the design.

More Disco Double Zip Pouch

Disco Double Zip in process

I made good progress on the disco Double Zip Pouch. This is an image of the pouch with the exterior completed.

Disco Double zip from top


The next step was to install the lining. I had to put the lining together. The instructions said to use washaway tape** to attach the lining to the inside of the exterior. I added the clips** to keep all the parts of the lining in place.

Now I have to sew it.

In general, I thought this was a pretty easy pouch to make. The drop-in lining is not a favorite, but I am determined to succeed.


**N. B. : Obviously, you should shop at local quilt shops and small businesses. However, if you are too busy or can’t find what you need there, I use Amazon affiliate links and may be paid for your purchase of an item when you click on an item’s link in my post. There is no additional cost to you for clicking or purchasing items I recommend. I appreciate your clicks and purchases as it helps support this blog.

More Pantone Project

Before I started working on the Disco Double Zip Pouch last Sunday,  I decided I needed to select some fabrics for The Pantone Project. I felt like I had about 20 cards, but I could only find 8.

I think I brought down at least 20 fabric boxes, which is always the thing that keeps me from picking out fabrics as the postcards arrive. It always ends up being fun, however and I seem to have a hard time remembering that. I always find fabrics that I remember buying, but had forgotten about.

Pantone Project fabric selections - Oct 2023
Pantone Project fabric selections – Oct 2023

I was only able to choose the fabrics. I didn’t have a chance to make the blocks yet. I might be able to make them before the next Sew Day.

I am only a little sure about the Apple Green. The background is perfect, but I don’t know what the blue dots do to the overall effect.


Continuing the Disco Double Zip Pouch

The Disco Double Zip Pouch is from Minikins Season 2. Yes, hooray, I am working on it. Last time we talked, I had everything cut out. Then I went on vacation for a week and didn’t work on it. When I returned, I started sewing this project.

I think I decided to make the large size, because what I have is rather large. I have no idea what I chose. It is, at least larger than I expected. This pattern seems very similar to the Bello Pouch, though with double zips

Disco Double Zip inside out

It is kind of amazing. It went together very quickly. I thought it would be complicated, but the parts of the zipper that create the double zippers went together really easily. The center piece looks strange, kind of like a handle.

Disco Double Zip in process

There were some similarities to the Hackney. Specifically, making the gusset was similar to the Hackney. I am learning that making a dozen (??) Hackneys really upped my skills. I am not sure why that one pattern helped me so much.

On to the lining!


Traveling with Bags

As I was packing for my second trip in October, it occurred to me that I should show you the pouches I use when I travel. all the pouches that I made ARE useful. However, of the bags I use for travel, I only made one of them. ;0

Pouches for travel
Pouches for travel

I use various pouches instead of one big bag as I can designate them for various purposes. This also means I don’t have to have a large bag in a, possibly, small bathroom.

The Wonder Woman pouch (top left) is one I use for tubes and bottles that don’t fit in my toilet kit. It was a birthday gift this year and made by Angela.

The pouch on the upper right is used for vitamins and various OTC medications. It was made by Gerre and has hand embroidery as well as a clever use of zippers. I keep for getting to ask her about the pattern.

The red and teal pouch is from Amanda and was another birthday gift. It is perfect for various cords and my headphones. Yes, I made an charger case a long time ago. I did a great job on that case, but it was too big. When I went to Switzerland and Austria in April, I needed the space in my suitcase.

The turquoise stitch boxy bag is from TFQ and is probably the first pouch I ever used.

The pink and turquoise dotted bad has the most useful stuff in it: moleskin, scissors, post-its, tape, a power strip and all sorts of random things that I needed when I was attending conferences.

The Triple Zip pouch is what I use for jewelry. It isn’t great for jewelry, but it is okay. Until I find something different, it will have to do.

The whole point of this post is to show you how you can use different pouches and bags in daily life – or travel life.