Fish Hackney Done!

Fish Hackney - done - open
Fish Hackney – done – open

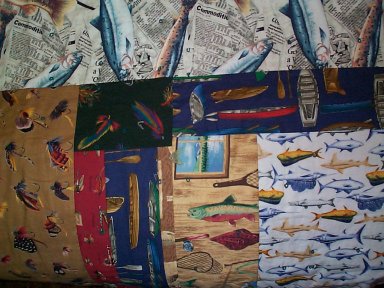
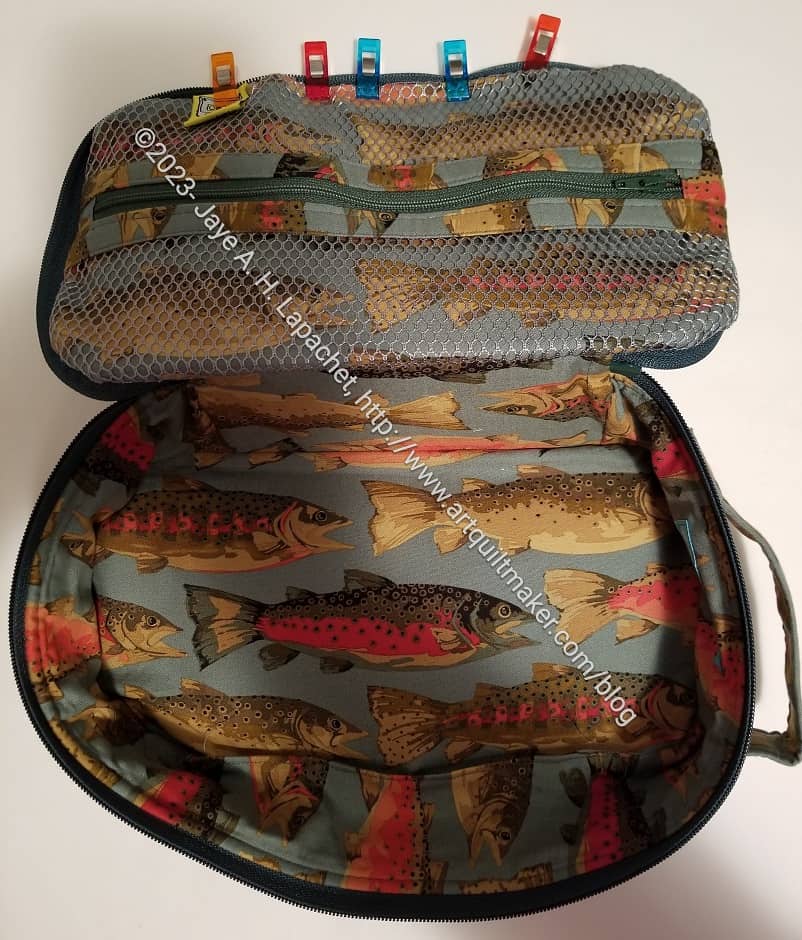
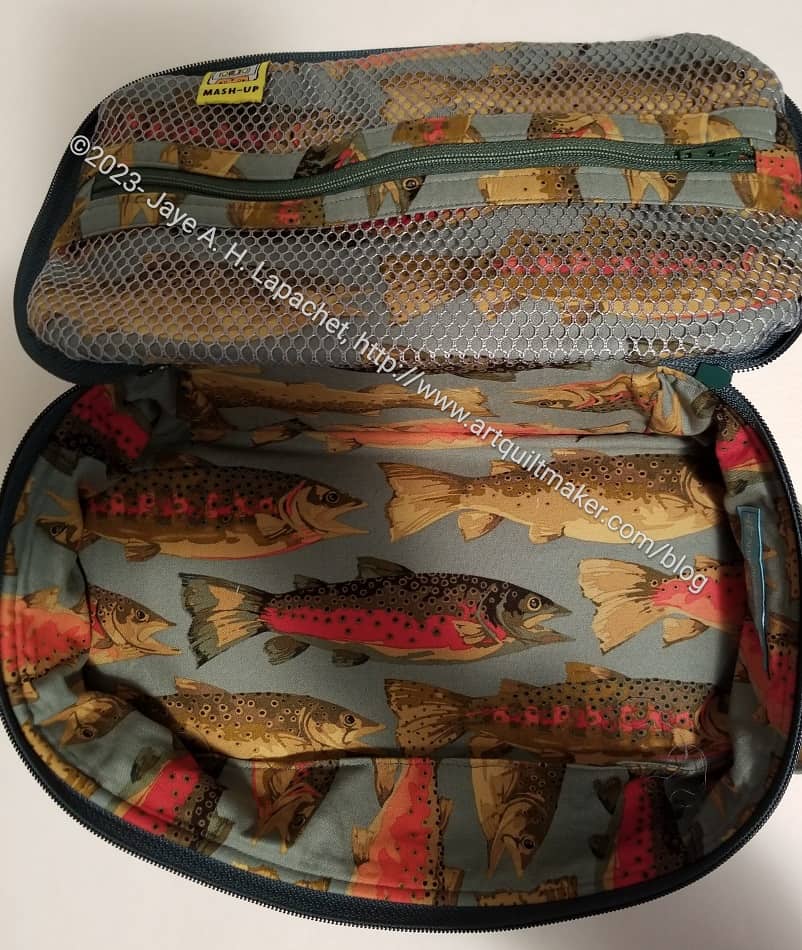
Hooray! The Fish Hackney is done. I am going to get a gift card and store it in my box of gifts. I can cross off one holiday gift requirement.

It looks pretty good. I am happy with it and hope my Dad will like it as well.

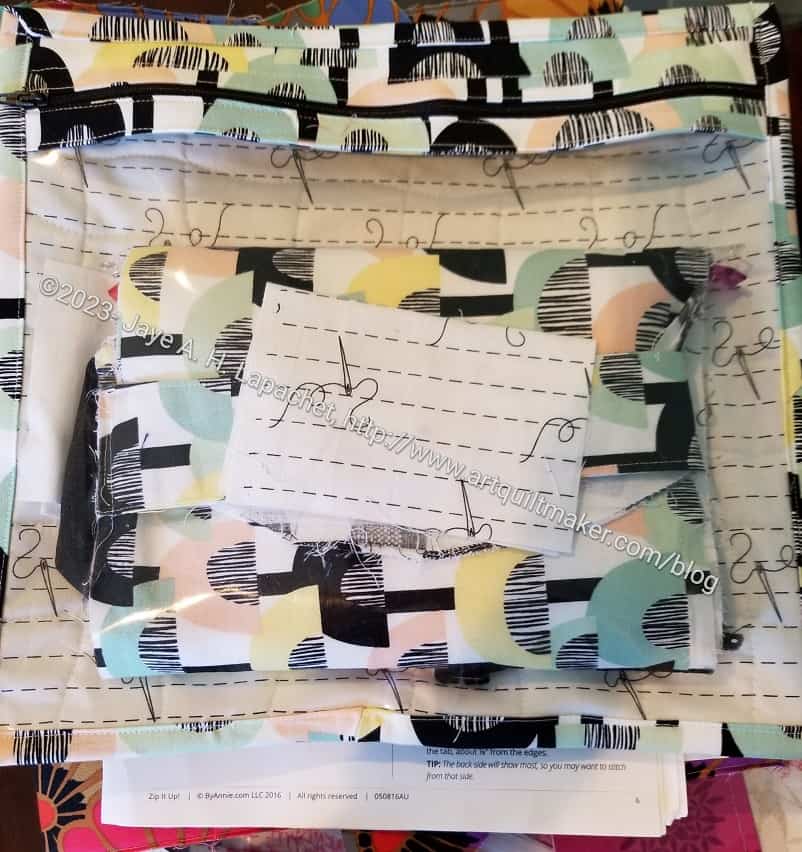
I think next time I will try a smaller vertical zipper for the mesh pocket. I think it might be useful and there is something about the zipper in the center of the pocket that bugs me a little bit. I’ll have to adjust the size of the zipper binding (called Mesh binding in the pattern) to accommodate a different sized zipper.

Fish Hackney - done - top
Fish Hackney – done – top

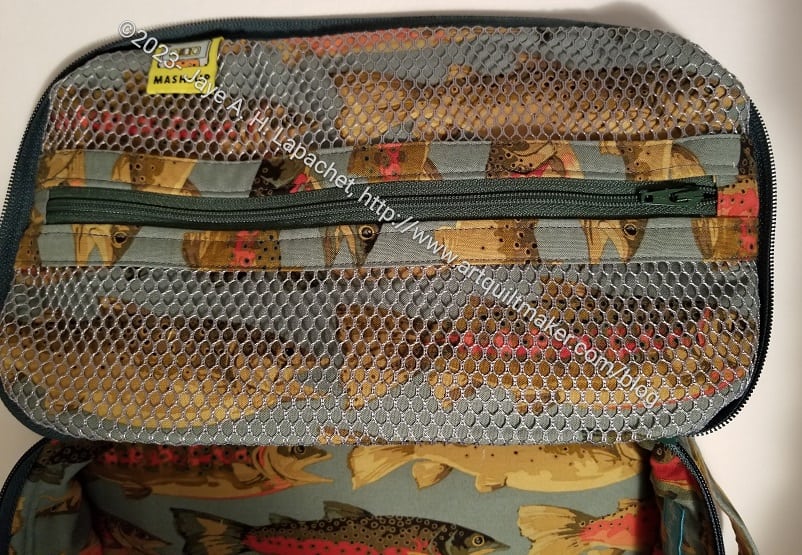
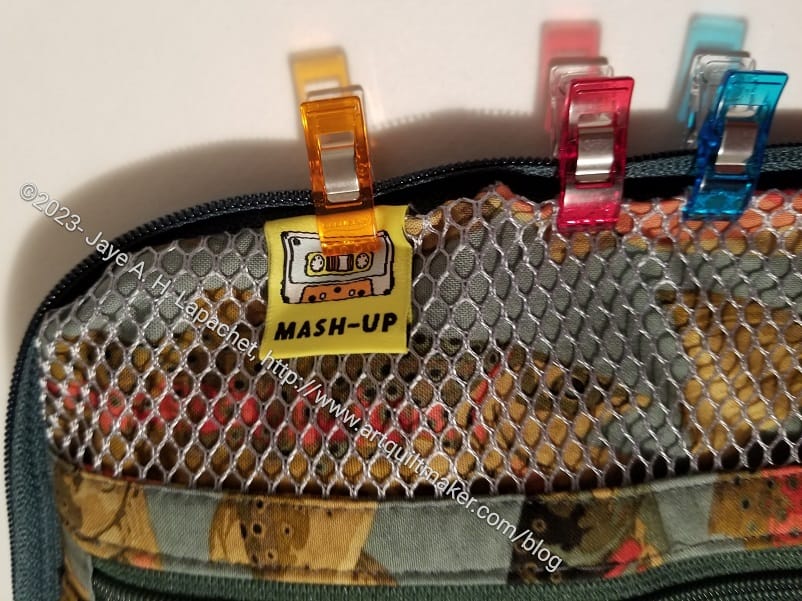
I was able to fix the label. I connected the bottom of the label to the mesh by sewing it carefully to bits of the mesh. I should have used yellow thread, but I didn’t.

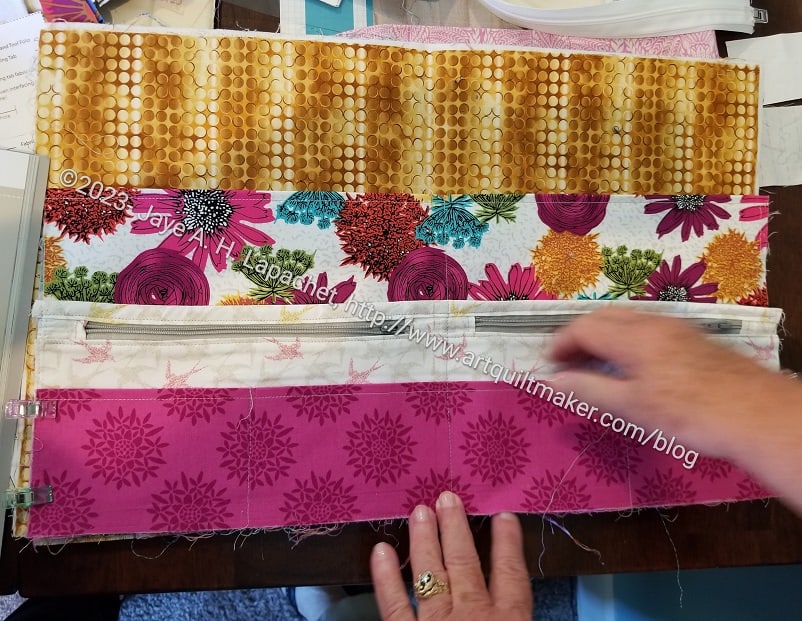
I’ll have to think about where to put non-artquiltmaker labels in the future. Middle bottom of the top? It would mean they were upside down, but might be an option.

Fish Hackney - done - handle
Fish Hackney – done – handle

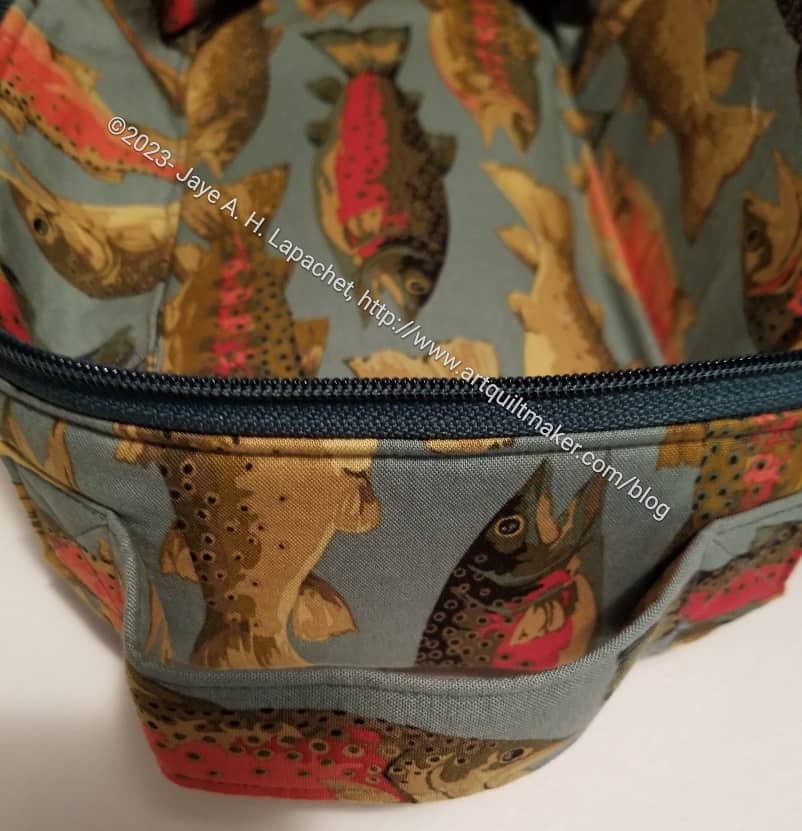
The handle looks good. I think I need to position them a little higher up in the future.

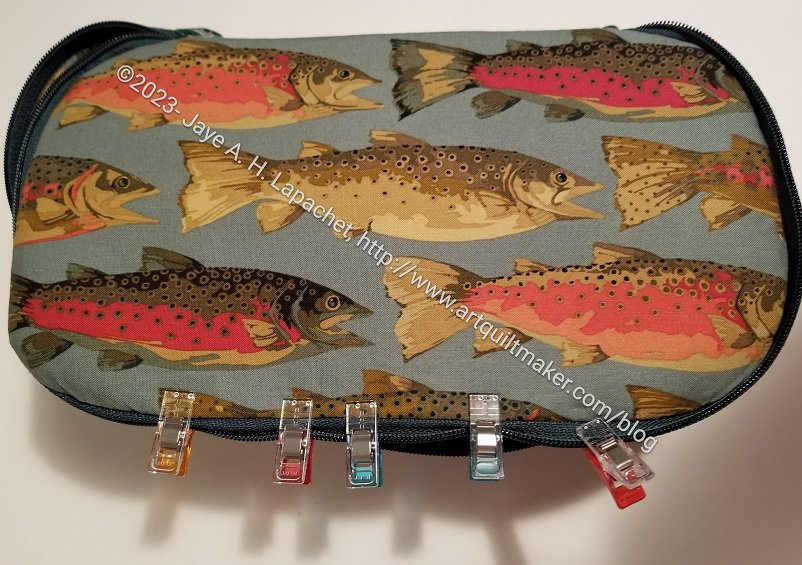
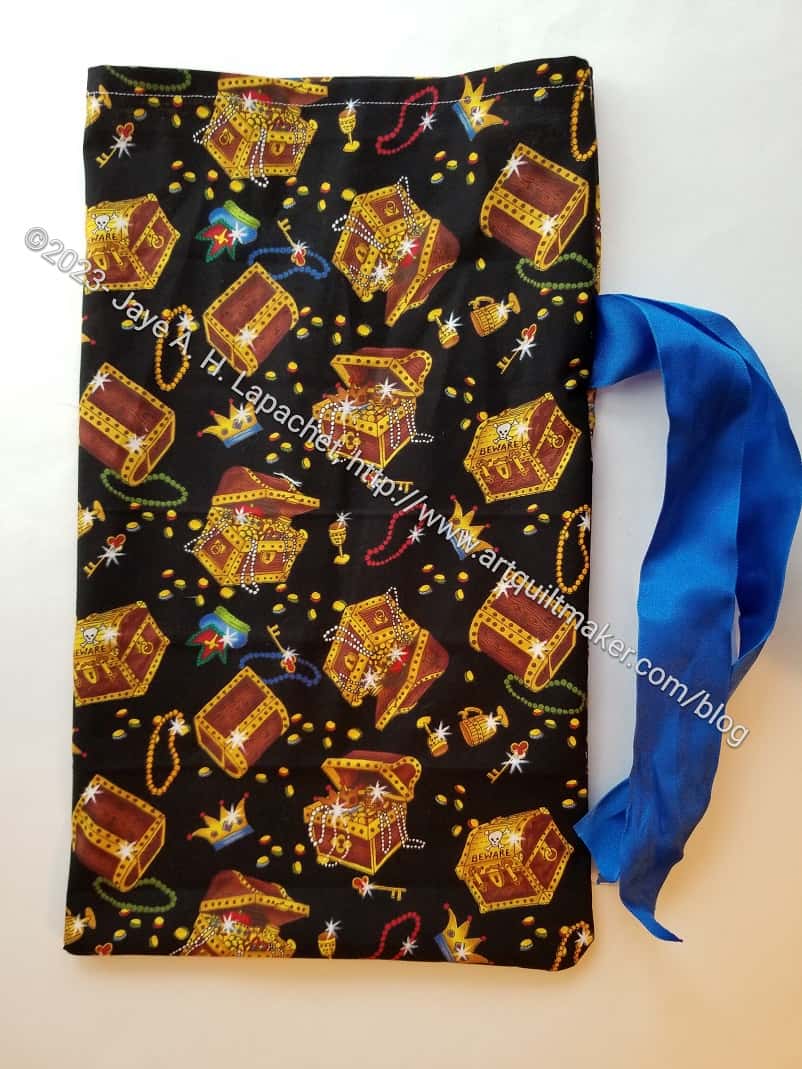
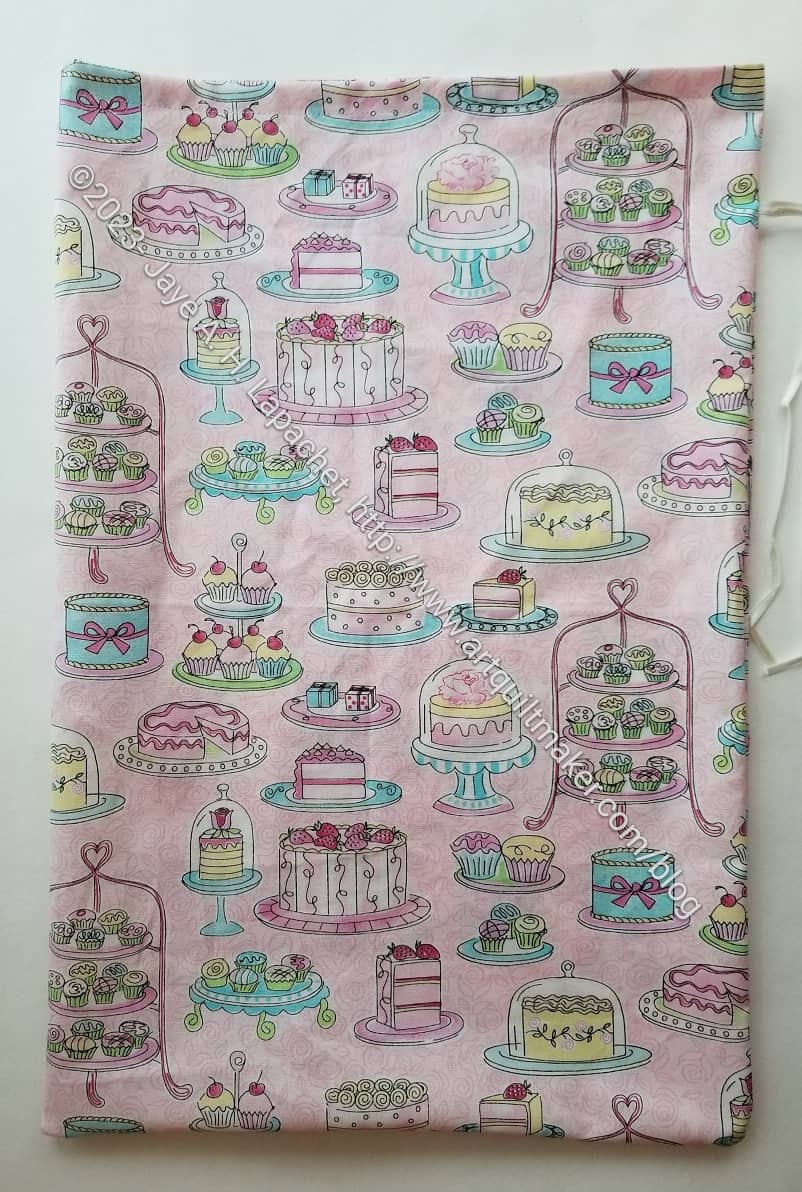
I know I will make at least one more of these bags, maybe two.

This one is done and I am super pleased.

Wood Tool Test Done

Turning tool finished

On my way home from Portland, we, again, stopped at our friends in Ashland. In addition to visiting, we were able to see how the turning tool came out. Mike did a great job. It isn’t exactly like my tool from Modern American Vintage (top), but I think it will be useful for Mary’s bagmaking. Like me when I am trying a new quiltmaking technique, Mike says he wants to try again. The tool didn’t come out exactly how he expected. As mentioned before, he isn’t going to compete with MAV, but making a couple to get it right seems reasonable.

Mary M’s Donation Quilt

Mary's donation quilt
Mary’s donation quilt

While I was visiting Mary, she finished piecing a donation quilt and then basted it. This quilt is in the same style as my Ends quilt series, which thrilled me.

The fabrics are from Me and My Sister Designs. I don’t know how old they are, so it is possible you won’t be able to find the fabrics in shops. She picked them up at the guild meeting. This is such a cheerful quilt.


Review of Friday Fishwrap

Friday Fishwrap
Friday Fishwrap

My Dad has always  been a fisherman. He taught me to fish. He still fishes whenever he can, which is often since he retired. I associate fish with him. Every time I see fish fabric, I think of my Dad.

This quilt is in my gallery, but I made it before I started this blog. I never wrote about it in the way I write about other quilts I have made.

Friday Fishwrap detail

Soonish after I bought my Janome MC 9000, in about 1997, I made a quilt for my Dad. I bought some novelty fabrics with fish on them and made a quilt using improv techniques.

One of the reasons I bought the Janome MC 9000 was so I could do machine quilting (shocking, I know). I did machine quilt this quilt. I used an eyelet stitch. That means, I sewed little circles all over the quilt. I chose this stitch, because straight quilting all over the was even too much at that time. I should have known machine quilting wasn’t for me. 🙂

I called this quilt Friday Fishwrap because of some of the fabric I found, which was fish on newsprint. It’s shown on the top of the fabric above.

Since making this quilt, I have made two sets of pillowcases for my Dad. I made the first set a few years ago, in 2015, when my Dad retired. The other set I made this year. They kind of go with the quilt.


Mary M’s Door Prizes

Mary and I talk about bags all the time, which is super fun. I was pleased and surprised to see that she was working on various projects for the guild Door Prize team.

Door prize in process

First, she is making a couple of bags from Aneela Hoey’s Stitched Sewing Organizers** book. I reviewed this book a few years ago. I also made the 2-in-1 Case from the book.

She wanted to change some of the fabrics after she already started the Fold-up Sewing Folio, so that project is in a bag like the I Spy pouch waiting for another day. I am not sure of the designer or the name for the I Spy-like pouch. This will be a set.

Book and Tool Folio in process

She is also working on the Book and Tool Folio. I love the fabric she chose for this pouch. I think Mary’s choice of the flower fabric paired with some tone-on-tones. It is a great combination of fabric.

I feel like I should try the Book and Tool Folio now. Mary is fearless when it comes to making bags. She just tries and works through the challenges. I am impressed and inspired.


Thread and Bobbins Storage

Thread storage
Thread storage

I have never liked storing thread on the wall, but I saw this positive aspect to storing thread on the wall. I know this is an extreme close-up, but the wooden part is a wooden wall mounted storage rack**.  The  storage rack in the link is not the exact one shown in the photo. The one in the photo is just an example.  There is thread on it and a bobbin minder** holding bobbins.

I love the bobbin minder idea! It is really a great way to store bobbins so they stay with your thread. Then when you take the thread to do, you can take the bobbins on their minder and go to class or retreat.


**N. B. : Obviously, you should shop at local quilt shops and small businesses. However, if you are too busy or can’t find what you need there, I use Amazon affiliate links and may be paid for your purchase of an item when you click on an item’s link in my post. There is no additional cost to you for clicking or purchasing items I recommend. I appreciate your clicks and purchases as it helps support this blog.

Fish Hackney Almost Done

Fish Hackney in process (open)

I am finally nearing completion of the Fish Hackney! Hooray!

It isn’t that it is difficult. It is that I have been working on other projects and, also, as usual, haven’t had time. Good thing I started early.

I am pretty happy with the fussy cutting. I lined up some of the fish in the center of the top and bottom, which looks good. I made one mistake and put the back panel in upside down. Oh well. My dad loves fish so I think he will like it regardless.

Fish Hackney - inside top detail
Fish Hackney – inside top detail

I remembered to put on all the labels, but the label I put in the top inside is in a terrible location. It flaps up and gets caught in the zipper and I am going to have to do something about it. What was I thinking?

Fish Hackney - in process - closed
Fish Hackney – in process – closed

As you can see, I only have to close up the gaps. I’ll take a break from La Pass and get it done.

Sewing on another Machine

Mary's Crescendo
Mary’s Crescendo

I took some materials for a couple of ByAnnie project bags with me to sew while I was visiting Mary. I don’t often travel with my machine when I got to Portland, because I don’t want to bring any more stuff than I already am. Mary was kind enough to let me use her Crescendo.

I wasn’t excited about using a different machine and a different brand. It can be hard to create different habits or not use the habits to which I have become accustomed.

Using the laser
Using the laser

I was amazed at how easy the machine quilting was on Mary’s machine. As I mentioned before, I used the button to move the presser foot up and down and I used the automatic cutter. While the pieces I was quilting were not large, they seemed to go really quickly. No drama, no problem. Actually, I barely had to do anything. Yes, I had to guide the fabric, but that was it. I used a light touch and it felt like the machine was doing everything. At one point I used the laser to guide the needle. I didn’t really need the laser since I was following the side of the foot, but it was fun to try it out.

Quilted lines in skulls

I didn’t worry about doing fancy machine quilting; I just did some straight lines and used a foot with an attachment that means about an inch from the previous line. You can see the white guide on the right in the photo above.

I am pleased with the way the quilting came out and am also pleased with the process in general. Now all I need to do is put the bags together.

Bag piece
Bag piece

La Pass Border Again

I am back from my trip to Portland. As usual, I went to get my mom away from home for a rest and to see my sister, the YM and some friends.

Unfortunately, La Pass is too big to bring with me on trips now. But I am working on it every spare moment I can. DH was gone for a week and I just left it laying on the living room floor and worked on it as I passed by.

La Pass Corner & Side

I decided, and I hope I can remember, that I would work on this side. I plan to fill in with pieces up to the tip of that green spike, then sew on a larger piece of background fabric.  I think most of this side will get cut off, but I still need to add some background pieces to straighten up the edges.

So far, I have only put the paper pieces down on the floor. I haven’t taken the time to tape them together and create larger sections from them. I need to do that soon as I can’t leave it on the floor forever, especially with DH home now.

Two Hackneys…Again

Two Hackneys for Mom

I know I showed these separately the other day, but I had to show you how they fit together. Aren’t they cute together?

As mentioned, I think the small one came out the wrong size, but I still think it is cute. I think it could be useful, too. It would fit very well into not a very large purse for … small items – makeup, sweets, toothbrush and toothpaste, etc.

Two Hackneys for Mom - interior
Two Hackneys for Mom – interior

The small one also fits inside the large one. I am not sure why a person would use it that way. It is an observation, however.