QuiltCon Homework #1

Weeks Ringle issued some homework in her lecture at QuiltCon and then posted it to her blog for the rest of us. In a recent Various & Sundry post, I briefly mentioned the QuiltCon homework. I glanced at it first and thought I would pass it on, which I did in that post.

Then I went back and looked at it further and thought it would be a good exercise. I thought I would print and paste the homework into my journal and maybe write something about each section and make myself a better quiltmaker.

I decided that I would do it here for all of you to read. Won’t you join me?
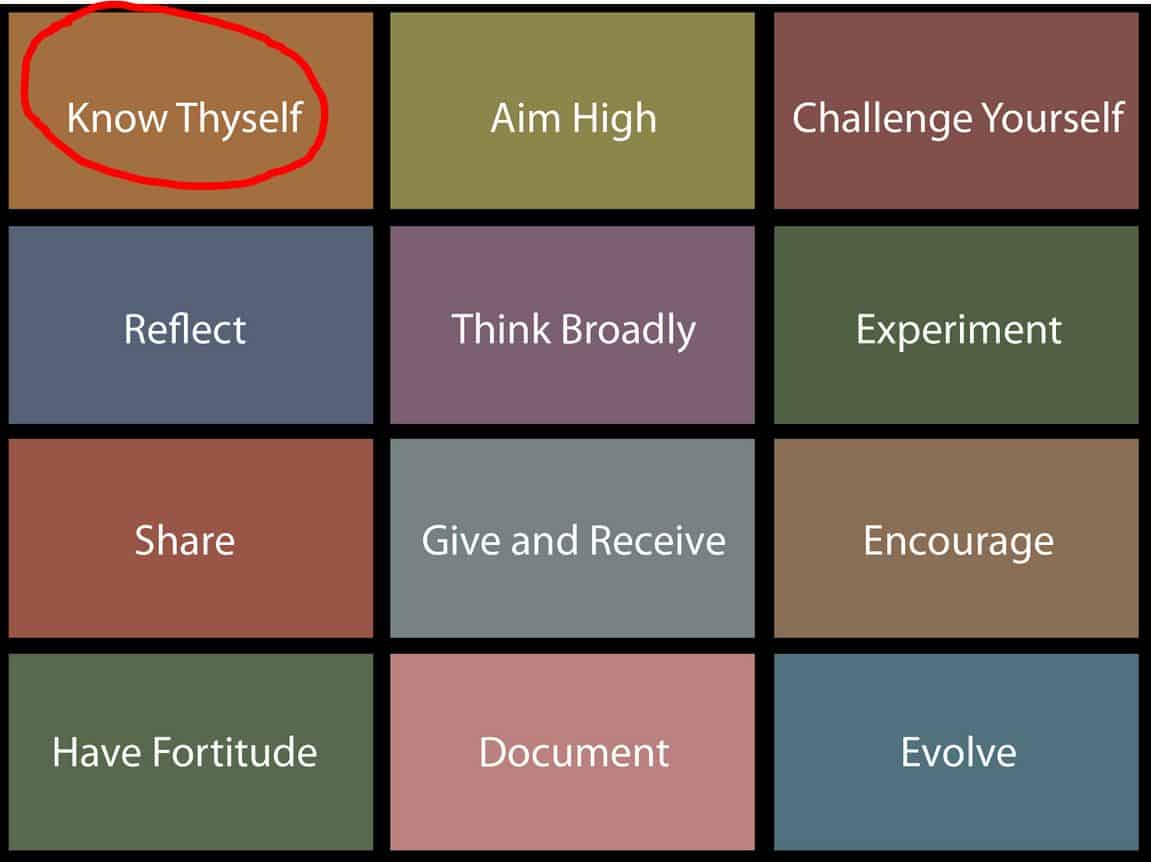
Quilt Con Homework #1
Weeks Ringle’s Quilt Con Homework #1

#1 is Know Thyself

Do you know yourself as a quiltmaker?

Weeks writes “Know thyself. Make a list of what you’re good at – use your strengths to develop your own techniques and your own pattern. Now make a list of things that you don’t know how to do – then figure out how to whittle away at this list to expand your skill set”

In order for me to make a list of what I am good at I first need to make a list of what I like and what is important to me about quiltmaking and relate it to myself.

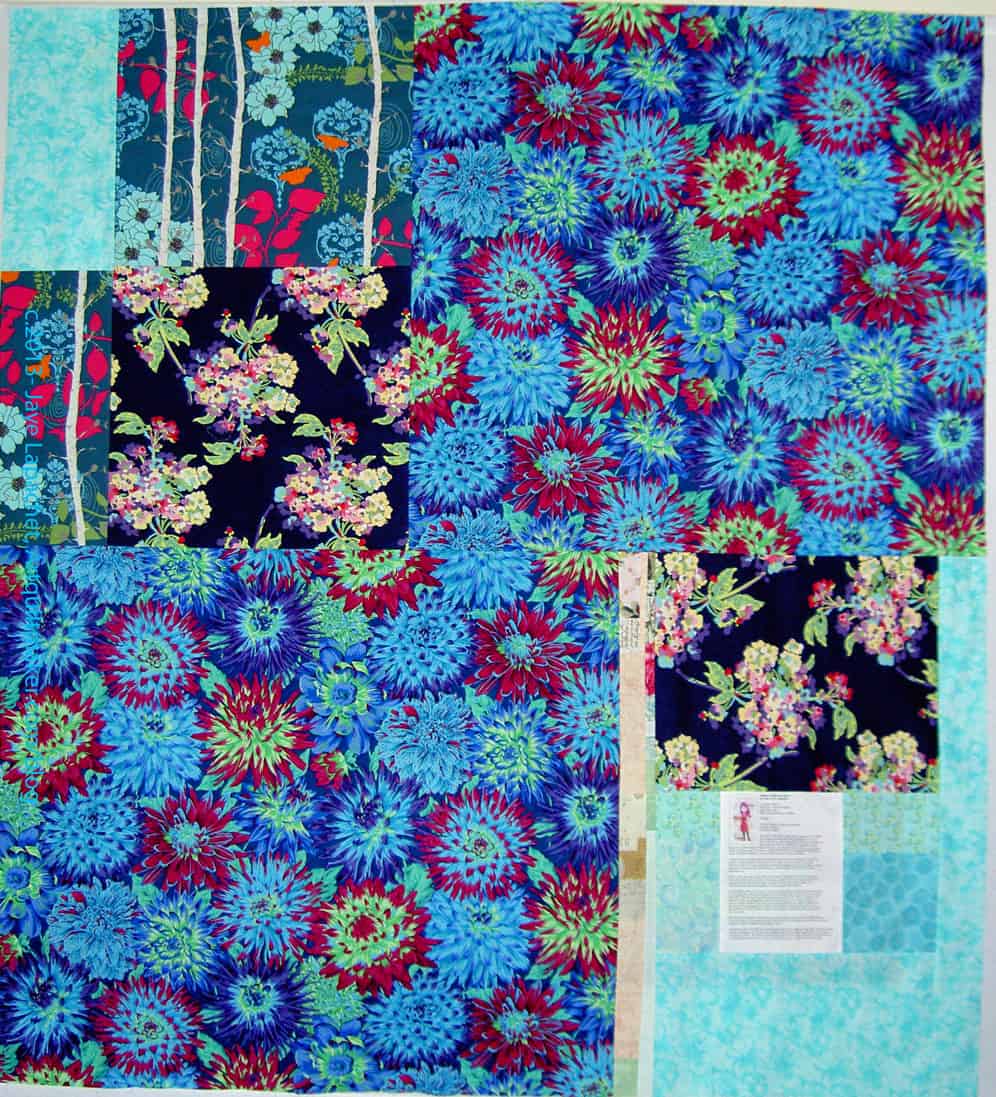
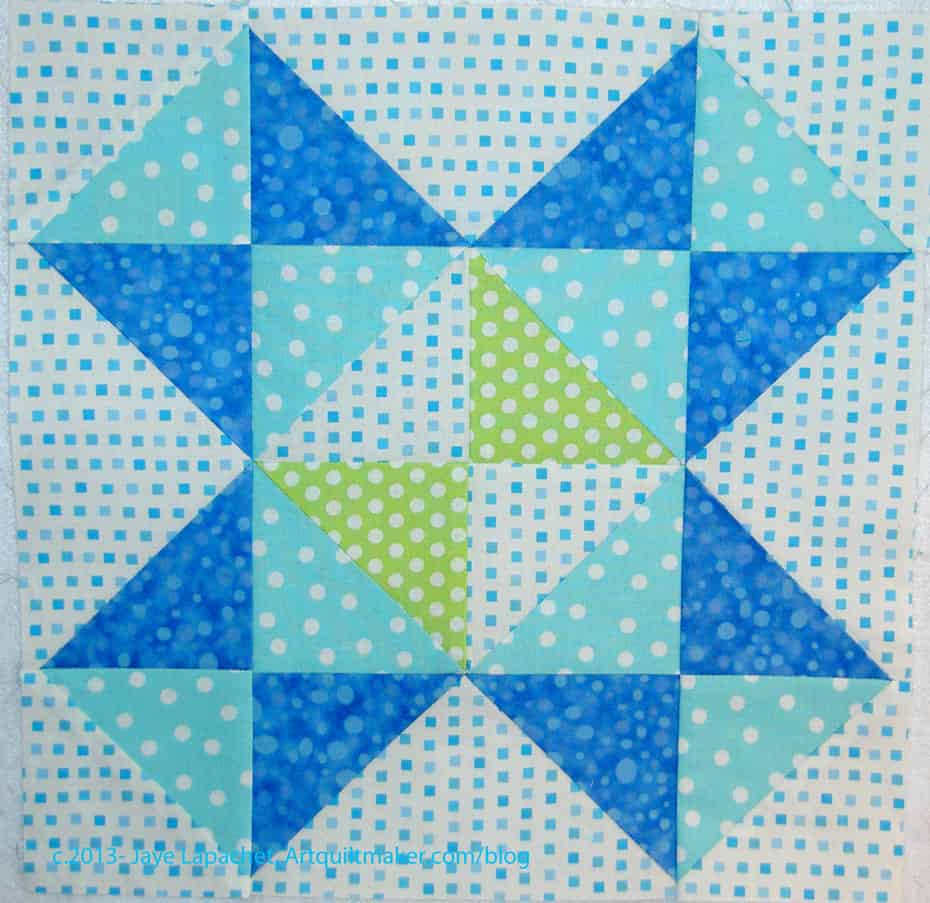
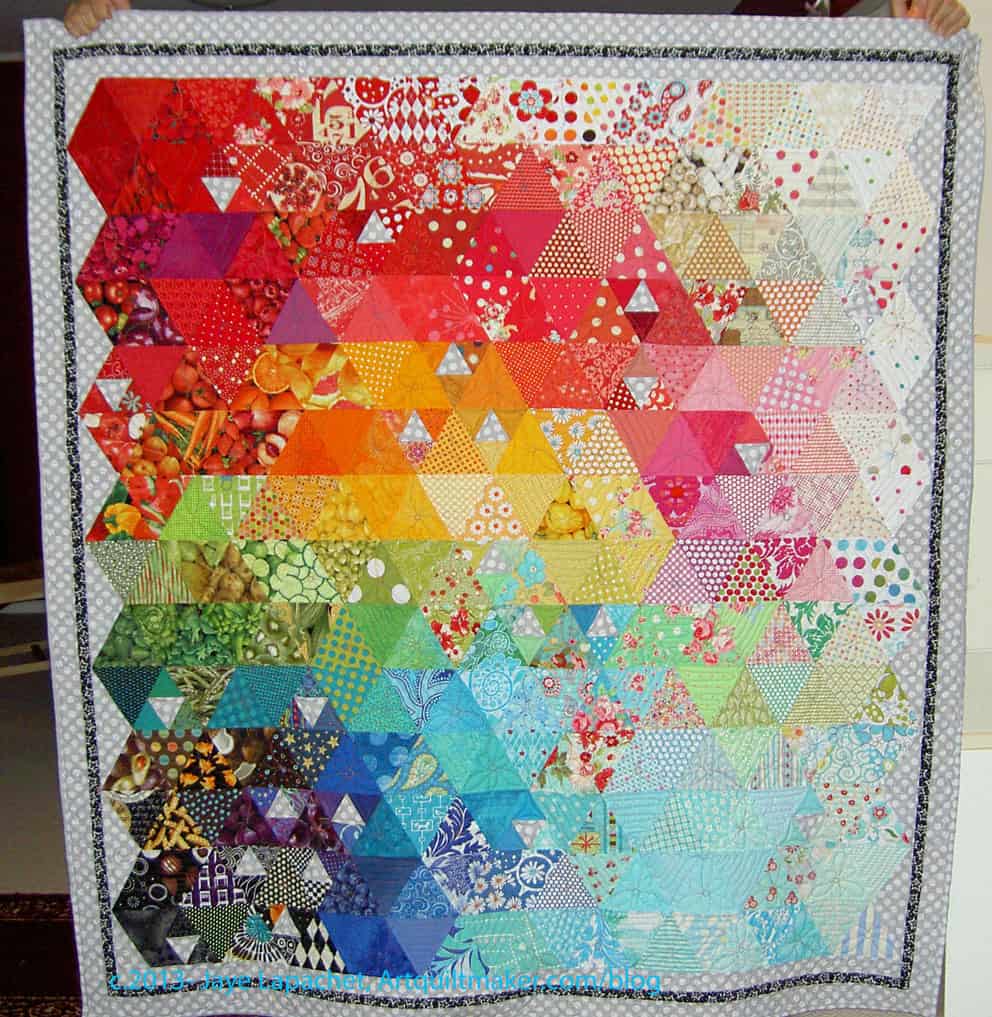
  • I like bright colors, so I work in bright colors. It might be good for me to try out some beiges, but I don’t like beiges. I have bought some chocolate browns lately, so I am considering that to be expanding my horizons into the realm of depressing colors because there is no way I am making beige quilts.
  • I want to make cheerful quilts. I want to make quilts that make people sing in happiness. I want to make quilts that make people smile when they look at them. So what if they aren’t dignified?
  • I don’t believe in the adage “buy ugly fabric, because it makes your pretty fabric look prettier.” To me, ugly fabric is just ugly. I have been down that road and refuse to do it again. Fabric is getting to be too expensive to buy what I don’t like.
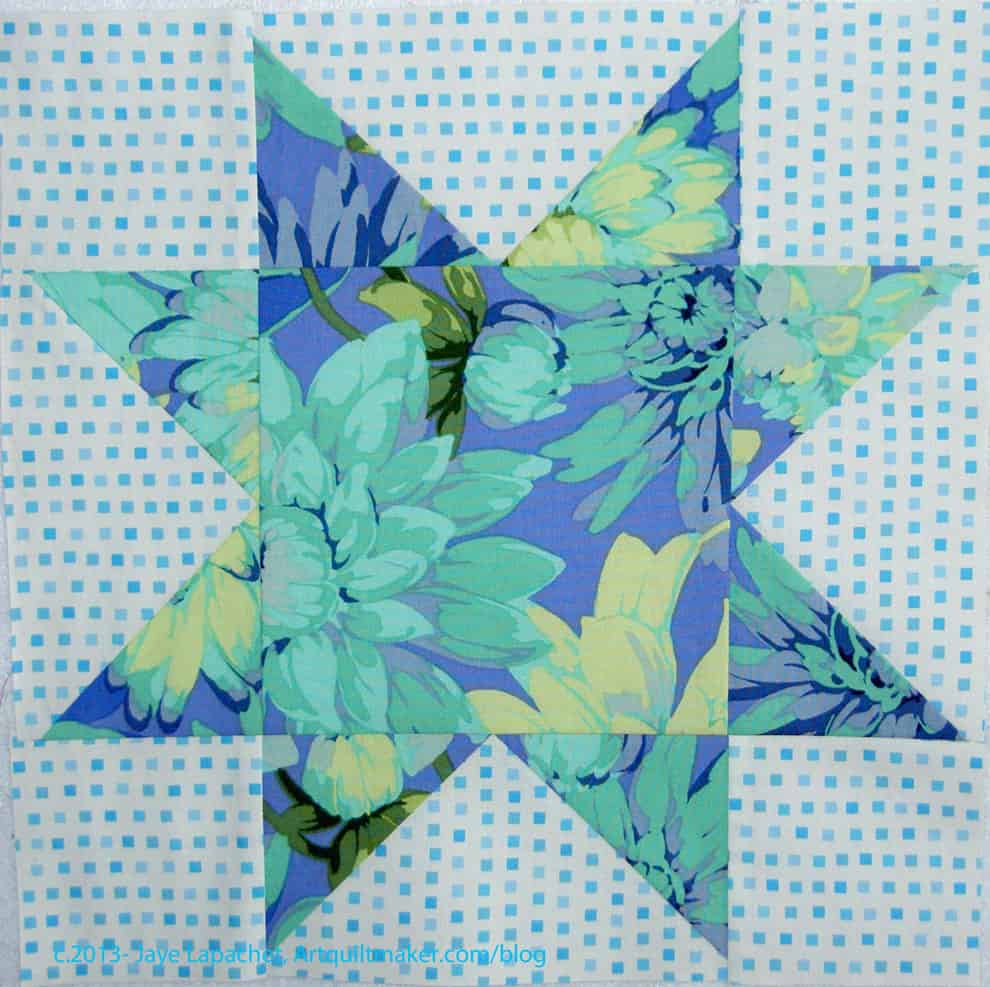
  • I like good technique, because *I* think bad technique can take away from the look of the piece. If that means making my half square triangles 1/8″ larger and trimming, so be it.
  • I like to make well made pieces, because I don’t want my pieces to fall apart. I take my time in finishing and I rip out seams a lot.
  • I don’t want to be categorized as making a certain kind of quilt. This is such a hard thing to explain. I want to make the quilts that I want to make in the style and fabrics I want to use. I don’t want to be a traditional quiltmaker, I don’t want to be labeled a modern quiltmaker or an art quiltmaker (ironic, huh?). I want to make the quilts the my mood dictates.
  • I like to work on projects that I like. This is my hobby/passion/vocation, but I don’t get money from it, so I want to make what I want to make.
  • I like to reshape ideas into my own. This might mean that I take a block from the 1930s and make it over in Martha Negley and Philip Jacobs prints.
  • I think knowing quilt history is important. Kind of like that old saying “knowing history prevents us from repeating the past.” I like to remind myself that women came before me and have done all this before. I appreciate different ways of doing things and different tools to get the job done, but I have no illusions that I am doing anything brand spanking new that nobody has done before. I have block books, so I can try and figure out who did it before and where I might find more information on how they did whatever the task is. To recognize those quiltmakers who came before me makes me feel like I am part of something.
  • I think it is important to step up. People before me shared tips and tricks.  I have some knowledge and I might as well share it. The blog makes it easier. That is why I work with Sandy on her podcast, post tutorials, etc.
  • It is important to support the community. I don’t mind sharing my tutorials. I want everyone to make quilts, buy fabric. Perhaps some of that karma will come back to me someday.
  • I don’t like it when people steal from my blog. It hurts when I have spent a long time working on a project and taking the time to post.
  • I find it important to use part of my quiltmaking time for charity. If I can’t make a quilt, I’ll make a quilt top. If I can’t make a top, I’ll make some pillowcases. There is always someone who needs to know that someone else cares. I think charity/donation quilts should be pretty. While I am making them, I can learn something new or try out a new pattern I normally wouldn’t work on.

As a result of the above, here is my to do list. These are not resolutions; these are things I will work on over the next 50 years.

To Do:

  • Be more patient
  • Practice curves
  • Don’t let my fabric sit around.
  • Get back to that Pineapple quilt.

I am sure I will think of more, but this is a start.


*No copyright claimed to Weeks Ringle’s chart of points.

Sampler Class: Foundation Piecing Part 1

Frances talked about foundation piecing in one of her recent podcasts. I am nothing if not an accommodating 😉 teacher, so I thought we would tackle a foundation piecing pattern next. This is called New York Compass, a variation of the New York Beauty pattern. It is a little more complex than the patterns we have been working on, but I decided to throw caution to the wind and nudge Frances to step up. She has done curves, so I am confident she can do this one.

New York Compass
New York Compass

In part 1, we will prep everything.

Supplies:

  • Notebook for notes
  • Pen to take notes 😉
  • Sewing Machine
  • applique’ foot (preferably one with a mark showing where the needle will stitch)
  • 1/4″ foot
  • thread
  • fabric
  • fabric scissors
  • paper scissors
  • foundation piecing paper like Toni’s Disappearing Paper or Carol Doak’s Foundation Paper
  • pins
  • Rotary cutter
  • rulers
  • template plastic
  • template plastic friendly pen (Bic works)
  • glue stick
  • iron and ironing surface
  • thin pressing cloth
  • New York Compass pattern
  • Optional: Wonderclips
  • Optional: Lightbox
  1. Pattern in 4 Pieces
    Pattern in 4 Pieces

    Print the pattern sheets (all 4). I only have 8.5″x11″ paper so the pattern comes out on 4 sheets. Use some kind of foundation piecing paper to print the pattern. Nota Bene: I keep a folder for all of my projects, so I like to print at least 2, if not 3 copies of the pattern. One I use to make the templates, one I will tape together and keep whole (you can use regular copy paper for this one) and one I will use for the foundations.

  2. Tape pattern together
    Tape pattern together

    Trim off the margins and tape the parts together. Note, the tape will not play nicely with your iron when you press the foundation pieced parts so USE A PRESSING CLOTH. A scrap of fabric or ugly fabric work great. Guess how I found out?

  3. NY Compass Templates
    NY Compass Templates

    Above is how the templates shake out: 3 regular plastic backed templates and two foundation templates.

  4. Cut Paper Pattern Apart
    Cut Paper Pattern Apart

    Rough cut the parts of the pattern apart. You will have 5 parts. Two of them will be foundation piecing patterns and 3 of will need to be made into regular templates with template plastic.

  5. NY Compass Sections
    NY Compass Sections
    NY Compass Outline
    NY Compass Outline

    I am going to refer to the skinny spikes piece as Section C. Section C is in the middle.

  6. Make your templates. You must add a quarter of inch to your paper templates (not the ones that will be foundation pieced. If you don’t know how to make templates with template plastic, refer to my tutorial on Machine Applique’ Part 1. Make sure you put the plastic on the correct side (wrong side of fabric).
  7. Cut rectangles for foundation piecing 2.5"
    Cut rectangles for foundation piecing 2.5″

    Cut rectangles for foundation piecing 2.5″x 6.5″. This is a generous rectangle. You aren’t going to save any fabric with this technique and you should worry more about coming up short, because ripping out stitches is a real pain.

  8. There is one tricky part about these templates. You will need to add a 1/4″ to the curve. The way you do that is to: A) glue the paper template to the largest piece of template plastic you have (you may have to piece the template plastic). B) Take your ruler and start at the left end of the paper template. Line the ruler’s 1/4″ mark up with the dark outline on the paper template (you should still have a rough cut paper template before you glue the paper to template plastic). C) Make a mark with a template plastic friendly pen at the 1/4″. D) Move your ruler slightly to the right and make another mark at the 1/4″ point. E) Follow the curved line of the paper part of the template with your ruler until you reach the far right side of the ruler. F) Cut along the dots you have made in as smooth a motion as you can using your paper scissors. You should now have a quarter inch seam allowance along your template. Repeat for all curved templates.
  9. Cut your fabrics. Nota Bene: When you cut the fabrics for Section C, cut rectangles for these spikes at 2.5″.

  10. Check fabric strips
    Check fabric strips

    Check to make sure you have cut your rectangles large enough. Take your Section C and lay it face up. Cover the first section (labeled C1 on my pattern) to make sure your rectangle covers the entire section C1 plus 1/4″ seam allowance around all sides.

Now go to Part 2 to learn the actual foundation piecing.

Tips:

  • If you have to rip out stitches, rip them out from the fabric side, not the paper side.

Resources:

Sketching #186

CPP Response #186: Frosting

I don’t always have an idea of what I am going to draw when I think of a word. I wasn’t sure what I would create with this one.

Fortunately, I think this response came out pretty well, I think. I like the way the unfrosted portion of the cake came out.

Look at the original prompt and create a response of your own.

Star Sampler: 8″ Blocks

Green Basic Star
Green Basic Star

We have started the 8″ blocks this week. We are doing 4 each week and one of them will be a Basic Star. Being honest, I did the green one as a test when we started talking about the project.

Four 8" Blocks
Four 8″ Blocks

I was able to finish the other three blocks this weekend. I am pleased with them. I have added a couple more lavenders. I am not sure about them, but I will use at least a few more pieces so they don’t look odd.

I chose the blocks this week and they are Basic Star (top, left), Hourglass Star (top, right), Four Patch Star (bottom, right), Four Patch Variation (bottom, right).

We have 40 total of these blocks to make and I might make some of the Basic Stars in advance.

I have been doing some prep of the 4″ blocks, cutting the backgrounds and the corners in readiness for when I need some leaders and enders.

Ribbon Star

Ribbon Star Parts
Ribbon Star Parts

I finally got this block together. I made it differently this time; I used half square triangles instead of rectangles and squares. I don’t like the look of so many seams, but I couldn’t get the piece together in the correct size doing it any other way.

I am not giving you the pattern this time, because even in EQ, it wouldn’t come out right. I don’t want you to be frustrated either.

The other thing is that TFQ and I had a disagreement about the grid of this block. I drew it on the same grid as the other Sawtooth Stars. I found, though, that she was right once I started to make it. It is really a 9 patch. I shouldn’t have disagreed. She is usually correct about such things.

Ribbon Star Finished

Finally, this is the last 12″ block.

This is the last 12″ block.

Star Sampler: 12″ Blocks

Star Sampler: 18 12" Blocks
Star Sampler: 18 12″ Blocks

All, except one, of the 12″ stars finally made it onto my portable design wall. I finally finished the back of FOTY 2012 and was able to take the pieces and parts off the design wall.

Star Sampler blocks
Star Sampler blocks

While I was waiting for space to open up, I layered the blocks one on top of the other on my smaller design wall, so I could keep track of the blocks. This is unsatisfactory as I like to see what I am working on, compare fabrics I am considering for use against what I have already used and get a sense of how many times I have used a fabric. That doesn’t work well when I have to layer the blocks.

It couldn’t be helped, though, as the blocks are large and there are a lot of them.

Also, take a look at the original Quilt-a-long instructions. You can see all the posts on this topic by searching the tag “Star Sampler.”

Creative Prompt #198: Wash

Post the direct URL (link) where your drawing, doodle, artwork is posted (e.g. your blog, Flickr) in the comments area of this post. I would really like to keep all the artwork together and provide a way for others to see your work and/or your blog.

We are also talking about this on Twitter. Use the hashtag #CPP

The Creative Prompt Project, also, has a Flickr group, which you can join to  post your responses. I created this spot so those of you without blogs and websites would have a place to post your responses.

Brain wash

Wash Tubbs comic strip

wash the dog

body wash (product)

wash day

baby wash

wash tub

fruit wash

car wash

washer

Definition: (Merriam Webster) transitive verb

1

a : to cleanse by or as if by the action of liquid (as water)

b : to remove (as dirt) by rubbing or drenching with liquid
2
: to cleanse (fur) by licking or by rubbing with a paw moistened with saliva
3

a : to flush or moisten (a bodily part or injury) with a liquid

b (1) : to wet thoroughly : drench (2) : to overspread with light : suffuse
c : to pass a liquid (as water) over or through especially so as to carry off material from the surface or interior
4
: to flow along or dash or overflow against <waves washing the shore>
5
: to move, carry, or deposit by or as if by the force of water in motion <houses washed away by the flood>
6

a : to subject (as crushed ore) to the action of water to separate valuable material

b : to separate (particles) from a substance (as ore) by agitation with or in water
c (1) : to pass through a bath to carry off impurities or soluble components (2) : to pass (a gas or gaseous mixture) through or over a liquid to purify it especially by removing soluble components
7

a : to cover or daub lightly with or as if with an application of a thin liquid (as whitewash or varnish)

b : to depict or paint by a broad sweep of thin color with a brush
8
: to cause to swirl <washing coffee around in his cup>
9
: launder 3 <how the mob washes its money through corrupt bankers — Vincent Teresa>
intransitive verb
1
: to wash oneself or a part of one’s body
2
: to become worn away by the action of water
3
: to clean something by rubbing or dipping in water
4

a : to become carried along on water : drift <cakes of ice washing along>

b : to pour, sweep, or flow in a stream or current <waves of pioneers washing westward — Green Peyton>
5
: to serve as a cleansing agent <this soap washes thoroughly>
6

a : to undergo laundering <this dress doesn’t wash well>

b (1) : to undergo testing successfully : work 4 <an interesting theory, but it just won’t wash> (2) : to gain acceptance : inspire belief <the story didn’t wash with me>

wash one’s hands of

: to disclaim interest in, responsibility for, or further connection with


FOTY 2012 Back

FOTY 2012
FOTY 2012

I have finally finished the back of FOTY 2012.

I decided to show the front again, one more time, as I don’t know how long it will be before I have it back from the quilter finished.

I have used another Philip Jacobs prints for the back. It turns out I had two pieces that worked well for opposite corners. I was surprised, though, to find the yardage in two pieces as I usually don’t cut up large pieces until I need it. Still, I may have bought it on sale and was only able to get to large pieces rather than one. Alternatively, I could have bought a piece and then decided to buy more. I don’t remember.

I was pleased to take the parts for the back off the design wall. I like the front of this quilt so much and it was great to see it one more time.

FOTY 2012: back
FOTY 2012: back

My only concern with the front is the border. I didn’t put one on and I am pretty sure it doesn’t need one, but still, I wonder.

Star Sampler: Basic Star

Star Sampler: Basic Star

This block might be a little bit disappointing for you after the wonders of all the other complex blocks. I am posting it rather than just quietly putting it in the quilt, because I think it is a good example of how to use special fabric effectively.

Yes, I have used the Martha Negley fabric in small doses in other blocks, but I really wanted to show off as much of blooms as I could. Perhaps I could have fussy cut a little better, but I wanted to use the fabric in a reasonable way and I liked the off center nature of the fabric in the large square.

I can always make others in the 8″ size, if I want to use more of different sections of the fabric. Here’s the Basic Star pattern.

Also, take a look at the original Quilt-a-long instructions. You can see all the posts on this topic by searching the tag “Star Sampler.”

Star Sampler: Shelburne Star

Star Sampler: Shelburne Star

This block was kind of a pain to make, but the effect is really good. I am glad it came out well in terms of contrast, because if it had been a pain and looked bad, I would have been really disappointed.

I think it was a good choice to use the background fabric in the center of the larger star around the smaller star as it sets off the smaller star.

If you’d like to make one of these, here is the Star Sampler: Shelburne Star pattern. You can also find it in EQ7. Check out the Oh My Stars! Flickr Group to see all the other renditions of the final project. You can see all the posts on this topic by searching the tag “Star Sampler.”

Sketching #183

CPP Response #183: Drink

I went out with a work vendor a few weeks ago. It was a nice outing; a relationship building kind of event. We sat the bar and I faced the wall of bottles, which are endlessly fascinating to me. The arrangement of them is a kind of art form all its own. I have taken some liberties with the colors of the liquor. If you prefer, you can imagine it to be sodas.

Take a look at the original post. Try one of your own.

Star Sampler: Wheel of Time

Star Sampler: Wheel of Time

Don’t you like the name of this block? I think it provides ‘scope for imagination’ and evokes mystery. That is one of the things I like about vintage blocks. They, often, have great names.

I thought that background fabric in the middle might look like the viewer was looking through the block to the background, but I don’t think I achieved that semi-goal.

If you want to make a block like this, review the Star Sampler: Wheel of Time pattern, which can also be found in EQ. Also, take a look at the original Quilt-a-long instructions. You can see all the posts on this topic by searching the tag “Star Sampler.”

Finished: FOTY 2011

Finished: FOTY 2011
Finished: FOTY 2011

Fabric of the Year 2011 is finally finished!

It took a little more time than the quilts in this series normally would take, but I am thrilled that it is done, not only from a finished point of view, but also from the point of view that I really like this quilt.

I have to say that I wasn’t really thrilled with the result when I finished the top. Colleen did a great job quilting it and really made the whole piece.

I am trying to decide whether or not to hang it in my office or in my hallway.

Finished: FOTY 2011 back

One thing that I have been trying to do with the pieces I have been finishing lately is making beautiful backs. I am pretty pleased with the back of this one. It feels light and airy to me.

As you know, I have been using larger prints or prints that don’t look good cut up into small pieces to make the backs. This one uses some prints I bought with lettering on them.

In my heart of hearts I would love to have a show with all of these quilts.