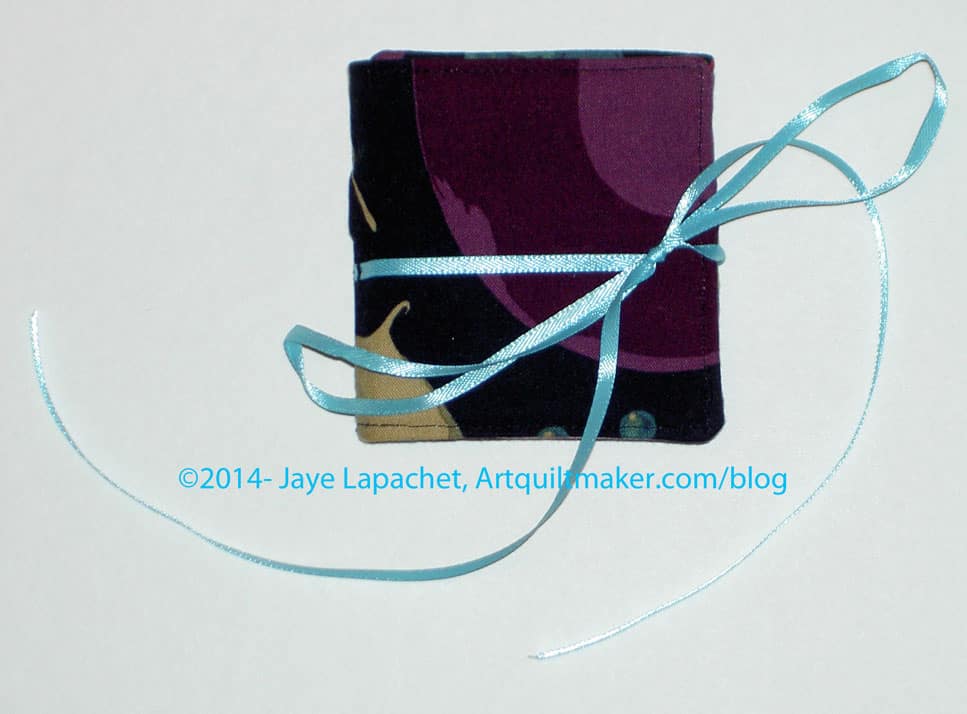
I admit to being one of the instigators of a thank you gift for Charlotte, the Scrapitude Queen. I thought that a small token of our appreciation for the hard work she did on Scrapitude would be well deserved and a lovely surprise as well.
Like the BAMQG gifts, I suggested we all send small gifts to Sandy and Sandy could make a bag and put all the gifts inside. I left it until the last minute and made a needle case over the first February weekend while DH watched the big Sportsball game, as Pam calls it. I wasn’t procrastinating, I was just out of town. And, of course, Scrapitude embroiled some of my attention during that weekend.
My idea was to use scraps, but I have to say that after working on Scrapitude, I wanted some symmetry of fabric and some calm. I love my Scrapitude quilt so far, but it has a lot going on.
I had a love piece of Martha Negley vegetable fabric that was large enough for the outside. It is a little dark, but the eggplant was so wonderful.
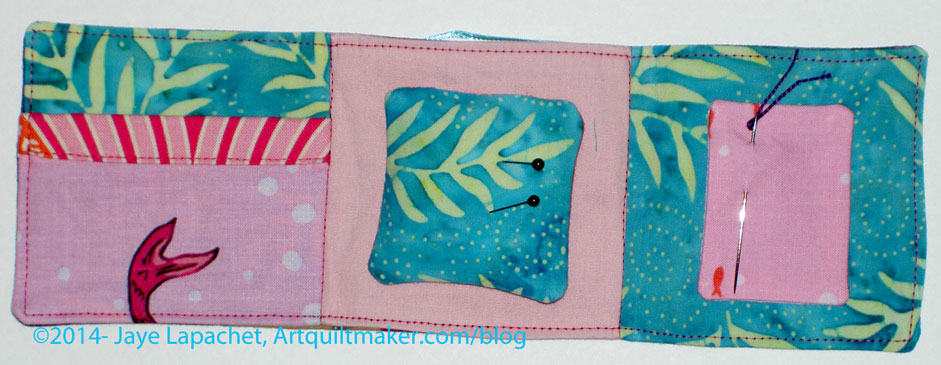
Charlotte’s Needle Case – inside
Inside is completely different. I had a strip of some mermaid fabric, but only fish and mermaid tails were left. I fussy cut a bit and made it look like my lovely mermaid was swimming off the piece. At least that was my intention.
Again, I sewed the inside and outside right sides together and then turned them and top stitched. I stitched the ribbon closure to the outside before sewing the main pieces together. I hope she likes it.
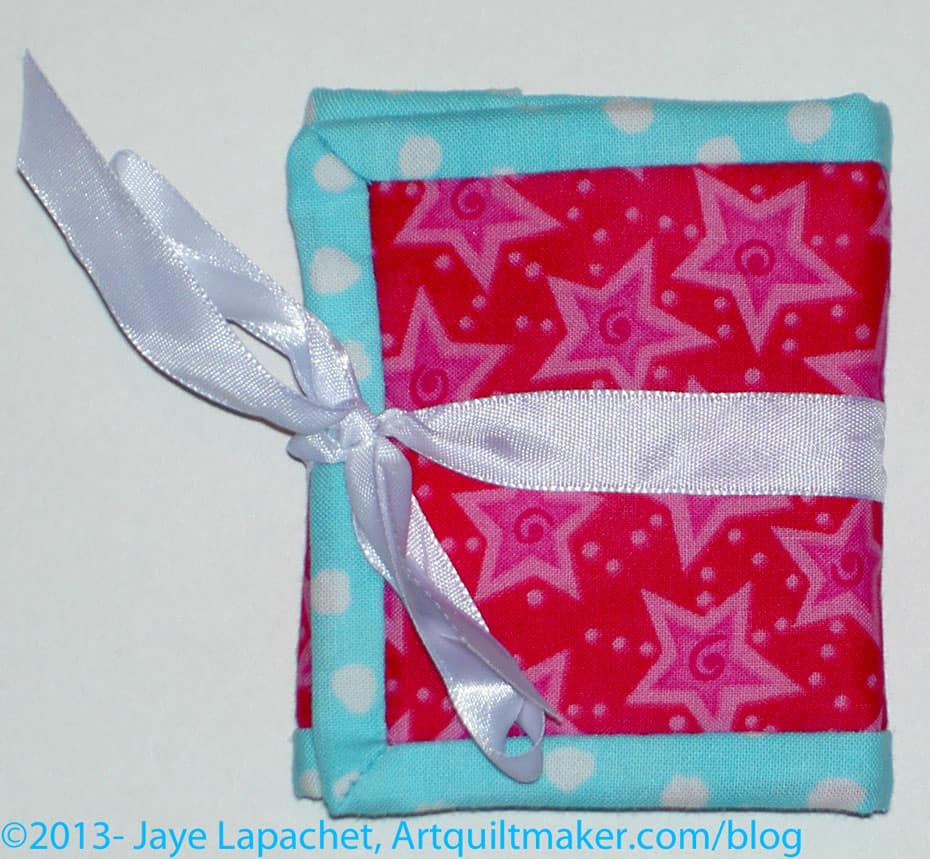
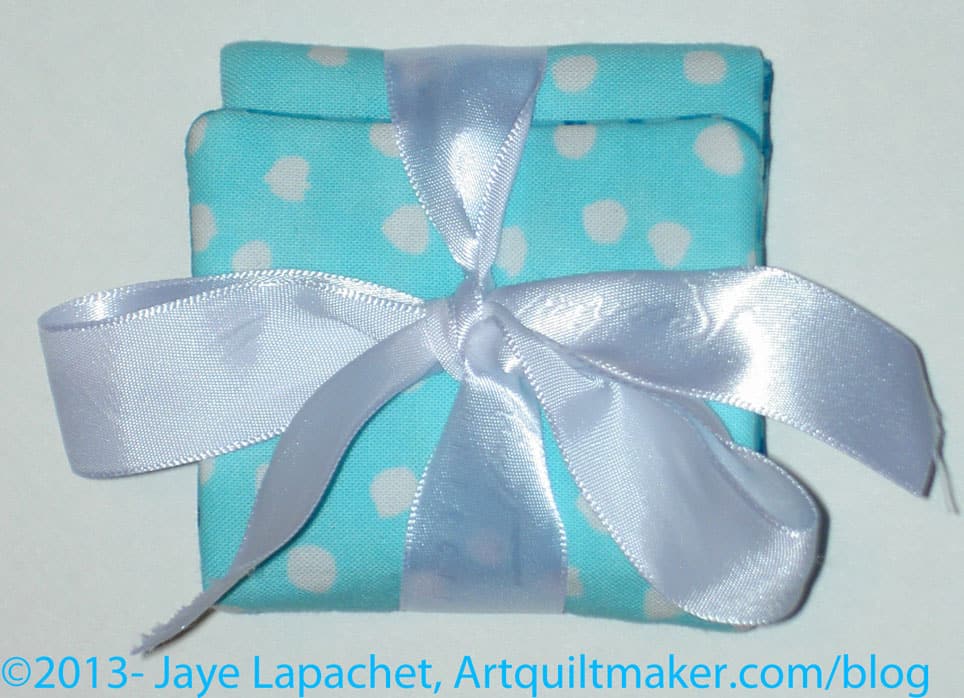
You already heard about the various needle cases I made. Here are the final photos of the one I made for my BAMQG Secret Santa. Presumably she received the gift yesterday, but I wasn’t able to attend the meeting as the Young Man had a concert.
Gift Needle Case closed
I finally finished the first needle case and am able to post about it.
I am posting a picture of it open and closed. While closed, it needed a ribbon or something to close it. I am not thrilled with the ribbon. I think it looks really nice, but it isn’t really practical for a needle case. I thought about other options, but the supplies for the closure I really wanted weren’t readily available.
When I was a teenager, thin hair elastics were available. I have a very few left, but only large. For this project I need a small one and didn’t have one. I don’t think they are sold in stores anymore as I haven’t seen them at Walgreen’s and such stores. I haven’t tried places like Claire’s, but will, perhaps. I would have put a button on and then pulled the hair elastic taut around the button to close. I will look at, and think about some other closure options.
Needle case open
I forgot to fill up the needle case with pins and needles, etc. I hope the recipient knows what it is without those little touches.
I finally got myself together to make the sleeve for the Original Bullseye. I haven’t sewed it on yet, but that will be good for some evenings in front of the TV.
I don’t know why it took me so long to get to making the sleeve. Except for piecing the fabric large enough to make the sleep, putting the sleeve together doesn’t take very long.
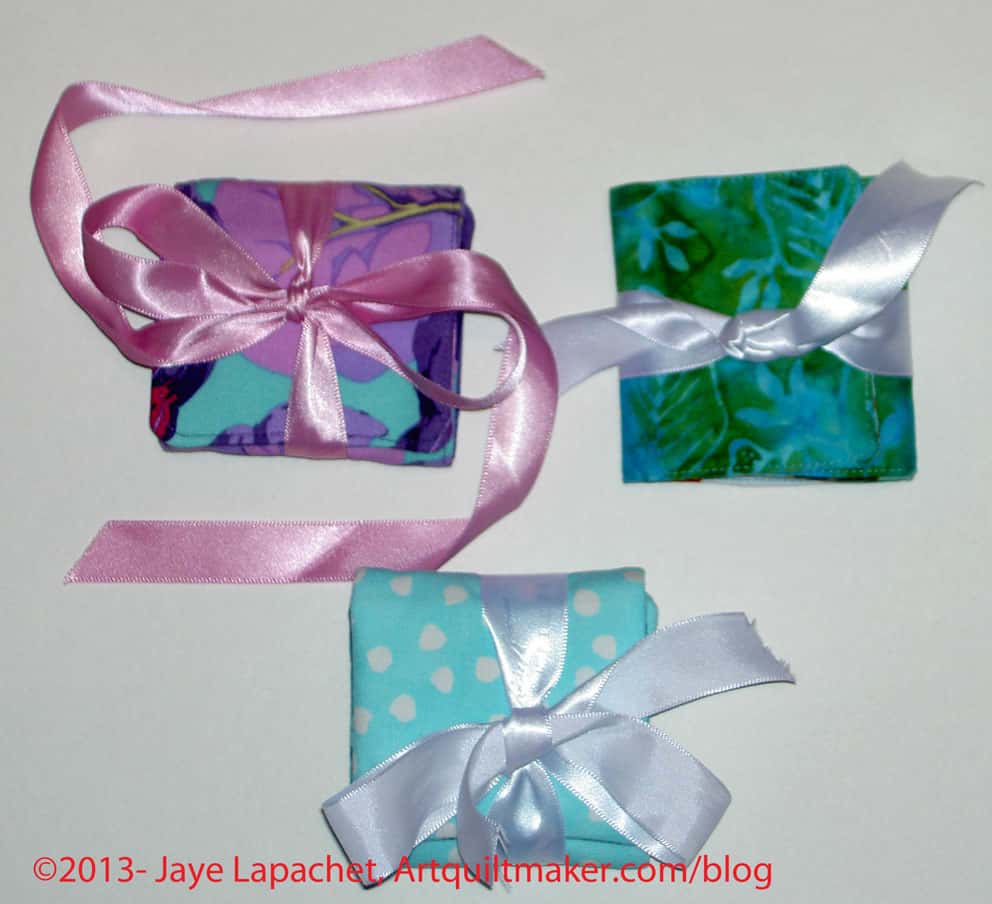
Needle Cases
I also finished the needle cases I wanted to work on. I will give those as gifts, but I was pleased to be able to work out a few more of the kinks.
I tried using the flannel for the inside and that worked really well. It was still a little thick on the edges, but I could have trimmed the flannel a little smaller and that might have made the thickness at the edges a little thinner.
Instead of following the directions for the needle part of the needle case, I used a scrap of batting. I attached it with a piece of Perl cotton. I wanted to use felt, but didn’t have any. I’ll get a sheet of wool felt if I make any more of the needle cases.
Again, instead of putting binding on the needle cases, I turned them inside out then top stiched around the outside very close to the edge.
I have to be honest that I didn’t really get as much done as I had hoped, but I got enough done.
Tomorrow is my only day at work before Thanksgiving until December 2. I am cooking for Thanksgiving and ‘need’ the prep time. I also need to go to the dentist and clean up the house and sew and laze around. The whole Grama thing has been really hard and even though I was off for a week at the end of October/beginning of November, I need more time off.
None of that is either here nor there, except that you should watch for the Pie Day photos that I will tweet out. I don’t know if you like it, but I always have fun tweeting Pie Day photos. I plan to make a pie for my mom’s priest who was awesome while my grandmother was sick. He was a great support to her and is a super nice guy.
So, two paragraphs in and no discussion of sewing. Let’s get to it. I made a second needle case. I couldn’t help myself. I needed to get it right. It still isn’t exactly right, but is much better. I did it last Sunday and then worked on the hand stitching on Monday night.
The problem this time is that I put batting in and I think I just don’t like batting for small accessories like this. I think batting should be in quilts and something thinner (not sure what yet) should be in journal covers and needle cases.
The changes I made to the pattern are:
Put ShapeFlex on all the major pieces. This gave it more body, but not quite enough to forgo the batting.
Machine sewed the ribbon on to the main outside piece right after adding the ShapeFlex to the fabric and then pinned it carefully out of the way
No binding; sewed around and then turned the whole thing
Stitched the top and the bottom of the pocket accent (directions say bottom only)
Needle Case #2 Open
This pattern really doesn’t take very long. I am going to Joann to see about some ShapeFlex sometime this week and may look for fusible flannel as well. I don’t know if there is such a thing, but I will look. Flannel might be sticky enough without the fusible.
When I was down at Grama’s I had a stack of quilt magazines with me. I hadn’t brought a lot to do, because I was supposed to be at a conference and didn’t want to feel like it was a waste to have lugged a bunch of stuff down with me only to lug it straight back home.
As you know, I ended up at Grama’s, racing around like a crazy person before dropping into bed exhausted, looking at two pages of quilt magazines and falling asleep with the magazine on my face. Two pages, however, is progress. While looking through the magazines, I found a needle case pattern in Modern Patchwork. I decided to add it to the shopping bag for my BAMQG Secret Santa. As soon as I finished the machine part of the shopping bag (I still have a bit of hand stitching to do), I started in on the needlecase.
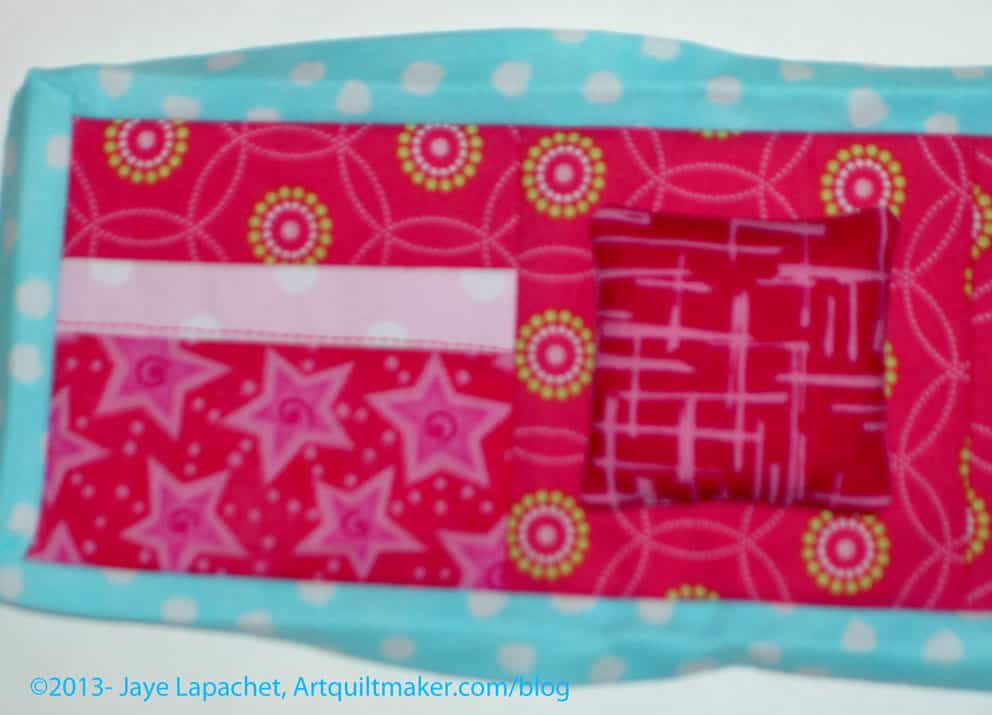
Needle Case #1 Open
The pattern is by Rashida Coleman-Hale of the I Heart Linen blog and I, initially, had a hard time with the way the pattern was laid out in the magazine. Remember, I am much better at being shown how to make something than I am reading directions and following them. I began reading the directions and couldn’t figure out what to do first. The pattern started with “Create the Pocket.”
Huh? What pocket?
Needle Case #1 Open detail
Finally, I realized I needed to cut all the pieces out first, even though the pattern says nothing about that. Step 1 should be “Cut out pieces (see Sidebar)”, but it wasn’t. Also, the list of pieces of fabric that need to be cut is on the right hand side of the page and I was looking on the left (we read from left to right), which happened to be instruction #1 of the pattern.
My heart sank. I didn’t want to do a project that was so hard to understand that it wouldn’t come out well. The project is small enough to use scraps, so I decided to cut out the pattern pieces and try one more time. Miraculously, as soon as I cut the pieces, step #1 of the directions made complete sense.
I am skeptical of magazine instructions, but these were ok, after my initial confusion, for a not very complex project. I am not quite done with the project, but the one thing I would do differently is sew the cording (I am using a ribbon) on before I sew on the binding. I think it would look neater and be stronger. I might also figure out some other closure, but I haven’t thought that far ahead. Live and learn.
Needle Case #1 Open detail
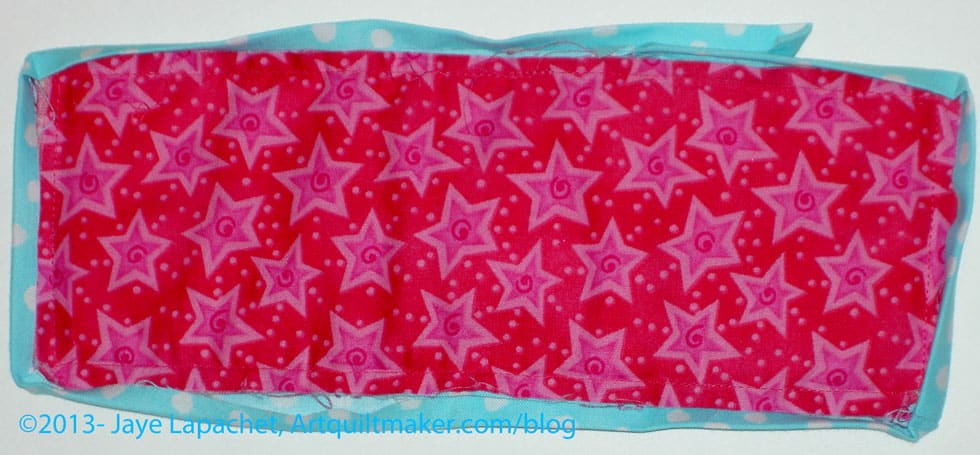
I used fabric scraps from the shopping bag and also a few others. The the two Secret Santa pieces will match, but not be matchy-matchy. Cute, huh? I did not use the linen. I used regular quilting cotton.
If I made this project again, I would give the outside pieces some body by lining them with ShapeFlex (LOVE that stuff!).
I didn’t have any Fiberfill to fill the pincushion, but if I had been thinking I would have used the roving I bought for the other pin cushions I have been making on and off. I just wasn’t thinking so I cutting up some batting scraps to fill the pincushion. It is small, so I think the batting will be ok.
Needle Case #1 back
My Secret Santa likes pink, so I am going all out on the pink. I really hope she likes what I have made. This needle case really did not take me very long and I think I might make a few more for friends. We will see.