Flying Geese Inspiration

Moda Flying Geese Blocks

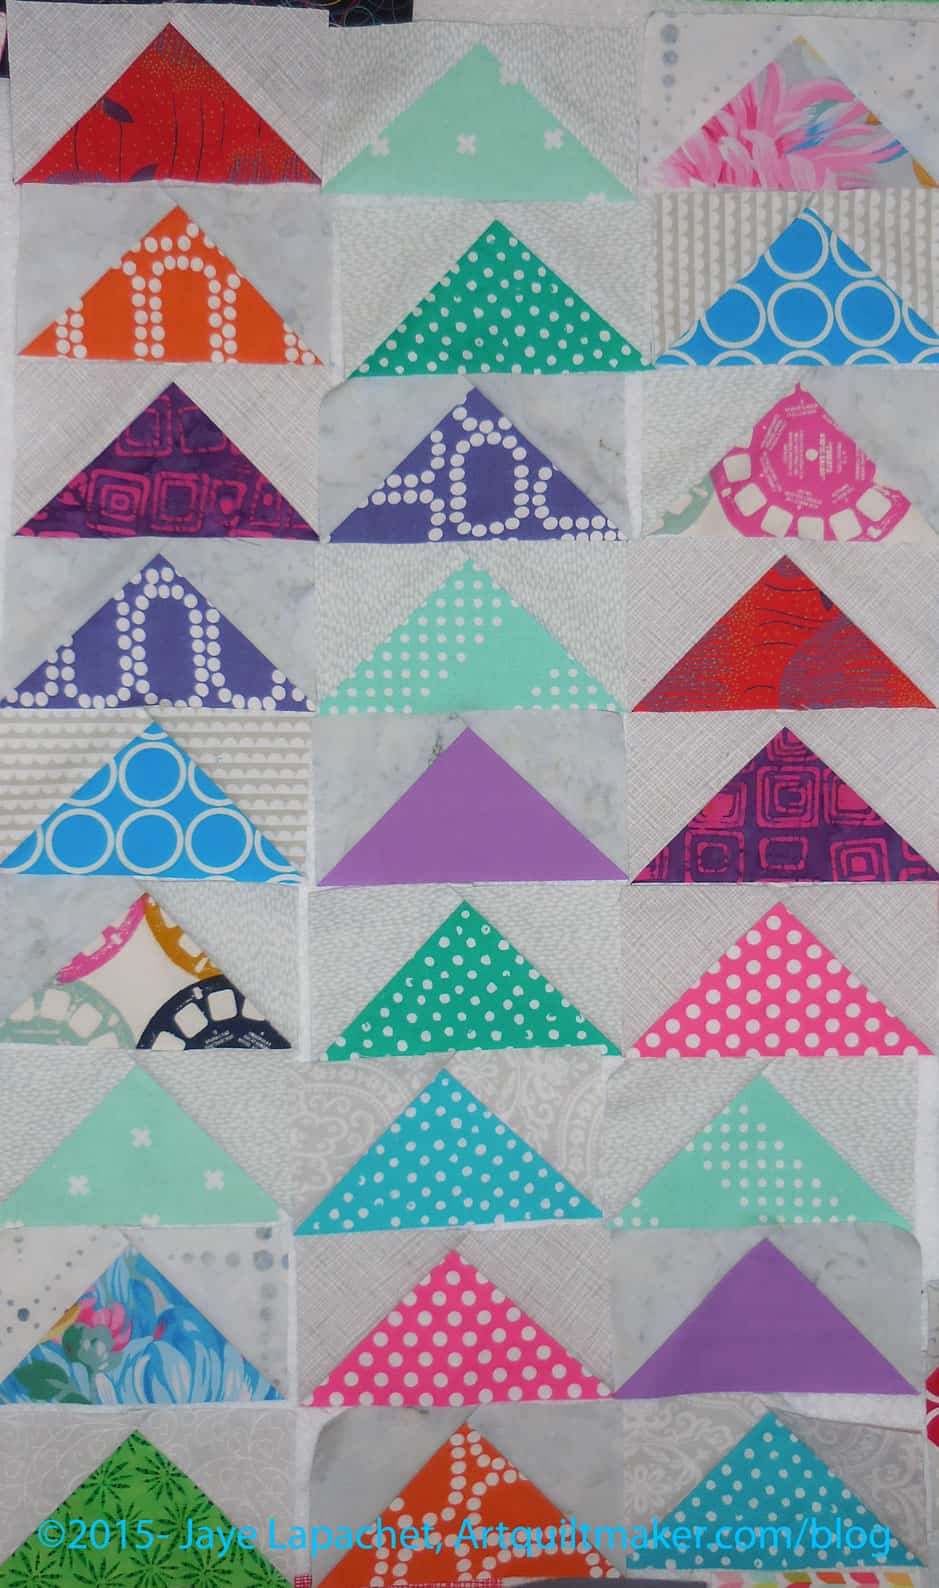
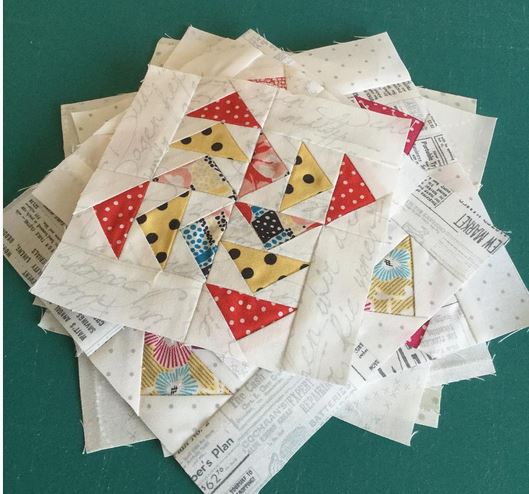
TFQ recently sent me a link to block that I really like made from Flying Geese. It was on the Moda Instagram feed and I can’t tell if it is a historic block or if the maker added another FG to a Dutchman’s Puzzle block.

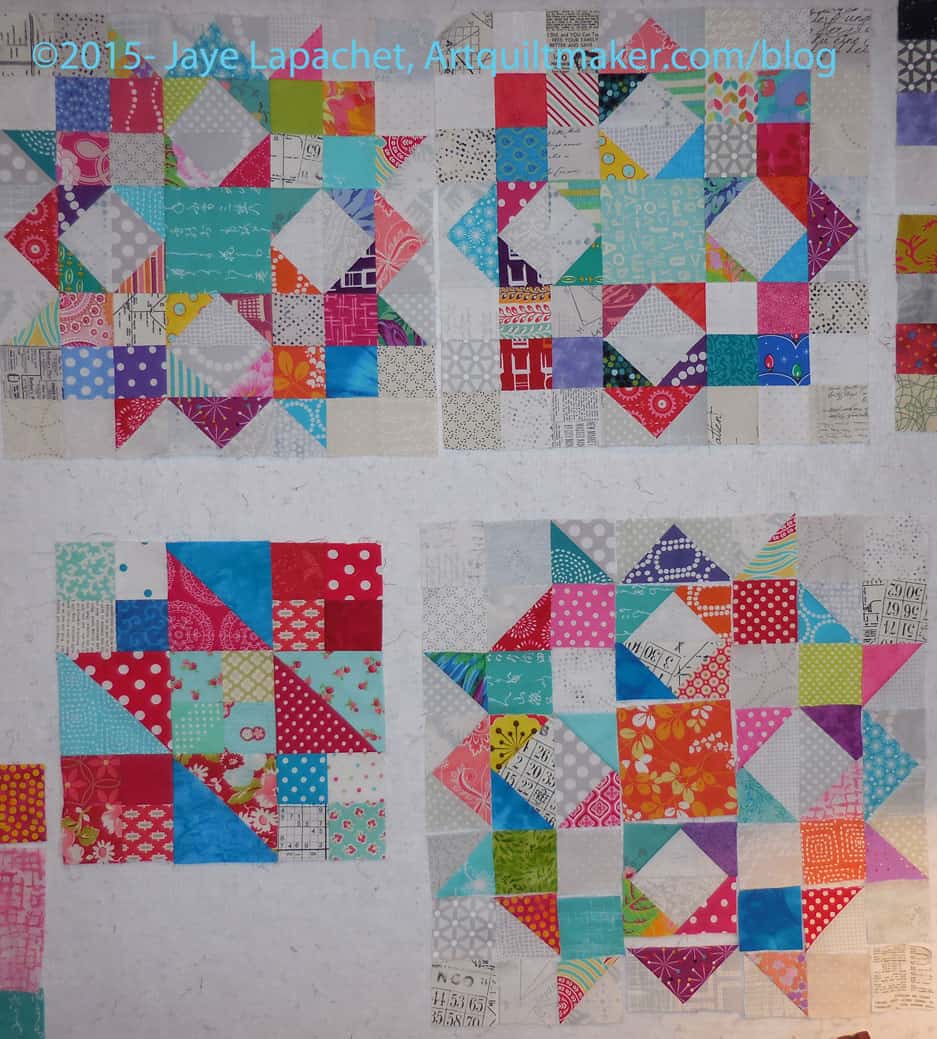
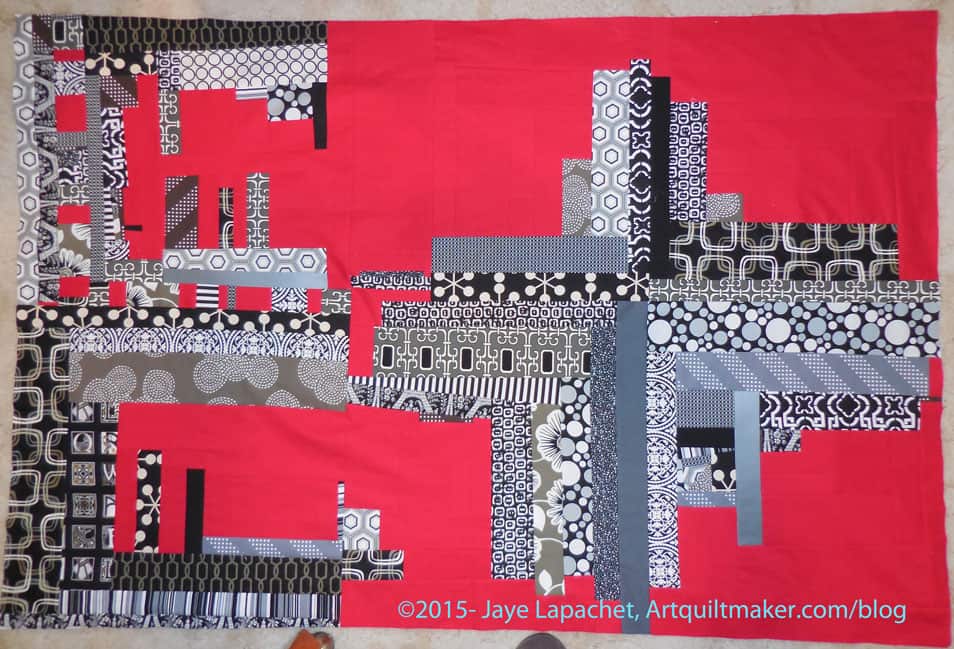
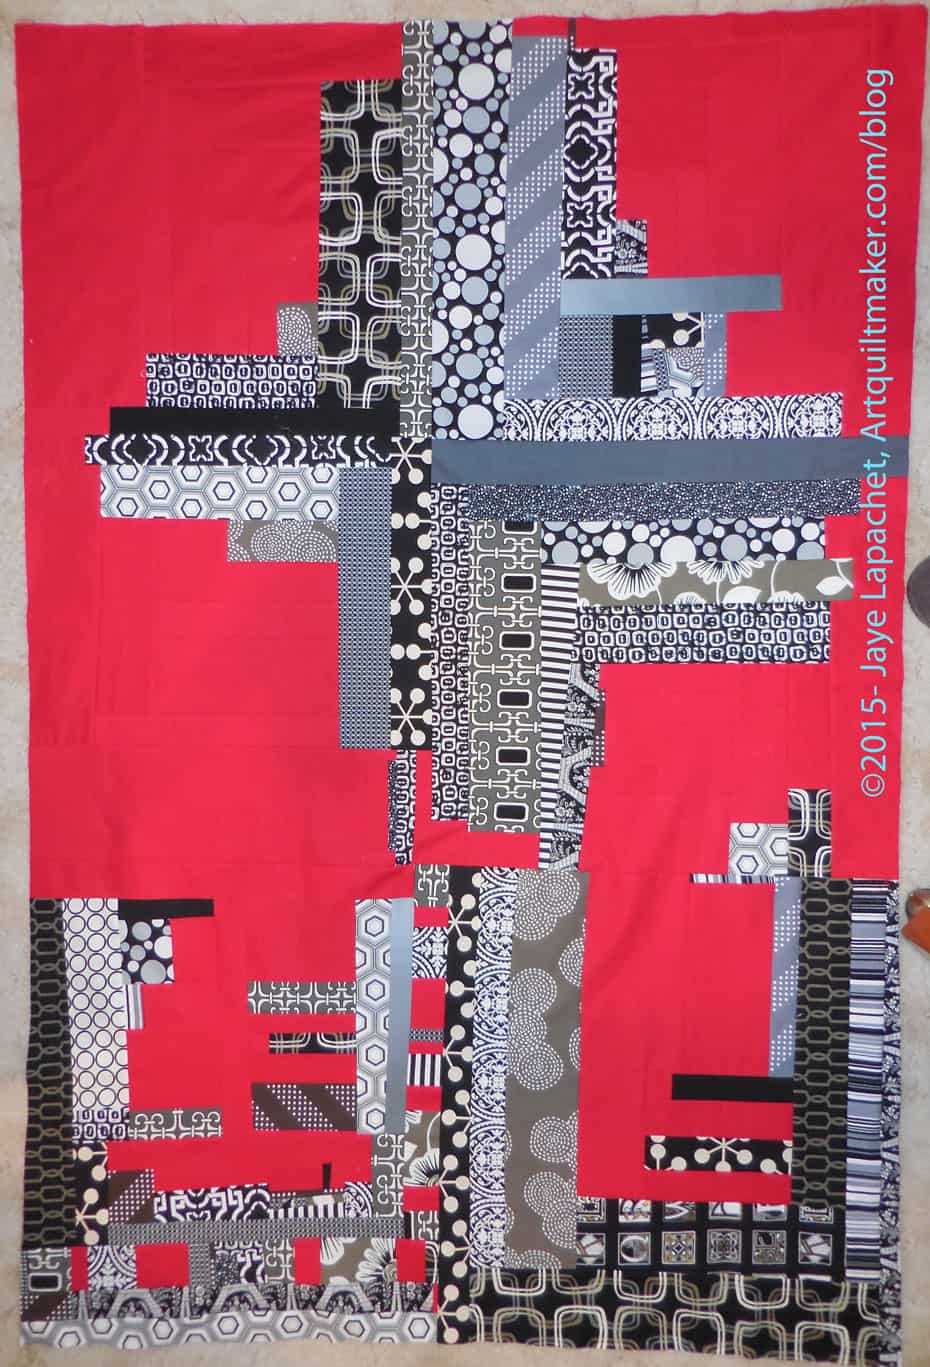
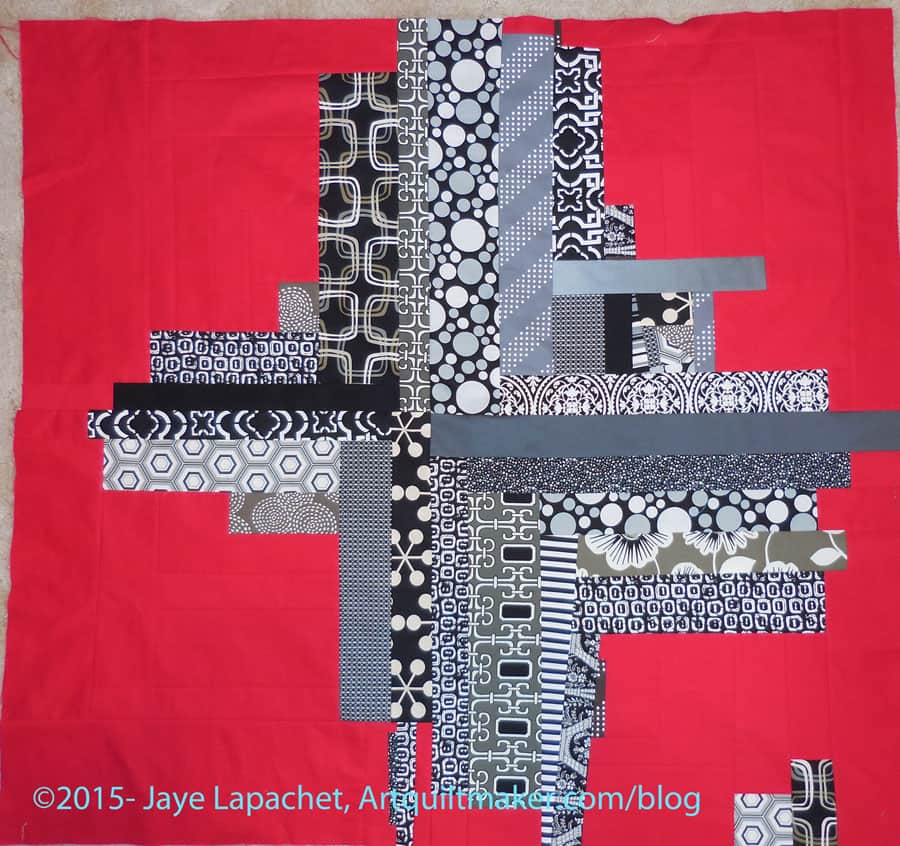
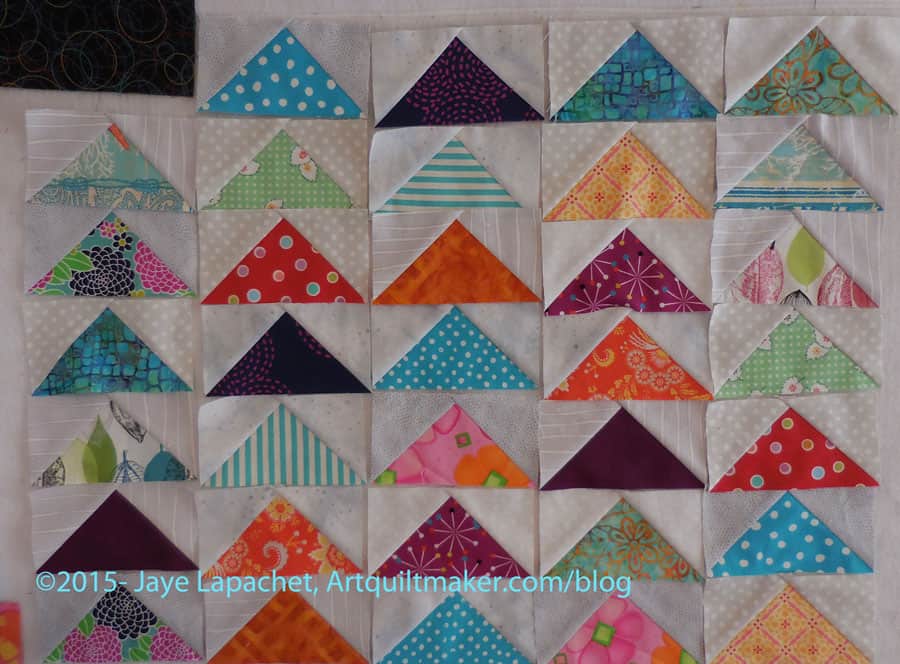
We have been doing the Flying Geese Exchange, which I highly recommend, BTW, and I have started to look around for interesting design in which to use the Flying Geese. I have begun to start thinking about something interesting to do with the blocks. TFQ is clearly on the same page.

The blocks above are from the Moda Instagram feed. I have always liked the Dutchman’s Puzzle block and actually made one for my first Sampler quilt. This block puts a little twist on the idea, but it might be just enough to keep me interested.

Mary Fons posted a link to a block she made, which I originally thought would be great for our Flying Geese. After looking at it again, I don’t think it will work. I still like it, but there is an extra color that exaggerates the motion in the block. Our Flying Geese do not have that extra color. Of course, we could still put the block together, but  we would miss out on the motion.

Love of Patchwork and Quilting had a block made from Flying Geese (Issue 24, Darling Dorothy) that is mildly appealing. I don’t think it will work for me for a whole quilt.

So you can see where my head is with these Flying Geese. Any ideas? Any interesting ideas?

Good Progress – Fun Progress

I spent almost the whole day last Saturday working on the Carpenter’s Wheel blocks and the Red and Black Improv quilt.

I was really struggling with the Improv quilt and it was taking up space on my design wall so I wanted to get it done and off. Done and off the wall meant making more blocks. Somehow making more blocks has lost their appeal.

3 Carpenter's Wheels + a Stepping Stone
3 Carpenter’s Wheels + a Stepping Stone

I decided as I worked on the Carpenter’s Wheel blocks that I would intersperse pieces and parts for the Improv quilt and make some progress at least. I am so pleased with the progress I made! And I had fun.

The Carpenter’s Wheels are very cheerful and that makes them fun to make. I sewed the second block together (top left) on Saturday and am enjoying looking at the two blocks together while the third block is in process.

Improv Quilt - Late October
Improv Quilt – Late October


I had started out on these blocks, but the Improv quilt was nagging at the back of my mind, so, as I said, I pulled out some black and red strips and started to work on an Improv block in between working on the second Carpenter’s Wheel block. When I finally pulled my nose away from the needle and assessed my day’s work, I found that I had completed a whole side of the quilt! I only have three blocks more to make to finish the top!

This quilt is a monster, which should surprise nobody, which makes it hard to photograph, but you should be able to see some of the work and the progress. There will be no border and sewing the blocks together should be a challenge, but not so much of a challenge that I can’t do it. The seams will be long, but over quickly, I think.

I was doing such good work that I was angry that I had to leave on Sunday for a work trip. I was looking forward to the work trip, but it just came at an inconvenient time and I was hoping I wouldn’t lose my momentum, especially with the Improv quilt.

Flying Geese Exchange

Flying Geese Swap - October 2015
Flying Geese Swap – October 2015

TFQ and I are still working on the Flying Geese exchange. We will through the end of the year, at least. I think for both of us this swap is keeping our heads in or keeping us on track.

It is nice to have something to do every week.

The FGs shown in this post are a combination of my contributions and TFQs. I think they go really well together. This group is very bright and cheerful.

I am not sure what I want to do with them. I have been looking at different layouts for all of these FGs and haven’t found one that I like yet. It is early yet.

More Improv Progress

Saturday and Sunday, when I wasn’t working on Michelle’s IRR piece, I was working on the Improv Quilt. I know both are Improv projects.

Improv Progress, September 2015

The last time I made any progress on this piece was over a month ago. That progress felt forced and unsatisfying even though I didn’t know it at the time. I had the piece up on my design, which meant I had to look at it and that frustrated me. Frustrated me, because I wasn’t happy with the work as well as frustrated because it was taking up my design wall. I need to learn to make smaller quilts.

This weekend’s progress felt good. It was fast and intuitive and right. The piece is starting to look like something I won’t hate looking at.

I am not sure the blocks will end up where they are placed now, but there is a good bet some will stay where they are.

Improv Corner Block
Improv Corner Block

One thing that happened to jolt me ahead in the process was that I laid in bed one night, trying to get to sleep. I spent the time thinking about this piece and made a plan. I decided I would cut a big piece of red to use as a start to make some corner blocks.

I wasn’t completely on board with making ‘B’ blocks for the corners, so I made corner blocks, which are similar to the ‘A’ blocks. I did what I thought would look good. I can always make something different, right?

I like the corner block shown at left, but I wish I had varied the length of the neutral strips more. I did a bit, but not enough. It will be fine once the rest of the quilt is done and I am not going to worry about it right now. I do reserve the right to change it if the design needs it later.

New 'B' Blocks
New ‘B’ Blocks

I did sort of learn from this block and the first two ‘B’ blocks. I didn’t want all the ‘B’ blocks to be heavy, so I varied the length of the strips to give them less weight — or less perceived weight. I also made the centers a bit more interesting. I want people to be interested in looking at the piece.

I have about 7 more blocks to make on this monster. I have some slim hope I can finish it by next week and take it to be quilted. I am laughing, but you can stop. 😉 I know it is a pipe dream, but I would like to move this project along.

Improv Progress

I am still feeling like I am in some weird in between place with my projects. There are projects where I am at a strange point that seems to be stopping me. I have to count up all of the FOTY squares and figure out how big I need to make the quilt. I need to cut some more squares for the Octagon Nine Patch, which has been languishing for, what feels like, a long time.

Improv Top in Progress

I decided to work on the Improv quilt again and get that project farther along.I finished a second ‘B’ and decided to sew it, along with the first ‘B’ block on to the quilt. I like what is happening and I can see where I go next, to a certain extent, but I think those 2 blocks look heavy. I might put them on the bottom, but I will see if I can lighten them up with more red on the three sides.

One idea I had from looking at the photo above is to make sure some red meets the red on the bottom and continues over almost to the corner. That will mean making that part of that corner side block last and making sure I remember. I think if I do that, there will have to be a bit of one of the black and white prints in the corner – or a strip of red alternated with black and white prints.

Improve top - turned
Improve top – turned

I also thought of making those blocks the bottom. Heaviness works on the bottom. The photo (left) is the same one as above, just turned so you don’t have to turn your head.

It looks ok, but I remembered that there will be other blocks on each side of those new ‘B’ blocks.

Yes, all the blocks are sewn together. I just wanted them sewn.

Improv Progress

Improv A Blocks
Improv A Blocks

After using some Flying Geese as leaders and enders, I switched to using the large Improv blocks as leaders and enders while putting together the T Donation quilt. The Improv quilt is not a good project for leaders and enders as I really should have it on the design wall and be looking at it all the time as I worked. I really wanted to make progress. This project has been shuffled from corner to corner of my workroom and I am forgetting my plan. My design walls were full of other projects, so it was what it was.

I added a few more strips to make the center (A) blocks more even then sewed the four center blocks together. This breaks my ‘Chunking It” rule, but I just wanted to see the four blocks together. Somehow with them together, I was able to start on the B blocks.

Improv B Block #1
Improv B Block #1

They look pretty good and I got excited about working the B blocks. I had bits and pieces that I made in class that I hoped to use, though I wasn’t sure what I was thinking when I made them, so I kept going. The first one went together relatively quickly and that helped me move forward with the others. I am working on about 4 at once right now and expect to have a big group of them done at once. We will see.

Flying Geese Swap Report

Flying Geese - August 2015
Flying Geese – August 2015

I sometimes make a batch of Flying Geese at once or over the course of a few days. I like to have them available in case my schedule gets crazy and I don’t have time to make some for my weekly swap. I don’t like to show them until I have sent most of them to TFQ, lest she not be surprised at my fabric choices. I also like to show the ones she has sent me. Together hers and mine look super fun.

I wanted the batch off the design wall so I could put up the T donation quilt, so I took a photo and here they are. Aren’t they fun?

I am still thinking of trying out some different rulers for making these geese, but I haven’t done it yet. Stay tuned.

This is such a fun exchange! I am really enjoying it. Find a friend and do one, too.

Idiot!

5 More Inches
5 More Inches

Yesterday, I received one of the calls that quiltmakers do not want to hear. My quilter called and said that my back was too small for her to quilt the Food Quilt #2.

What????

She explained again and I was mortified. I really couldn’t imagine how this happened. I thought I was being careful.

So, yesterday morning my first order of business was to make a 5″x90″ strip. The back is black, mostly, so I used black again.

This piece is off to my quilter. I missed my slot, so I don’t know how long I will have to wait.

FOTY 2014 Arrangement

I am finally starting on FOTY 2014. After finishing the “triplets”**, Field Day, the Food Quilt #2 and Box Full of Letters, I looked around to try and decide what to do. I cut a few pieces for FOTY 2015, put in a new rotary cutter blade and decided not to dither. I took out the piece of FOTY 2014 and started in.

Sorting FOTY 2014
Sorting FOTY 2014

First off was sorting. I took the two bins out and sorted the colors into general stacks. I had only two bins and was worried that I had lost some patches, but after taking out all the pieces, I realized I had a lot of patches with which to work.

As I have mentioned many times, even sorting is a challenging part of this project. You can’t dilute a fabric’s color or hue. It is what it is. Of course, I could paint that fabric, or color it with markers, but that is not the point of the exercise.

I am often a little disheartened by the sorting, because I think I will never be able to blend the colors. Somehow I do it and get a wonderful finished quilt.

FOTY 2014 Arranging
FOTY 2014 Arranging

After a general sorting, I started arranging. Like 2013’s piece, I decided to start with white in the middle. I used and bought very little white in 2014, so all of the ‘white’ I have has another color on it. That is fine. Again, it is one of the challenges of this project.

I wanted to get all the colors on the design wall on Sunday night when I started, but that was not to be. I found out a few things:

  • There are a lot of green patches
  • There are a LOT of pink and red patches
  • There are a lot of patches in general and now I am concerned that I won’t be able to fit them all on the design wall

Still, I have started and I am determined to make good progress and get this piece off the design wall and sewn together by the end of the month. We’ll see how that goes! Stay tuned.


**I call the three quilts the triplets because I worked on them simultaneously and finished them all within about a week of each other.

Field Day Ready to Quilt!

Yes, I finished piecing the back and making the binding over the weekend. I have three projects to take to the quilter today and I am very pleased about that. I am very pleased to get these projects off my plate for awhile and can move ahead to something else.

Field Day Top Finished

I had thought to put a gold border in between the Sangria borders, but once I put the Sangria on the top and bottom, I thought the top looked finished and I was happy enough to leave it as is.

The ‘coins’ float, which is a little odd, but I kind of like the look.

I had a goal for Saturday to get the whole piece ready for the quilter. As I mentioned, I am taking two projects over and to take a third would be an added bonus.

Field Day Back Finished

I was able to achieve my goal in the nick of time. We had plans with friends on Saturday evening so I only had about 3 hours to get the piece ready. The back, as usual took me a long time, even though I used a large piece and I used up some of the leftover fat quarters.

Now I can take the third, so BONUS!

Field Day Zipper Top Near…

Field Day Top Sans Borders

I finally almost finished the Field Day Zipper top. I thought this would be the end, but I decided after looking at what I have that I wanted to add a top and bottom border. Or borders, perhaps? Making visual decisions visually

It feels like the piecing  took forever. It didn’t really take forever, because the last post, which was probably the last time I worked on it, was just June 15.

I talked about the colors and how I was afraid they would be a struggle to work with. They were a struggle. This project turned into a struggle on a number of levels. As I suspected, the colors are a little more muted than colors with which I really enjoy working. Also, the pattern, which I LOVE was just a struggle to put together. You’d think that putting a bunch of squares and rectangles together would be easy. Normally, it is, but I think I must have cut some of the pieces off grain, because the entire top was a PITA to put together. It was rippling and I have been fighting the entire time to get it to bend to my will.

Also, something about the measurements was off. Perhaps I cut something wrong or who knows? The rows did not exactly line up. I am ok with it, but still annoyed.

You’ll probably see another post about this next week once I finish the whole thing.

Box Full of Letters Back

I finally feel like I made some real progress over the weekend. I finished 2 backs, 2 bindings and almost finished a top. I spent some time on Friday sewing, which I don’t normally do and that helped a lot.

Box Full of Letters Back

The first item I finished was the Box Full of Letters back. I pecked away at it for about a week, which made it seem like it took forever. That was a frustrating feeling, because the piece is not very big. I finally finished it on Friday and that was a good feeling!

I always try to use large pieces, but somehow I end up with some fiddly piecing. I resolve not to do it again, but there it is.

I also sewed around the edge of the top to stabilize it as there will be no border and made the binding. The whole package is ready to go to the quilter. Hooray!

Box Full of Letters Top - Finished
Box Full of Letters Top – Finished

Box Full of Letters Top FINISHED!!!

Box Full of Letters Top - Finished
Box Full of Letters Top – Finished

Yes! I finished something! Not much of something, but something. It is even vaguely Fourth of July related – in color at least.

The Box Full of Letters top is finished and I am really pleased with how it looks.

I wanted the envelopes to look like they were flying away and I think I achieved that look.

BFOL Top Layout

Layout - First Pass
Layout – First Pass

I finally had a large chunk of time to make some good progress on a few projects over the weekend. Yay!

I made really good progress on the Box Full of Letters top. I think I will have a top soon.

As I said before the straight layout of blocks was too boring and it felt too confined or compressed to me. I suppose the ‘modern’ movement is affecting me, because I wanted these little envelopes to breathe a bit as well. I hadn’t any idea what I was going to do with them until I started to put them up on the wall. I had seen a quilt where the blocks were arranged on the diagonal kind of like a rocket taking off.

Yes, I arranged the colors and fabrics as I went along, but not too much.

BFOL - almost done
BFOL – almost done

After I got all the blocks up on the wall in the arrangement above, I looked at them for awhile, moving a few around and trying to imagine the final effect. I decided to go for it and began sewing. I sewed for probably 10 hours on Saturday, which is what happens when I am sew-deprived and finally get some time. I thought I would finish the top on Sunday, but I didn’t quite. I only have a few seams left.

I am more pleased with this piece than I had been. After quilting, I think I will just put a binding on it and leave it without borders.

A Few More Stepping Stones

SS Block June 2015
SS Block June 2015

I thought it had been an eternity since I wrote about this project, but it turns out it has only been about 10 days. June has flown by at mach 10 so I can’t really keep track. Since that last post, I have made at least one more  block.

I am liking the blocks better, especially since I am able to see them all on the design wall together. They look ok separately, but the secondary design really explodes into wonderfulness when I put them all together.

I have about 7 blocks now and the urgency of laying them on the bed to see how many more blocks I need to make is becoming more urgent. Why I can’t grab the blocks and walk downstairs with them is a mystery.

6 Blocks Together
6 Blocks Together

The group of 6 blocks together looks really nice. (6 makes for a more even picture than 7.) I am glad I was strict with myself on the colors, because I think it is looking good. There is a rogue red patch, which I don’t understand, but I probably will just leave it.

As usual, despite the wide variety of fabrics, I still feel like I don’t have enough to make the piece look scrappy enough. I probably need to get over myself.