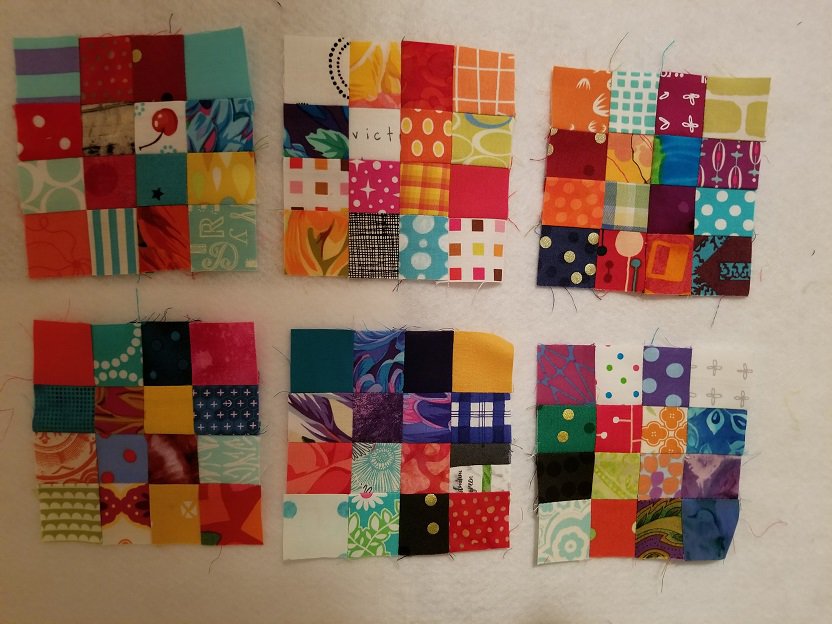
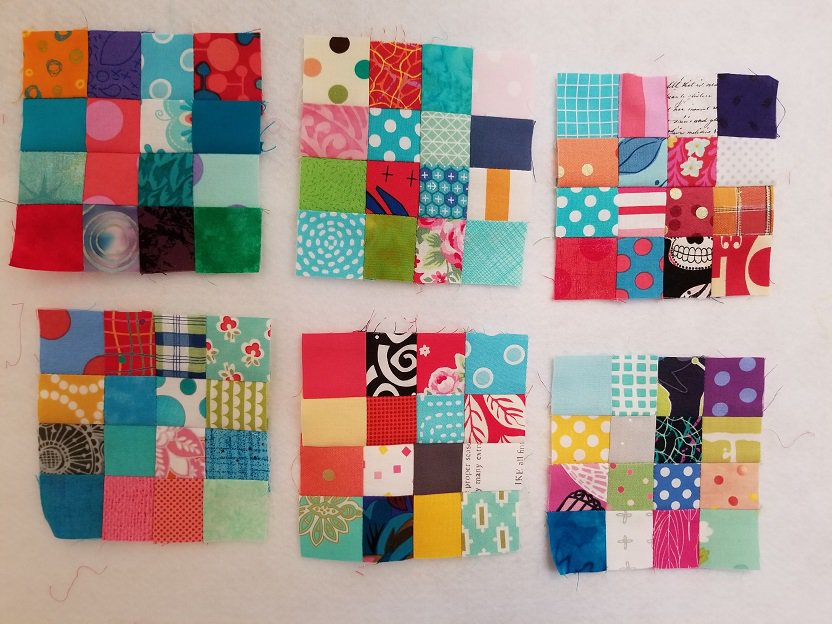
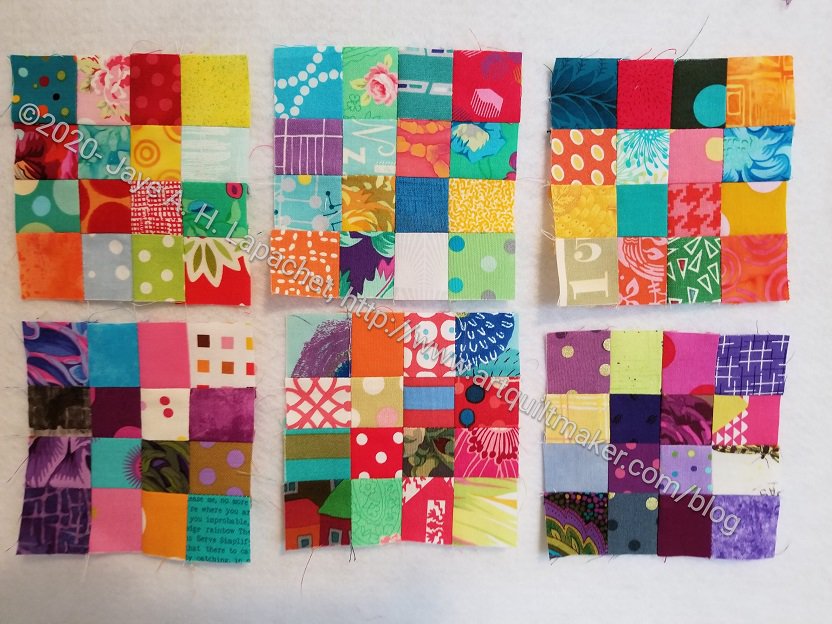
I finished all of the 16 patches I need for the 30 Something* quilt.
16 Patches n.1
16 Patches n.2
This isn’t all 42 of the 16 Patches – just a sample, but I am pleased with the way they came out. The next step is to make a bunch (30??) Churn Dash blocks. I am working my way through the various units that make up that block.
I have tons of the various patches leftover. I cut way too many, but will be using them for something, possibly donation blocks.
I haven’t decided if I am working on this as my main project or if it is still a leaders and enders project.
*I’d really like to link to this quilt so you could make it as well, but it doesn’t show up on the AllPeopleQuilt site. 🙁
Years ago, I saw a pattern in a magazine called 30 Something. It is called 30 Something, stupidly IMO, because the maker used 30s prints. I saw beyond the 30s fabrics and began cutting out various pieces I would need for the blocks.
30 Something 16 Patches
Recently, I began sewing some of the pieces together as leaders and enders.This means I get quite a bit done, but not on donation quilts.
The first step is to make 16 Patches out of the 1.5 inch (yes, THAT small) squares I had been cutting. I need 42 of these and have 24 so far.
I am happy with the progress I have made. As you can see, there are no 30s prints in my 16 patches. I need to think of another name for this quilt, but nothing comes to mind so far.
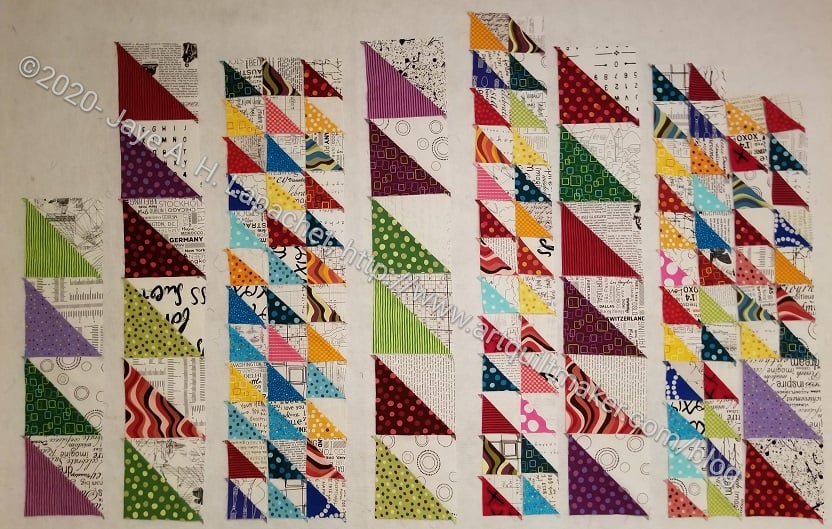
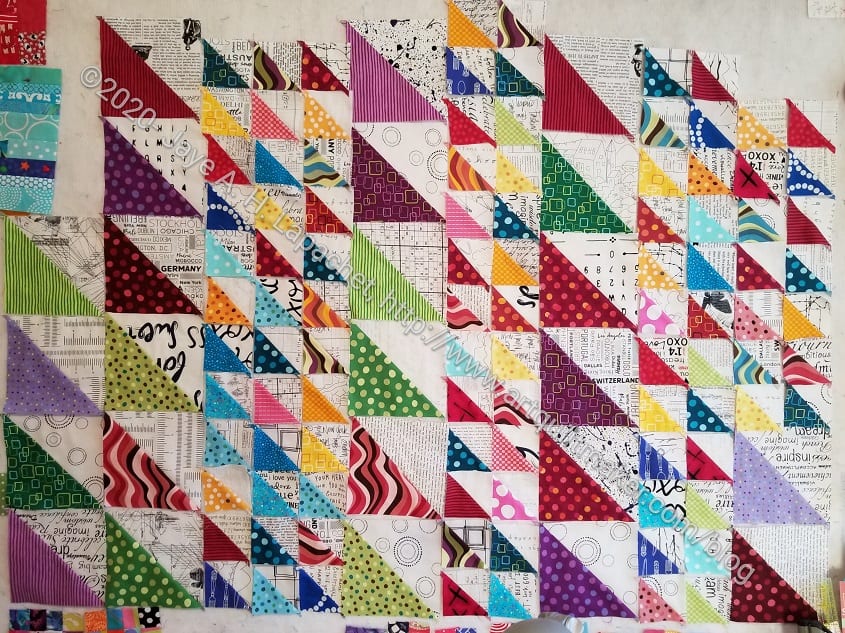
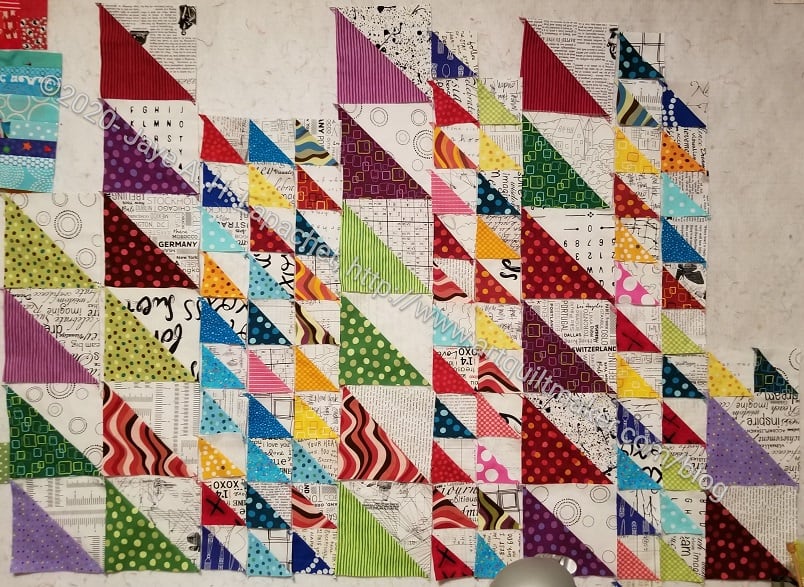
As soon as I move the X Quilt off the design wall, I moved all the HSTs leftover from the X Quilt on to my large design wall. I wanted to play around with layout a little bit.
I had to squeeze it on to my small design wall to show it to you before. I wanted to see how it would look with a little space between the columns, which is what you see above. I am not sure I like it. I kind of like the way the pieces look right next to each other.
It is also a little bit of an odd shape in this configuration. I need to think about whether it matters or not.
I have been looking at these HSTs as I sew other projects.
I think this piece looks a lot better in these fabrics than the X Quilt. Don’t get me wrong, I like the X quilt. I just think it would have looked better if I used larger prints.
I think I will probably sew it in this configuration. Perhaps I am just used to it, but I do like how the eye moves around the piece.
I finished pressing the rest of the HSTs generated from the X quilt. I have plenty to make a good sized donation quilt. I haven’t done any sewing as I still haven’t finalized the design.
Still no final design, but this is looking pretty good in terms of placement of each HST. I still want to break up the chaos a bit with some background fabric.
Despite not using leaders and enders to make donation blocks, I still seem to be generating some donation quilts, which makes me happy.
I am working on the X quilt and the HSTs at the same time. My iron is acting up so some of my lack of progress has been because of not having a working iron. I have a makeshift solution in place and am making progress again.
I have pressed all of the large HSTS and have a few more small HSTs to press. Since there are only 3 large X blocks, that limits the number of large HSTs with which I have to work. As I said before, I am thinking about adding sashing. Some of my final decision requires looking at all of the HSTs in one place. I have to see them all together and decide if I have enough for a donation quilt or if I need it to be bigger. This current layout is about 49wx35h. Kind of a weird shape, but we will see.
Pop Parade HSTs – mixing it up
I am also not sure if I want to mix up the large and small HSTs in the same column.
I laid some out together just to see what I thought. Again, I have to see what I think. Also, the layout depends on the sizes I have to work with and I haven’t delved into that problem yet. They all look like they will fit now, but the current layout doesn’t take seam allowance into consideration.
I didn’t get a lot of sewing done last week as I was preparing new material for my class. I have always had a great deal of respect for teachers, but I have even more now. Preparing new material for my students takes a lot of time.
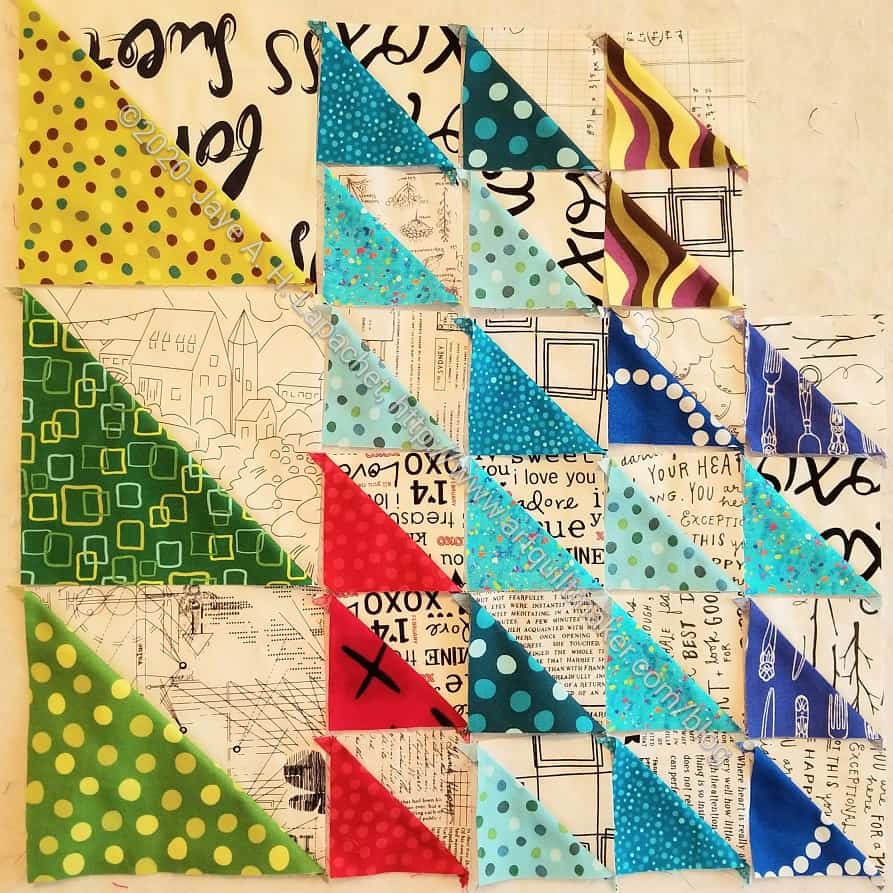
The stack of these HSTs, which are being created from cutting the lozenge blocks using the Simple Folded Corner ruler** continues to grow. I didn’t think I would be able to make any kind of good sized quilt, but I think I will be able to make at least a baby quilt. I don’t plan to lay it out like you see above. Depending on how many HSTs there are, I may add sashing between the columns.
I still have a lot of HSTs to iron, so this design will grow based on the number of pieces.
This is definitely not the final design.
**I use affiliate links and may be paid for your purchase of an item
when you click on an item link in my post. There is no additional cost
to you for clicking or purchasing items I recommend. I appreciate your
clicks and purchases as it helps support this blog.
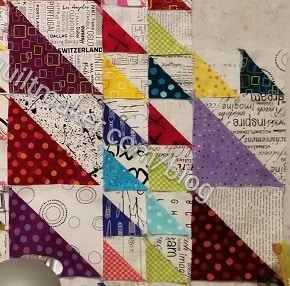
As you probably guessed from the Folded Corners Ruler tutorial, I am generating a lot of triangles. As the triangles are cut off the squares, they are ready to sew into Half Square Triangles.
Pop Parade HSTs
So, I sewed them into HSTs. I couldn’t think of a design, so I put some of them up on the design wall so I could look at them. Now I have an idea of what I might do with them. I don’t think they will fit together as is, so I have to add some sashing or something.
The picture shows only a small fraction of what I have sewn so far. Depending on how large the final piece is, I may donate it to the guild. However, I might make it a Niece-phews quilt.
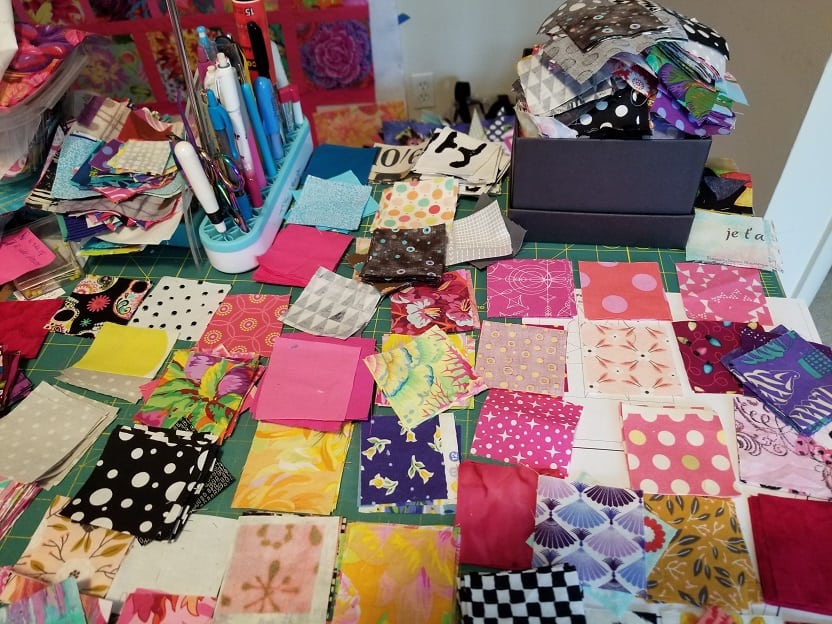
I tend to toss scraps to one side of my cutting table to cut up later. My cutting table is only about 18×24, so this practice cuts into my cutting space. In the last couple of months the pile has become huge. About 2 weeks ago, the pile toppled off the cutting table and I realized I had to do something.
I toss all the scraps into a brown paper grocery bag and decided to cut them all up into 2.5inch squares with my Accuquilt. Whatever didn’t fit into that size would become Pet Bed filling.
January 2.5″ squares
I spent a couple of Craft Nights plus one Friday while I was making phone calls cutting up scraps with my Accuquilt. Now I have A LOT of 2.5 inch squares!
In the photo, you can see that I am sorting. I have a couple of bins of stashed 2.5 inch squares. They are handy for a lot of different projects. It was from this bin that I made Scrapitude.I have also used patches from this bin for Bonnie Hunter Mystery quilts like En Provence.
Some of these need to go into the FOTY 2020 bin, but most will be used for donation blocks. I might give some to the BAM Community Giving Team for their kits.
My pet bed is full, so I need to get that to the Pet Bed team.
After several weeks of not working on this project, I got back to it during the guild’s Community Quilt Sew Day on Saturday. The top is now 22.75 x 24.5.
I have some large chunks that I worked on which are not yet attached. Working on two donation tops at once is difficult. I don’t feel like I am making progress on either. I need to finish one up so I can focus on the other.
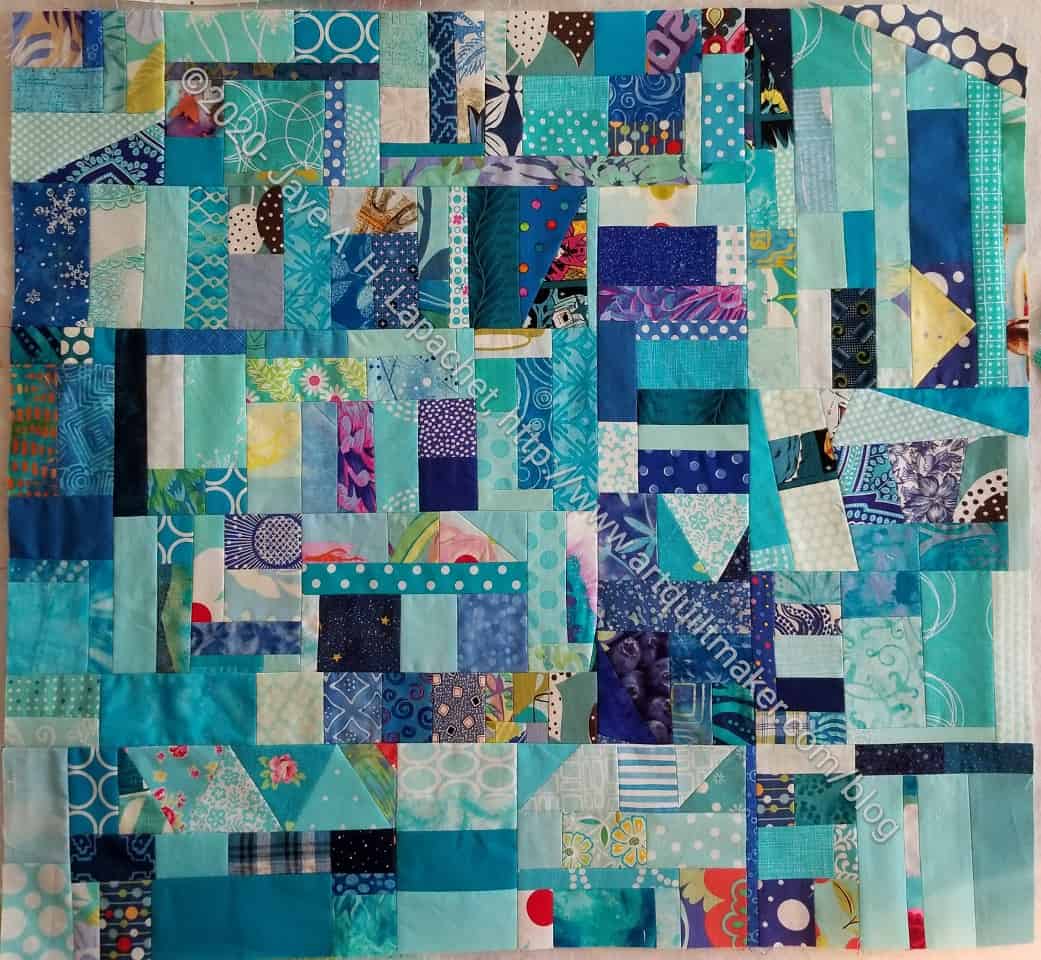
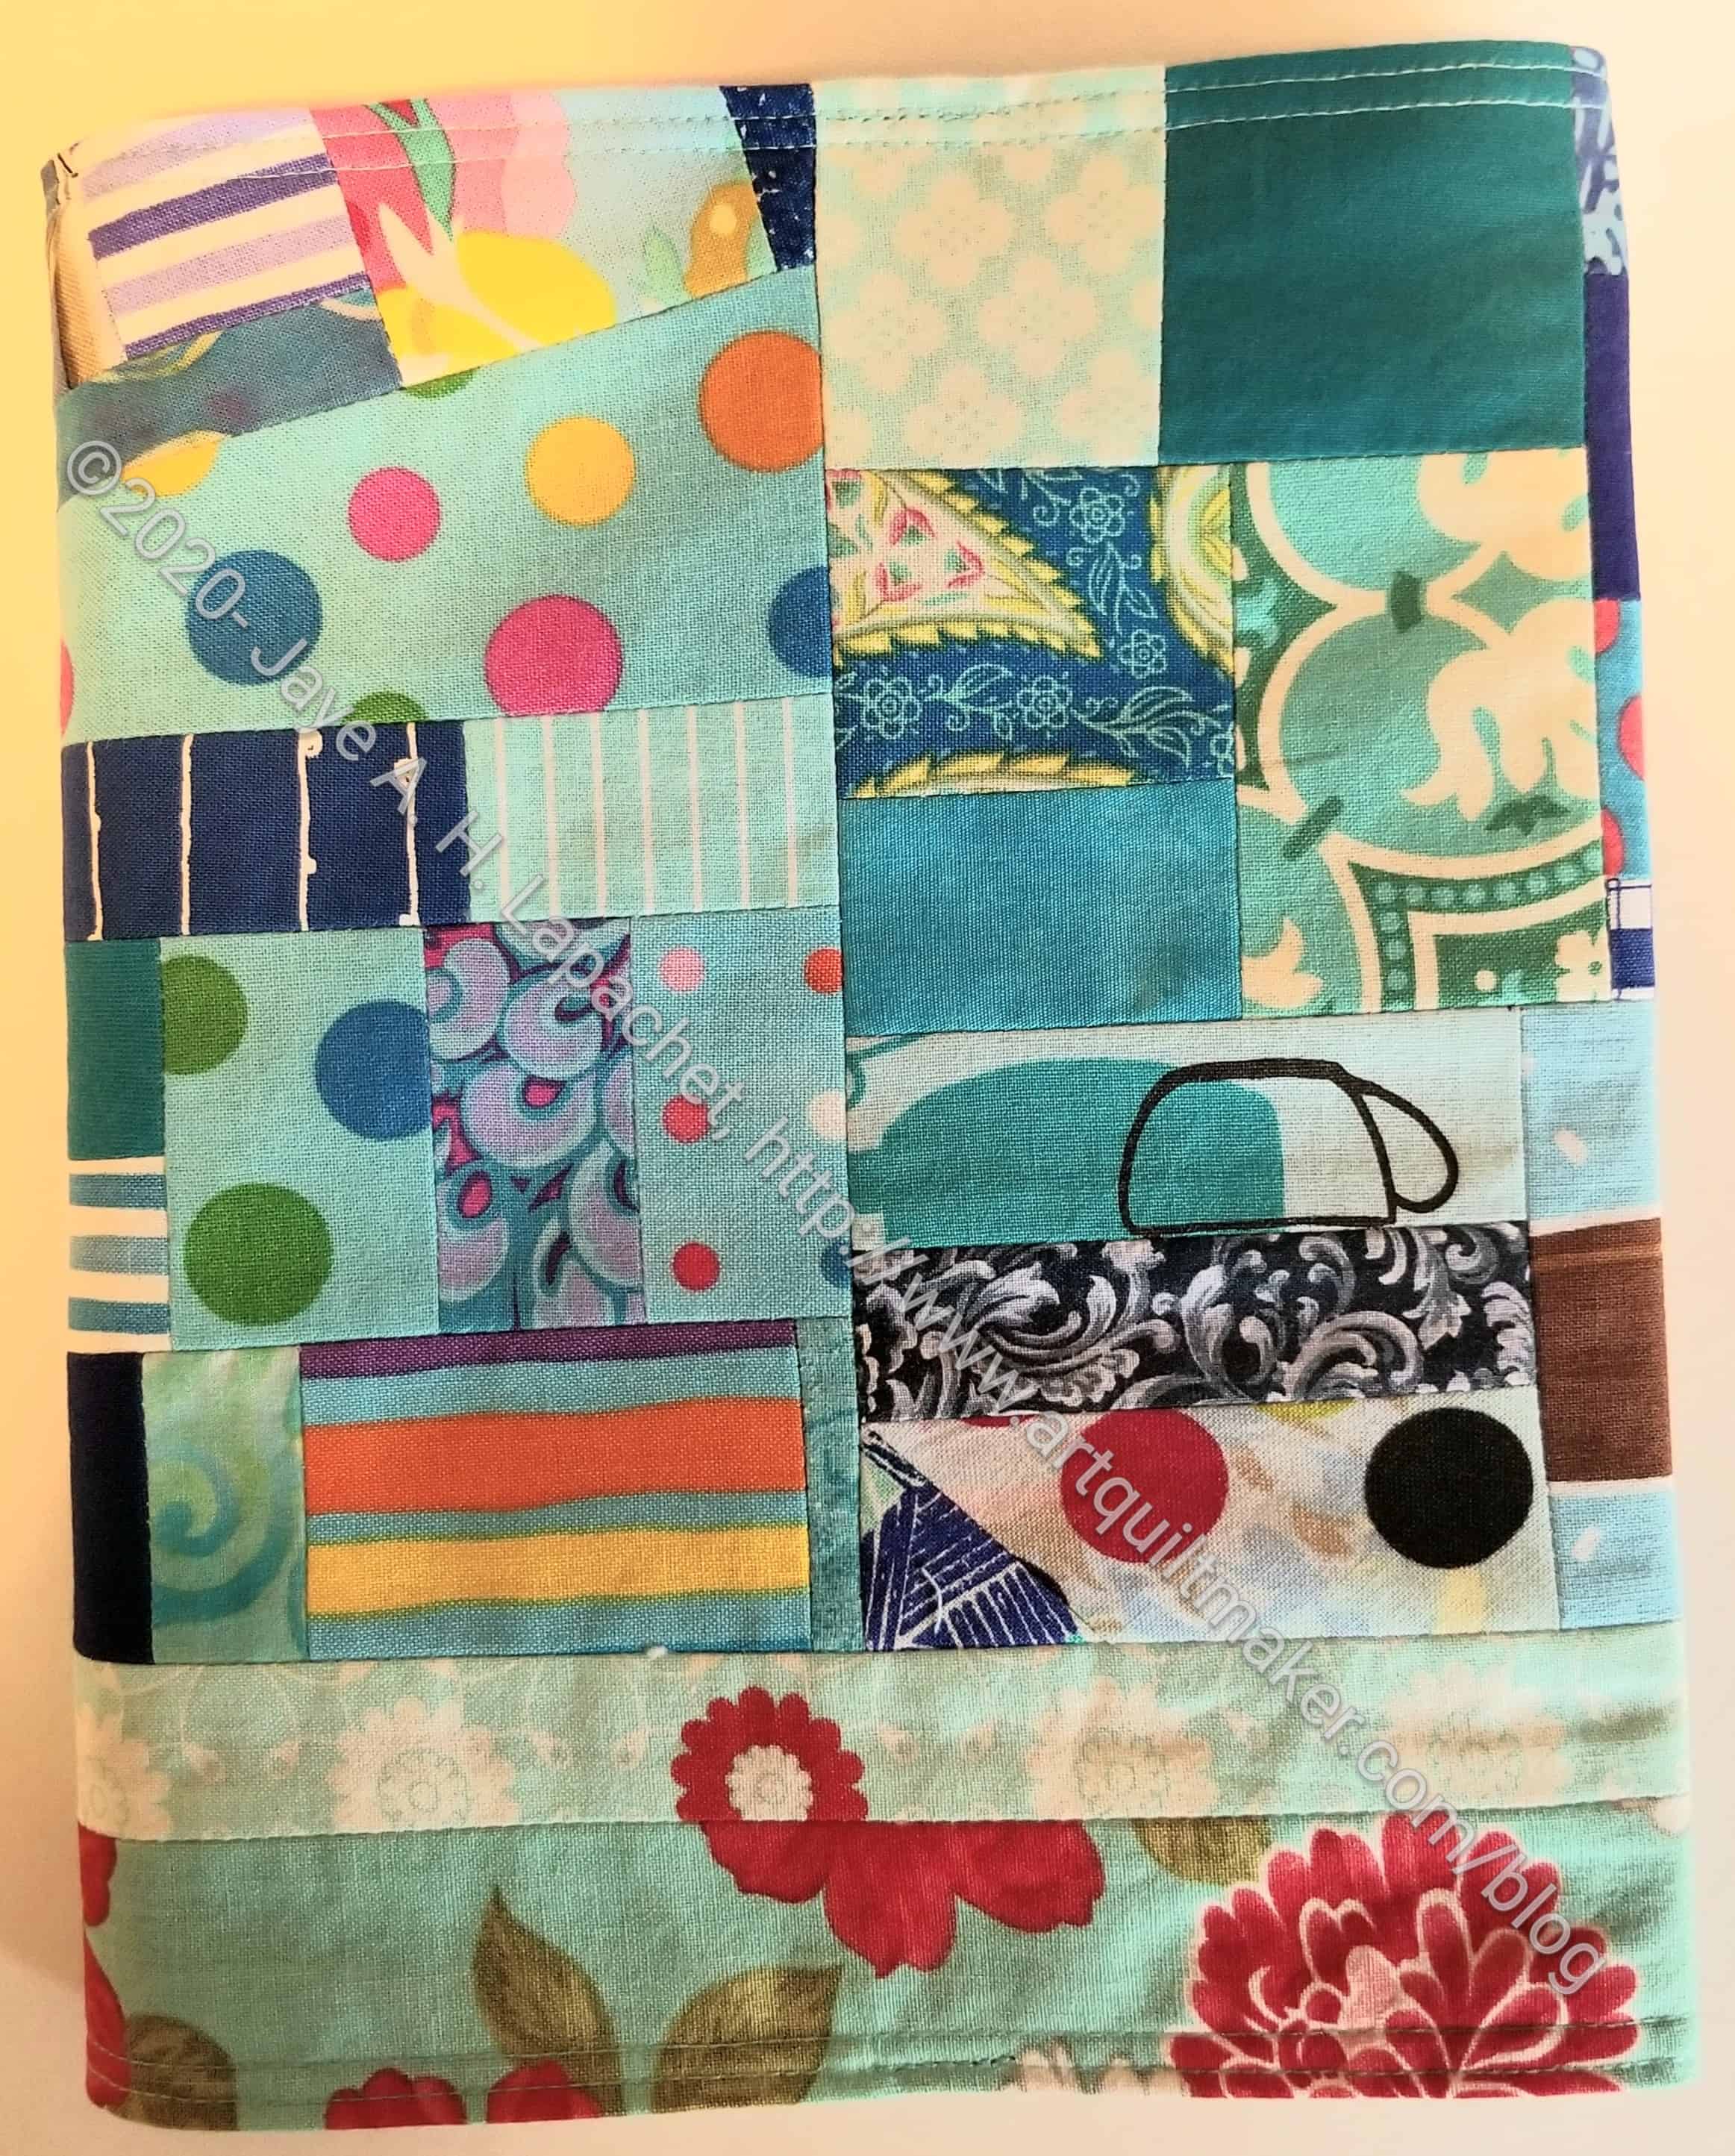
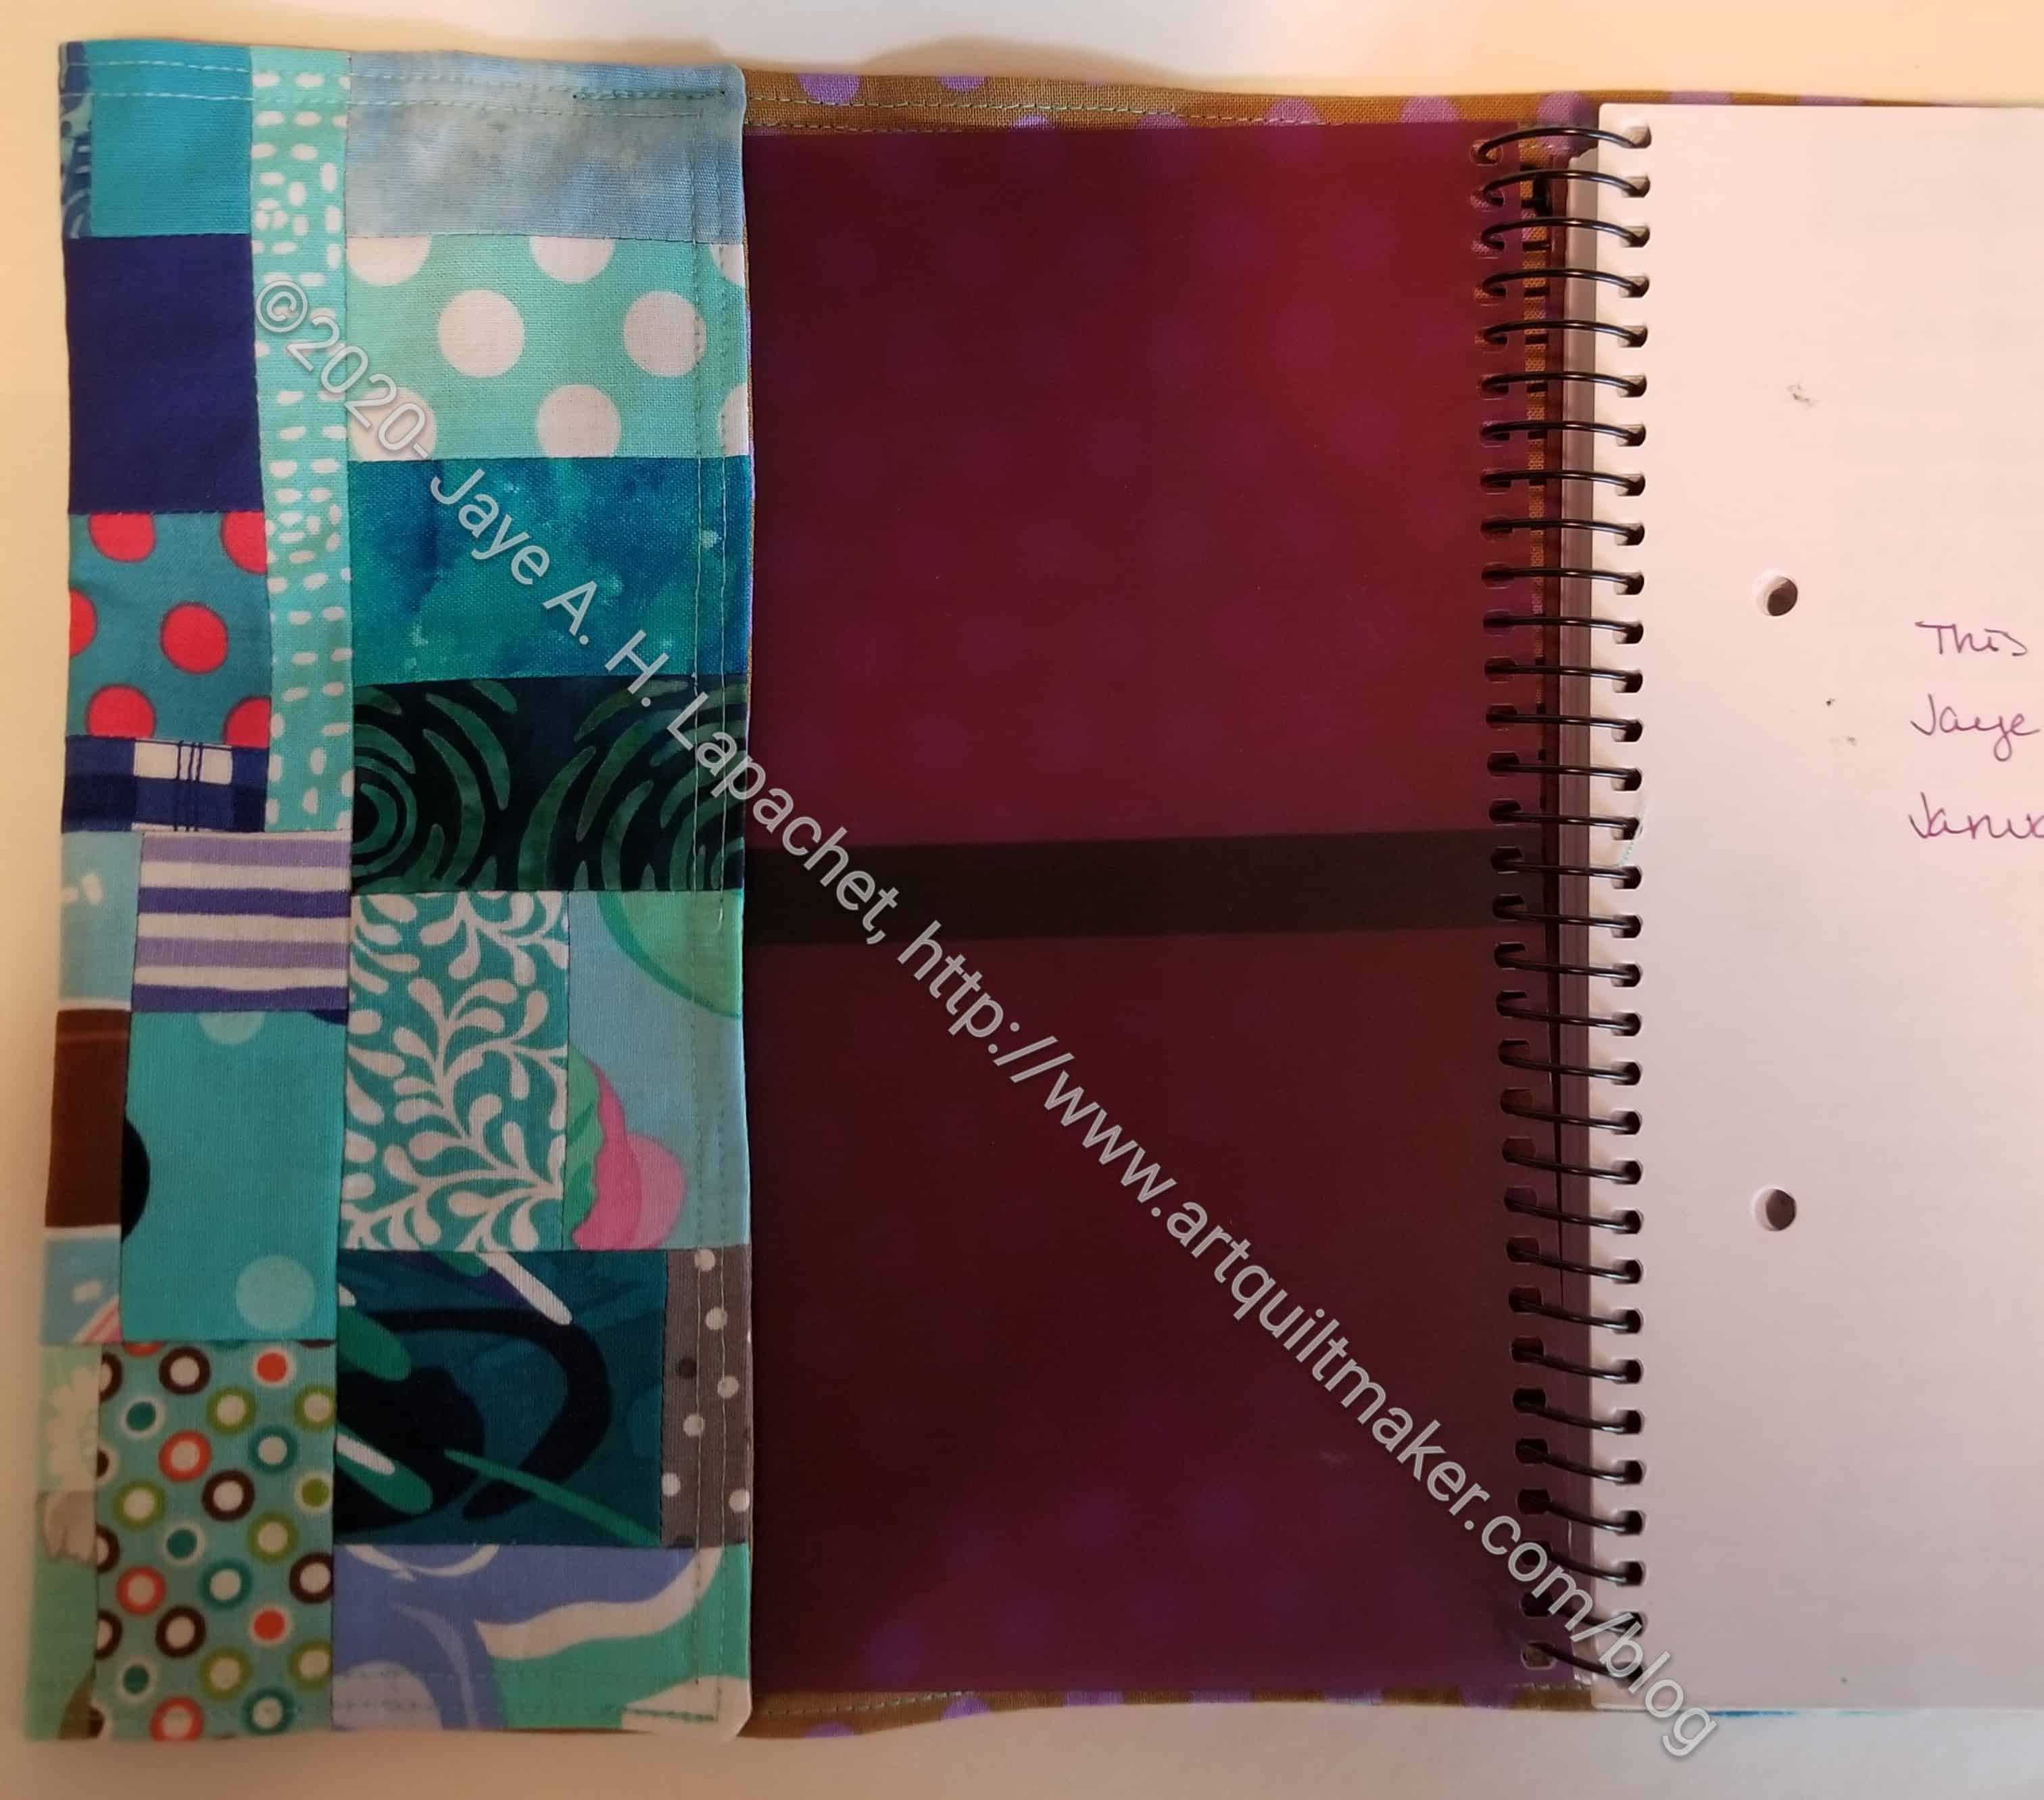
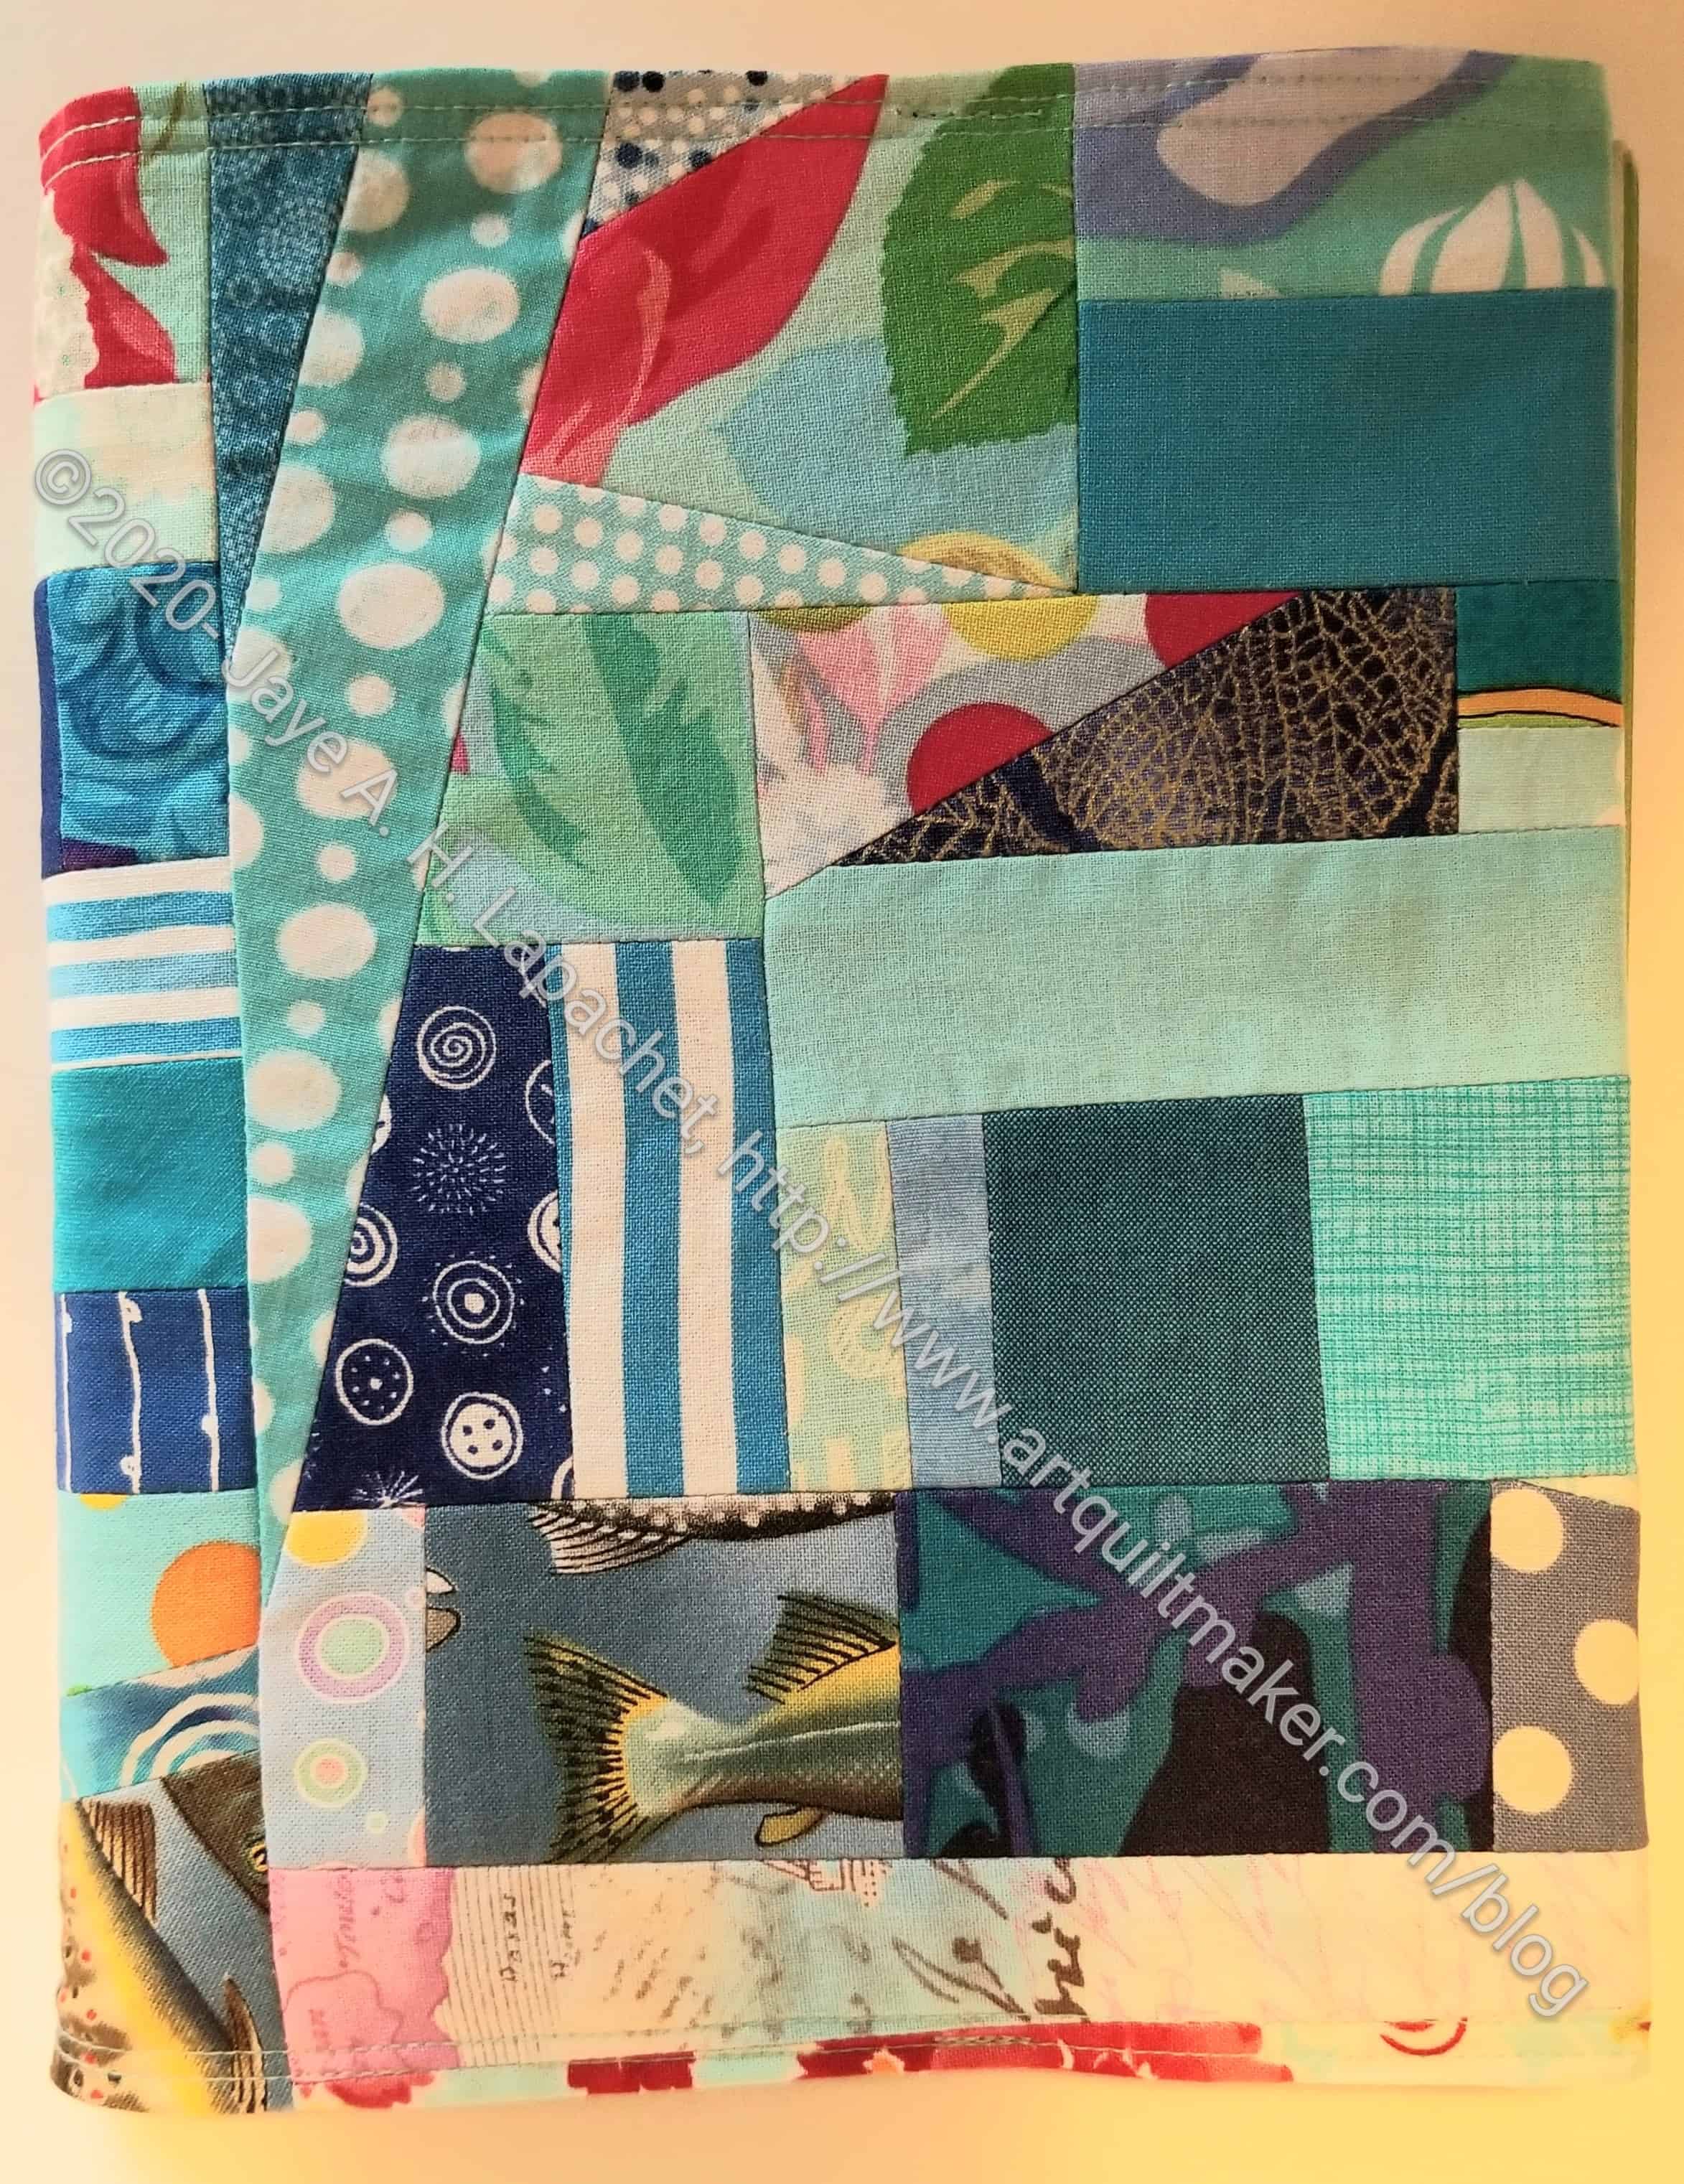
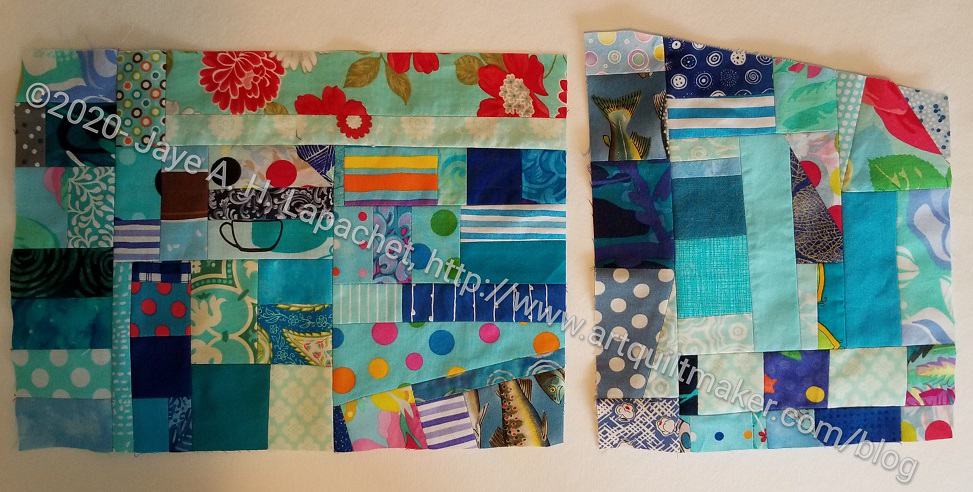
My blue scrap drawer is finally showing some signs of having some space available. I have been piecing blue scraps together, as I mentioned the other day, in between working on the Red Scribbles quilt. I finally had enough to make a journal cover, so I decided to stop and make a journal cover. I need a quick finish fix and there are more blue scraps for a Color Improv donation quilt.
Blue Improv Journal Cover – inside front cover
As also mentioned, I hadn’t thought of this as a journal cover, so the piecing is pretty random. I didn’t center any motifs for the front. This is for an older journal just to protect the pages, so it looks ok for that purpose.
As I did this piecing, I wanted to save any strips I found for more of the Color Strip donation blocks (quilts). I don’t know if I will find enough to make another quilt. If not, I can make a few blocks for the rainbow strip donation quilt I am planning.
Blue Improv Journal Cover – back
Though I am making space in the drawer there are still a lot of scraps. The scraps still fill the drawer, but are not crammed in. There is hope, in other words, that I will have enough strips for something else-blocks or a quilt.
I am trying to use scraps that are smaller than 4.5 inch strips, because of the possibility mentioned above. This means that there are a lot of small scraps becoming larger slabs until they end up as a journal cover. It feels good to see the blue drawer emptying out.
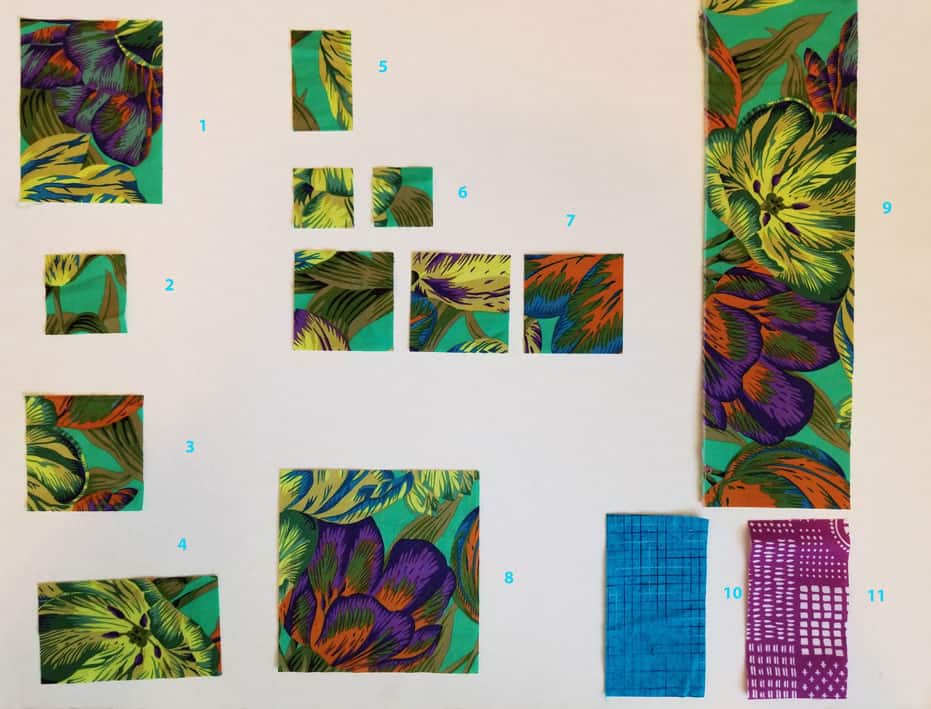
I forget how much I like some of the fabrics I have used until I see a scrap. I know I always say that there is always more fabric. I do get attached to fabrics I like and want to email the fabric companies too reprint them when I find a scrap and know it is out of print.
Blue Improv Journal Cover -top
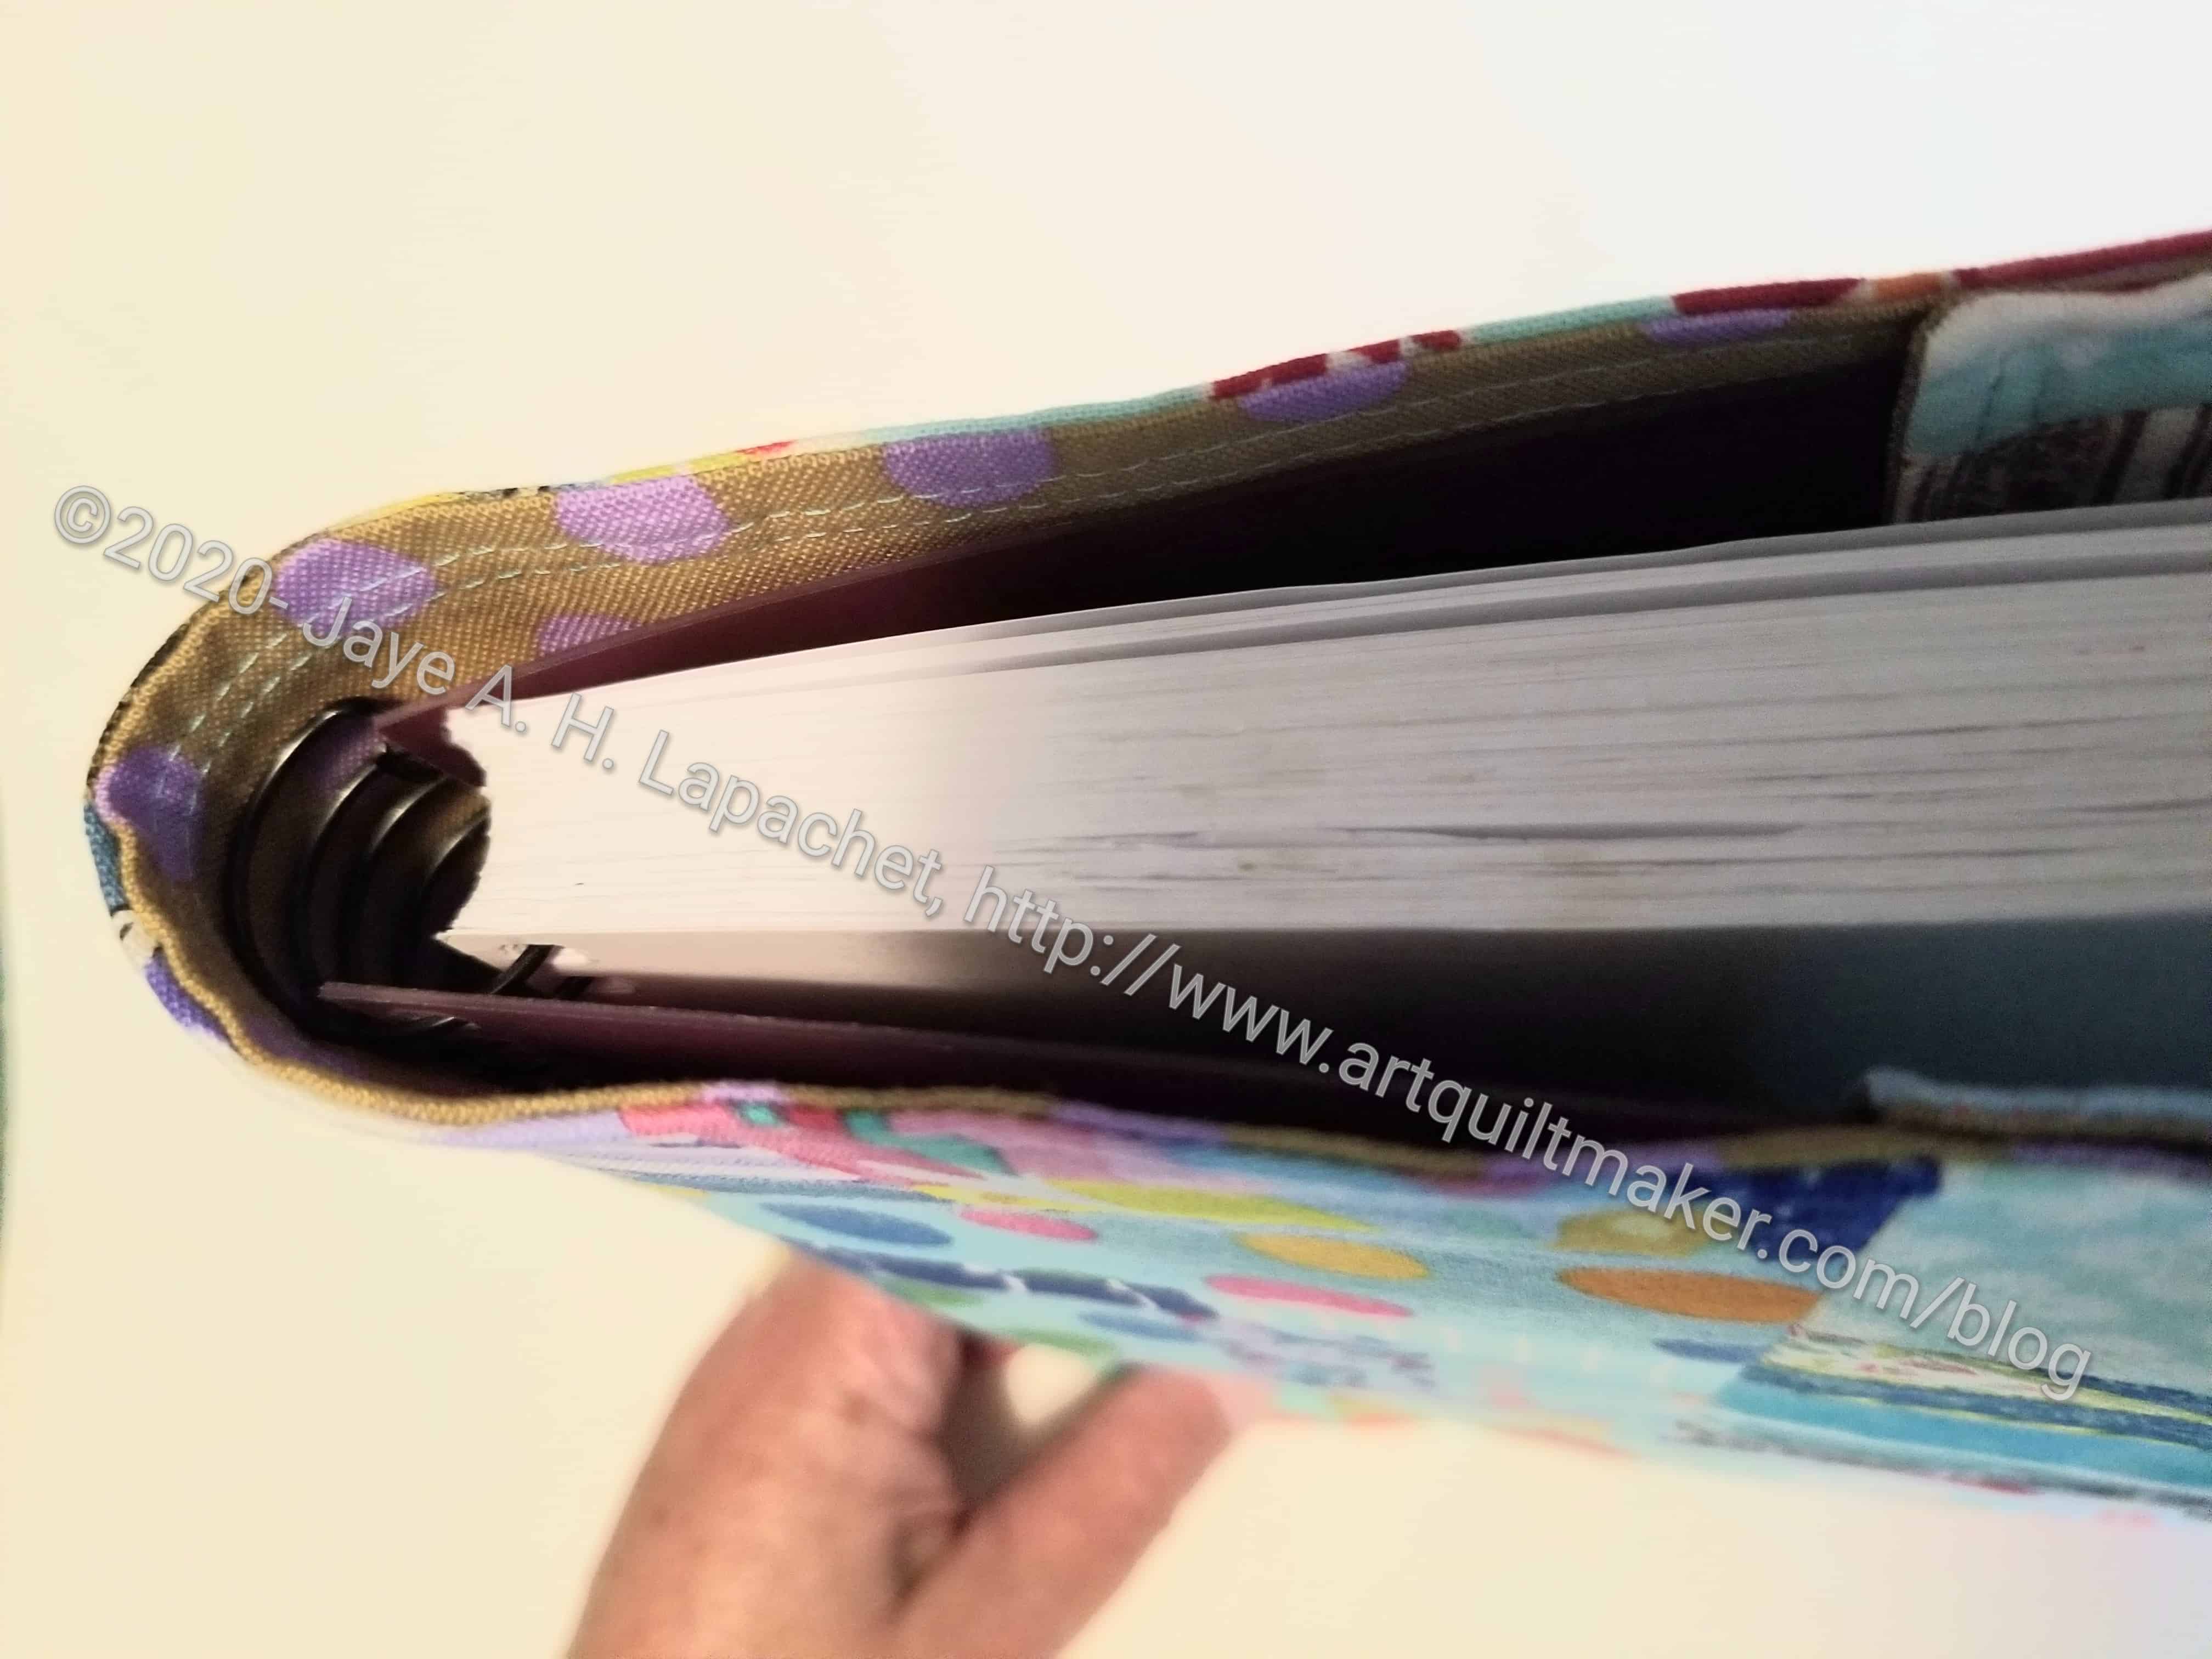
I had a problem (or my own making) with this journal cover. It is slightly too large. By the time I noticed, I wasn’t about to rip everything out into order to trim it.
I thought the slab was the correct size, but I think I forgot to think about seam allowance for the last bit of piecing. Oh well. Things happen.
In between working on the applique’ for Red Scribbles, I have been piecing blue scraps in an improv style. I am vaguely thinking this is the start of the next Color Improv quilt, but we’ll see.
I am working very hard at not using a lot of strips that I can use for more of the strip blocks like I made for Blue Strips #2. It isn’t working 100% as I do resort to using some occasionally.
I am up to 21 blocks for my latest Color Strip donation quilt. I plan to make another 14 so it is slightly larger than the red and orange donation quilts.
Regardless, I have barely made a dent in my blue scraps. Of course, I generate them at a faster clip than other colors, except, maybe, pink, but still. I’d like to be able to see progress. Perhaps I will be able to make 4 quilts out of this drawer.
They went very quickly as I worked on Frolic the other day. There were a lot of small fiddly seams to sew on Frolic!, so I needed leaders and enders. They come together very quickly once you start and some strips I have are very long, so I can cut 2-3 blocks out of a strip set.
One of the things that was in the first Frolic! clue was a mention of Bonnie Hunter’s Scrap User System. I had forgotten about her system, but was reminded when I clicked on the link and started reading the article.
2019 Cutting Chart
I don’t do exactly what Bonnie does, but I do a version of it. As I have mentioned, I cut certain pieces out of every piece of fabric I use or buy for future projects. As I mentioned the other day, this sometimes comes in handy when I work on a project that needs certain unit sizes that I have cut. This is the point of Bonnie’s system.
My cutting varies from year to year depending on what projects I have going, as I have said. I like the idea of cutting up all of my scraps into usable pieces, but it just isn’t practical for me. I like the compromise I have made. It breaks up my cutting, as I have also said. I have the pieces I need for my next projects ready to go when I am ready to sew. I have something (cutting up pieces of fabric) I can do when I have a few minutes free.
I also like having random shapes and sizes of fabric in my scrap drawers. I would be able to make interesting journal covers or the improv donation quilts without them.
I think the key is to think about different systems and make them work for you.
Valerie made a comment about the White Strip Donation top the other day and it got me thinking about successful scrap quilts.
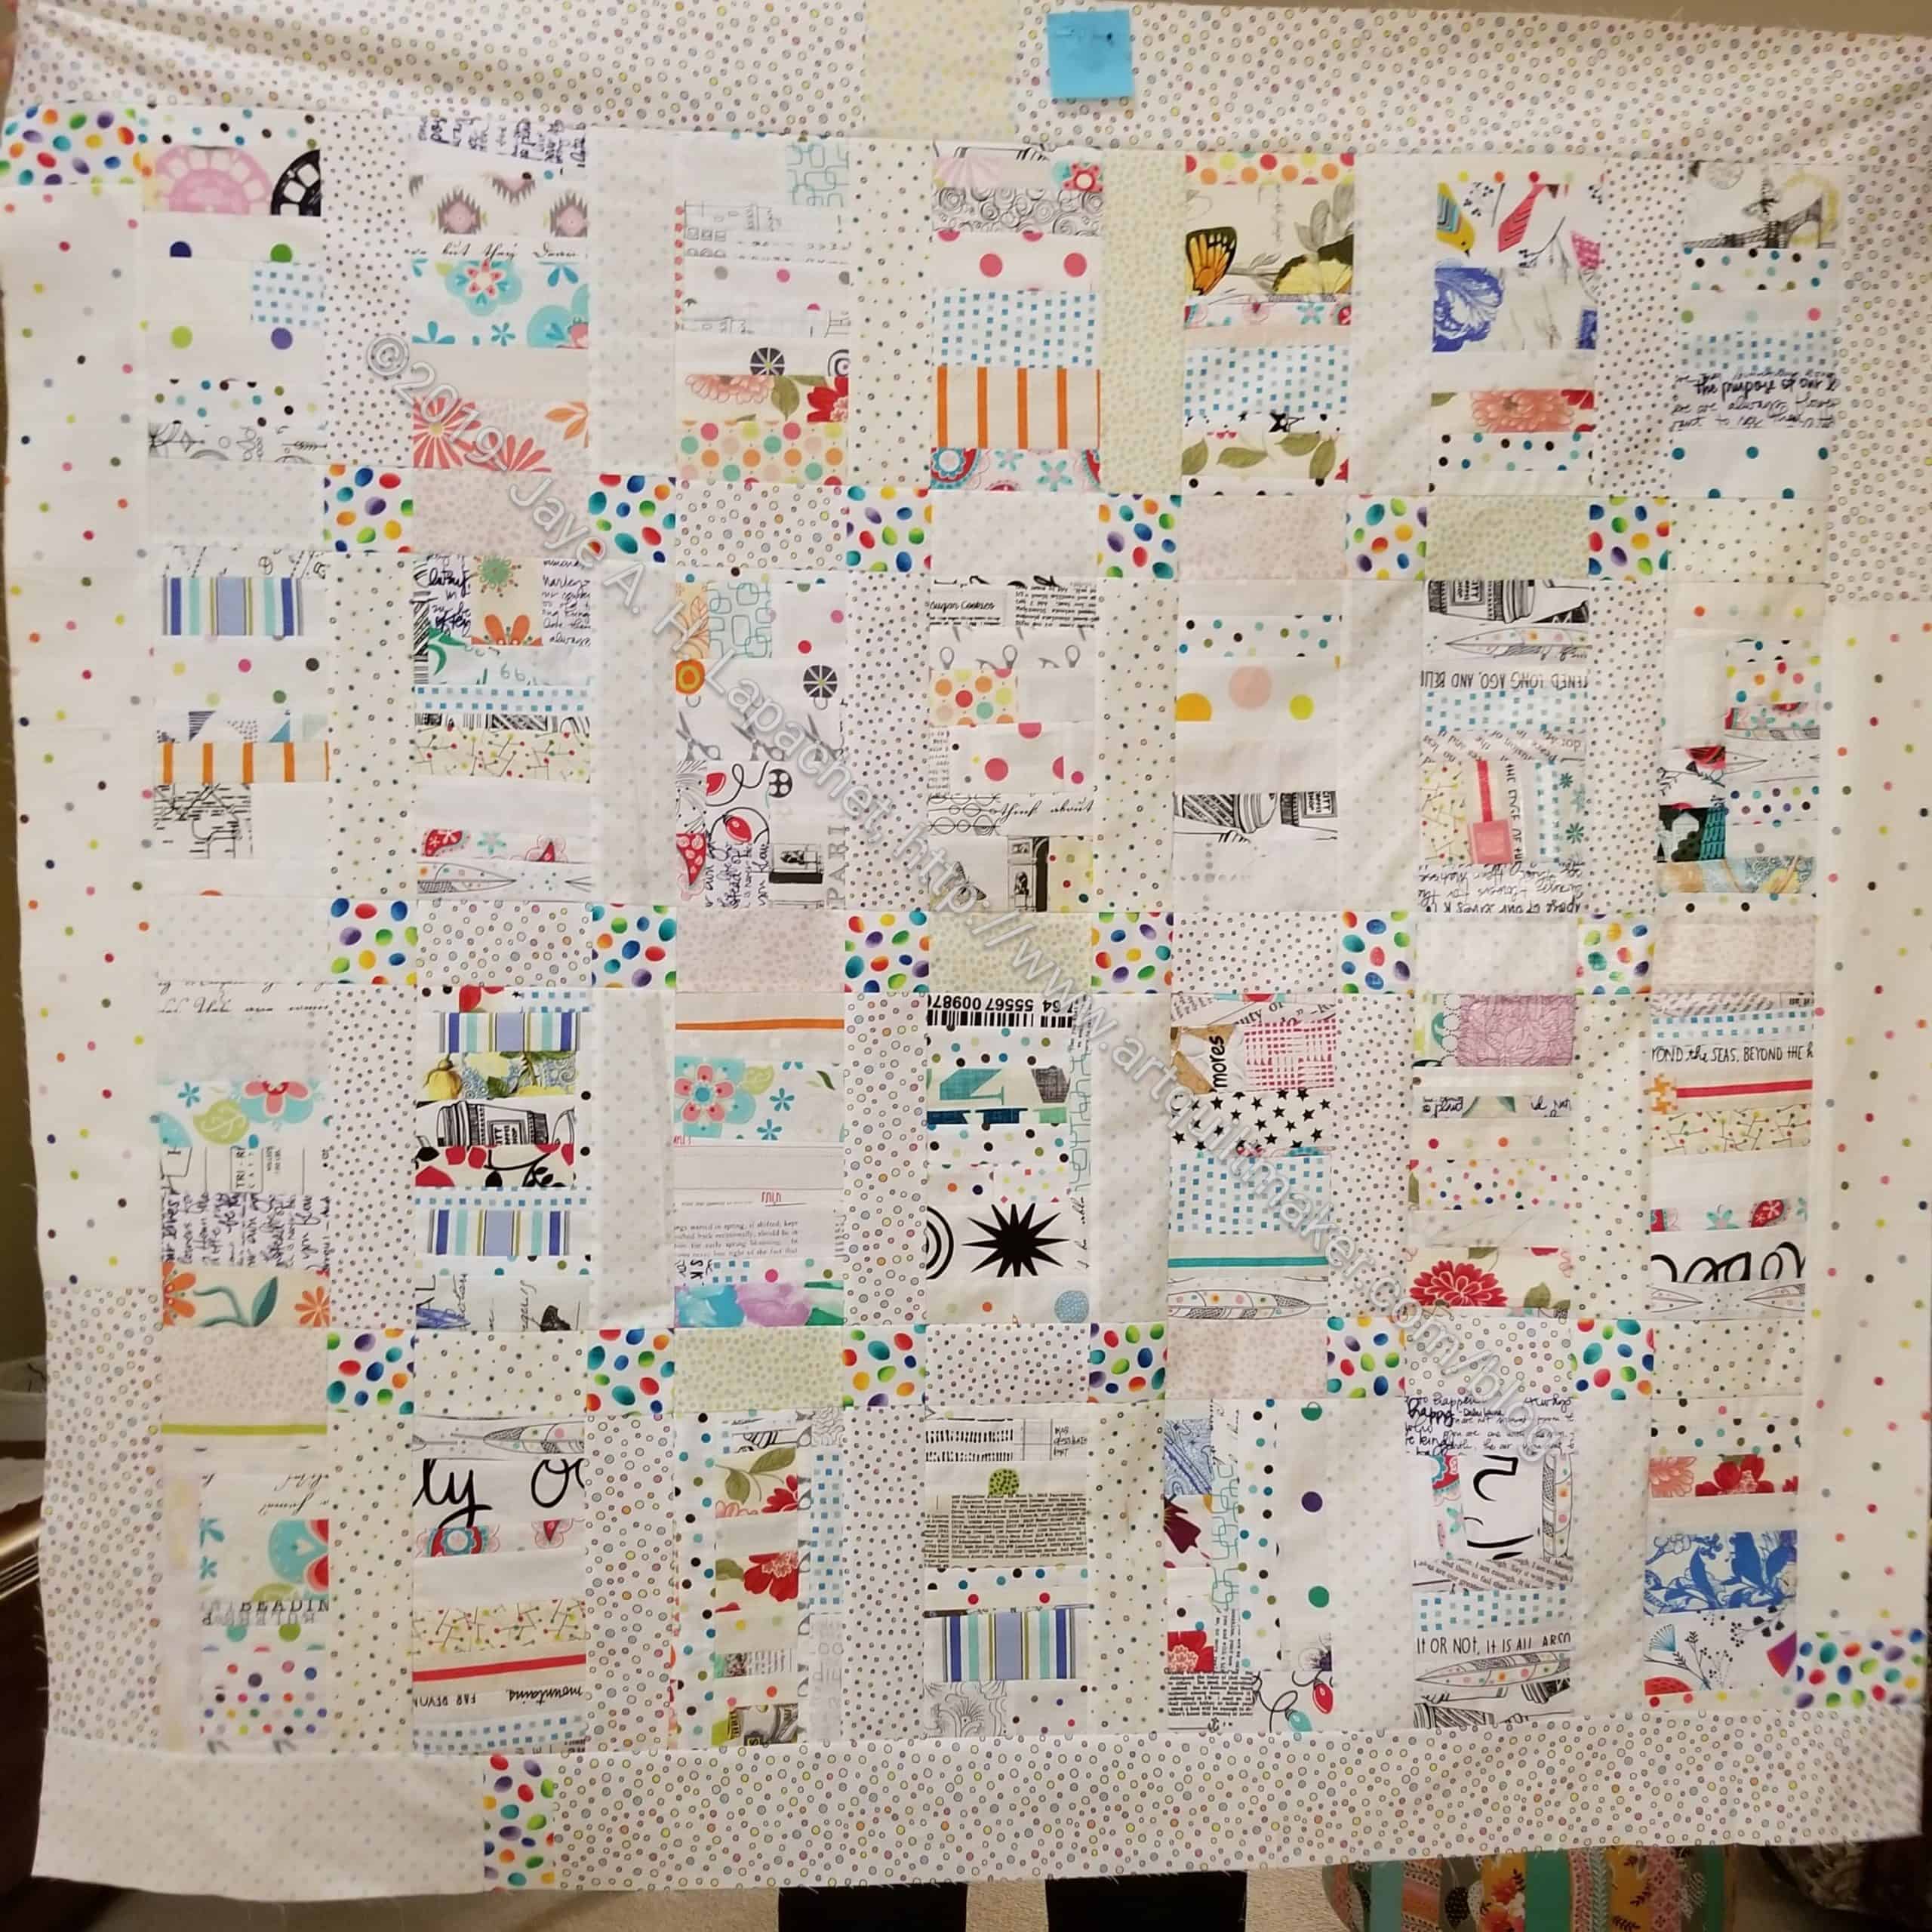
White Strip Donation Top: finished
I think the strip and improv donation tops have been successful because of the consistency of color used. Primarily, these quilts are monochromatic. I say primarily, because fabrics often have different colors on top of a primary color, so other colors are included in monochromatic quilts. Also, for many of them, I have used a different color (complimentary, usually, though neutral as well) for the sashing and border.
I have used a different color as sashing or border to provide contrast in the strip quilts. The White Strip Donation Top I recently finished has a different look. I used fabrics with a white background for all the pieces. Readers can see some of the other colors as they dominate the image (click on it to see it larger and get a better view), but the overall look is still white.
I often worry about the successful color selection of “paper bag” scrap quilts. Many find it fun to grab a piece out of a paper bag and use it without thought or consideration. I find this method of selecting fabrics to be incredibly stressful. I like to carefully select my fabrics. In that way, I feel like I have a better chance of a successful final project. I don’t want to spend time on a quilt that ends up ugly.
Scrapitude Carnivale Finished
Making the Scrapitude quilt was an exercise in faith. It was a mystery quilt so I had no idea how it would come out. Often, I wait until the end to see the finished product, but this time I stuck to the schedule. I still carefully selected my fabrics and was careful to use the same type of prints for the background-dots on white.
I love the way this quilt came out and I do enjoy looking at it. I wonder, though, when I look at it if I should have included the blacks, dark greens and some chocolate pieces? I like all the fabrics I chose.** I often think of making another version of this quilt and making the changes I wonder about.
I think carefully selecting fabrics even if you are grabbing from your scrap bin is really key to a good looking finished quilt. The quilt will look like your style. You will like it and you will enjoy working on it.
** I think it is absolutely key to only work with fabrics you like. Whether it is the brand, the designer or the colors, life is too short to work with fabrics that make you cringe.