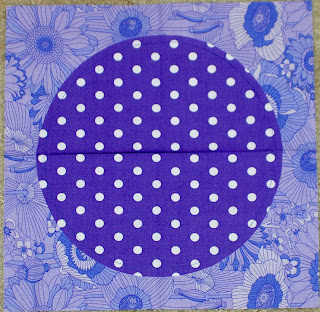
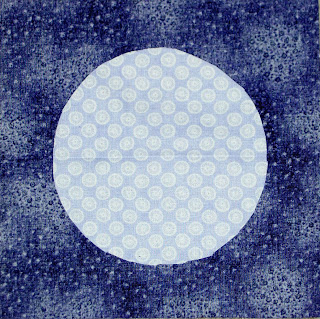
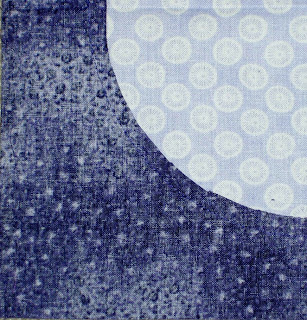
In the previous post about making bullseyes, I left you ready to sew the circles on. Tips on appliqueing the circles to the background:
- use a quarter inch foot.
- start sewing less that a quarter inch from one of the folds. This ensures that your stops and starts will be covered when you sew the pieces of the bullseye together later.
 Then you sew. Once you sew the circle on, you get the finished product pictured above.
To cut out the back, carefully separate the top and the back of the block. Pinch a little bit of the back, inside the sewn line about a quarter inch from the sewn line. Make a small cut, being careful not to cut through to the front. Cut around the inside of the sewn line. I use a pair of applique scissors, which help to protect the front from cutting through.


Its really good to see how you co-operate with friends on these projects, and to follow your links to some very interesting people.
I wish I had your eye for colour….sigh.
It is really fun to cooperate with friends. I enjoy working on my own as well, but I learn so much working with other people and that makes it worthwhile.
Everyone has their own sense of color and I think it is really important to go with your gut and not let doubts question your gut reaction. You may be able to develop your confidence by combining colors in smaller pieces (postcards or 8×10). I also keep a color wheel handy and refer to it periodically if I want to spark something up.
Remember there is always more fabric. 😉
Thanks for reading!
are they just raw edge on the top?
Hi SuperMom!
Thanks for reading. The circles are raw edge. I sew 1/4 from the edge around the circle to keep it on. I have done two (to completion) and there is raveling, but no structural damage.