This is a thinking girl’s tutorial to making flying geese.Knowing how to make Flying Geese allows you to make Sawtooth Star blocks, Dutchman’s Puzzle blocks, borders and other parts needed for your quilts.
You are going to have to use the technique with your own measurements to make the geese that fit your project. There are many other ways to make flying geese.
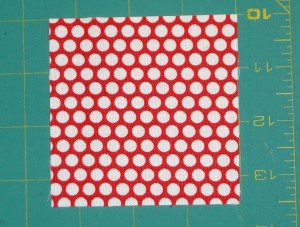
This fabric will be used for the ‘wings’.
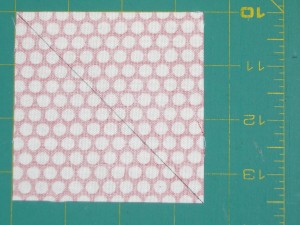
Turn the squares over and draw a diagonal line from corner to corner. You will need to do this on all of the squares for your Flying Geese.
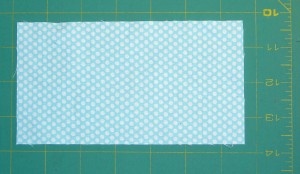
Cut background, or goose, fabric.
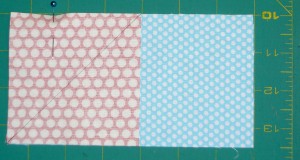
Lay first square that will be a wing on the goose (background) fabric and pin. Make sure the pin is out of the way. You will be sewing on that drawn line, so you will need to pin far enough away so the pin doesn’t interfere with the operation of the machine.
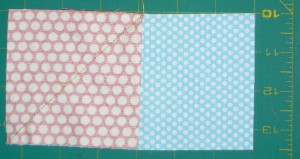
Sew along line and trim threads. I use a foot that has an arrow on it. I can line that arrow up with the drawn line and sew away.
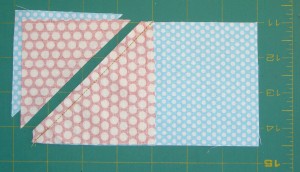
Trim 1/4″ through the wing and the goose away from the sewn line as shown above. Press the wing so the front of the wing fabric is showing.
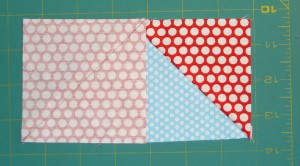
Place the second wing on the other side of the background fabric.
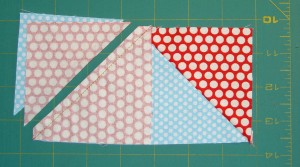
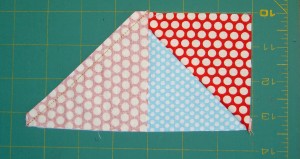
Sew and trim as above. Sew so that you cross the previous sewing line.
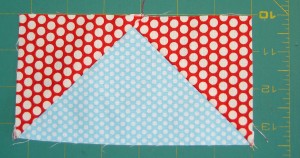
Press back the 2d wing and, voila’, you have a Flying Geese element.
You need four of these to make a Sawtooth Star or eight of them to make a Dutchman’s Puzzle.