San Mateo County Fair 2017

The Fair is held in June and with the YM’s broken ankle and a big new client, it took me awhile to get this post together. Here it is.

San Mateo County Fair Prizes 2017

I was tempted to call this post 4 Entries, 4 Prizes, but I thought that might a bit too much self congratulation. It is true, however. I entered four items into the fair and received four prizes.

FOTY 2015
FOTY 2015

SIL and I have determined that the way to get prizes is to enter items into the non-quilt categories. I received monetary prizes for everything but the quilt, which received an honorable mention and more criticism on my binding as well as criticism that my seams don’t match. I was annoyed at that since there was maybe 2 seams that didn’t match. I work very hard on my piecing so it looks good. I suppose they have to find something to criticize. The point about my binding was grudgingly well taken. I had no idea what they meant, but SIL showed me what she thought they meant and I took her advice to heart when I did the binding on the Peacock.

Apron - 2017
Apron – 2017

I need to make another apron, so, perhaps, I will wait and enter that in the fair in 2018. In fairness, my niece has been waiting for this apron, so it might be a little annoying for her to wait another year. Perhaps I’ll make two.

The fussy cutting on the apron was worth it. There was a comment that they really liked the way I used the fabric. They also liked it that I finished the seams.

California Shirt with ribbon

They did not like that I did not finish the seams on the California shirt. I kind of knew that when I was working on it. I wanted to make French seams like I do on the pillowcases, but just didn’t do it.

Now I want to make another shirt with French or finished seams. It might be a good way to learn to use a serger.

I have lots of pictures of exhibits to show, so I’ll see about writing some more posts on the Fair in general.


EPP Progress

Half Hexie Project - June 2017
Half Hexie Project – June 2017

I have to admit I am losing steam on this project. I’d like to finish it and get it over with, but that means I have to work on it and I haven’t been.

I kind of screwed up on the side I had designated as the definite edge (left side). I need to make one side and edge and put the triangles on so I don’t put a star where it shouldn’t be.

I am feeling the urge to add some more stars so perhaps the time is coming soon.

Amy’s Color My Quilt

Yes, this appears to the be the week of Color My Quilt.

Amy's Color My Quilt piece in process
Amy’s Color My Quilt piece in process

I decided that I would start work on Amy’s Color My Quilt piece right away. I used it as leaders and enders while I sewed fabric pieces that didn’t require a 1/4″ foot. It was a good plan as I have made enough progress to hand it in today even if I do nothing else.

Don’t get the idea that I was doing a shoddy job. I was eyeballing a seam allowance rather than using the 1/4″ foot guide so I could make progress, but not being shoddy. If anything most of the seam allowances are larger than 1/4″.

Of course, I want to do more. I think it needs more blue. If I don’t do anymore, I’ll be happy and not embarrassed to give what I have to Amy.

Color My Quilt WOW

The BAMQG meeting was….sometime in the recent past. I have a lot going on and can’t quite remember.

Karen M. Color My Quilt

Anyway, one fabulous thing that happened was that Karen M brought her finished ‘Color My Quilt’ piece. I thought it looked fabulous. She talked quite a bit about how she put it together and where she added strips and bits and pieces.

Keeping the colors in the same family with a bit of spark really made this quilt come together.

Karen was asked to do a workshop on teaching people to put their own pieces together. She may do a hands on tutorial at the next meeting.

MS Color My Quilt

Michelle's Color My Quilt
Michelle’s Color My Quilt

The Color My Quilt project reared it’s lovely head again and I got busy making something for Michelle. My goal was to use my scraps, though I was determined not to skimp and paw through the fabric closet if there were no appropriate scraps.

One of Michelle’s words was shiny and I found some fabric that had a lot of shine, so I grabbed that. I also found some perfect purples. I was embroiled very hard in another project and this little piece allowed me to play a bit.

More Knitting

Since I finished the last scarf, I have started another one. Since I took TFQ to some knitting stores a while ago, I have been wanting to try some Madeleine Tosh yarn.

Since I bought the bamboo yarn and started that scarf on a whim, I didn’t try the Madeleine Tosh yarn then. I couldn’t find any Madeleine Tosh yarn that appealed to me at Monarch Knitting, so I bought some other lovelies.

Madeleine Tosh Night Hawk Scarf

Finally I found some Madeleine Tosh yarn that I felt like knitting and started in. I don’t remember starting my first projects (about a zillion years ago), but my process now is to knit, rip out everything, knit some more, rip a bit, then get a handle on everything and knit like a crazy woman.

My first issue was that I didn’t like the curve (left sample in photo). I cast on pretty tightly which created a curve. I didn’t want to rely on the weight of the rest of the knitting to straighten it out. My SIL suggested casting on with larger needles. I did that and the next sample was great.

I made up the pattern, which was to purl 4-5 rows to keep the edges from curling, then to purl 5, knit 35 and purl 5, again to keep the edges from curling.

I really like this yarn and will definitely use it again. I like that it doesn’t stretch much, but is springy. I also like that it doesn’t have any acrylic in it.

Book Review: NY Beauties and Flying Geese

New York Beauties & Flying Geese: 10 Dramatic Quilts, 27 Pillows, 31 Block PatternsNew York Beauties & Flying Geese: 10 Dramatic Quilts, 27 Pillows, 31 Block Patterns by Carl Hentsch

I am a fan of both Flying Geese and New York Beauties. The recent combinations of the two that have been cropping up on Instagram are very appealing. While I have about a thousand projects on my want-to-do list, a block or two inspired by these patterns moved up higher when I saw the pillows on the front cover. I am reluctant as I can see myself trying one block and then getting into the “what if” cycle of creation, like I did on the Carpenter’s Wheel.

Yes, I bought the book on impulse after seeing a review and some sample blocks on the Sew Sweetness blog. Once I had the book in my hands I found it to primarily be a project book. The book has a one page, illustrated table of contents that focuses on the projects, but also includes brief sections called “A Note from Tula,” “Introduction” and “The Basics.” At the end there are sections called “Block Index and Foundation-Pieced Arc Patterns.”

“A Note from Tula” (pg.4) is a homage to Carl and his process, which differs from hers. The gem on this page is “Carl has created quilts here that are aspirational. At a time when beginning quilters are becoming more confident and longtime quilters are indulging the desire to make quilts that take full advantage of their skills, here is a book that asks the maker to see more than boundaries and categories, to think beyond the visual choices, and to make something exceptional.” (pg.4)

Carl writes the introduction (pg.6) and admits to being relatively new at quiltmaking. He also tells us that he loves paper piecing. I really like his idea of a book that allows quiltmakers “to create quilts that had standard building blocks – pieced arc, plain arcs, and fans – that could be mixed and matched in a variety of ways.” (pg.6) In my opinion, this is the way all quilt books should strive to written. This method helps the quiltmaker develop skills while creating something beautiful. Projects are great, but techniques give people skills to move beyond the projects and soar into their own designs. It is interesting to read Tula’s note and Carl’s introduction and note the different perspectives on the same process.

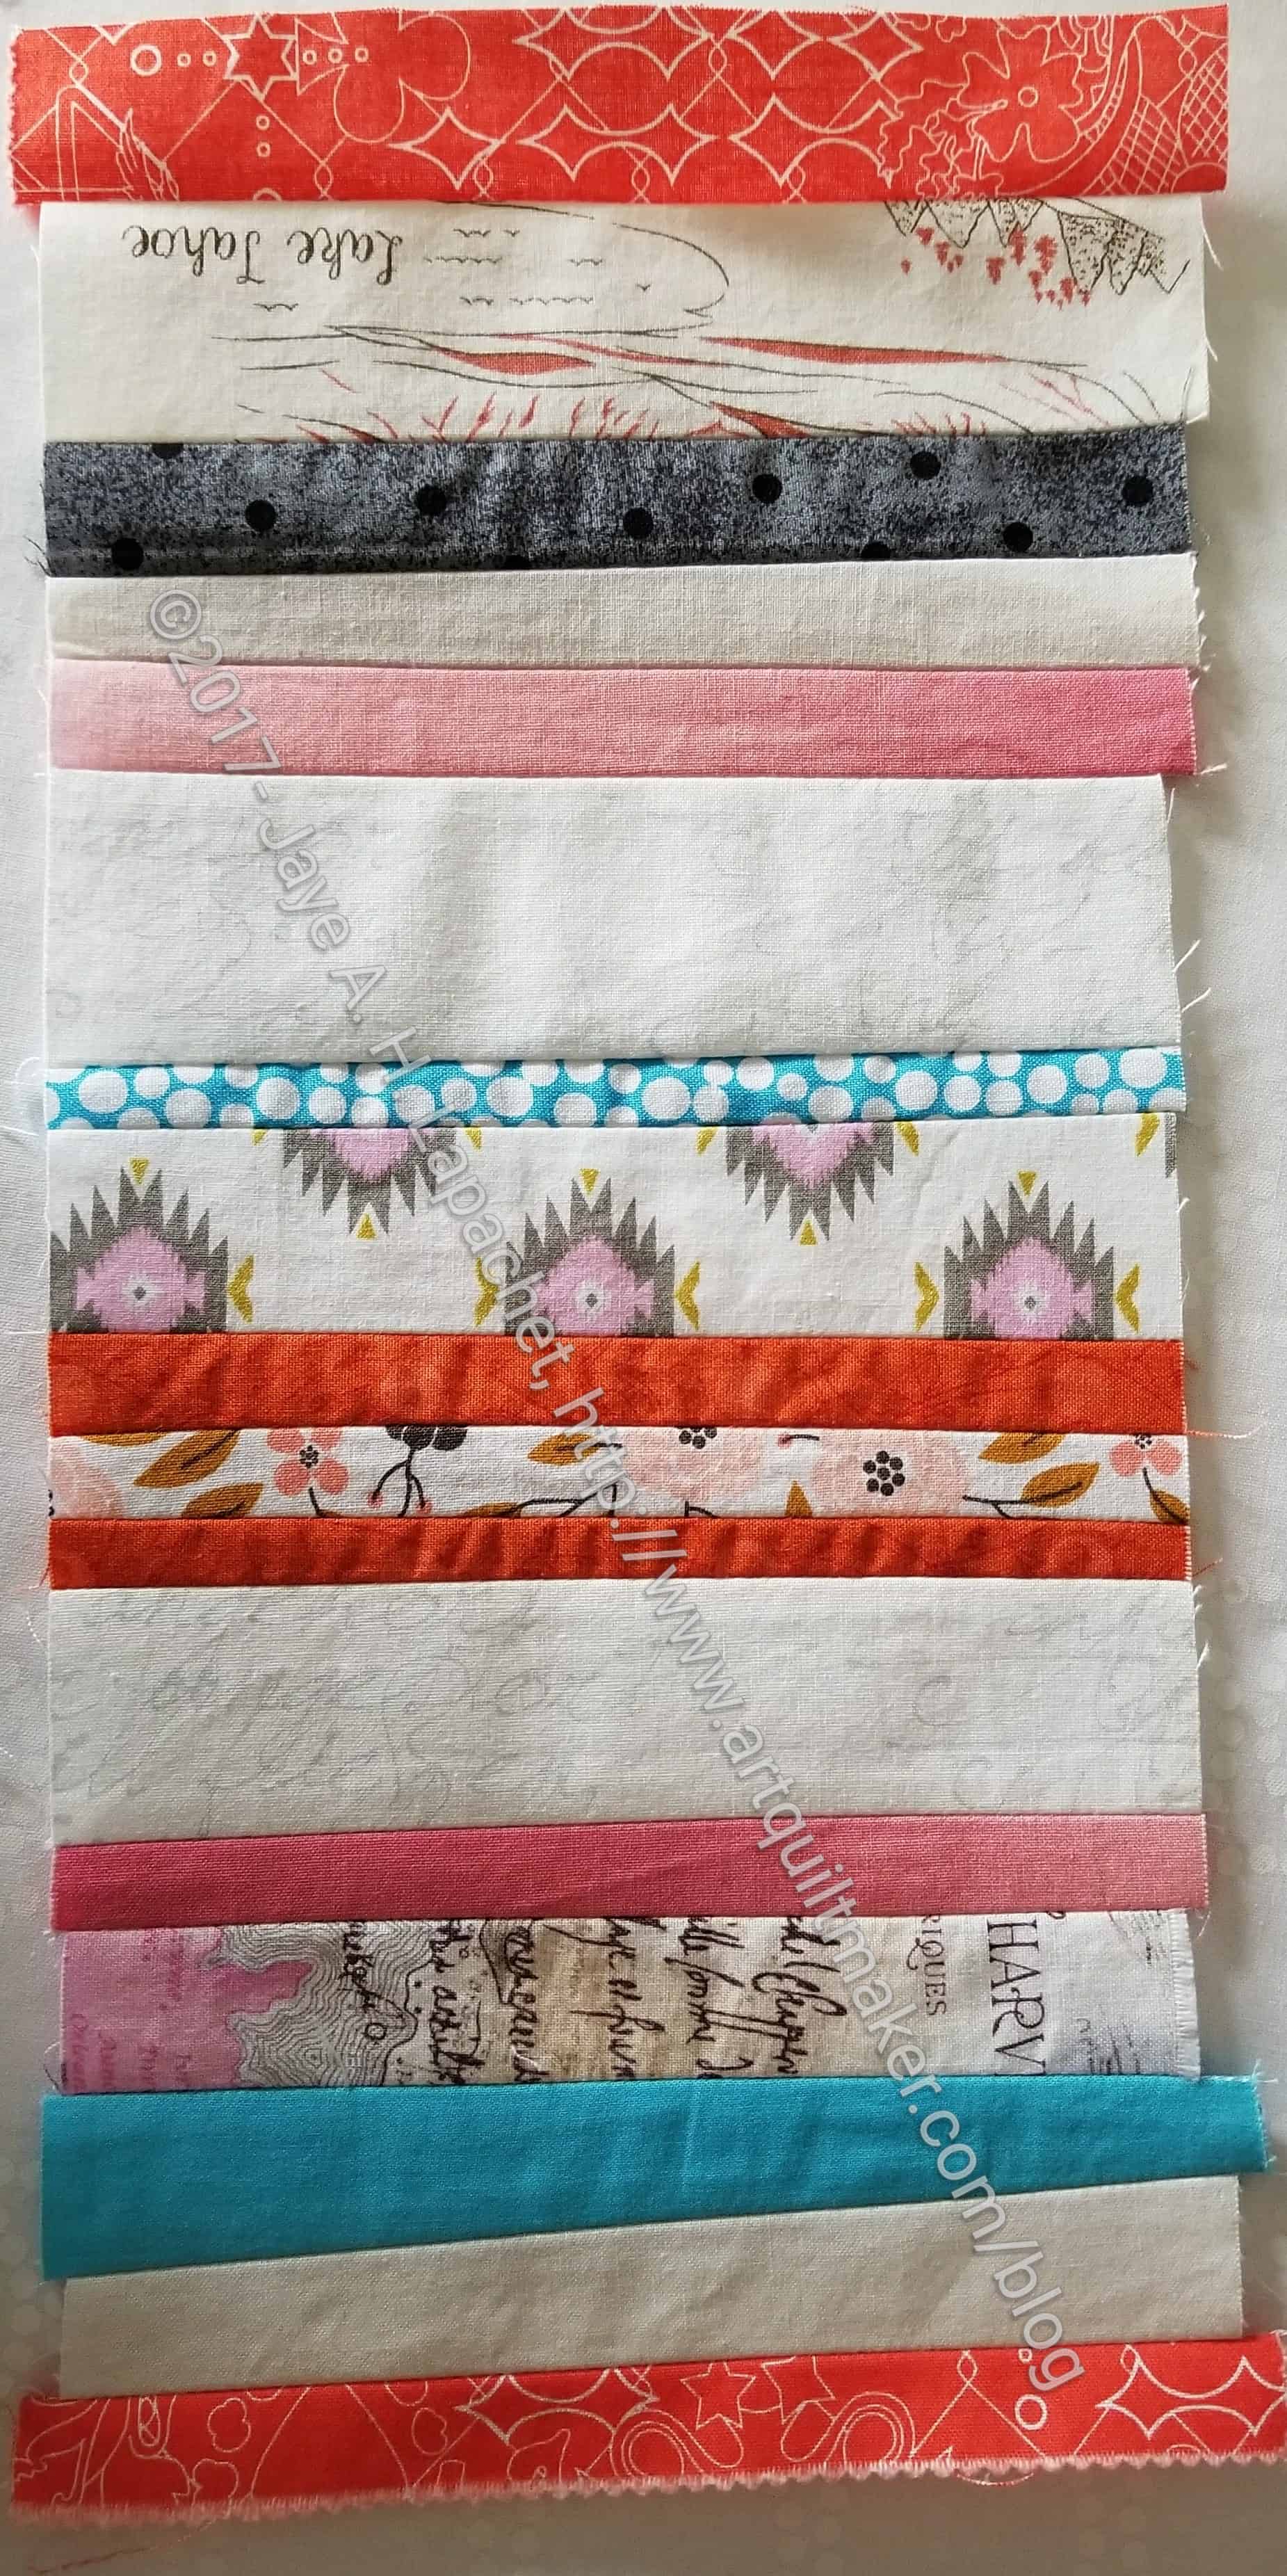
The first section in “The Basics” (pg.7-8) is all about choosing fabrics and thread. Carl gives credit to Tula Pink for influencing his color sense and choices (pg.6). This is a short primer on choosing fabrics for your quilt. I didn’t find this section be anything revolutionary. Mr. Hentsch freely admits to being a novice. He sticks to fabric lines or one designer – moving across fabric lines of that designer to add interest. If this section doesn’t satisfy you or give you what you need, I would encourage you to look at the C& T Studio Color Wheel, the Ultimate 3-in1 Color Tool and Joen Wolfrom’s ColorPlay for more direction and ideas in the area of color. Of course, there are other books in this area that you might find helpful as well.

Hentsch says, about thread, to “stick with a single brand on any one quilt” (pg.9), but he doesn’t say why. I usually stick with one brand, but don’t find this to be necessary in foundation piecing. Quilting, perhaps, but as long as the threads stand up to the removal of papers, I don’t see why it matters. When pronouncements like this one are made, I like to know the thinking behind it.

“Making the Blocks”(pg.10-17) is a primer on, well, as you probably guessed, making the blocks. Carl tells us the structure of the blocks (pg.10), how to cut shapes with templates (pg.11), as well as how to foundation piece (pg.13-16). He also goes into curved piecing (pg.16-17) and how to applique’ the center circles (pg.17). I always like to have a variety of choices when I am learning a new technique, so these are welcome.

If you just want to make a few blocks, the section on “Finishing the Pillows” (pg.18) will be of use. These directions are for making pillows. Hentsch focuses on filling the pillow with fiberfill rather than using a pillow form. You could certainly modify the back to overlap and use a pillow form.

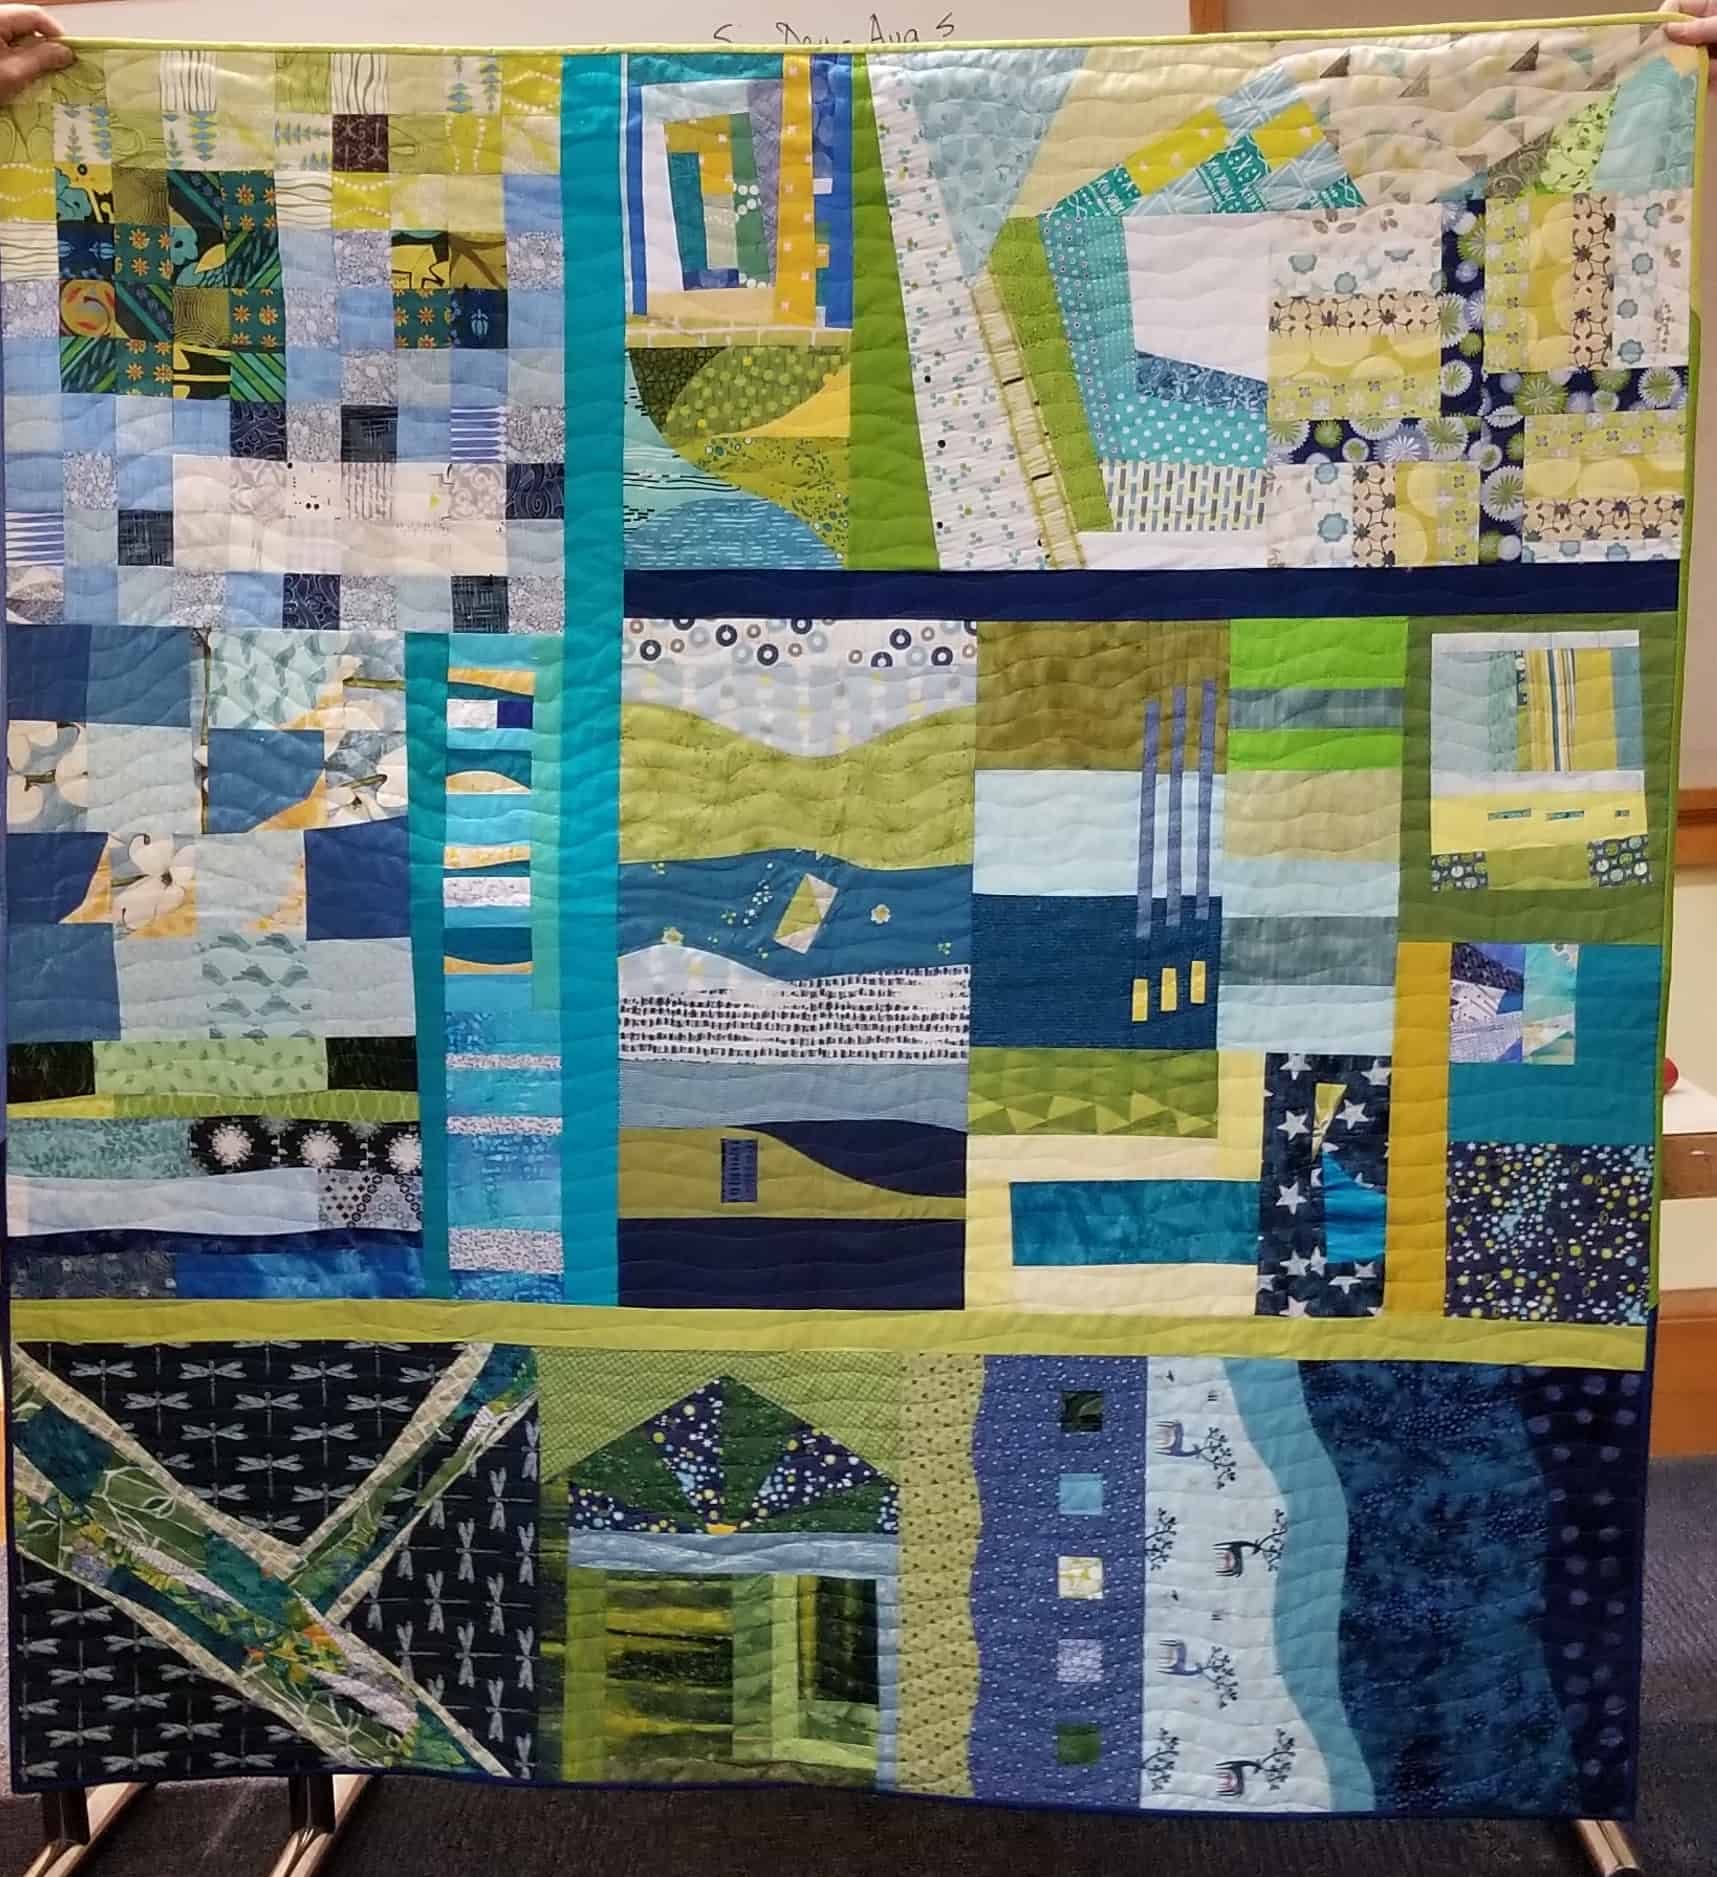
The projects start on page 19. The image on that beginning project page highlights a quilt using Philip Jacobs fabrics so I can’t but like the image. Other projects follow. Each quilt project covers about four pages and includes the finished size for a quilt as well as a finished quarter block size. I find measurements to be useful and the more the better.

Each quilt project is followed by a pillow project which coordinates with the quilt before it.

I find reading about materials required in a quilt are always a challenge. I know the author wants to be clear about the materials s/he used for the quilt in the book. I also know that some quiltmakers want to take the materials list to the quilt store and use it as a shopping list. I find it difficult to think about my own fabric choices when an item on the list is listed as ‘large scale black print’ instead of ‘background.’ Still, Hentsch has done a relatively good job by listing colors and styles rather than specific fabrics in a certain line.

Carl does not tell the reader how to foundation piece in each pattern, but refers back to the “Block Index” (example pg. 22). Each quilt project includes a colored drawing of the project (example pg.29), which can be helpful if the maker wants less interference in the selection of fabrics. Specific prints are not in evidence.

My favorite blocks are included in the Twin Dragons quilt (pg.32-35). The colors aren’t for me, but the way the Flying Geese are in different places in each block quarter are very appealing. I like the slight feeling of chaos and the movement in this layout.

Each project also has a couple of paragraphs about the design or the fabric, which I enjoy (example pg.44). There usually isn’t nearly enough process in books for me, so I was pleased to see even these few paragraphs.

If I had seen the “Seeing Spots” (pg.50-53) project before cutting up my Ta Dots fat quarter pack, I would have used those fabrics for one of these quilts. Seeing Spots, with its Philip Jacobs background is cheerful and exuberant.

“Sorbet” (pg.60-63) has the blocks I like along with the cheerful exuberancy of the “Seeing Spots” quilt. I like the gradation/ color progression of “Papyrus” (pg.66-69). This quilt has the added bonus of including a variety of different blocks.

The “Block Index” follows the projects and includes seven pages (pg.76-83) of different quarter blocks the maker can combine into full blocks. I don’t believe they are full sized, but the section makes no comment.

The section “Foundation-Pieced Arc Patterns”(pg.84-92) appear to be full sized. Again the author does not comment.

The final section “Circle, Background and Plain Arc Patterns” (pg.93-95) is much the same as the previous section.

My one wish is that this book would include an EQ7 CD or downloadable file. That was actually one of the first thoughts I had when I leafed through this book. While not everyone has EQ7 and it is possible to draw these blocks in EQ7, it would be a lot easier if they were already included.

View all my reviews

Phoenix Art

Recently I went to Phoenix for a work conference. It was a very different Phoenix than I had seen before. I saw a lot of art while I was there and not all of it was in museums.

The Earth Dreaming - full
The Earth Dreaming – full

Outside the convention center were a a few pieces that I really enjoyed. The set of pieces were mosaics called The Earth Dreaming by Isaiah Zager. The pieces were made in 2008.

I like the mosaic aspect of the pieces. There is a spidery element and also the circles.

It is very nice to see art when I walk down the street.

Another Scarf

Finished Blue & Purple Scarf

While I just posted about a scarf I had finished, I am posting about another one. I have a very strict policy about not stockpiling yarn. I buy 2 skeins at a time, I make a scarf, then I buy two more. I finished this scarf last week and finished the Bamboo Scarf about a month before that. I like to knit on planes and I had a lot of flights in April, May and June.

Finished Blue & Purple Scarf-detail

I bought the yarn for this scarf in Monterey at Monarch Knitting on a break from the Grand parlor crazy.I like the way the scarf came out, but I wasn’t crazy about the yarn. It had some acrylic in it and I didn’t like the way it stretched while I knitted it. It wasn’t springy just stretchy. It made larger spaces between the stitches. This isn’t a bad thing; I just don’t like it.

One thing I learned was to play around with the needle size. On my newest project I used a larger sized needle to cast on and then I switched to a smaller sized needle to do the knitting. We’ll see how it turns out.

One of the YM’s friends really liked the colors, so I made the scarf for him.

Stars Even Better

This project makes me feel like I am beating a dead horse.

Finalizing Stars #2 Design

I kept making Flying Geese to turn the 16 patches into stars and putting them up sort of higgeldy piggeldy on the design wall. Suddenly, I saw I design that was better than the straight set I had been planning.

I am not sure about the fifth block. If I keep it, where will it go? If I chuck it out, will there be too much white space? The white space will be background fabric – plain white.

Creative Spark #16: Have a Secret

Bloomston got an assignment from an art professor to go and make a secret piece. The class was to do it and not tell anyone. They weren’t to turn it in or ever talk about it. Having and keeping the secret was the assignment. Having a secret doesn’t mean going and destroying some public property and then never telling anyone because of the guilt. Guilt is not involved. Having a secret in this context means finding that the “reward is inside us” (pg.70). If you are doing your art to get attention or to post on Facebook, then this spark is for you. Don’t make things because you think they will sell; make things that come from your heart.

I decided at some point that I would create this blog for myself 1) as a chronicle of my quiltmaking work and 2) as tool for practicing my writing. It isn’t a secret since, presumably, you are reading it. While I adore comments and interactions with my readers, if I only wrote the blog for you, I would have stopped a long time ago. I don’t get enough comments to get motivated to keep writing. I do refer back to old posts often enough to make it worth it for me. My blog isn’t a secret, but I have gained the benefit of the secret status because I really do write it for me.

There is something about having a secret project to work on. “Your own creative voice can get a bit clouded by all the other voices you hear from peers and teachers. It can become confusing and difficult to listen to your own voice.” (pg.70). No Instagram comments saying followers “LOVE IT”. Nobody has to get it. Just you.

Journals are often very private. My husband knows I keep one, but he has never read it. He can read them all when I am dead.

Nota bene: we are working through Carrie Bloomston’s book, The Little Spark. Buy it. Support the artist. There is a lot more to each spark than what I am writing and the original chapters will help you. Go buy Carrie Bloomston’s book, so you get the full benefit of her fabulousness! You can see my book review, which is what started this flight of fancy.

You can find the last spark on the blog a few weeks ago.

More Stars

I am slowly working on the Stars donation quilt. I have a few full stars made and am working on the others.

I am working on these as a leaders and enders project in between another project. The other project has a lot of applique’ so I don’t always get to piece the stars. Still, the stars are appearing.

Stars Donation Quilt #2 - in process
Stars Donation Quilt #2 – in process

Due to the fact that I still have not set my large design wall back up, I am using an inadequately sized design wall. This means that pieces get overlapped and crammed together, which can be annoying, but can also be inspiring.

I was determined to do a 9 block baby / small child quilt for donation. Upon seeing the stars partially made and crammed together, it occurs to me that there are other design options. I think I will make more of a free form layout rather than a straight set. It will be more interesting and have a bit more negative space for someone to express their  quilting artistry.

Finished: The Peacock

Finished: The Peacock

The Peacock is finally finished. Technically, it was a challenge.

I was able to add a lot of fabric to the fabric used column of my spreadsheet.

Still, I am not a fan of this quilt. I am not sure why, but I just don’t like it. I don’t hate it and am really glad it is finished. It just didn’t turn out like the vision in my head.

I already have someone who wants it. We will see.

Finished: The Peacock back

Star Donation Quilt #2 – in Process

I liked the previous Star Donation top so much that I decided to make another one. As I have mentioned, I have a lot of leaders and enders opportunities, so I am not making as much progress on donation tops and blocks right at the moment. Still, slow progress is better than no progress.

Sawtooth Stars to be - Donation Blocks
Sawtooth Stars to be – Donation Blocks

At the moment, I have the blocks done. I will make Flying Geese to add to make them into Sawtooth Stars.

Not all of the blocks have black background patches, but I did try to keep the background patches dark so as to continue to explore that look.

I also decided to make this one larger – 9 blocks instead of 4. Still, looking at it makes me think I could make two donation tops with these blocks for the NICU, if I wanted to make them smaller. I will see what I think when I finish making the blocks into stars.