Self-Bordering Technique

Self-Bordering is a technique that I use pretty frequently, though I don’t always know what I am doing. Basically, self-bordering means that you treat the border blocks the same as the blocks in the main part of the quilt. You piece them in as you would regular blocks rather than as a long row.

I don’t know if I made this technique up. I am sure others have done it. If they have, I am not sure what else it would be called.

There are several advantages to using a self-bordering technique for adding borders:

  • Precision is improved, because you are adding a block or so at a time
  • It makes it easier to get the border lined up correctly
  • Eliminates long lines of stitching
  • Makes adding pieced borders much easier

This technique works with Chunking. If you are sewing all your blocks, for the whole quilt, together in rows, then don’t bother with Self-Bordering.

En Provence - late October 2017
En Provence – late October 2017

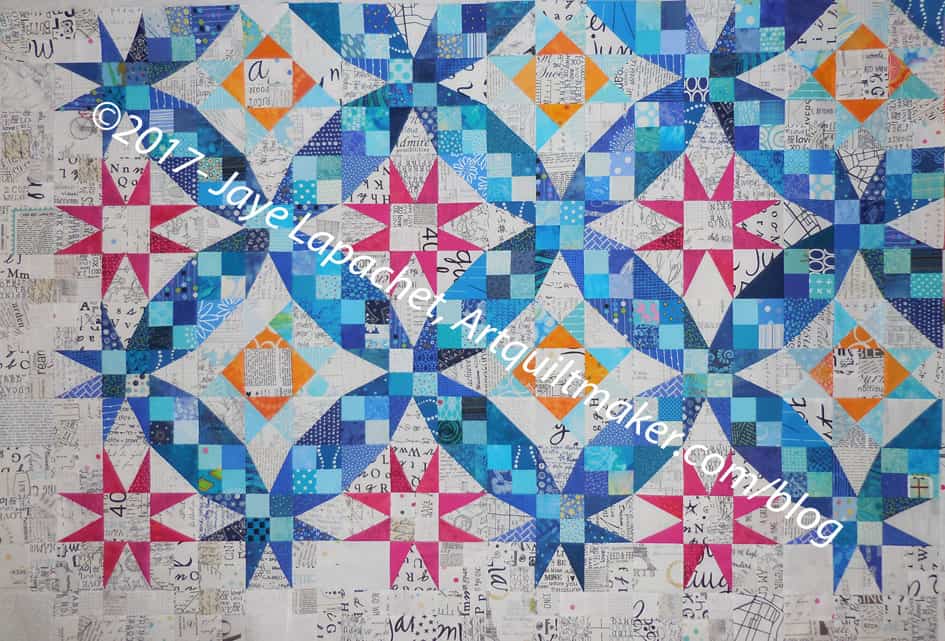
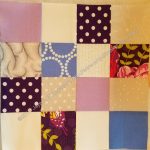
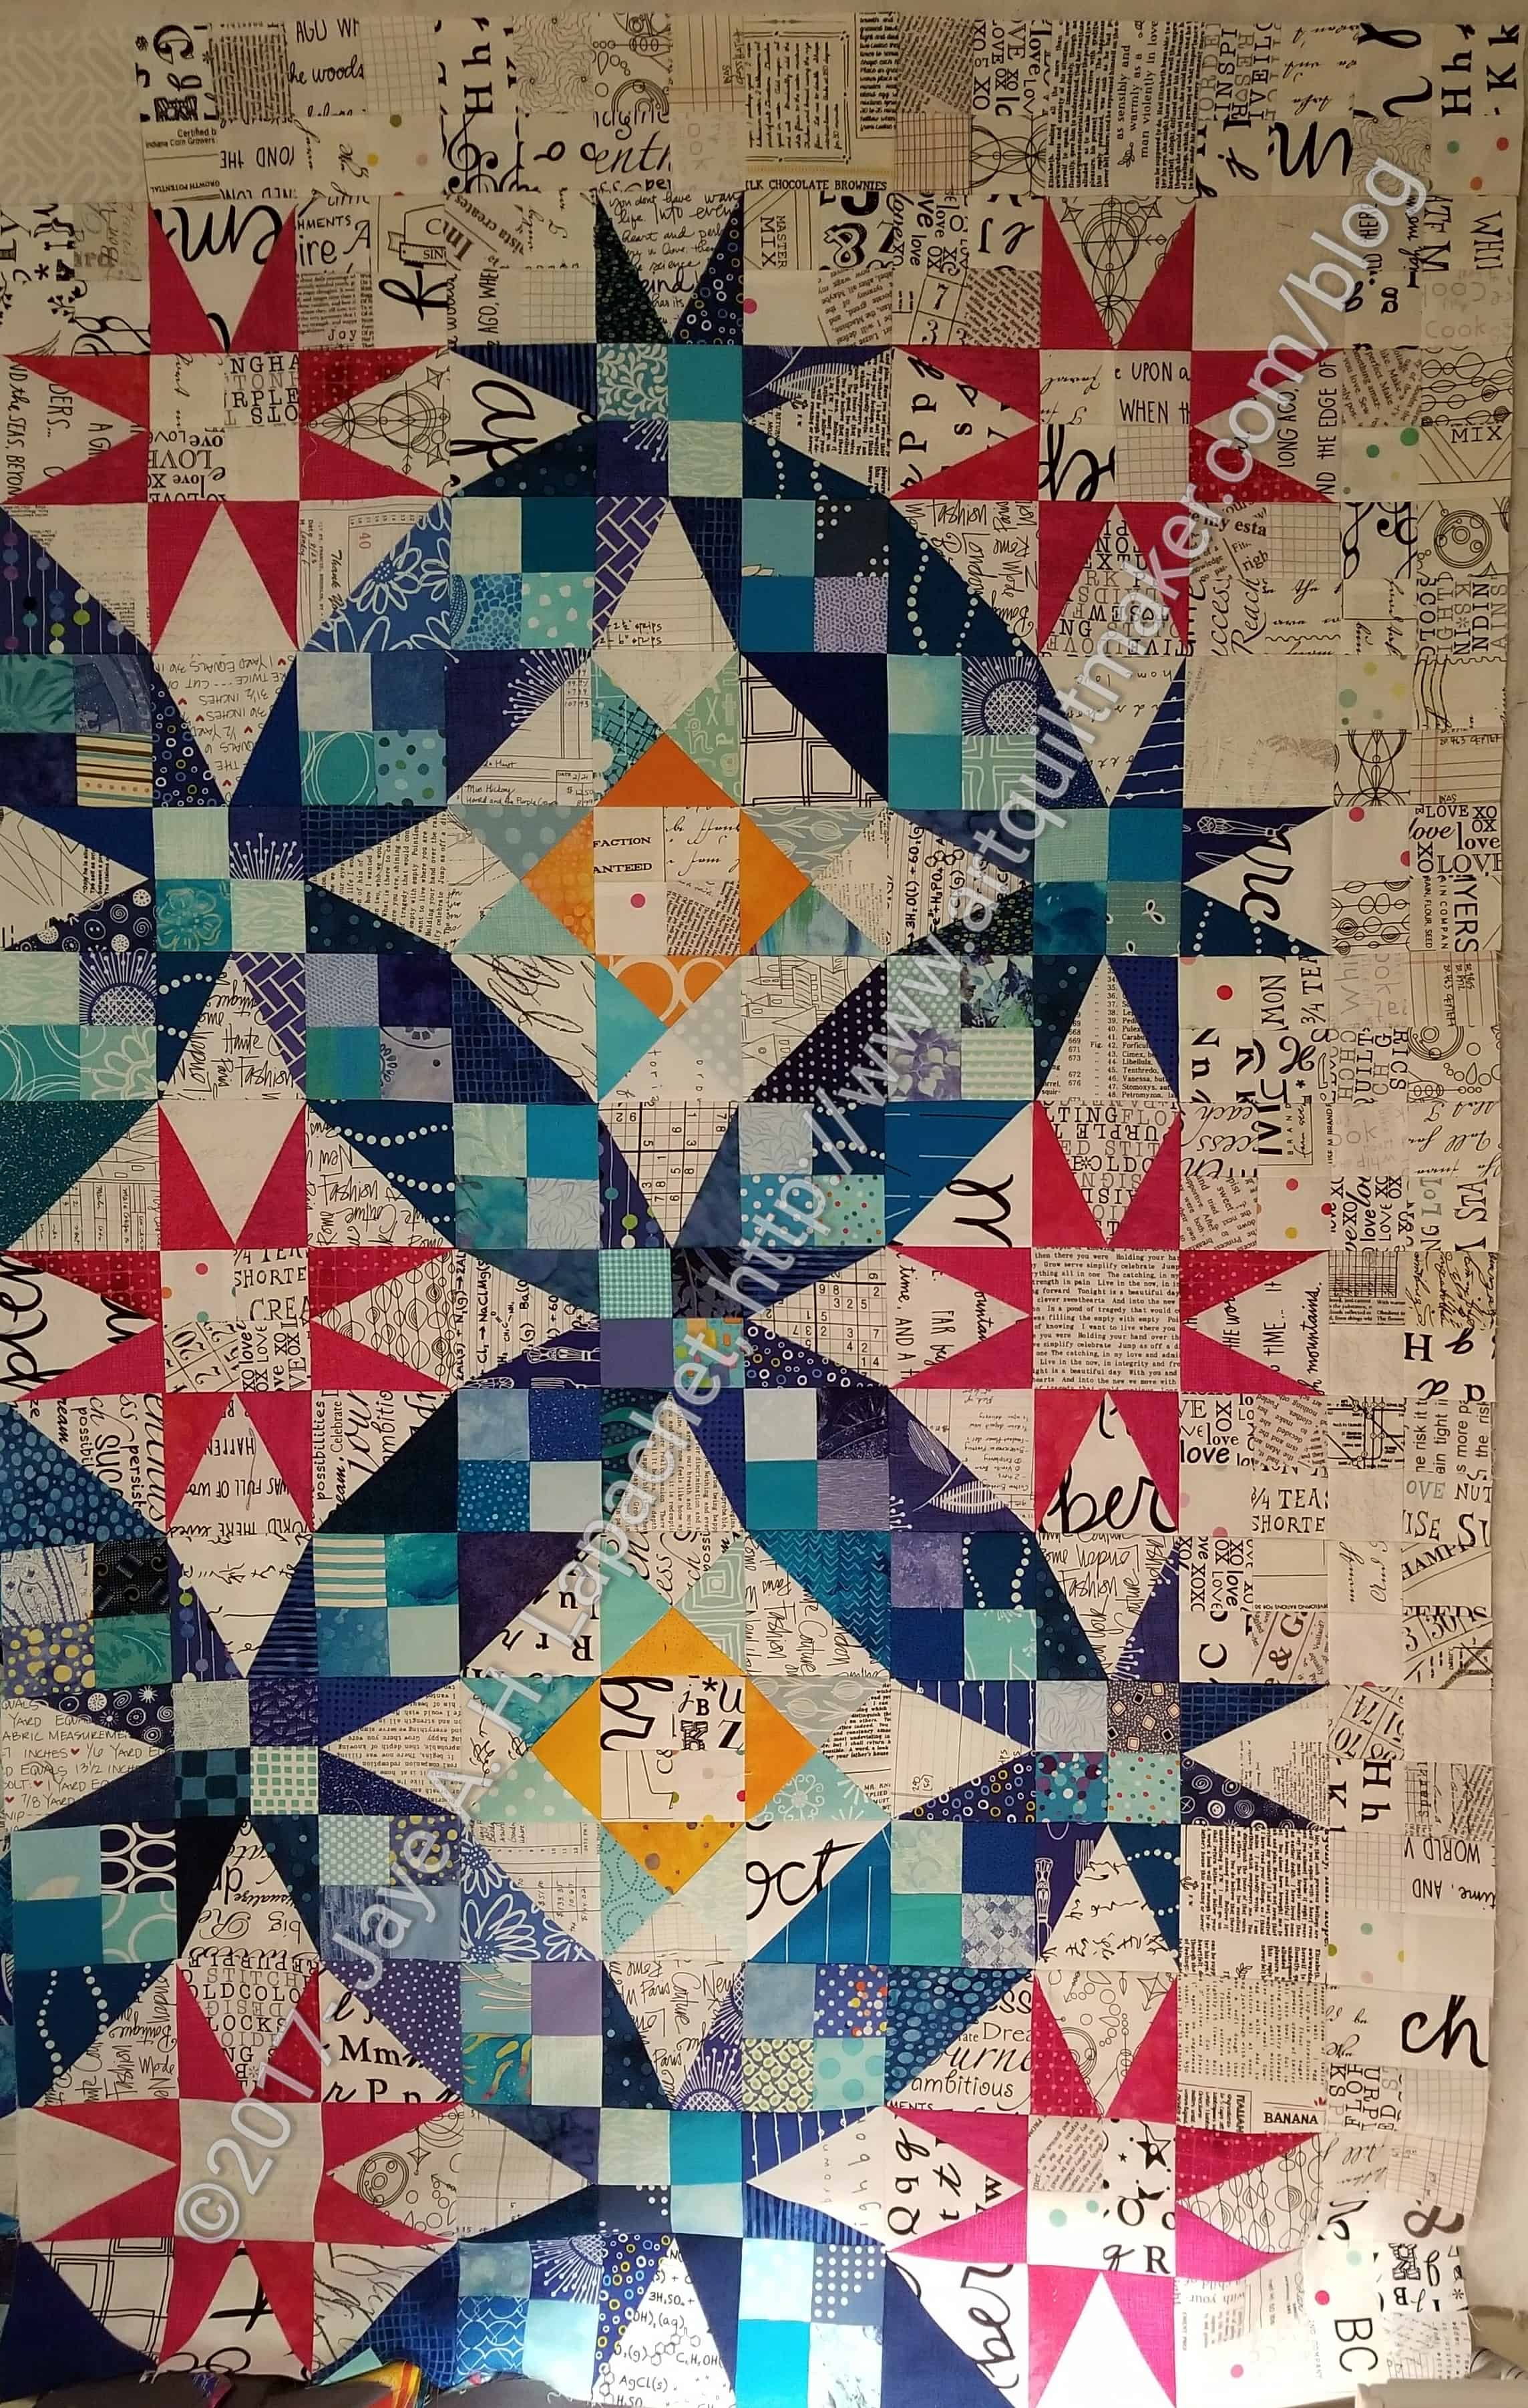
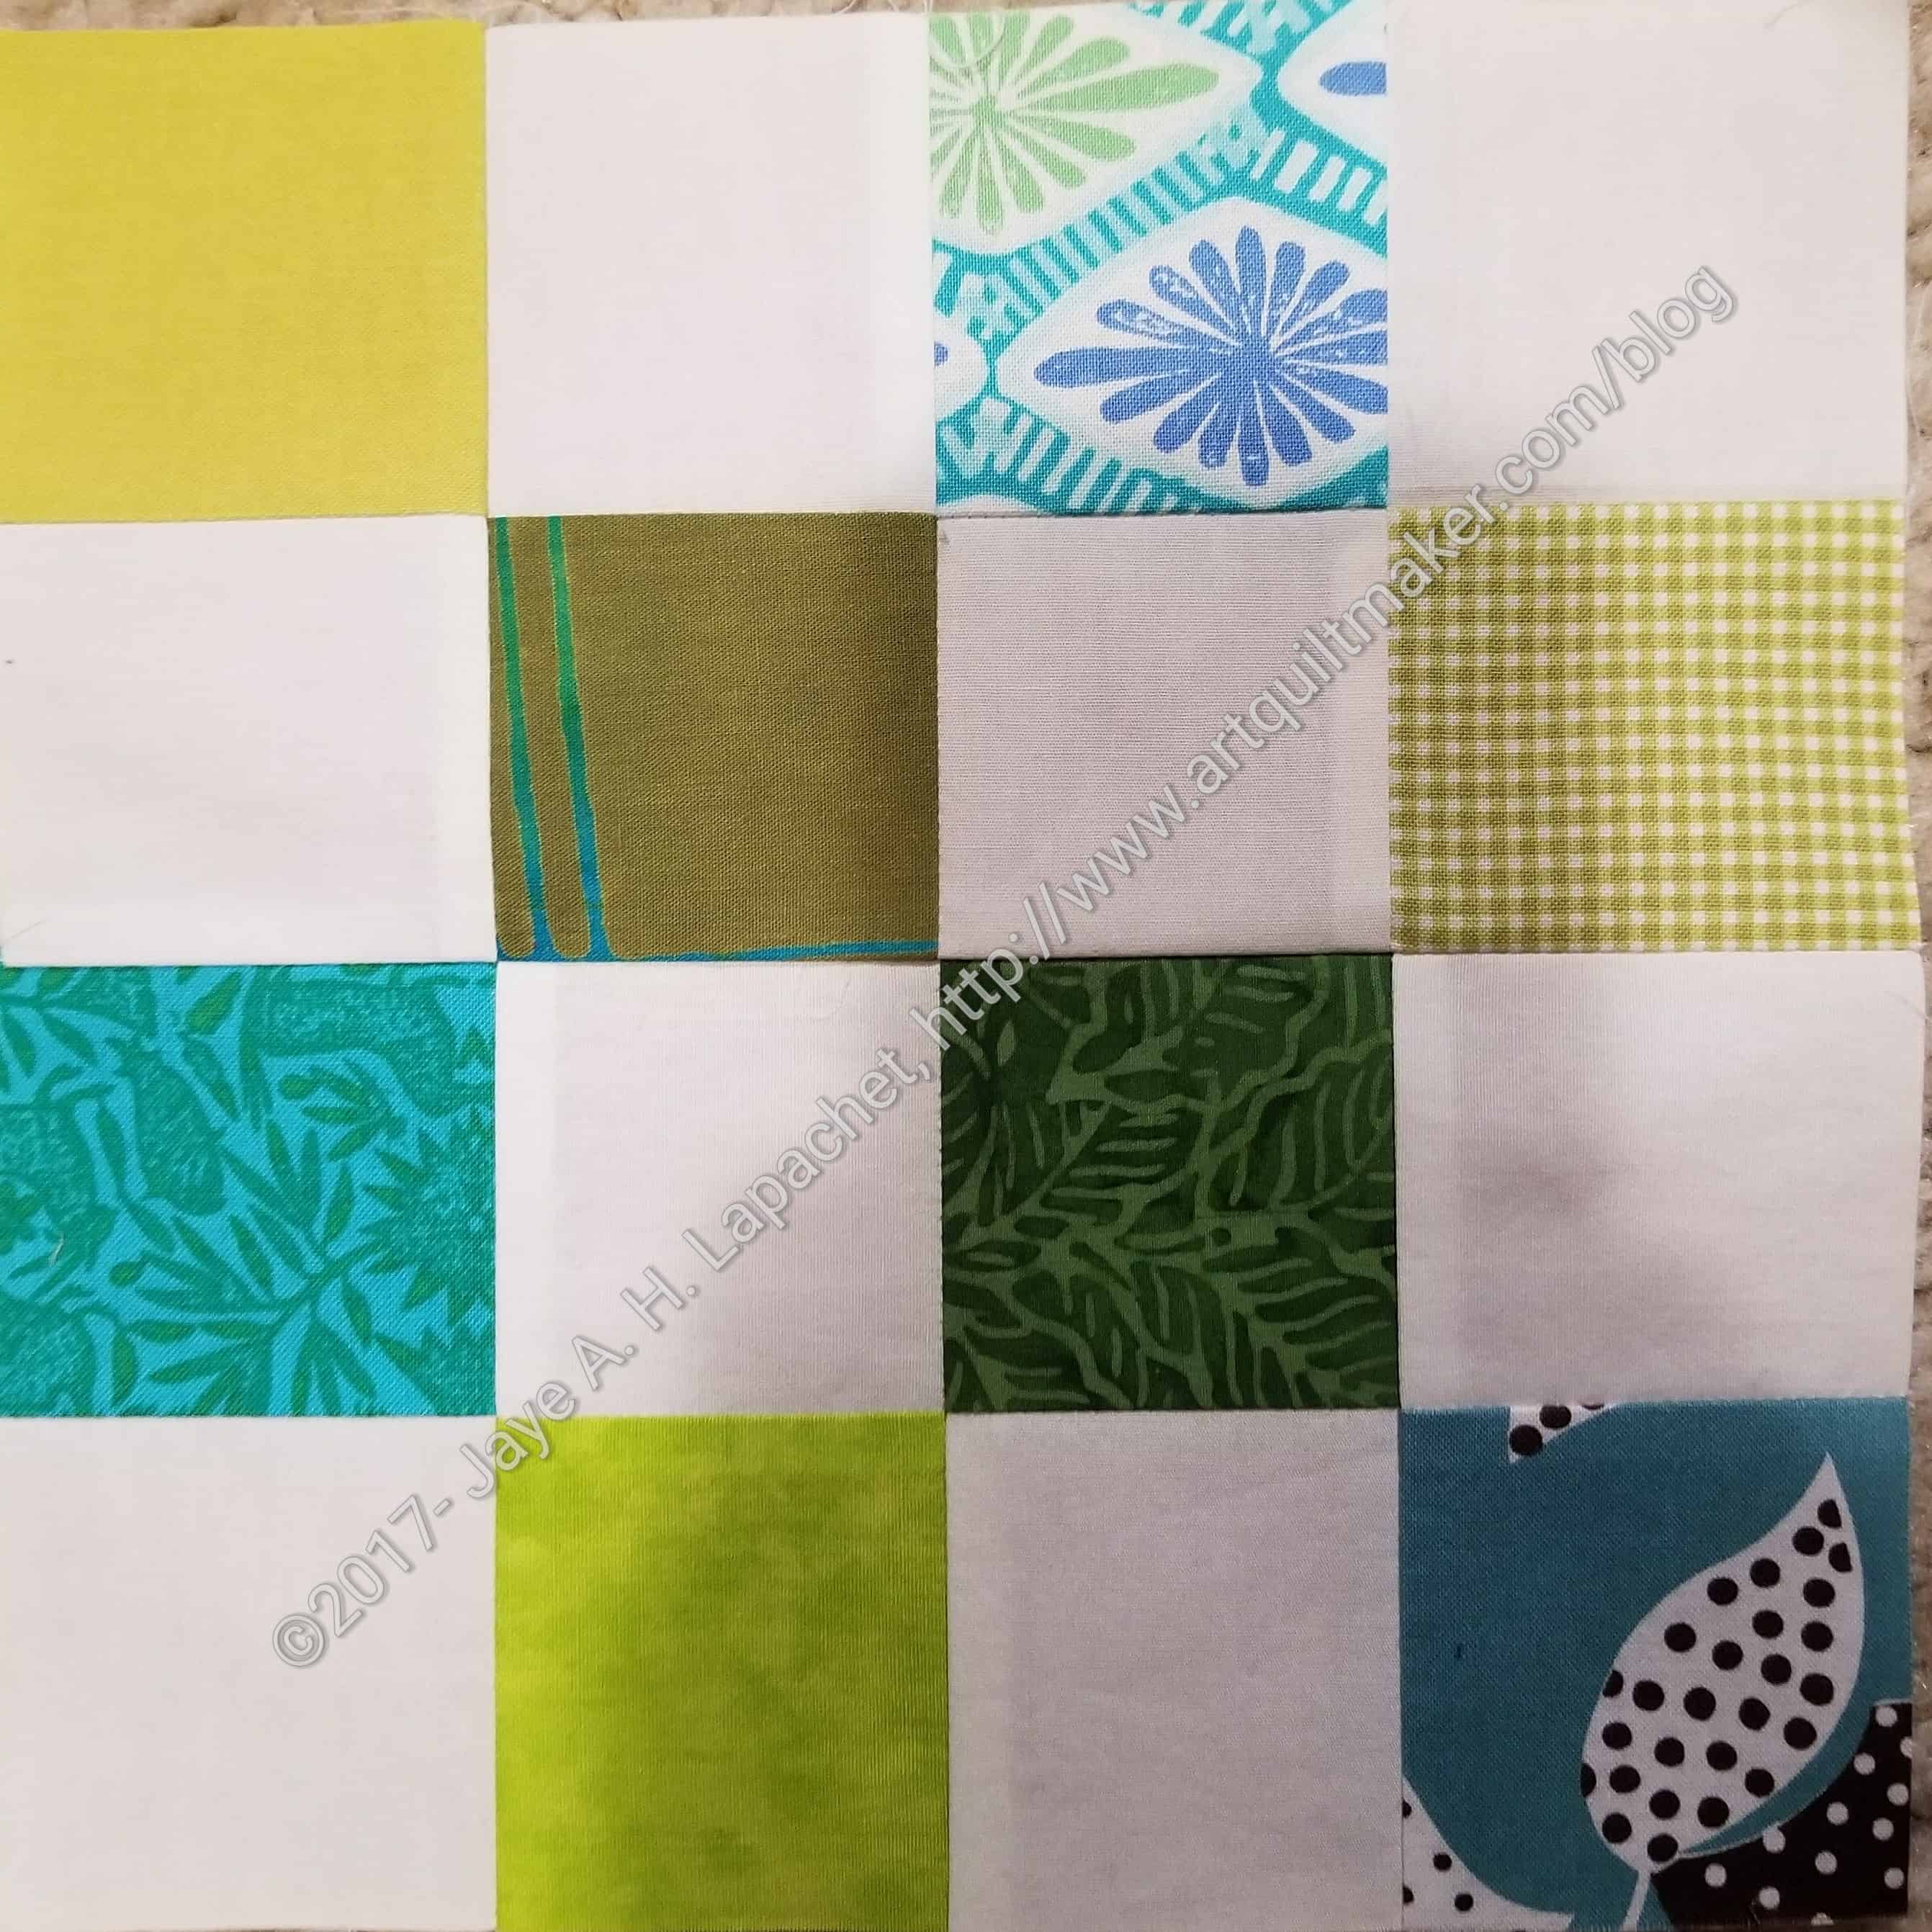
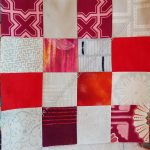
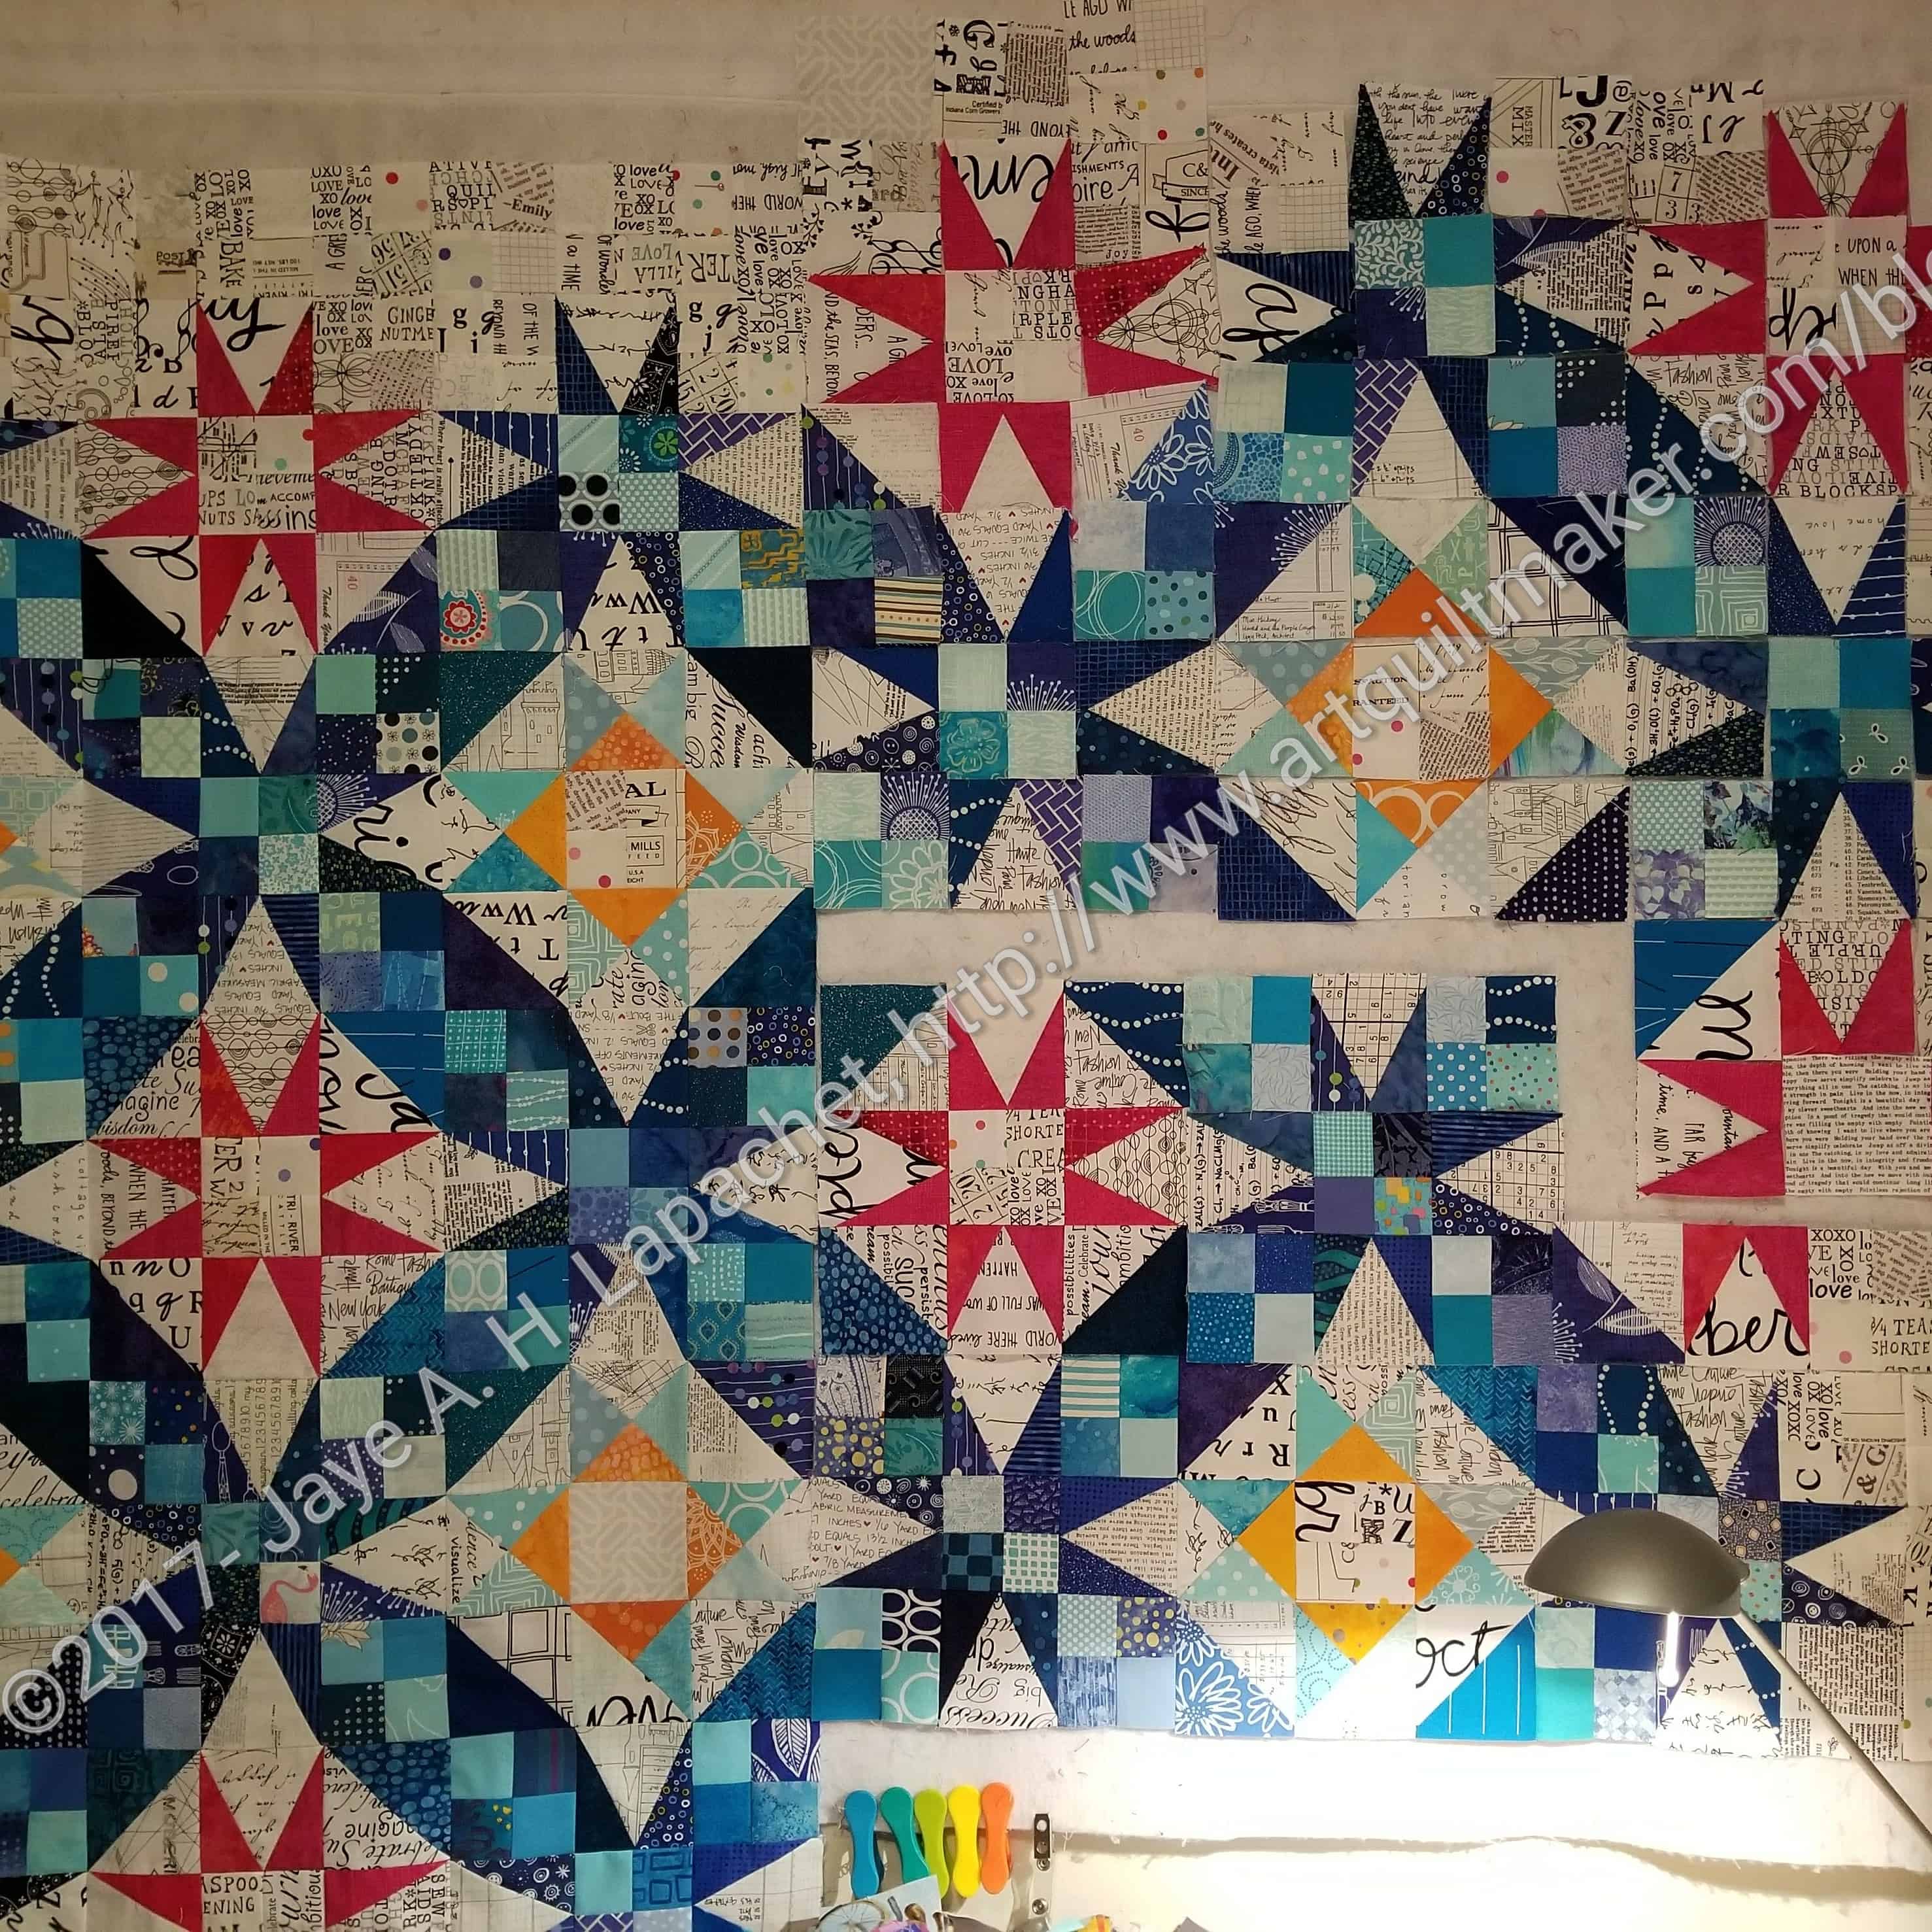
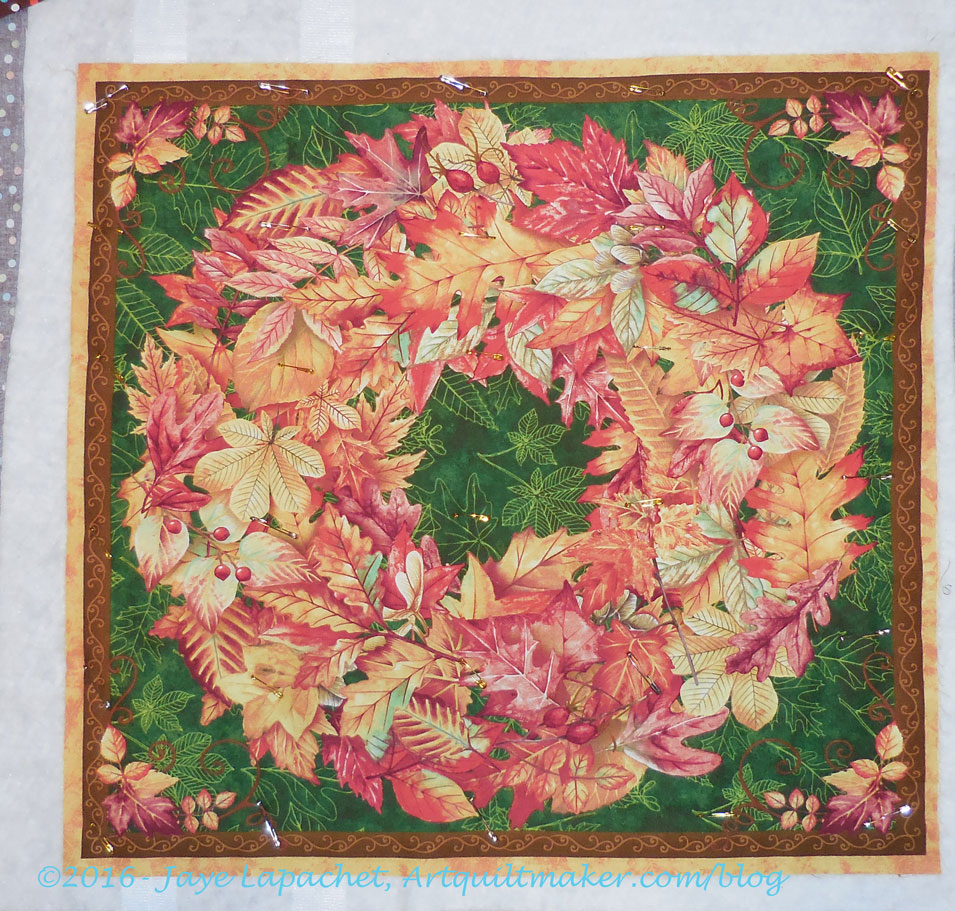
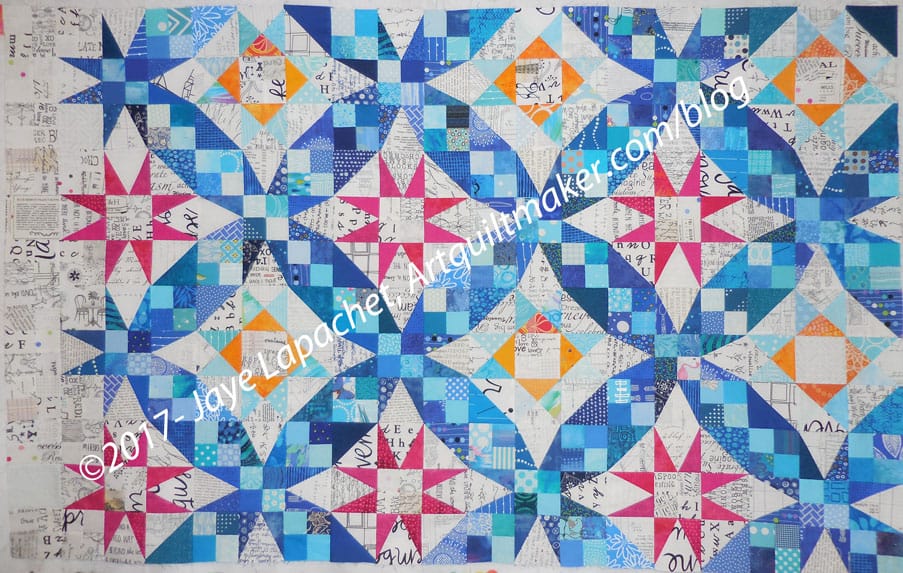
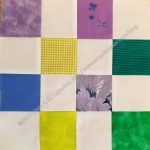
As you have seen recently, I am working on the En Provence quilt by Bonnie Hunter. The border is optional, but I am putting a pieced border on the quilt using self-bordering technique. In the photo, left, you can see the border on the bottom. It is made up of one row of four patches (or 3.5″ squares) all the way around the quilt.

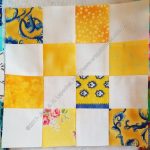
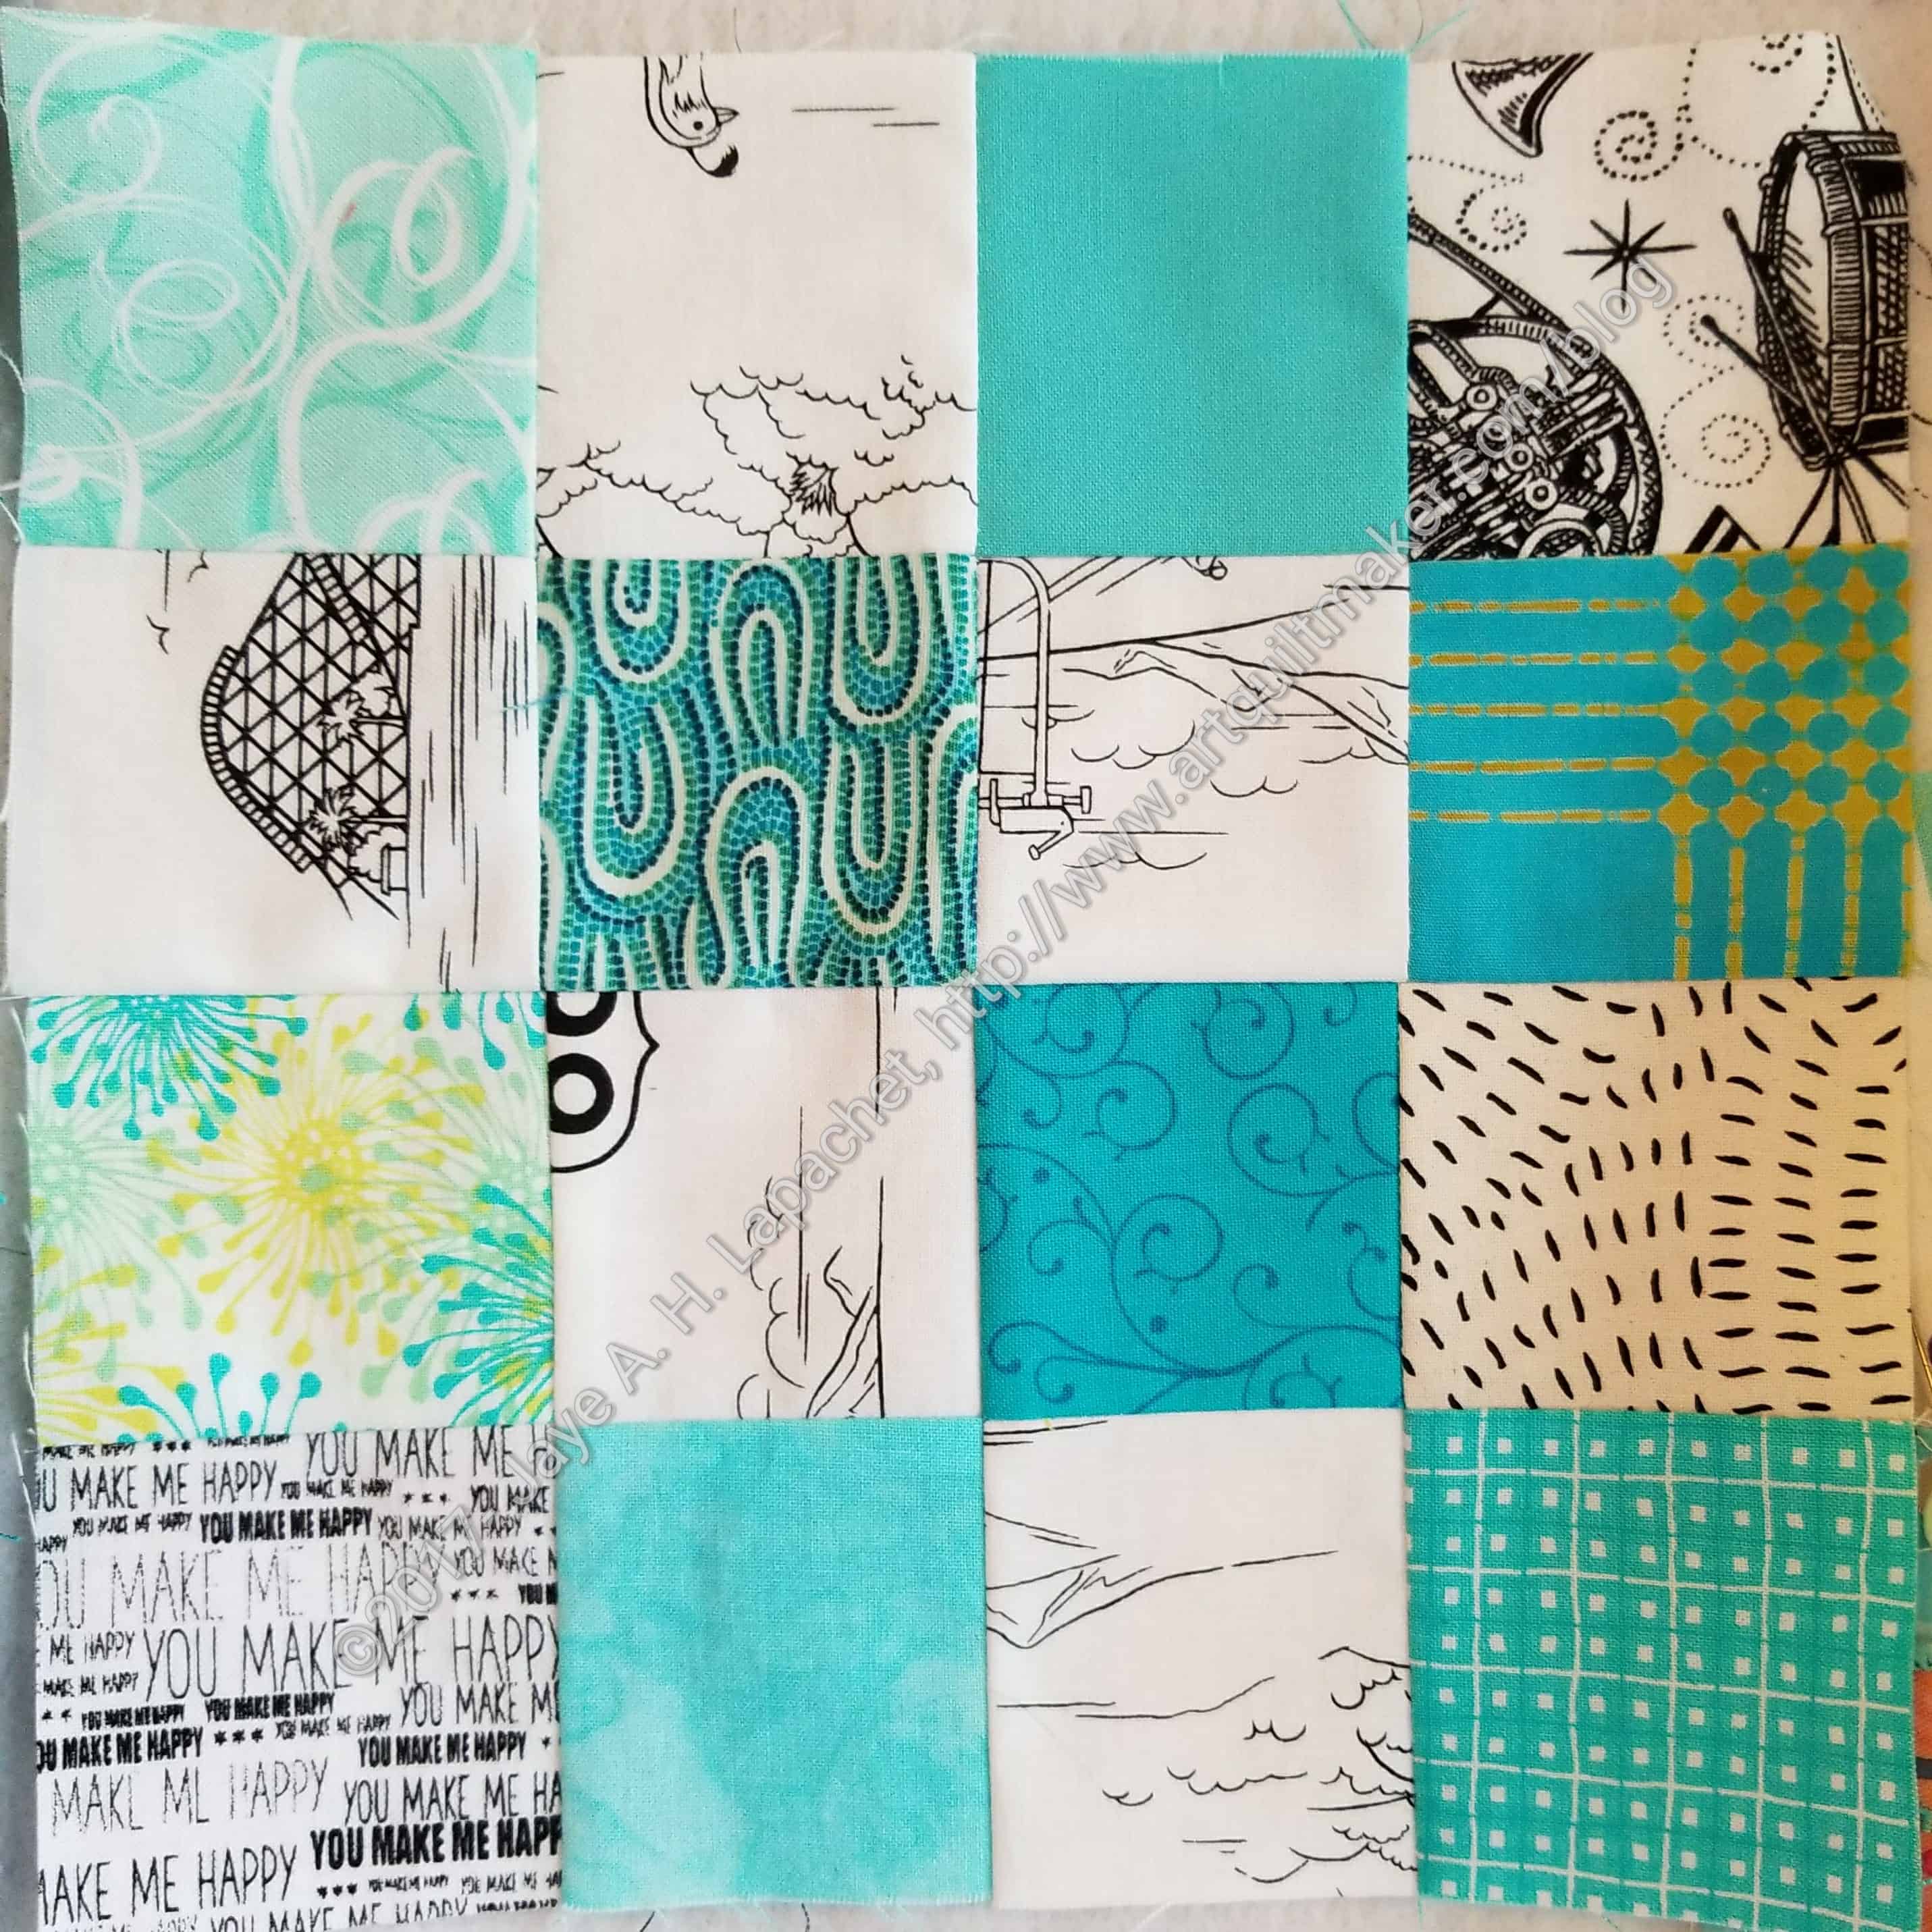
All the blocks in this quilt are, essentially, nine patches. As I sew the blocks together, I work in threes – I sew three blocks in a horizontal row together. Once I have three rows made up of three patches, I sew two rows together, then I sew remaining row to the set of two I have just sewn together.

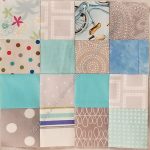
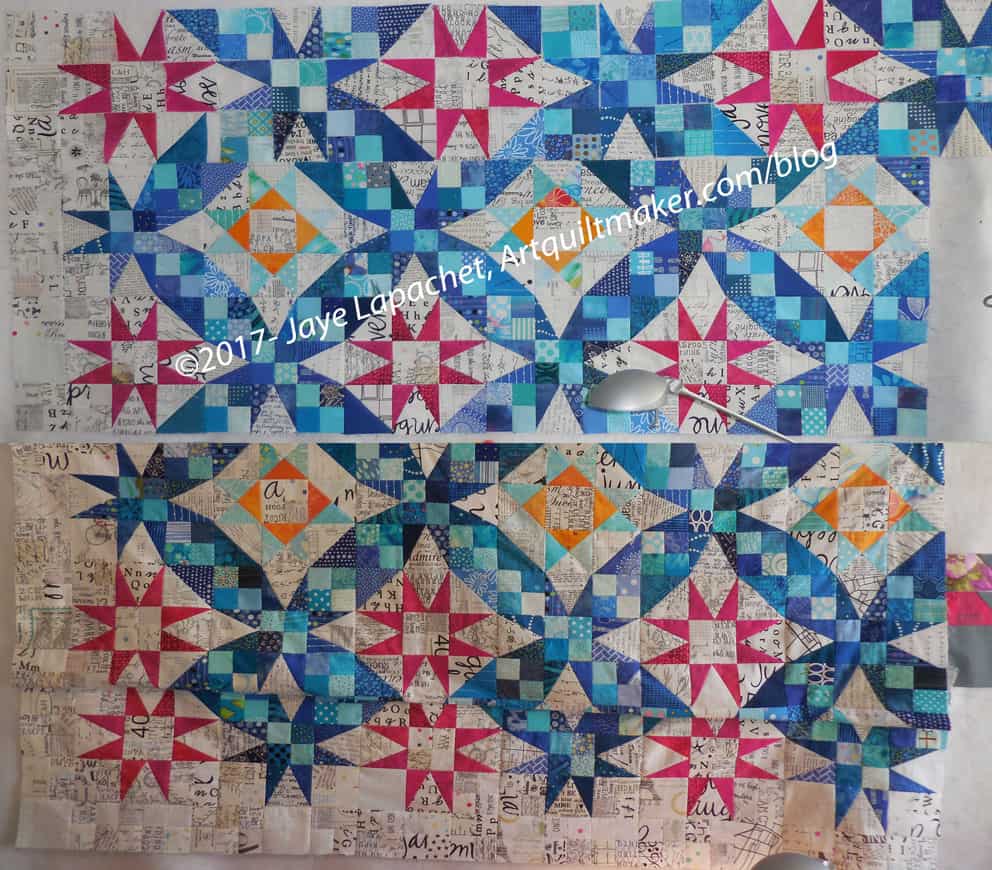
On the border, there is an extra 3.5″ piece. It is either a 4 patch or a 3.5″ patch. Instead of sewing 3 rows of three blocks together, I sew 3 rows of 4 blocks together and then sew three rows of four patches together.

En Provence Corner Block

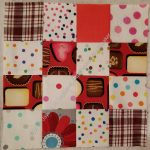
The corner block ends up looking fatter, because of the extra patches. Once the corner and border blocks are integrated into the quilt, they look like blocks and a pieced border.

You cannot tell which way a border was made, if it was well done.

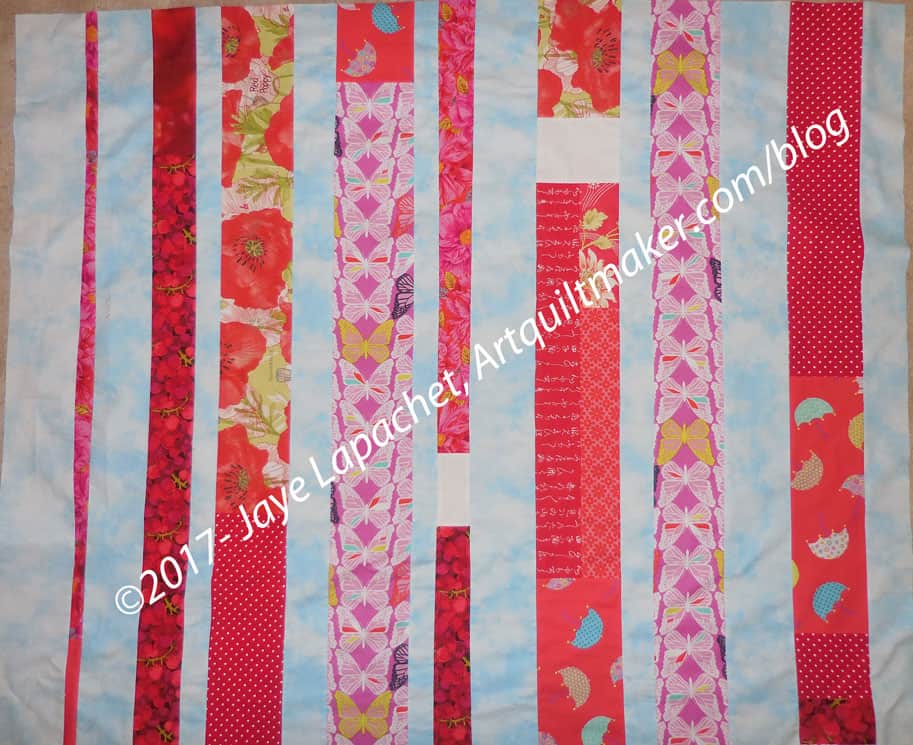
I like this method because I don’t like putting on borders. I also really like pieced borders. Depending on the design, of course, they really add additional interest to a quilt.

En Provence corner block annotated

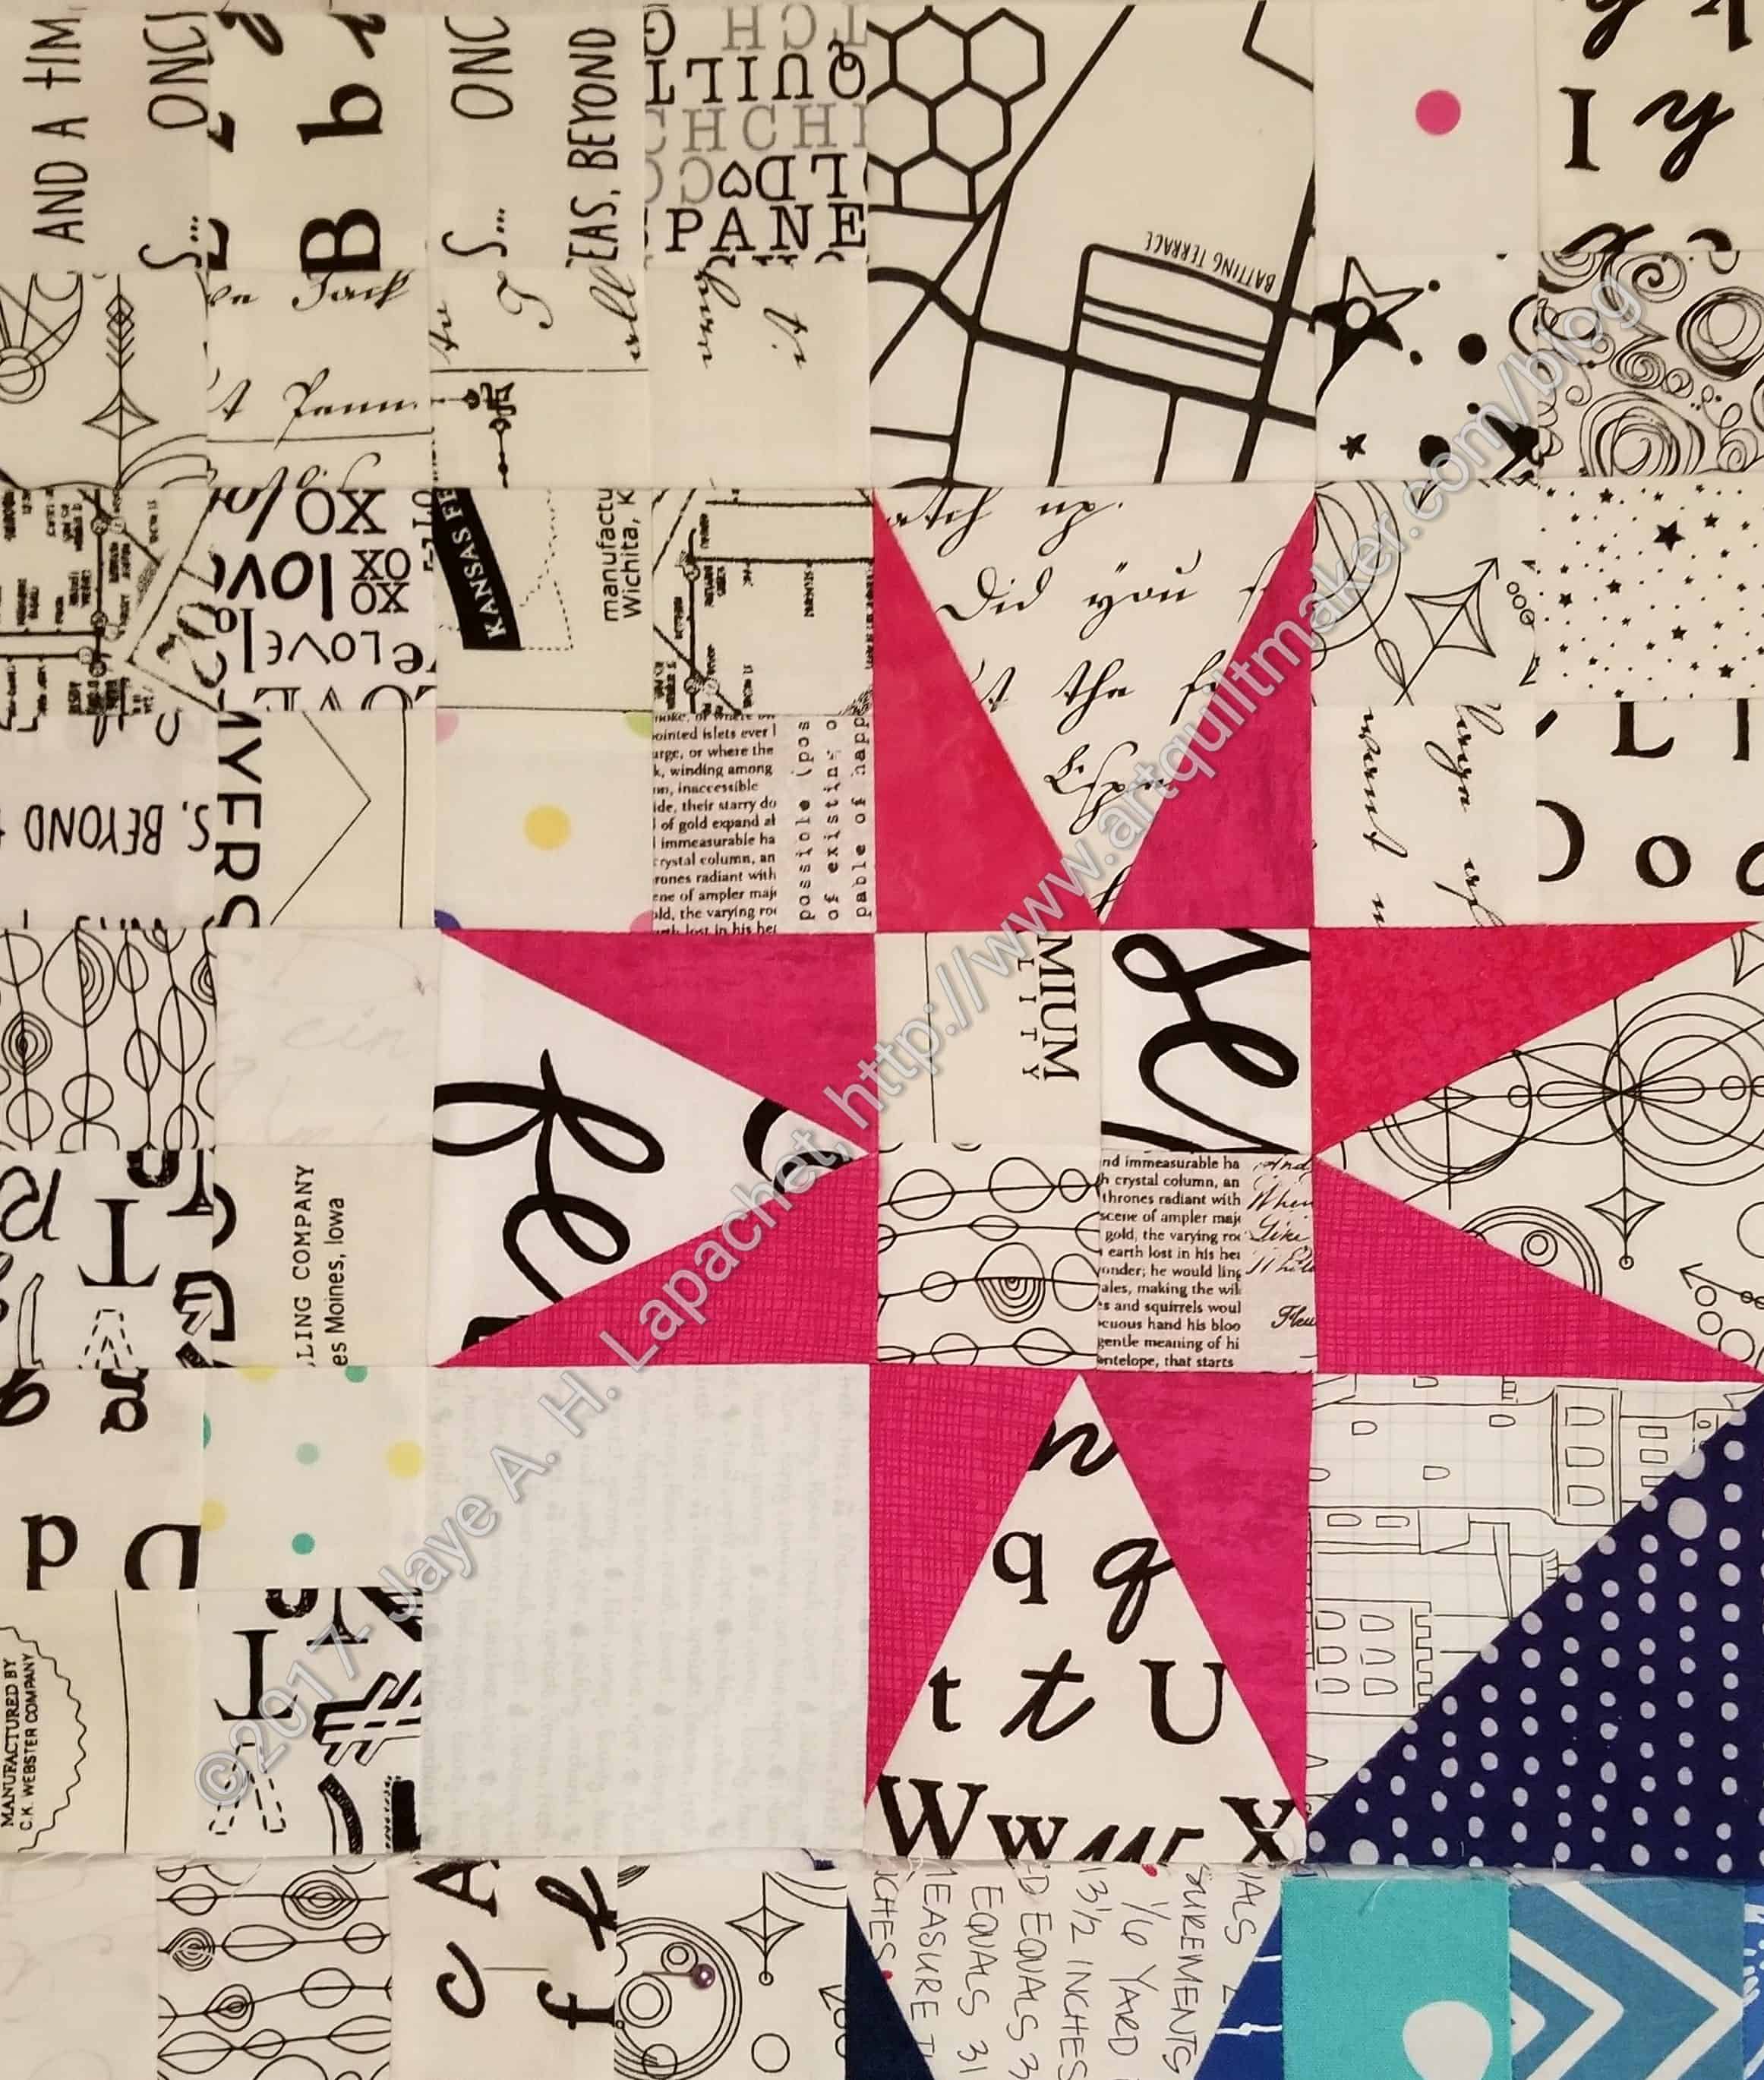
Once I finish a quilt, there is really no way to tell where the blocks end and the border begins from a quick glance.

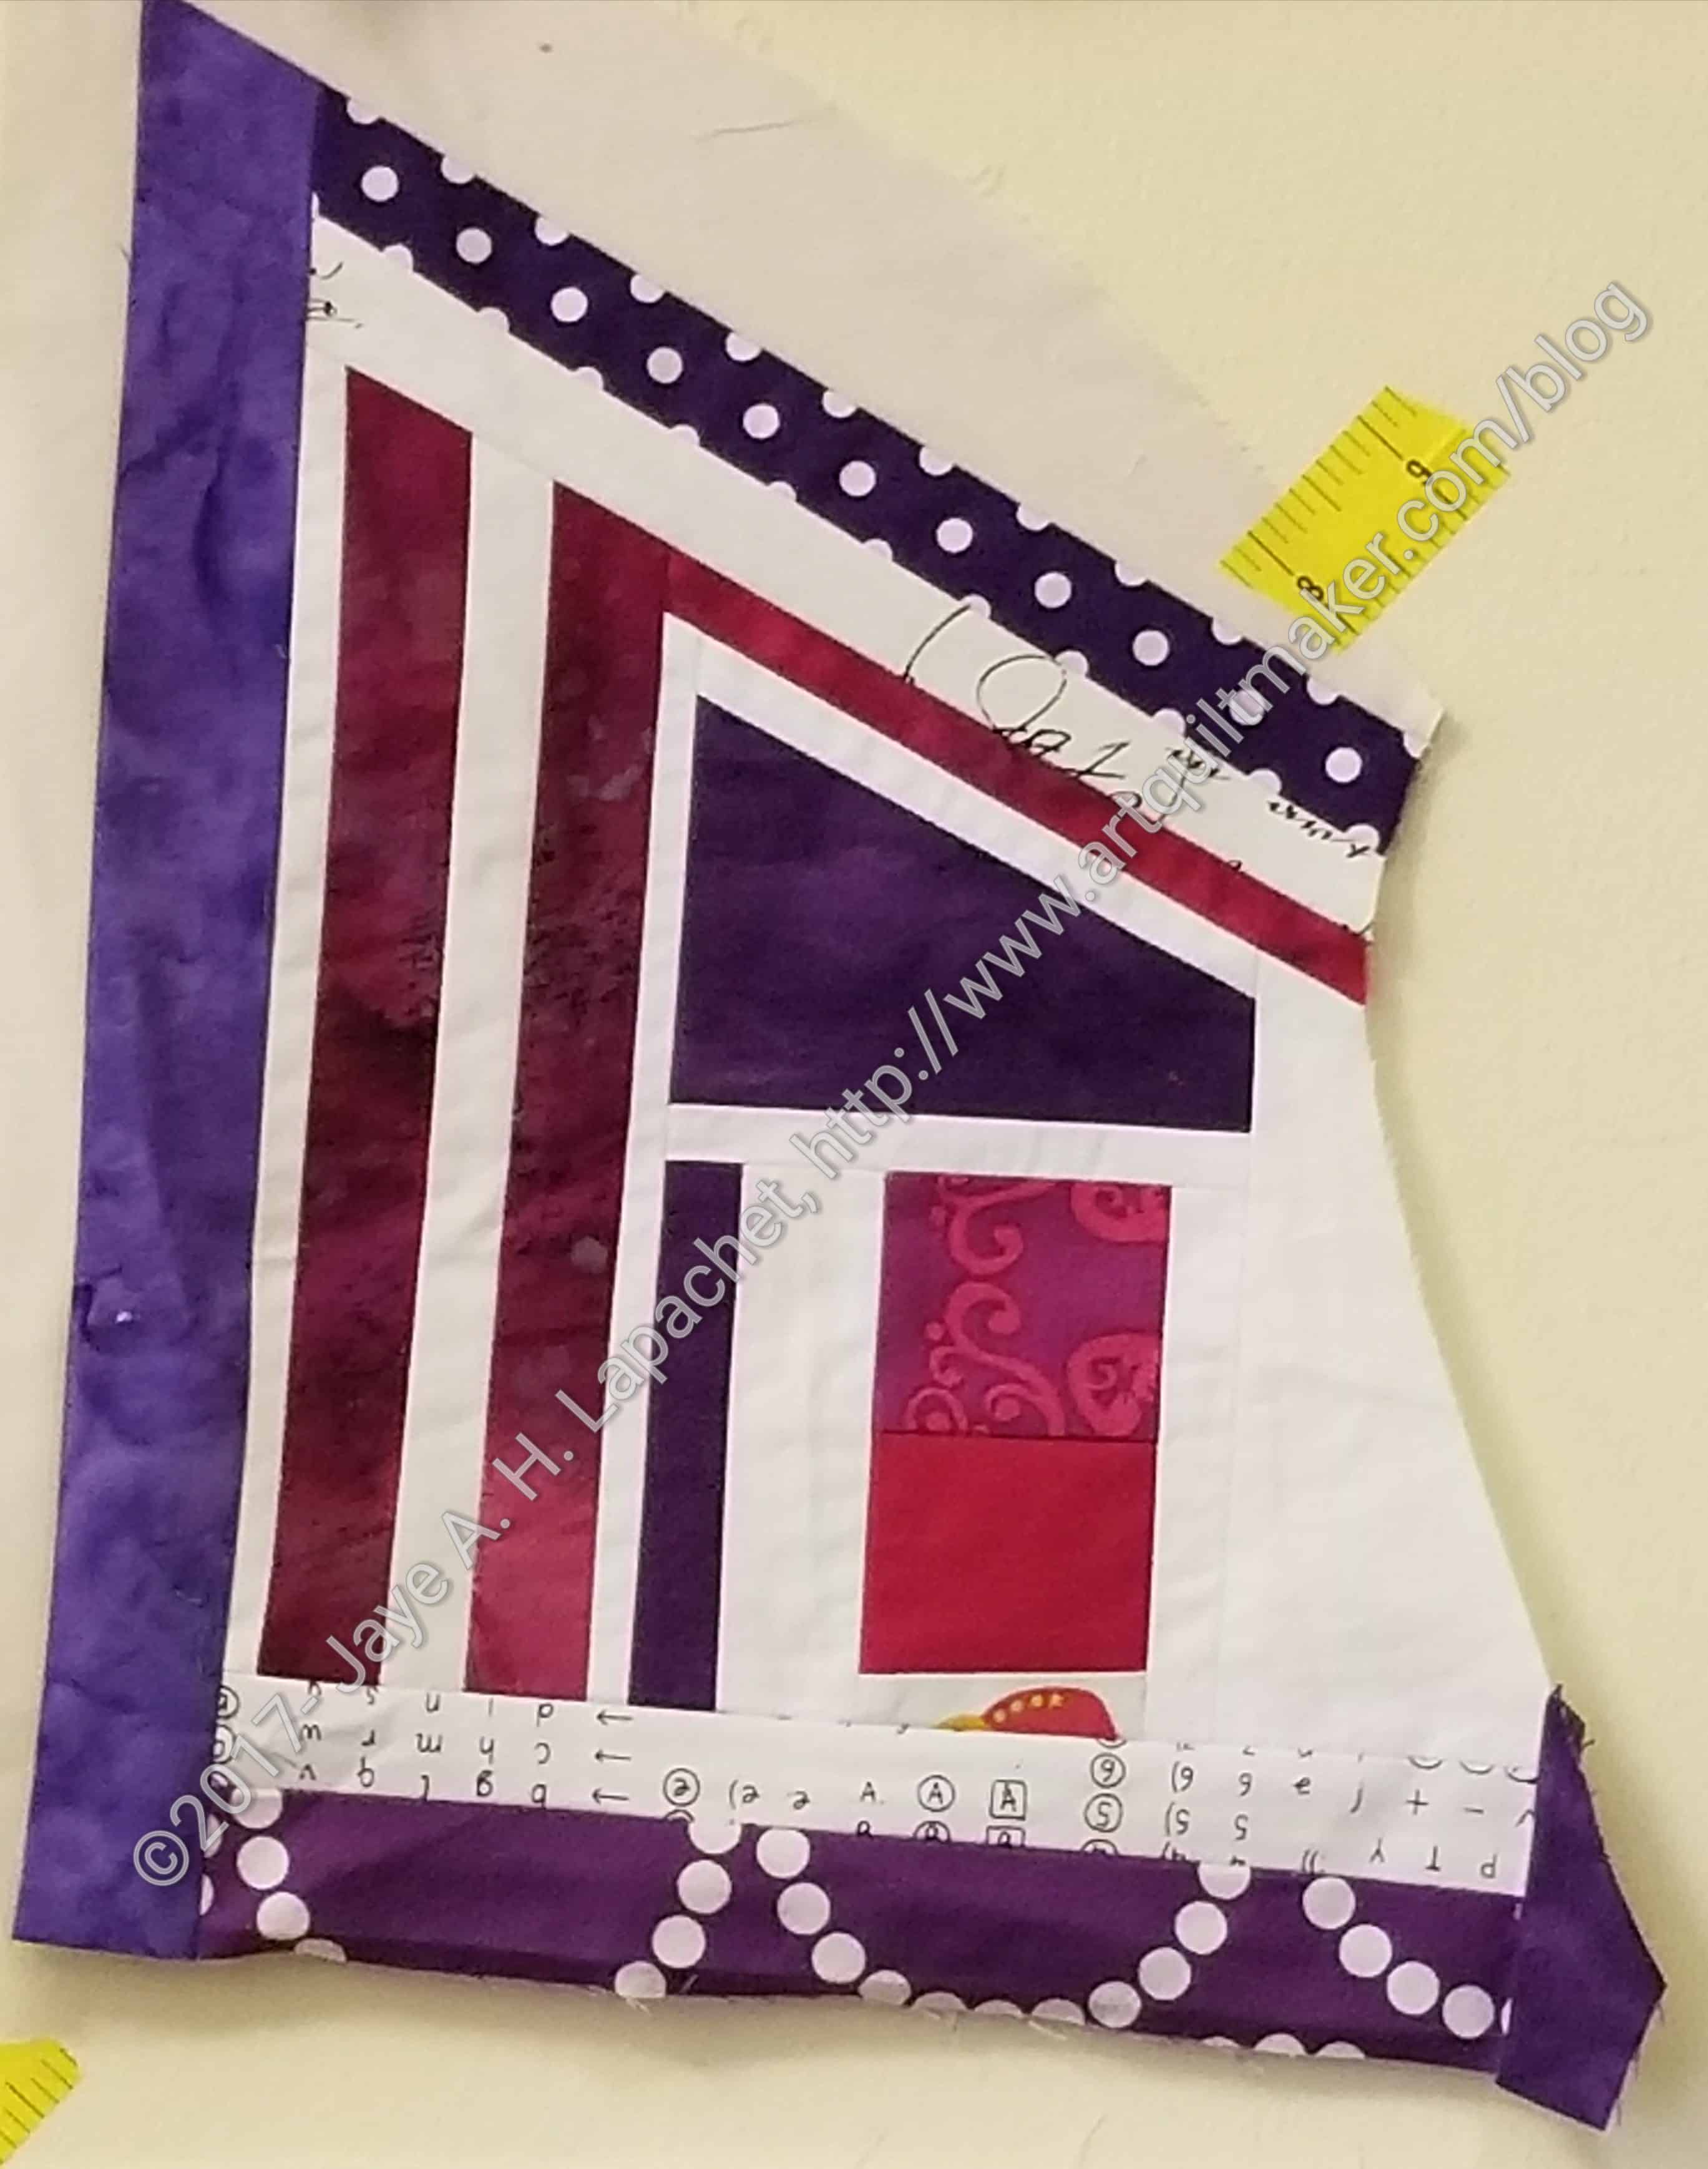
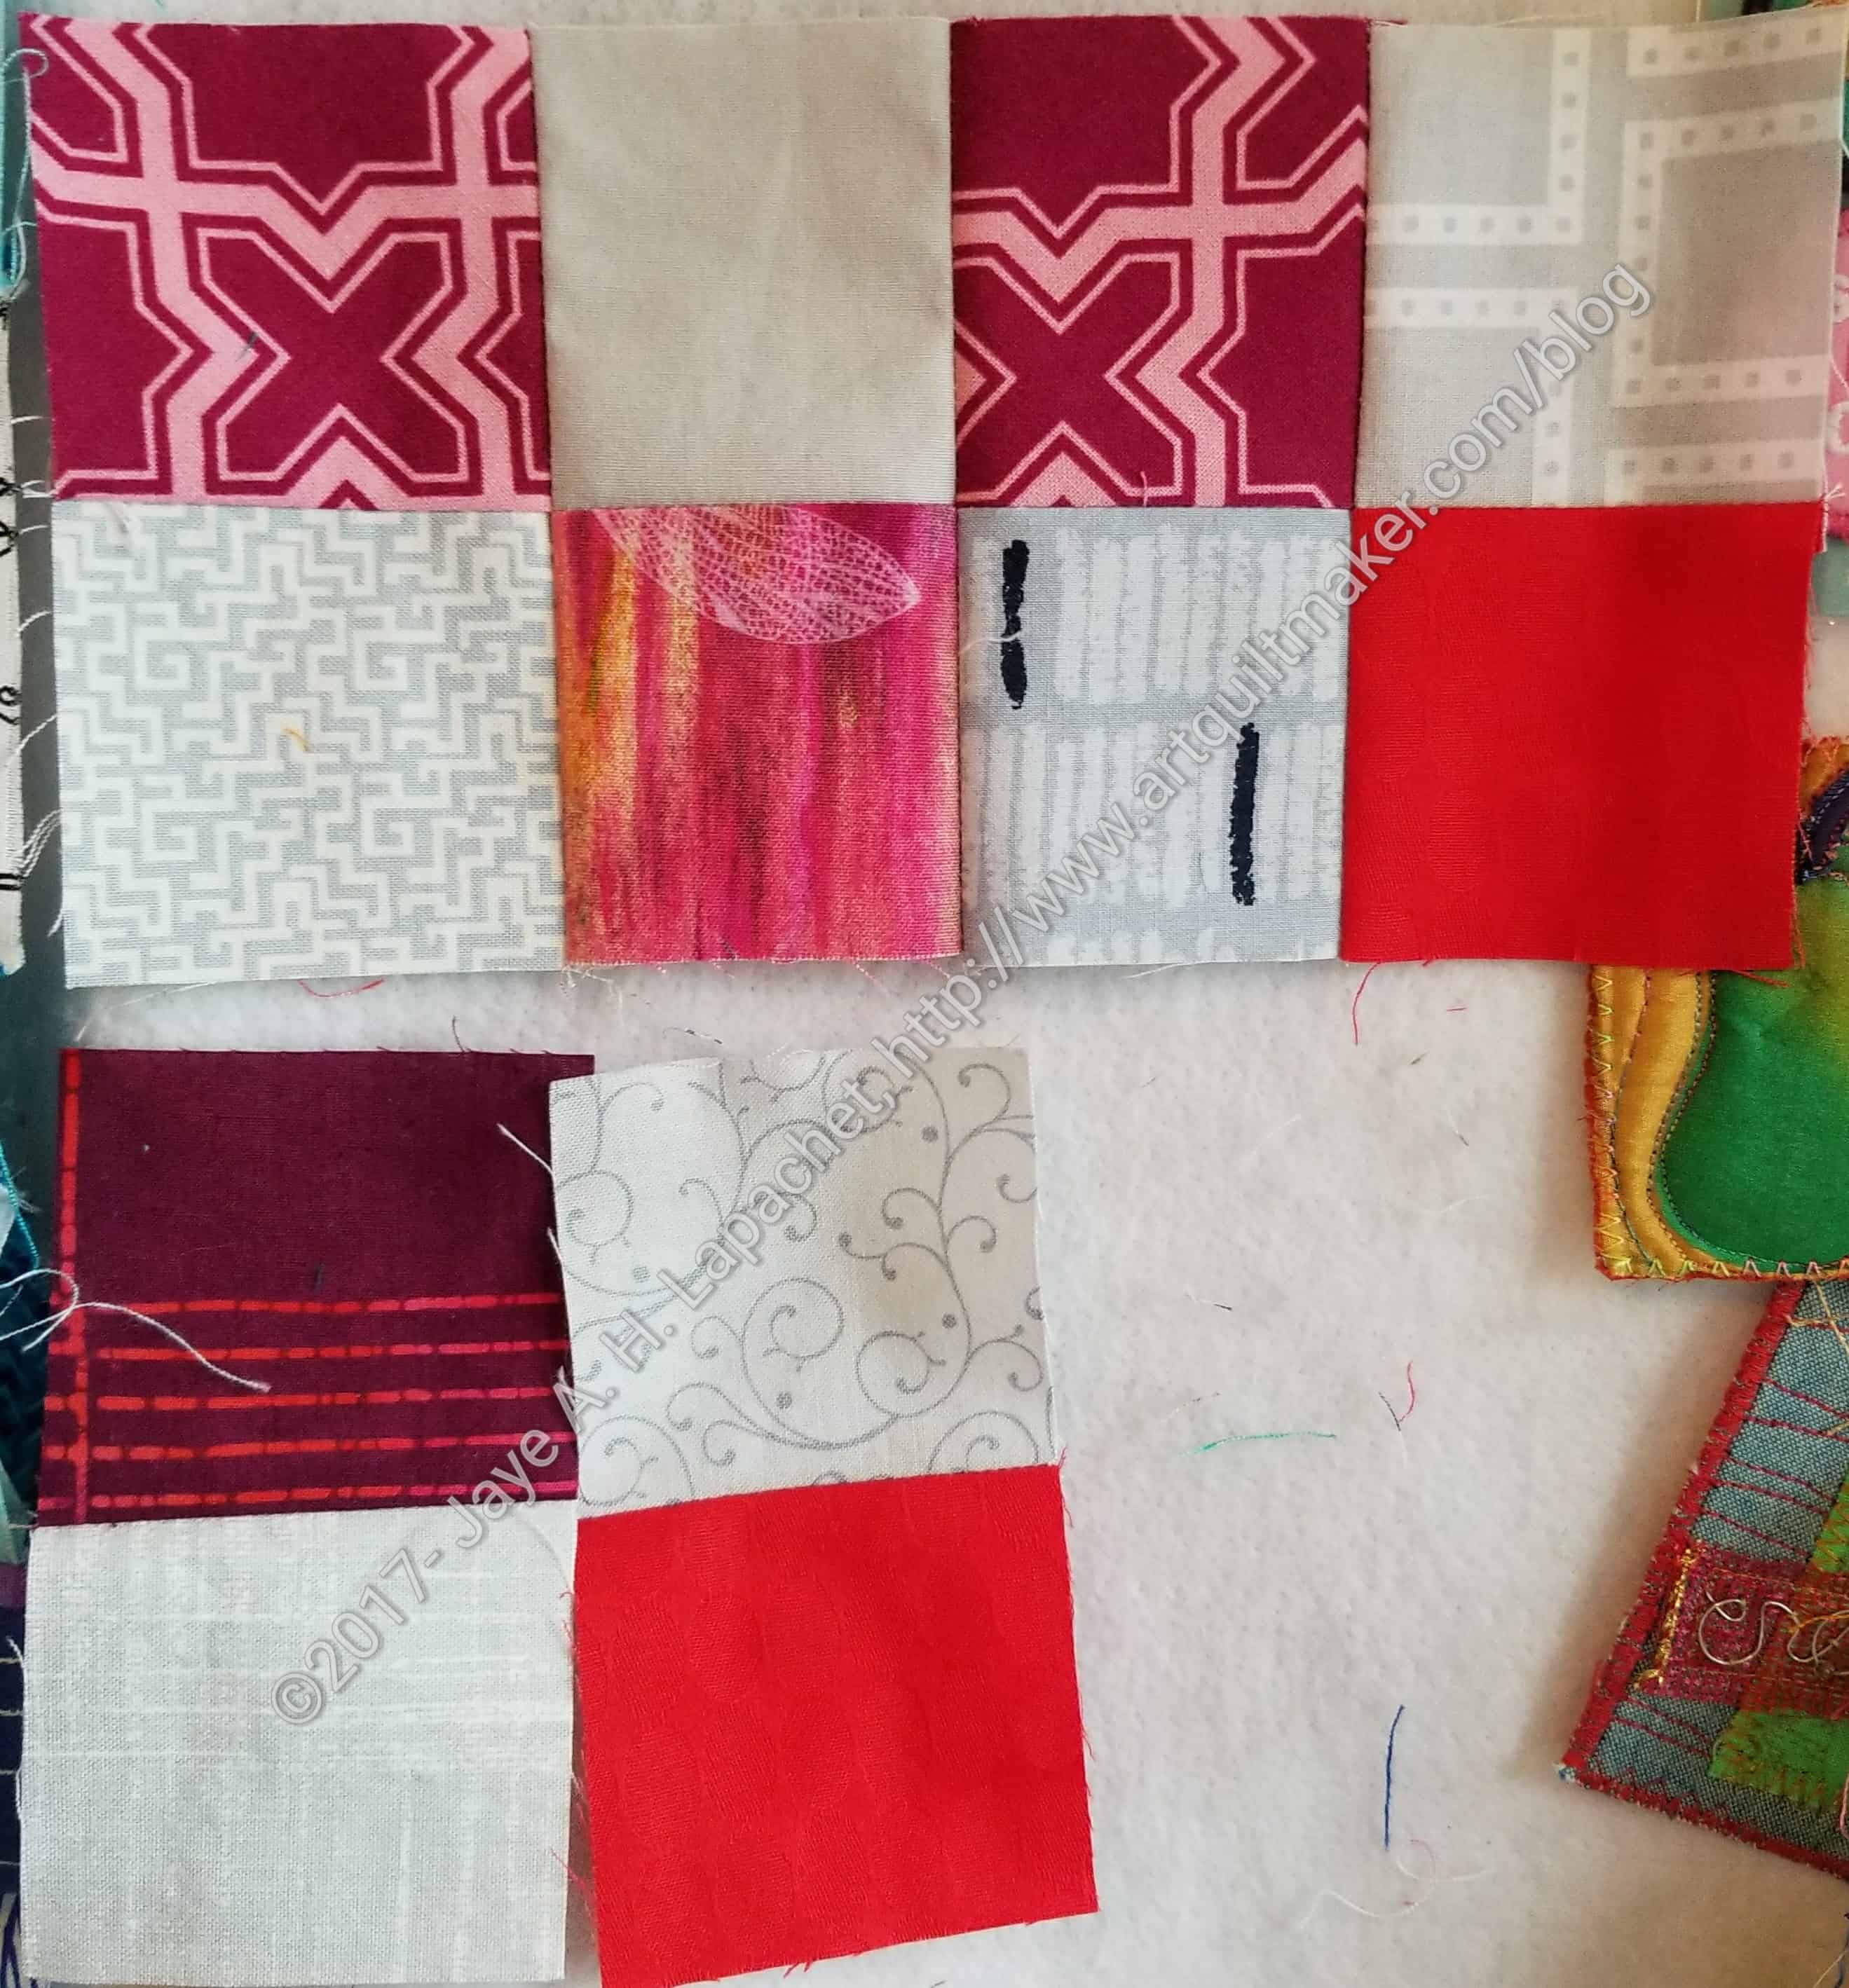
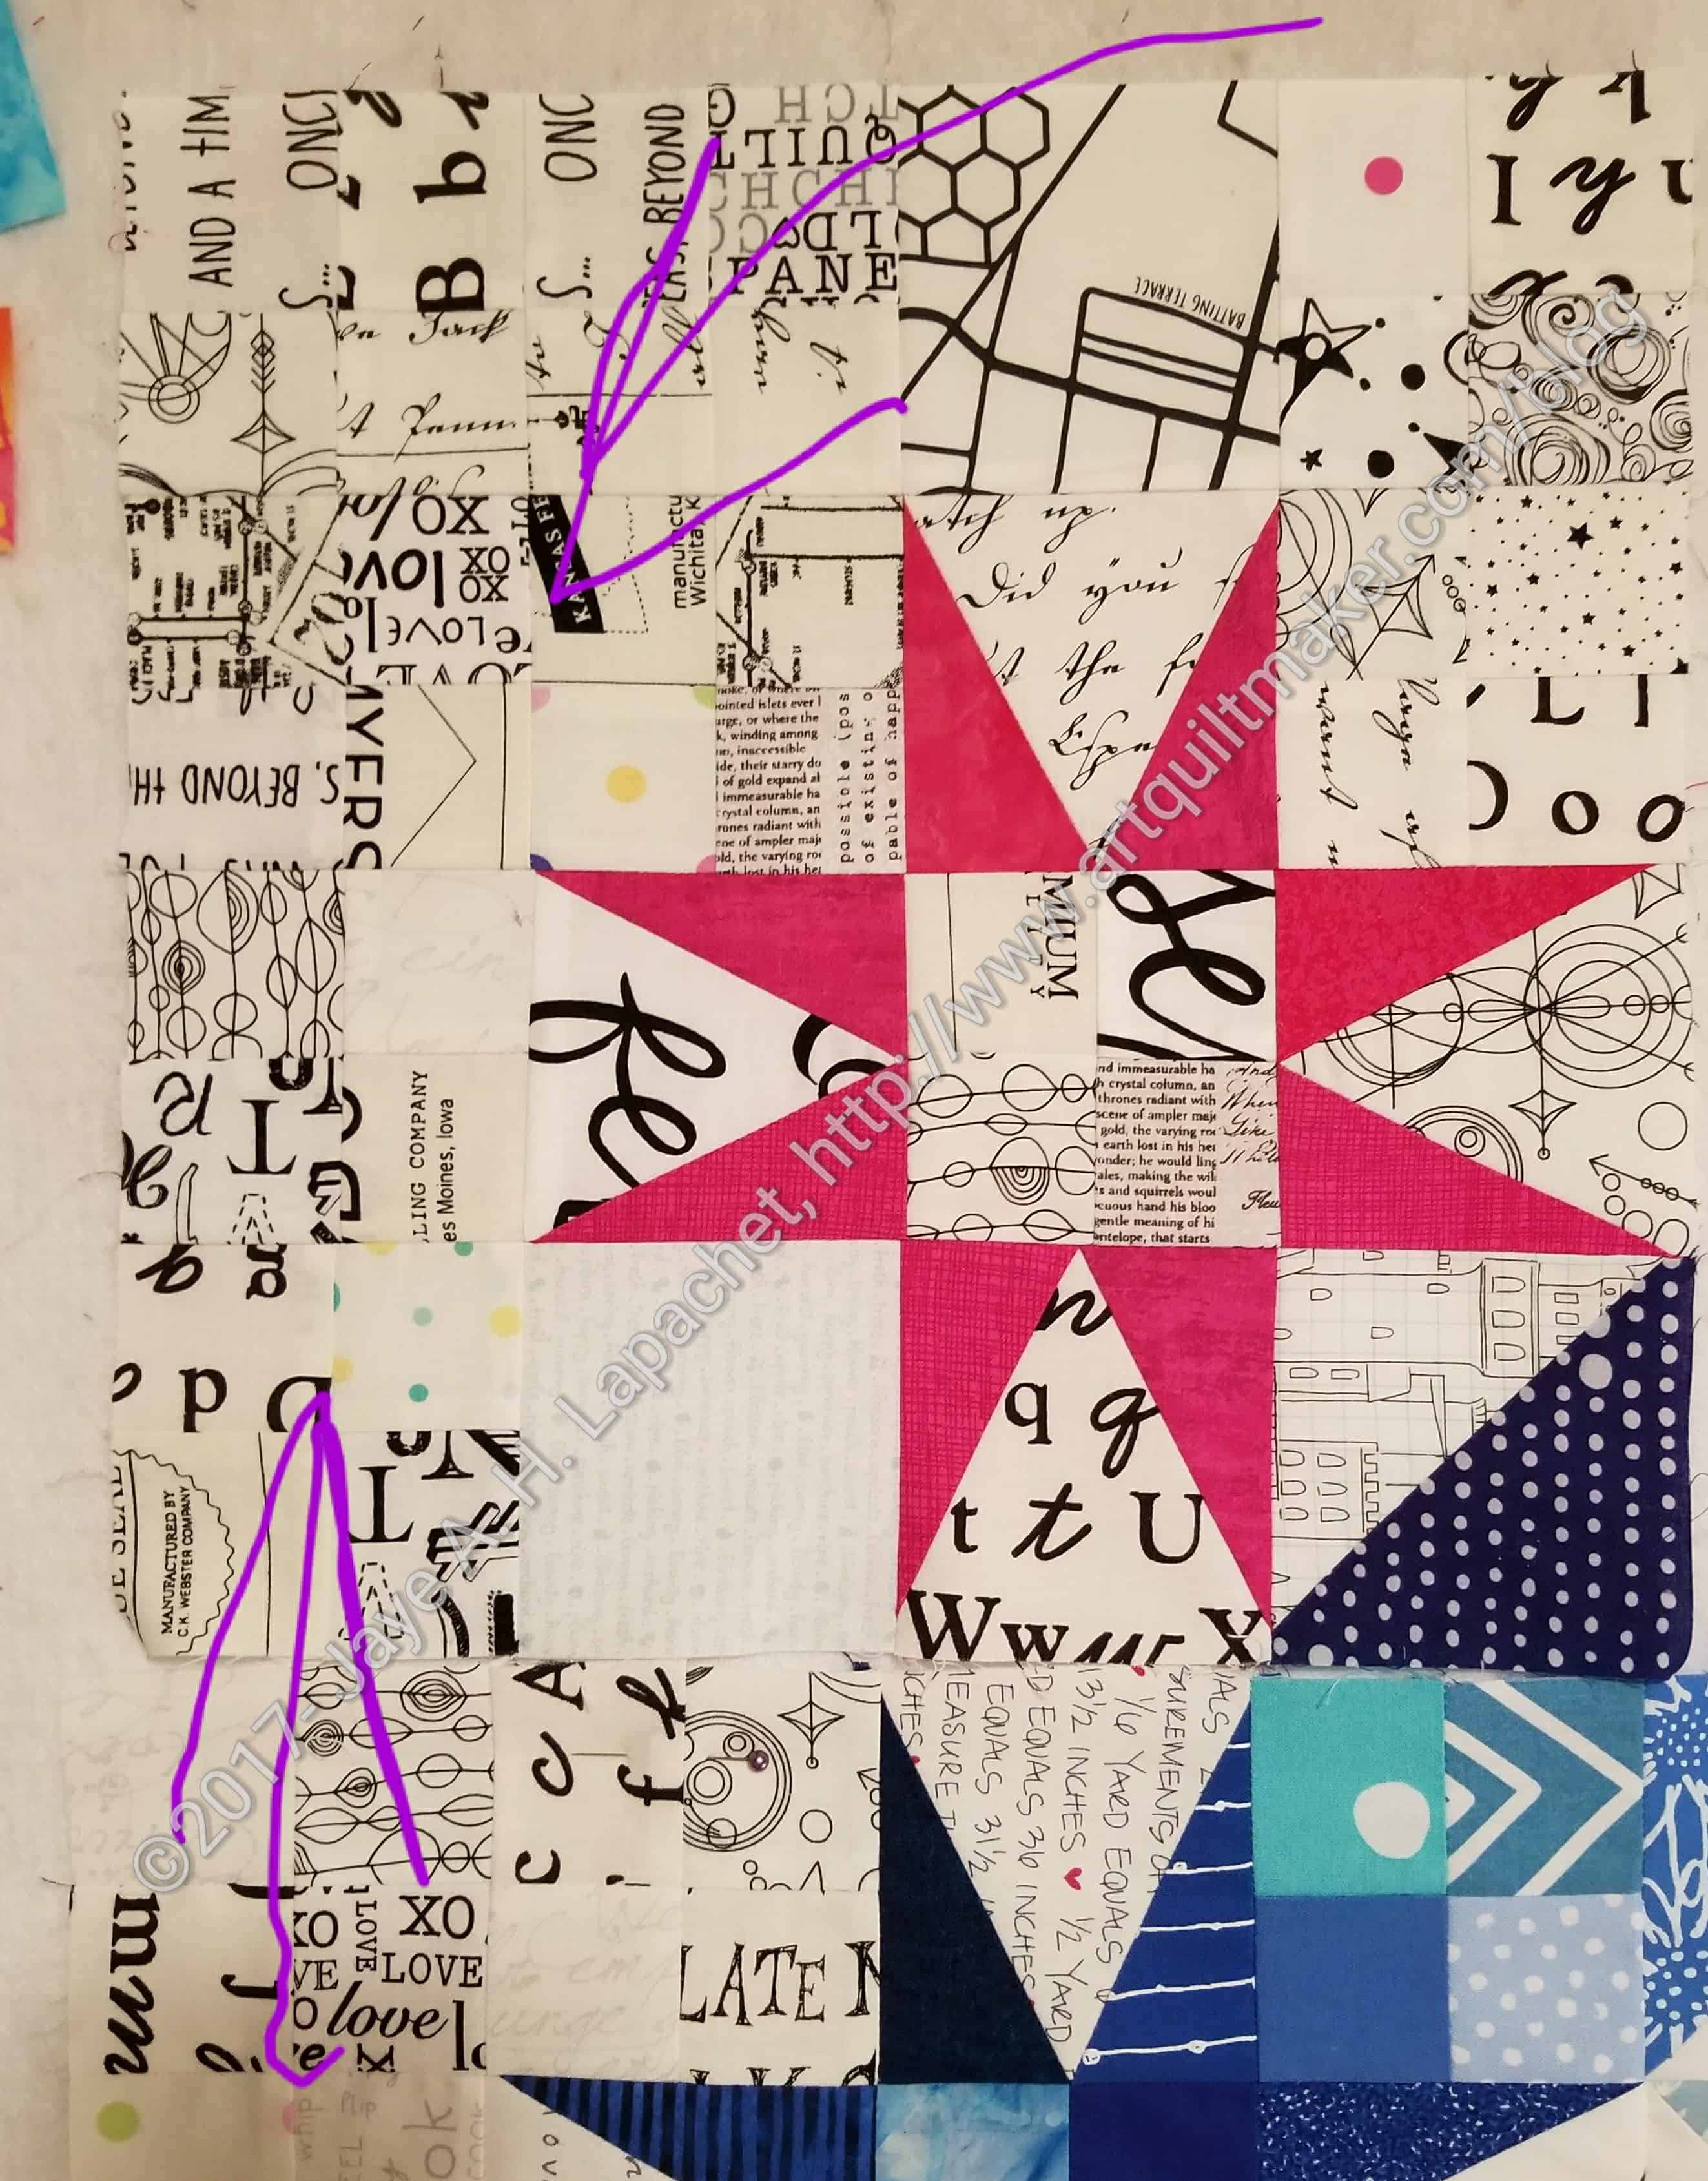
The top arrow, left, shows the very edge of the border – the seam line between block and border.

The bottom arrow shows the border.

As I have said, they integrate so well that a casual viewer can’t tell where the border is. I really like that.

All Donation Blocks All the Time

Although I had a lot of other projects to use as leaders and enders, I really made a lot of donation blocks throughout the weekend as well.

I have used a lot of 2.5″ squares this weekend and I am kind of scraping the bottom of the barrel. It is not a bad thing as I am using up pieces I might not normally use. I’ll have to cut some backgrounds soon, but I hope to work out some piecing so I can use some donation blocks from last year to make a new top.

Final Weekend En Provence Progress

En Provence upper right hand quarter - November 26, 2017
En Provence upper right hand quarter – November 26, 2017

I added “Piecing” to the hashtags for this post. Immediately my mind revised that as ‘interminable piecing’. I don’t really feel tired of this project, but there are a LOT of seams and I am ready for this top to be finished. Good thing I made significant progress over the weekend.

The upper right hand corner is finished and this means that I have 4 rows of 3 blocks to finish. If I had 4 days free, I could finish the top by the weekend.

I have been sewing the border on as I go along. Using the ‘self-bordering’ technique makes the border much more precise in terms of matching seams. You also don’t have long seams to sew (and match) or borders to add once the center is done. I use this technique as much as possible. It makes my life so much better.

More Donation Blocks

French Provincial donation block

You’ll notice that this post is not about the #OnRingoLake mystery quilt project as you will find on many other sites today as people show their progress on Bonnie Hunter’s new mystery quilt.

Since I am still working on En Provence, I thought it was prudent to finish that before starting another mystery. I am reading and collecting the clues in case I change my mind.

While I was working on En Provence on Friday, I made some more donation blocks. I used the donation blocks as leaders and enders, of course.

I figured out that each donation block has 15 seams. I made about 6 in the course of several hours of sewing, which means I sewed somewhere in the neighborhood of 180 seams total. That is between the En Provence pieces and  the donation blocks. I did a couple of other things in between as well, so my total is probably a few more.

Of course, the seams are short, which means they are quick, but I am making progress.


I am feeling like I am running out of 2.5″ pieces in my donation bin from which to choose. I think it is just that I don’t have enough to make blocks from one color. I also think that some of the choices are not my favorites. I have a number of pieces left and will make an effort to use those up before I commit to cutting more.They are not ugly and someone will like them, so I will need to use them.

Thanksgiving Weekend En Provence Progress

We had 24 people over for Thanksgiving, so there was no sewing Monday through Thursday while Thanksgiving prep was taking place. I was also working.  I did, however, make some good progress over the weekend.

En Provence, November 24, 2017

I spent most of the day on Friday sewing. I even declined to watch a movie with the boys in order to sew. They needed some alone time anyway. More than half of En Provence is pieced and I am working on the upper right corner.

I got up and set about sewing pretty soon after that. I usually go for a walk before I sew to get it out of the way, but needed more resting time before I did that. The first thing I worked on was finishing the last/top row of the left hand side.

After coming back from my walk, I laid out the upper right hand side and started piecing. I was able to finish sewing a row and a half of that quarter. I would love to finish this weekend, but doubt that will happen. Bonnie Hunter’s Mystery Quilts require a lot of piecing, which is what makes them such great scrap quilts. Still, I have to sew a lot of short seams and there are a lot more to sew.

Color My Quilt-November

Color My Quilt - November - Melinda
Color My Quilt – November – Melinda

I started my contribution to the November Color My Quilt project for Melinda pretty soon after the October meeting. I meant to do more, but I just ran out of time.

Again, I used all scraps and did some Improv piecing. I was a little mean, but I couldn’t cut off that curve. It was part of the scrap that I used and I liked it. I am sure it will get cut off in the final piece, but perhaps Melinda will keep it.

The pieces have a fall-ish look, but are also bright.

November Color My Quilt Shards

The shards made hung together surprisingly well. I think the colors Melinda wanted were clearly defined and easy to use. There were lots  of blocks this time, which made me happy. Someone made a block using the method from Sarah Goer‘s class.

ColorPlay: Pumpkin Pie

ColorPlay: Pumpkin Pie

In honor of Thanksgiving, I chose a picture of my pumpkin pie filling in process. I make a maple pumpkin pie. I found the recipe in a Bon Appetit magazine when I first contributed to Thanksgiving about a zillion years ago. Nobody has complained so I keep making it that way.

We remodeled our kitchen in about 2007 and it has red accents. We are very strict about what color appliances and accessories come into the kitchen. As a result, I received this food processor as a gift one year. I use it for all holiday food prep and it works really well.

ColorPlay: Pumpkin, default

I found out very quickly that the tight composition of the shot made for a very limited palette. The default palette, as we have found over the year, has a lot of neutrals. However, I found this to be a very warm palette.

ColorPlay: Pumpkin, n.1

I wanted to try and get more reds, more different reds, so I tried again.

ColorPlay: Pumpkin, n.2

n.2 has more reds, so I succeeded in that way. I am not that fond of Kona Caramel on its own, but with the reds, it does add something – perhaps a place for the eyes to rest?

ColorPlay: Pumpkin, n.3

I was able to get even more red tones in.3.  I also changed the Caramel to Kona Latte for a slightly different look. I might like Latte less than Caramel, but I haven’t decided. As with Caramel, it does add something to the heavy red palette.

ColorPlay: Pumpkin, n.4

I kept a red, but tried out a dark neutral palette. The buttons of the food processor are grey, so I was able to add in Kona Mocha, which I think might be off in terms of names, but it is a nice addition to the palette. Kona Ruby comes from my spoon rest (made by the YM) and I kept it in to keep the palette from becoming too neutral.

ColorPlay: Pumpkin, n.5

I tried an even more neutral palette for n.5, building on n.4. I, again, kept some red, but changed the specific red from Ruby to Kona Cotton Wine. I wouldn’t make a quilt from this palette, but can see it being used for a very chic house sale.

ColorPlay: Pumpkin, n.6

Finally, for the last palette, I went for broke with the reds. I was pleased to see a Kona Lipstick show up! I love the name of that fabric. In this palette, the grey (Kona Mushroom) is the only neutral, though the Kona Mahogany could go either way in terms of it being one of the reds or a neutral

I know the differences are subtle between the palettes above, but it is interesting to see the changes one can make by moving the circles around a picture. As I have said before this is a good exercise.

What palettes have you made?


Even More Donation Blocks

Donation block, November 19, 2017

As I said yesterday, I used donation blocks as leaders and enders. I only finished 2.5. After doing an inventory of the donation blocks I have made this year, I was determined to up my numbers.

I’d love to give Peggy and Michelle a nice little stack at the BAM Winter Extravaganza, but we will see.

I am trying to clear out my little bin of 2.5″ squares. Some have been hanging around for a long time and I am sick of looking at them. The group above are not any of those. I needed some nice fabrics to work with first.

Donation block #2, November 19, 2017

I do worry about using non-white fabrics for backgrounds, though I do it anyway. I don’t want to say beggers can’t be choosers, but I do think it. I do firmly believe that other background fabrics thrown in make the blocks more interesting. Some of the background fabrics in the second image come from the appealing California fabric I bought at the Granary. These fabrics were also not the ones I was eager to move out of my bin.

Donation block #3, November 19, 2017

Some of the red tones in the half made block are those that need to earn their keep in a donation quilt. I bought too much of those Joel Dewberry red-pinks at the top. They keep showing up and I need them out of my life. The two squares on top might be the last two, but I suspect another 1-2 squares are hiding from me, ready to pounce when I am least expecting it.

I’ll have at least three new blocks to give to the Charity Girls in a  few weeks and more, with any luck.

More En Provence

En Provence, November 19, 2017

I started out late on Sunday with the piece above. I had finished chopping about a million ingredients for various Thanksgiving dishes and was delighted to find that I had some time to sew.

I had sewn most of the last row together, but had a few more seams, so I put those together and found, suddenly that I was able to layout the last row on the left half of this top. Shocking! I thought I had miles together.

I really don’t know why I keep being surprised by this quilt – how much I have sewn, how much I have left, how well it looks. Perhaps I should call it En Provence Surprise?

En Provence, November 21, 2017

I had to fold down the piece before I could layout the top row. I could have reached, but why? It would have been a stretch every time I sewed two pieces together or checked the pressing. I wasn’t up for it.

It is extremely gratifying to see the top row even if it is just laid out and not sewn yet.

Triple Star is at a stopping point until I lay it out and decide on a final design, so I used donation blocks as leaders and enders. I finished 2.5, which isn’t shabby.

I know it is all En Provence All the Time on the blog these days. It is what I am working on except for gifts, which I am not working on enough and can’t show at the moment any way. You’ll have to bear with me for the time being.

Sticking It All Together

I counted up blocks and rows and units again and found that I am farther along than I thought. It all started when I noticed that I was getting very short of the quarter triangle units. I carefully counted and found that I only have to piece two more rows on the top to finish one whole half of the quilt.

Or so I thought.

Really, I have to piece two blocks top to bottom for the right side. I was shocked that I had so little left to do. I had been sure that I had an equal number of blocks to piece for the right side as I had on the left. I don’t know how I got so turned around, but this is great news! I thought I would never finish piecing this quilt. Yet, I had already done so much.

As a treat, I decided to see how the piece would look once it was stuck together. Sort of.

Merged En Provence Left Half

I put two images together. There are slight differences in lighting, and the bottom is folded up, but you still get the idea. I am thrilled.

I saw another version of the pattern on Instagram. It is by Sylvia, Sommerschiebe. I love how round this circles ended up.

Stars #3 Quilted

Stars #3 Complete
Stars #3 Complete

I had a bonanza yesterday at the guild meeting. Gerre finished quilting Stars #3, which I was not expecting. Her finish meant I (we!) had something finished to show after all. I was really thrilled that she was able to finish it. I really enjoy collaborating with Gerre on projects.

She chose to do some straight line quilting, which I think was a good choice. This quilt will go off to its new home soon.

New Donation Top

This quilt top has a connection to two other quilts. One is the Carpenter’s Wheel. The other quilt to which this top has a connection is the Ends Donation Quilt.

Ends #2 Donation Top

This top is second in a series (yes, I see more in my future) of quilts made from the leftovers of quilts after they have been quilted. I made this top from the leftovers of the back after Colleen trimmed it.

The back of the Carpenter’s Wheel was pretty big so there was quite a bit leftover. This top is about 48×48. I am in the process of making the back and sewing leftover pieces of batting together. While I am very much into fabric buying, using every little bit really makes me happy.

Tim said that he would quilt it when I am done making the back. I love his quilting, so this is an awesome development.

Various & Sundry 2017 #15

Doing Good
Help Sonoma County quiltmakers recover from losing everything. The Santa Rosa Quilt Guild writes on their website: “We are so grateful for the outreach by the quilting communities in California and throughout the country to help us recover from the effects of the fires in Sonoma County. Your heart and generosity are a perfect expression of what we quilters do. Calls for fat quarter donations through Facebook and Instagram were an unexpected surprise.

While they don’t ask for them, I would send NEW tools and supplies -rotary cutters, rulers, mats, thread, pins, Wonder Clips, sewing machines, machine needles, and other notions and supplies that a quiltmaker needs. If I had lost my home I would want to get sewing again ASAP. Of course, they might all be super busy.

Happiness Is A Warm Quilt is seeking donations of bed-size quilts (nothing smaller) and pillowcases for children affected by the fires. The Quilt Show has a blurb and some links. You can find them on Facebook or contact Happinessisawarmquilt@gmail.com.

As a reminder, there are lots of opportunities to provide some comfort to those in distress. Take a look at the post from the Las Vegas Modern Quilt Guild, calling for blocks and quilts. Also, Quilts of Compassion is collecting quilts for Houston.

 Patterns, Projects & Tutorials
Bonnie Hunter has started her winter mystery quilt. This year it is called On Ringo Lake and inspired by a recent trip to visit family in Minnesota. No clues have gone out, but the Intro is available. Read this post, as it is really helpful for choosing fabrics. Clues will be published every Friday. The first clue will go live on Black Friday, November 24th. Excellent alternative to shopping! Remember that it is up to YOU to print your clues as they are released and to save them in a place where you can find them. This mystery will be retired from Bonnie’s blog on Feb 1, 2018 and placed in the digital downloads section of the Quiltville Store for purchase after that. I am not finished with En Provence, so I doubt I will join in. I do save the clues, though, since you just never know.
Tools, Notions, Thread and Supplies
Triple Star Rectangle-Spikes

The Bonnie Hunter Mystery Quilt uses a ruler I have heard about called the Folded Corner Ruler. This is by Antler Quilt Design. I wasn’t sure what ‘folded corners’ were so I watched the video on the Fat Quarter Shop website. I realized that I could use this for the Triple Star. Of course, I only have about 20 more of these types of units to make, though. However, you know how I love rulers. 😉 You can buy this at the Fat Quarter Shop, Amazon (yes I get a piece) or on the Bonnie Hunter site . It is out of stock everywhere, except on the Antler Design site. Some of the sites are not taking pre-orders. I did see some other rulers that seem to do the same thing when I was surfing around.

Other Artists

Have you seen Mr. Domestic’s butterfly?

I was very sad to hear about Nancy Zieman’s death. Her obituary is posted.

Carrie Bloomston is offering creative life coaching phone (or FaceTime) consultations on Mondays and Thursdays in November. The sessions are 55 minutes for $95 (+ $5.25 WePay fees). You’ll pay via WePay through the Sign-Up Genius form below. (All times are listed in Mountain Standard Time.) Email questions to info@carriebloomston.com and sign up online.