Octagon 9 Patch Again

Octagon 9 Patch, joining blocks

I am working on this project very slightly. Each time I need a leader and ender, but am not working on a donation block, I put one of these through the machine. I have a fair number now.

I am only joining one octagon block to one 9 patch block at the moment. Once I do that, I’ll see where to go next. Design wall, probably, which is full at the moment.

Review: Quiltmaker Magazine

Quiltmaker Jan-Feb 2018

Recently I bought the January-February 2018 issue of Quiltmaker magazine. I remember when this magazine started and it was very different to the behemoth that was Quilter’s Newsletter Magazine.

I didn’t have a chance to read it until this week when I had to stay home and be quiet for a few days.

I noticed several things about it. First, it still has a few quilts from readers who made patterns found in the magazine. I haven’t read many magazines lately, but I don’t remember seeing that feature in some of the newer magazines.

Next,There is one page about new notions, gifts, books and “gotta-haves” (pg.8).

Third, this is still a pattern magazine. There are 12 patterns in this issue, which, if I worked diligently, would take me over a year to make. The patterns have a lifestyle shot and an easy-to-find straight on shot. Included on one pattern page is  a small sidebar that tells the difficulty, the finished size of the quilt and the size of each box. FABULOUS! Patterns also include a coloring page. Not only can you relax with some coloring, but you can also try out your own color ideas without needing to buy EQ8. Some of the patterns have colored in drawings of the quilts as well. This issue had a pull out section with some templates and designs for quilting as well.

Fourth, one of the patterns, Sodalite Cabins, includes an artists profile after the pattern. I think this is a nice touch. I always like to know more about people, how and why they quilt.

Instruction n.4
Instruction n.4

Next, I like their directions for basic quilting instructions. The instructions are for the Stitch and Flip method of adding triangles to a square or rectangle type unit. The description says “Stitch & Flip is the perfect technique for making Flying Geese, Square in a Square’s [sic] and parallelograms without having to sew on the bias” (pg.33). The new Folded Corners Ruler does the same type of thing, but with these Quiltmaker instructions you don’t necessarily need the ruler. There are 6 illustrated and easy to follow instructions to show the reader how to get the job done. You have to buy the magazine to get the full instructions, however what caught my eye was the way the editors showed the particular placement of the ruler. Nice!

Fifth, Articles! Yes, the magazine has a few articles, some non-pattern content. A couple of the articles were on using some type of machine for  quilting and the last one was a column called Addicted to Scraps. Addicted to Scraps is written by Bonnie Hunter. She is the designer of the various mystery quilts that start around the holidays like my En Provence quilt. In this column she talks about using her Essential Triangle Tool and about making some scrappy blocks that include 4 patches. These are not instructions for a quilt, but you can see a layout diagram for a quilt if you follow the link included on the page. I like this idea as it forces readers to be a little more creative.

While I don’t plan to become a subscriber, I am pleased with what I saw in this magazine this week.

BAMaQG IRR Top Ready for Next Steps

BAMaQG Improv Round Robin

The top is finished and I am on to putting together the back. I don’t think I will make my deadline of having this ready for Big Stitching, but I have made great progress and see the light at the end of the tunnel.

There is much more space and lightness in the piece and the solid areas will provide some good spaces for stitching.

Finished: Hansel and Gretel Set

ColorPlay and the Creative Spark will return soon!

Finished set of Hansel & Gretel

Yay! This set is finished! A little more than a year after I got it, it is finished, signed, sealed and sent off.

The quilt in this set was probably the easiest part. I did a pillowcase binding and then sunk the threads. It is a pretty basic quilt, but the small amount of quilting I did on it looks nice, I think.

Finished quilt of Hansel & Gretel

I don’t think I will make this brand of panel dolls again. The good thing is that everything is all on one panel. The bad is that the seam allowances are really small and the seams tend to blow out after play. My little niece plays with these dolls, a purpose for which they are intended, and I don’t want her to be disappointed. I have another pattern – not a panel – with lots of zippers and buttons so she can learn to dress herself (we had a doll when I was a kid with the same concept called Dressy Bessy). I hope to get started on that doll soon-ish.


Zentangles Again

In Portland a couple of weekends ago, I drew a couple of Zentangle tiles. I haven’t made it to the truly meditative stage of ‘tangling’, but I enjoyed myself.

Zentangle n.8
Zentangle n.8

I tried branching out to new motifs, but didn’t like the outcome that much. Although the designs are not symmetrical, I liked them individually. I thought the combination, though, had too much white space.

I tried those motifs by skipping ahead in the book. After I finished this tangling exercise, I went back to my bookmark.

Zentangle n.9
Zentangle n.9

I tried again with the same basic motifs I learned on. These are just like the first card, but I can do it and it gave me confidence.

BAMaQG IRR 360

Well, so much for squaring it up and getting it ready to hand quilt!

BAMaQG IRR, in 2018
BAMaQG IRR, in 2018

I put this piece up on the design wall and decided that the bottom of the quilt was too heavy. The sections needed space so they could be seen. In order to provide space, I had to unsew some of the quilt, modify and resew.

BAMaQG IRR - midway
BAMaQG IRR – midway

This took longer than expected and the top is no longer in one piece. When it is finished it will be bigger and there will be more space at the bottom. I am more happy as I see the lightness at the bottom develop.


BAMaQG IRR - 3/4s of the way
BAMaQG IRR – 3/4s of the way

I am making progress and I see the light at the end of the tunnel. My goal at the moment is to try to get the sides to be same same length (or approximately) as the middle. I am working on the last bit of the bottom, which is sort of improv-y, but more like my normal quilt style, though less planned up front.

I am happier with the piece in general, though I did feel a little bad about messing up others’ work. I do think this is a better piece, designwise.

EPP Travel Pouch

Gerre's EPP Travel Pouch
Gerre’s EPP Travel Pouch

I finished the EPP Travel Pouch I am giving to Gerre for her birthday. I like the way it came out. I probably should have used more orange and pink to really suit her tastes, but I just loved that ice cream print and had to use it. I really hope she likes it.

The two times I have made this bag, I have thought it would be a quick project. There is so much handwork that it turns out to take longer than I expect the handwork to be relaxing, but it takes a big needle to push the thread through the many layers.

EPP Travel Pouch Open

The other thing is that the directions are somewhat confusing. I made notes on them this time so, if I make this again, I won’t make some of the same mistakes again. The only thing that bugs me is that the piece does not have a handle. I really think it should have a handle. I am not sure where or how I would add a handle, but I’ll have to think about that.

EPP Pouch: Open with sewing  items
EPP Pouch: Open with sewing items

Still, this project comes out well and has some clever elements.

I finished the inside of the Altoids tins to make them into little sewing kits and storage kits. I’ll have to figure out a decoration for the top next time. I wasn’t up for that challenge this time.

EPP Travel Pouch Open & Filled

26 Projects: On Task

As I said in January, I am working on getting my quilt house in order. In February’s post, I showed progress. This means I am continuing to finish projects and tidying up my workroom. I spent time the week before last reorganizing some in process projects and putting the parts into bins. I don’t have a lot of space in my fabric closet for project bins, but making some space allows me greater access to my fabric. I also made progress on some projects, which is the whole point of this exercise.

Finished 2018 Quilt Projects

Finished 2018 Non-Quilt Projects

Doing Good

In Process
The  ‘In Process’ is used to denote projects on which I am actively working or pretending to stitch. I try not to put away projects, because that will ensure I never work on them.

  • BAMaQG IRR –The top is done and I am working on the back in preparation for quilting
  • English Paper Piecing Project– half hexies – I have mostly been knitting while I watch TV, but I did make some half hexies in anticipation of making another star
  • Stepping Stones #2 – This quilt was on the design wall, but I took it off to work on the BAMaQG IRR. I need to cutmore patches and sew more border blocks.

Still WIPs
I still have WIPs. Who doesn’t, after all? A project in the ‘UFO’ category means I am stalled. A nicer way of saying UFO is a WIP. The list is a lot shorter and the projects are newer, for the most part.

  1. Aqua-Red Sampler – I need to lay the blocks out and put the piece together.
  2. BAMaQG Color Round Robin – no progress.
  3. City Sampler – blocks all made. Need to sash the blocks and put the top together. Due to some issues I had with my seam allowance, some of the blocks are smaller than others, so I will have to adjust them in some way – either ripping and resewing, adding a piece or two to the block or with sashing. This is sort of a sticking point and while I consider this quilt ‘in process’ I hadn’t worked on it in awhile until I took the blocks to the BAM Sew Day and started measuring. Once I know what I am facing for each block, I can move forward
  4. FOTY 2017 – pieces cut. Need to layout and start piecing.
  5. Handbag Sampler – this is a project about which I had forgotten. I actually don’t know exactly where the blocks are, but I have an idea and will crawl up in the far reaches of my fabric closet soon and see if I can find them.I haven’t even found a picture of all the blocks. The blocks were teaching samples when I taught a sampler class the time before I started writing the quilt class sampler tutorials.
  6. Lobster – I still have more stitching to do and then I need to quilt it.
  7. Octagon 9 Patch: In the past week or so, I have started to sew pairs together as leaders and enders. I am not convinced this is a great idea, but I want to make progress, so I will make it work.
  8. Pointillist Palette #4: Fourth is a series of 6 quilts; needs tiny square patches sewn together. No progress.
  9. Pies and Points from Victoria Findlay Wolfe class. No further progress. I need to focus on this and it is not up high enough on the list yet.
  10. Self Portrait: started in 2006 at a class at Quilting Adventures in Richmond, Virginia. I am stalled on this again. Again, I didn’t capitalize on the excitement I got from my career counselor and now the feeling is lost.
  11. Serendipity Lady Quilt: no progress.
  12. Under the Sea: class project; like the design and am happier with the colors. I had an idea for it, which didn’t end up working out. I would like to finish it soon.
  13. Black and Red quilt – This came about because of two other projects. I made a whole bunch of bias tape as part of my failed attempt at doing the Mighty Lucky Club a few years ago. Another part of the inspiration came from my class with Tina of Little Blue Cottage fame. This was going to be for a nephew, but I think it will be for one of my SILs and BILs. I have rectangles cut and some bias tape ready. My next step is to sew the bias tape to the rectangles like pickup sticks. I don’t have any photos of this, so you’ll have to trust me.
  14. Half Rectangle donation quilt – I want to work with half rectangles and the 16 patches we make for the guild. I have the blocks made and the cool ruler I thought would work for this project. Now I need to gather the fabric and just do it.

Small Projects in Process

  • 2 gift Sew Together Bags- most of the fabric is cut , the zippers are purchased and I am ready to sew
  • Another Sew Together Bag for me – the fabric is cut, the zippers are purchased and I am ready to sew
  • 1 gift Sew Together Bag as a gift – nothing cut
  • Mel Beach quilted piece – I want to make it into a pillow cover
  • Tool Tote – I bought the pattern at QuiltCon and started cutting it out at Sew Day in March

Ready for Quilting

  • nothing right now

In Quilting Process

  • En Provence – at Colleen’s. She hasn’t quilted it yet, because we can find the right color thread for the blue.
  • FOTY 2016– Finished piecing and is at the quilter
  • Thanksgiving tablemat – I have the correct feet and just need to get busy.
  • Theoretically, the Tarts Come to Tea is in the quilting process, though I haven’t worked on it in a while.  See above.
  • Triple Star – Finished piecing and is at the quilter

Binding

  • Ta Dots & Stripes Quilt (was called last time Dots & Stripes HST Quilt (or Something) ) – Finished quilting and is ready to be bound
  • Planned Improv – Finished quilting and is in the binding process

Hunting and Gathering

  • 30 Something: I am still cutting 1.5 inch squares. I am pretty sure I have the 800 I need, but I am not ready to sew them together yet, so whenever I have a chance I cut more I cut more. It will give me choice when the time comes. I’ll have to think up a new name, too. My next step will be to figure out if I need to cut other sizes of squares and switch from cutting 1.5? squares to cutting the new size.
  • Blue Gradation Quilt: cutting 2.5 inch x 4.5 inch blue rectangles. It has to end sometime. I wasn’t sure I was ready to put this together, but I think I am. I might do a couple of gradation quilts in a row just to get the practice.
  • Blue Lemonade: cutting blue, green, purple 2 inch squares. I used a lot of these squares for En Provence, so I am slowly cutting more.
  • Pink Gradation Quilt: cutting 2.5 inch x 4.5 inch pink rectangles
  • Spin Wheel: really not started, but supplies gathered. I might have to cut some more background fabrics. I probably have enough fabrics and just need to decide to start.
  • Windmill quilt: Still hunting and gathering. I am supposed to be cutting a variety of greys for the background, which required the purchase of a new template. I should be able to get going again

Other

  • Stepping Stones #3 using the Macaron pre-cuts from Hoffman. I have all the fabric in pre-cuts and am just waiting for space (and desire) in my schedule.

I’ve used just under 30.5 yards of fabric so far this year. I am pleased, but I want to hit 50 soon and possibly make it to 100 NET, not gross.

What’s on your list?

Various & Sundry 2018 n.2

Patterns, Projects & Tutorials

I subscribe to the AllPeopleQuilt.com newsletter, which I often delete. I was just about to delete the Valentine edition (I am NOT making a V-Day quilt this year, despite my love of that heart quilt from QuiltCon) when I saw that they had a compilation of bag projects. The variety of projects ranges from totes and market bags to pouches and backpacks. There are a number of options that look like they would make great gifts.

Sara Lawson has a great bag for taking supplies and tools to Sew Day or on Retreat. It is called the Oslo Craft Bag and it is free IF you sign up for her newsletter. The video to help make it also available. Videos seem to be all the rage.

You might remember the casserole carrier I received as a gift in the guild Winter Exchange. I saw a pattern for the same sort of project that looked interesting and useful as well.

Only 2 more days to get Sara Lawson’s (no affiliation-just a happy customer!) 4-bag video/pattern bundle. Check out the intro video to see the projects available.

Quilt World News

There is an article about Bonnie Hunter on the Quilting Company website.

We all woke up to the news that Coats was closing Freespirit. I must be a bad librarian because I had no idea Coats even owned Free Spirit. Well, good news! (if you have already heard) FreeSpirit is saved! The Fortunoff family, owner of Jaftex, a textile company whose holdings include Henry Glass, Studio E, A. E. Nathan, Fabric Editions and Blank Quilting bought FreeSprit. The Kaffe Fassett Collective, Amy Butler, Anna Maria Horner and Tula Pink will join Pepper Cory under the Jaftex umbrella. Scott Fortunoff, the owner of Jaftex wrote a wonderful blog post about the whole deal.

You can find out more about the company on their About page. I like the blog very much. It is thoughtful and entertaining.

Media

Julie turned me on to an article on Hyperallergenic about (and titled) Quilts as Tools of Resistance. It was about the quilts at QuiltCon, which were tools of resistance. I was glad to see the writer mention the fact that quilts have been used to promote women’s agendas for change throughout the past few hundred years of history. The article includes examples of historical protest quilts. I find history often is left out of the modern quilt movement, so this article is refreshing.

I was so pleased to see StoryBee with our own Frances Dowell! StoryBee is a new video interview show from the Quilt Alliance. It is about 20 minutes long and the first one was very well produced. The questions were excellent and went past the normal ‘how did you start quiltmaking?’. The interview show is described as being “created exclusively for our members. It’s a way for us to say “thank you!” to our members and to come together to enjoy stories from prominent quilt lovers across the country (and the world)”. The first interview is with Victoria Findlay Wolfe. Yes, according to the information you have to be a member to view the shows. You can find membership info on the Quilt Alliance membership page. There are various membership levels, which all seem very reasonably priced to me:

MEMBERSHIP LEVELS

Individual Membership

  • Student: $20 (beginning March 1)
  • Friendship: $30
  • Album: $60
  • Sunburst: $90
  • Signature: $150

StoryBee is included in all membership levels, but other benefits for different levels are described on the page linked above.

No I am not taking over Frances’ blog, but it does seem like it today. Frances has come out with a series of short stories related to quiltmaking. Check out Margaret Goes Modern, the latest from Frances, who also wrote Birds in the Air.

Dale Drake, moderator for the AQSG list wrote recently regarding Underground Railroad quilts “You all might have already seen this – I’m catching up on my magazines and this is from the May 2017 Smithsonian, on the Ask Smithsonian page:

Q: “Did slaves communicate information about the Underground Railroad through their quilt designs?”

A[nswer] from Elaine Nichols, curator at the National Museum of African American History and Culture: “That idea was popularized in the 1999 book ‘Hidden in Plain View: A Secret Story of Quilts and the Underground Railroad’, for which authors Jacqueline L. Tobin and Raymond G. Dobard relied on a South Carolina family’s oral history. But without documentary evidence, scholars remain skeptical.”

March 27 is the day that Marie Bostwick’s new book Just In Time comes out. It is available for pre-order now!

Quilts Out and About

UP Dorm Room 1979-1980

I saw a photo of a quilt in a dorm room when I was in Portland visitng the YM a few weeks ago. The museum was closed, but we were looking at their hallway display.

It is a real quilt, too. Look at those Sawtooth Stars in the border!


Doing Good

Valerie over at Evening in the Garden turned me to on to a new donation block drive that might interest some of you who don’t have a well developed charity program in your guild or don’t belong to a guild. I may have mentioned this particular project before. Kat runs a project called Covered in Love where she collects blocks every month and makes quilts. She has a new block this month and is now accepting blocks. Covered in Love provides quilts to the families of patients who pass away in an East Texas hospital.

H&M Recycling Program

I had to get a couple of shirts during QuiltCon. I planned to wear one thing, and then ended up wearing another which left me short of shirts. While In the dressing room, I saw the sticker on the mirror (photo, left). This is great news! I don’t like giving crappy clothes to Goodwill even if there is a mending policy. This gives me another option when donation and pet beds won’t work.

NQR

I get a little annoyed at the ads on IG, though every once in awhile there is a gem. As you may know I love pens. I am particular, though, and extremely picky. JetPens.com has a pen sampler by color! They advertised the turquoise sampler in their ad on IG, which OF COURSE ended up as out of stock before I heard about it. They have other tempting colors as well. I am walking away. I am.

Book Review: Material Obsessions

Material Obsession: Modern Quilts with Traditional RootsMaterial Obsession: Modern Quilts with Traditional Roots by Kathy Doughty
Material Obsession is one of the first books written by Kathy Doughty. This one is co-authored by Sarah Fielke and has a foreword by Kaffe Fassett. Great credentials!

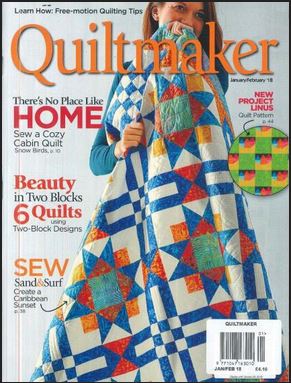
The cover quilt is a good start as the quilt depicted is inspirational and VERY appealing. It is hard not to like the dotted background and Dresden blocks.

Kaffe Fassett’s foreword is very complimentary, as expected. It acknowledges the “much less-than-inspiring work that take up wall space in shops and exhibitions” (pg.6). I find it refreshing that he acknowledges that not all quilts are stellar (though, FYI, I do believe all quilts are worth making). He compares the high quality of the work shown at the shop to other work he sees in work of “teaching, lecturing and judging” (pg.6). Whether true or not, I tend to believe Kaffe Fassett’s assessment of the shop and work displayed there.

Essentially, this is a project book. Twenty-three projects are on offer (pg.14-168) followed by Quilting Basics (pg.174-196), a glossary (pg.200) – Yay!, an index (pg.202) – Yay!, sources for supplies (pg.203), about the authors (pg.204) and acknowledgements (pg.206). From the amount of pages, you can see that this is a substantial work.

Another premise of my quiltmaking is written in the Introduction (pg.10-12). “Material Obsession came to be as a reflection of our times. Our quilts reflect a lifestyle that is moving quickly and changing every day. Quilts were once a part of a slower-moving era, one of frugal use of leftovers and recycled fabrics”… “Quilters today are free to indulge in a huge range of color, shape, and texture”… “And they quilt for love, for enjoyment, and creativity rather than for necessity” (pg.10). this information reflects the changes in quiltmaking. Most of us do not quilt because we need to keep our families and friends warm. I appreciate the acknowledgement of that fact.

The Introduction segues smoothly from the changes in quiltmaking to the Material Obsession way of making a quilt. In this part of the Introduction the authors suggest choosing an inspiration fabric (pg.11), a fabric that sings to you. I have always heard of this fabric called a feature fabric or focus fabric and Christopher Tomlinson referred to this as a hero fabric in the lecture I attended at QuiltCon. The authors use ‘inspiration fabric’ as their term and do not use the other terms mentioned in their text.

Doughty and Fielke write words that are critical to me when I am teaching “If the fabrics look good to you, if you like them, then you have the beginnings of success” (pg.11). It is important to follow your heart and use fabrics that sing to you. If you are using fabrics you think you should use because they are traditional or part of a line or ‘modern’, but you don’t like them, you have made the first step towards an uninspiring project. Use fabrics you love!

The rest of the intro talks about using fabric and color, what makes a pattern, contrast (pg.11), how to vet a pile of fabrics, using digital images (pg.12) and inspiration. One thing that stands out in this commentary is the time taken to select the fabrics. I am guilty of grabbing fabrics just so I can get to the piecing. The time taken to carefully select fabrics is described by the authors as valuable because it makes a better quilt. The Introduction is helpful, inspirational and upbeat.

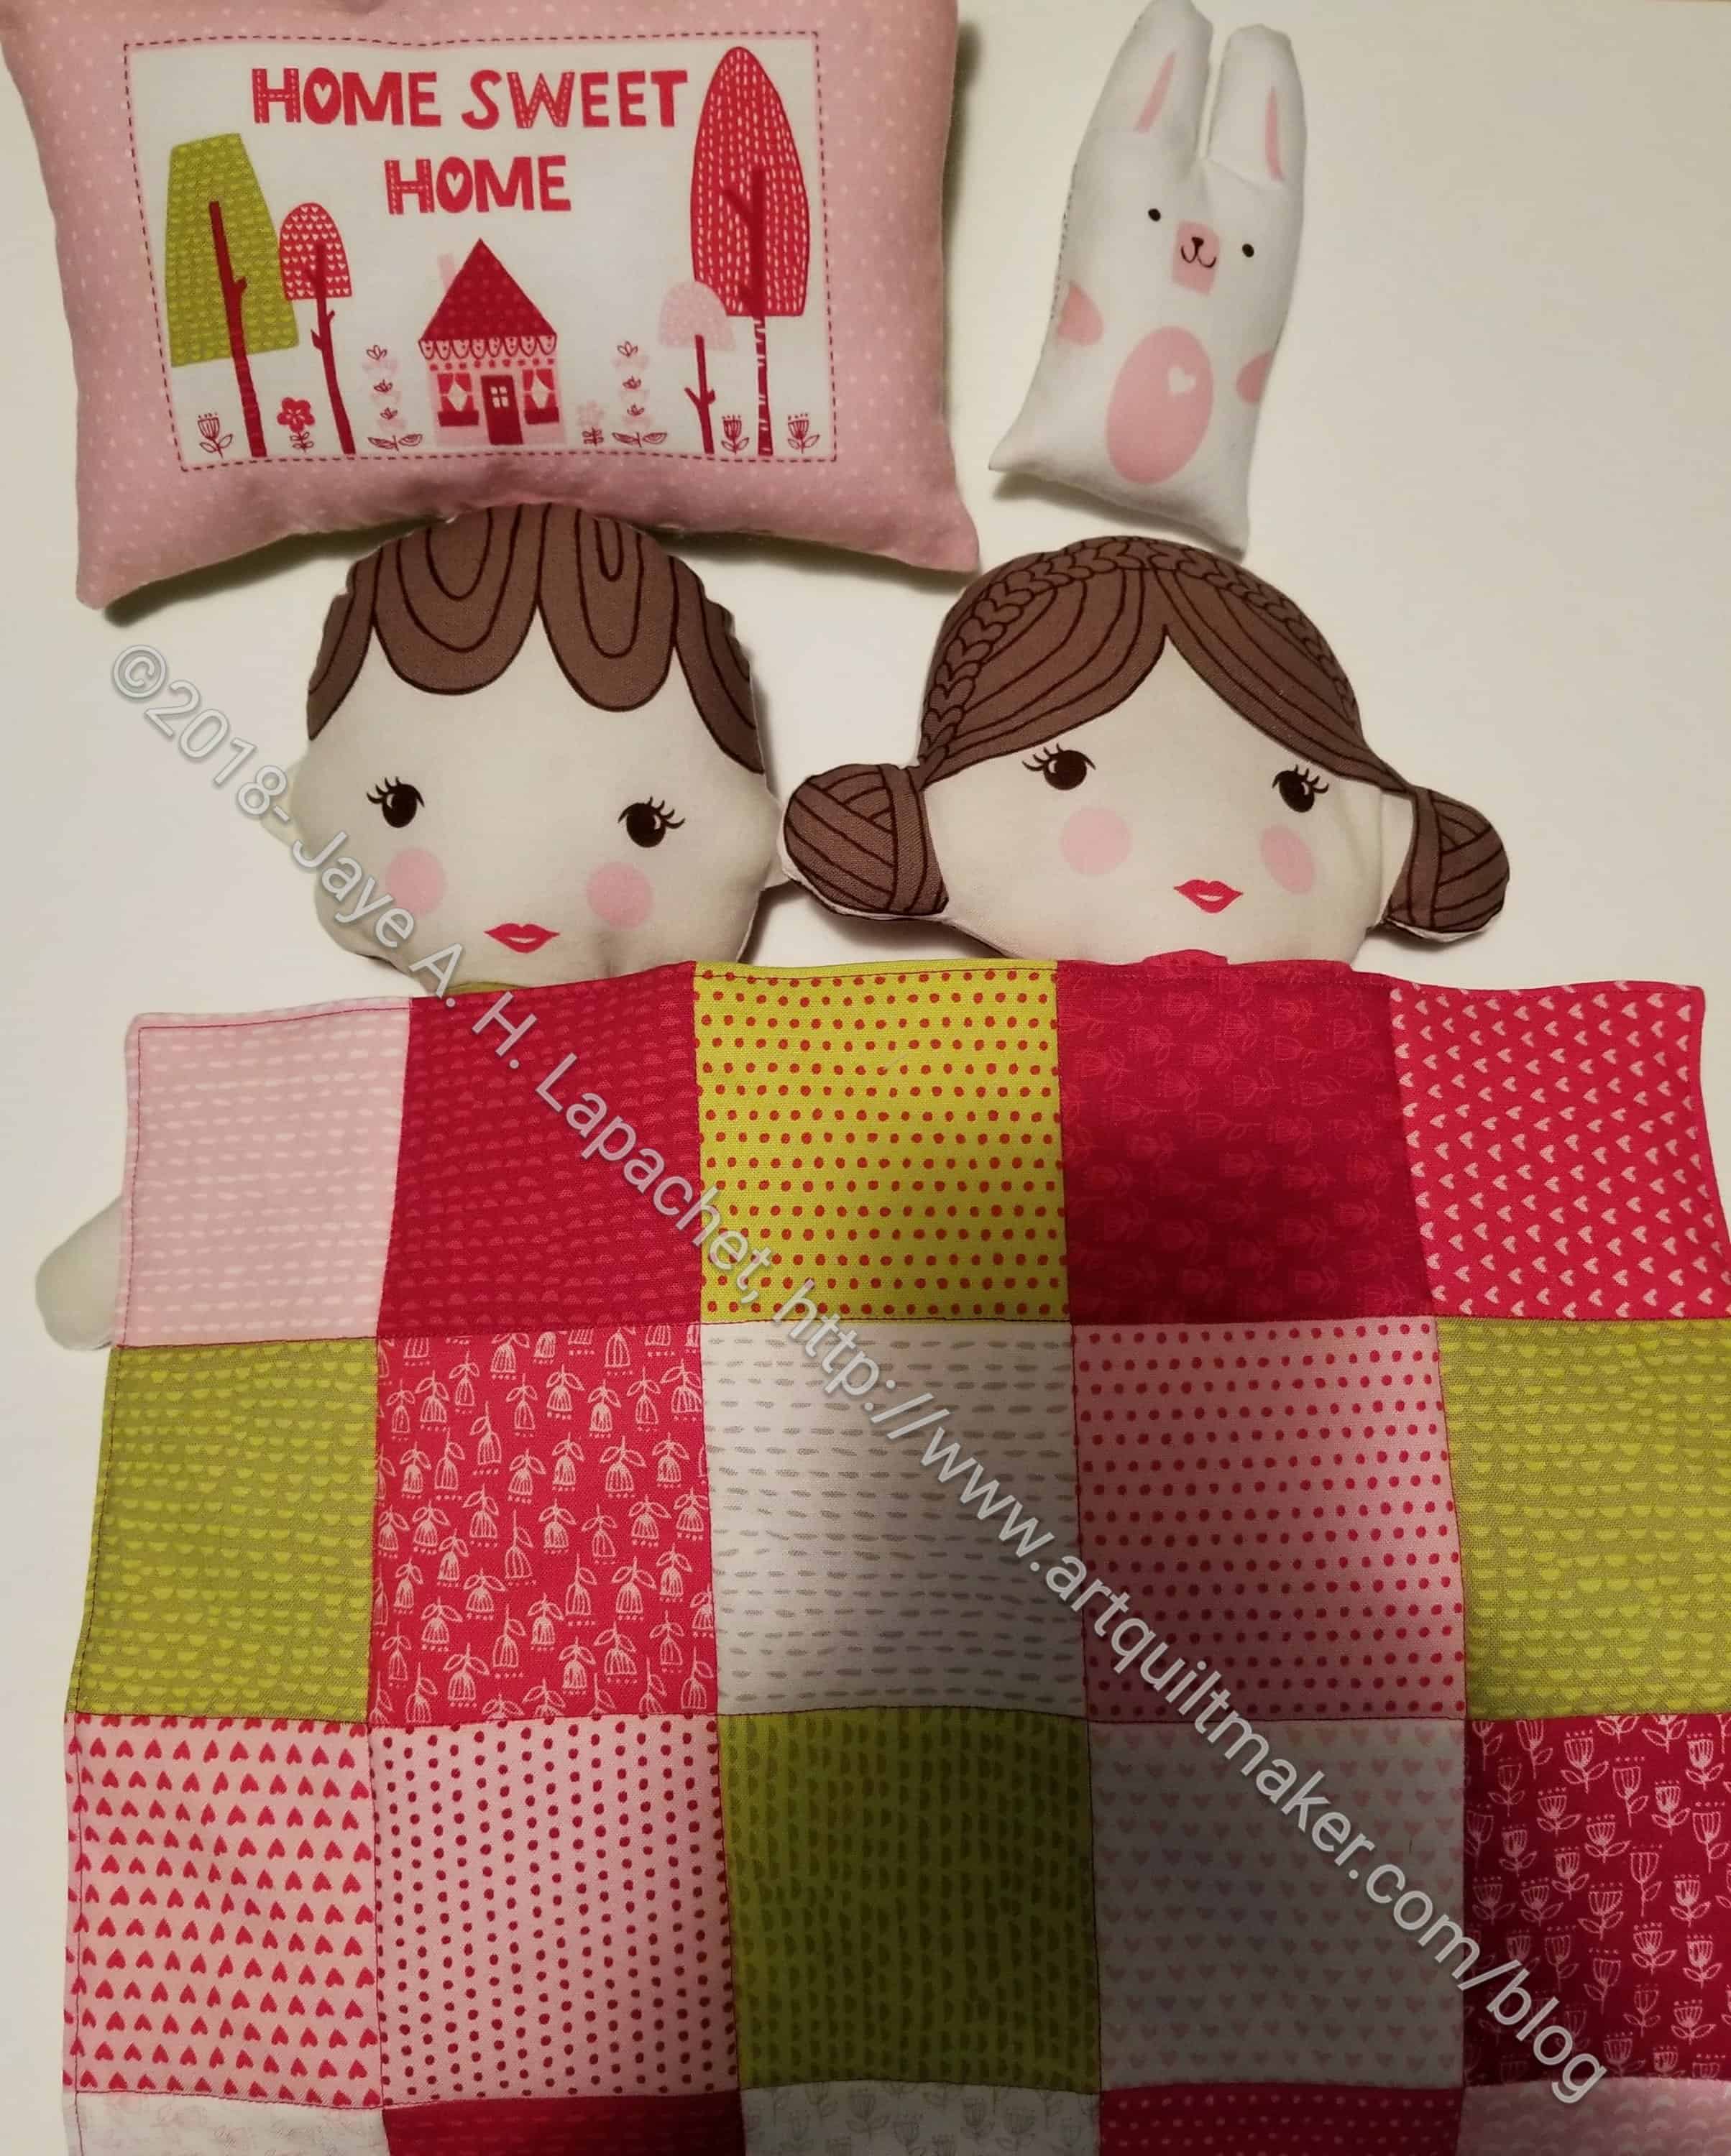
After the brief Introduction, the projects start. The first several quilts are not difficult at all – basically squares and triangles (Avalon-pg.16, Gypsy Squares-pg.20, Candy Store-pg.24, Corner Store-pg.30, Cowboy Baby-pg.38, Goodnight Sweet prints-pg.44).

Each pattern has a designation from easy to advanced. These designations make it easy for a beginner to work through the projects in order and improve skills. Complexity in the easy patterns comes from the careful use of fabric. This is a great technique for making simple quilts look complicated.

Patterns repeatedly suggest using 100% cotton (example pg.53) and testing for colors that might run (example pg.44). these are both good practices, though using non-cotton fabric is not a deal killer. I have seen gorgeous quilts using velvet and silk. I wouldn’t recommend starting your quilting life with these, but use the fabric that makes your heart sing!

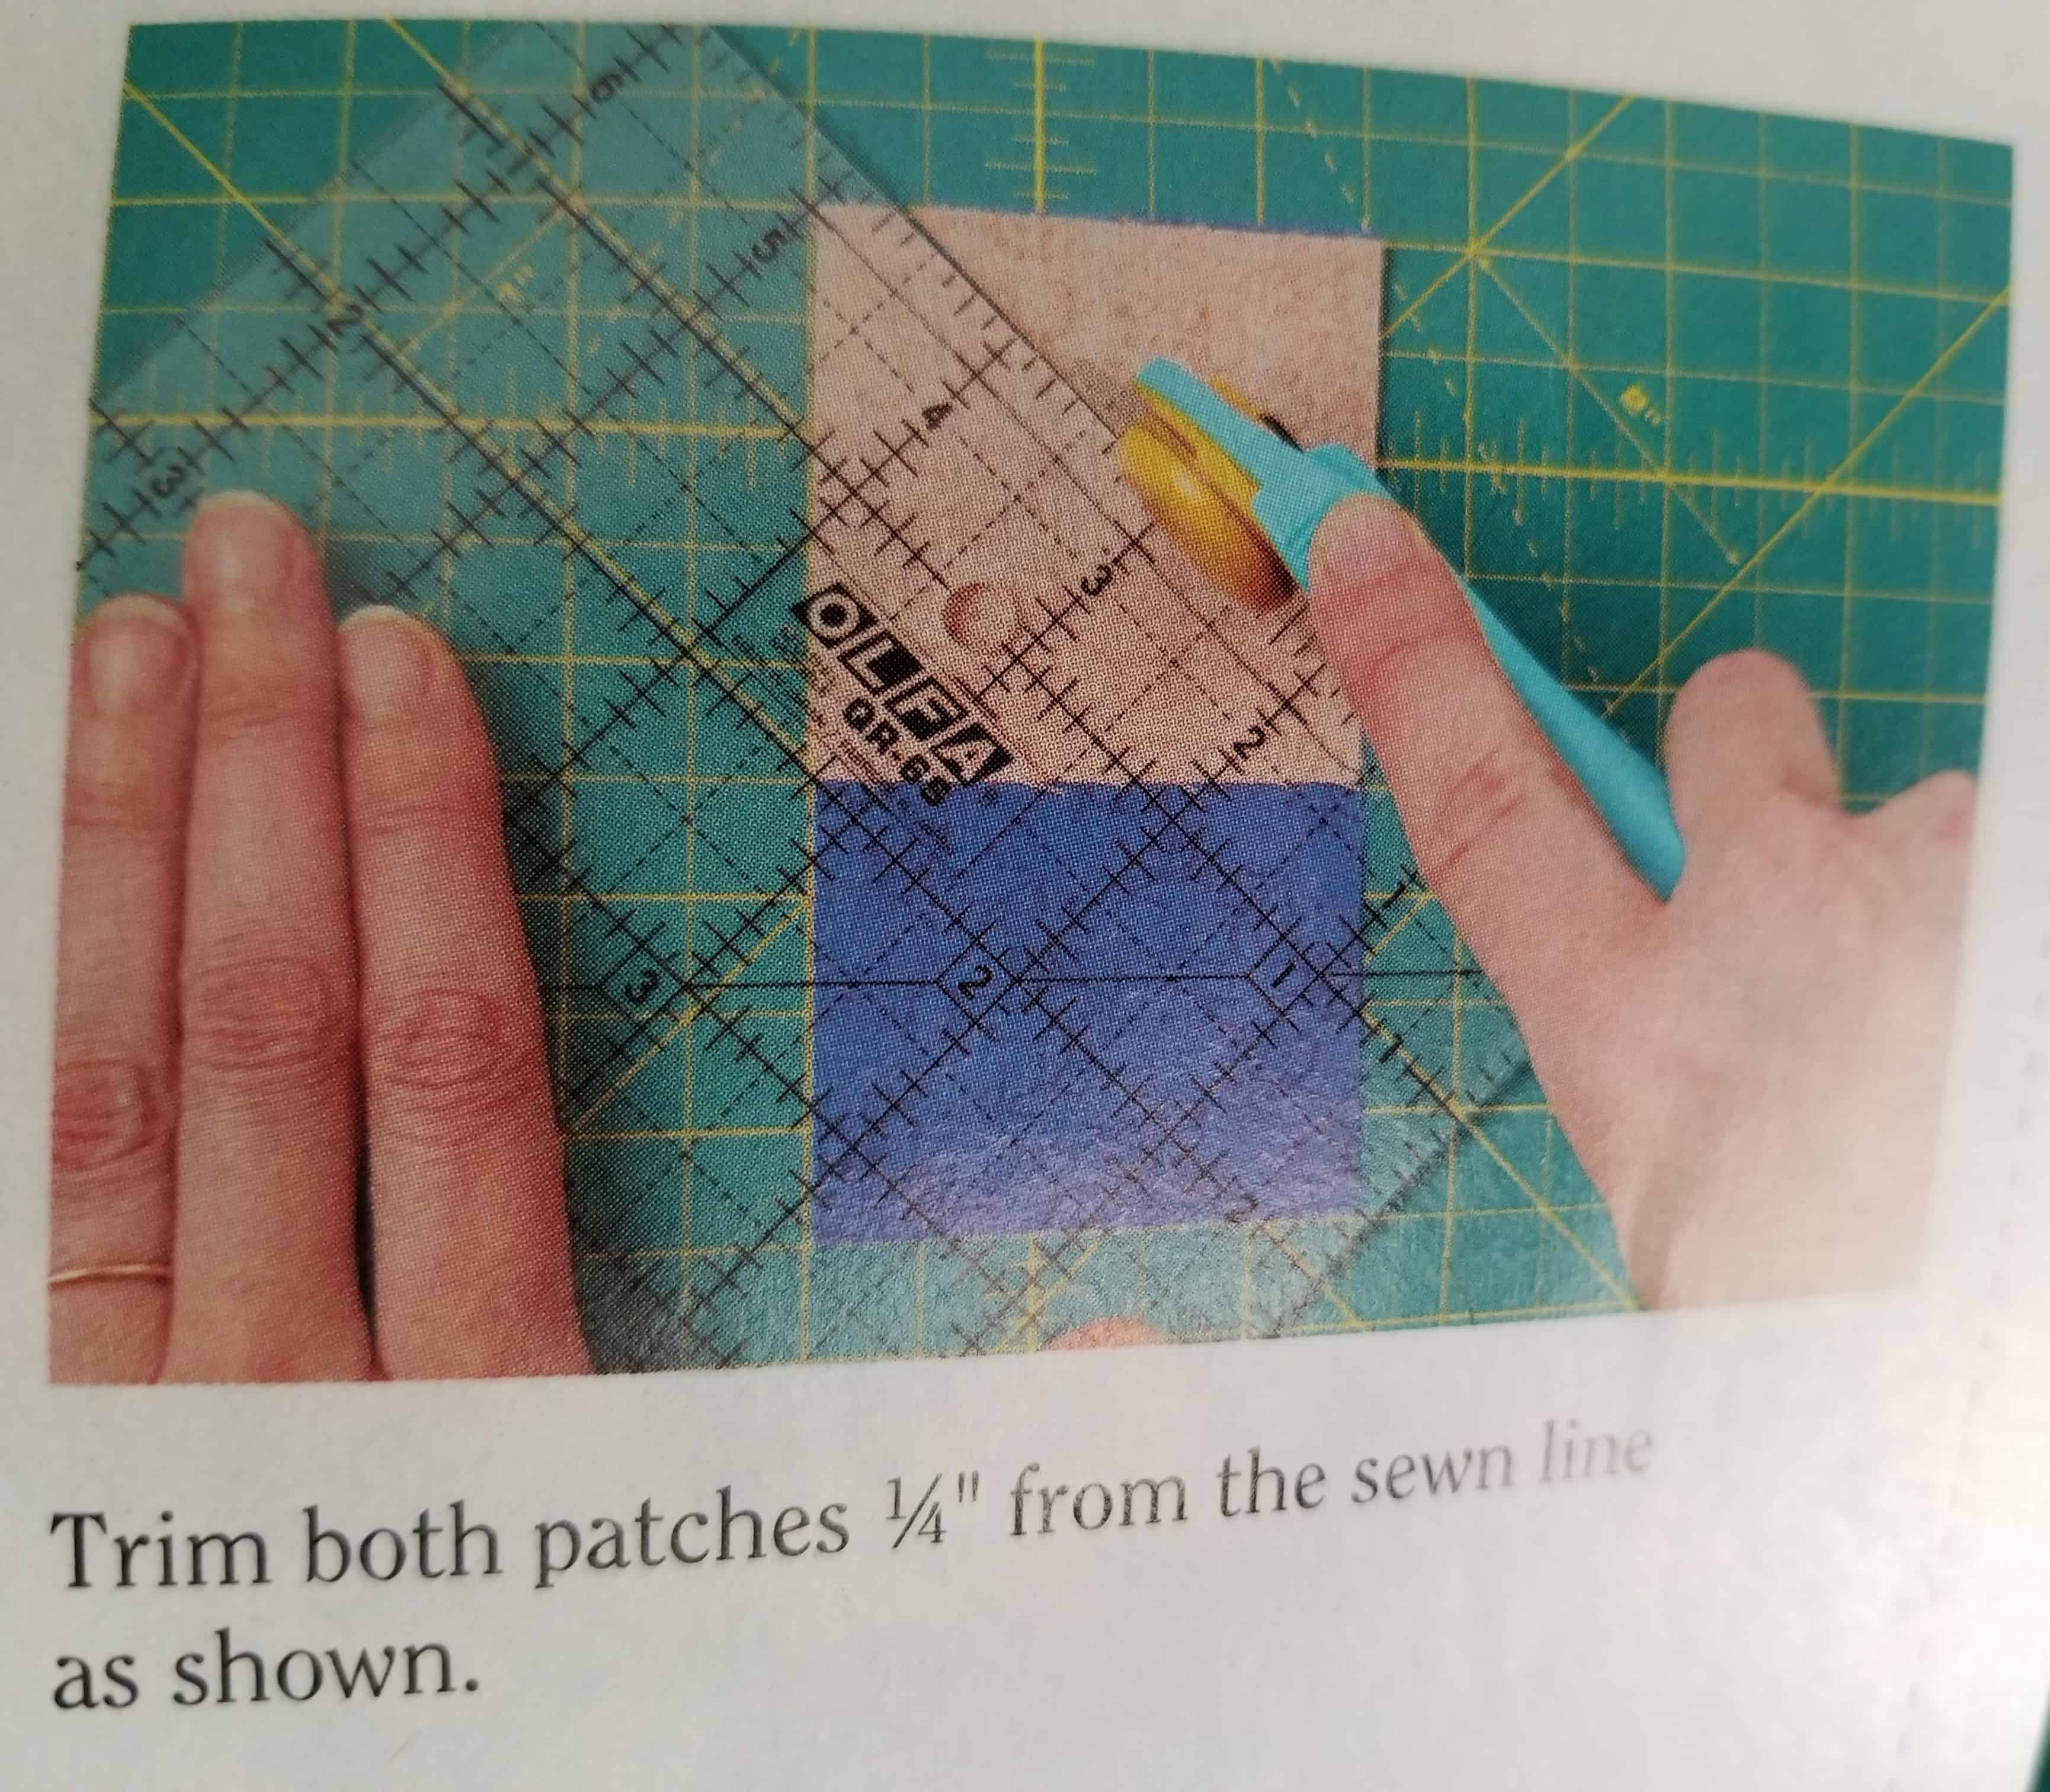
The first intermediate pattern is called Snuggling Letters (pg.56-61). It includes a Peaky and Spike unit. The pattern includes templates for that unit, but also recommends purchasing a special ruler. The units seem to be 3.5″, which means you also might be able to use the Accuquilt die for easier cutting, though that is not mentioned. Sizzix has similar die. Check unit sizes in the patterns before purchasing dies or rulers.

The first picture in each pattern, in all of the patterns is a lifestyle shot, which doesn’t show much of the quilt. Each quilt is also shown in a straight on format photo towards the end of each pattern.

The advanced quilts are truly advanced as opposed to fake advanced. Girlfriends Galore (pg.104-111) includes a Lone Star with multiple on point borders. The bias aspect is enough for me to toss it into the advanced pile.

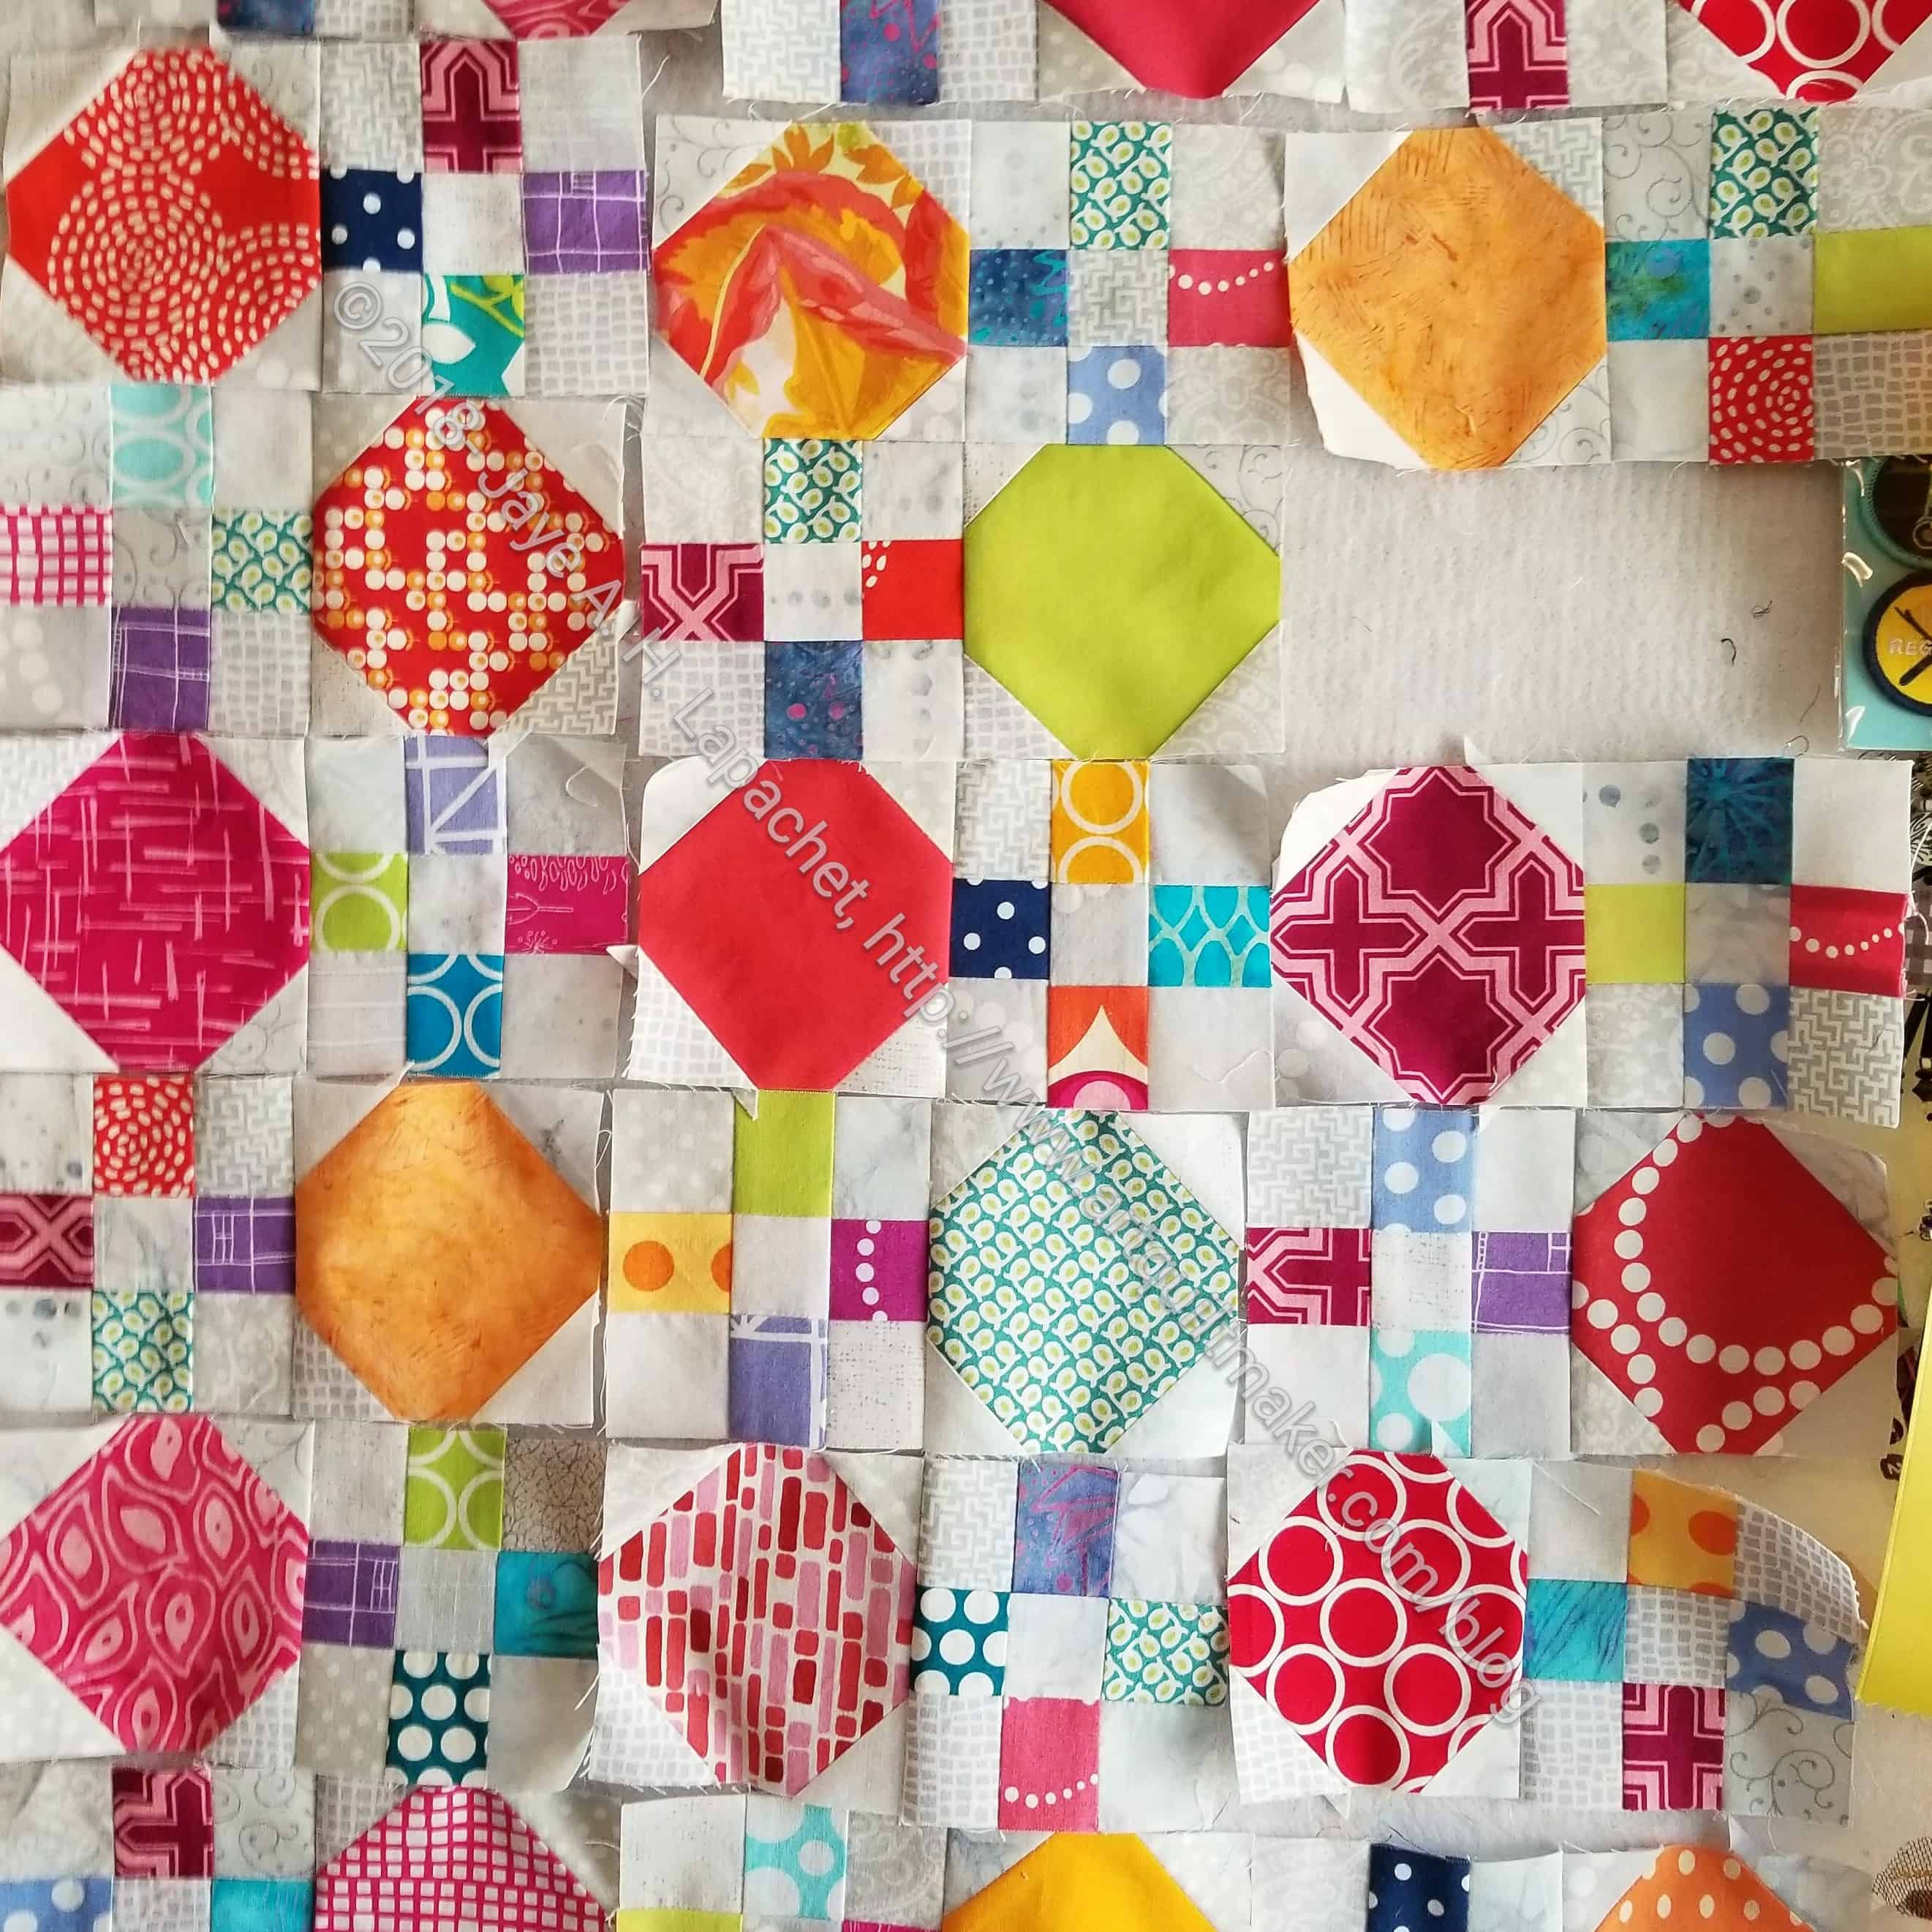
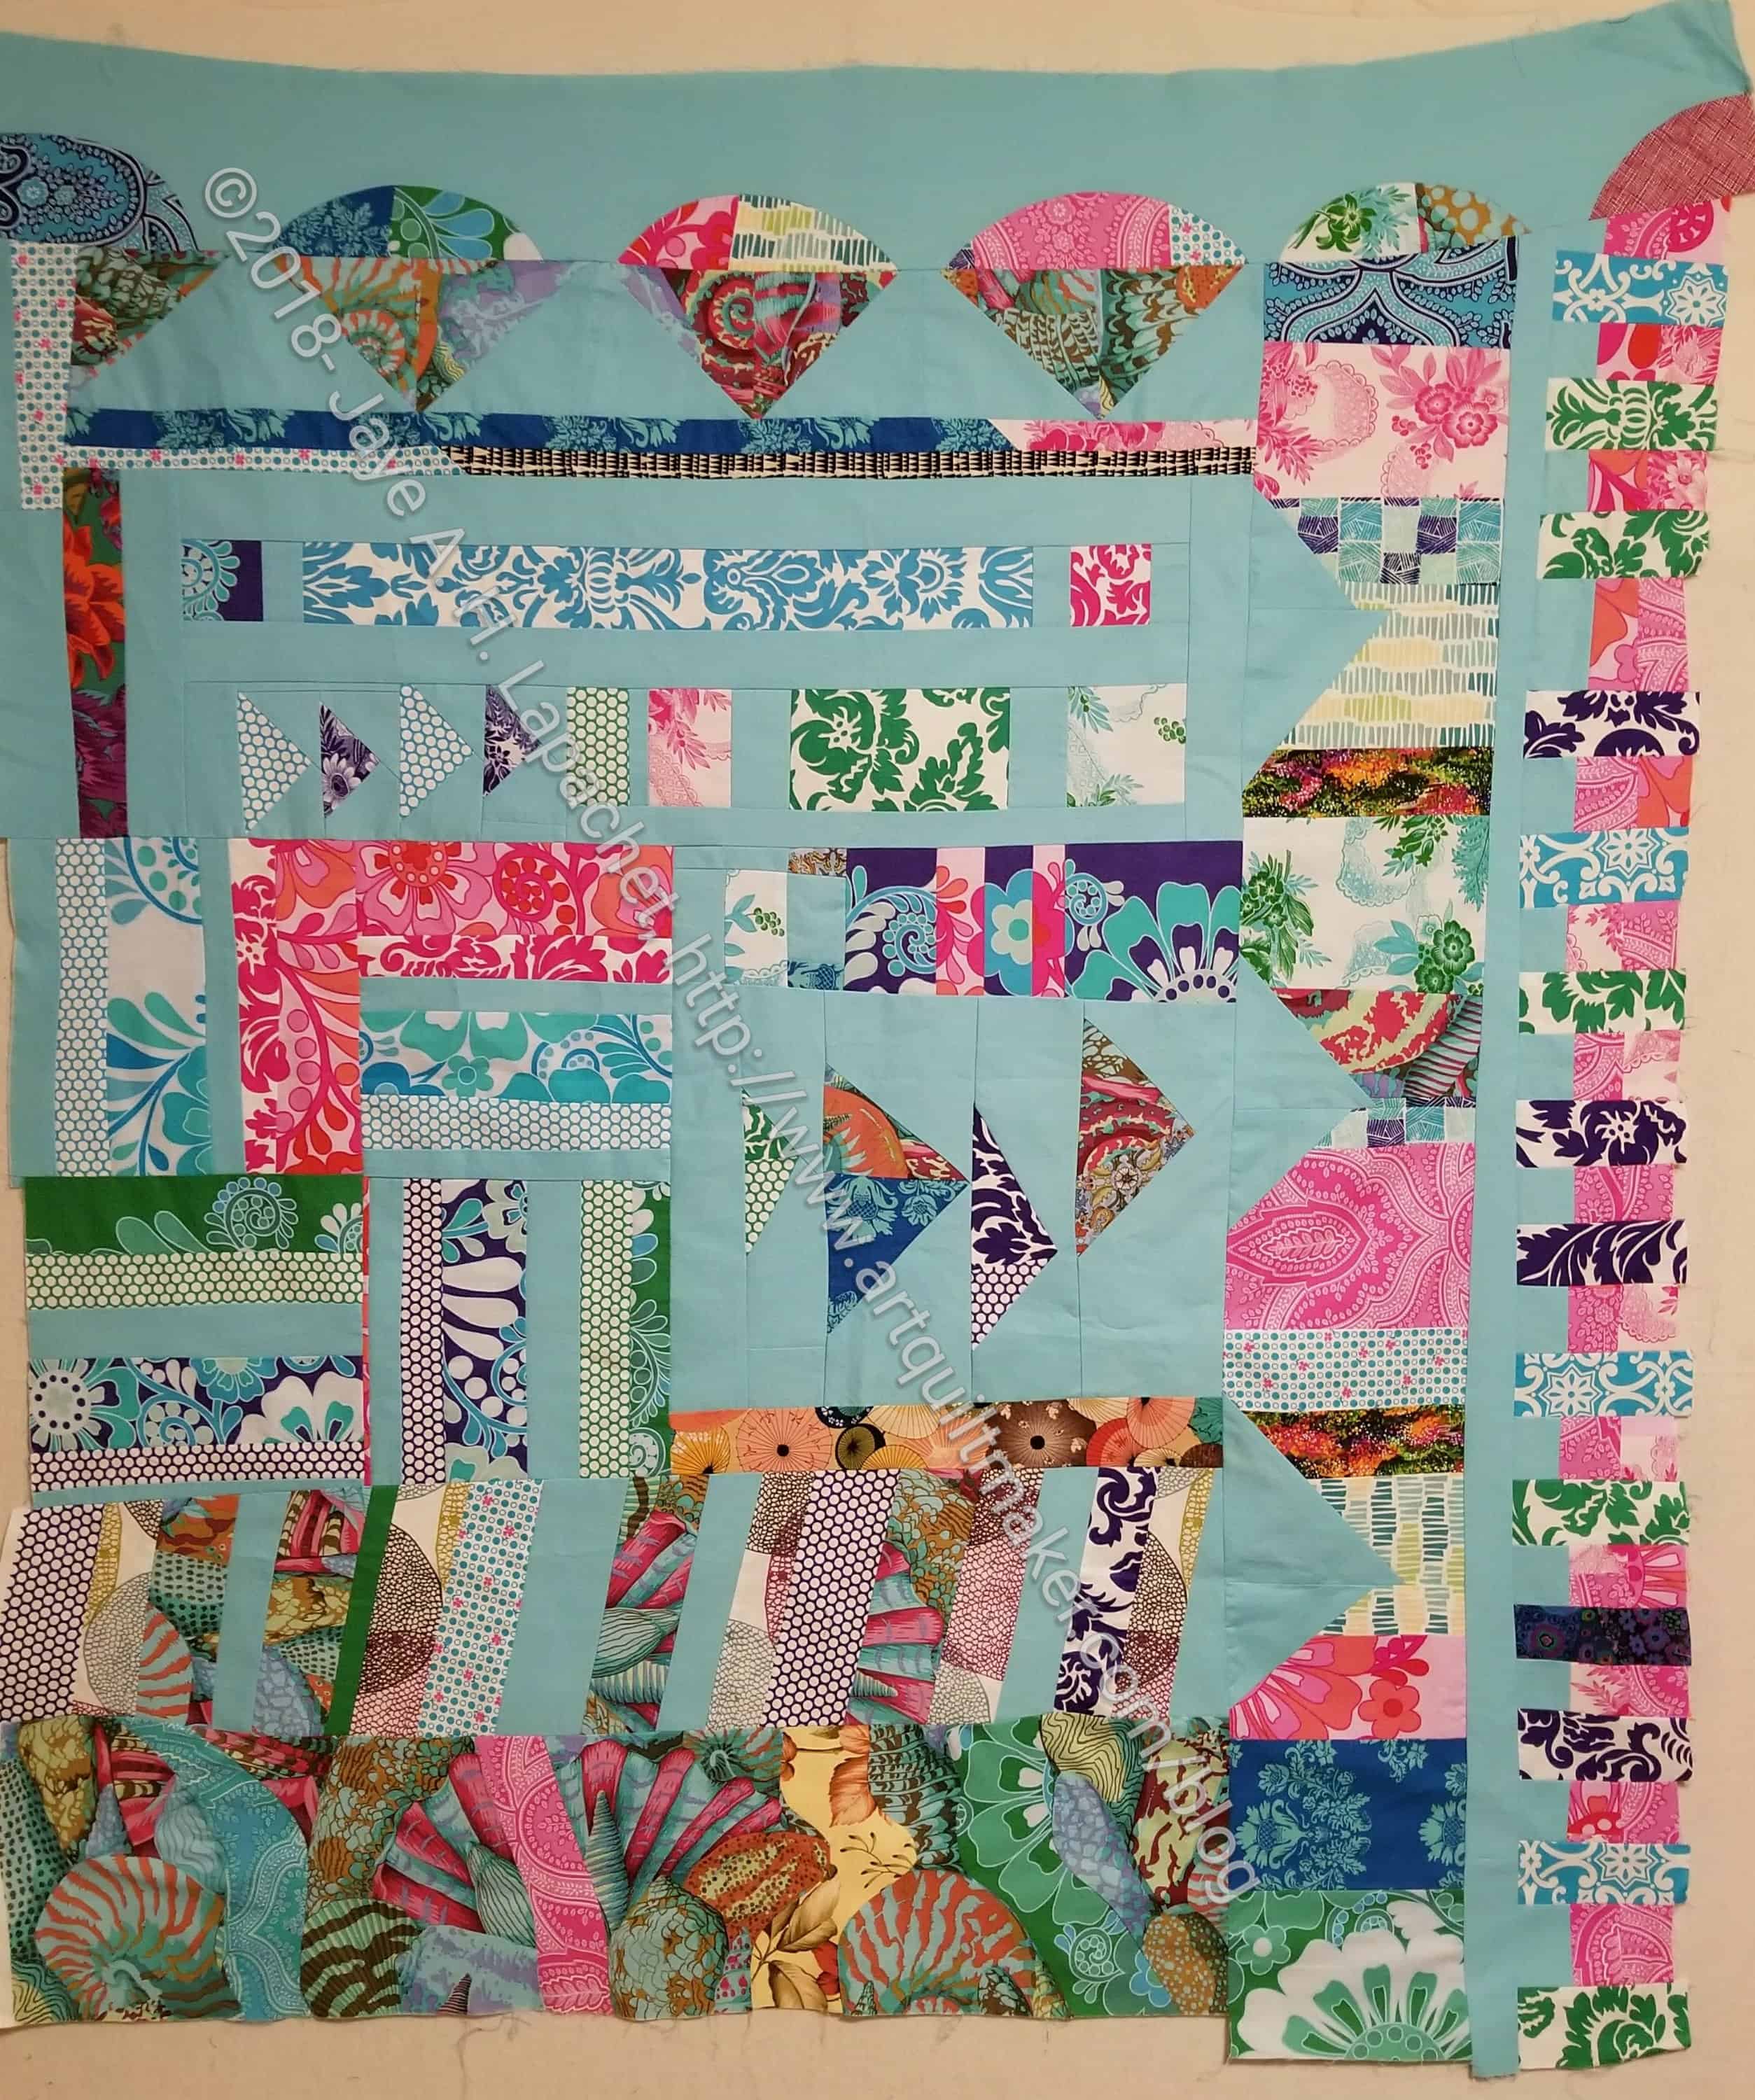
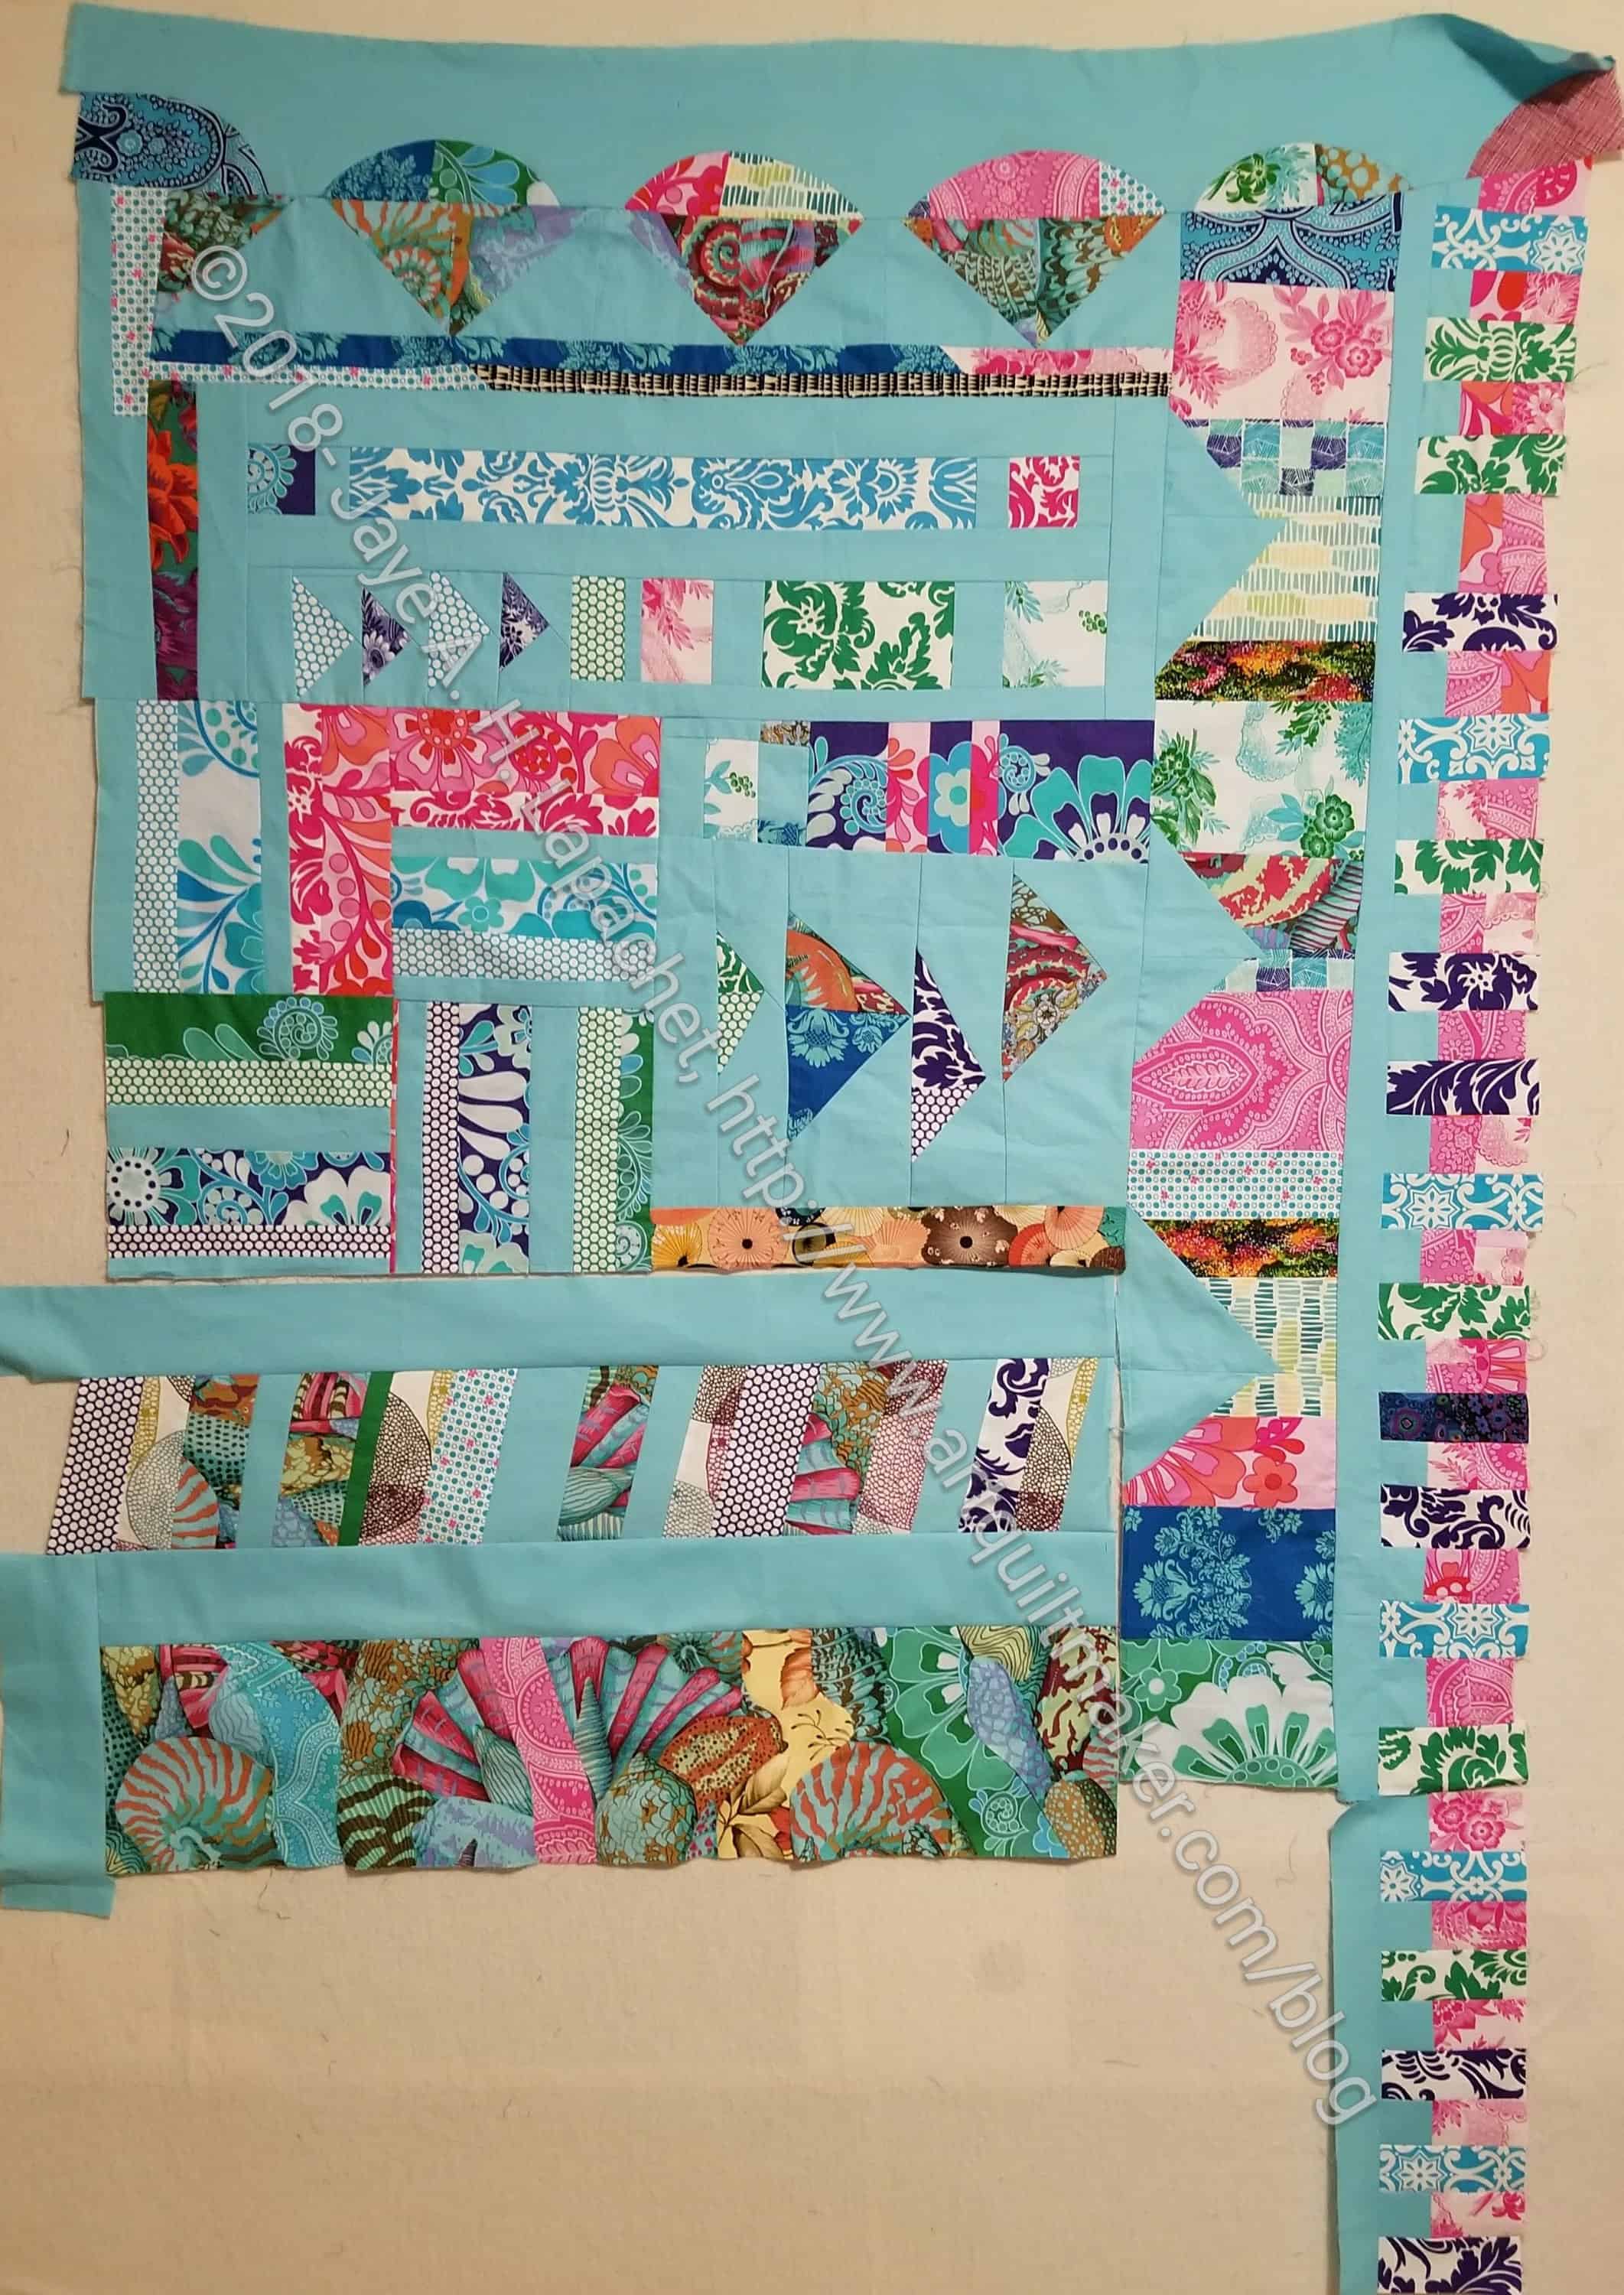
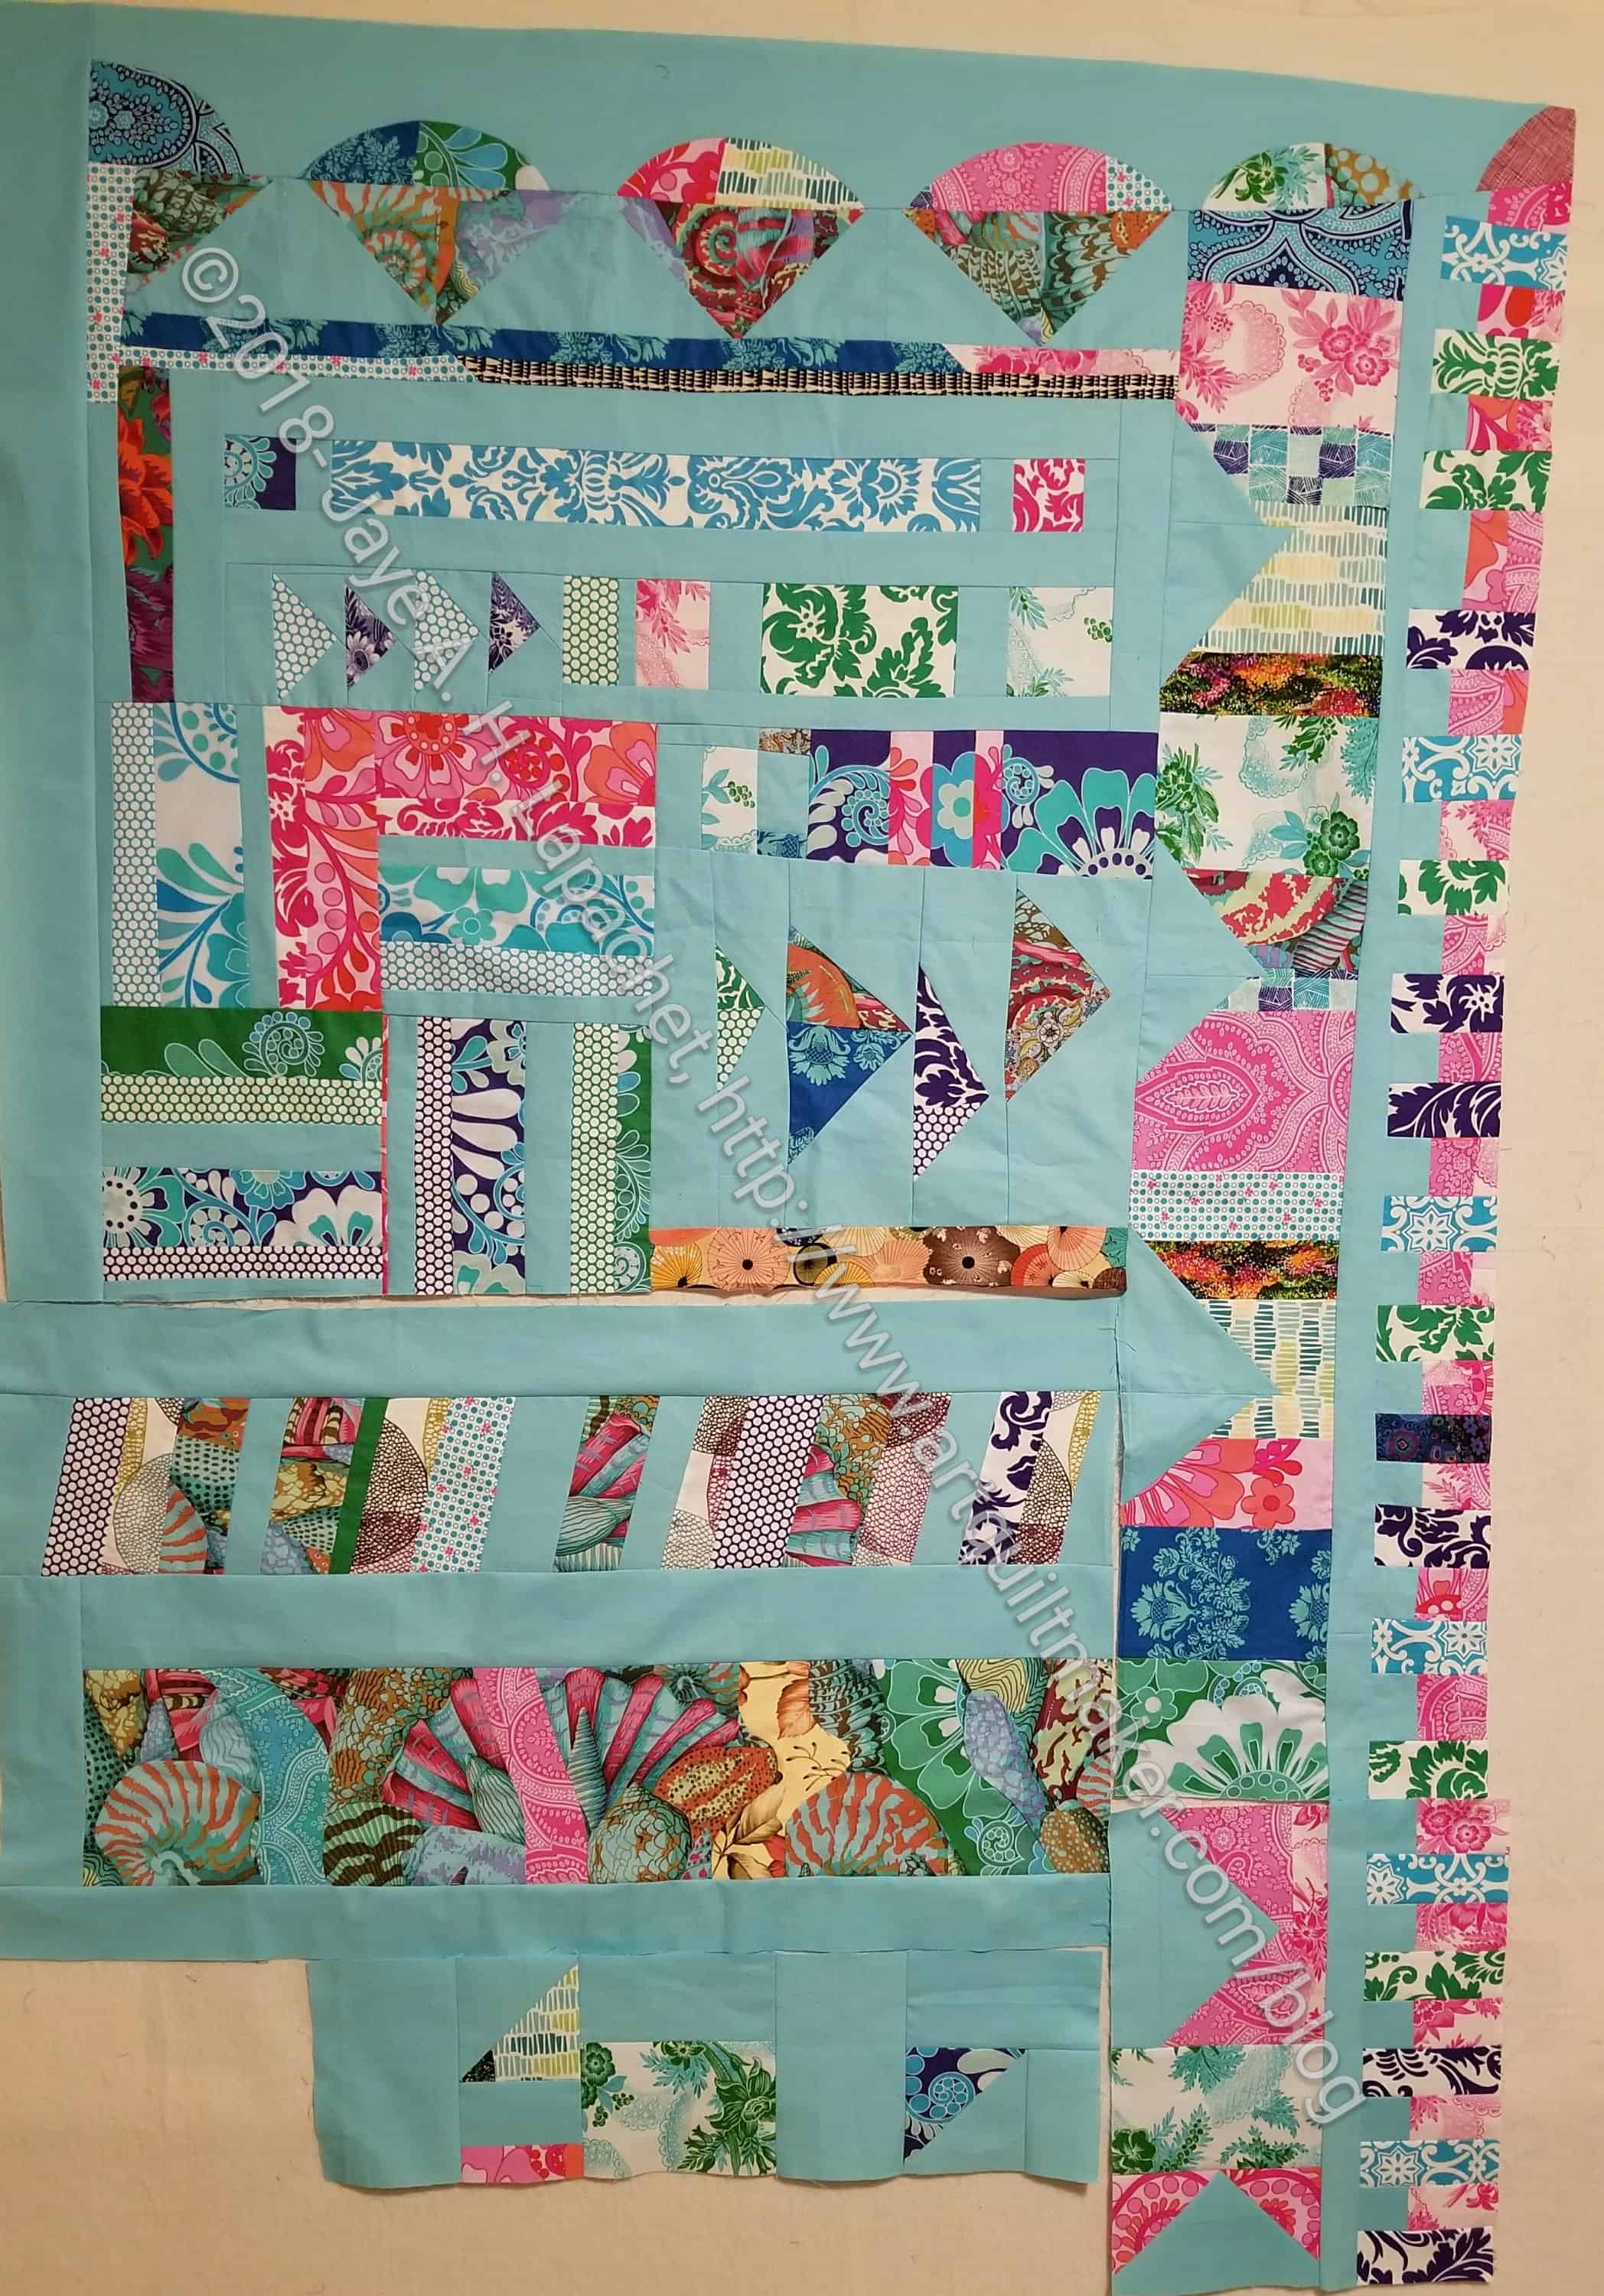
Probably my favorite quilt project of the whole book is the cover quilt, Dotty for Dresden (pg.120-128). The dots that stand out in this quilt are immediately appealing. I also like the larger than normal center circles. The selection of fabrics does not scream an era – the fabrics are clearly contemporary, but also timeless, in a way. I like quilts that won’t look dated in 10 years.

The patterns do fall into the trap of giving cutting directions based on the fabric (example pg.122) rather than using the location (e.g. background) of the pieces. This can be confusing for makers who aren’t using the same fabric.

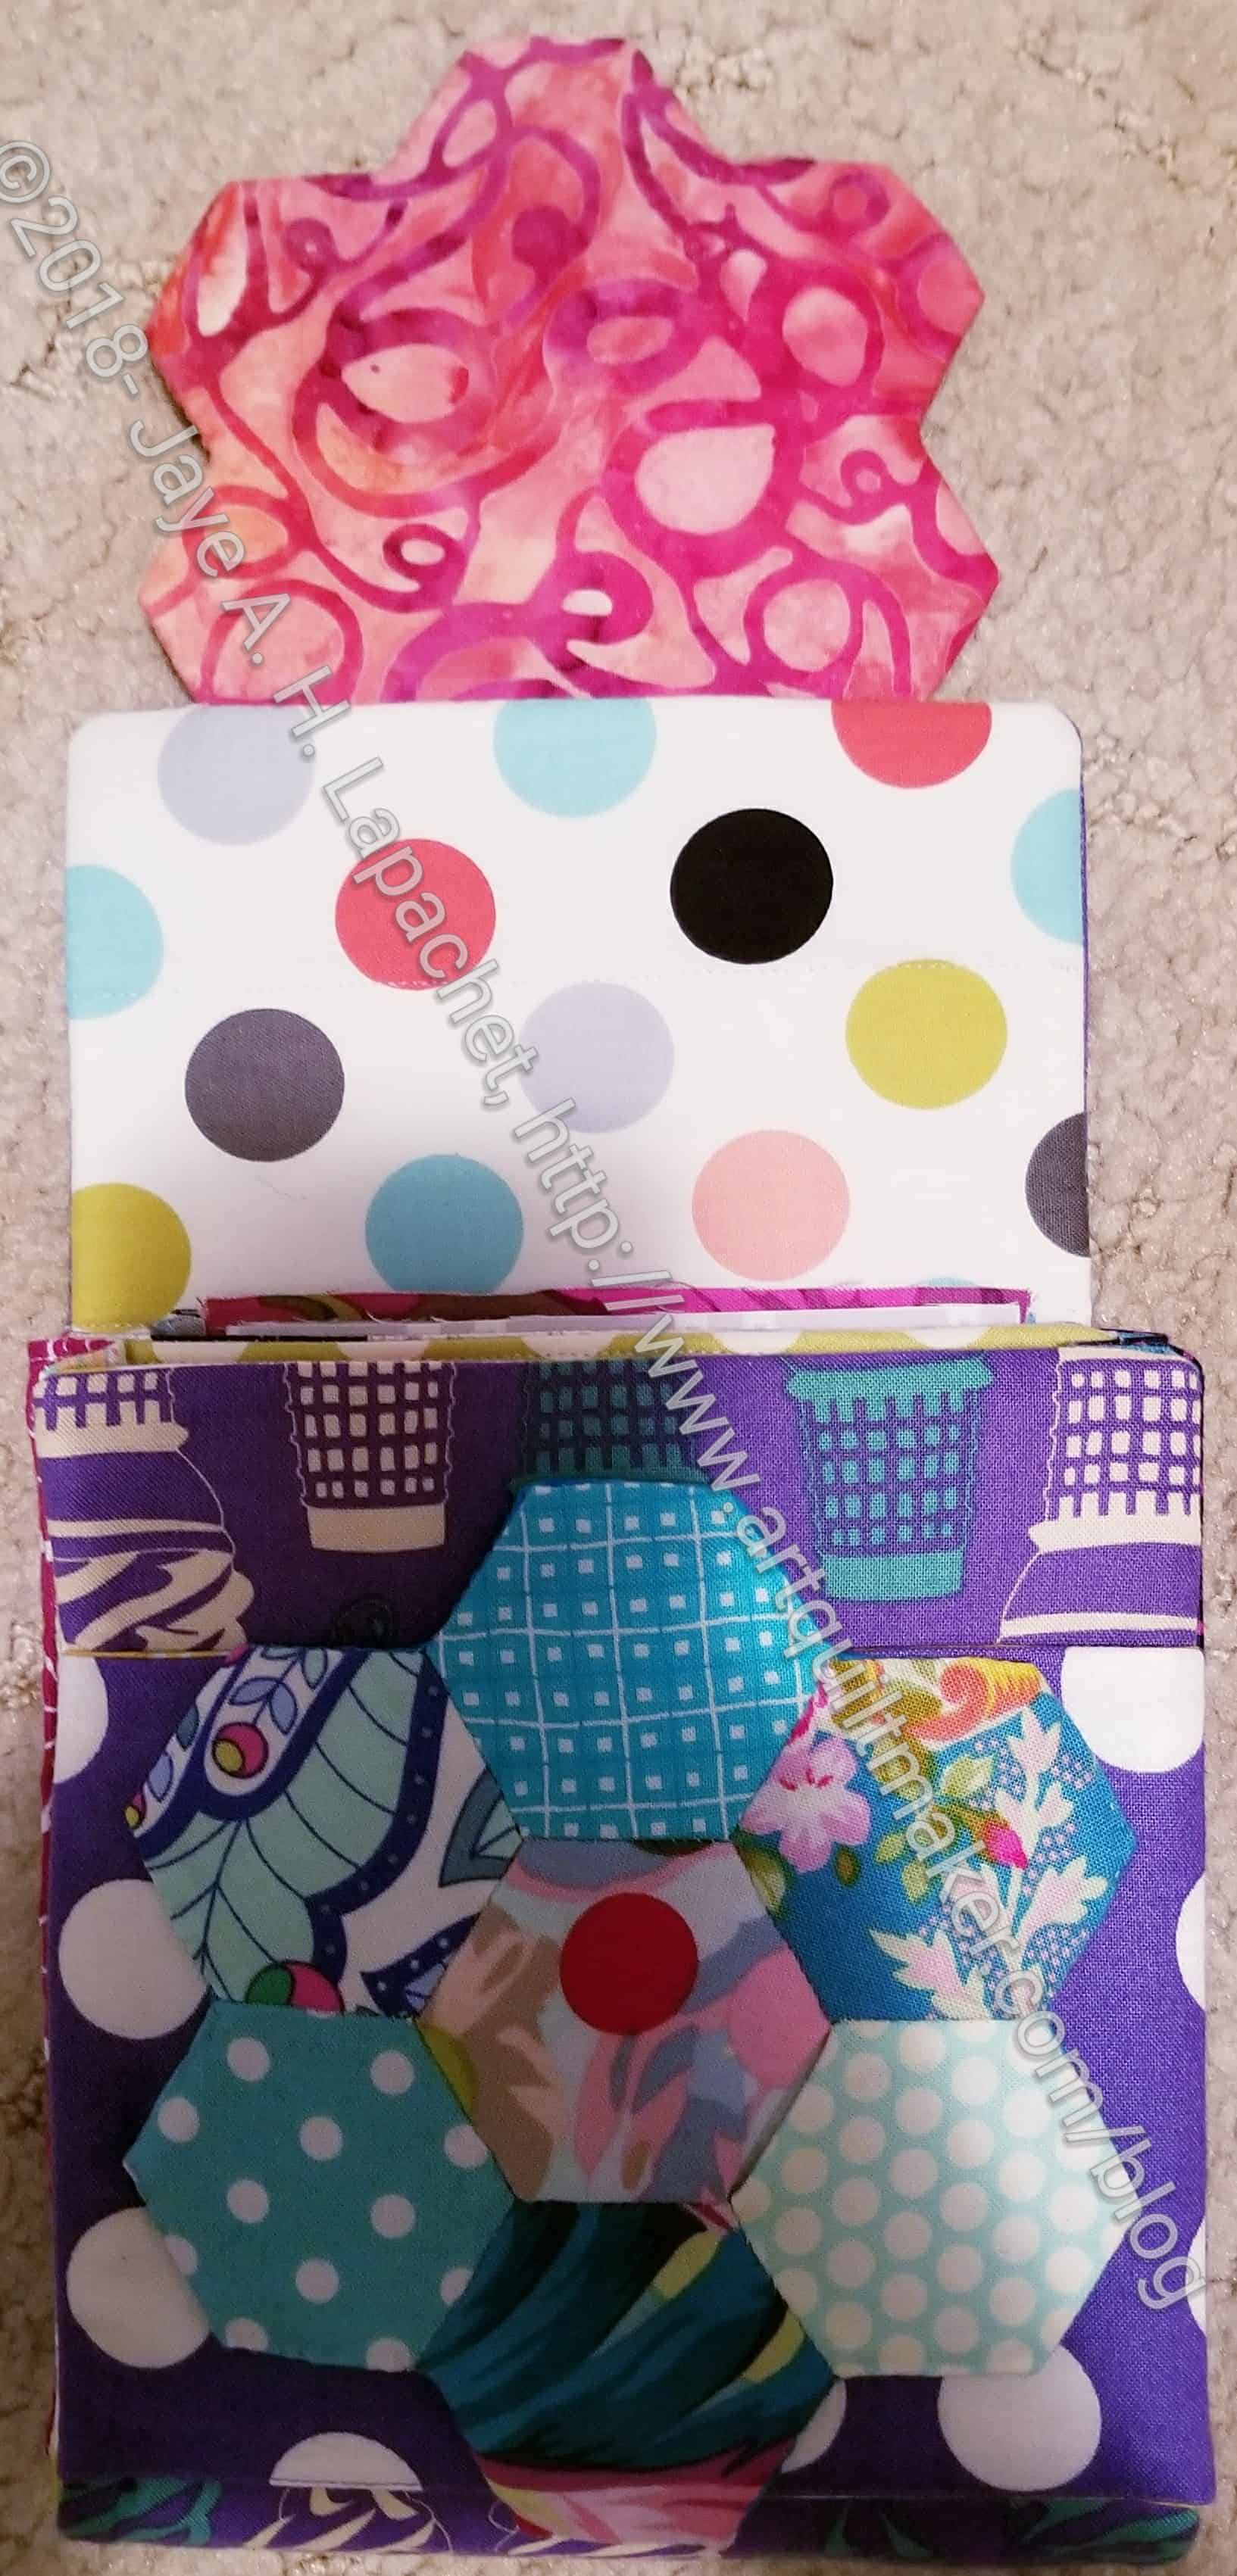
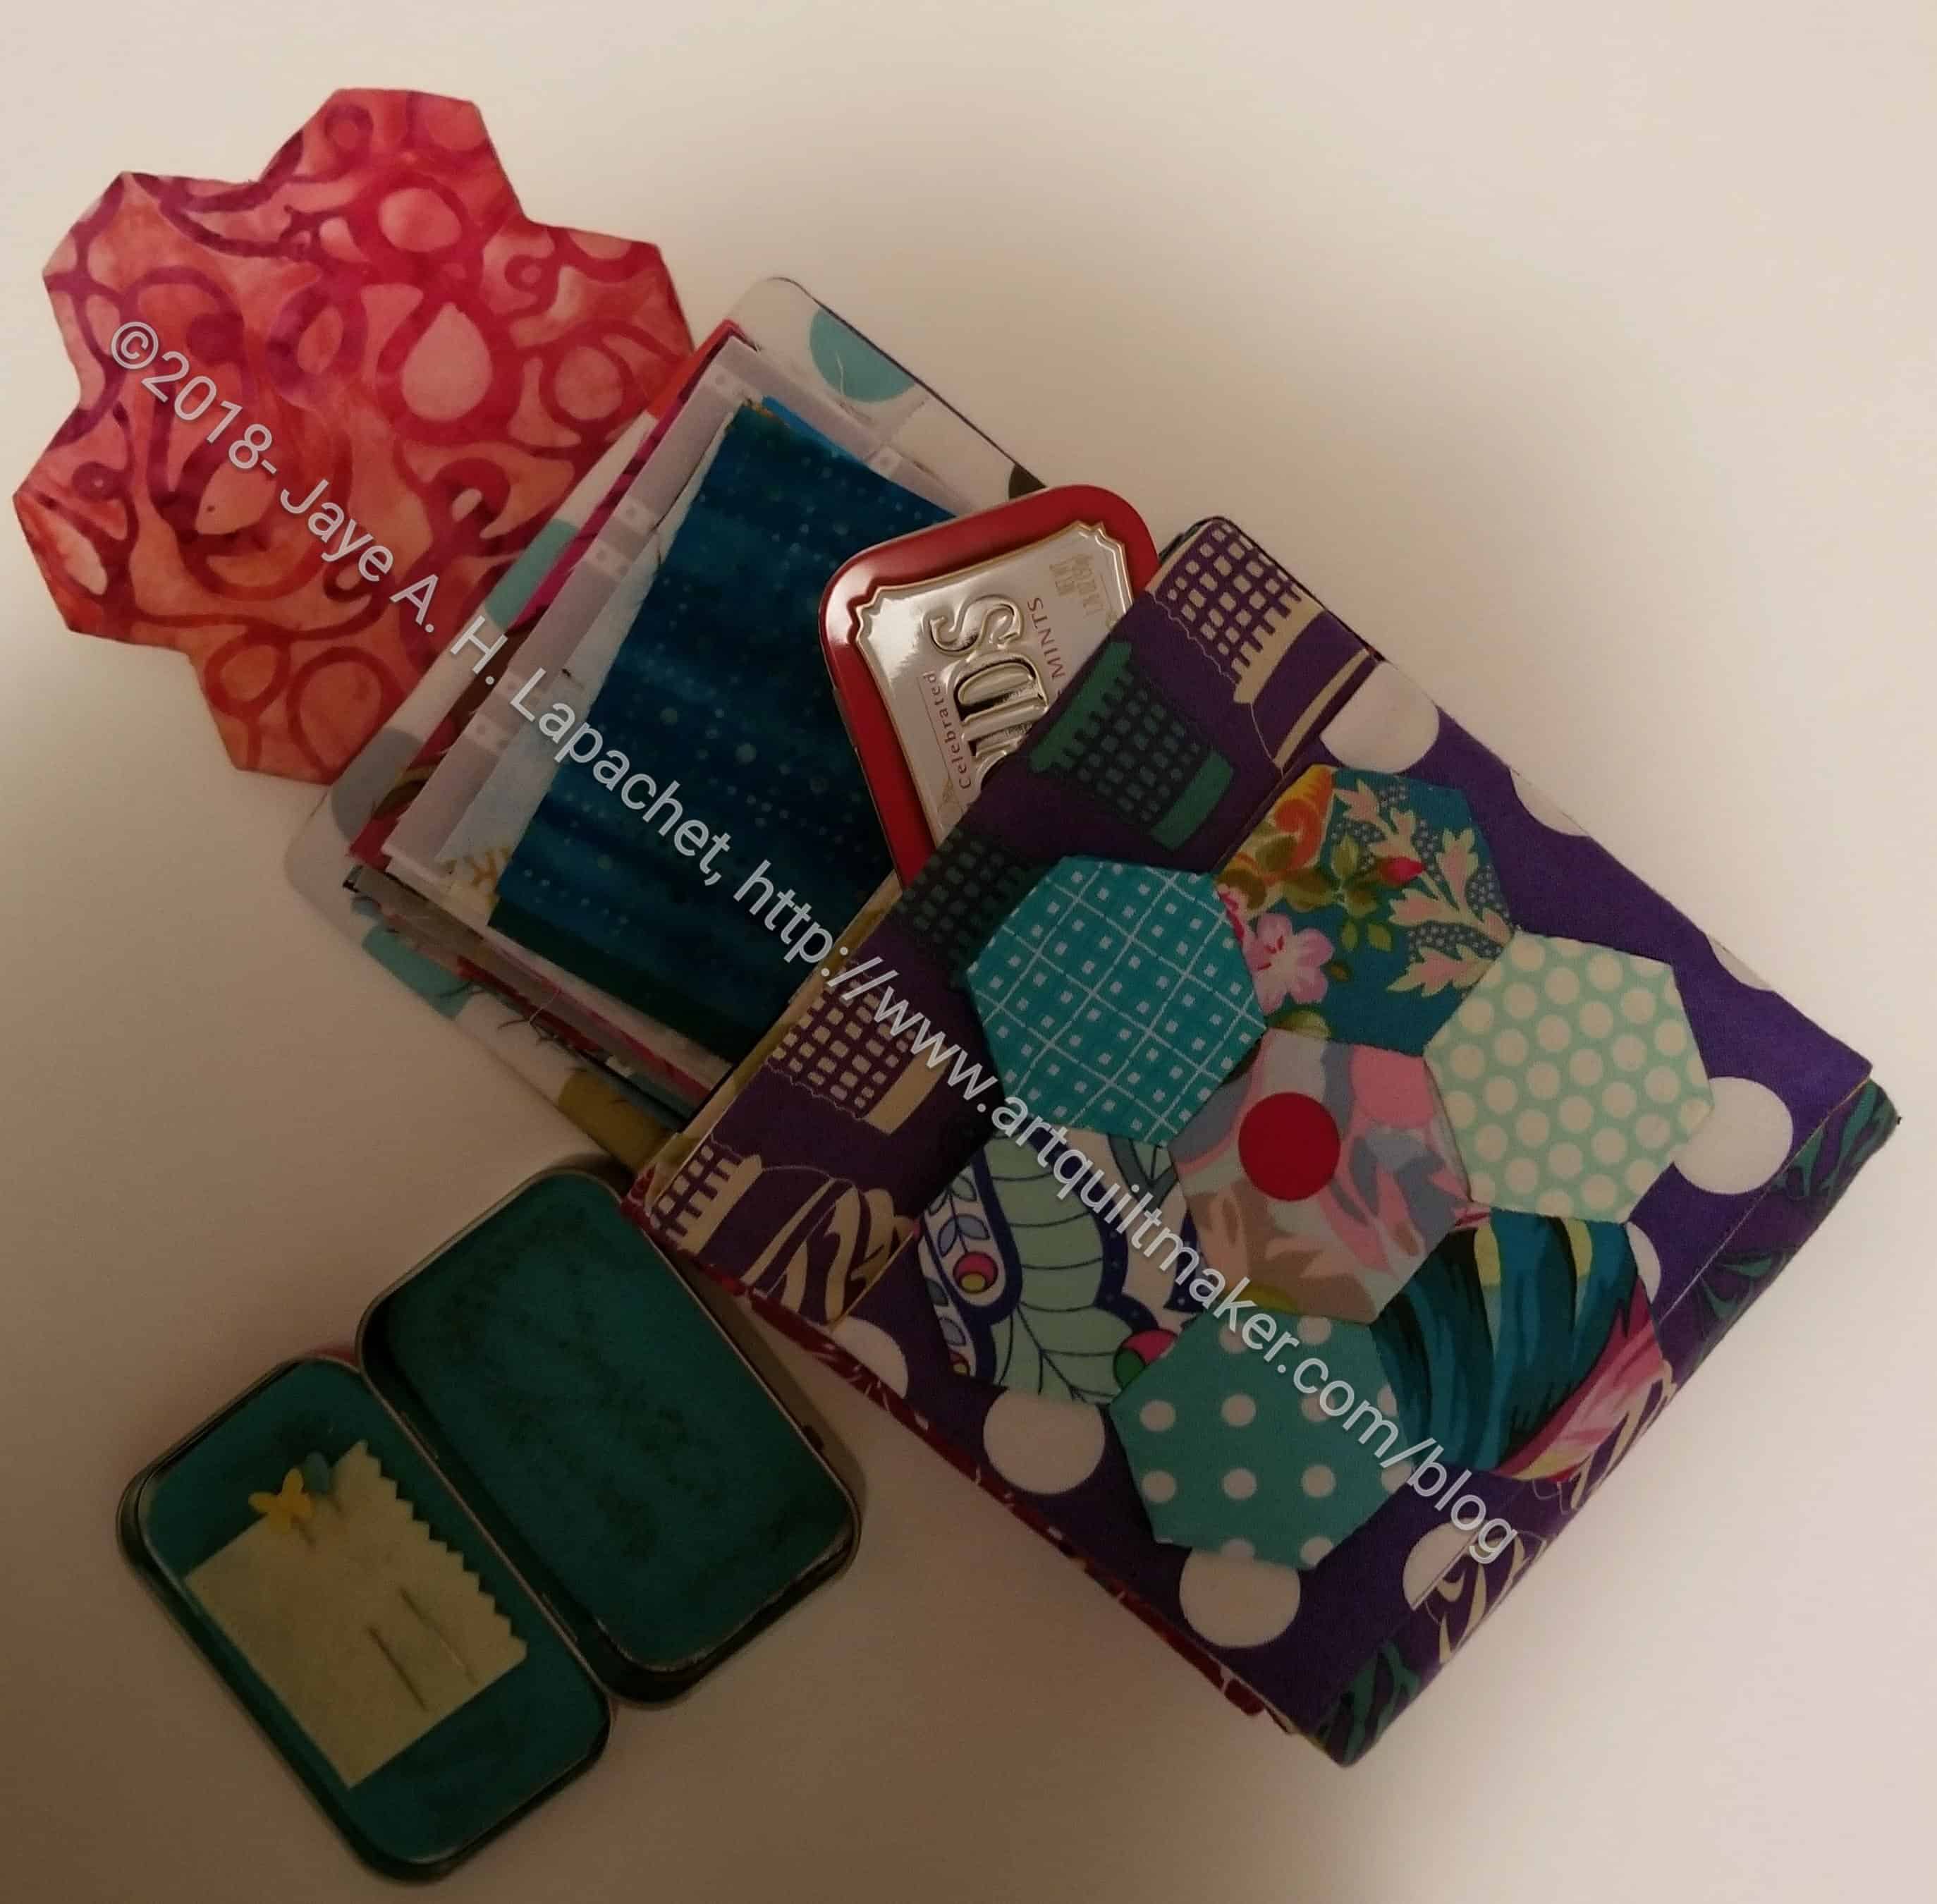
I also like the uniqueness of the Three-Ring Circus hexagon quilt (pg.128-133). The colors of the The Big Pineapple (pg.134-139) are appealing , but I also like that the quilt is actually the classic Pineapple pattern.

Each pattern has a short essay on the inspiration behind each quilt (example, pg.140). These sections are too short to be very satisfying to me. I love hearing about people’s inspiration.

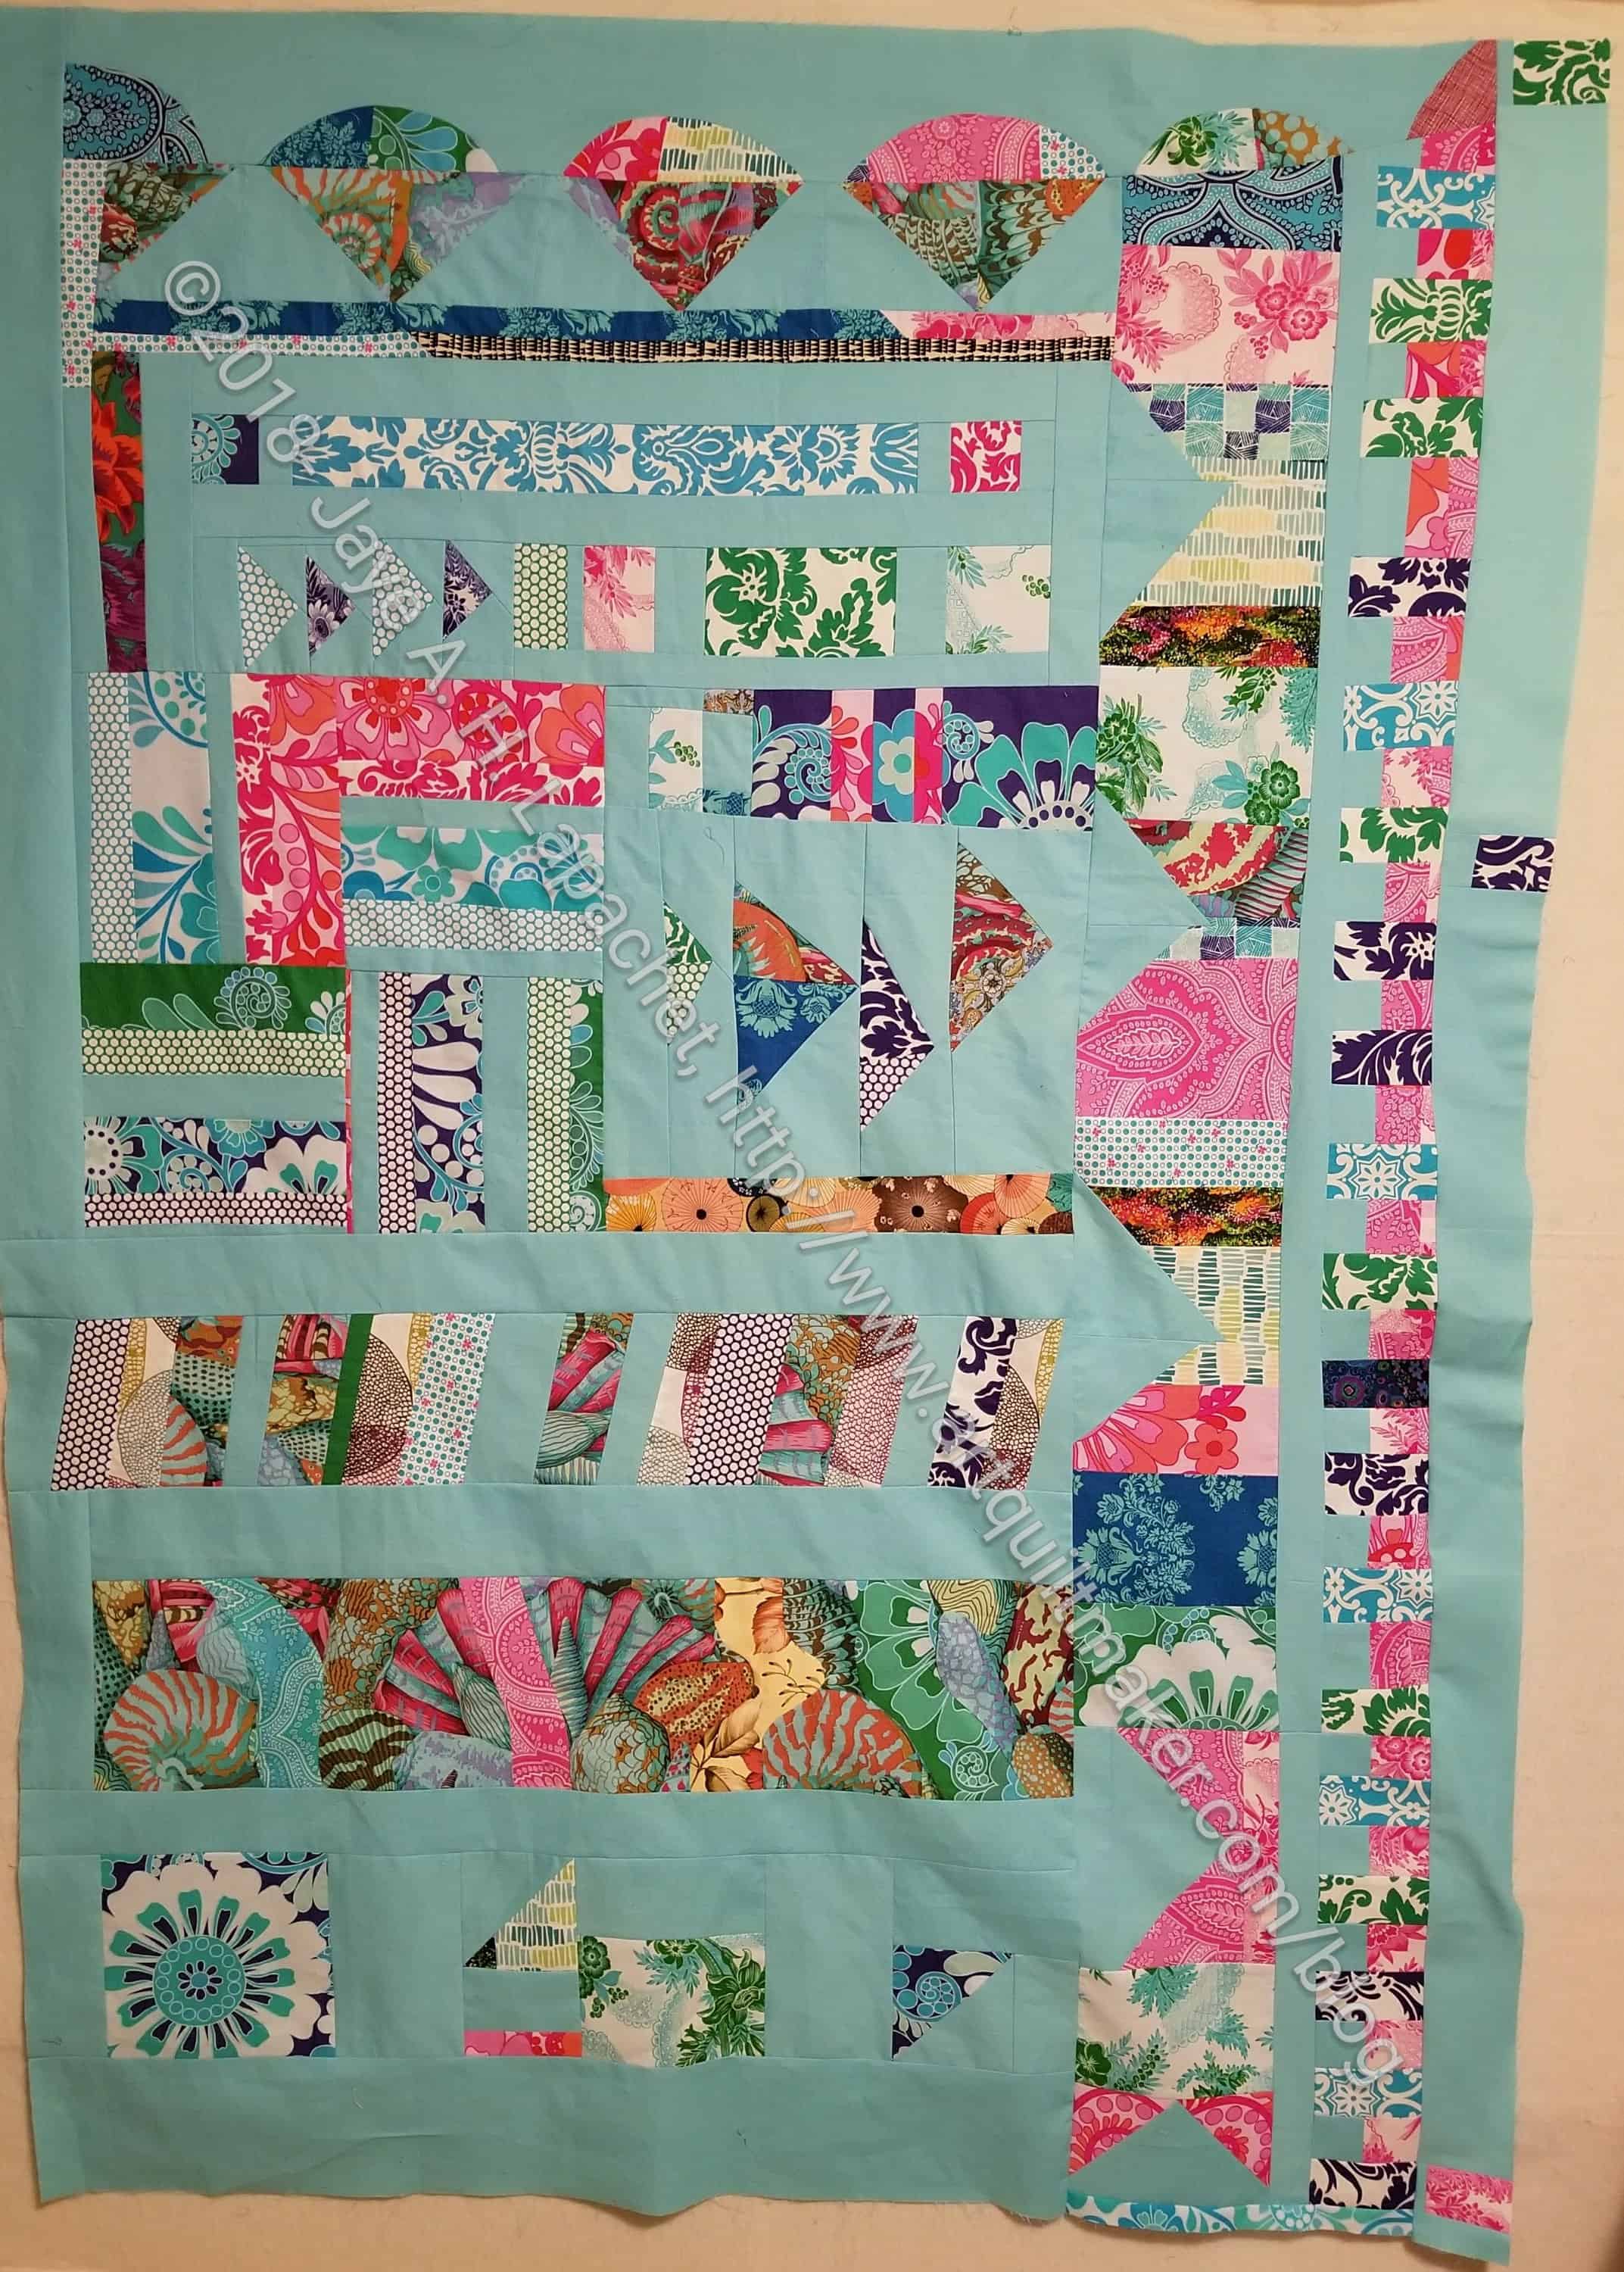
The patterns are not boring and I was pleased to see a Nosegay pattern included (pg.162-167). The use of fabrics in the various quilts is quite varied and also not boring. Excellent use of stripes, and dots and large prints can be found throughout the book.

I wish they had more examples of pattern quilts in different fabrics, different examples of quilts in different colorways. I’d like to see which of these designs work with a two color quilt color selection.

As is usual with many quilt books, this one has a section on quilting basics. This section is a little more robust than others I have seen. Parts of a quilt (pg.176) are described as are different types of batting (pg.176). Points are illustrated by referring back to quilt patterns.

I don’t remember seeing fabric grain discussed in other books, but Doughty and Fielke write about it in some detail on page 177. Preparing fabric such as the benefits of pre-washing and running colors merit a sidebar (pg.177). A section on choosing thread, equipment and rotary cutter safety (pg.178-179) are well written. After a part on accessories, which includes template plastic, pins and scissors (pg.180), the authors write about cutting fabric and measuring (pg.182-183). Rotary cutting shapes is also covered (pg. 183-187). Because of all of the applique, cutting shapes by hand and fussy cutting are thoroughly discussed as well (pg.188). Various applique methods are explained alongside piecing (pg.189-190). Laying out a quilt in a straight set and on point precede adding borders (pg.191). The book does not include the technique of measuring the quilt three times and averaging to get the size of the borders. Look that up elsewhere. Layering and basting are covered and illustrated with quilts using bright colors (pg.192-193). Quilting is covered in two pages (pg.194-195), which I always find amazing, and binding is covered in one. The binding information comes with useful illustrations (pg.196-197).

My librarian heart is warmed when looking at the glossary (pg.200-201). It is excellent! Terms such as ‘ease’, ‘chain piecing’ and ‘weft’ are included. The authors get additional bonus points for including an index (pg.202-203). The source of supplies (pg.203) is a good place to start, though the list may become dated and won’t include newer, more up to date tools and supplies.

I love the bios (pg.204-205). They give me insight into the authors.

Abrams books are fabulous. They are large, lush and gorgeous. This book is no exception. I love the colors, the many photos and all of the different fabrics shown. The drawings give the overall book a friendly feel. The combination of hand and machine techniques offer options for all different types and skill levels of makers.

View all my reviews

Revisiting the BAMaQG IRR

BAMaQG IRR, in 2018
BAMaQG IRR, in 2018

After the Big Stitch class, I started thinking about the BAMaQG IRR project. This is one of the projects on the 26 Projects list that I had low hopes of getting done. Now I feel better about the project’s completion because I think that it would be a good venue for Big Stitch.

I talked with Julie about my idea at dinner the other night. I need to square it up, then make a back. My thought is that I will do some minimal machine quilting and then use Big Stitch to stitch the rest together. Alternatively, I will just Big Stitch the whole thing and skip the machine quilting. I’ll get it into the hoop a lot faster if I skip the machine quilting piece.  I will have to baste, which is a trial any way you look at it. I could use a big hand project like this right about now, so stay tuned.

The last time I thought about this project was in June of 2016! I think it is good to attend a class and have it stay on your mind after the class ends.


Stepping Stones n.2 Progresses

I have been cutting a lot of fabrics for this quilt. As a result, I was reminded of why I like Hunting and Gathering. I have not hunted or gathered fabrics for this project, so I have to cut fabric in order to finish. If I had done some Hunting and Gathering, I would have all of the cutting completed and be on to piecing. I don’t really like cutting a lot all at once. For a scrappy quilt, there is a lot of cutting.

Stepping Stones n.2- end of Feb 2018

Fortunately, I just got to it, listened to a book and cut away. Since the beast is so big, i can only really work on two sides at a time. In the photo, right, I am working on the top and the right hand side. While only working on two sides, I am still cutting for the left and bottom. Compared to the photo I showed you last week, you can see that this piece is progressing well. You can also see the design coming together.

I finally cut enough fabric so that I could put a couple of blocks together. I just had to do it. I felt like I was making no progress, even though I could see that I was cutting. So, I made the blocks. What a relief. Now I feel like I am making progress. It is just tedious to keep cutting, cutting, cutting all the time.

Stepping Stones: right hand top corner

The block with the green and blue HSTs is one of the corner blocks. With the red 4 patch, you can see how the border integrates into the quilt design as a whole.


As mentioned I was able to piece two blocks. You can see the red four patches and the rest of the blocks in more detail above. While there are some duplicates, most of the border blocks are made especially for one location in the quilt. I designed the border this way, so the center motif would be finished and not cut off along the edges.

Superhero Apron

Superhero Apron in process

ColorPlay and the Creative Spark will return soon!

I finally cut out the apron I had in mind for one of my nieces. Not great progress, but a start. The pattern is an old Simplicity pattern. I think I bought it for a sewing class I took after I graduated from college. I noticed the price of the pattern was $3.95, so it had to be a few years ago. 😉

I making a few modifications, but have consulted with Mary about most of them, so I feel pretty confident.

I haven’t done the yellow or the lacing yet, which will accent below the neck. I was inspired by a dress I saw at Bay Quilts. I will get that part together soon.

Superhero apron pockets

I also made pockets. These are a little different than those called for by the pattern. I measured my phone and made pockets from a combination of the size of my phone and the pattern on the fabric.

I have to be happy with the small amount of progress.

Cowl

Cowl
Cowl

Keeping my YM warm is a theme since Thanksgiving. We saw him last weekend and the question was why he was wearing two shortsleeve t-shirts rather than a longsleeve. Answer: out of clean laundry. Sigh.

To that end, I made him a cowl. I had some leftover yarn after making him the hat, so I decided to make him a cowl after realizing I didn’t have enough yarn for another hat.

It didn’t come out as well as I had hoped. It looks good but was too large so kind of flapped around his neck (when I saw it in the wild). I think I needed to cast on fewer stitches to start. Next time – there is always more yarn.