Flapper Apron

Decades of Style Flapper Apron

I finally made this Flapper Apron from the Decades of Style pattern company. I purchased it at the Speckled Hen during my shop hop with Amanda in January. Not too shabby, actually. Not that much time has gone by.

Frankly, I am on a mission to use up at least 100 yards net of fabric this year and these aprons take two yards. I have an idea to make a series of them for gifts and this was the first one. It is for me and I used some of my my recent Philip Jacobs fabric purchases.

Flapper Apron
Flapper Apron

On the Church Ladies apron that I made before and use almost every day, I interfaced all the parts, so it has a bit of heft (stiffness??) to it. Some parts are too stiff. On this Flapper apron, I only interfaced the pocket, so my phone wouldn’t fall out. I am now concerned that I should have interfaced more of it, perhaps with a lighter interfacing than the ShapeFlex I normally use? It feels a little lightweight to me and not able to protect my clothes from wet splashes and drips. (Yes, this is pretty, but I intend to use my aprons)

Flapper Apron - inside
Flapper Apron – inside

I am kind of sorry I used this great fabric to make the first one, a sort of test, but I firmly believe I should use my good fabric. I also firmly believe there is more fabric, so I suppose I have more fabric I love and can make another apron if this one isn’t up to par.

This is two sided, so I can turn the inside to the outside if I want. I put one pocket on both sides. I only need a pocket for my phone as I don’t put spoons and other kitchen gear in my apron pockets.

The other thing I need to think about is the neck. I thought I didn’t need to adjust the circle for the neck, but I like my aprons to cover almost up to my neck. In this case, the top of the body of the apron falls below that. I think this is a case in which I should have had SIL#2 help me do the fitting.

This apron was not difficult to make and I like that you use 1 yard of fabric (though I bought 1/25 yards and that gave me some room to maneuver) and is cut on the bias. I was able to finish it in a few hours during one day. I did make some changes to the construction based on my recent experience making the Superheroine apron.

BAM Pillow Swap

BAMaQG Pillow Swap entry

I needed to rest at the beginning of March, but knew I had a pillow swap to finish by the April meeting. My recipient’s color preferences were listed as:

  • Green (lime, pickle)
  • magenta
  • orange
  • white

I wanted to be sure my design was modern, fit the desires of the recipient and wasn’t too difficult to piece. I immediately thought of the Alison Glass fabrics I used for the Triple Star. Except for the white, I thought those fabrics would fit well with the desired color scheme.

I had a pillow I thought was made by my pal Amanda stuck in my mind. I asked her about it and she suggested Pinterest. I immediately found the design for which I was looking – the X Plus O block. Once I had the name, I found a lot of examples and spent a happy hour laying on the couch and looking at them.I also found an example that I thought would be good inspiration.

Before I could really sew again, I worked on the design using EQ8. I was able to play with the size and get the elements right.

Maria's BAM Pillow Swap in process
Maria’s BAM Pillow Swap in process

After I could sew again, I went back to working on my Sew Together Bag project. In the middle of that project, I needed a break, but didn’t want to reset my machine for piecing. I knew that if I did, I would have three more UFOs and another year would pass before I could give the gifts. Cutting was a good idea, so I cut out all of the pieces.

One of the helpful parts of EQ8 is the ability to print out rotary cutting directions. I found a bug in the process of doing this, which I reported to the Electric Quilt Company. It turned out not to be a bug; they don’t consider a lozenge shape to rotary cuttable. I was able to figure out the size to cut a square as I plan to use the flippy corners method or the Simple Folded Corners Ruler.

I also used the Spoonflower zipper installation instructions. I acually watched the video and found it to be really helpful. I am pleased with how my pillow’s zipper closure came out, though I had to redo it a couple of times. I think the problem was the zipper foot I used. I used the flat snap on zipper foot. I didn’t feel like I could get as close to the zipper as I like. As a result I didn’t catch the seam allowance, which makes a closed up area around the zipper. I should have used the tall, skinny foot. I am used to it. I didn’t use it because I was sick of installing feet and resetting settings on my machine. I paid the price.

BAM Pillow Swap Recipients

We exchanged yesterday and everyone did a wonderful job. I am behind Christina, but you can see my pillow over my head.

Book Review: The Fussy Cut Sampler

The Fussy Cut Sampler: 48 Quilt Blocks from Your Favorite FabricsThe Fussy Cut Sampler: 48 Quilt Blocks from Your Favorite Fabrics by Nichole Ramirez

On first glance, this is a block dictionary. In leafing through the book, I see some classic blocks and others that appear to be modern adaptations of classics. The difference is the fussy cutting and the modern fabrics.

The book has twelve chapters, and starts with acknowledgements (pg.3) and a table of contents (pg.4) and an introduction (pg.5) . The introduction (pg.5) is not included in the table of contents. The introduction starts with an explanation of fussy cutting, “fussy cutting takes that one step further, adding interesting novelty prints, stripes, text, and other designs to your selection process, then determining the right way to cut them to showcase that portion of the fabric” (pg.5). The definition isn’t as clear as it could be, but it is useful and with the illustrations later in the book, even a novice can get the idea.

The following section (pg.5-6) is all about the authors and their approaches. The sidebars at the end are a bit of a non-sequitur but useful “Focal point: determining which portion of the block will be the main attraction, where you want to draw the most attention to ” (pg.6). Dangling participles are scattered throughout the text and are not part of my writing or review. 😉

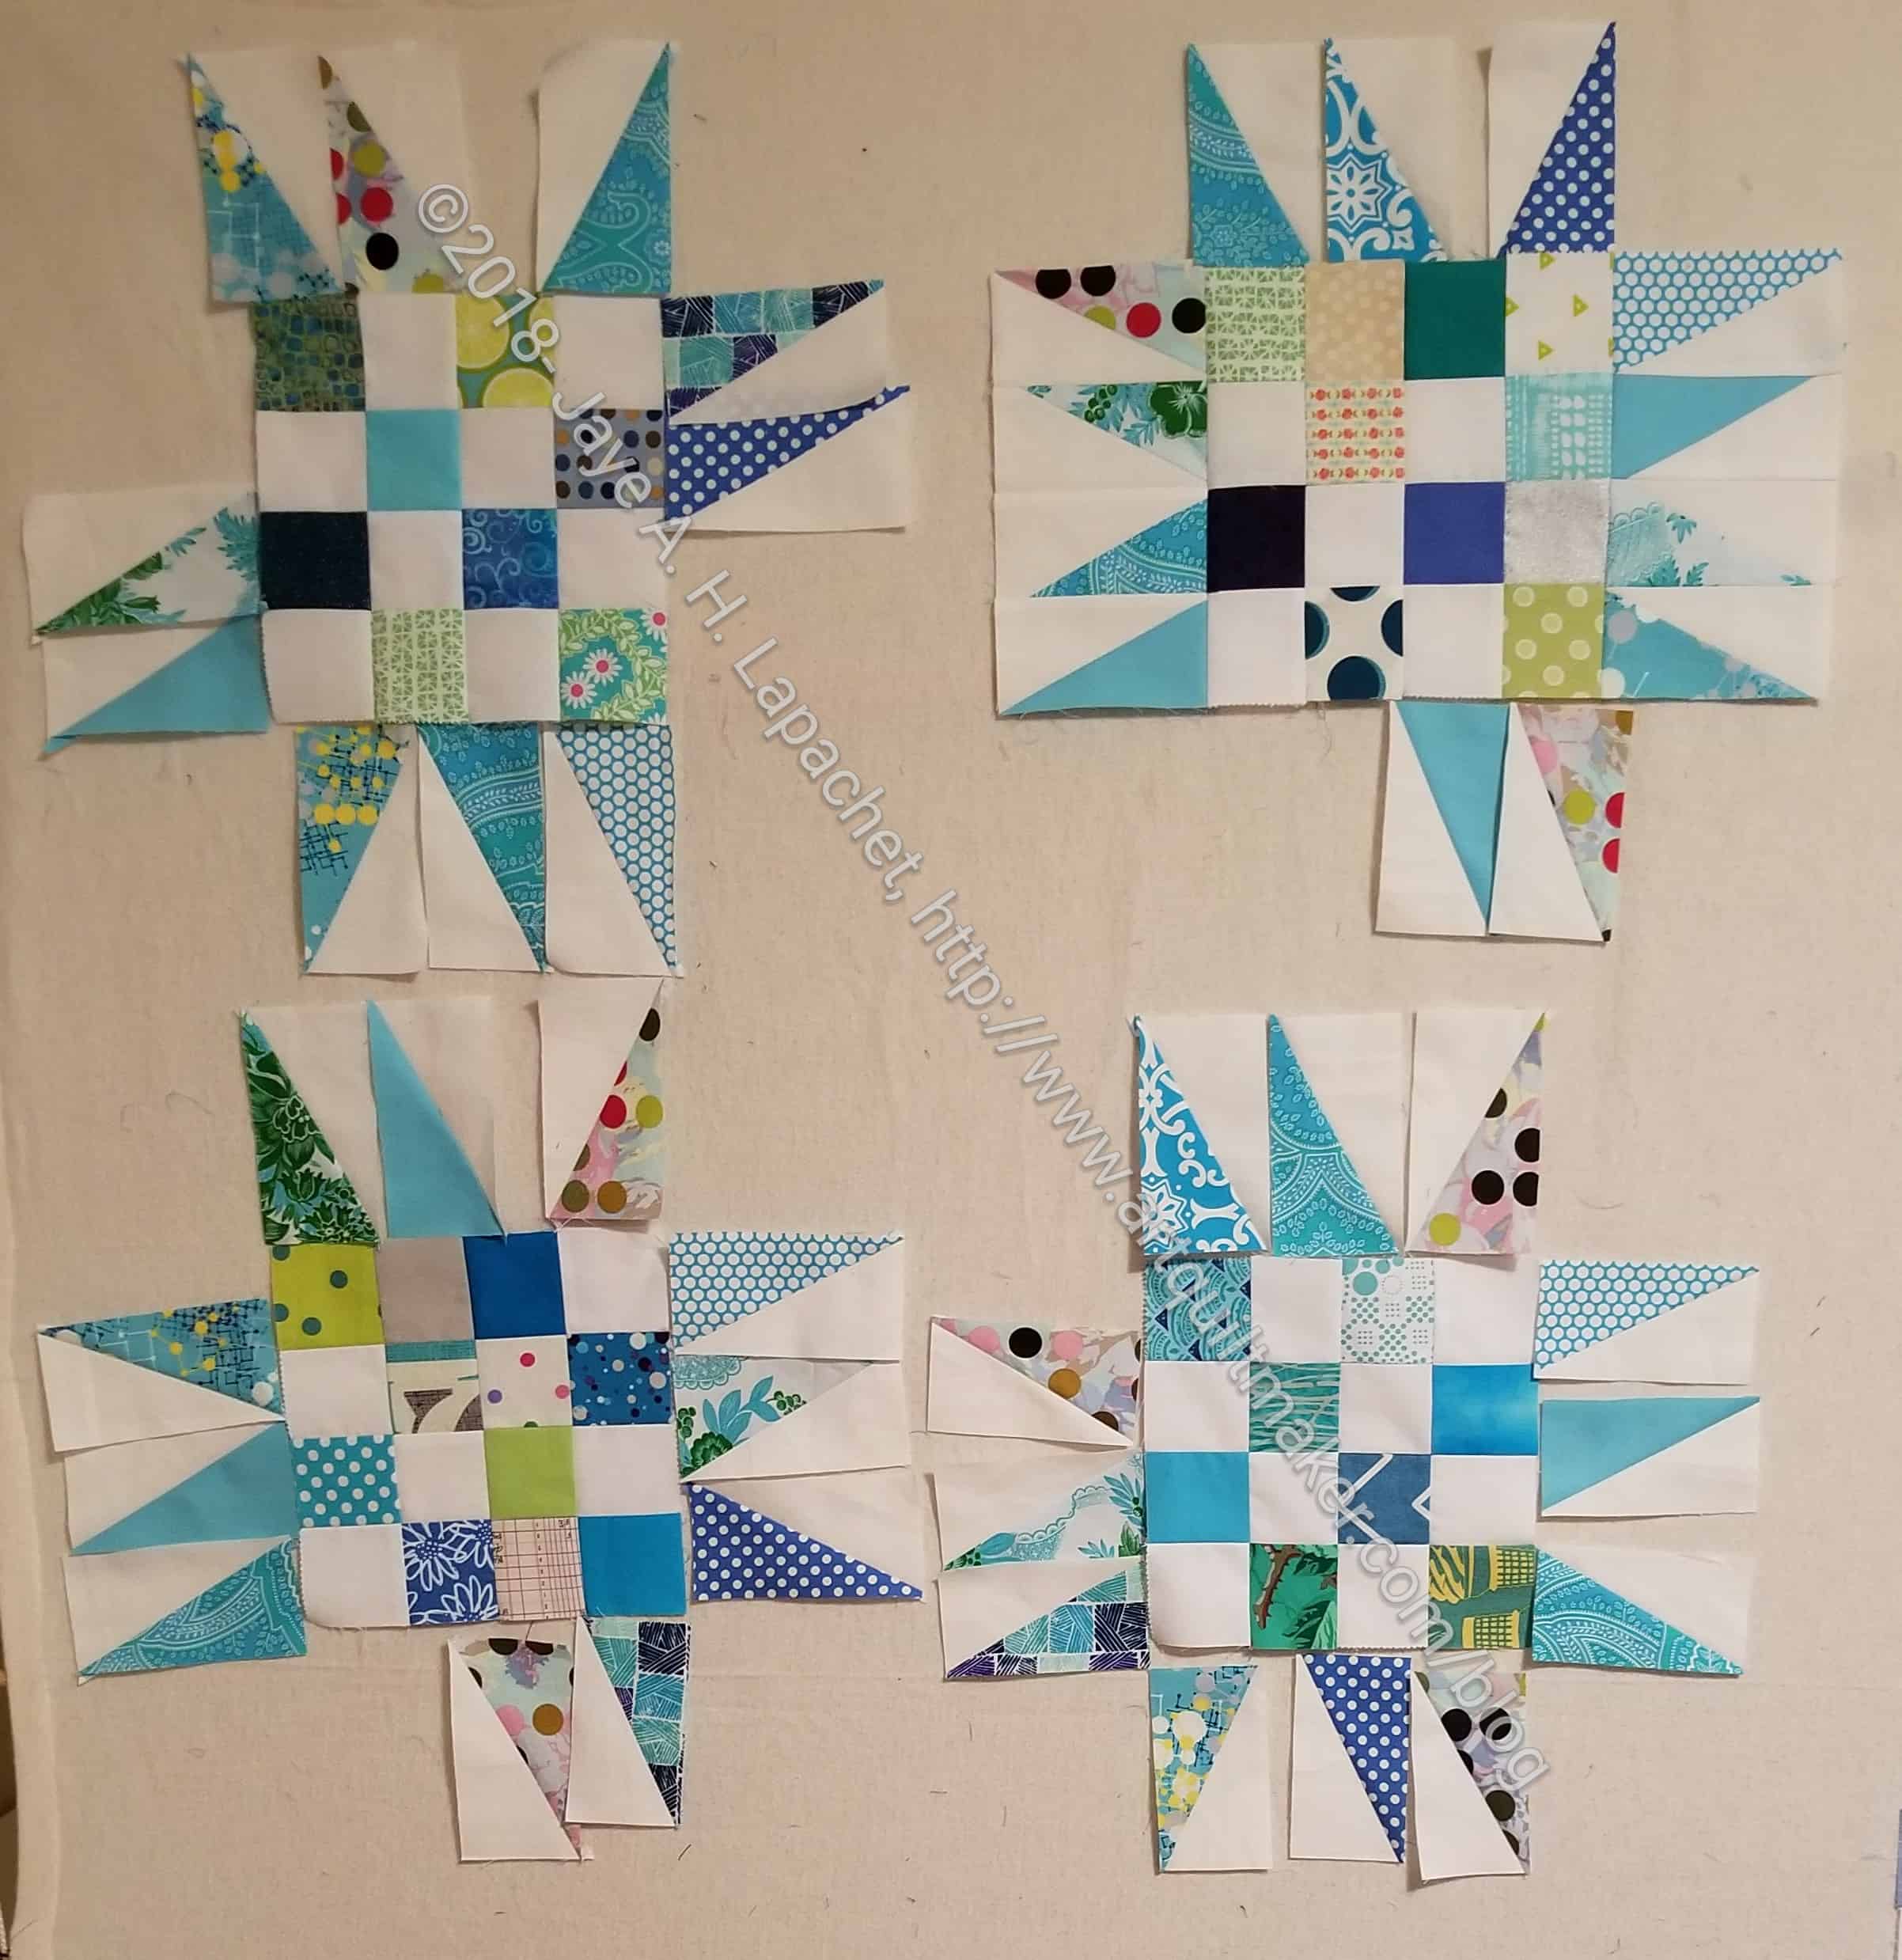
The Anatomy of a Block is short section (pg.7) showing where background fabrics and fussy cut fabrics are placed. The section doesn’t demand the maker place fabrics in the locations they indicate, but that is the implication and the authors don’t mention moving patches around to get a different look. One thing I have noticed in the modern quiltmaking movement is the way shifting the foreground and the background can make classic blocks look fresh and new. Experiment!

The introduction to using fabrics makes assumptions about all quiltmakers (pg.7), which gets on my nerves, because we are all different, have different tastes and use fabrics in our own ways. It is followed with a useful couple of pages that includes descriptions of framing, directionality, using a design wall (pg.8), seam allowance and fabric repeats (pg.9). There is also a handy illustration defining types of motifs, such as one-way, tossed and geometrics (pg.9), which are standard terms used in fabric design.

Block basics talks about making blocks one at a time (single cut basics). The authors rightly state “since the focus of this book is to isolate motifs, some of the speed cutting and piecing you may be familiar with may not be appropriate” (pg.10). This is key. Sometimes speed cutting is not appropriate to achieve a certain effect.

There is half a page on finishing your quilt, which starts out with a note that Lucky Spool has a free downloadable PDF of quiltmaking basics. Hallelujah! Half a page does not even begin to deal with the intricacies of backing or quilting much less bindings. There is an entire book called Happy Endings, after all!

Most of the tools displayed in the Favorite Tools section (pg.12-13) are regular quiltmaking tools that most of us use. There are a few interesting additions that one doesn’t see in every book such as Flatter and freezer paper.

Chapter 1 is called Background Basics. The introduction to this chapter talks about using light colored or low volume fabrics in backgrounds. Keep in mind that you can successfully use a variety of different colors such as black or bright colors as background as well. I often use colors as backgrounds, as I did in my Punk Rock Quilt and the Wonky Nine Patch quilt. Funnily enough the first block (pg.16) in the book uses a dark background. Branch out and use your color wheel to help boost your confidence.

I find it important to use tools and supplies that I know and trust. “Elisabeth often draws the required 1/4″ seam allowance onto her fabric using an erasable pen” (pg.16). Be well informed before using this type of pen. Reports of the markings coming back as well as damaging the fabric years later where the pen was used are prevalent. I don’t use anything chemical to mark my quilts. My preferences are chalk pencils, such as Sewline pencils, because the marks can be brushed or easily washed away.

There are several different versions of the example block, which I always like to see (pg.16-17) because it shows the reader the possibilities. You do not have have use the same fabric or colors that the authors used! Make blocks and quilts your own! The subsequent blocks cover half square triangles (pg.18-19) in various configurations. There is a sidebar about directionality (pg.19) that I think is very helpful.

Chapter 2 is all about stripes (pg.25-33). The big tip for this chapter: pay attention to directionality of the stripe. This is important as I found in my quilt, Ta Dots & Stripes! The authors suggest directions for the strips, but make sure you like the direction in which the stripes are oriented. Examples of different uses of stripes are included (pg.28-29) as well as creating secondary patterns with stripes (pg.32-33).

This book contains a section on color (pg.35-43). Other books such as Joen Wolfrom’s ColorPlay go into much more detail, however this Ramierez and Woo book discusses color in the context of fussy cutting. The book also includes a section on achieving transparency. This is a good exercise to try before buying the Weeks Ringle and Bill Kerr book on transparency, Transparency Quilt and committing to a full quilt.

I find scale to be just as important as color. The authors discuss it enough to give you an idea of the principles (pg.42-43). You can find more information on Sandy’s podccast on the subject, which is linked from my post.

Chapter 4 recommends Anita Grossman Soloman‘s method of marking your rulers to achieve precision fussy cuts (pg.46-47). I haven’t tried this or heard of this technique before. This section also discusses quarter square triangles and Flying Geese, which are more complicated so the marking directions might prove invaluable. There are fussy cutting rulers out in the market, but the books provides directions for marking your own ruler so you can cut QSTs, HSTs and Flying Geese (pg.46-47). I have a couple of fussy cutting rulers I would probably use over the marking method, mostly because I am lazy and don’t want to mark up my rulers. I also find I can center a fabric I want to cut into a square pretty well without marking. These tips allow you to use the rulers you have with the techniques shown in the book.Still, the section is interesting and it did open my mind to another technique. Each subsequent block is used to teach how to use different fussy cutting techniques to make blocks look different. Featuring motifs in HSTs (pg.50-51), mirroring motifs (pg.52-53), border motifs (pg.54-55) and many others are included.

Chapter 5 discusses working with “complementary fabric prints” (pg.57). I don’t see a glossary where complementary fabric prints are defined for this book, so the reader just has to assume. The reader can infer what the authors mean by reading the descriptions of the exercises in chapter five. Reading through chapter 5 is amazing. The authors have found a number of ways to expand the well known ideas of fussy cutting. Complementary cutting (pg.60-61) is one technique I have never considered.

The authors also talk about restraint such as “building a space in your block construction for your eyes to rest” (pg.67). I think this is very insightful. Makers can use riotous colors and fabrics to good effect, but adding in places for the eyes to rest, however small, can make a better overall design.

I’d like to see the size of the exercise blocks printed on the page with the directions, e.g. Block size: 9″ finished, 9.5″ unfinished. The book does say the blocks finish at 9.5″ each (pg.8). I had to go hunting for the information as I worked through the book. It is easy to forget (as I did) when just reading the book. Perhaps one would not forget as s/he worked through actually making each block? Nonetheless, putting the size in a more prominent location wouldn’t take up much space.

Most of the blocks seem to be based on a 3×3 grid (9 patch – See Jinny Beyer’s The Quilter’s Album of Patchwork Patterns for more information on the grids and structure of blocks), but I don’t think they all are. In glancing through the directions I don’t see any unusual measurements to cut.

This work also gives a lot of incidental information about fabric design, which I alluded to above. Chapter 7’s description (pg.77) talks about tossed prints, for example. This chapter includes a small, yet helpful, diagram on grain (pg.83). This is something I would consider copying to a notebook or my ‘tips’ bulletin board.

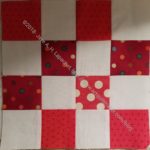
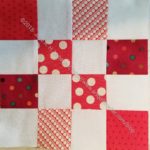
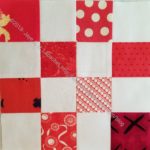
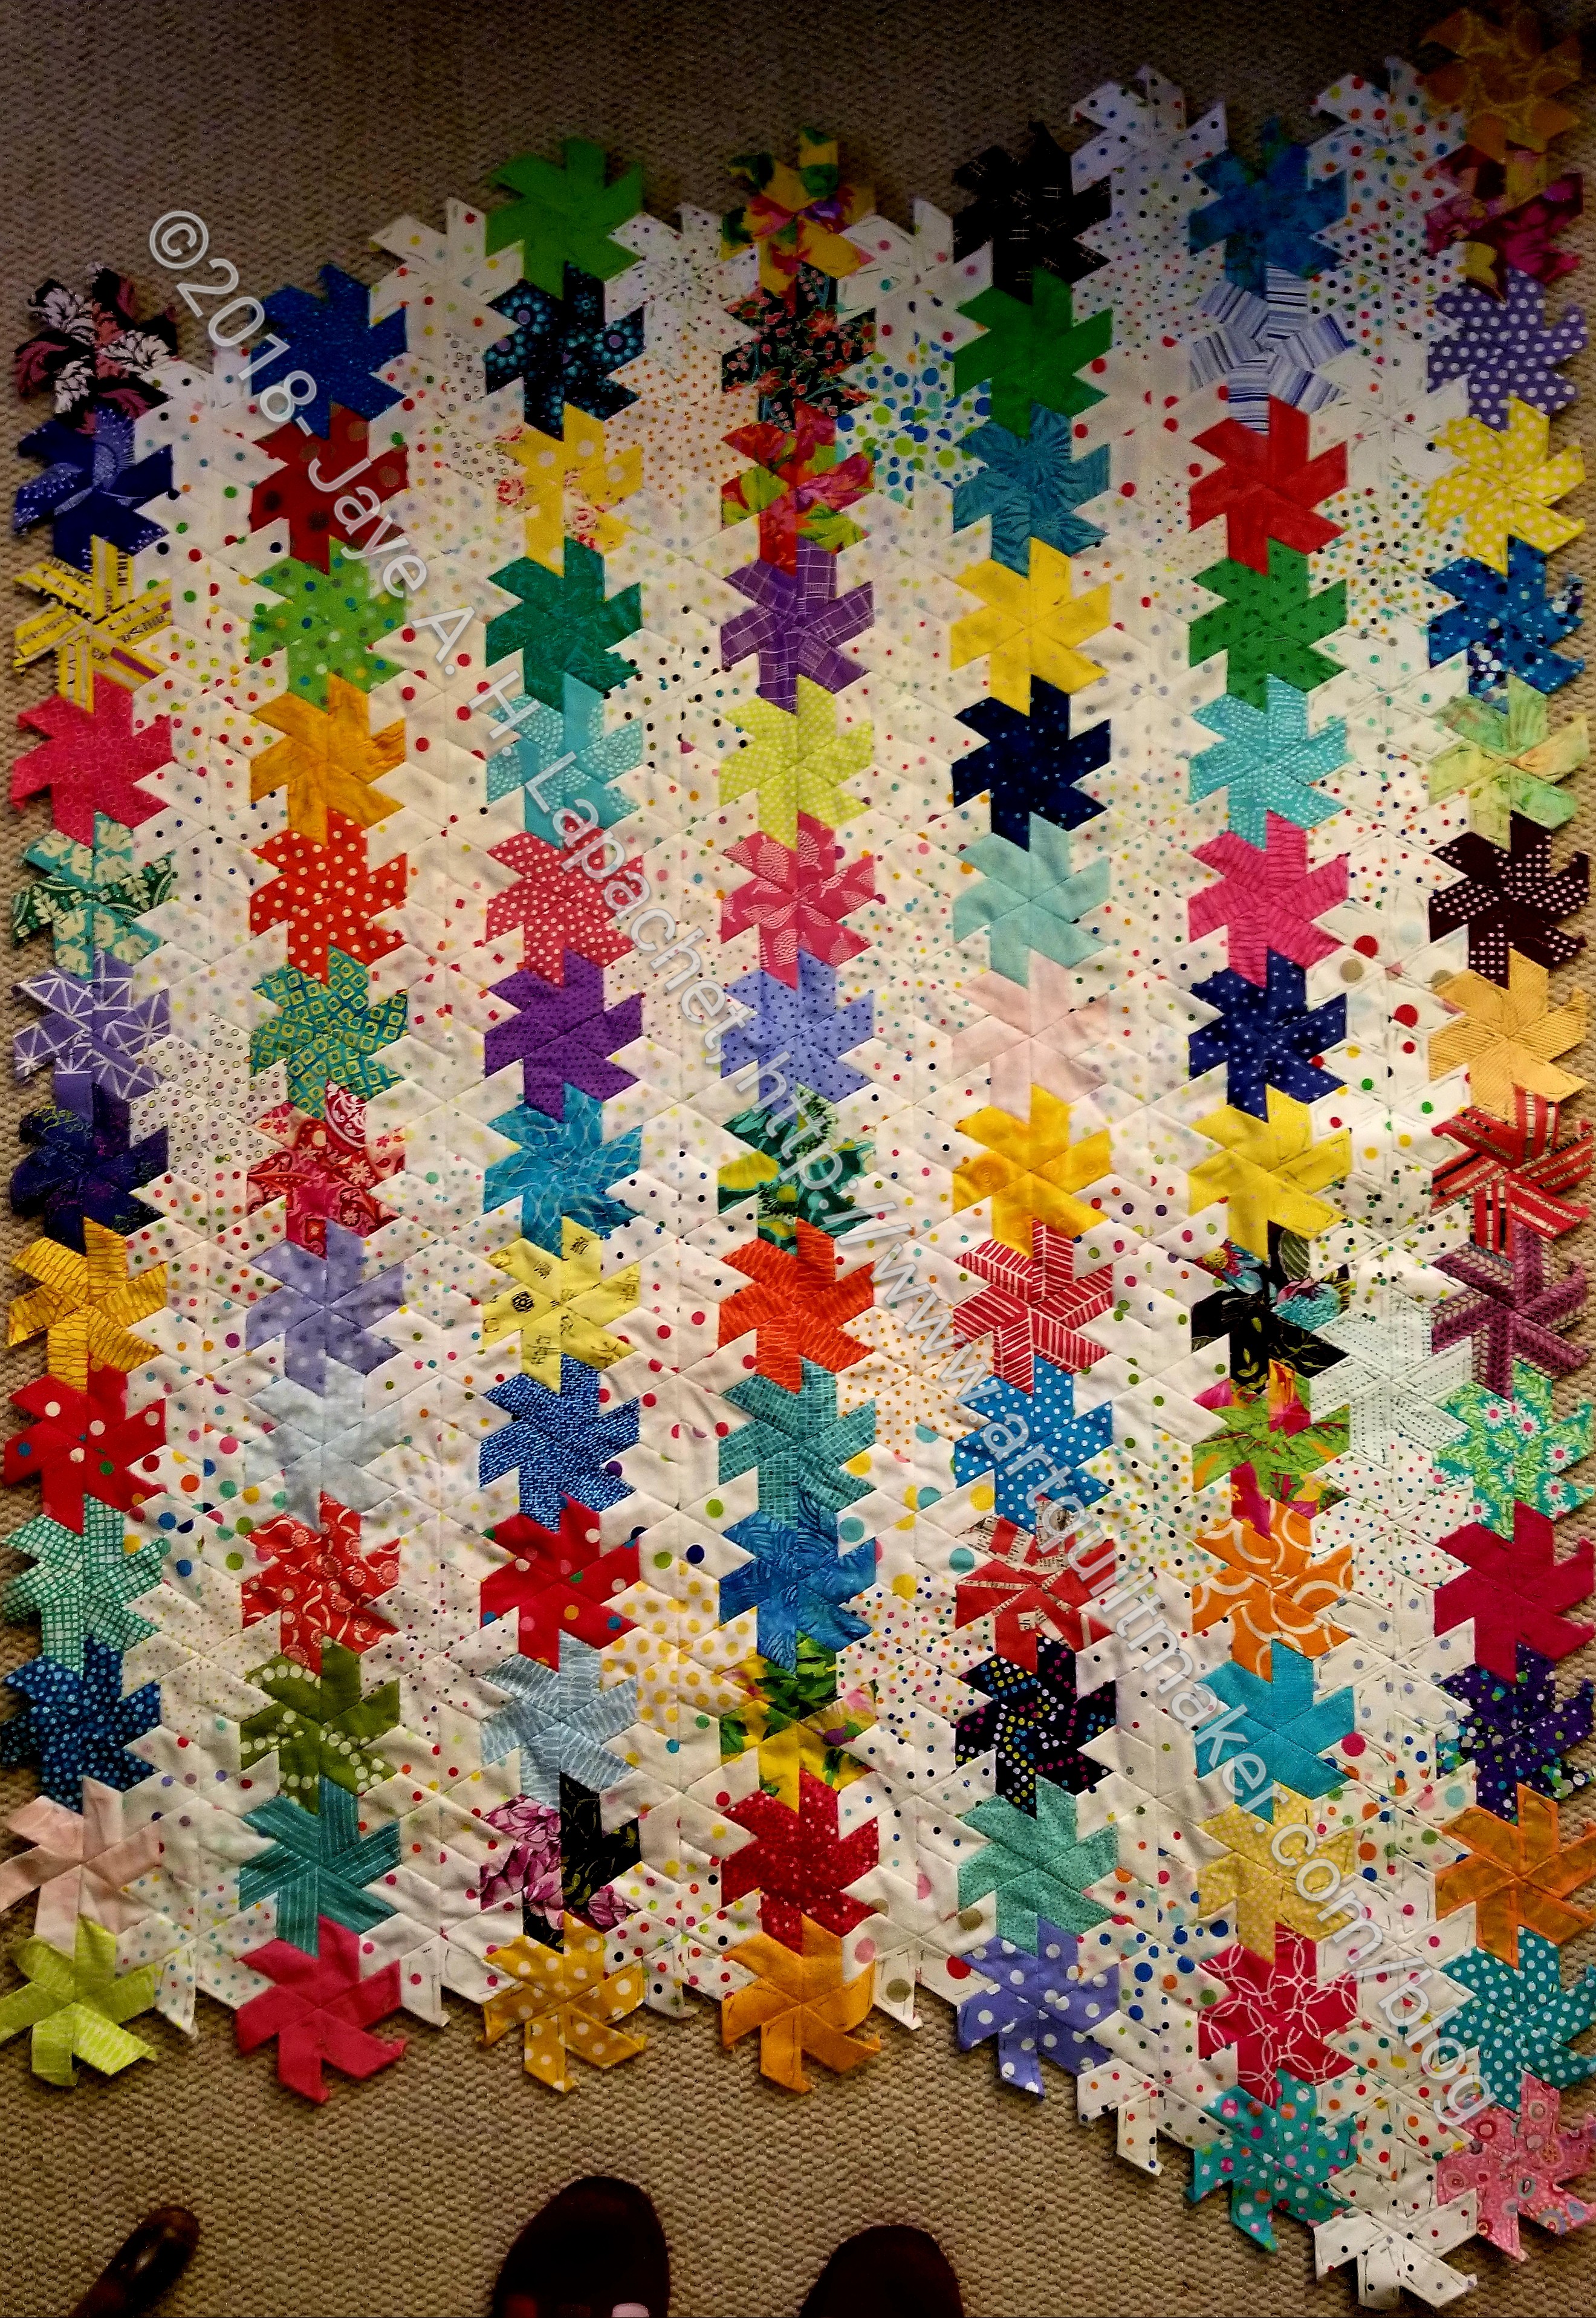
Each of the blocks, through two chapters, includes two versions of the same block. Each author uses the same techniques to make her own version. I always appreciate this effort in books and magazines as it immediately shows there are more than one way to color a block (or quilt).

There is a lot you can do with this book. There are so many techniquesthat I had a hard time absorbing them all. Obviously, this book will teach you almost everything you needed or wanted to know about fussy cutting. If you want practice making blocks, there are 48 on which to practice, so a double bonus: fussy cutting and block making. This is a great book suggesting new ways to use your novelty fabrics.

If you want to improve your skills, this would be a great book to buy.

View all my reviews, including non-quiltmaking reviews.

ColorPlay: Ruth’s Flower

Ruth's Flower
Ruth’s Flower

DH and I went over to my MIL’s house last night to get the mail and take out the garbage. On my way up the stairs, I saw that one of her flowers had bloomed. Better late than never, I suppose. It was still perfect.

I thought I would use it as my ColorPlay image of the week. Even though I already did a sort of tribute to her, this one seems appropriate as well.

ColorPlay April 13: default

The default palette was actually pretty good this time. I guess the tool couldn’t ignore all of that red-orange.

ColorPlay April 13 n.1

My first original palette was all about the various reds, pinks and red-oranges. I couldn’t resist trying to find as many as possible in that photo.

ColorPlay April 13 n.2

Can I vary the colors? Yes! Can I create a balanced palette that would make a good set of colors for a quilt? Apparently, only if that quilt palette is monochromatic. This time I went with green. I like green in plants, but not so much in fabric. This palette is not a favorite.

ColorPlay April 13 n.3

I decided to create a balanced palette move one circle to each main section of the image. I did come up with a lot of different colors, but am not sure if the palette would make a good group of colors for a quilt. I think not.

ColorPlay April 13 n.4

I made a last effort and actually looked for opportunities to add in some neutrals. This one has both Kona Cinnamon and Kona Crimson. They look the same to me and the latter looks nothing like Crimson.

What will you make?

CQFA Unconventional Materials Exercise

Rhonda led us in an exercise using unconventional materials, e.g. not fabric. For me, these materials were unconventional in terms of quiltmaking, but familiar in terms of creativity. I love working with paper and don’t get to do it enough.

Rhonda brought quite a bit of stuff for us to work with, but not enough that we spent the whole time rummaging for materials. I saw a shiny binder clip as she was introducing us to the materials and an idea started to form in my head.

Everyone’s pieces came out so differently. It was exciting to see the creativity at work. I didn’t take photos of all of the pieces. I was too engrossed in my own work, but each of them were different and exciting in their own way.

CQFA Unconventional Materials Exercise

I am pleased with the way my piece came out. I am also pleased that I was able to finish. Ever since I saw Nancy’s map piece for the last show and talked with Maureen about her work with maps in her collage group, I have been wanting to work with maps. I am going to check to see if there is a category at the fair that will be suitable for this piece.

Ruth’s Hand Quilt

Ruth's Hand Quilt
Ruth’s Hand Quilt

My mother-in-law died on Sunday. It wasn’t unexpected, but it is nonetheless very, very sad. I feel a huge loss.

I am writing about the Hand Quilt, because I never made another quilt for my mother-in-law. I meant to; I just never did.

The hand quilt is a quilt that my sister-in-law and I made for my parents-in-law (SIL made for her parents) in 1992. We got hand tracings from all of the siblings, spouses and kids. We transferred the handprints to fabric and then machine appliqued the hands to the background. I don’t remember how it got quilted, but it did.

I always wanted to make another one to make sure we got all of the kids, but I never did. I suppose I still could, but I would have to make one for each family and I just don’t think I have that much machine applique’ in me. You never know, though. 😉

CQFA ATC Swap

The CQFA meeting was Saturday and it was a really good one.

April 2018 ATCs
April 2018 ATCs

We swapped ATCs, as usual. I wasn’t inspired and really waited until the last minute -Friday morning – to make mine. I used what scraps were on my cutting table despite my lack of enthusiasm about the project.

I focused on making the cards as technically perfect as possible. I think I achieved that goal.

I must work on the next batch sooner, so I am not working under the wire next time.

Finished: HRT Donation Top & Back

HRT Donation Top - April 2018
HRT Donation Top – April 2018

I finally got into a  rhythm with the Bias rectangles (HRTs- half rectangle triangles) and was really able to make a lot of them, get them trimmed and put blocks together. The sticking point is always hauling fabric out of the fabric closet. If I didn’t want to make these pieces scrappy, it wouldn’t be a problem, but I do like the scrappy look.

My original idea was to make a large quilt with 16 blocks. When I realized that each block was 52 pieces, I decided that I would start with a 4 block quilt and go from there. It isn’t difficult to make the HRTs once I got the hang of it and the blocks really don’t feel like they have 52 pieces. Still, I wanted to finish and the top I made finishes at 39″ x 39″. That is big enough for the NICU. I still have the other 16 patches and will continue to make bias rectangles until I have made 4 quilts like this one. I should be an expert by then!

HRT donation quilt back

The back was also scrappy, of course. I used up some fabric that has been hanging around.

A Few More Donation Blocks

Again, I have been able to make a few of the 16 patch donation blocks for BAM. The HRT donation quilt has taken up a lot of my donation making time, but not all. I want to help the Charity Girls keep their supply of 16 patches fresh.

I am running out of foreground squares so I will have to get DH to haul out the Accuquilt for me and cut up some scraps before I can make many more. I have the additional HRTs to make, so I am not completely out of the game.

Zip Away Organizer

Zip Away Organizer - closed
Zip Away Organizer – closed

Frankly, I never thought I could make something like this. This is another pattern from the Crafty Gemini Organizer Club. It is one of the bonus patterns. I think it would make a great gift.

I did, though, and while I struggled with some parts, it wasn’t as hard as I thought.

I feel like I am becoming a zipper expert. I can certainly get my zipper foot on and off the machine (screwdriver is involved) with lightening speed. I can now shorten zippers with confidence (remember my fit about the zipper shortening with the Sweet Harmony bag?). I have put in 16 zippers, I think, in the last month. WHEW!

Zip Away Organizer - open
Zip Away Organizer – open

I am trying to think what I can put in this bag.

I reversed the pockets by accident, so the vinyl pocket is on the wrong side. It isn’t so wrong that I felt I had to rip it out, but I will get a zipper pull to help pull the zipper away from the spine.

The fabric for the outside and the inside slip pocket are both from the Cosmo Cricket line. I made the first Stepping Stone quilt out of that fabric. I am out of the typewriter key fabric in black, which is a shame, but I will use another black that works. I used the stripe on the inside, because it works so well in my handbag (purchased, by Pixie Mood). I’ll use it again in other projects in this club.


Roadtrip Bag

I thought I had mentioned the Crafty Gemini Organizer Club, but I can’t find a mention of it.

Angela is helping with a bag project on which I am working and she pointed me to the Crafty Gemini Organizer Club. I looked at it, watched the video of the bags the club would be making and thought about it. Finally, I joined. The club’s early bird special came with 2 free bonus projects, but I didn’t do anything until I saw an IG post by Angela and how much she had done! Then I was embarrassed, so I got busy.

Roadtrip Bag - front
Roadtrip Bag – front

The first non-bonus project is the Roadtrip Bag. This one is made to clip onto a later project. I am trying to make the various projects coordinate. I originally thought I would put a rainbow stripe in each one like RockBaby Scissors does on many of her projects. I didn’t do it. I am just going with black, grey and white. I will be using some of the same fabrics for each of the projects.

Roadtrip Bag back
Roadtrip Bag back

I think this could be used for a small-ish project. It would definitely be a good gift.

Merit Hexie Pillow

Merit Hexie Pillow Layout

As you know we have been earning merit hexies in the guild. I had a few minutes before I had to get ready to go out, so I designed a layout for my 2017 merit hexies.

I used the leftover basted sandwich from the Walking Foot WOW class. I laid out my hexies in a couple of pleasing ways and finally decided on this layout.

I pinned everything in place and will begin appliqueing the hexies down soon. I might have another chance to install a zipper!

26 Projects: Progress Continues

I feel like I am making good progress. Compared to last time I have added a number of finishes to my list. I have finished projects that have been hanging around and nagging at me and that feels great. I am still on that trajectory, so I hope to add some more finishes to my list during April as well.

Finished 2018 Quilt Projects

Finished 2018 Non-Quilt Projects

Doing Good

In Process
The  ‘In Process’ is used to denote projects on which I am actively working or pretending to stitch. I try not to put away projects, because that will ensure I never work on them

  • English Paper Piecing Project– half hexies – I made a little bit of progress on Friday night. I think I might be back in the saddle on this.
  • Stepping Stones #2 – Now that the BAMaQG IRR is off the design wall, I am planning to put this back on it and work on it. I have a loose goal of completing two quilt tops (+backs, binding) before April 9th and this is one I’d like to complete. If I am going to make my goal, I need to get busy. I need to cut more patches and sew more border blocks.

Still WIPs
I still have WIPs. Who doesn’t, after all? A project in the ‘UFO’ category means I am stalled. A nicer way of saying UFO is a WIP. The list is a lot shorter and the projects are newer, for the most part.

  1. Aqua-Red Sampler – I need to lay the blocks out and put the piece together. No new progress.
  2. BAMaQG Color Round Robin – no progress.
  3. City Sampler – blocks all made. Need to sash the blocks and put the top together. Due to some issues I had with my seam allowance, some of the blocks are smaller than others, so I will have to adjust them in some way – either ripping and resewing, adding a piece or two to the block or with sashing. This is sort of a sticking point and while I consider this quilt ‘in process’ I hadn’t worked on it in awhile until I took the blocks to the BAM Sew Day and started measuring. Once I know what I am facing for each block, I can move forward. No new progress.
  4. FOTY 2017 – pieces cut. Need to layout and start piecing. No new progress.
  5. Handbag Sampler – this is a project about which I had forgotten. I actually don’t know exactly where the blocks are hiding. I have an idea and will crawl up in the far reaches of my fabric closet soon and see if I can find them. I haven’t even found a picture of all the blocks. The blocks were teaching samples when I taught a sampler class the time before I started writing the quilt class sampler tutorials.
  6. Lobster – I still have more stitching to do and then I need to quilt it.
  7. Octagon 9 Patch: I am continuing to sew pairs together as leaders and enders. I have gotten over my concerns, because I want to make progress. Minimal amount of new progress.
  8. Pointillist Palette #4: Fourth is a series of 6 quilts; needs tiny square patches sewn together. No progress.
  9. Pies and Points from Victoria Findlay Wolfe class. I need to focus on this and it is not up high enough on the list yet. No new progress.
  10. Self Portrait: started in 2006 at a class at Quilting Adventures in Richmond, Virginia. I am still stalled on this again. I have to analyze why I want to finish this piece.
  11. Serendipity Lady Quilt: no new progress.
  12. Under the Sea: class project; like the design and am happier with the colors. I have a new idea for it, which is to make a pillow and gift it to a friend.
  13. Black and Red quilt – This came about because of two other projects. I made a whole bunch of bias tape as part of my failed attempt at doing the Mighty Lucky Club a few years ago. Another part of the inspiration came from my class with Tina of Little Blue Cottage fame. This was going to be for a nephew, but I think it will be for one of my SILs and BILs. I have rectangles cut and some bias tape ready. My next step is to sew the bias tape to the rectangles like pickup sticks. I don’t have any photos of this, so you’ll have to trust me.

Small Projects in Process

  • 1 gift Sew Together Bag as a gift – nothing cut
  • Tool Tote – I bought the pattern at QuiltCon and started cutting it out at Sew Day in March

Ready for Quilting

  • nothing right now

In Quilting Process

  • BAMaQG IRR –The sandwich has been basted. I plan a couple of lines of machine quilting and then I will do the rest by hand quilting it using Big Stitch. I hope I remember how to Big Stitch.
  • FOTY 2016– Finished piecing and is at the quilter
  • Thanksgiving tablemat – I have the correct feet and just need to get busy.
  • Theoretically, the Tarts Come to Tea is in the quilting process, though I haven’t worked on it in a while.  See above.
  • Triple Star – Finished piecing and is at the quilter

Binding

  • Nothing now

Hunting and Gathering

  • 30 Something: I am still cutting 1.5 inch squares. I am pretty sure I have the 800 I need, but I am not ready to sew them together yet, so whenever I have a chance I cut more I cut more. It will give me choice when the time comes. I’ll have to think up a new name, too. My next step will be to figure out if I need to cut other sizes of squares and switch from cutting 1.5? squares to cutting the new size.
  • Blue Gradation Quilt: cutting 2.5 inch x 4.5 inch blue rectangles. It has to end sometime. I wasn’t sure I was ready to put this together, but I think I am. I might do a couple of gradation quilts in a row just to get the practice.
  • Blue Lemonade: cutting blue, green, purple 2 inch squares. I used a lot of these squares for En Provence, so I am slowly cutting more.
  • FOTY 2018: I have started cutting 2.5″ squares for the 2018 version.
  • Pink Gradation Quilt: cutting 2.5 inch x 4.5 inch pink rectangles
  • Spin Wheel: really not started, but supplies gathered. I might have to cut some more background fabrics. I probably have enough fabrics and just need to decide to start.
  • Windmill quilt: Still hunting and gathering. I am supposed to be cutting a variety of greys for the background, which required the purchase of a new template. I should be able to get going again

Other

  • Stepping Stones #3 using the Macaron pre-cuts from Hoffman. I have all the fabric in pre-cuts and am just waiting for space (and desire) in my schedule.

I bought some fabric, so I am down on net usage. Still gross usage is just over 90 yards (45 net; yes I have bought about 45 yards worth of fabric this year!). I am pleased, but I want to hit 50 yards net as soon as possible. If I could make it to 100 yards NET used by the end of the year, I would be ecstatic.

What’s on your list?

HRT Donation Quilt

HRT Donation Quilt - March 24, 2018
HRT Donation Quilt – March 24, 2018

I made the blue and green donation blocks last year with the idea that I would add HRTs to the blocks to make something a little different.

I have been struggling along with the HRTs,despite all the different tutorials and information I found. I was about to put it away and try “later” when I got a new burst of energy for the project. I worked on it much of the day Saturday. The burst of energy came from watching the video on how to use the Split Recs ruler. DUH, I know. I did read the directions, but clearly didn’t understand them, because I was struggling mightily to use the ruler. I really needed to watch* the video, because there are certain steps and tips that come across a lot better via video. The biggest tip: both fabrics need to face the same way. This means wrong side to right side NOT right sides together.  HUGE tip. HUGE.

HRT Donation Quilt - March 31, 2018
HRT Donation Quilt – March 31, 2018

The picture (above left) is from my first struggles with the ruler and different ways of making the HRTs.

The image (right) is from today, after I trimmed the HRTs I had and started making new HRTs to fill in the gaps.

The quilt will be 4 blocks – it will be a small NICU quilt. I have 16 blocks and may make more of these spiky blocks. We will have to see. I am pleased I am finally making progress.


*I don’t know why I am so resistant to watching quilting videos. I suppose I perceive that it takes my time away from the actual sewing. I found the Split Recs video to be invaluable and am sorry I didn’t watch it sooner.

Half Hexie Progress

Half Hexie EPP project - March 2018
Half Hexie EPP project – March 2018

My half hexie EPP project has been languishing while I knit and sew on bindings, and do other handwork. It seems that I last posted about this project in July of 2017. I can’t believe I haven’t worked on it since then. I have been looking for the diamond papers I know I have that I will use to finish off the edges and create a border. I haven’t found them, though I did find the fabric, and that is discouraging. I want to get this done, so I start the La Passacaglia. I think it is silly to start another EPP project with this one in progress.

I found some inspiration on Instagram the other day for my languishing project, which encouraged me to get back in theswing. Pat Bravo posted about a piece made from half hexies that were arranged into triangles. I am not changing horses in the middle of the stream, but it was interesting to see.

I spent the night before last sewing some stars together and then adding them to my larger piece. The top and bottom are pretty straight. Right now my idea is to put diamonds on one of those edges to create the start of a border. The other edge (top or bottom) I will also border with diamonds, but not until it is wide enough for the bed or to be a large cuddle quilt. I am not yet sure what I will do with the right and left edges. I don’t think I can make them straight like the top and bottom, but I will try to get them as straight as possible.