Spiky 16 Patch n.2

Spiky 16 Patch n.2 Top

I got up Sunday morning feeling a little sore and slightly disgruntled at my computer still being in the shop.

Fortunately, the Spiky 16 patch blocks were front and center on my design wall and wanted attention.

I found the formula for creating setting triangles and corner triangles and set about doing math and then cutting up squares. Large squares.

After not too long, and only a few cutting errors, the top was finished and I wasn’t as disgruntled. I like the way this turned out and hope someone will get it who really enjoys it.

My SILs said it was sweet.

I have more HRTs, so I will be making more of these blocks. I may more quilts with them, we will see.

ColorPlay: Modern Building

ColorPlay: Modern Building - Original
ColorPlay: Modern Building – Original

There is a lot of building going on near my office. Barely moving my head, I can see at least 5 cranes when I get off the train without having to turn my head. The sound of jackhammers, hammering and other construction noises fill the air all day.

I walk around at lunch trying to get to know the neighborhood. It is hard, because it is changing rapidly. The other day I across this building. I love the windows and thought it would be great for this exercise. It is so whimsical.

ColorPlay: Modern Building-default

I wanted to stop at this default palette. The blues are great, even without any turquoise and the Pewter makes a nice background. It is almost a perfect palette. Looking at it, however, I see that that green wasn’t touched or the orange.

ColorPlay: Modern Building 2

I had to do another monochromatic palette to see how many blues I could include. I moved the circles, but some of the colors chosen are the same as the previous palette.

I admit that it isn’t quite monchromatic, but it is analgous. That green with the brighter blues looks really good.

ColorPlay: Modern Building-2

I couldn’t avoid the orange. It is clearly some kind of construction fencing, which are, traditionally, that super bright orange. No matter where I moved the circles the brightest I could get was the Mango. I decided to embrace the vagaries of the computer and see what happened. This isn’t a palette I would have put together myself, but I think it works. It is definitely interesting.

ColorPlay: Modern Building-3

I liked the Mango and wanted to keep it in. I also liked the green and turquoise, so I kept those. The others aren’t as successful this time. All extra grey, even the Graphite, which my eyes tell me is actually blue.

Let me know what you think of these palettes and if you make anything.


Various & Sundry 2018 n.6

I am kind of slacking on Various & Sundry posts this year for some reason. Oh well, life, I suppose, or just busyness.

Doing Good

I have mentioned Covered in Love projects before. Valerie of Evening in the Garden Quilts contributes regularly. If you need just need to sew, this group will take all the blocks you can make and they give you the pattern. The May-June ask is for X-Plus blocks like I made for the BAMaQG pillow swap. This is an ongoing request, so you can keeping making those blocks as long as you want.

The San Jose Museum of Quilts & Textiles is partnering with the Mayor’s office in a gun buyback. For each gun turned in, the owner will receive cash and a quilt. The museum is collecting quilts for this endeavor. Find out more on their page.

WelcomeBalanket.org is collecting blankets for an exhibition at he Museum of Design in Atlanta that will eventually be given to refugees and others in need. The website reads:

Welcome Blanket will be part of MODA’s “Making Change: The Art and Craft of Activism” exhibition, from June 3 to September 9, 2018. Betsy Greer is the curator.

Please send your Welcome Blanket and note by August 25, 2018 to:

Welcome Blanket
MODA
1315 Peachtree Street NE
Atlanta, GA 30309

Sadly, Stanford has changed its criteria for donation quilts so the guild will no longer be giving them quilts. For now, my guild has nowhere to donate quilts. The Charity girls are looking for a new place. It makes me sad, though Stanford is trying to minimize infection, which I can understand.

Tips, Tricks, Projects & Tutorials

Judy Martin has a Block of the Moment up on her site. Did you see it?

I found a definitive name for the regular graph paper we all use for various things. It is called Cartesian graph paper. How did I never know that? I found the definition in the very comprehensive and fabulous All Points Patchwork by Diane Gilleland. It is a good day when I learn something new.

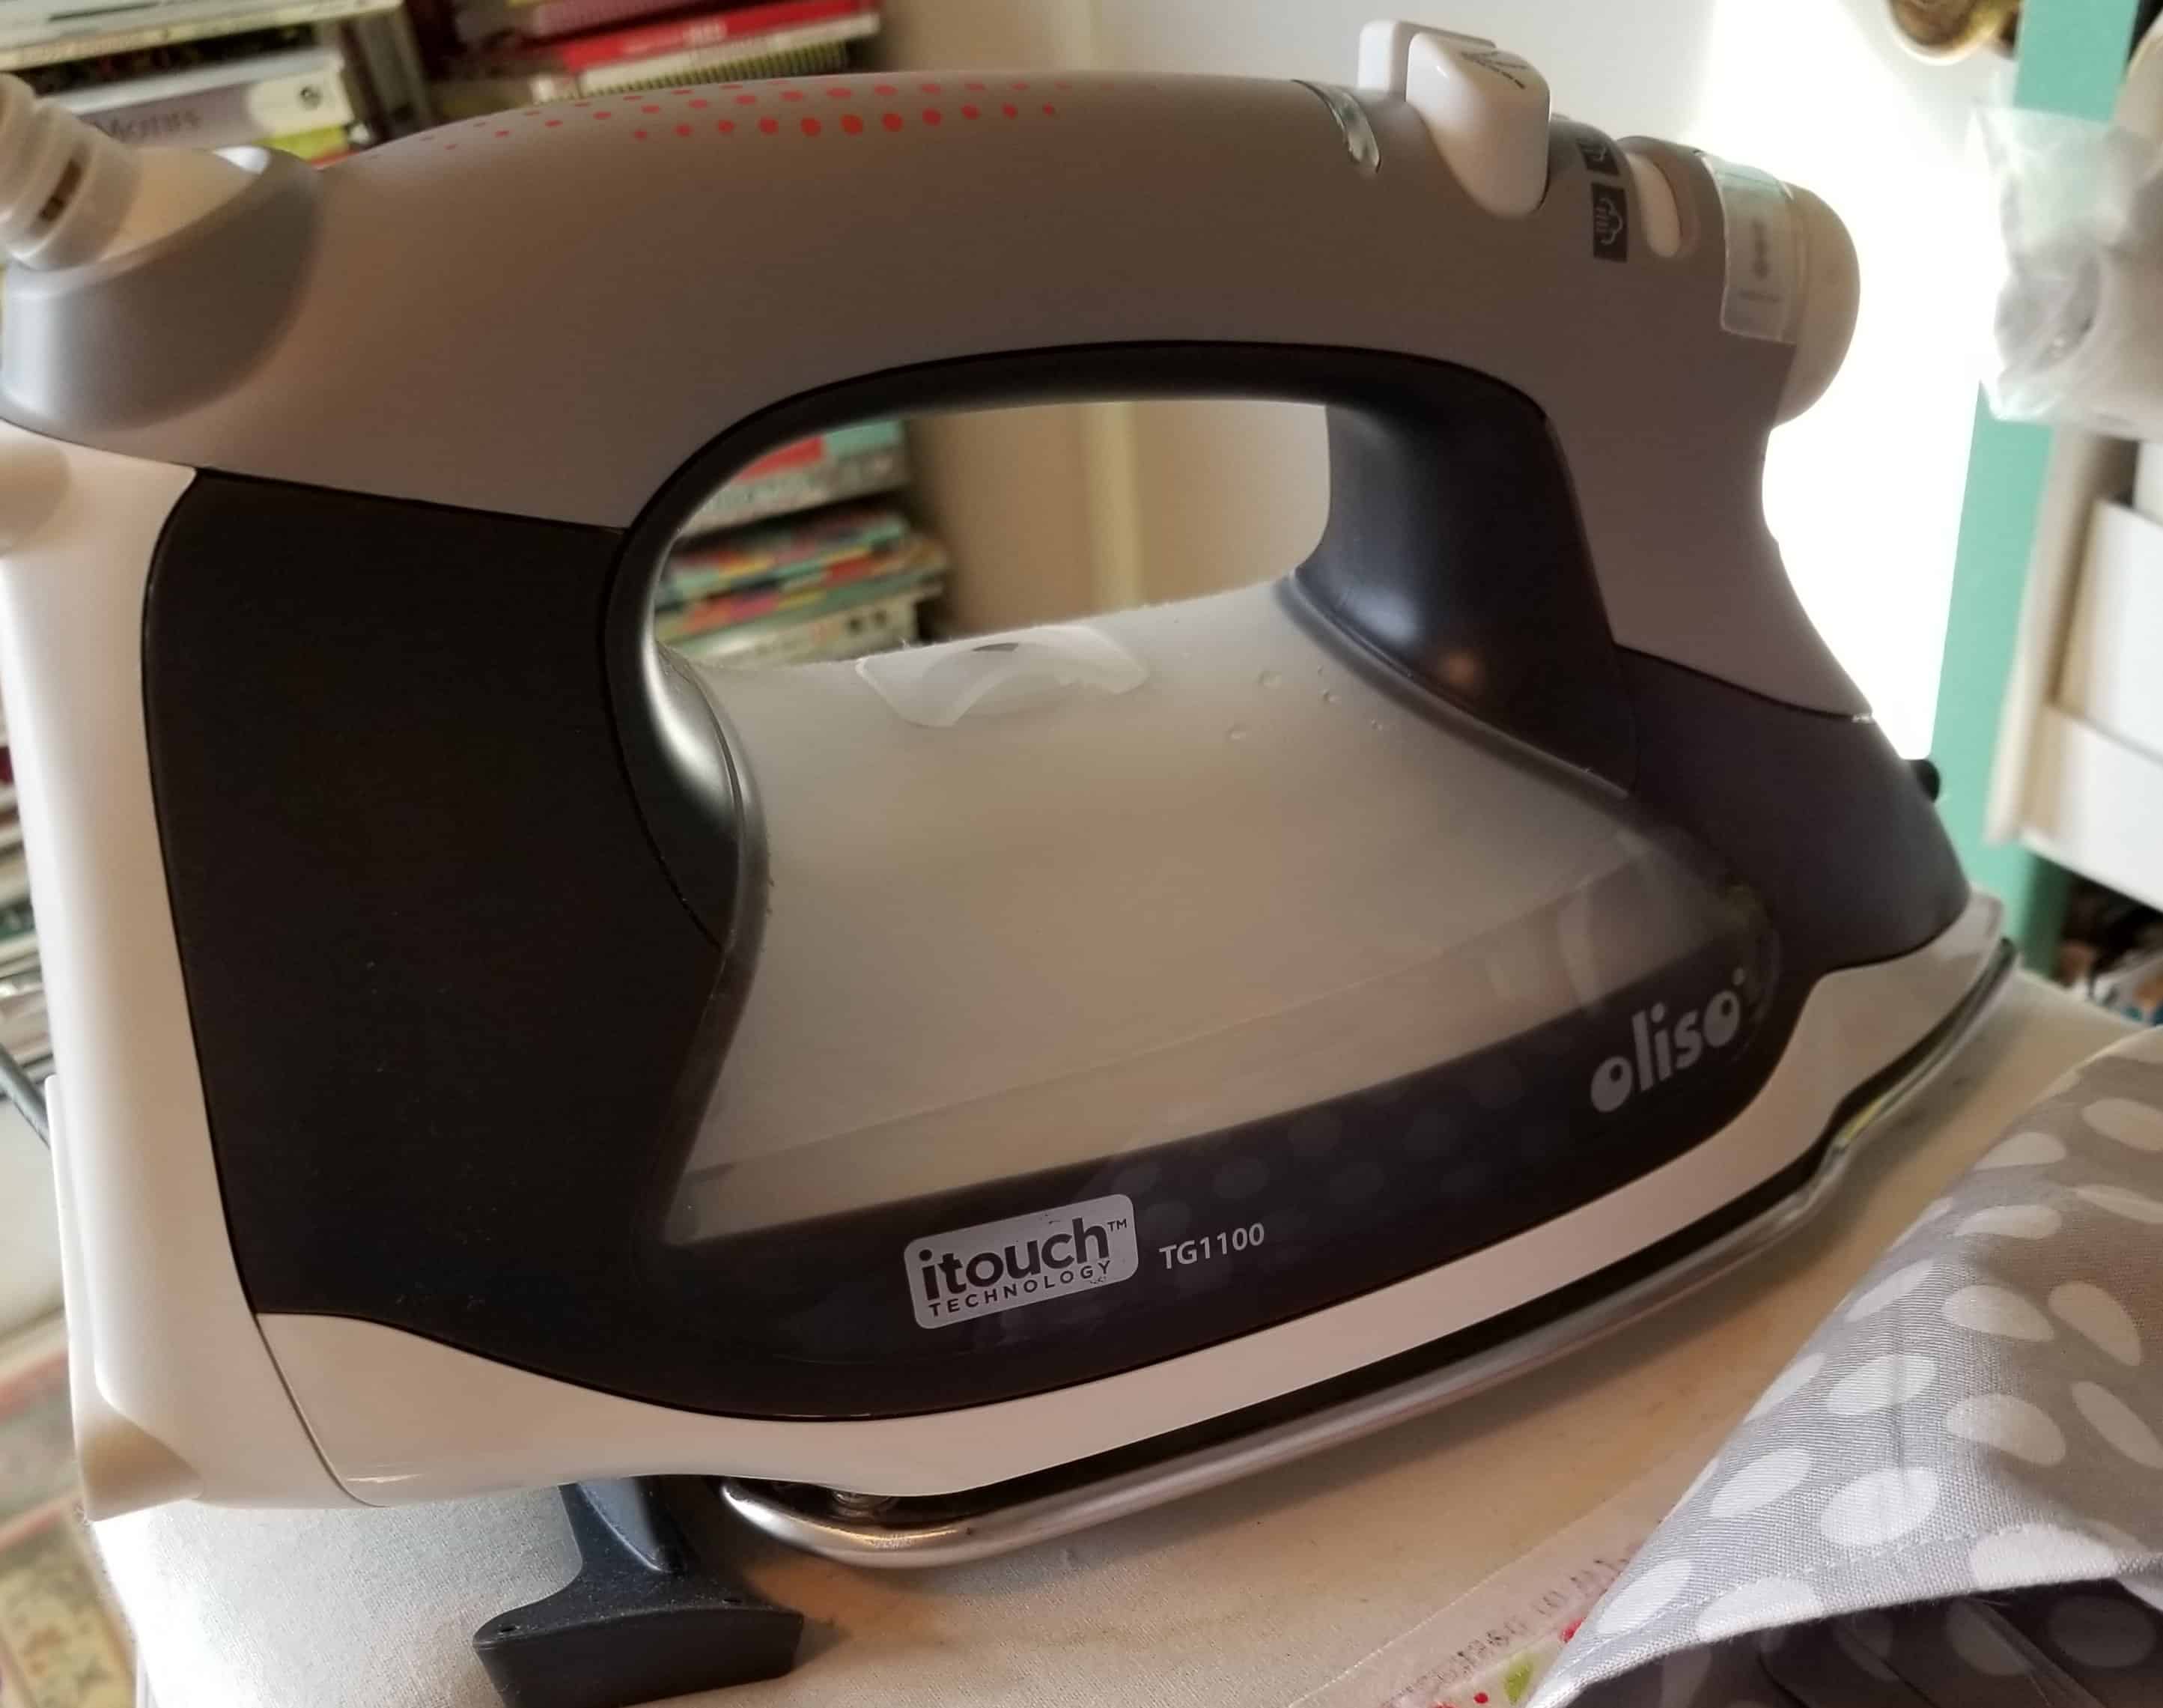
The Splendid Sampler 2 has started. Alex Veronelli designed the first block, which is available and people have already been showing their versions. Rebecca Bryan designed the second block, which is available. Pat Sloan has a discount for Oliso irons on Rebecca Bryan’s post as well.

Quilt Bias Binding Tips

Quilt World News and Events

One of my librarian friends sent me a link to an article about the Centennial Quilt Guild’s program at the King Bruwaert House.

HollyAnne, over at String & Story, is doing a Summer Stash Busting Project. The first post has videos and lays out the plan for the whole summer.

Edgestitch had an article about the Cotton & Steel designers leaving. As mentioned, it “sounds as though RJR was having difficulty with technology, and deliveries weren’t being made to quilt shops in a timely manner, record-keeping and accounting was faulty, with a lack of training and many other issues that make or break businesses.” As soon as I hear what happened, I’ll report here. Who knows if we will ever hear the whole story, though?

Have you listened to Frances’ new podcast? It is a serialized version of a new book (??) called Friendship Quilt, 1933. I have listened to the first two episodes and am about to start the third. I download it from Google Music, which seems to take a bit to download each episode (yes, I have settings configured correctly), but eventually does it. Find out more on the QuiltFiction.com site.

Inspiration

I saw an article in the Paris Review on a lowly desk calendar turned work of art. If you have a desk calendar (rather than just Outlook or Google Calendar), you, too, can add a little art into your work schedule.

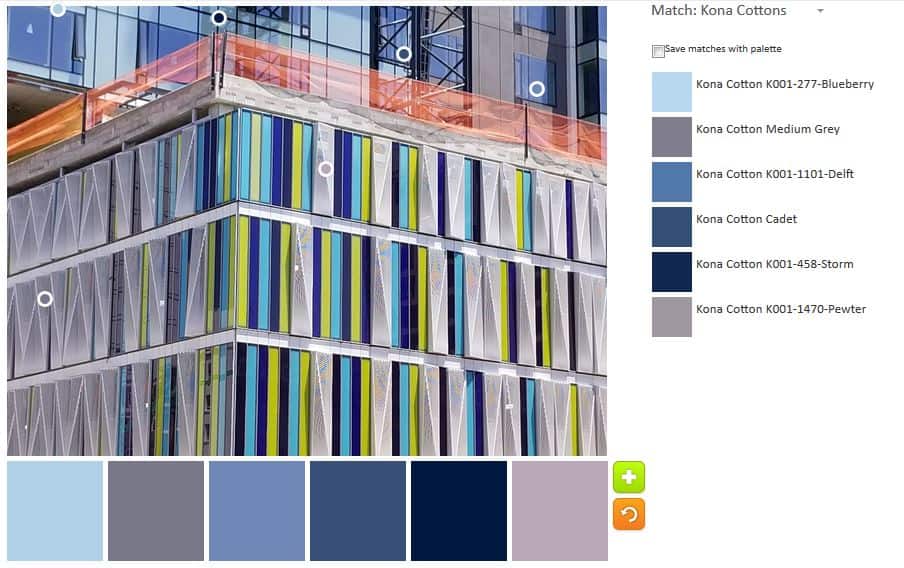
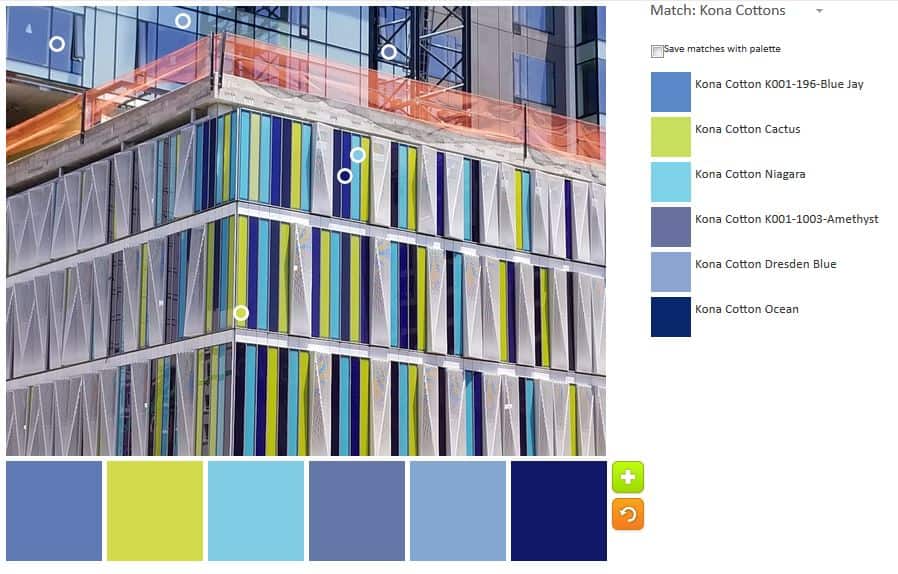
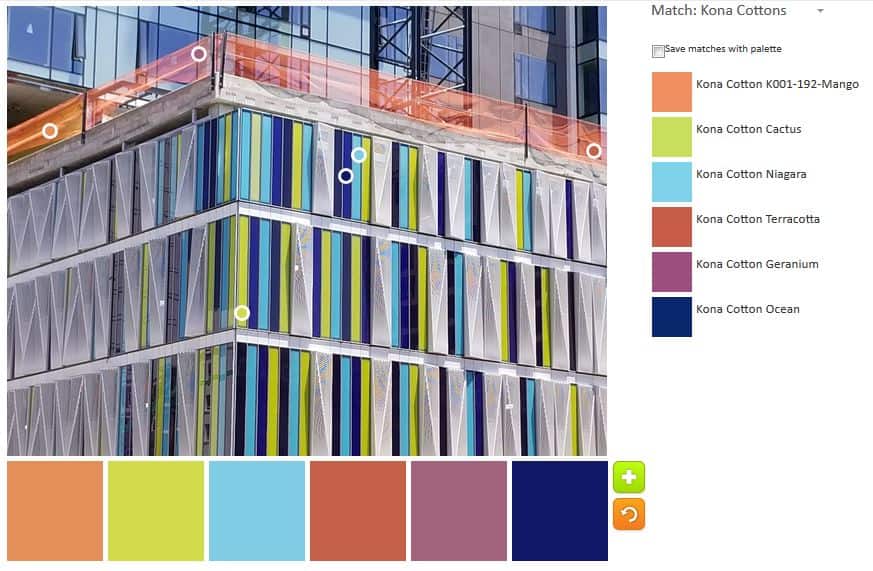
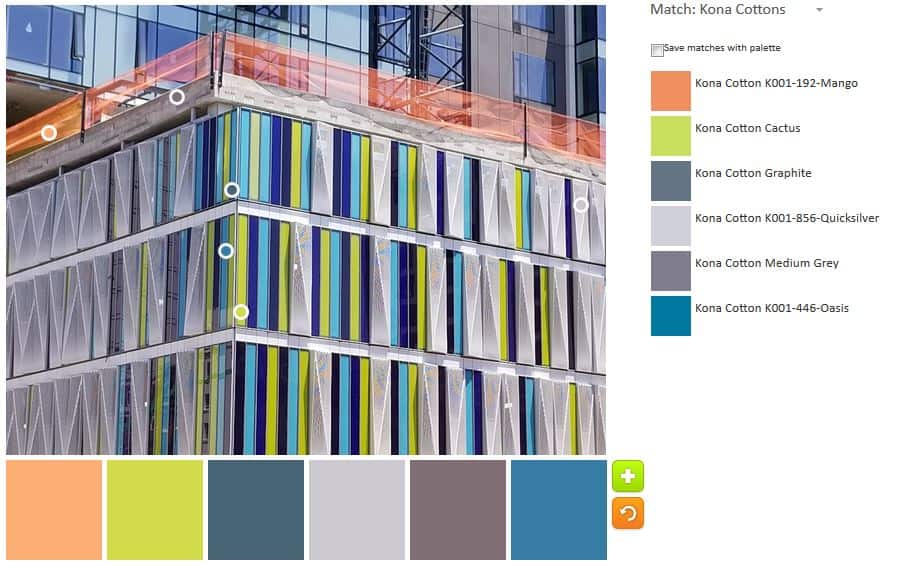
Need some color inspiration (in addition from my periodic ColorPlay posts, of course!)? Take a look at the tropical fish webcam.

I got this straight from ResearchBuzz: “File this one under given-value-of-useful, but it’s pretty neat. Hyperallergic: Create Your Own Art Catalogue from LACMA’s Collection. “Ever wander through a museum and fantasize about organizing your own exhibition, rearranging a gallery, or putting together all the artworks you love most into one room? A new tool developed by the Hyundai Project at the Los Angeles County Museum of Art (LACMA) allows you to imagine what this might look like. With Collator, you can compile and publish your own book (or catalogue, if you will) of artworks from the museum’s permanent collection.”

Fabric & Supplies

For those of you who have been to PIQF, I am sure you have seen the Heartway booth. They have interesting Japanese fabrics, buttons and unique patterns. They now have a new website and online shopping site. There are lots of cute animal prints.

If you need to know how to dispose of your craft supplies, the National Library of Medicine has a database of household products called the Household Products database. You can look at safety data sheets, information on how to dispose of the product and other information. There is an arts & crafts section so you can get right to the relevant types of products.

NQR

“For a long, long time it seemed to me that I was about to begin real life. But there was always some obstacle in the way, something to be gotten through first, some unfinished business, time still to be served, a debt to be paid. Then life would begin. At last it dawned on me that these obstacles were my life.”

– Alfred Souza

Finished: Stepping Stones n.2 Top

Stepping Stones Top
Stepping Stones Top

Yes, I worked really hard over the weekend and finished the top!

I also finished the back and binding, so the piece is ready to go to Colleen. Yay!

I started playing around with colors in 2012, so this quilt has been hanging around for longer than I thought. Those first tests were a lot different than what this quilt turned out to be. I am pretty pleased with the colors, though the darker turquoises do stand out. At least they are evenly spaced.

I have another group of fabrics destined for this pattern. Regardless of whether I actually use those fabrics for n.3 remains to be seen, but I don’t think I am quite done with this pattern yet. I’ll need a different border. This one is fine, but not for a second quilt.

Gift Post 2018: Sew Together Bag n.3

SIL n.3's Sew Together Bag
SIL n.3’s Sew Together Bag

Finally, I can show you the third and final Sew Together Bag. My SIL n.3’s birthday is today and I already gave her the bag. She is not a quiltmaker, but I am sure she will use it for something.

Sew Together Bag for SIL #3

I am really pleased with how this one came out. I think it looks really great. I am tempted to keep it. I won’t, though.

With this STB, I have made a total of 7 Sew Together Bags. I am not sure I will make any more, though there is talk in the guild about making more for gifts. And the Crafty Gemini Organizer Club has a project that looks suspiciously like the Sew Together Bag. Sigh.

FYI: To see the All Rolled Up Tote, you can take a peek on the Organizer Club site or on Craftsy, as it is the design of someone who is not the Crafty Gemini and available there for purchase. If you want the video tutorial, Crafty Gemini is your best hope. I haven’t made it yet, so I can’t give you anymore details.

Anyway, I am taking a break from Sew Together Bags for awhile. I may be completely done. We’ll see.

Beth's Sew Together Bag
Beth’s Sew Together Bag

I really like the yellow binding on this one. SIL #4 likes yellow so I distinguished this one from the other Cal version with yellow binding and more yellow fabric.

I included another fussy cut pincushion as well as a variety of blue and gold zippers.

As a reminder, I used the Quilt Barn Sew Along Tutorials to clarify points around making these bags. These posts are critical to my success with this project.

Ends Donation Top n.5

In the course of putting away fabric and other supplies from the Stepping Stones n.2 project, I came across some rich looking prints that I didn’t think I would use in a quilt, but would make a great donation quilt. One was an Anna Griffin print from the Bailey line (or perhaps the name of the print was Bailey?). The other had a kind of scrollwork design on it. Both had kind of a blood red background.

Ends Donation Top n.5

I thought these prints would not only go well together, but also with the ends of the Triple Star. Happy to distract myself from tidying, I started in on a new Ends top. I finished the top last night and will make a back soon.

As You Sew, So Shall You Rip

I realized that I don’t talk much about ripping out stitching. I do it all the time and this week was no exception.

Stepping Stones n.2 - 1 seam left
Stepping Stones n.2 – 1 seam left

I have been eager to finish the Stepping Stones n.2 top as it has been on my design wall for too long. In my rush, I put a block together wrong and then put it in the quilt. With one seam to go to finish the top, I had to rip out a bunch of seams. Yes, I had to. I looked at the quilt for a long time time, trying to decide if I could live with the mistake. I didn’t want to rip when I was so close to finishing, but I just couldn’t live with the problem.

Stepping Stones n.2 - 1 seam left + error
Stepping Stones n.2 – 1 seam left + error

The look is almost right, but if the viewer looks hard, there is a disruption in the pattern. Also, all of a sudden two like fabrics were placed together, which I really worked hard to avoid all through the piecing process.

I am sure you can’t avoid the big circle, but refer back to the photo above to see the problem. Look down and to the left one row to the see the duplicate fabrics (not circled.

Stepping Stones n.2 - lower right hand corner - ripped
Stepping Stones n.2 – lower right hand corner – ripped

Yep. I ripped. I thought I would just take out one row from one block and sew it back in. I ended up taking part a good portion of the lower right hand corner. The photo with the arrow is before I ripped out some other pieces.

I am in the process of sewing the bottom back together and finishing the top.

Creative Spark #27: Share Your Work

“Artist Marcel Duchamp believed that his work wasn’t finished until it was seen by people–that the viewing completed the work” (pg.113).

This is an interesting quote and it makes me think. I always show my quilts, at least to the guild, before they go wherever their final destination ends up. As much as possible, I try to show them in shows. I like to win, but I am not daunted by not winning.

Once my quilt Spiky Stars won Judge’s Choice at the Marin Needle Arts Guild show (now defunct). I was VERY excited and stood unobtrusively near my quilt for quite awhile listening to people talk about it. Not all of the comments were nice, but the ones that were warmed my heart.

Ms. Bloomston advocates selling work via a ‘lemonade stand’ and by that she means a low entry overhead venue such as a local craft fair or farmers’ market. She also mentions online retail. I am not interested in making much of an effort to sell my work. I have had offers, but they have been laughably low and not worth me not having the quilt. I make quilts for the pleasure of making them.

Carrie also mentions sharing via social media. I think this is important, but I think live viewings are more important. I do both, as you know. Use social media for yourself. Don’t expect the world to flock to your site or account. If  they do, it is an added bonus.

She give some tips for showing work as well, which is a nice bonus.

Go forth and share!

You can see the last post on this topic from a few weeks ago.

Nota bene: we are working through Carrie Bloomston’s book, The Little Spark. Buy it. Support the artist. Play along. There is much more to each spark than what I am writing. The original chapters will help you. Go buy Carrie Bloomston’s book, so you get the full benefit of her fabulousness! You can see my book review, which is what started this flight of fancy.

Color My Quilt – Ruth

Ruth's Color My Quilt
Ruth’s Color My Quilt

Ruth gave out her sheet of instructions for her Color My Quilt at the last meeting and I got right down to business. I was going for sparks of color on a dark-ish background.

I may not be quite done with the piece. I wanted all the color contained so I am contemplating that plum/burgundy strip. I have a few weeks to decide.

Again, all of these were from my scrap pile or bins.

Finished: Triple Star

Triple Star Finished

I finally finished putting the sleeve on this quilt, so it is well and truly done.

I like the block and may add such a block to another star sampler type quilt, if I do one.

I showed it to the YM who was home over the weekend and he likes it, even with the pink, so it will definitely be his quilt.

I decided that I would enter it in PIQF, which means I have to wait until mid-October to give it to him.

Finished: Triple Star back

The back has different fabrics, but isn’t really super special.

San Mateo County Fair Winners

I talked about my entries a few weeks ago. Once I get to the fair, I like to go and look at my entries right away to see what I won, if anything.

I got some prizes, but not many. Of my entries, two got prizes, the paper wreath which I expected and the Planned Improv quilt, which I did not. It is almost a guarantee I will not get a prize for a quilt, so i was thrilled to even get an Honorable Mention in any quilt category.

I was sad that none of these projects got prizes. The Flapper apron is probably the most ordinary of all of the projects, but it does have a great shape and interesting construction. The others are all very creative, especially the fabric placement on the Cal Shirt and the way I created a corset look on the Superheroine apron. Oh well, you win some, you lose some. I did well last year, so I can’t complain too much.

I have some quibbles with the categories. They don’t have a bag category and they should. There were a number of bags and the bags have to compete against everything in the sewn accessories-non garment category. My Zip Away organizer would have been better in a bag category.

I also think they need an apron category. There were a lot of aprons and mine would have done better it they weren’t competing against a tailored jacket.

I really worked hard on the shirt, especially finishing the inside seams with French seams, so it was letdown not to get any prizes at all for it. It will be interesting to see what they say.

SIL #2 cleaned up. She got four prizes including a first for her fabulous two-sided shell table runner. I did well last year; it was her turn this year.


Blue Cat Pet Bed

Blue Cat Pet Bed
Blue Cat Pet Bed

It has been awhile since I made a pet bed, but the schnibble bag was getting too full.

The fabric is one of the last I got from Amanda, *I think*. I had to trim the gusset a little as I thought it was too long and made a long tunnel in the opening, which makes getting the schnibbles into the pet bed, without much on the floor, difficult.

I thought I had a lot of schnibbles, but the bed isn’t even half full. Refer to my post on having less time to sew. 😉

Stepping Stones n.2 Painfully Slow Progress

Christa Watson has a new pattern out called Stepping Stones. It looks like a reimagined Rail Fence to me, but who am I to say? I had to stop contemplating the names of blocks, however and get back to sewing.

Stepping Stones Border Block - Left Side
Stepping Stones Border Block – Left Side

I try to make a CrockPot meal for Mondays so that we can come home, eat and I can go to Craft Night in a timely manner. Craft Night was at my house on Monday and the meal was over and done before I even needed to prepare the tea and all. I had about half an hour of time, so I raced up to my workroom and sewed! I didn’t have a lot of time over the weekend to sew, so this was a good way to scratch that itch for sewing.

Stepping Stones Border Block - Right Side
Stepping Stones Border Block- Right Side

I wasn’t able to finish a lot, but every little bit helps. I had cut some fabric, so I could work on a couple of border blocks, which I did. These blocks will allow me to put together another row of the top.

The green and blue HSTs indicate the middle of the quilt and prove I am halfway finished with the top. I know you believe me, but sometimes I need to prove to myself I am making progress as slow as that progress might be.

Aside from cutting more pieces, which I have mentioned, I have to make a few more HSTs. I can’t actually see one corner of the quilt, because there is some stuff piled in front of it ( 🙁 , I know). Once I sew the latest row to the top, I’ll be able to pull the quilt up and really work on the bottom.

Progress might be painfully slow, but I am making progress. It would be really great to finish this top before July 7, but we will see.

Contemplating Irons

New Oliso
New Oliso

I mentioned on Twitter (see sidebar if you want to follow me) that my Oliso had started to have problems. I could deal with them for awhile, but the poor thing just became exhausted and confused and I had to reach out for tech support. Tech support for an iron sounds weird, but I think that is what it is.

Oliso’s tech support is great. You get the same person each time (perhaps they have only one person and not a lot of problems?), which is important to me. I really dislike having to go through my problem each time I reply to a support ticket entry. Ryan, the tech person, told me how to reboot my iron (crazy, right?) to get it’s brain back in order and when that was not a long term solution, he worked with me to get the iron fixed.

Oliso irons have a warranty, but mine was old, so it wasn’t free. I think I have had the Oliso for 3 years. I know I bought it on MassDrop. Ryan, my new friend, didn’t care where I bought it, which was nice. I got a deal on the repair, but I think what happened is that they just sent me a new one. It is exactly the same as my old one and works great.

As you know I can’t sew without an iron. I have a Sunbeam as a backup and for DH to iron whatever he needs to iron. I used it as a test to determine if I needed a replacement Oliso or if I should go back to buying cheap irons. My iron strategy used to be to buy a cheap iron at Target whenever I had iron issues. Sometimes, my stepdad can fix the cheapies, but not always. The Sunbeam was fine, but having to sit it upright every time was a hassle. Yes, #firstworldproblem, I know. I like the stability of the Oliso always being in horizontal position. The iron sits on the ironing board next to the bathroom door, so there are a lot of opportunities for it to get knocked off. It has happened.

Still, the Oliso is pricey even at the reduced rate I got for the repair.

The horizontal position is, I realized, also good for my hands and wrists. That little bit of extra weight can make a difference if my hands are hurting me, whereas sliding the iron over to the units or fabrics is not completely weight free, there is little wrist flexing involved and every little bit helps.

I decided to pay the money and get the Oliso repaired. It is back in action. The Sunbeam is put away for stand-in duty in three years and everyone is happy.

I am not affiliated with Oliso. Just a happy customer.

*ColorPlay and the Spark series will return.


Stepping Stones n.2 Half

Stepping Stones n.2 - top half
Stepping Stones n.2 – top half

I made really good progress over the weekend. I had only a few seams to sew in order to finish half of the quilt. The quilt is starting to look like something!

You might remember that I finished the first quarter not that long ago and kind of got on a roll.

I have had to cut a lot of blues and greens for the border, so that is taking time, but at least I can do a few at a time in between everything else.

Looking at this half makes me think that I might have to work on another one of these. I would like to see the framework of the red diamonds more filled in. On the other hand, if I used more red, would the Sawtooth Stars (check the middle, right under the red square) show up? Perhaps fabric with less contrast? Red and pink or orange and yellow? I’ll have to play around.

I also need to work on the border of a new version. This border is ok, but not great. Not sure why, but it isn’t doing much for me.