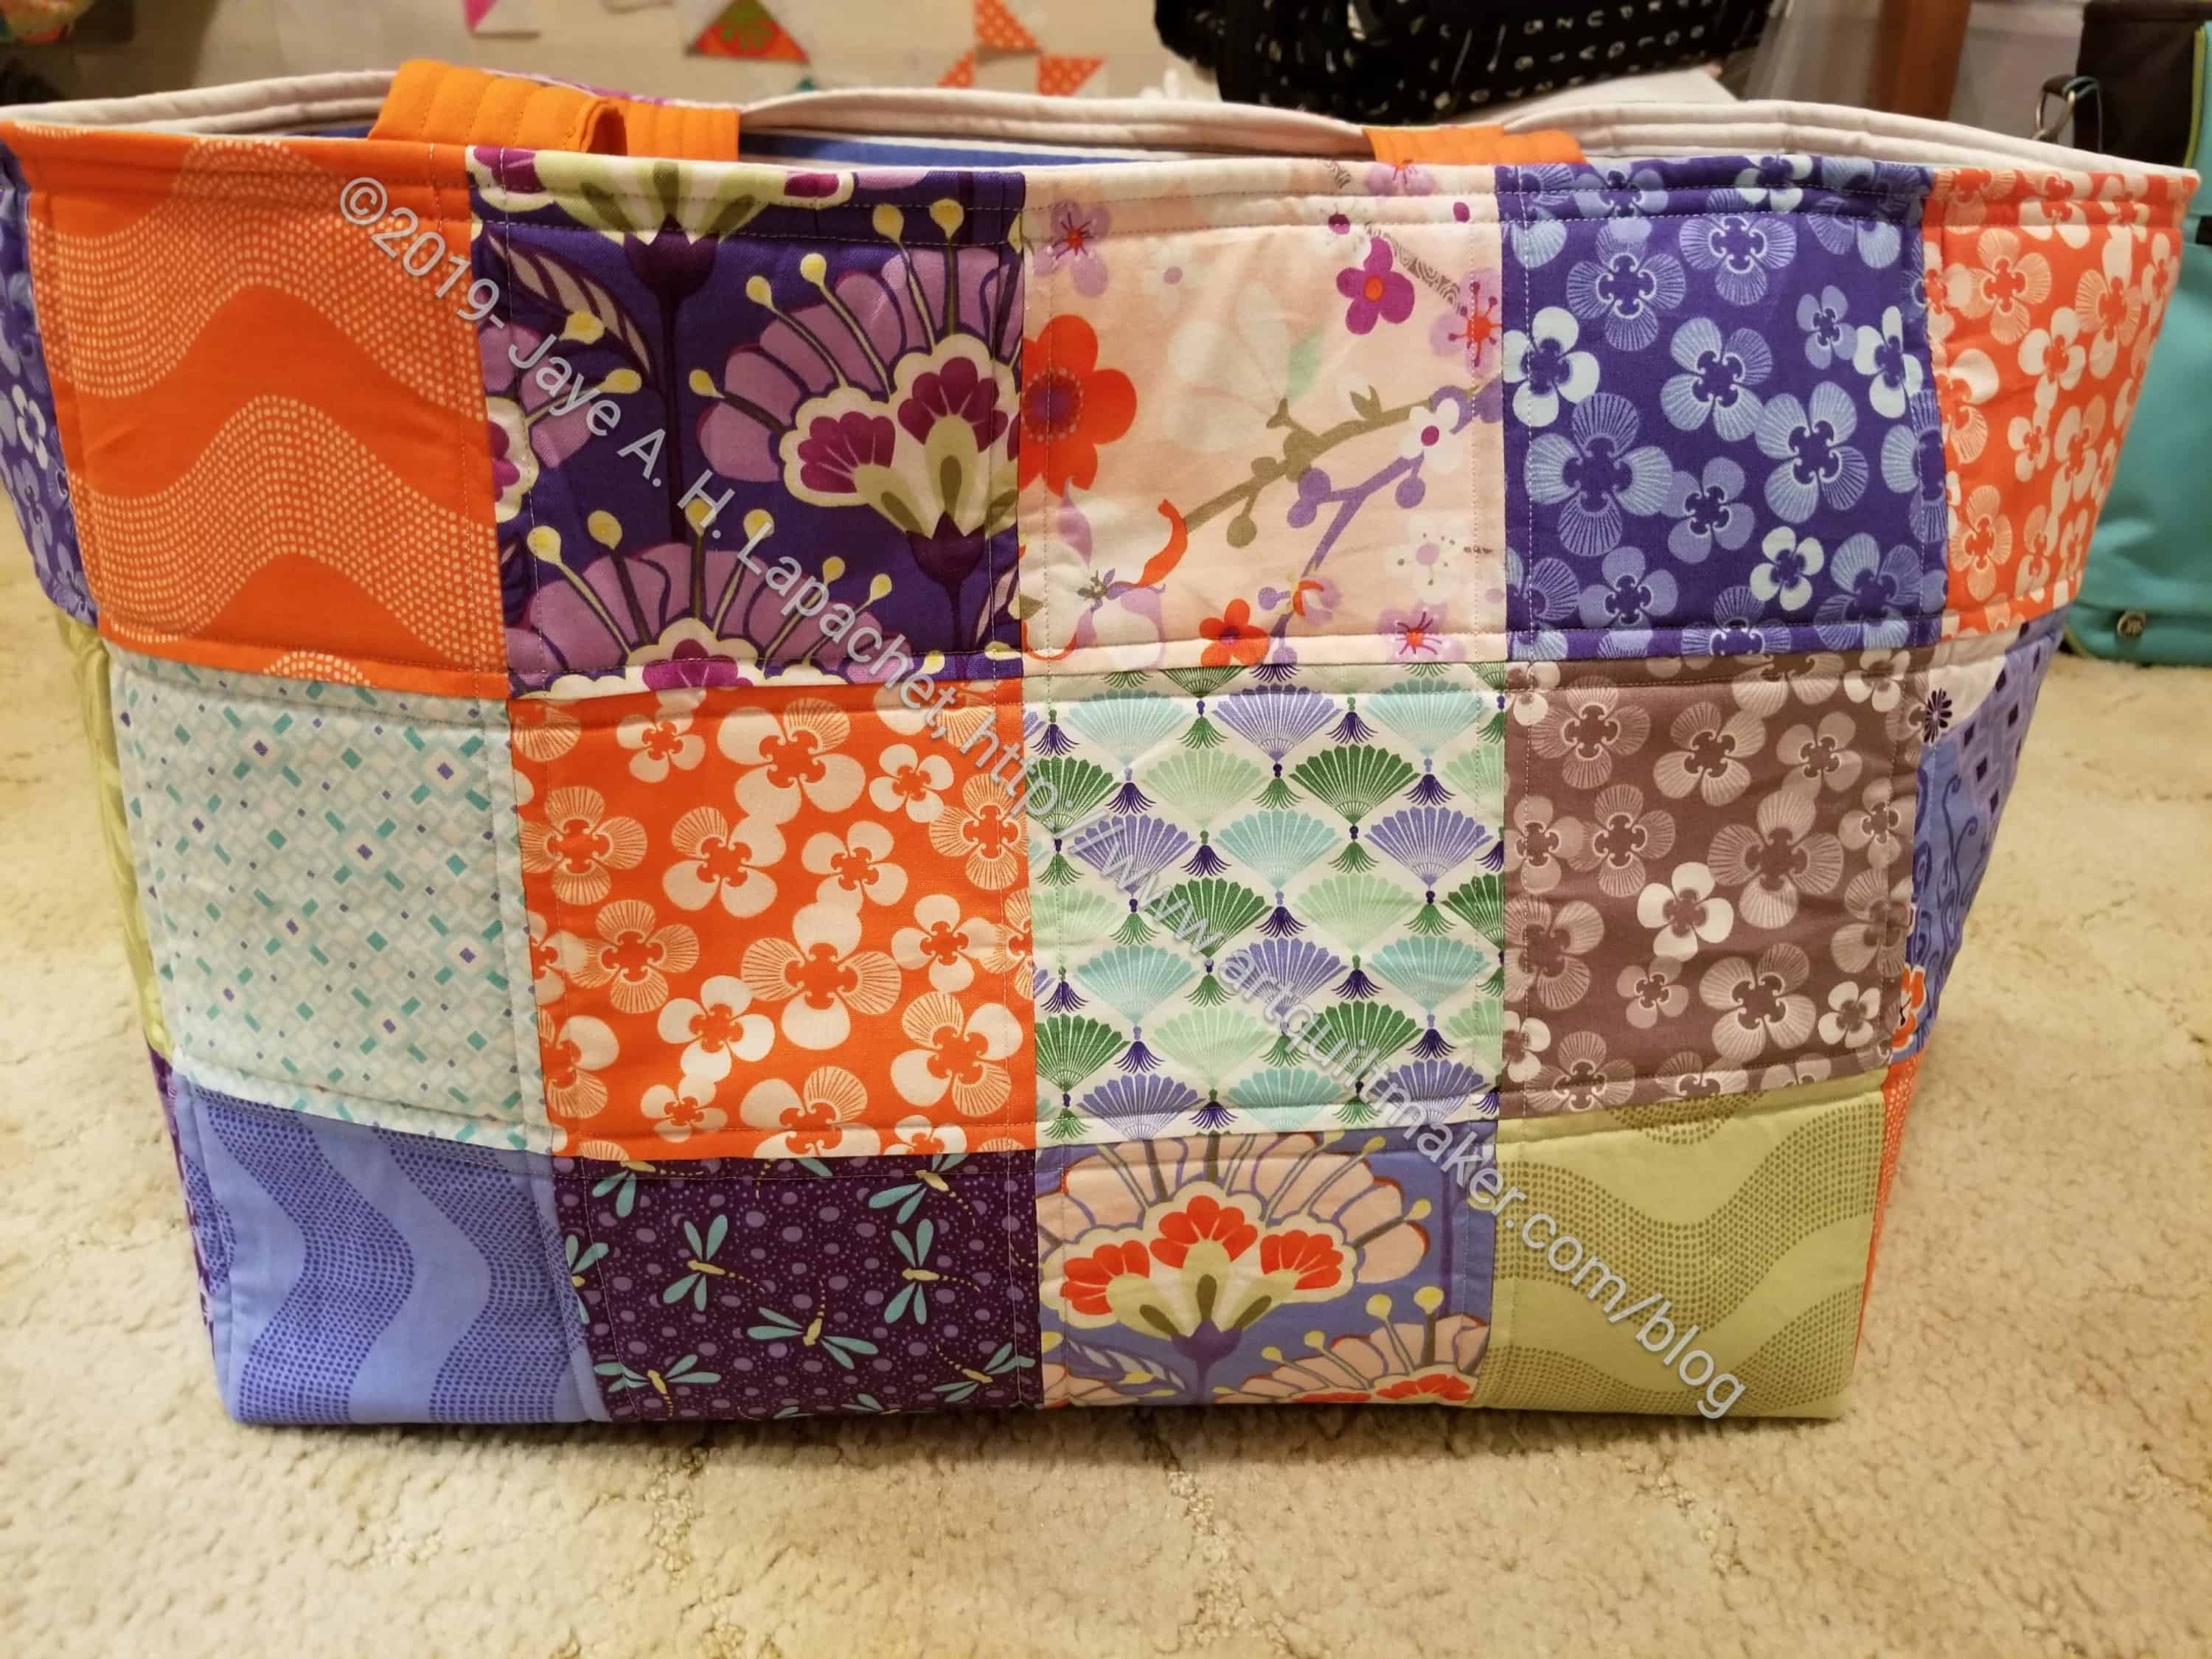
I finished the Good Fortune Chubby Charmer I started last week. I was able to take some time while DH was out the other night to finish the last bits. It was a little tricky, because I stashed the pattern somewhere safe….
I couldn’t find it, but, fortunately, I have made enough bags to know how they go together. I may not have done it exactly the way the directions suggested, but the bag is together, looks good and will work. Also, it is on time. SIL’s birthday is tomorrow and my nephew has it to put out with the other gifts I helped him buy.
One thing I have to remember next time I make one of these is that the first square (top left) is on the side of the bag, so if I want to see a particular fabric, I need to put it in the second position.
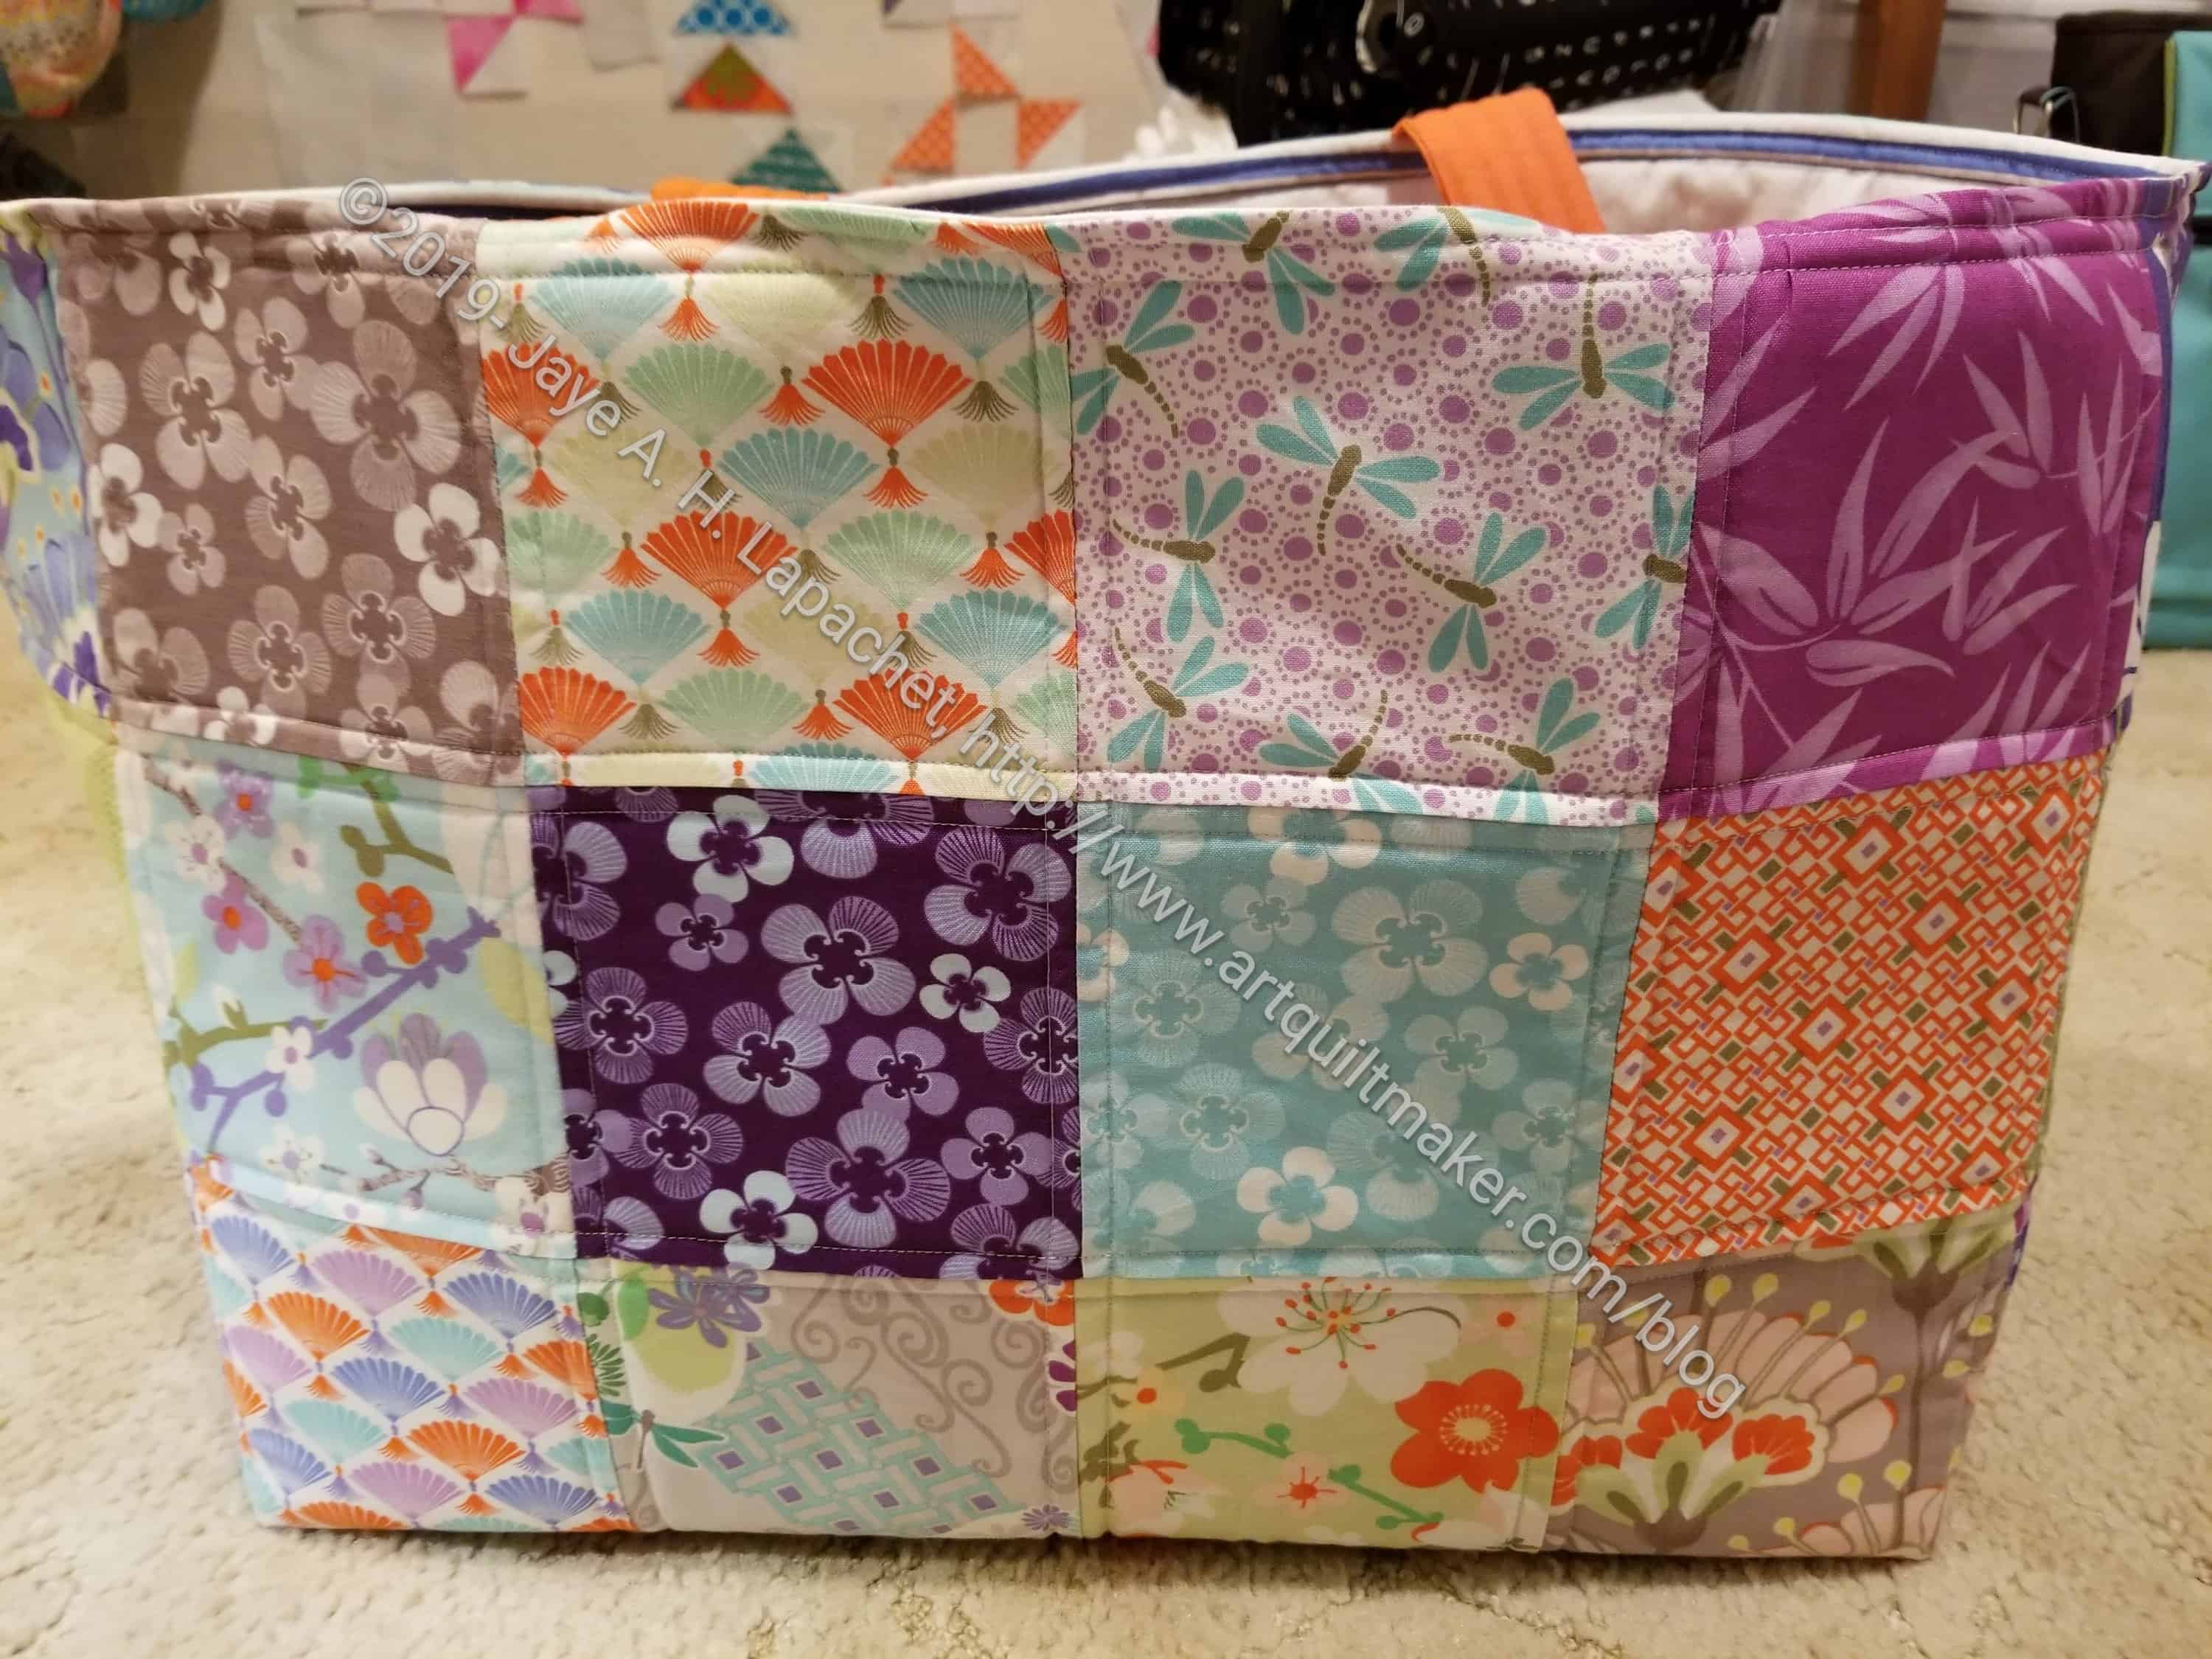
The back (or other) side came out lighter than the front. I am not sure how that happened, but I should have mixed it up a bit more. There is always room for improvement in a project.
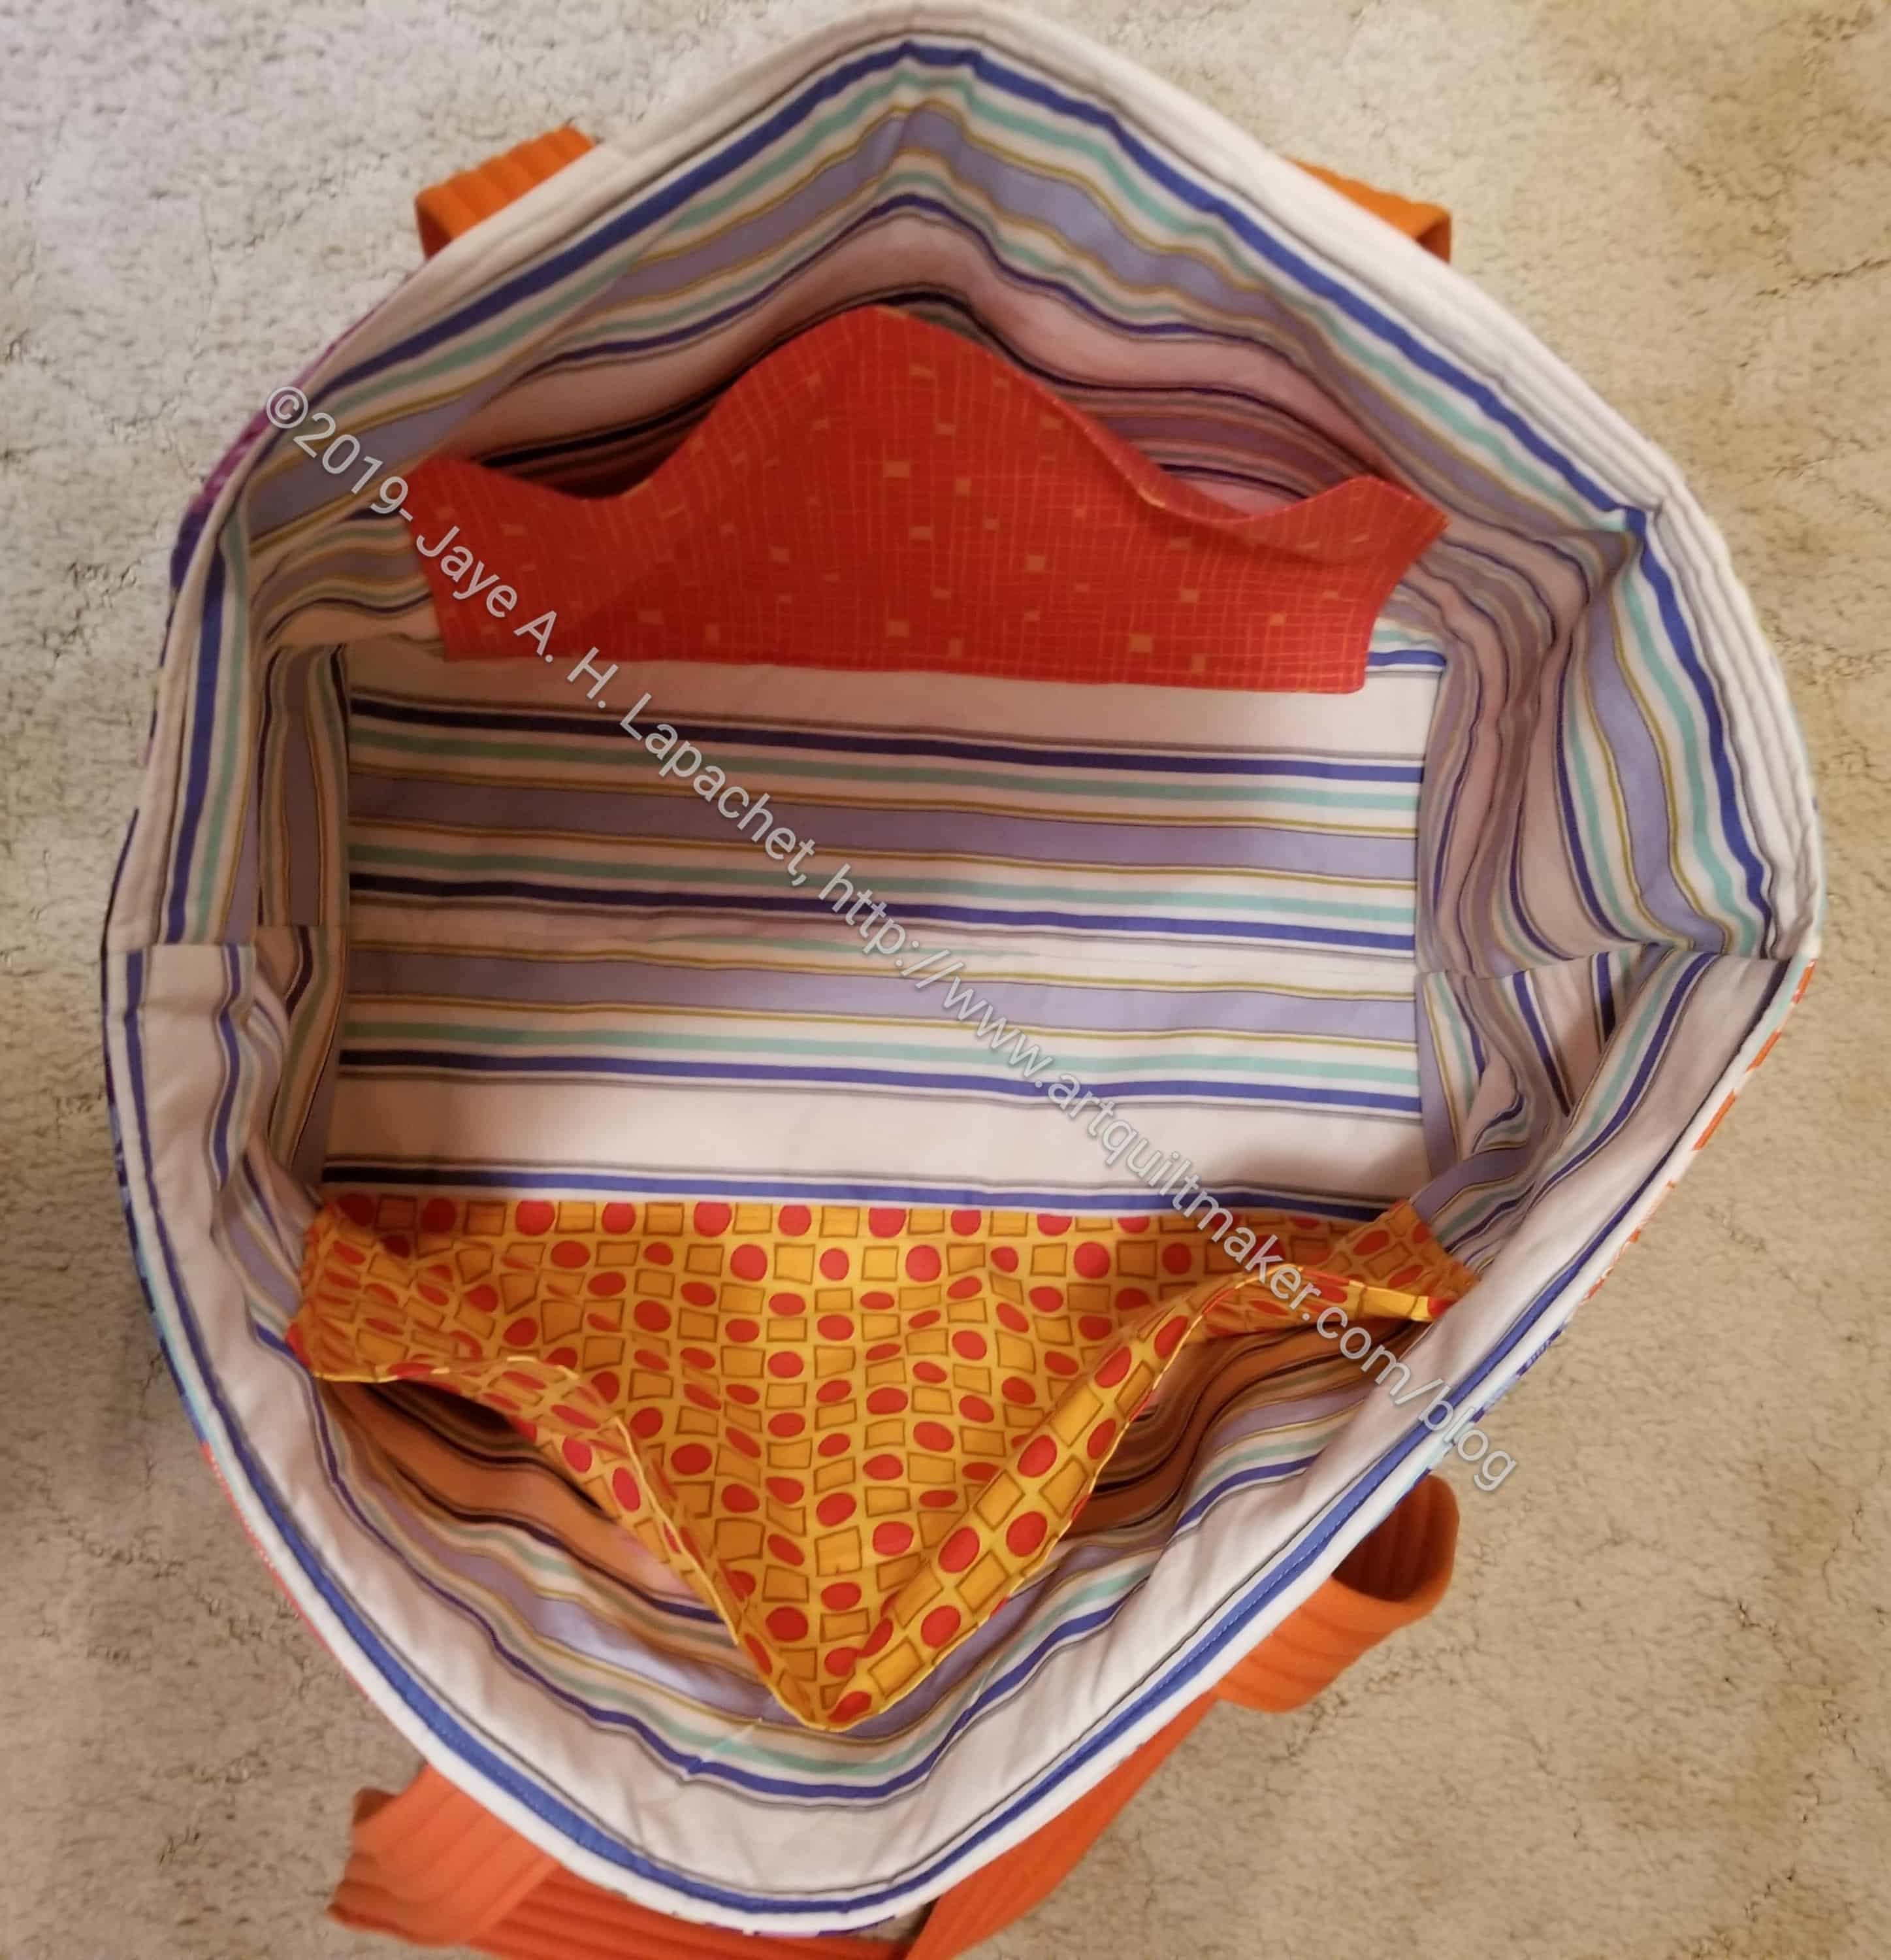
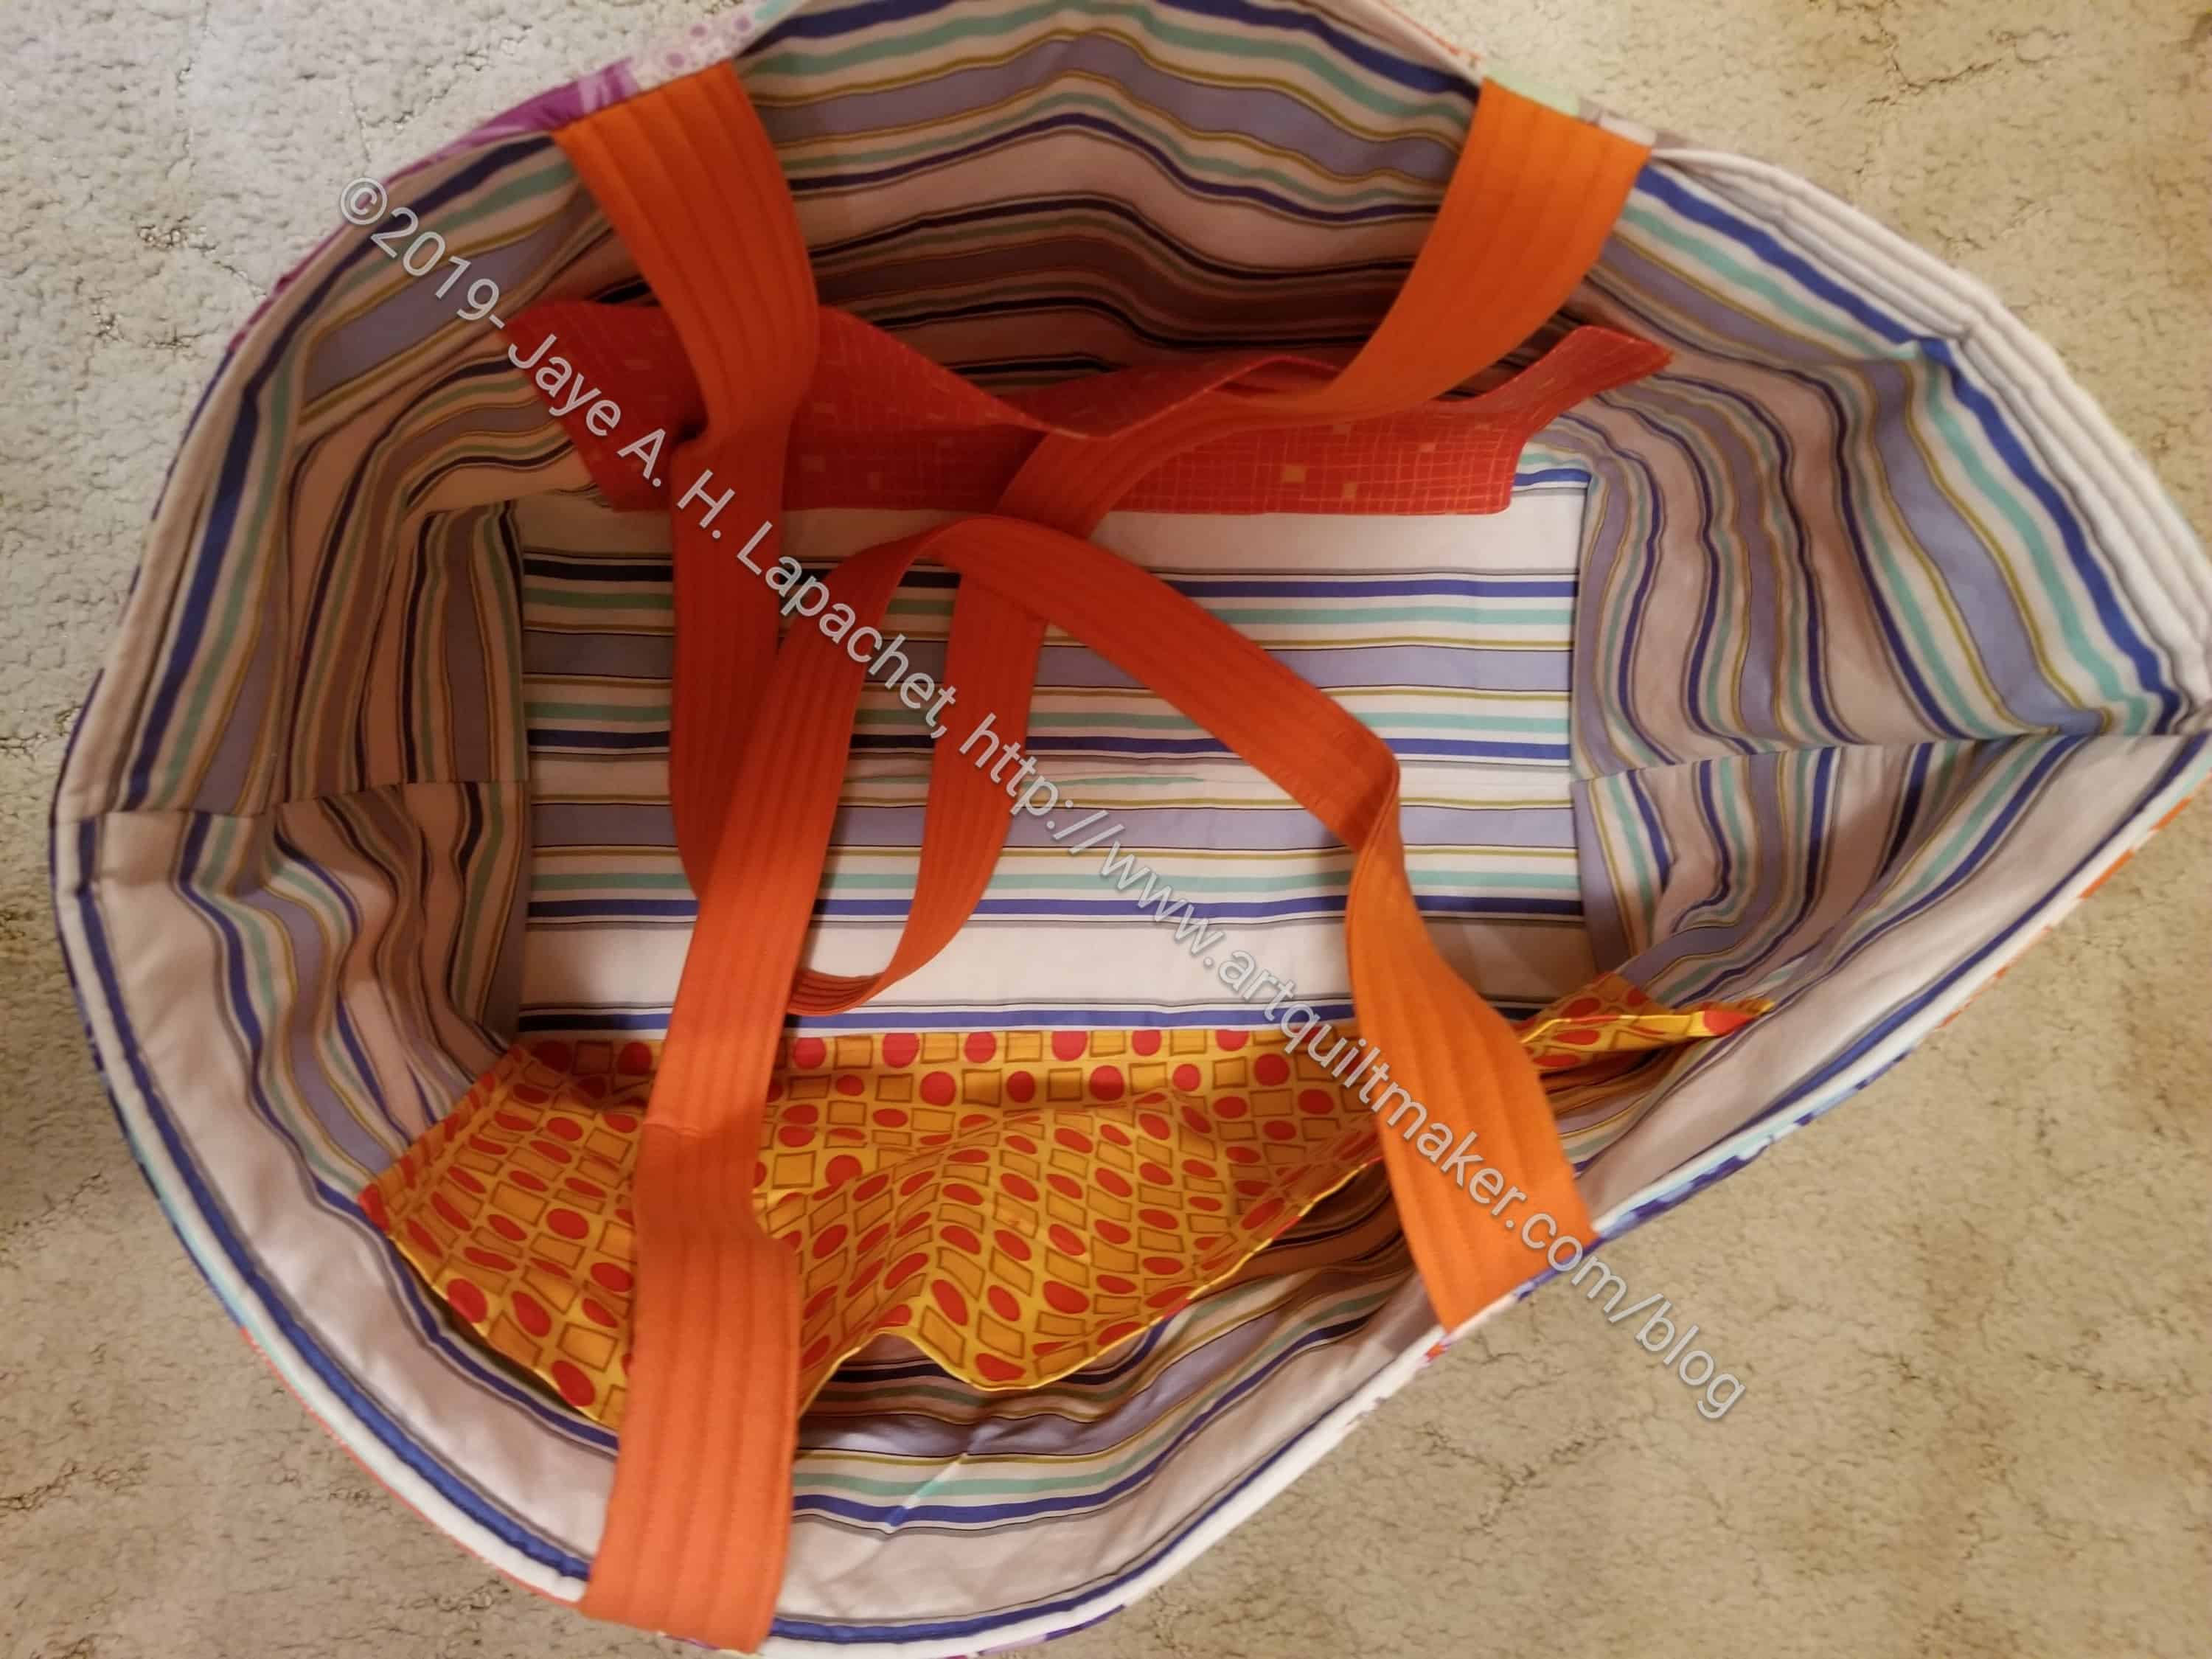
I also used a half inch seam allowance on the lining. This makes it lay really well on the inside of the bag. It was difficult to attach at the top. I wondered if I used a quarter inch seam allowance at the top and then graded the seam allowance out to half inch after about an inch, if that would solve two problems.
The pockets are large and a bit too floopy for me. Still they work really well for folders and large pieces of paper plus they fit a lot.
I also plan to make the pockets on my batik Chubby Charmer a little different than this one. I am not 100% sure of the exact configuration yet. I want to think about what would be useful. I also have to make the lining! I might make a slip pocket, which I learned to make (really well) in the Cargo Duffel project and have also made a few times for the Petrillo bags. The slip pocket would be for one side of the linking. Perhaps some smaller pockets for the other side, like a pocket with dividers for pens.
I also want to add a D-ring somewhere. Remember when I talked about clipping smaller pouches to different bags (AKA the lobster clip plan)? Well, I want to make a habit of putting D-rings in bags so clipping small pouches to different bags is a real possibility for me. Putting pens in a pouch might a better plan than having pens in each bag.
Now I can cross this project off my list and add the yardage to my spreadsheet.