New Inside Outside Pouch

I was over at Tim’s house sewing the other day and he commented that I do like my complicated bags. It’s true!

Inside Outside Pouch Exterior

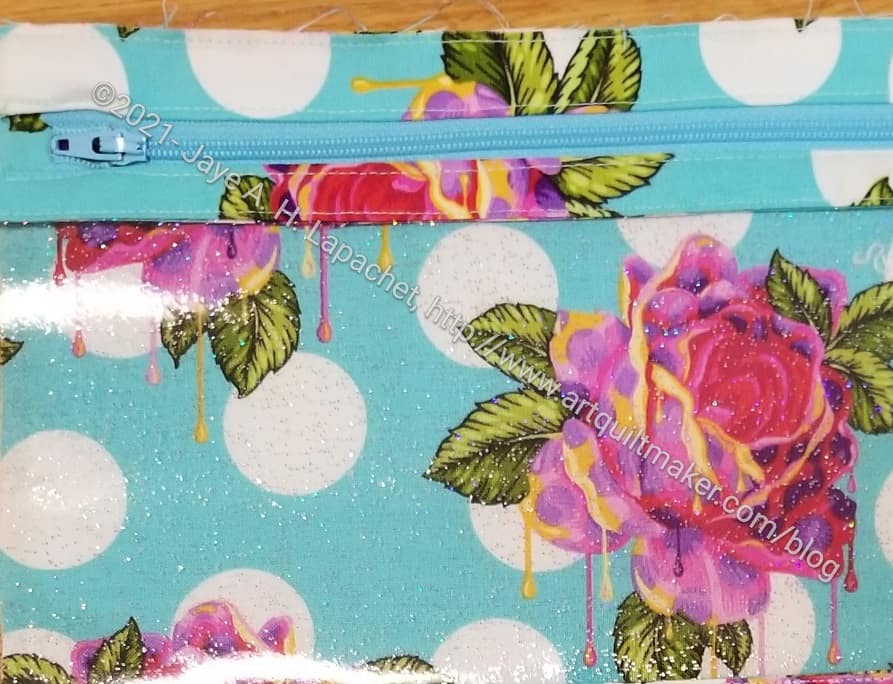
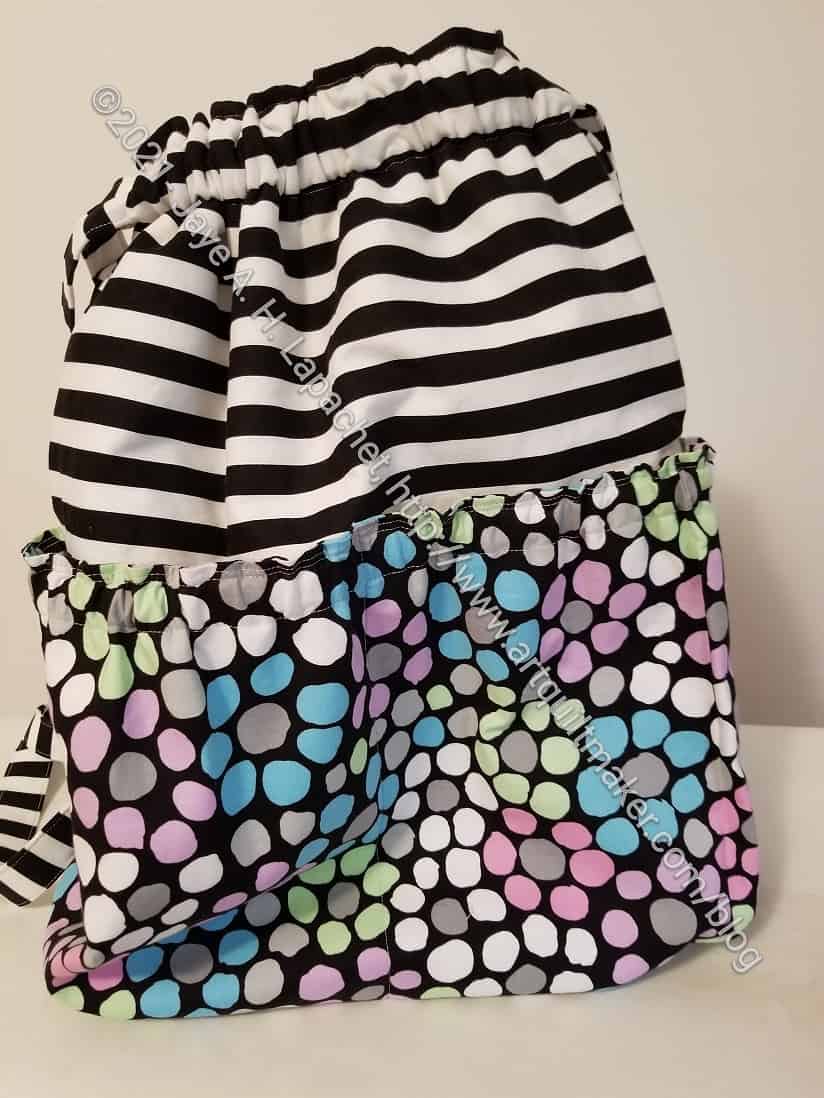
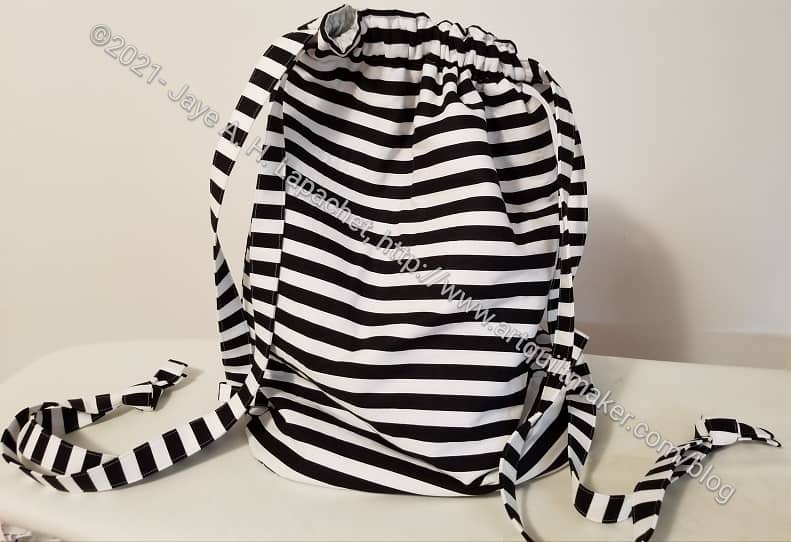
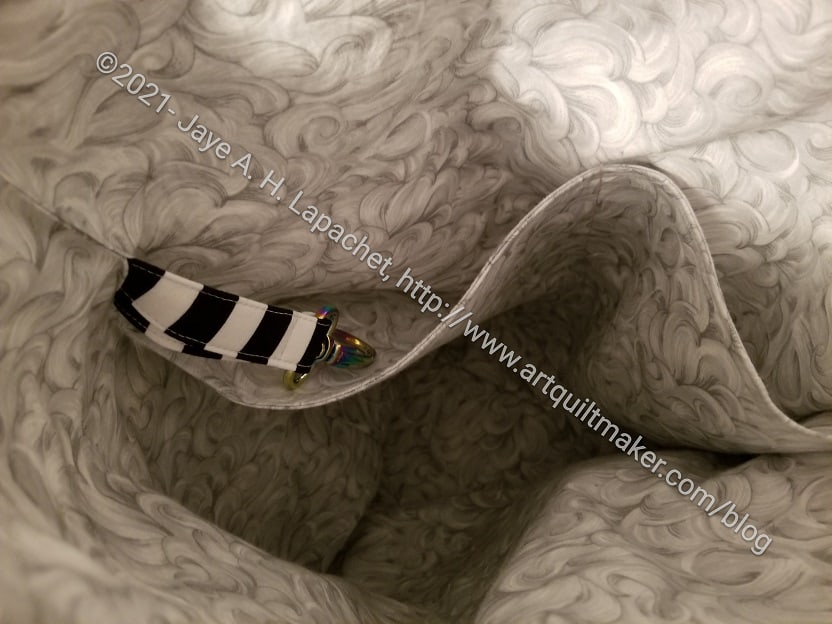
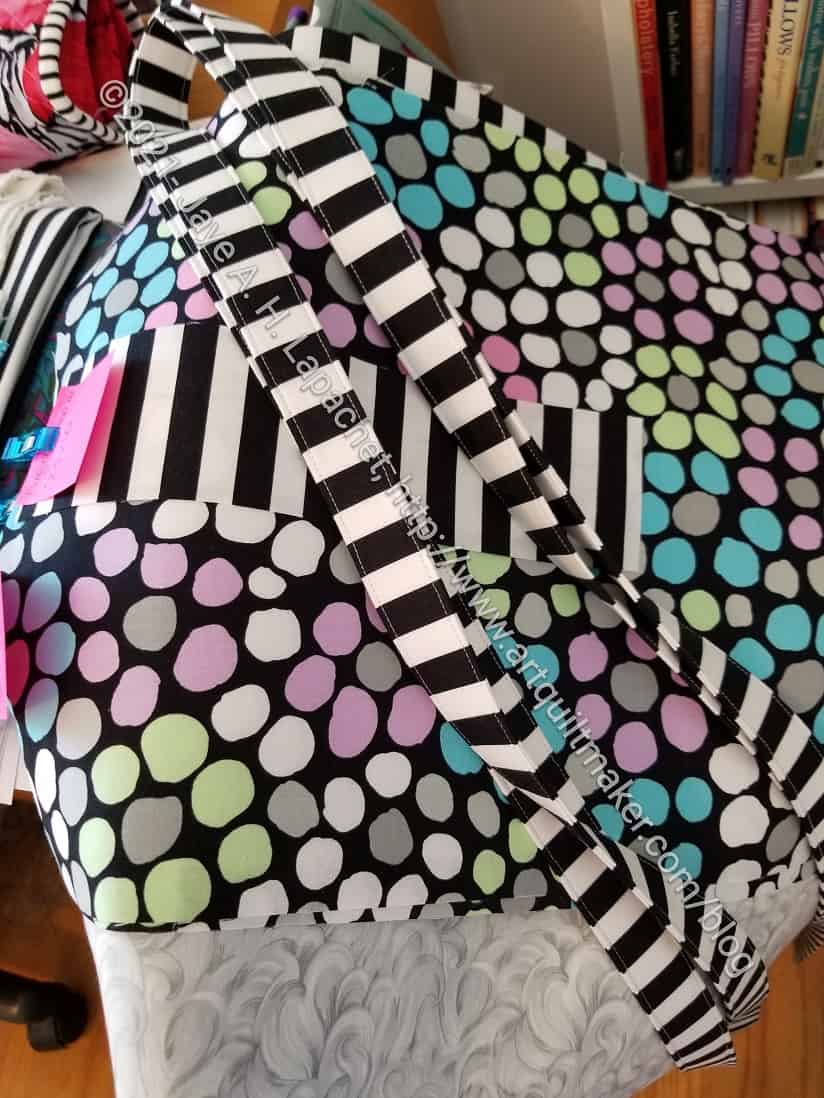
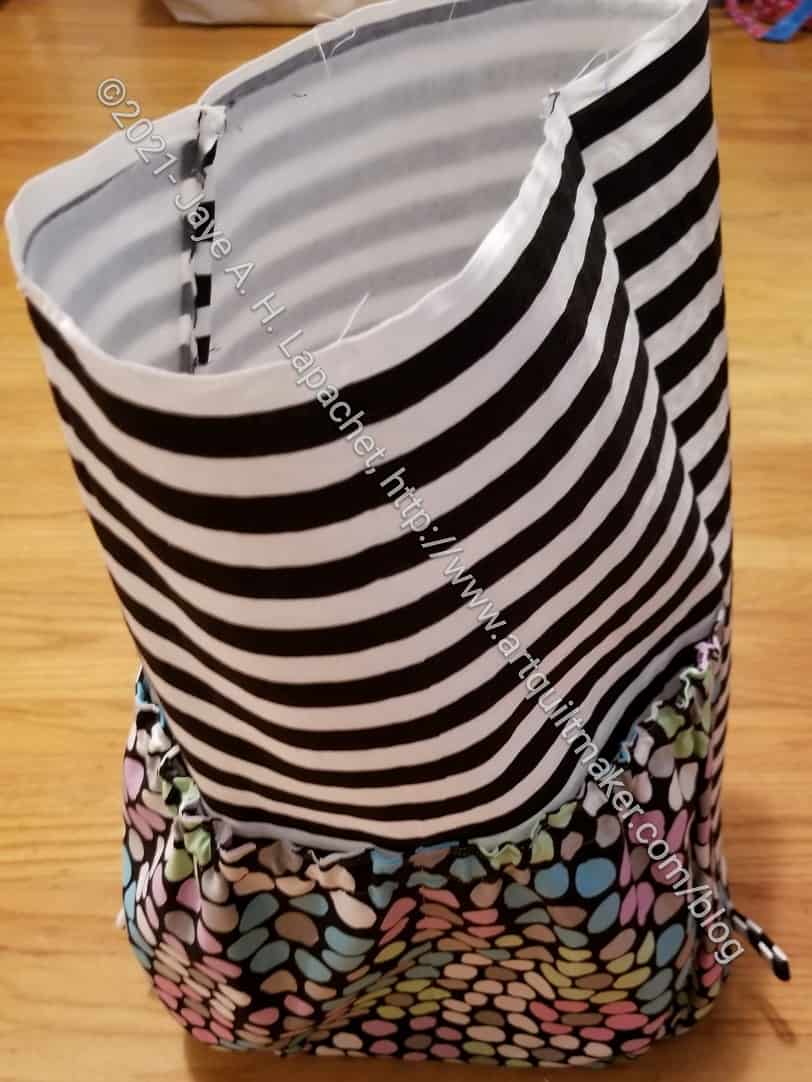
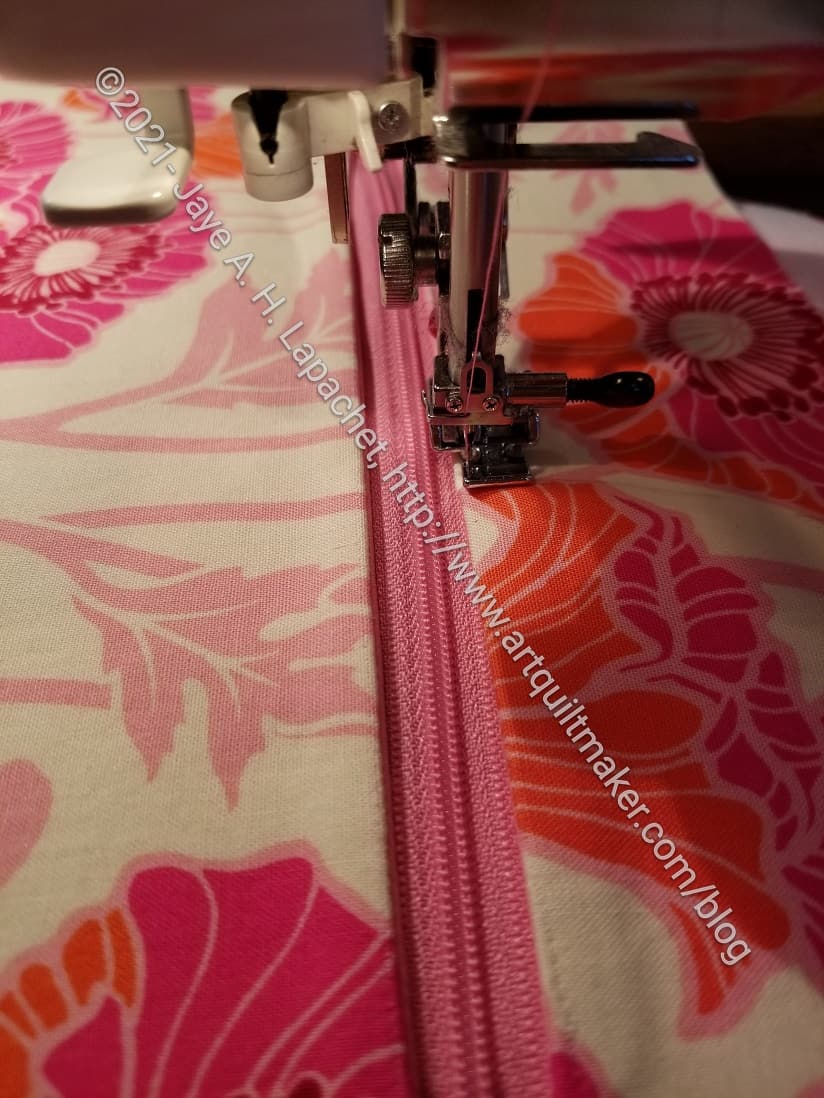
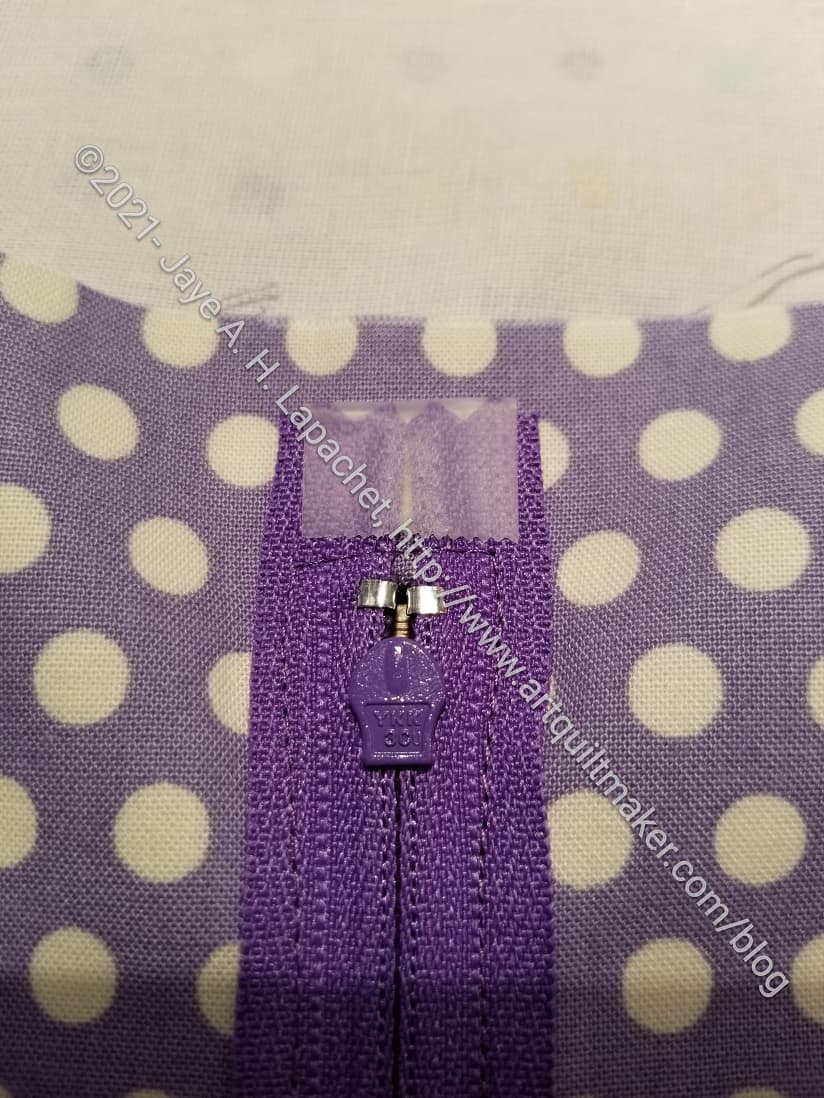
I saw an Inside Outside Pouch in the La Pass group made with the dripping rose fabric and I really liked it. I have been wanting to make one for ages, but haven’t had (or maybe made) the time. The Inside Outside Pouch is a stand-alone Aneela Hoey pattern. You might remember that I made one before. It has a lot of zippers.

The issue isn’t really the sewing. It is the cutting out. No matter how hard I try I do not want to spend time at home cutting out fabric. It’s really stupid, I know; I just can’t seem to get over not wanting to spend any of a long stretch of sewing time cutting.

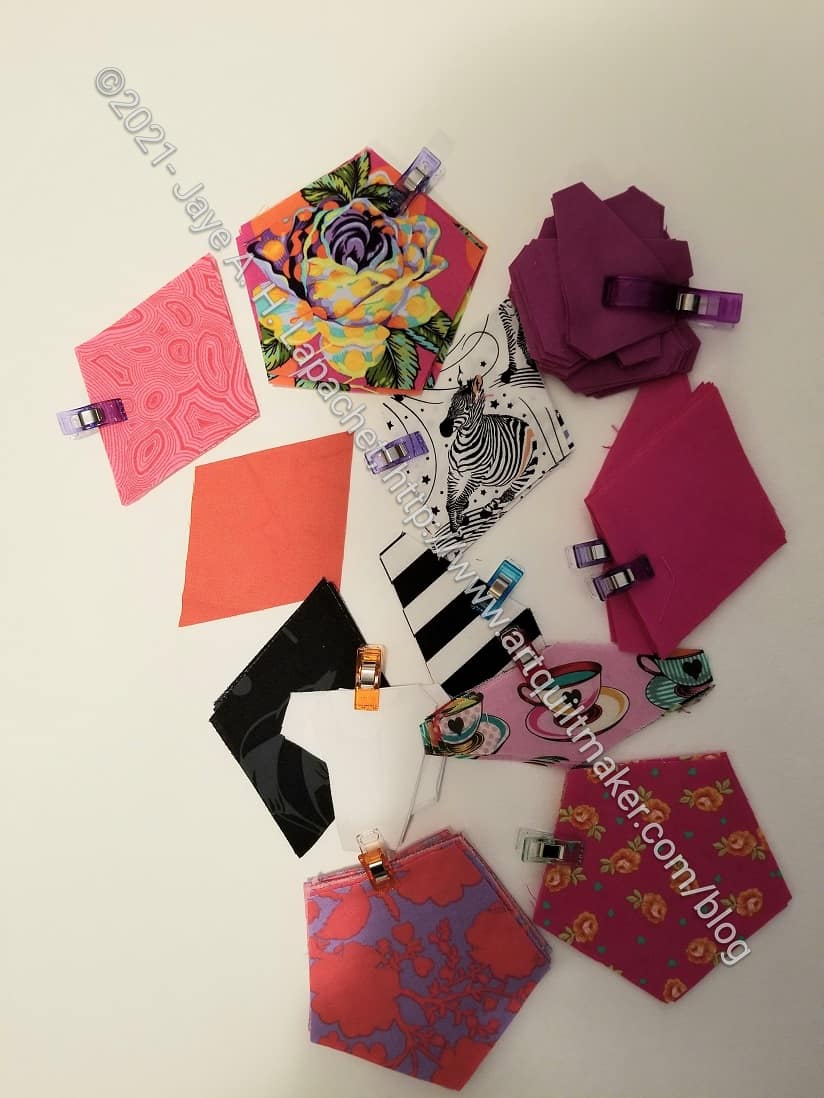
I went over to Tim’s the other day and took stuff to cut out there. That’s where I cut out the fabrics for two Inside Outside Pouches. It seems to go so fast when I am with him. I guess we chat and laugh and the time seems to fly by.

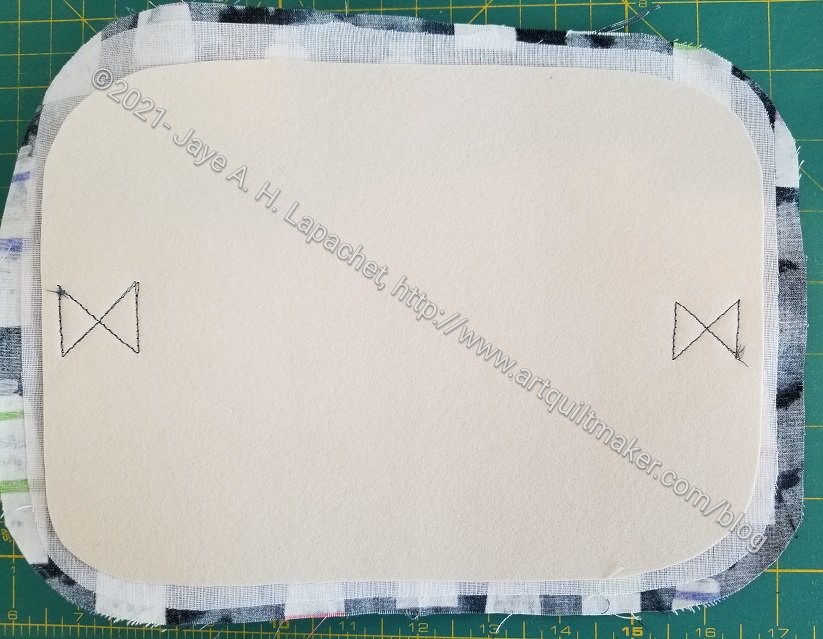
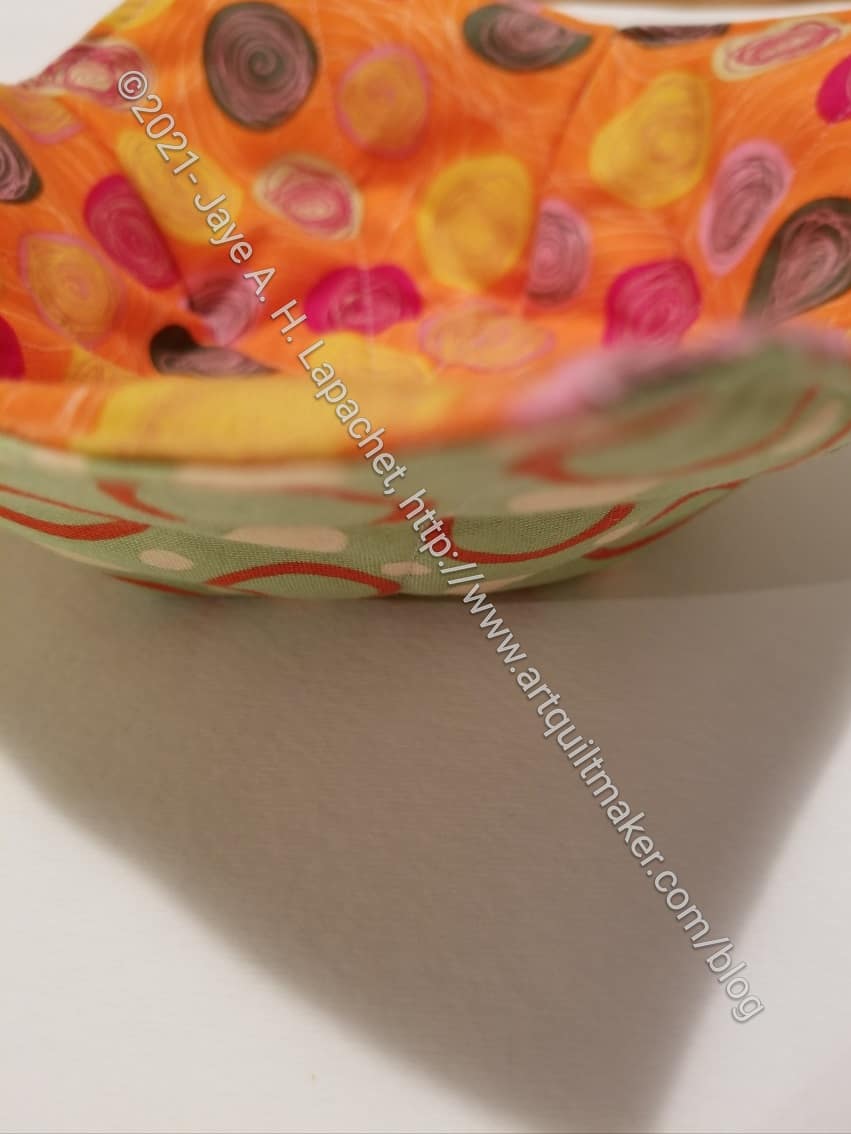
I came home and sewed and made a good start. I am partway through the exterior. It is much easier the second time around.

Sparkly Vinyl

Awhile ago I bought some sparkly vinyl from Sew Hungry Hippie. Vinyl can be so boring. I thought a little sparkle would spark  (HA!) a pouch up.

Sparkly Vinyl
Sparkly Vinyl

I have never paid much attention to the thickness of vinyl. Patterns do say to get a certain gauge, but I tend to use what I have on hand.

I had the opportunity to cut out some Inside Outside pouches the other day and decided to use this vinyl. When I unrolled it to cut my pieces, I found that it was a lot thinner than the vinyl I am used to using.

It doesn’t seem to be inferior in any way to the vinyl I have on hand. It is also easier to sew through.

Sparkly vinyl in a project

I think it looks pretty good so far; not too much. Stay tuned for the finished result of my efforts.


Resources:

Decovil Use

Percheron bottom showing Decovil

I mentioned the other day that I used Decovil** for the first time. I used it on the Percheron Pouch in process.

Decovil is described very well in a video by Sara Lawson. It is flexible, but also strong. This is the first project in which I have used it.

I like the way it makes the bag feel. It is also thick, which means that keeping it out of the seam allowances is important to me. In the photo above, you can see the beige layer on the top. You can see how it is much smaller than the the other layers. That is the Decovil. It is probably a little smaller than it needed to be, but it will work.

Sometimes I print out 2-3 templates and cut one for interfacing, which is smaller then the others. Most of the time I guess.

Note:

      • Decovil Light = 525
      • Decovil Heavy =526

I’d love to hear your experiences with Decovil.


**I use affiliate links and may be paid for your purchase of an item when you click on an item link in my post. There is no additional cost to you for clicking or purchasing items I recommend. I appreciate your clicks and purchases as it helps support this blog.

Finished Bowl Cozies

Two Bowl Cozies
Two Bowl Cozies

As I said the other day, these were a pretty fast gift to make.

The tutorial is one page of instructions plus the template for the darts. The tutorial makes total sense and isn’t difficult or complicated. I wanted to see what other tutorials were available so I put “bowl cozy tutorial” into Duck Duck Go (a search engine that doesn’t track your movements) and got a number of blog posts and videos.

Two Bowl Cozies (bottom)

Crafty Gemini has a video tutorial for a more more petal shaped cozy. The Caffeinated Quilter tutorial has thinner triangles for darts and the back is pulled around the front for a border/binding. Tara Reed’s blog post tutorial reminds us we can use orphan blocks or ‘made’ fabric as parts for the bowl cozy.

Bowl cozy side view
Bowl cozy side view

One reason I like this pattern is because of the angle of the darts. It would fit one of my soup type bowls really well. We have some larger bowls that we use for chunky dinner (not leftover) soups and stews. Those might fit better in a larger cozy with steeper sides. The good thing about this pattern is that you can adjust it and use the same directions. They only thing would be to keep the angles of the triangles consistent.

I think you could also adjust the shape of the corners to make different looks.

Bowl cozy 2 side view
Bowl cozy side 2 view

I am trying to decide if I want to make a bunch of these for DH’s cousins and siblings. While I can make them quickly, I would still have to pick out fabric. That takes time just because of the logistics. As well, most people won’t know what they are, so I would have to make a little tag to let people know how to use them. I also think one is kind of a mean gift. What happens if one gets dirty? I would want to make two for each family. I suppose I could start with one and see how things go. I’ll have to talk to DH and see what his thoughts are.

Try one out. Even if you decide not to make them as gifts, you will have something useful for your kitchen.


Percheron Pouch in Process

I started this project some months ago when Sara Lawson had the Percheron Pouch as a project of the month. I cut it out, did some interfacing and then put it away. After making the bowl cozies over the weekend, and moving the pieces of the project around my workroom 834 times, I decided to work on it.

The Percheron Pouch is part of Minikins Season 3. As mentioned previously, the Minikins are series of small pouches and bags that Sara releases periodically. Each series has 12 or 13 patterns and they are mostly great shapes.

The Percheron doesn’t seem like a pouch to me. It reminds me of a ‘train case’. My mother had one. They were intended for cosmetics and small items and the bag was often included as an option with suitcase sets. The one I am thinking of was Samsonite.

I also took the opportunity to use Decovil. I never used this interfacing before and am not 100% clear on 525 vs.526, but so far I like how stiff it makes the top and bottom of the bag. Stay tuned for how it actually works in the finished bag.

Trying Out Gift Ideas

Awhile ago, Mrs. K made me a bowl cozy.I never thought I needed such a thing, but I use it all the time and it is very helpful.

Bowl Cozy in progress

Someone told me about a bowl cozy tutorial and reminded me of that great gift. I decided to try it out over the weekend.

They are fairly easy to make. The process goes quickly.

My issue was sewing. I wasn’t sure whether to sew all the way to the corner, so I didn’t do it at first, because of the change in height of the layers. The batting bunched up as my sewing machine foot got to it, so I started sewing from the batting on the other corners. This looked bad, so I went back later and sewed to the edges.

More La Pass M4

La Pass Rosettes 6 & 7

I made some progress last week on La Passacaglia M4 after awhile of not feeling like I made progress.

Rosettes 6 & 7 are the focus of Month 4, though I am a bit confused, because Month 3 mentions Rosettes 6 & 7 and they are completely different rosettes. I’ll have to clarify.I’ll take a look at the pattern, too, and see if I can tell.

Rosette 6 (?) in process

I combined the center of the top (in the photo) rosette to use that piece of Joel Dewberry fabric.

I thought of using the zebra fabric as the center per the pattern, and even cut it out. In the end, I just didn’t want animal faces looking at me from my quilt, so I tried out the technique of combining paper pieces into one shape. I didn’t get the spacing quite right, so there are places the points don’t meet. I know I will have some leeway when I take out the papers. Also, in the grand scheme, some small technical problems won’t be seen.

Rosette 7 (?) in process

These are all parts of rosettes as they will be sewn to other pieces and look at thought the rest of them are under other rosettes.

I am pleased to be trying something new. I really thought I knew all there was to know about English paper piecing. I am finding it is much more than wrapping fabric around paper and sewing the pieces together.

Remember the Carpenter’s Wheel?

Carpenter's Wheel Finished
Carpenter’s Wheel Finished

Remember when I went on and on about this quilt? I still love it and am still proud of the design.

Recently, I saw that Barbara Brackman wrote a post about the Carpenter’s Wheel block.

She was asked to write it by the Accuquilt Go** people to celebrate their new Carpenter’s Wheel die. She references a video about the pattern in her post.

Barbara shows a lot of different quilts, tells you how and where to find the patterns in Electric Quilt and Blockbase and discusses the pattern in general. It is a really interesting post.

I am not sure I would have used  this die for my quilt. I didn’t know what I was doing in terms of fabric or layout when I started. Still, I do think the die is a good idea if you want to make even one of these quilts. The pattern takes a lot of cutting.


My Carpenter’s Wheel quilt is for sale, so let me know if you want to buy it.


**I use affiliate links and may be paid for your purchase of an item when you click on an item link in my post. There is no additional cost to you for clicking or purchasing items I recommend. I appreciate your clicks and purchases as it helps support this blog.

La Pass M4 Center

La Pass M4 Center motif

After quickly cutting all of the pieces for M4, I started sewing them.

I have seen other people in the BOM group combine some paper pieces into a larger piece and use a bigger motif. I decided not to use the zebras in month 4 and using a Joel Dewberry motif seemed like a good option.

I worked on it in the car as I was going to an event so I made good progress.

La Pass M4 Center motif - back
La Pass M4 Center motif – back

The way this is done is an interesting concept. You have to tape individual pieces together then wrap the fabric around that larger piece.

I thought I knew how to paper piece, but I am learning a lot from this project and the group.

Finished: Flagler

Flagler Backpack
Flagler Backpack

I finished the Flagler right at the end of the weekend. I am pleased with the way it came out. I really like the spots against the stripes.

I put a piece of Peltex in the bottom to make it stand up better, but the sides are still kind of floopy.

I think the type of pocket on the front requires a careful selection of fabric.

Flagler Backpack back

The back and straps are all stripes. I kind of like the limited palette. I realized that this palette is very similar to the Peacock Bag.

At some point I bought some large rainbow finish lobster clips. I used one of them on this inside of this bag. It pulls a little on the lining, but you know that I feel lobster clips are useful.

Flagler Backpack inside

I didn’t think of it before but I might try spraying it with some stain prevention spray.


Starting the Flagler

Flagler Bag Pieces
Flagler Bag Pieces

The Flagler bag is the first bag in Crafty Gemini’s 8th Bag Club. I took some time to cut it out over the weekend.

The bag really doesn’t have a lot of pieces, unlike the A Place for Everything bag, so it didn’t take me very long to cut it out.

I wasn’t going to make this bag, because I didn’t think I would use it, but then I thought it would be great for my nephew. He has a new baby and may need to carry around a small amount of her stuff for quick trips.

Flagler in process
Flagler in process

I had seen that spot fabric recently and looked for it for a long time. I almost gave up finding it, but am glad I kept looking because I think it will look good with the stripe.

I was able to get some of the sewing in, too.

Some La Pass M3

Center Rosette #7, La Passacaglia

I had a few meetings last week in which I could sew. I got a little bit of M3 done before I started in on M4.

Yes, that says Rosette #7 and, no, you aren’t crazy. I haven’t made Rosettes 2-6 yet. We are jumping around.

In the photo, I am showing the back because it is still in progress. I am pretty pleased with the way this rosette is coming together. it is fitting together much better than the M2 part of Rosette #1. It is smaller and that could be a factor.

I have one more seam to finish before the center is done. As I said, I am going to move to M4 and finish M3 catch as catch can.

Bagmaking Hazards

The other day I made a Retreat Bag. These bags are free patterns from Emmaline Bags. You do need a frame if you don’t want the bag to be a super widemouth with no structure.

Frame Injury
Frame Injury

Somehow I made the casing too small and really had to tug and push the frame through. My finger came out the worse for wear, which is a good reason to make the casing the correct size.

I rubbed the skin off, but got the frame in place just before the bleeding started. It is very painful, so make sure you made the casing the correct size.

Installing Zippers Tips

One of the things that came up when I was making pouches over the weekend was the zippers. They are always a pain, so I made some changes tot he way I work.

Washaway Tape
Washaway Tape

Because of the video on making an internal zipper pocket, I was reminded of the washaway tape**. I have had this tape for awhile and use it sporadically, but need to be prompted, because I tend to forget about it.

I followed Sara’s directions exactly on the second one, which means that I lined up the tape with the edge of the zipper then pressed the fabric close to the zipper before I sewed. The second one came out much better than the first.

Small zipper foot
Small zipper foot

I dug out a zipper foot that I haven’t had luck with and really worked with it. For the first time I had success using the zipper foot. This was the small zipper foot that clicks on to my machine without the use of any screwdrivers. I was surprised that it actually worked this time. Perhaps I was doing something wrong before.


Taping zipper tapes
Taping zipper tapes

Next, the tape at the end of the zipper tape where the zipper opens, e.g. opposite the stop, is loose. Most patterns say to sew the tapes together, which is a hassle and mostly doesn’t work for me. Since the ends would be hidden inside the pocket, I decided that I would try  tape instead of sewing the end of the zipper together. I used regular  Scotch tape and it worked great. I didn’t have to rip out any stitches or deal with a scrunched up fabric and thread nest. It was also fast.


**I use affiliate links and may be paid for your purchase of an item when you click on an item link in my post. There is no additional cost to you for clicking or purchasing items I recommend. I appreciate your clicks and purchases as it helps support this blog.