Testing for Ring Toss

Ring Toss Test Block

I have been cutting a little bit for Ring Toss, but it is slow going. The rotary templates are all weird shapes and I need to get into the swing of it. Still, I wanted to test a block to see about highlighting the rings. Thus, I cut a bunch of pieces the other day with the intention of making a block.

I am still thinking about whether to get the booklet. Nobody at the guild seems to have one to loan to me and I am sure I don’t need it for very long. I just want to look at the photos of the border since there are border pieces and I don’t see how they fit into the rest of the quilt.

My first thoughts, after looking at this block for a day or so, is that it is too small. At about 9″, the block is too small. It isn’t that I can’t piece it, I can. It is that the shapes are so great that they are lost in the tiny piecing. Also, the piecing is too fiddly for the number of pieces in the block (17).

At this size, I am not making a whole quilt. I could upsize the block, however. I tried drawing it, had some EQ problems, got help and now have an 18″ block to try. I won’t have the templates, however, for this upsized drawing. I think I will print templates, try one block and see what I think.

Resources:

Pet Bed Testing

Pet Bed Testing
Pet Bed Testing

I have never seen a pet bed in actual use. I was thrilled to see BAM mascot (in my mind anyway), Cricket, trying one out the other day.

As you can see, they fit a smallish, but not tiny, dog very well. I think Cricket is on the small side, but could be considered a small-medium dog.

Check out the pattern and make some pet beds for your local shelter.

Book Review: All Points Patchwork

All Points Patchwork: A Complete Guide to English Paper Piecing Quilting Techniques for Making Perfect Hexagons, Diamonds, Octagons, and Other ShapesAll Points Patchwork: A Complete Guide to English Paper Piecing Quilting Techniques for Making Perfect Hexagons, Diamonds, Octagons, and Other Shapes by Diane Gilleland

Buy this book if you have any interest in English Paper Piecing (EPP). It is a very comprehensive work. From drafting blocks to sewing, everything is included. You will go from zero to expert after reading this book and testing out the techniques. The projects are doable as tests or giant projects depending on how you feel. The images are gorgeous from from to back covers. If you want to know all aspects of how English Paper Piecing works, then this is your book.

This is more of a resource book than a project book, though, as mentioned, there are some projects. The book starts out with an introduction called Hello EPP! (pg.9). Isn’t that cheerful sounding? She explains the concept of this as an idea book vs. a project book. I love this type of format, because they encourage my imagination. “Sometimes I find that being presented with specific project instructions can be somewhat limiting” (pg.10). Also, if I never buy another book, I won’t have enough time to make all of the quilts I want to make from the books I have. This type of inspiration book will give me enough information to incorporate EPP into projects from other books. The author covers pillows, tote bags and how to incorporate EPP into other types of projects -not just quilts. The reader will get plenty of inspiration for projects of his/her own from this book just not the step-by-step instructions. Ms. Gilleland reminds us that we probably have plenty of books with patterns that would “welcome some EPP touches” (pg.10) and, of course, there is the Internet. You need this book if you have any interest in EPP.

There is a short section the history of EPP (pg.11-13) with few dates. It is a very surface overview. The overview does mention Godey’s Lady’s Book, which makes me want to go and look that magazine. I have wanted to find a copy for awhile, but have never gotten around to it. This section also discusses the benefit of the EPP technique (pg. 13) and includes a comparison of EPP vs. foundation piecing (pg. 12). The bottomline is that makers can create more complex and impressive looking designs that would be extremely difficult by normal/regular machine piecing. This a great technique to know because you can use it to create your vision when no other technique works.

Chapter 1 (pg.15-27) covers tools and materials. Diane discusses different types of templates, choosing fabric and tools (pg. 15). In this section she covers “EPP in a Nutshell,” (pg.16), which is a great because it tells the reader where the author is going. It satisfies a bit of curiosity and makes the reader settle down to read and wait. At least, this is what happened to me.

Templates are important and the author goes into the various types in great detail (pg.17-20). She talks about the pros and cons of different types, how to make them and whether they can be reused. This section’s tone reminded me of a friend introducing to me to a new technique. I learned EPP on my own and have been doing it for awhile, but I learned a lot in this section.

When talking about fabric, Ms. Gilleland makes a lot of good points about aspects I never thought about: weave of the fabric, how the fabric creases and pre-washing (pg.20). Pattern and scale also make an important appearance with very illustrative and helpful examples (pg. 21-22).

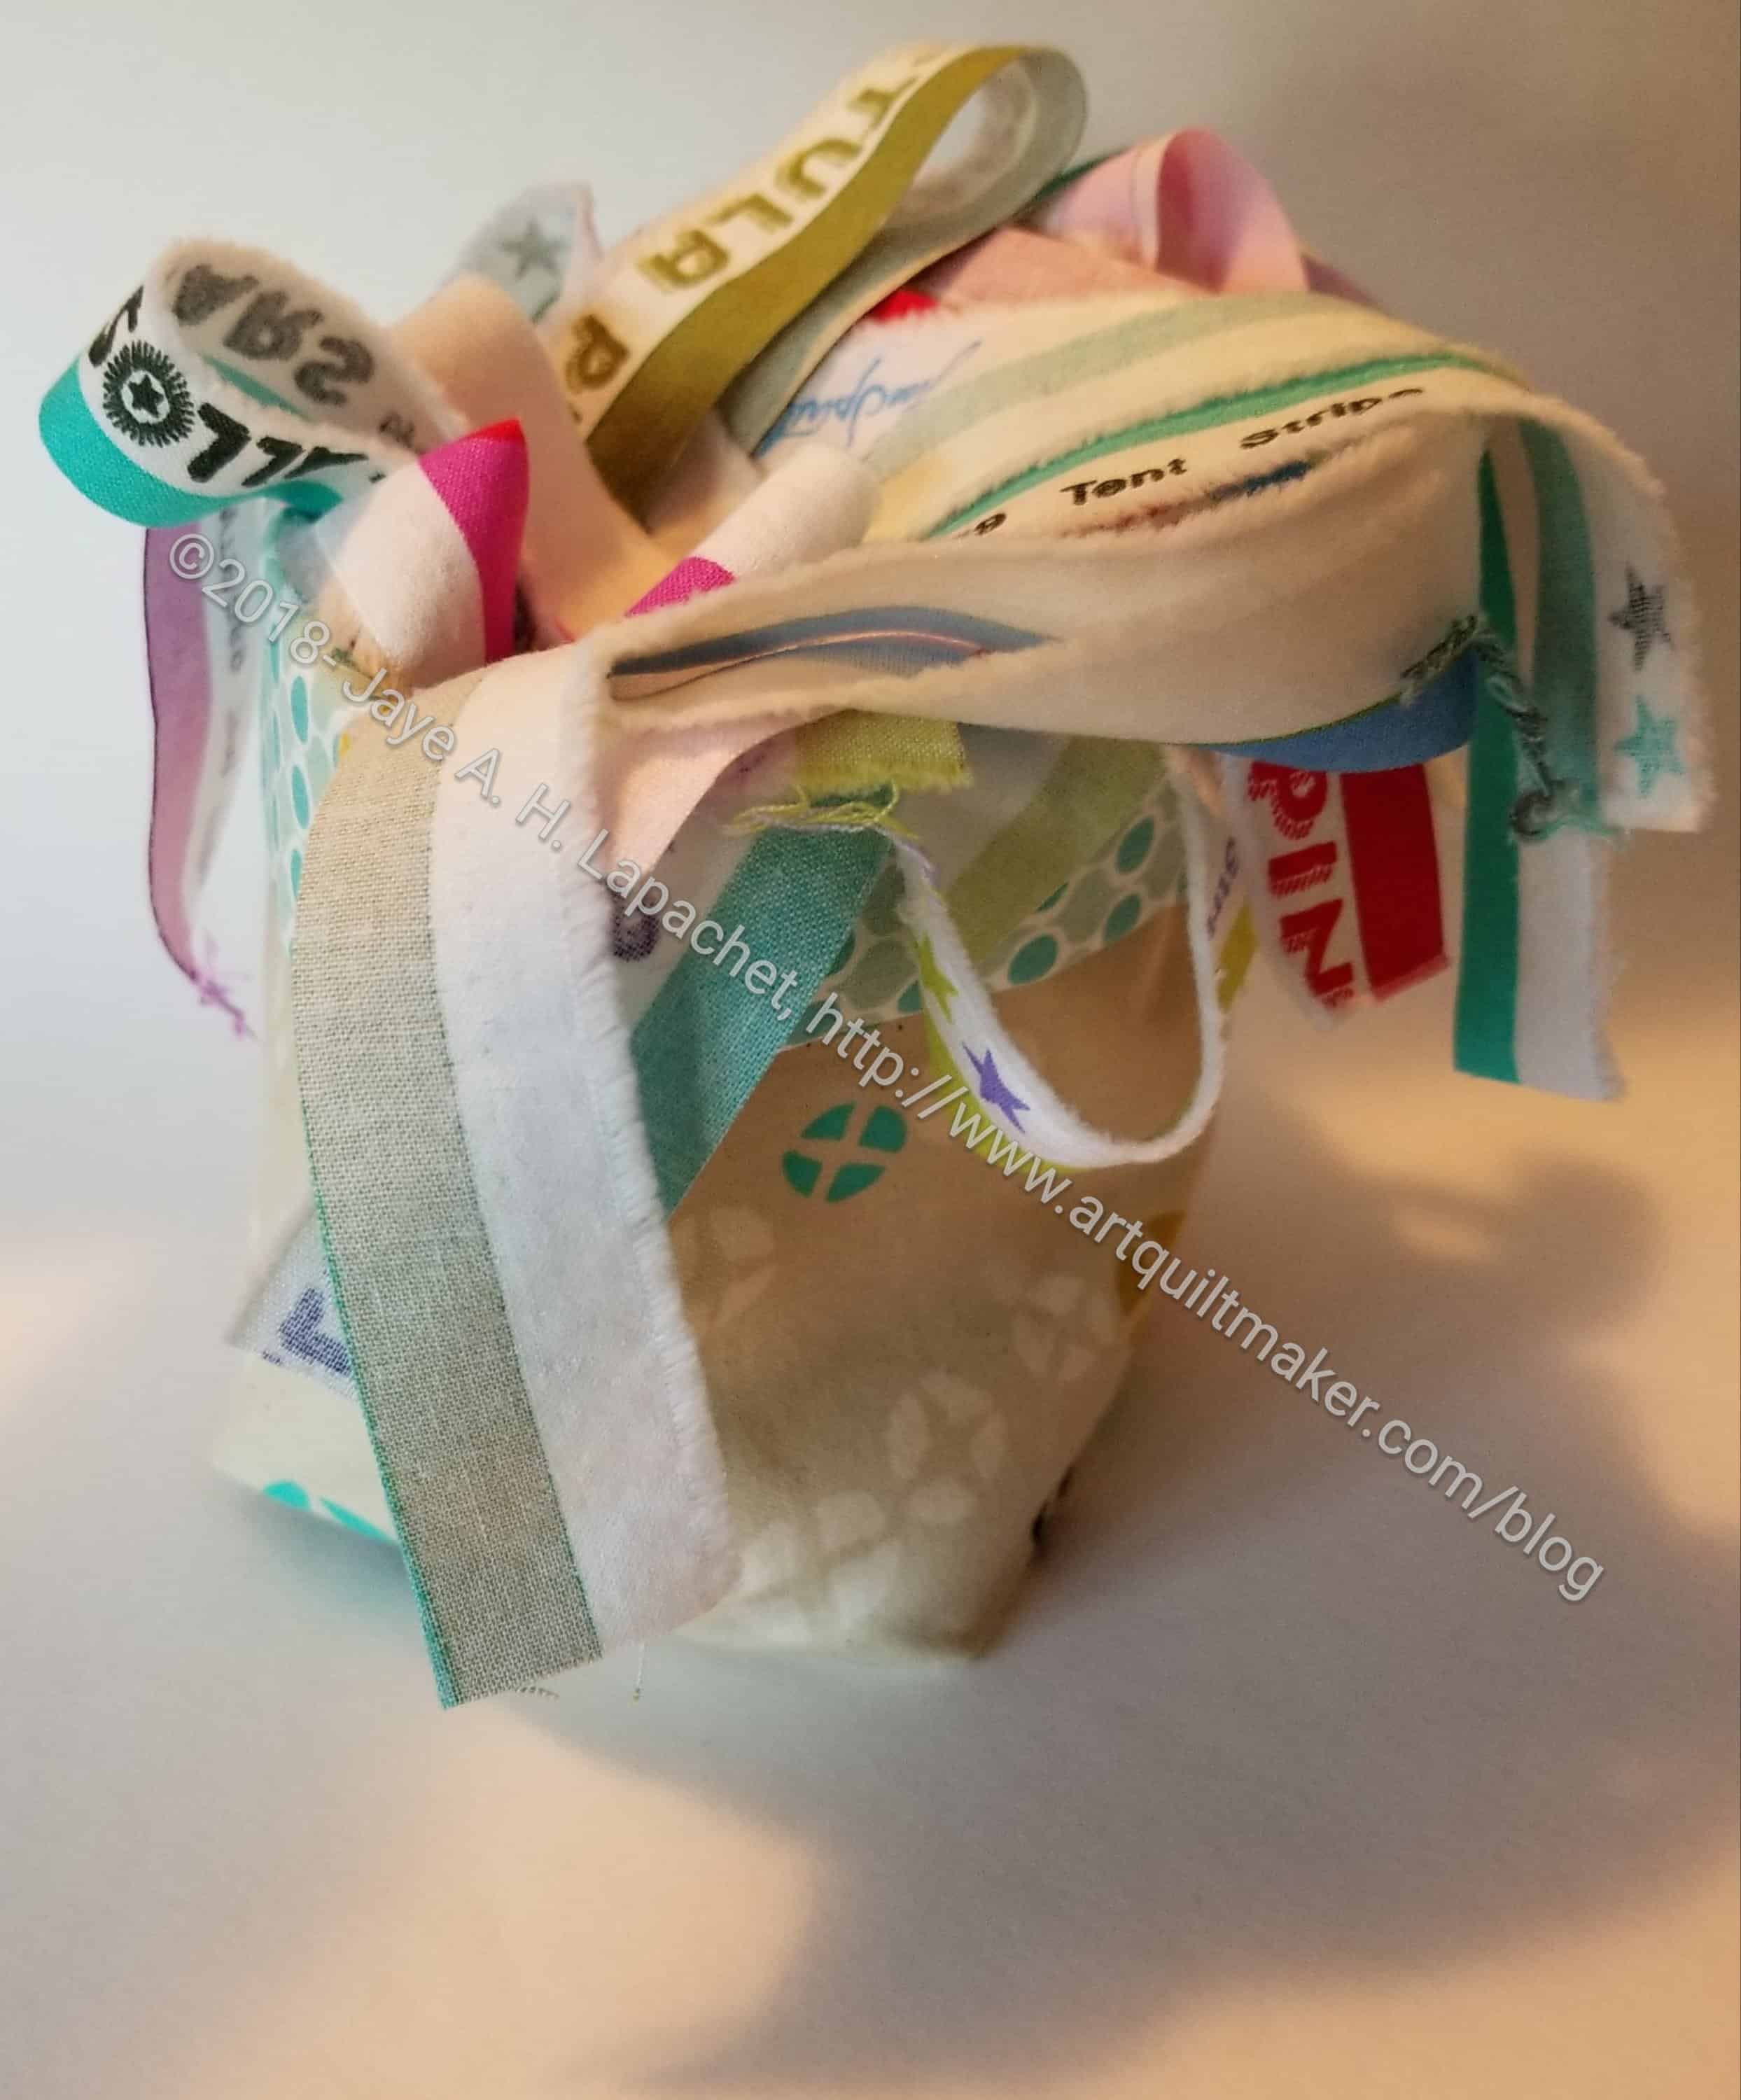
“Your EPP Toolkit” (pg.21-22) is a section that talks about all the tools you’ll need to be successful. She goes into thread in great detail and has a paragraph on each item. You’ll have most of the tools suggested in your workroom already. Unusual items were a standard hole punch (you may have to go hunting in your disused office supplies drawer), a crochet hook (pg.26), binder clips (pg. 27) in addition to WonderClips (pg.27). I don’t use removal ink fabric pens for any purpose in my quiltmaking. Other writing implements and chalk will work for the same purpose. I like Sewline pencils and Sewline Chalk pencils.

Chapter 2 covers basic techniques, walking the reader through the entire EPP process (pg.29). Diane talks about the fabric grain (pg. 30) in a straightforward way that can also help in regular quiltmaking. Orienting fabric prints (pg.32), cutting fabric (pg.33-36) is covered comprehensively. The section includes tracing (pg.35), fussy cutting (pg.36) and using acrylic templates (pg.35), which is my preferred method.

Throughout the book the author anticipates the excitement of a new technique and refer the reader to other pages in the book. The basting section includes threading a needle and basic basting stitches (pg.38), how to make a wrapped knot (pg.39), how to make a quilter’s knot (pg.40) and how to make a tack stitch (pg.41). The author also includes a page on basting vs. tacking (pg.43). Reading this section will familiarize the reader  with all kinds of basting so s/he will feel confident moving forward with any shape. Diane also shows a variety of methods for performing each step.

Joining is also covered very thoroughly, including how to end a seam securely. She prefers the whipstitch while I prefer the ladder stitch. All methods are explained, have illustrative images and pros and cons.

Keeping the project organized is a challenge as the project gets larger. Making a star or basting a few hexies is one thing, but once you start putting your shapes together that soon-to-be bed sized top can become unwieldy. Ms. Gilleland has the reader covered (pg.54-55) by talking about strategies for managing the top as it grows and parsing your work. She also discusses finishing EPP, which is different than in regular quilts (pg. 57-58).

Using EPP in a project is covered thoroughly and includes appliqueing EPP shapes to another piece for added interest and using an EPP panel as fabric.

The instructions for those techniques cover machine applique’ (pg.60-61) as well as fusible applique’ (pg.62) and hand applique’ (pg.63-64). I found the directions to be complete as well as practical.

I plan to put a plain fabric border on to my half hexie star piece. I paid careful attention to the “Establishing a Straight Edge” section (pg.66-67). Since my edge is already pretty straight, I am not sure these directions will help me completely. Still, something is better than nothing. Obviously preparing the edge (pg.66 n.1) will help as will straightening up the edge (pg.66 n.3). I’ll have to try it out. I’m a little nervous about ruining the edge.

EPP can also be used as fabric. Makers can sew a small piece of EPP and then cut shapes using templates out of it (pg.67) just as with fabric.

One gem of this book is chapter 3, “Building Your Own EPP Patterns” (pg.73- ). I like this type of section because it gives the readers skills rather than just patterns. If I can incorporate a technique into my repertoire, I can use if for more than just one pattern or when I run into a tricky idea.

Chapter 3 is arranged sensibly. It starts with inspiration (pg.74), moves on to one patch EPP designs (shapes) and playing with graph paper to create designs (pg.75). The power is combining shapes to make more interesting and unique designs (pg.76). There is a section on using computer tools, including fee tools and functions included on your computer.  Pay-per-view software (pg.78-80) is also discussed. This section will go out of date quickly, but readers will be able to extrapolate out.

Hand drawing EPP patterns also covers an entire section. The chapter starts out explaining tools (pg.81-82) and moves on to drafting (pg.83). Many readers who are not confident mathematicians maybe tempted to skip over this section. Don’t! The author is gentle and explains the steps clearly so the exercises come across as play.

I never thought of using EPP as a background, but Diane covers that (pg.86-87) topic as well.

Hand drafting comes up, too (pg.88). Again, don’t run away screaming. “Knowing how shapes are constructed gives you a deeper understanding of the many possibilities for fitting them together into patterns” (pg.88). Just like making templates for patchwork, makers get depper insight into the process.

Ms. Gilleland provides a list, with explanation of things to watch out for as well as tips and tricks to make the piecing go faster (pg.89).

Subsequent chapters (4-8) discuss all relevant things about working with one shape. The first is hexagons and all of the ‘shape’ chapters follow the same basic structure:

  • how to draft the shape
  • how to baste the shape
  • how templates are sized for the shape
  • projects using the shape

There are also a variety of shapes covered:

  • hexagons
  • hexagon variations such as the half hexie
  • diamonds and jewels
  • triangles and tumblers
  • octagons and pentagons
  • curved shapes (pg.6-7)

Hexies are probably the most basic EPP shape. I think it is one that most people start with in some way or another. I include a tutorial on machine sewing hexagons in my basic quilting class.

The drafting chapters for the various shapes are right up my alley. I don’t memorize the steps for each shape, but I do note where to find the instructions for when I need them. Many quiltmakers today only use patterns and don’t even think of putting blocks together in their own way. Drafting gives me options in creating designs. I like options.

The page (pg.92) on drafting hexagons has good images that show the steps and the tools required. The tools required for drafting are not included in the tools and materials chapter, which starts on page 15. Take a look at the section on Hand Drawing EPP Patterns (pg.81), which shows drafting tools. Subsequent pages (pg.82-89) show how to use the tools.

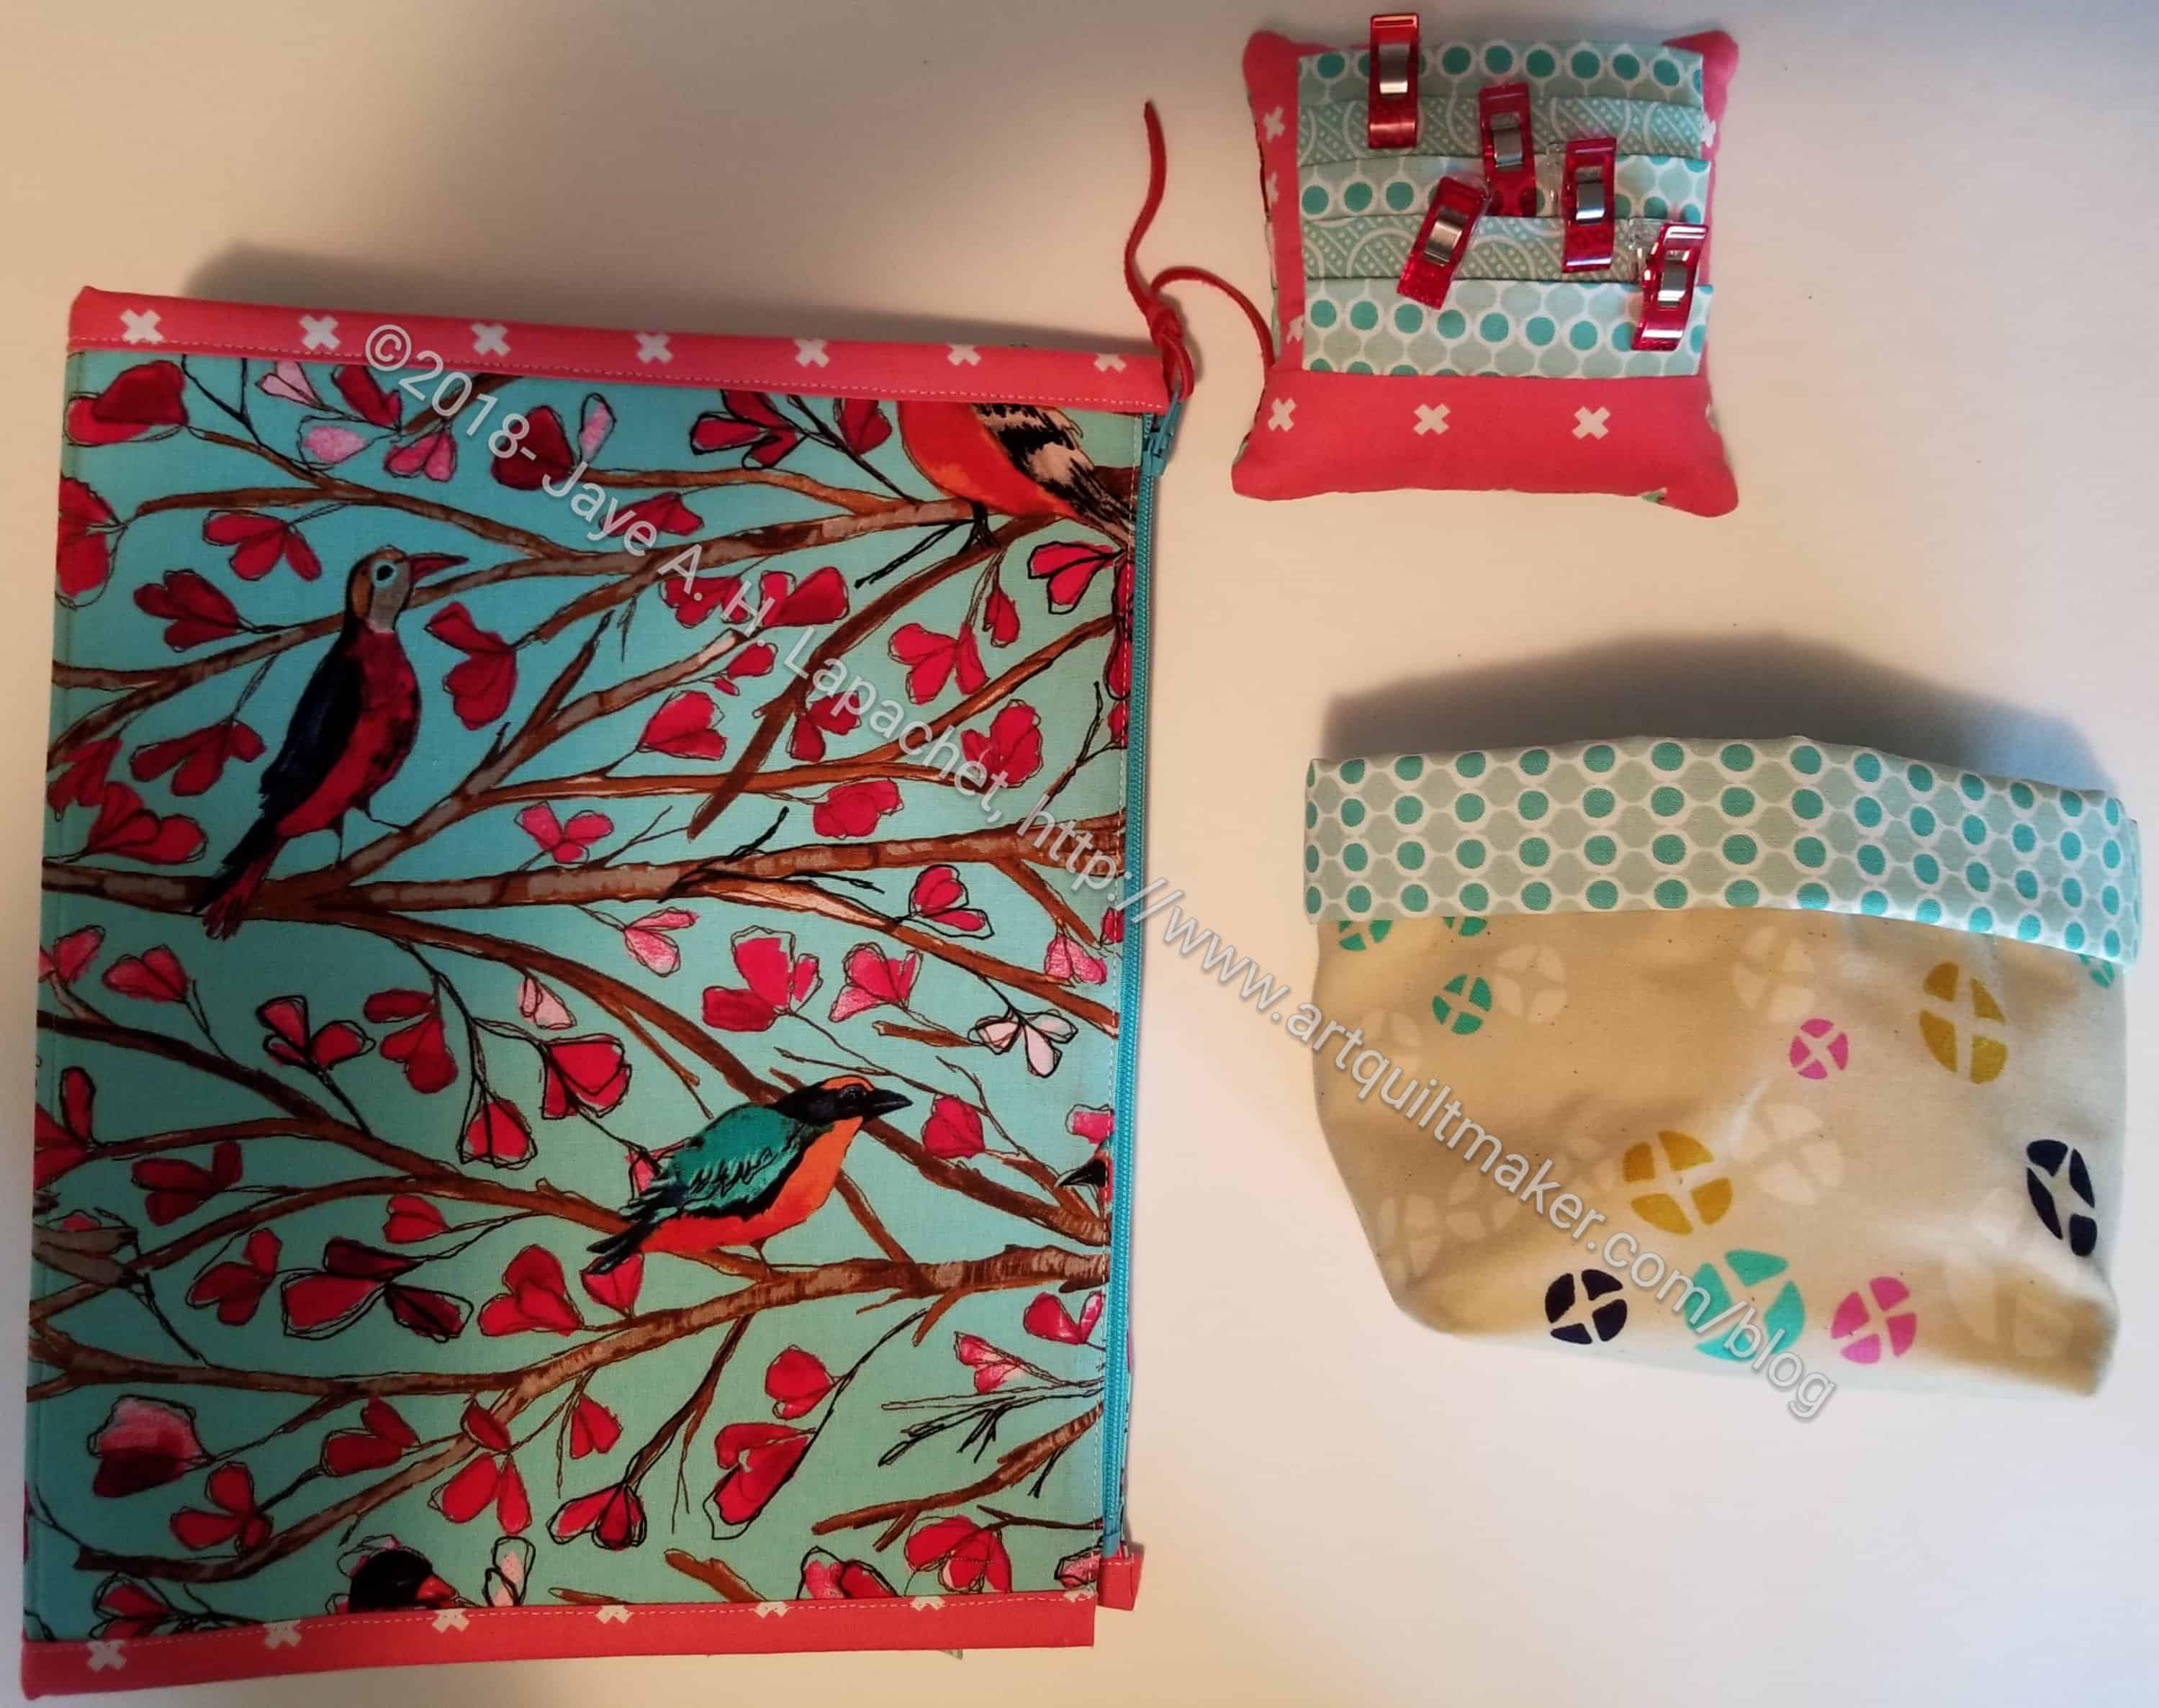
As mentioned, this is not a project book, though there are some small projects in the book, which don’t have the huge time commitment my half hexie project requires. I like the layout of the hexie journal cover (pg.95).

The chapter includes a couple of pages 9pg.96-97) on laying out hexagons. We all know the Grandmother’s Flower Garden, but playing around will net you many others and the layouts shown will help to inspire you.

Hexagons can be cut in half to make a completely new shape. The new shape gets the same, if slightly abbreviated, treatment as the hexagons. I really like the idea of surrounding a hexagon with half hexies as a border (pg.102).

The hexagon chapter also includes ‘stretched hexies,’ which end up as lozenges and coffin shapes (pg.104-105). These shapes have great designs. I used one layout in my BAM pillow swap without knowing it was included in this book. Of course, I machine pieced rather than using EPP. You have to decide the best technique within your skills and time constraints.

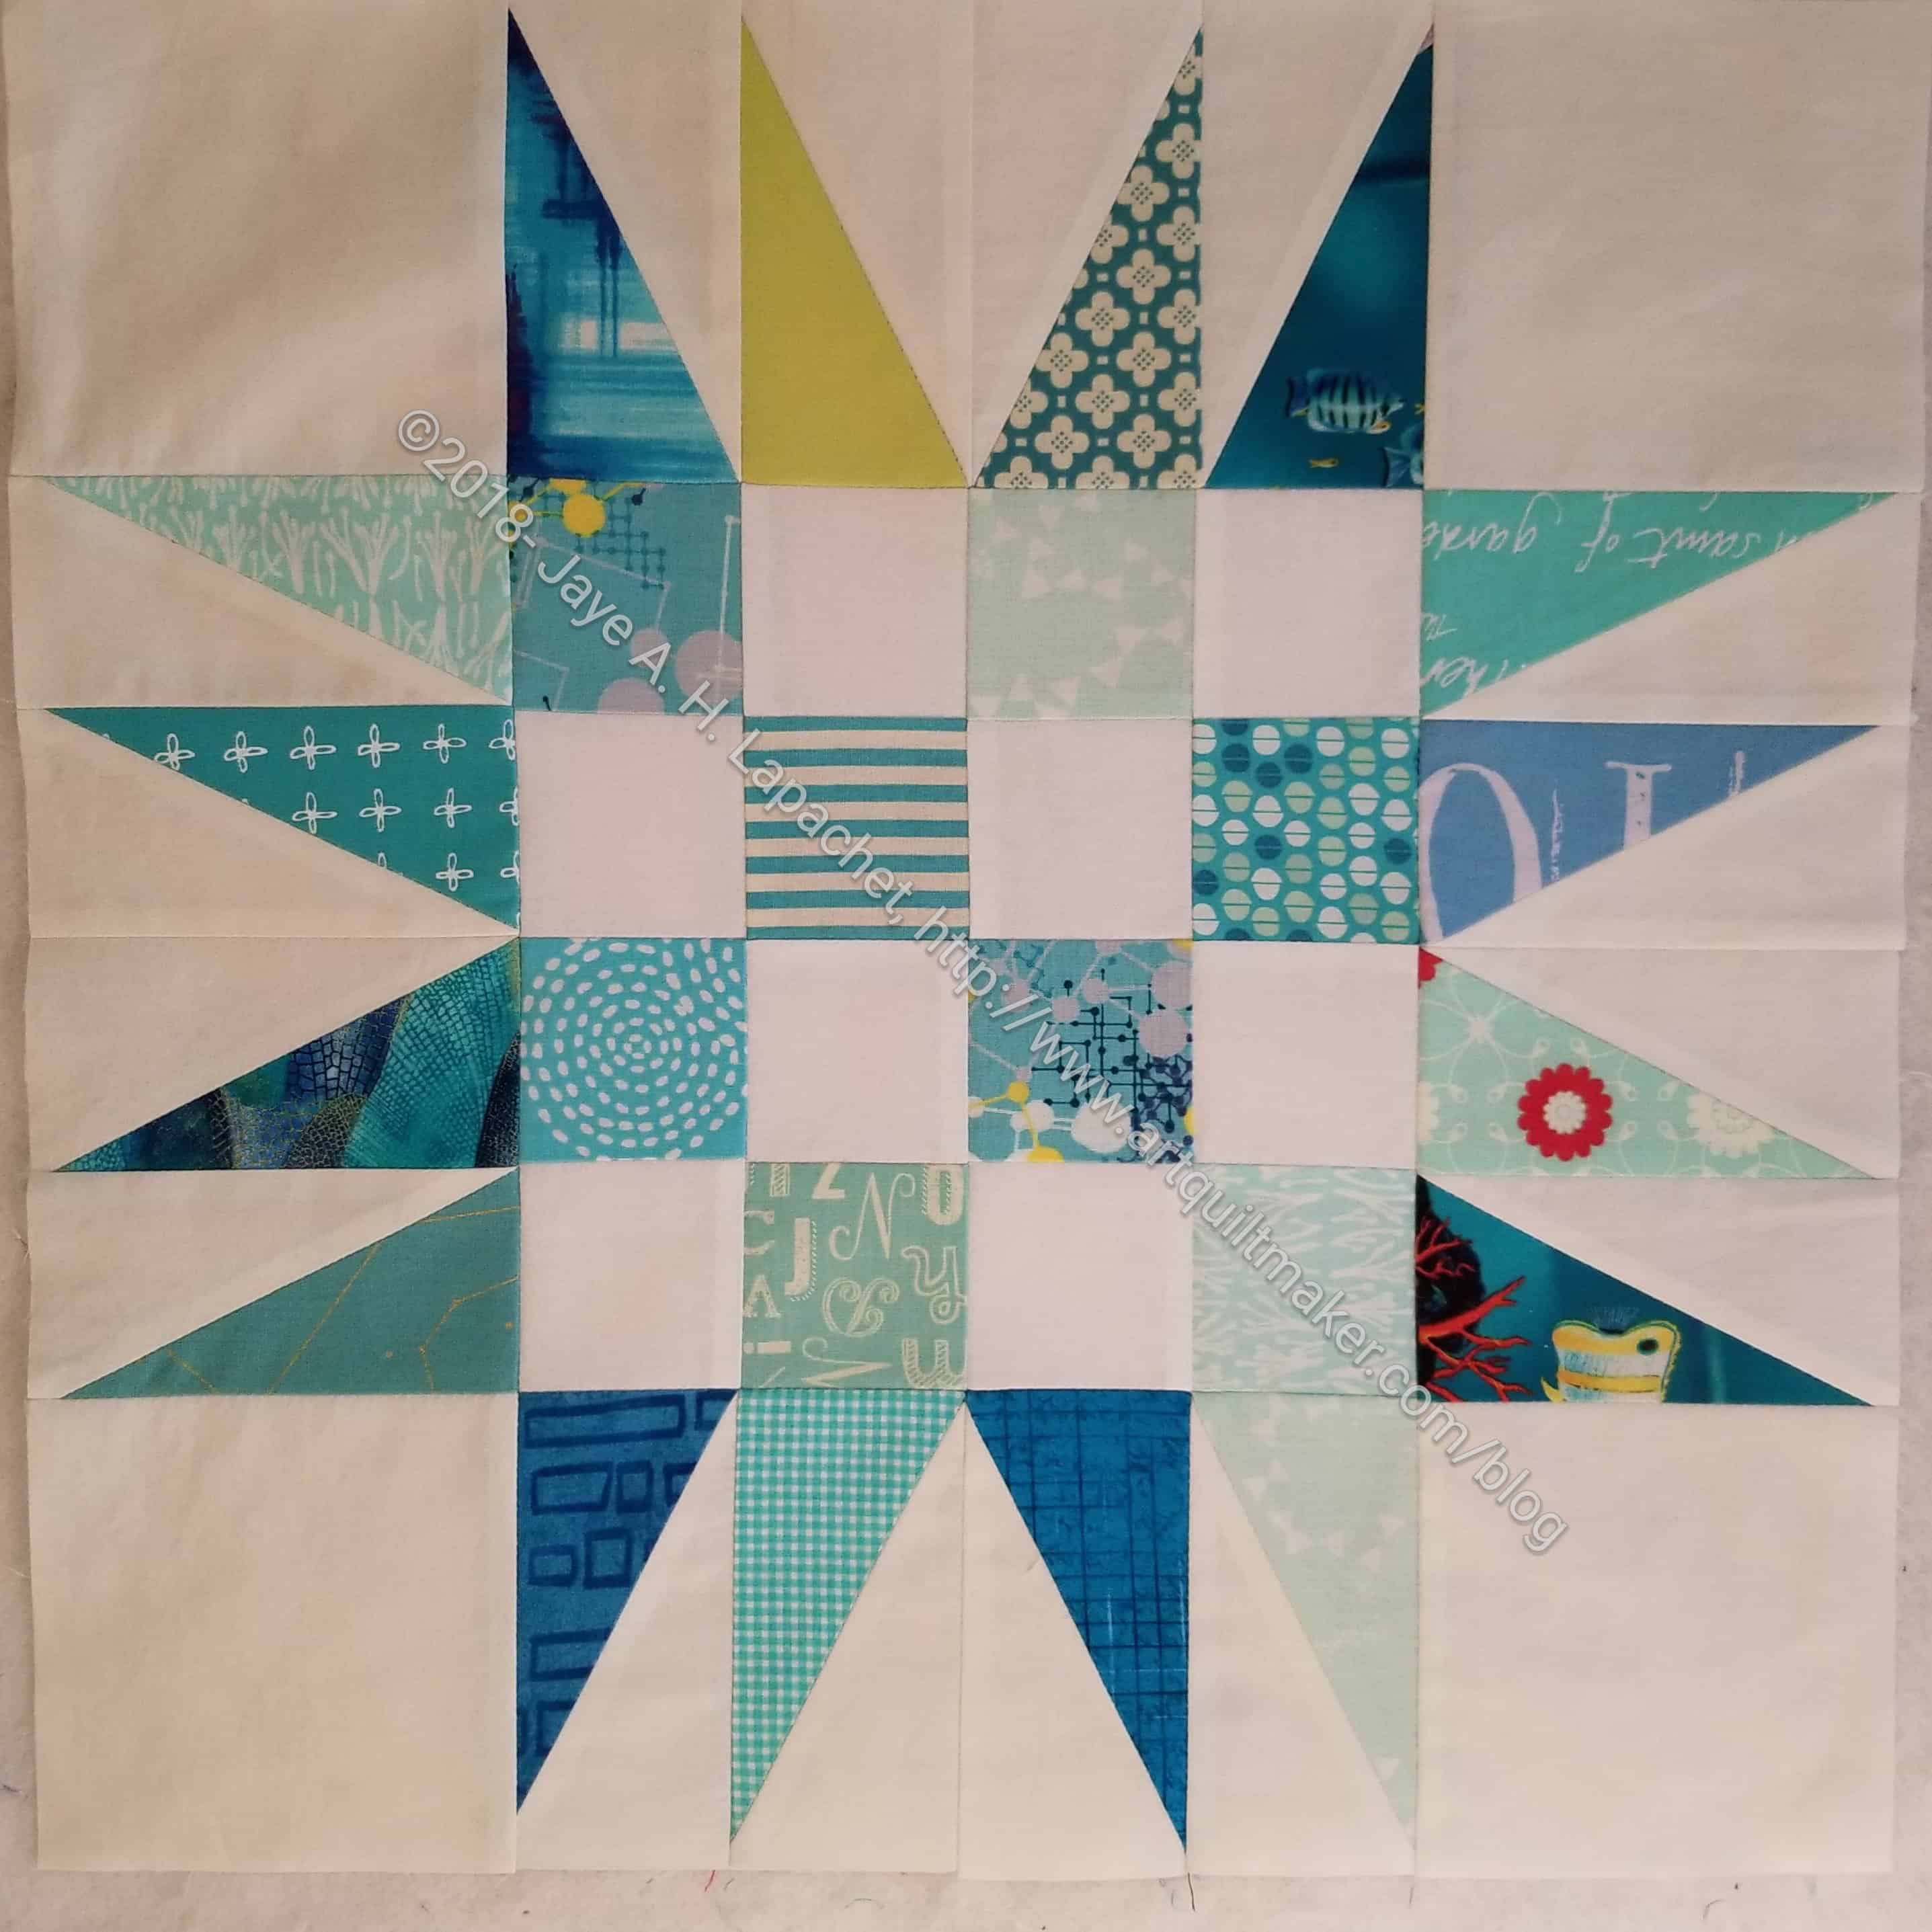
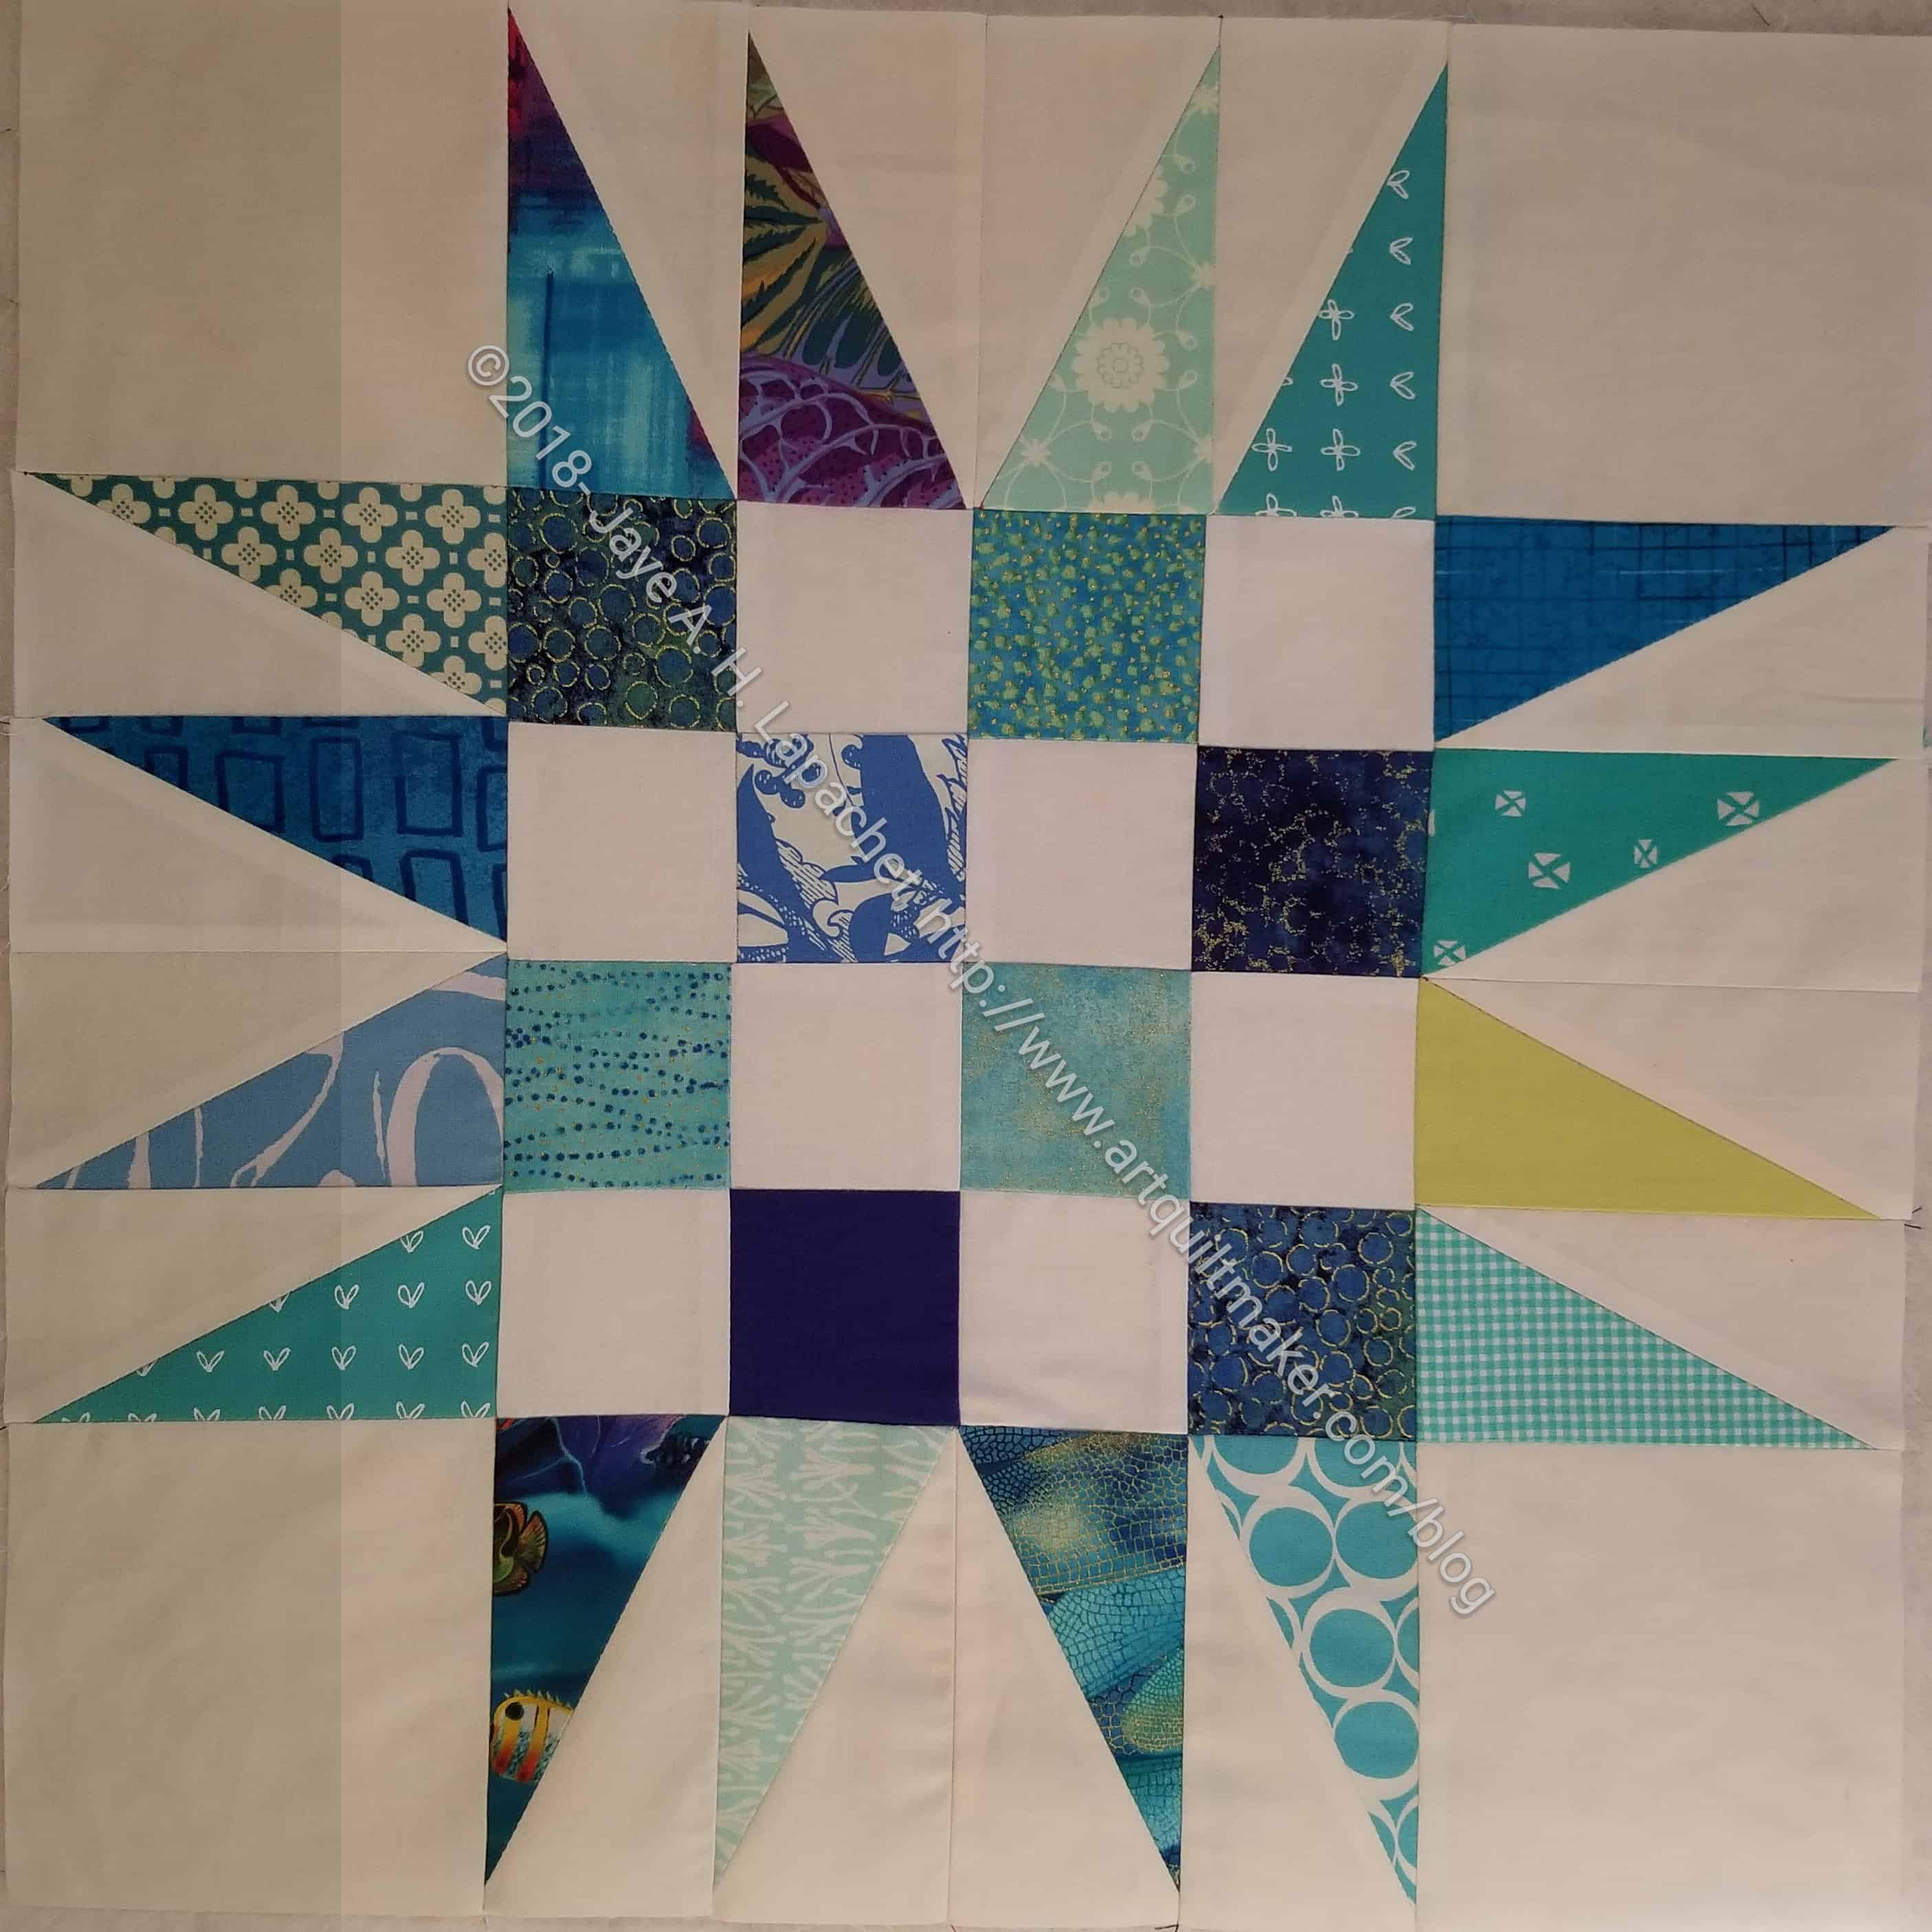
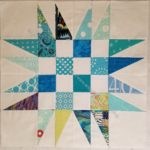
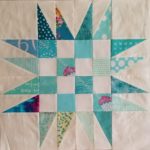
I have made a number of 8-pointed stars and LeMoyne Star blocks. My
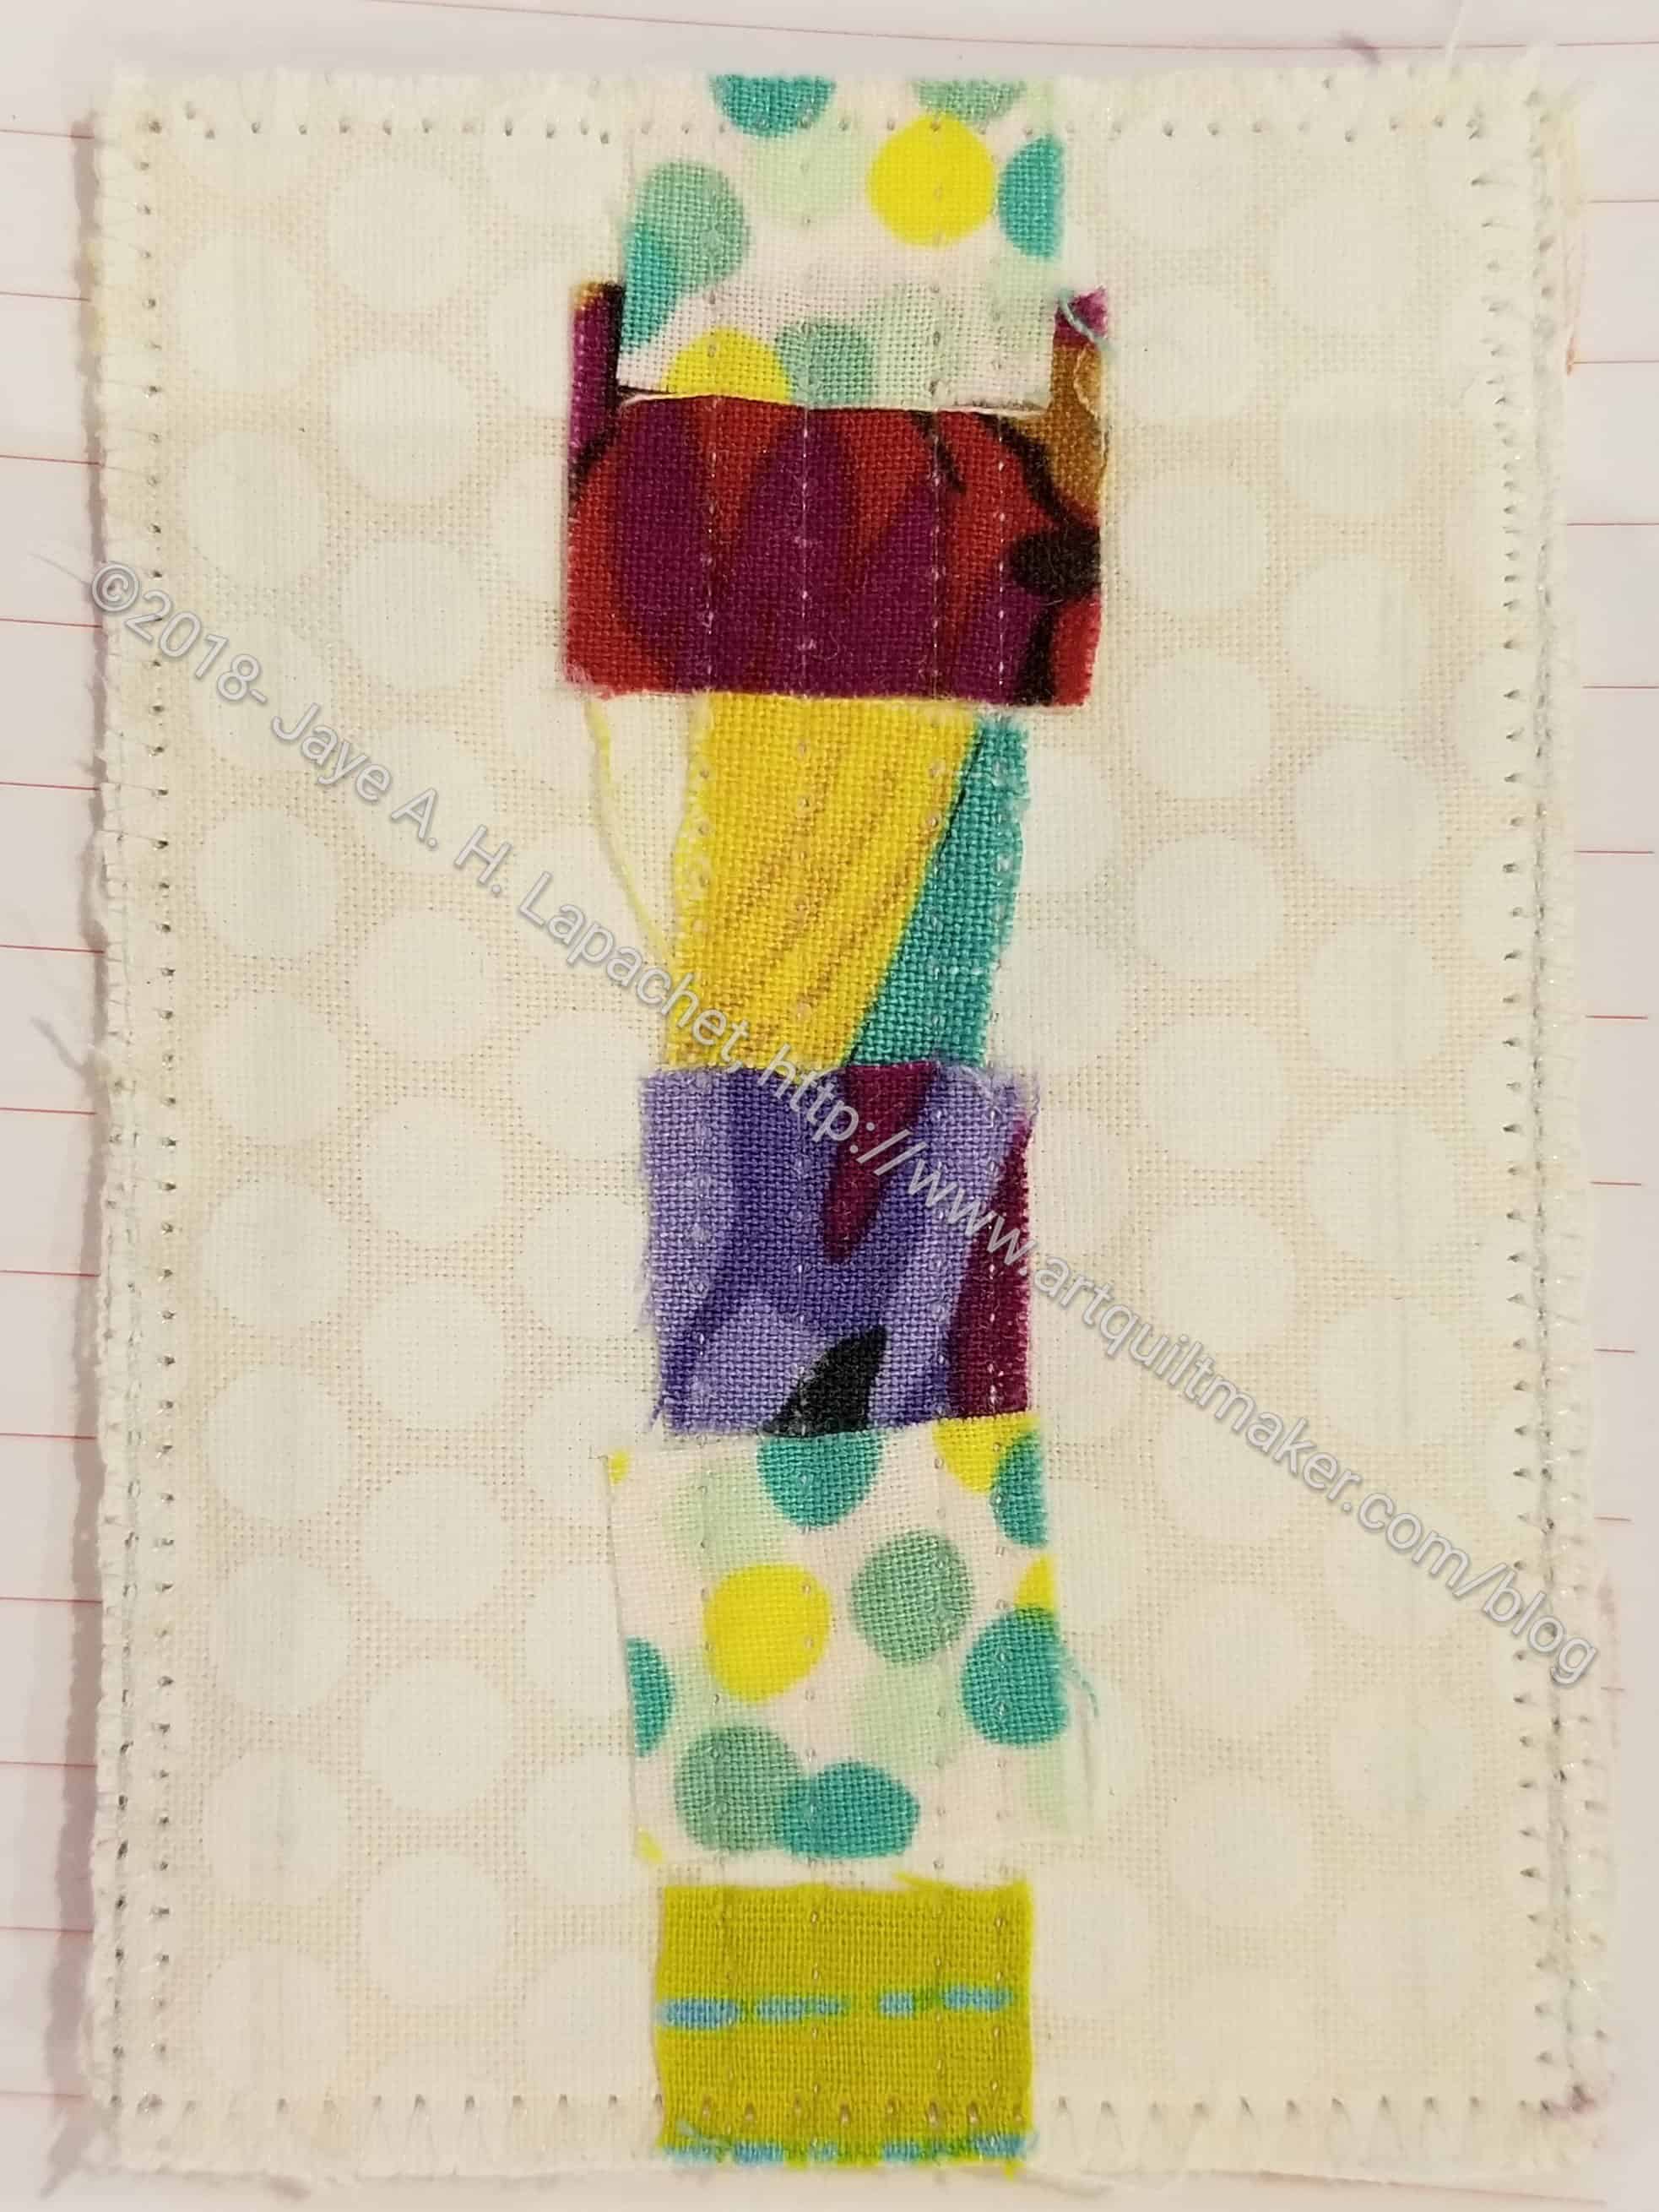
In many cases, both sides of the patch are shown after basting (example pg.121). It gives the maker a good idea of what the goal is.

Many of the inspirational layouts included multiple shapes (pg.123). combining different shapes expands what designs are possible and provides additional inspiration. Sassafraslane has a great example of one way of putting triangles and hexagons together.

By the time the reader tries drafting all of the different shapes s/he will feel like a math genius. I am not a math genius and I feel powerful with this knowledge.

There are 3 different types of triangles discussed in the triangle and tumbler chapter (pg.132). The triangle pincushion project is awesome (pg.140). I like the look. This project could be made using a Split Rects ruler and partial piecing, but if you are on bedrest or ill, then having an EPP option is wonderful.

It didn’t occur to me until I read this book that tumblers are just triangles with the top cut off. Big DUH moment for me, but also a reminder of why I like to read. This makes drafting easy. If you have mastered drafting the isosceles triangle (pg.147), you are most of the way towards drafting a tumbler.

I am not much of a fan of the resulting flower shapes that pentagons and octagons turn into if the maker is including than in applique’. The author thinks “of pentagons and octagons as good mixers, eager to join forces with triangles, squares and diamonds” (pg.155). They do make great floor tile patterns mixed with other shapes. Octagons and pentagons are also good for fussy cutting (pg.158).

This section also includes methods of transforming octagons and pentagons (pg.166). I am a huge fan of using these shapes to make balls (pg.167, 169). These might make great officer gifts. The author suggests small ones could be used as pattern weights (pg.167). I’d like to make some for my niece who is learning to juggle.

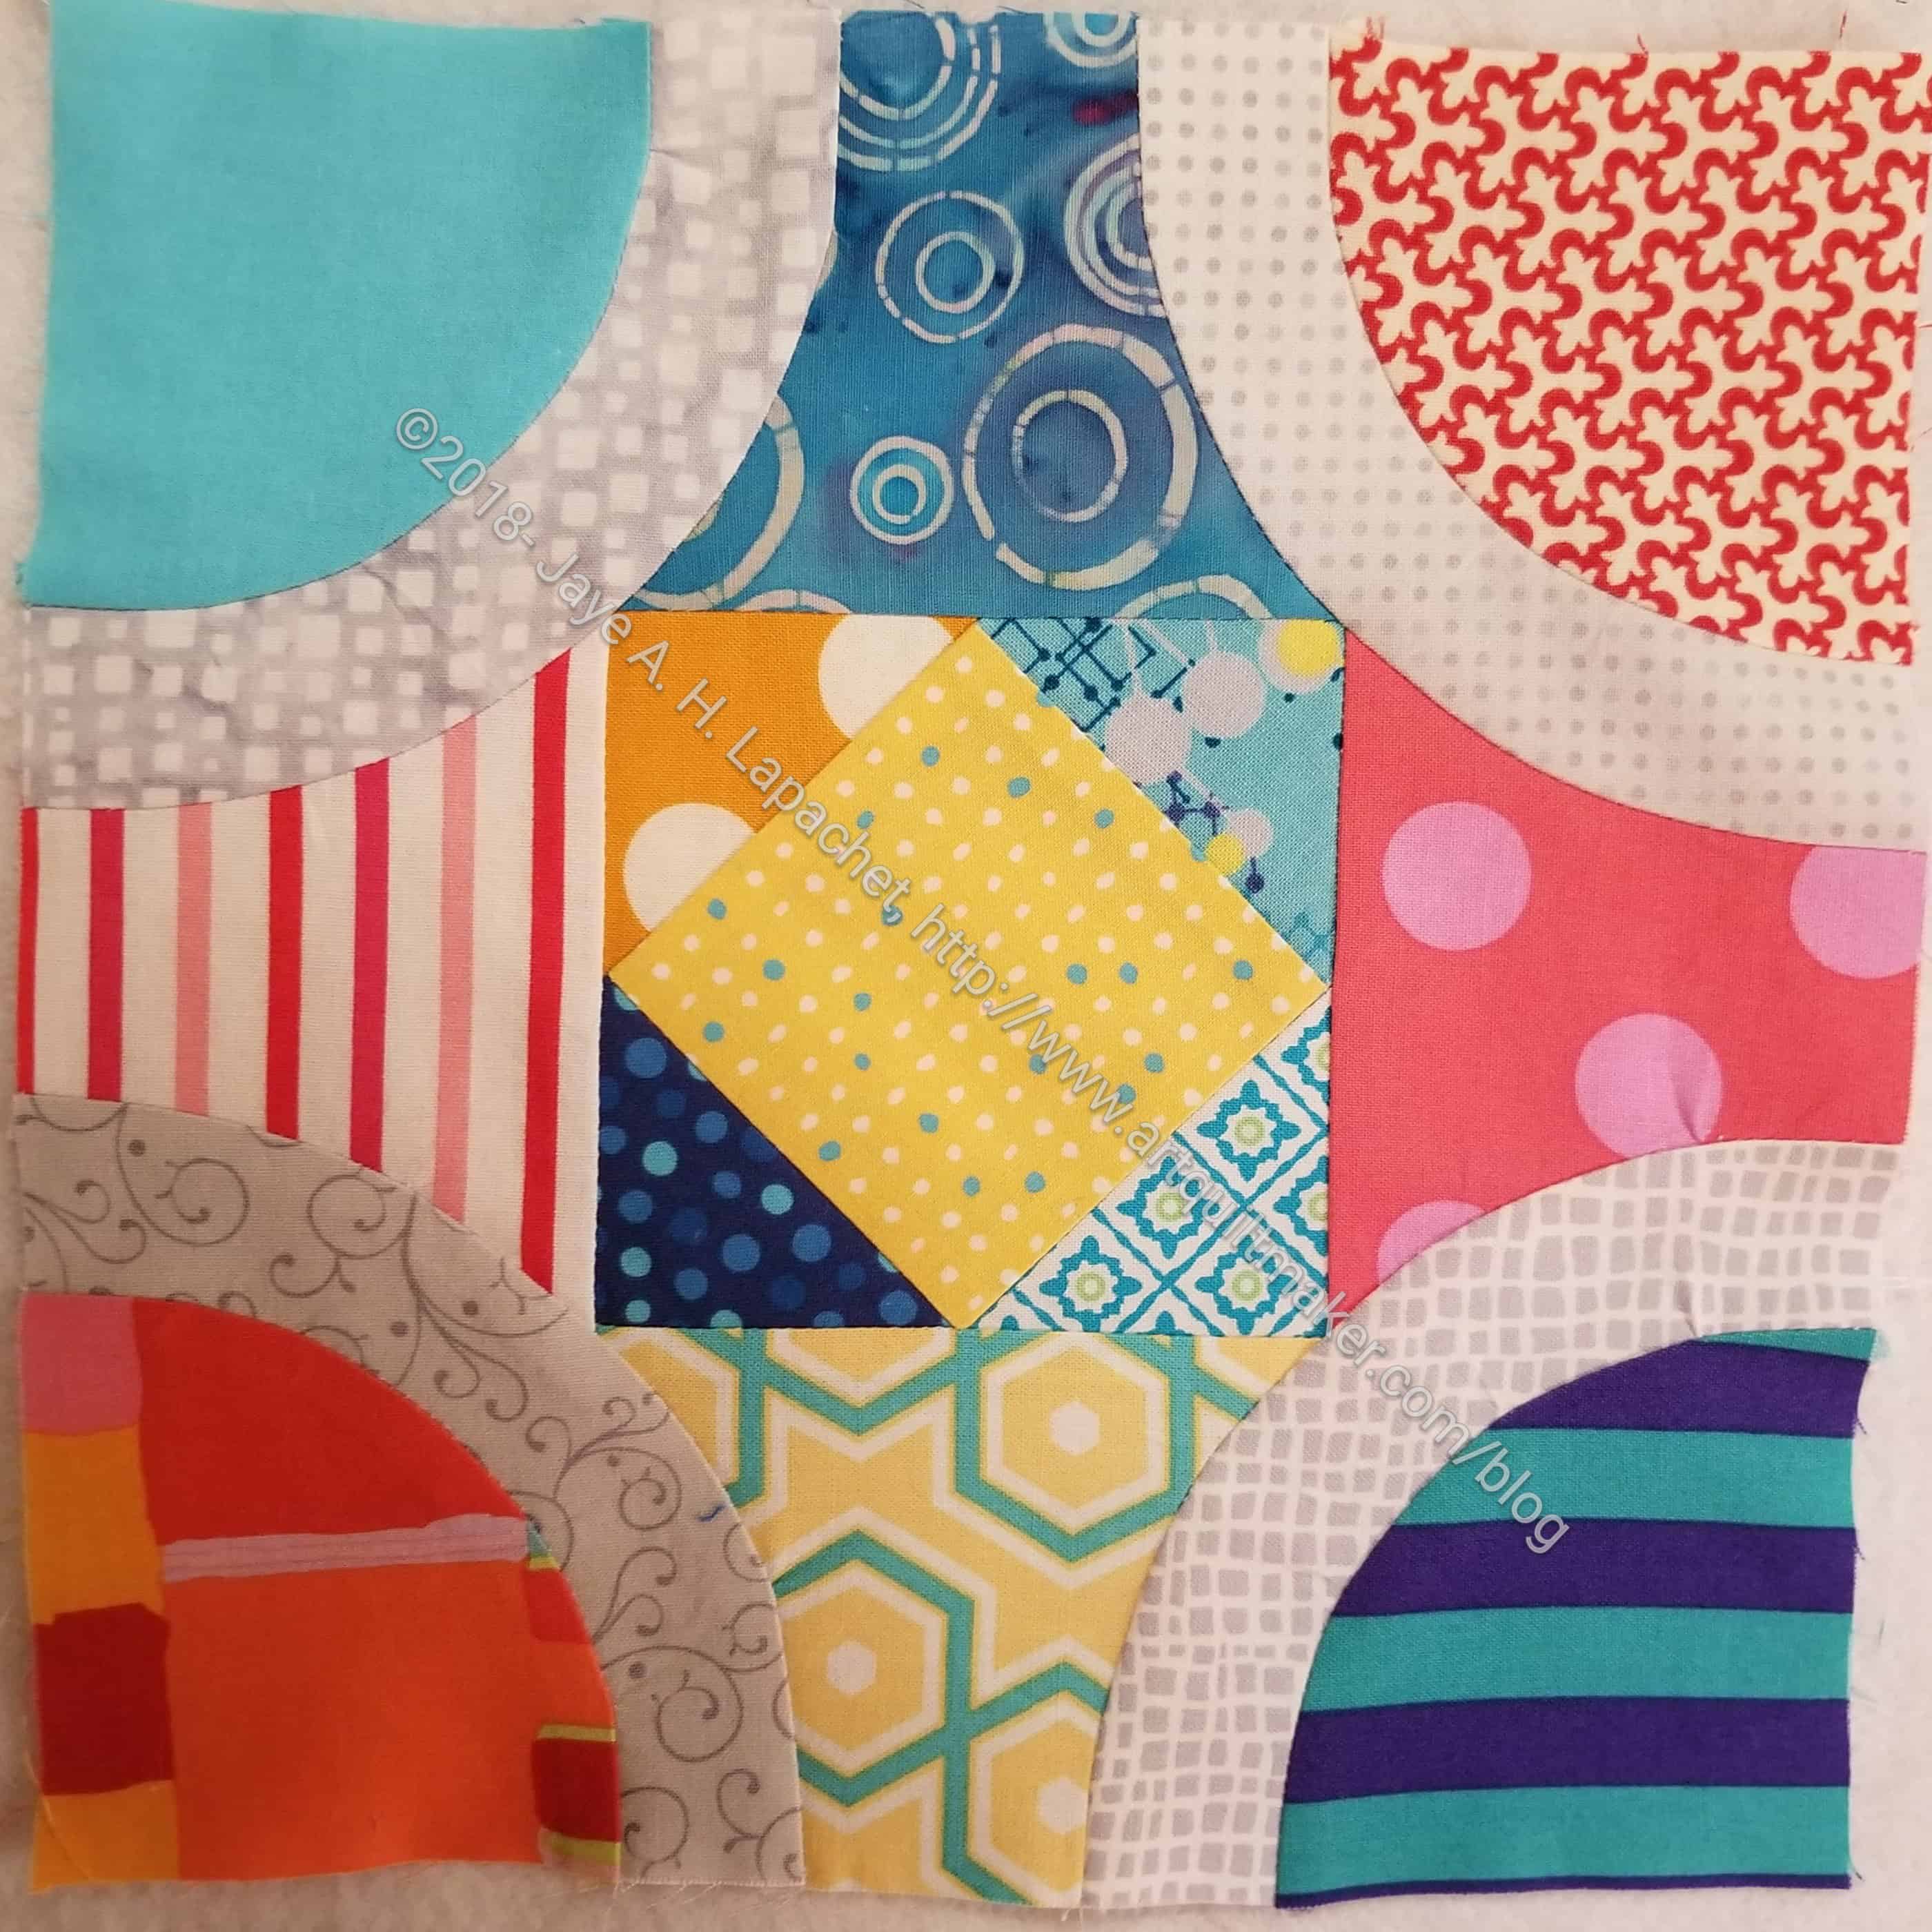
I never thought about using EPP for curves, but chapter 8 (pg.171-203) goes into amazing detail about the subject. The chapter covers five ‘common’ curved shapes: apple core, Dresden petals, clamshell, clamshell point and clamshell petal. The clamshell point is similar to the center of the block in my MetroScape quilt. EPP was not used in the MetroScape blocks, but thinking about the two designs and their techniques provides some crossover inspiration.

The curved section starts with some special tips including “stick with premade templates” and covers the bias inherent in curves. Curves require special techniques and this chapter does not skimp or disappoint. This is a long and detailed chapter. Tips for achieving smooth outward (convex) facing curves (pg.176-177), basting an inward facing (concave) curve (pg.179), basting Dresden petals (pg.180-181), basting apple cores (pg.182-183), basting clamshells (pg.185-188) as well as clamshell points (pg.189-190) and petals (pg.191-192) are all covered. I really like the motif included in the Circle Blanket Border project (pg.178). It is made up of a clamshell point and four petals. I can see using this on the EPP Sewing Kit instead of a hexie flower. The circle motif would make a nice change.

Throughout the chapter are tips and tricks specific to each shape. One thing I didn’t realize was that some shapes, such as convex curves, require gathering (pg.182). Good to know if I made the circle motif.

As with the other chapters, the chapter on curves has a few pages entitled “Making Patterns with Curved Shapes” (pg.194-195). It is fun to see and be inspired by the possibilities.

I use a ladder stitch to sew my half hexie stars together. This book calls a similar stitch (or technique??) a skimming whipstitch (pg.200), which is part of the section on joining curved shapes (pg.196-203). The last instruction is about drawing center lines on patches (pg.203), which I was wondering about as I read through, and though about the section on joining curved patches.

There is a lot to like about this book. One of the qualities is that the author anticipates what the reader will want to know and answers the question rather than leaving the technique to chance and the reader unsatisfied.

You might think this is an expensive book. I found it to be cheap when the amount of information included is considered. Even if you have only a slight interest in EPP, I recommend buying this book. No matter what EPP project you attempt, the support this book provides will make your project a success.

Go buy All Points Patchwork: A Complete Guide to English Paper Piecing Quilting Techniques for Making Perfect Hexagons, Diamonds, Octagons, and Other Shapes right now.

View all my reviews

Various & Sundry 2018 #12

It’s kind of strange that it is December already and 2019 is around the corner. Frankly, I am done with 2018, so this is good news. Still it is strange.

Doing Good

Remember the Girl Scout Hearts I made? The finished quilts are starting to appear and they look great.

My guild is collecting new makeup for high school girls affected by the Camp Fire in Butte County, California. If you have purchased some new makeup, leave a comment with valid email and I will get in touch about getting it to them.

Cindy Needham is collecting tools, solid fabrics (they have enough others) and pre-cuts for quiltmakers who lost everything in the Camp Fire (Northern California, Butte County) and need to get back to sewing. Read through her feed to see what is needed. Rotary cutters, rulers and mats are a big desire.

@lebethbryant has designed a pixelated California quilt. It looks like it is made from charm squares and it is a great design. She is offering this pattern online with 100% of the proceeds going to the California Wildfire Relief Fund. There is a link to purchase the pattern in the profile at the link above.

Patterns, Projects & Tutorials

I have updated the AQ tutorials page here to include the paper wreath tutorial. It is a nice, relatively quick hostess gift.

I saw a link to this older tutorial, The Awesome Bag, and thought it would be easy enough for a quick, last minute gift. I haven’t made it, but I do like the look of it.

Charlotte, of the Slightly Mad Quilt Lady podcast and blog, also has an Etsy shop (and 2 kids, a DH, is a midwife and….WOW!). I was thrilled to see that she has a great dragon pattern for sale. She has a few other things in the shop, but it is not overwhelming and the dragon is the gem.

Northcott posted a free basic apron pattern that would make a great hostess gift or quick raffle prize.

Charlotte Hawkes of Scrapitude fame has a new mystery quilt, A Handy Dandy Scrap quilt. The first cutting instructions are now available.

I am looking for a pattern to keep my KitchenAid stand mixer clean when it is not in use. I found one, but I am not sure about it. Do you have a pattern you like?

I have a very active and important (to me) journal practice. I write every day. I should say that the days I do not write are few and far between. What I do works for me, though I wish I had the time and ideas to make my journals into a piece of art. Still, I am always tempted by other journal projects. I saw the Right Brain Journal project and am tempted. My sister suggested doing it together. One thing I don’t like is that there is no option to purchase a bound version. It is only a digital download.  Digital downloads have their advantages, but I am not sure I want a bunch of sheets of printer paper, not to mention the ink cartridges printing a 70+ page digital download would require. Also, I don’t want to work on printer paper necessarily. Perhaps I could purchase some nice paper that would run through my printer or through the printer at Kinko’s? Are you doing this project?

Media

If you only click through to one link make it this article on the benefits of craft in your life. If your partner or children or neighbor is giving you crap about how many quilts you make, how many quilts are piling up or how much time you spend on quiltmaking, show them the article. The most important thing? Don’t listen to them. Crafting is good for you, good for your mental health. Do it more.

Charlotte, the Slightly Mad Quilt Lady, wrote a great post on sharing photos from shows. There is a bit about copyright, but it is not a piece about copyright.

Anne of PlayCrafts has posted a life update. Aside from being interesting, she has posted some great quilts and quilt WIPs.

Jen Carlton Bailly of BettyCrockerAss.com shows how to use her templates to create a Holly quilt. This is not a tutorial, but it is easy enough to follow the design if you know about piecing.

Modern Quilt Studio is starting a ‘new’ tradition of reflecting on accomplishments for the year. You can read the prompts on Craft Nectar and post your responses on FB or Instagram. I put the ‘new’ in quotes since I have been doing roundup posts for several years. I do them in my own way so they are useful for me.

Behr also has a color of the year. It is different than the Pantone Color of the year, Living Coral.

Tools, Fabric, Supplies & Notions

Sara over at Sew Sweetness introduced her second line of “minikins” recently. I saw a tweet where she wrote “Minikins Season 2 acrylic templates are now in stock! Are you making a lot of the season 2 projects for holiday gifts or craft fairs? These acrylic templates are a huge time saver – use your rotary cutter to quickly cut out your templates”. These seem like a great idea for the small bags included in the second Minikins package.

Honest Fabrics print panels that mimic the pieced quilts of designers such as Anne Sullivan. The colors on the website are beautiful. I haven’t seen one printed out in person. They would be great for someone who enjoys quilting, but not piecing.

I have heard a lot about mini-bolts and wrapping fabric on them for easier storage. I never really investigated the process fully. Recently I came across a page on the Paper Pieces site selling the supplies and explaining how the process works.

Laura Kemshall reviews the Husqvarna Epic. Her work is amazing anyway and the piece she did on this machine is also amazing.

Inspiration

I love the colors and design of the Boulder MQG QuiltCon Charity Quilt. It reminds me a lot of Sarah Goer’s Planned Improv designs.

Laura Kemshall pointed me to a shop and Gallery in Munich. She was invited to display her quilt there. As the shop is local, the site is in German. Click on ‘Kundengalerie’ to see the gallery portion. You can see quilts made by their customers (Kunden!).

Katie, of Katie’s Quilting Corner, posted a link to Tom Hovey the artist who does the food drawings for the Great British Baking Show. I love the drawings. Even though my shelves are overflowing with books, I have been wanting a book of these illustrations. His website is almost as good and includes a section on fruit slices as well. Very inspiring.

Now What?

The worst part of the process is deciding what to do next. I have a Christmas gift to finish, but I don’t have a quilt on my design wall since I took MetroScape to the quilter. I am glad it is off, but I don’t know which project I should work on next. Or if I should start a new project.

I have my WIP list, of course. I also have my dream projects list. It isn’t like there is a shortage of projects waiting to be worked on.

My two big contenders are the Good Fortune Mystery Quilt from Bonnie Hunter and the Crafty Gemini All Rolled Up bag. I have pulled a few fabrics for the mystery quilt, but not enough. I have cut out the All Rolled Up bag, but haven’t watched the videos or done any sewing.

Any opinions?

MetroScape Back

MetroScape Back
MetroScape Back

Sewing the back is my least favorite part of the quiltmaking process. Quilting doesn’t count since I usually don’t do it. This particular back took longer than expected, because I prepared all the fabric twice.

I decided to use the stripes for the back because I hadn’t used much of them on the front.  I proceeded to cut up the dot fabrics for the back.

Huh?

Nope, not a typo. I did the exact opposite of what I intended. I don’t know what I was thinking.

It didn’t really matter, so I took down all the dots and started again. I had made the binding in advance so I could use all of the stripes I wanted as long as I could deal with the diagonal cut out of the yardage for the binding.

As you can see from the photo, I was able to make a back. It seems a little darker than I intended, but it could just be the contrast of the white from the front.

Spiky 16 Patch n.4

Spiky 16 Patch n.4 (quilt n.3)

I didn’t have any time to sew at the end of the week and was kind of busy as well. I did manage to finish another Spiky 16 patch donation block.

I might be getting a little tired of these blocks in this color scheme. I know! Crazy, right? I’d kind of like to see a version with more colors. That means making a stash of HRTs in different colors as well.

Last ATCs

I made my last ATCs for awhile last week and forgot to take a photo. At the CQFA meeting on Saturday, I was the only one who brought them. It was decided that we weren’t going to do them going forward. I will kind of miss the rush of getting a small work of art done, but I will also not miss the stress.

Last CQFA ATCs - December 2018
Last CQFA ATCs – December 2018

Sadly I forgot to take a photo of the 4 together, but Julie brought hers along when we had lunch and I took a photo of one of them.

MetroScape Back

MetroScape back in process

I stole a few minutes from a very busy weekend to sew. I need to finish the MetroScape back and binding before Thursday. I am taking quilts to Colleen to be quilted. She is finally feeling better and able to quilt a bit again, so I can pick up the Stepping Stones #2 as well.

I decided, after I cut up all the dot prints, that I hadn’t used many of the stripes on the front, so I would use them on the back. I spent a lot of Saturday evening recovering the stripes from making the binding. They all of have a big diagonal strip cut off the length.

The binding is finished, which is always a relief. I have enough fabric for the back. I just have to make it work. Right now my issue is what to put in between the three horizontal lines of fabric.

BAM Swap Gift

BAM Winter Extravaganza Gift by Mary

I also received a gift at the guild Winter Extravaganza. I was so pleased to get a gift from Mary! She went above and beyond by making me a very cool portfolio, a little basket and a pincushion.

As soon as I opened the package, my mind started whirling about how I would use all of them.

Mary's Little Basket in use
Mary’s Little Basket in use

I have already put the little basket to use as I worked on the back for the MetroScape quilt back. It is now designated for selvedges, though I have already filled it up.

I am thinking that the portfolio will be put to good use for English Paper Piecing fabrics and papers. I use my first Sew Together bag for needles, pins, thread, scissors, etc, but I don’t really have a good place for the papers and the fabrics I have prepared. This might do the trick.

I laughed when I saw the pincushion. As you may remember, I have made this style of pincushion for others in the guild. I never made one for myself, so Mary did it for me!

Spiky 16 Patch n.3

Spiky 16 Patch n.3 for quilt n.3

I finished another Spiky 16 patch over the weekend, so my collection is growing. I need to start thinking about how I will set these blocks. I could do another quilt like either n.1 or n.2. I am trying to think of something different. Something different might be a small addition like Mrs. K added to her corners.

On point settings are kind of a hassle, but so effective. I have two more blocks to make before I have to decide.

Resources:

BAM Swap Bag

I signed up for the BAM swap and received Lindsay. I don’t know her very well. I talked to her briefly at a recent meeting as she rummaged through a stack of donation blocks I had recently donated. You know I love it when people use my blocks. 😉 It is such a great feeling of collaboration.

I kind of like doing the swaps,though this one was hard. I kind of gave up on the theme, though Rhonda, the organizer is pretty lax about sticking to the theme. I have to learn to be more like her.

Classmate Bag by Terry Atkinson

I went through my patterns after I saw that Lindsay requested a bag. I have a lot of bag patterns and need to start plowing through them. I came up with the Classmate Bag by Terry Atkinson. It is not a large tote sized bag, but I thought it would be useful for going to class.

I have heard good things about Atkinson designs patterns and the company certainly has a lot of patterns out. I can’t remember ever making something from their line.

This bag went together pretty well, especially when I was able to concentrate after Thanksgiving.

Classmate Bag for Lindsay - BAM Swap
Classmate Bag for Lindsay – BAM Swap

The problem I always have for these types of swaps is fabric. I don’t buy a lot of the lines that modern quilters seem to swarm over. I chose some leftover Tula Pink fabric from a project for which I made a block for Kelly.

It looks pretty good on the outside, I think. I am surprised to see how well the pattern of the fabric matches up. That was a happy accident.

Classmate Bag for Lindsay -open - BAM Swap
Classmate Bag for Lindsay -open – BAM Swap

This was a good enough pattern to make me think that I might make this bag again for another friend. Stay tuned.

November Donation Blocks

I made a few more donation blocks in November. Between working on the Spiky 16 Patches and traveling a bit, I didn’t get as many done as I would have liked. However, I am taking the positive route and thinking that every little bit helps.

Even though I try, I still seem to end up with a majority of blue donation blocks. I’ll have to see about changing that. Or not. 😉

ColorPlay: Compass

Disney Compass
Disney Compass

More imagery from my Disney trip. This was a new image that I had never seen before and it really appealed. The detail is fabulous. In hunting around for an image for today, I thought of this. It didn’t turn out to be great for color, but I think some of the palettes are interesting.

ColorPlay-Compass-default

Of course the default palette is neutral heavy! Still there is that Sea Glass (great name, don’t you think?) fabric that lightens up the piece. Also some of the other colors have blue and purple twinges (undertones?), which makes the palette look at little less dark and depressing.

ColorPlay-Compass-n1

The first palette I made is a little all over the place. It isn’t very cohesive. Of course, I like the Lake and Niagra fabrics. It is interesting that the color names are related to water, though perhaps not surprising. I am not a fan of the Rose. It looks sick to me.

ColorPlay-Compass-n2

I went straight to monochromatic, which was marginally successful. I ended up with two of the same fabrics. C’est la vie. I do like the blues. I think my favorite is the Azure, but the Robin’s Egg is nice, too.

ColorPlay-Compass-n3

Palette n.3 is all over the place as well, though not a mess, I think. I don’t remember seeing Natural before. I have done a lot of palettes, so I could just not be remembering. The Wasabi looks like sunshine yellow on the bottom, which I like. It has more a green tinge on the side. The Garnet does not have enough red to look Garnet to me. I think it looks more plummy.

ColorPlay-Compass-n4

N.4 might be my favorite. It isn’t quite monochromatic, but stays well in the cool shades realm. I like the way Surf looks more purple on the bottom. I think it adds to the palette even though I think one of  the websites used to create this might be off. I think the lights look really good.

ColorPlay-Compass-n5

Finally, I decided to get out of my comfort zone and create something with more gold. Palette n.5 heads into the neutrals pretty quickly. I am not a very big fan of this particular palette, but it is different and it does remind me of Mrs. K’s gold Spiky 16 Patch.


What will inspire you today?