Various & Sundry 2019 #8

Other Artists

Friend Julie put up some links that I wanted to include here. However, there turned out to be too many, so I am linking to her Cornucopia post. Check out her links. I especially like the no bulk elastic join, which I think could be really useful!

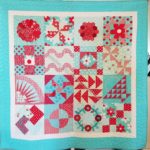
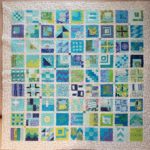
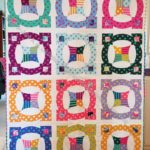
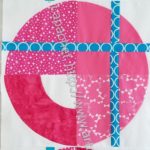
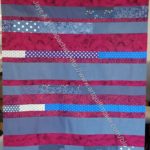
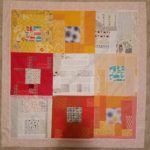
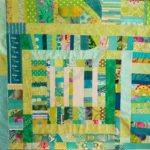
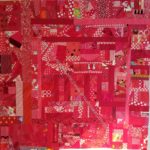
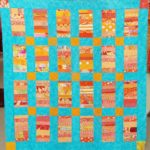
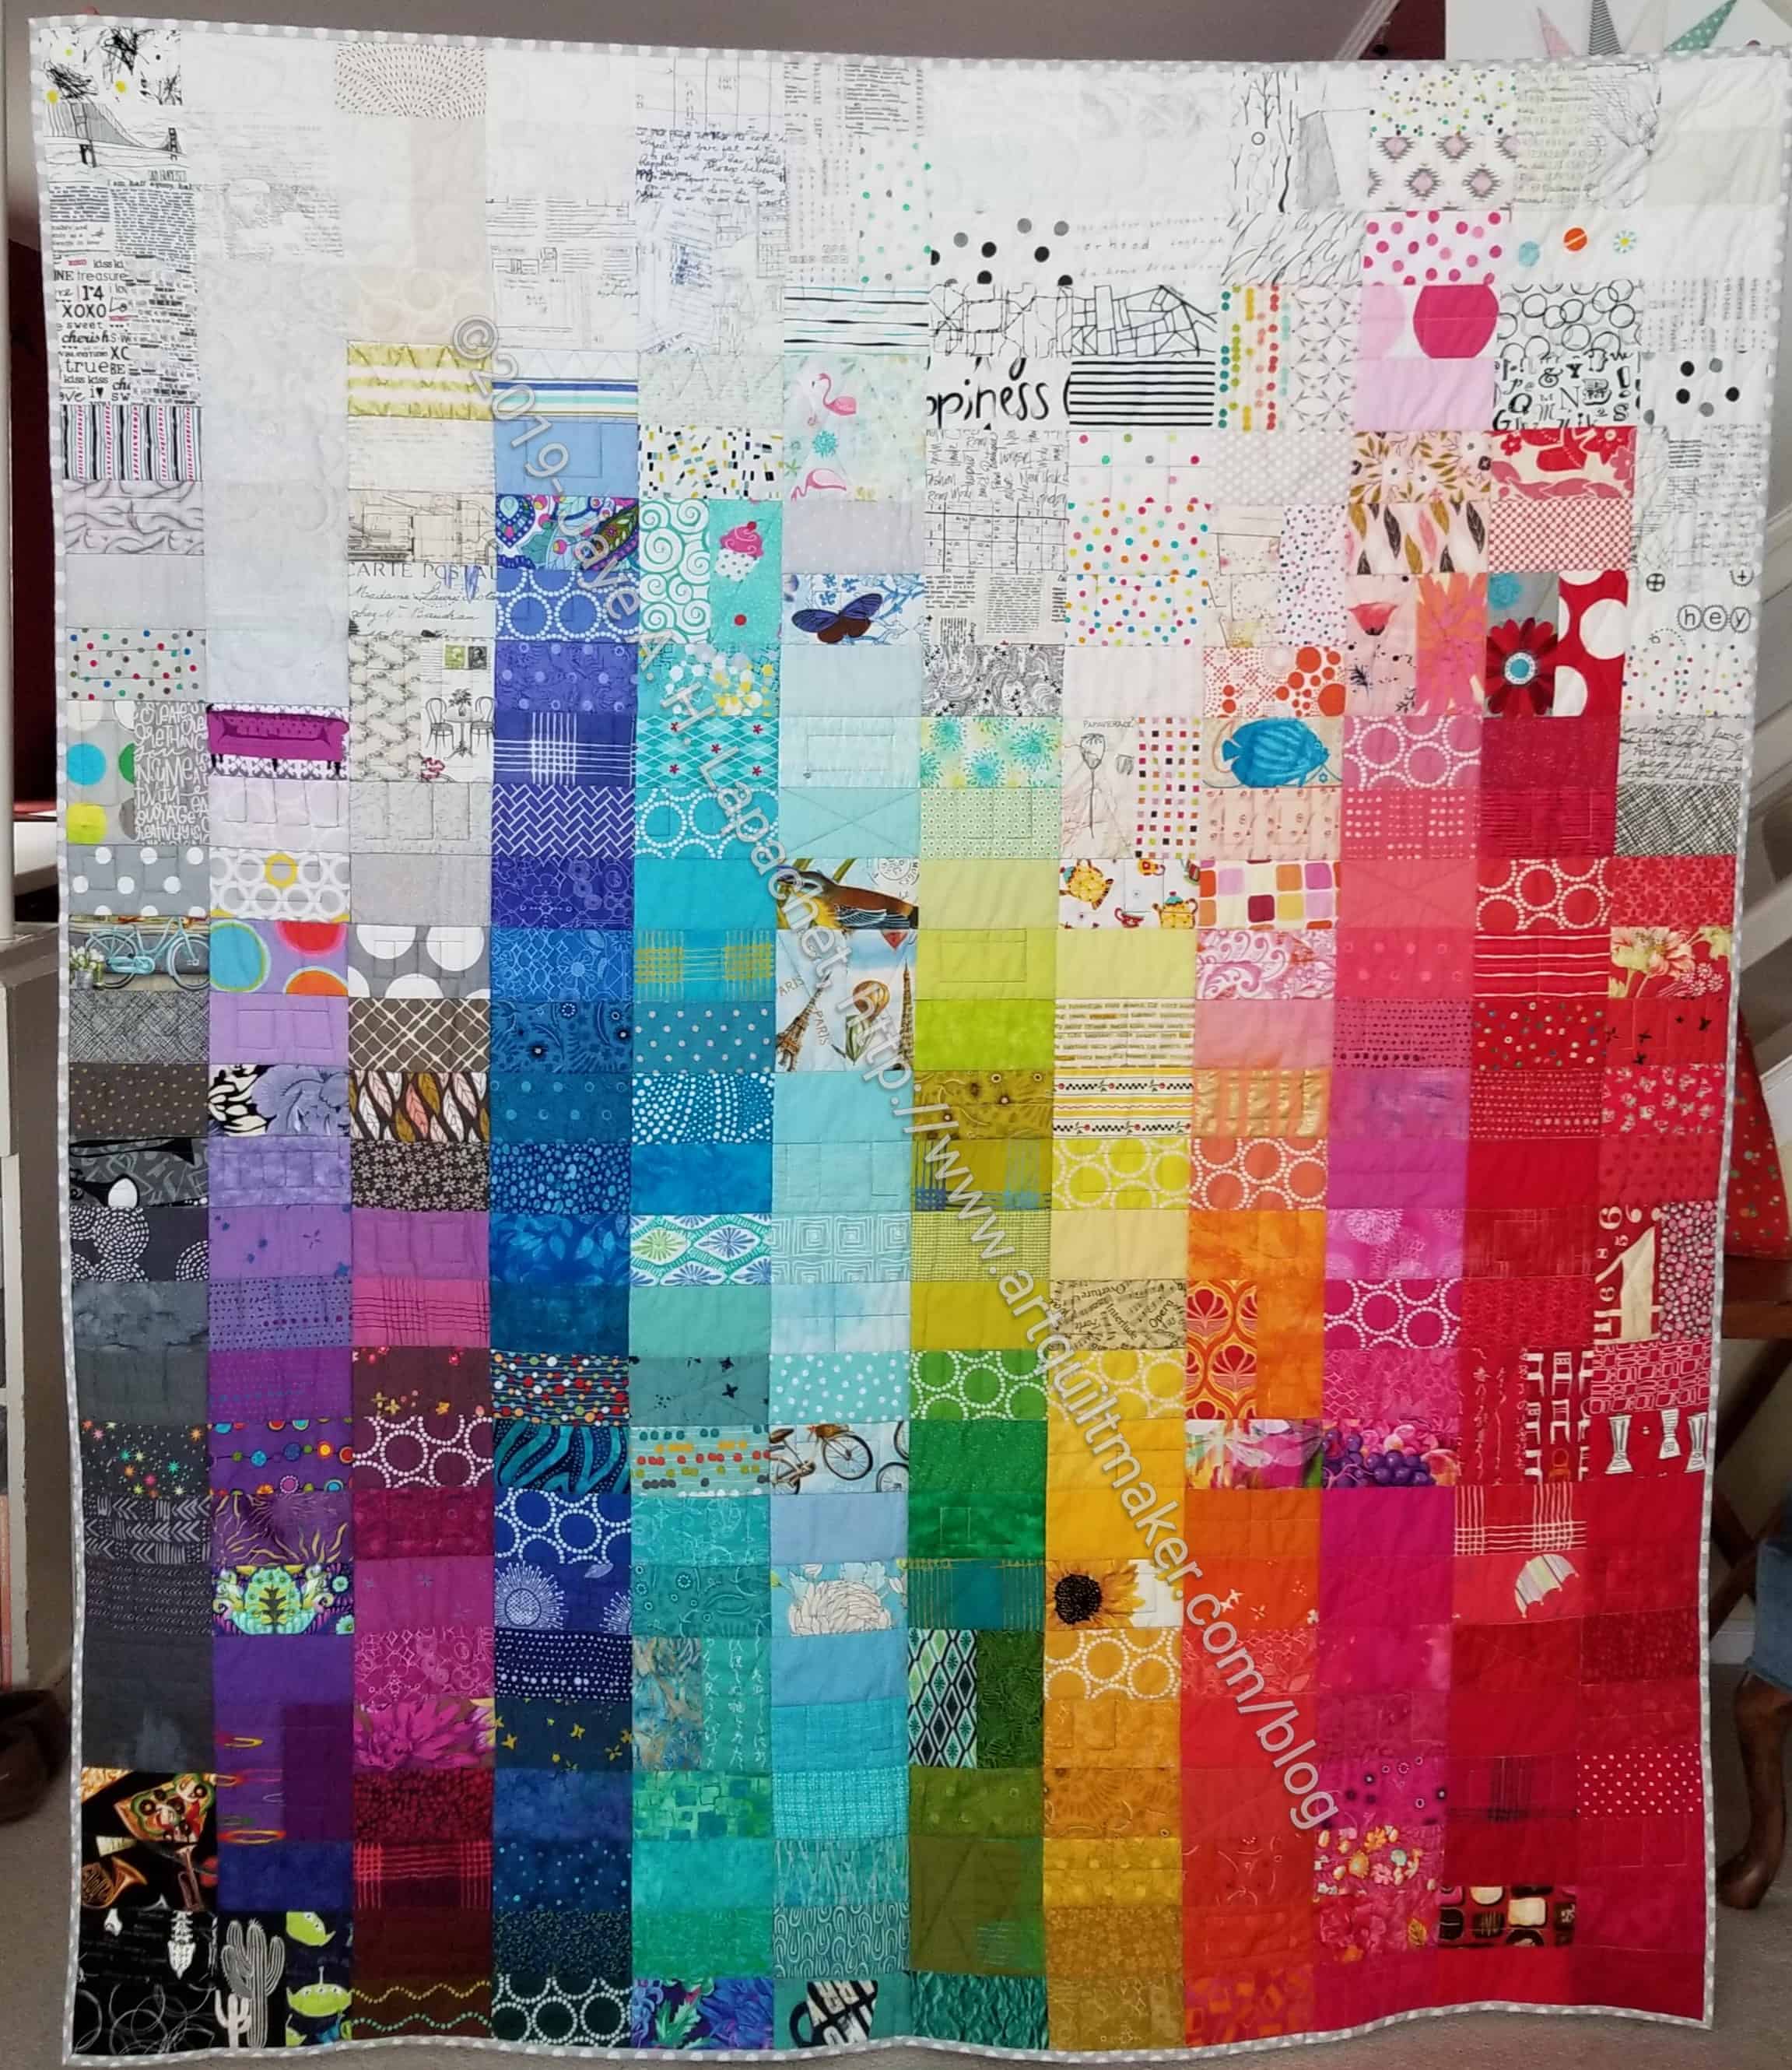
I like the red blocks in Julie’s Luminous quilt. They give me a new idea for my strip donation quilts after I finish the ones I am working on. I wrote more about this a few days a go. What do you think?

You may have heard that Rosalie Dace was deported when she tried to enter the country to teach recently. The Quilt Show posted the story of what happened to her.

My guild is contributing stitches to Jennifer Kim Sohn’s 25 million stitches project. This is described as a public engagement art installation. If you or your guild want to participate, there are instructions on the site. The final deadline is Apr 30, 2020.

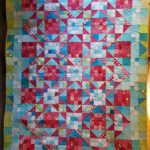
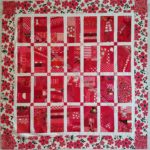
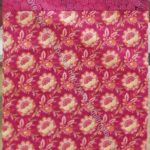
I like the quilting on this dogwood quilt. I also like the pattern and the color choices.

Laura Kemshall has an update on the Ruby Star Project.

QuiltDiva Julie has a page dedicated to her workroom. She has a lot of great ideas for storage and workspaces. Her DH seems very handy with a  hammer and saw!

Projects, Patterns & Tutorials

Love of Patchwork & Quilting is starting a new block of the month program.

I delved into one of (I think??) the Modern Quilt Guild’s sites after getting a link in an email. I don’t know if they have changed the site or there are multiple sites, but I didn’t recognize it from where I had been before. I looked around and came across a section on virtual bees. There are some interesting and, at least one, moving stories included. What was not included was things that are problematic about any kind of round robin. I have experienced poor workmanship, bad fabric (ugly and poor quality) and projects disappearing. I am sure my experience is in the minority and I did have a couple of good in person experiences, but I stay away from these types of projects as I see them as possibly turning into problems or ending up as projects I don’t like or don’t want to do.

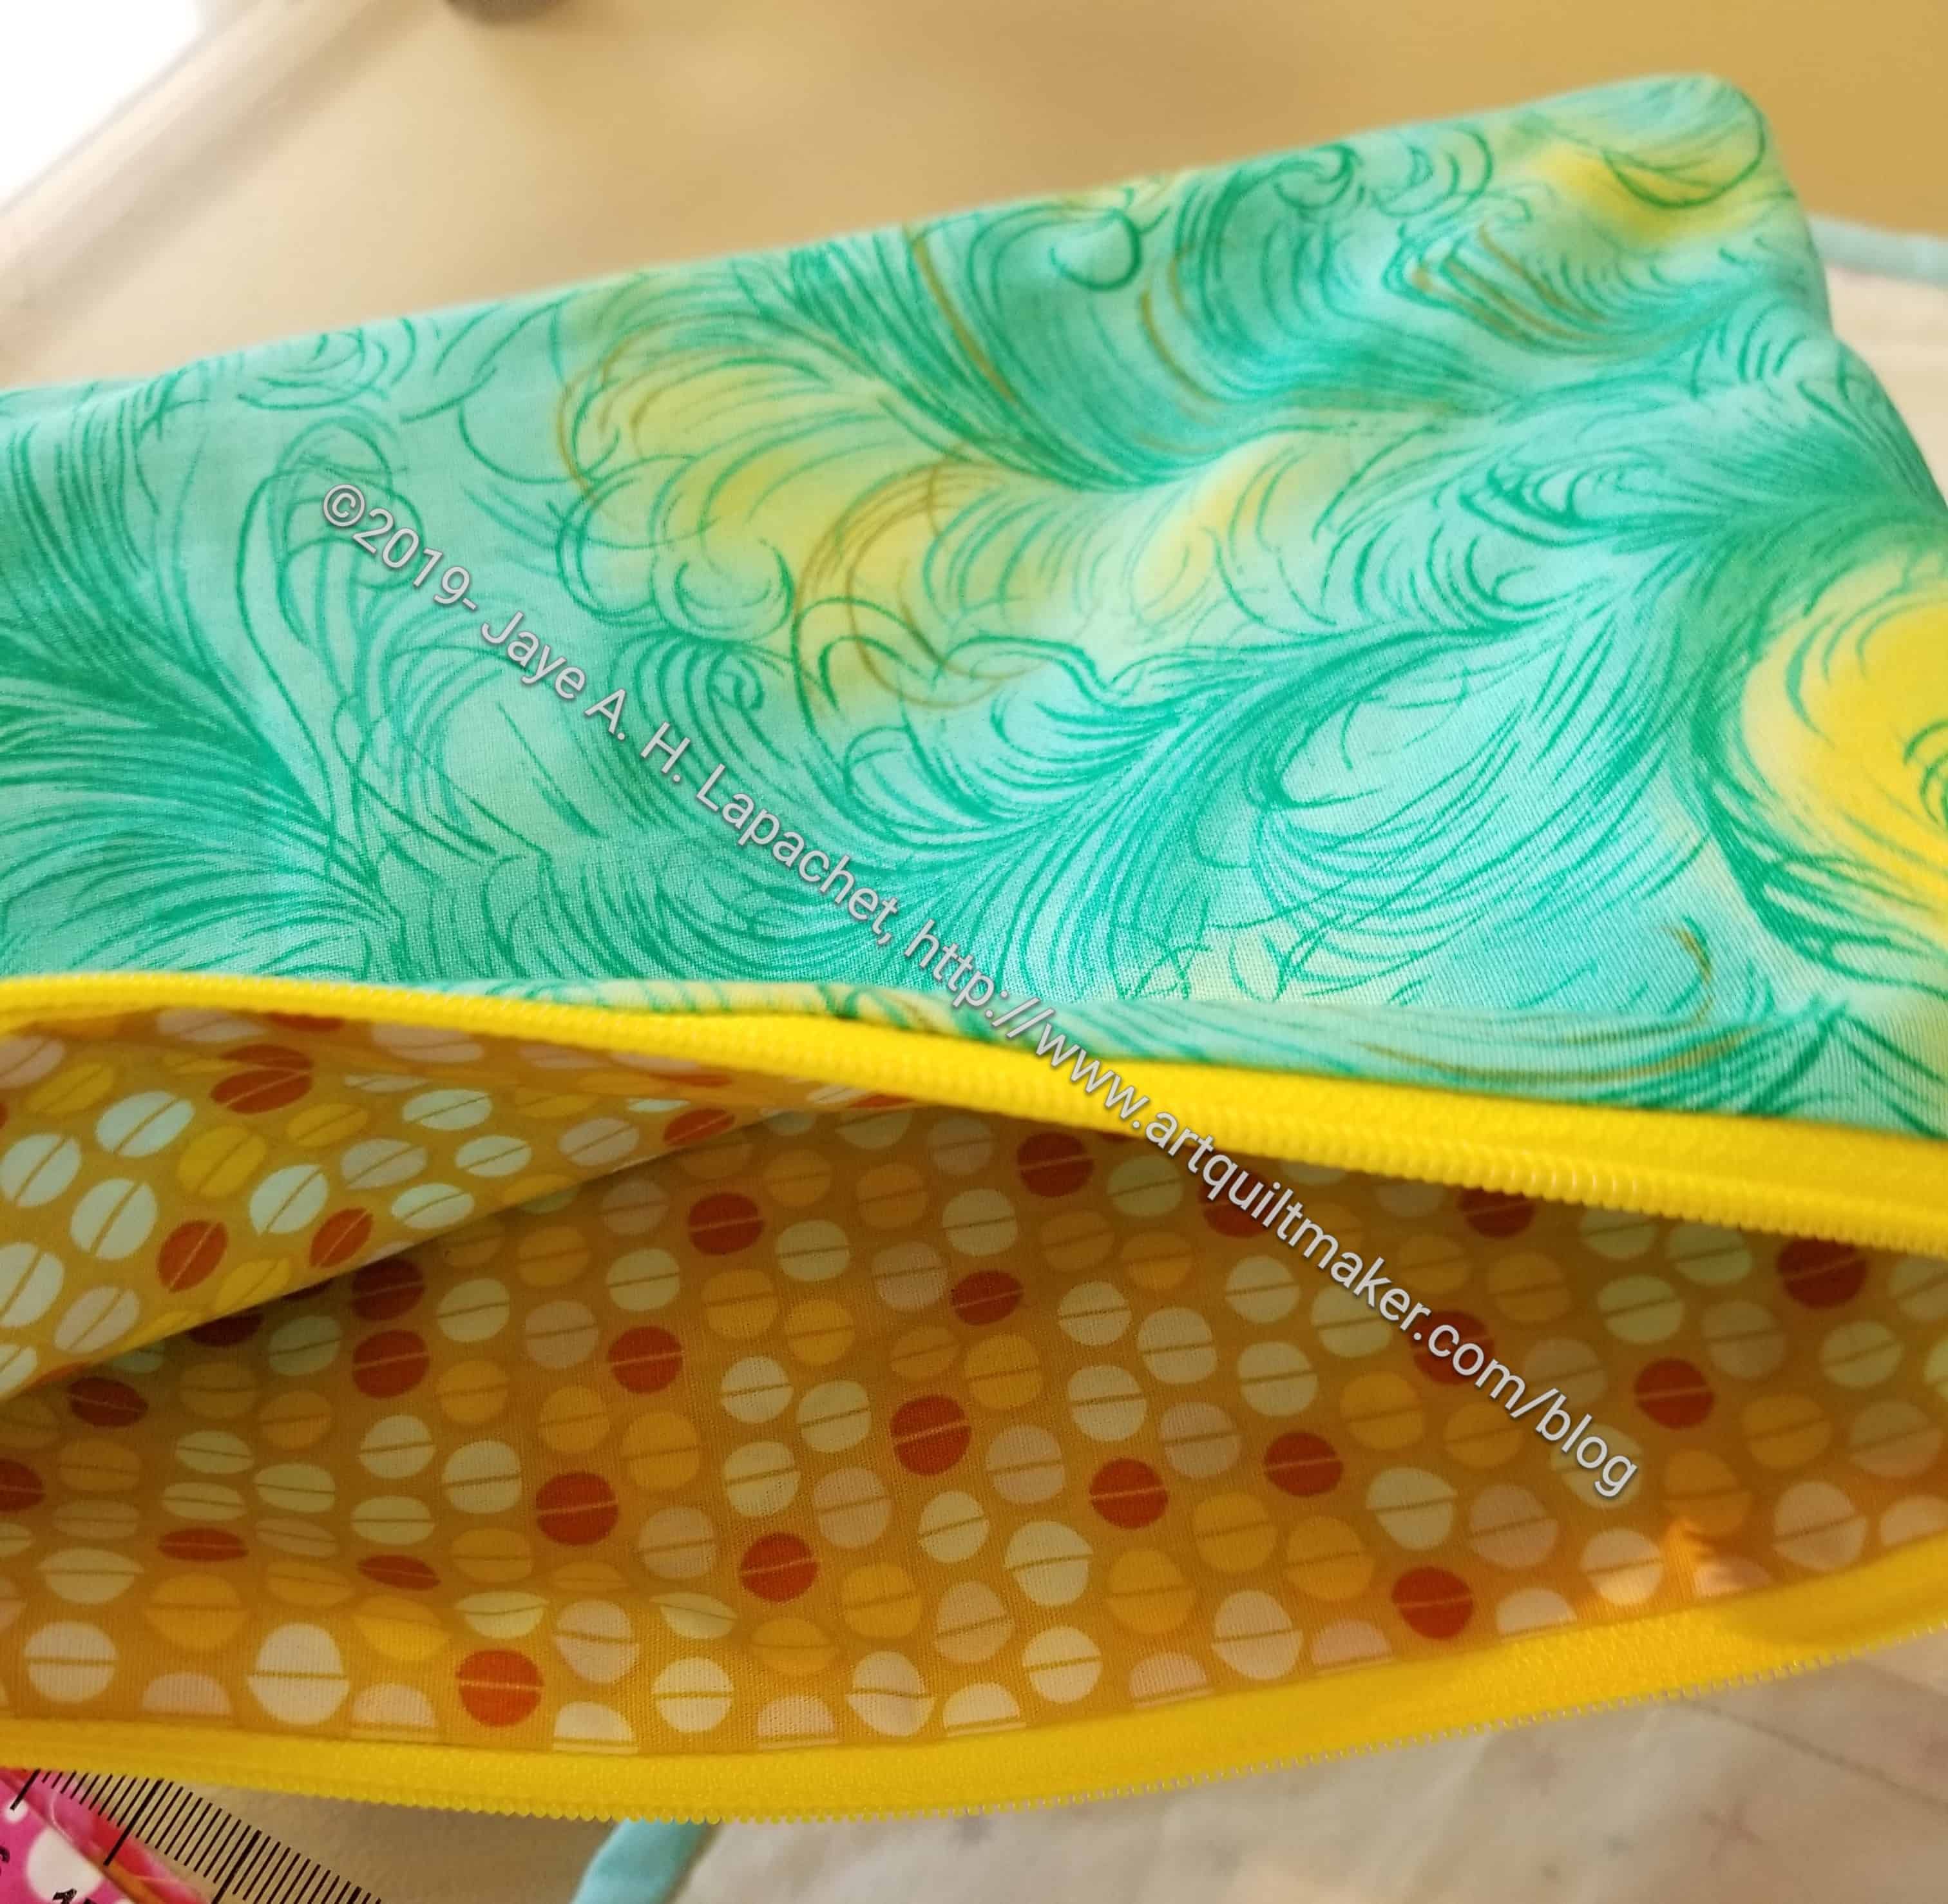
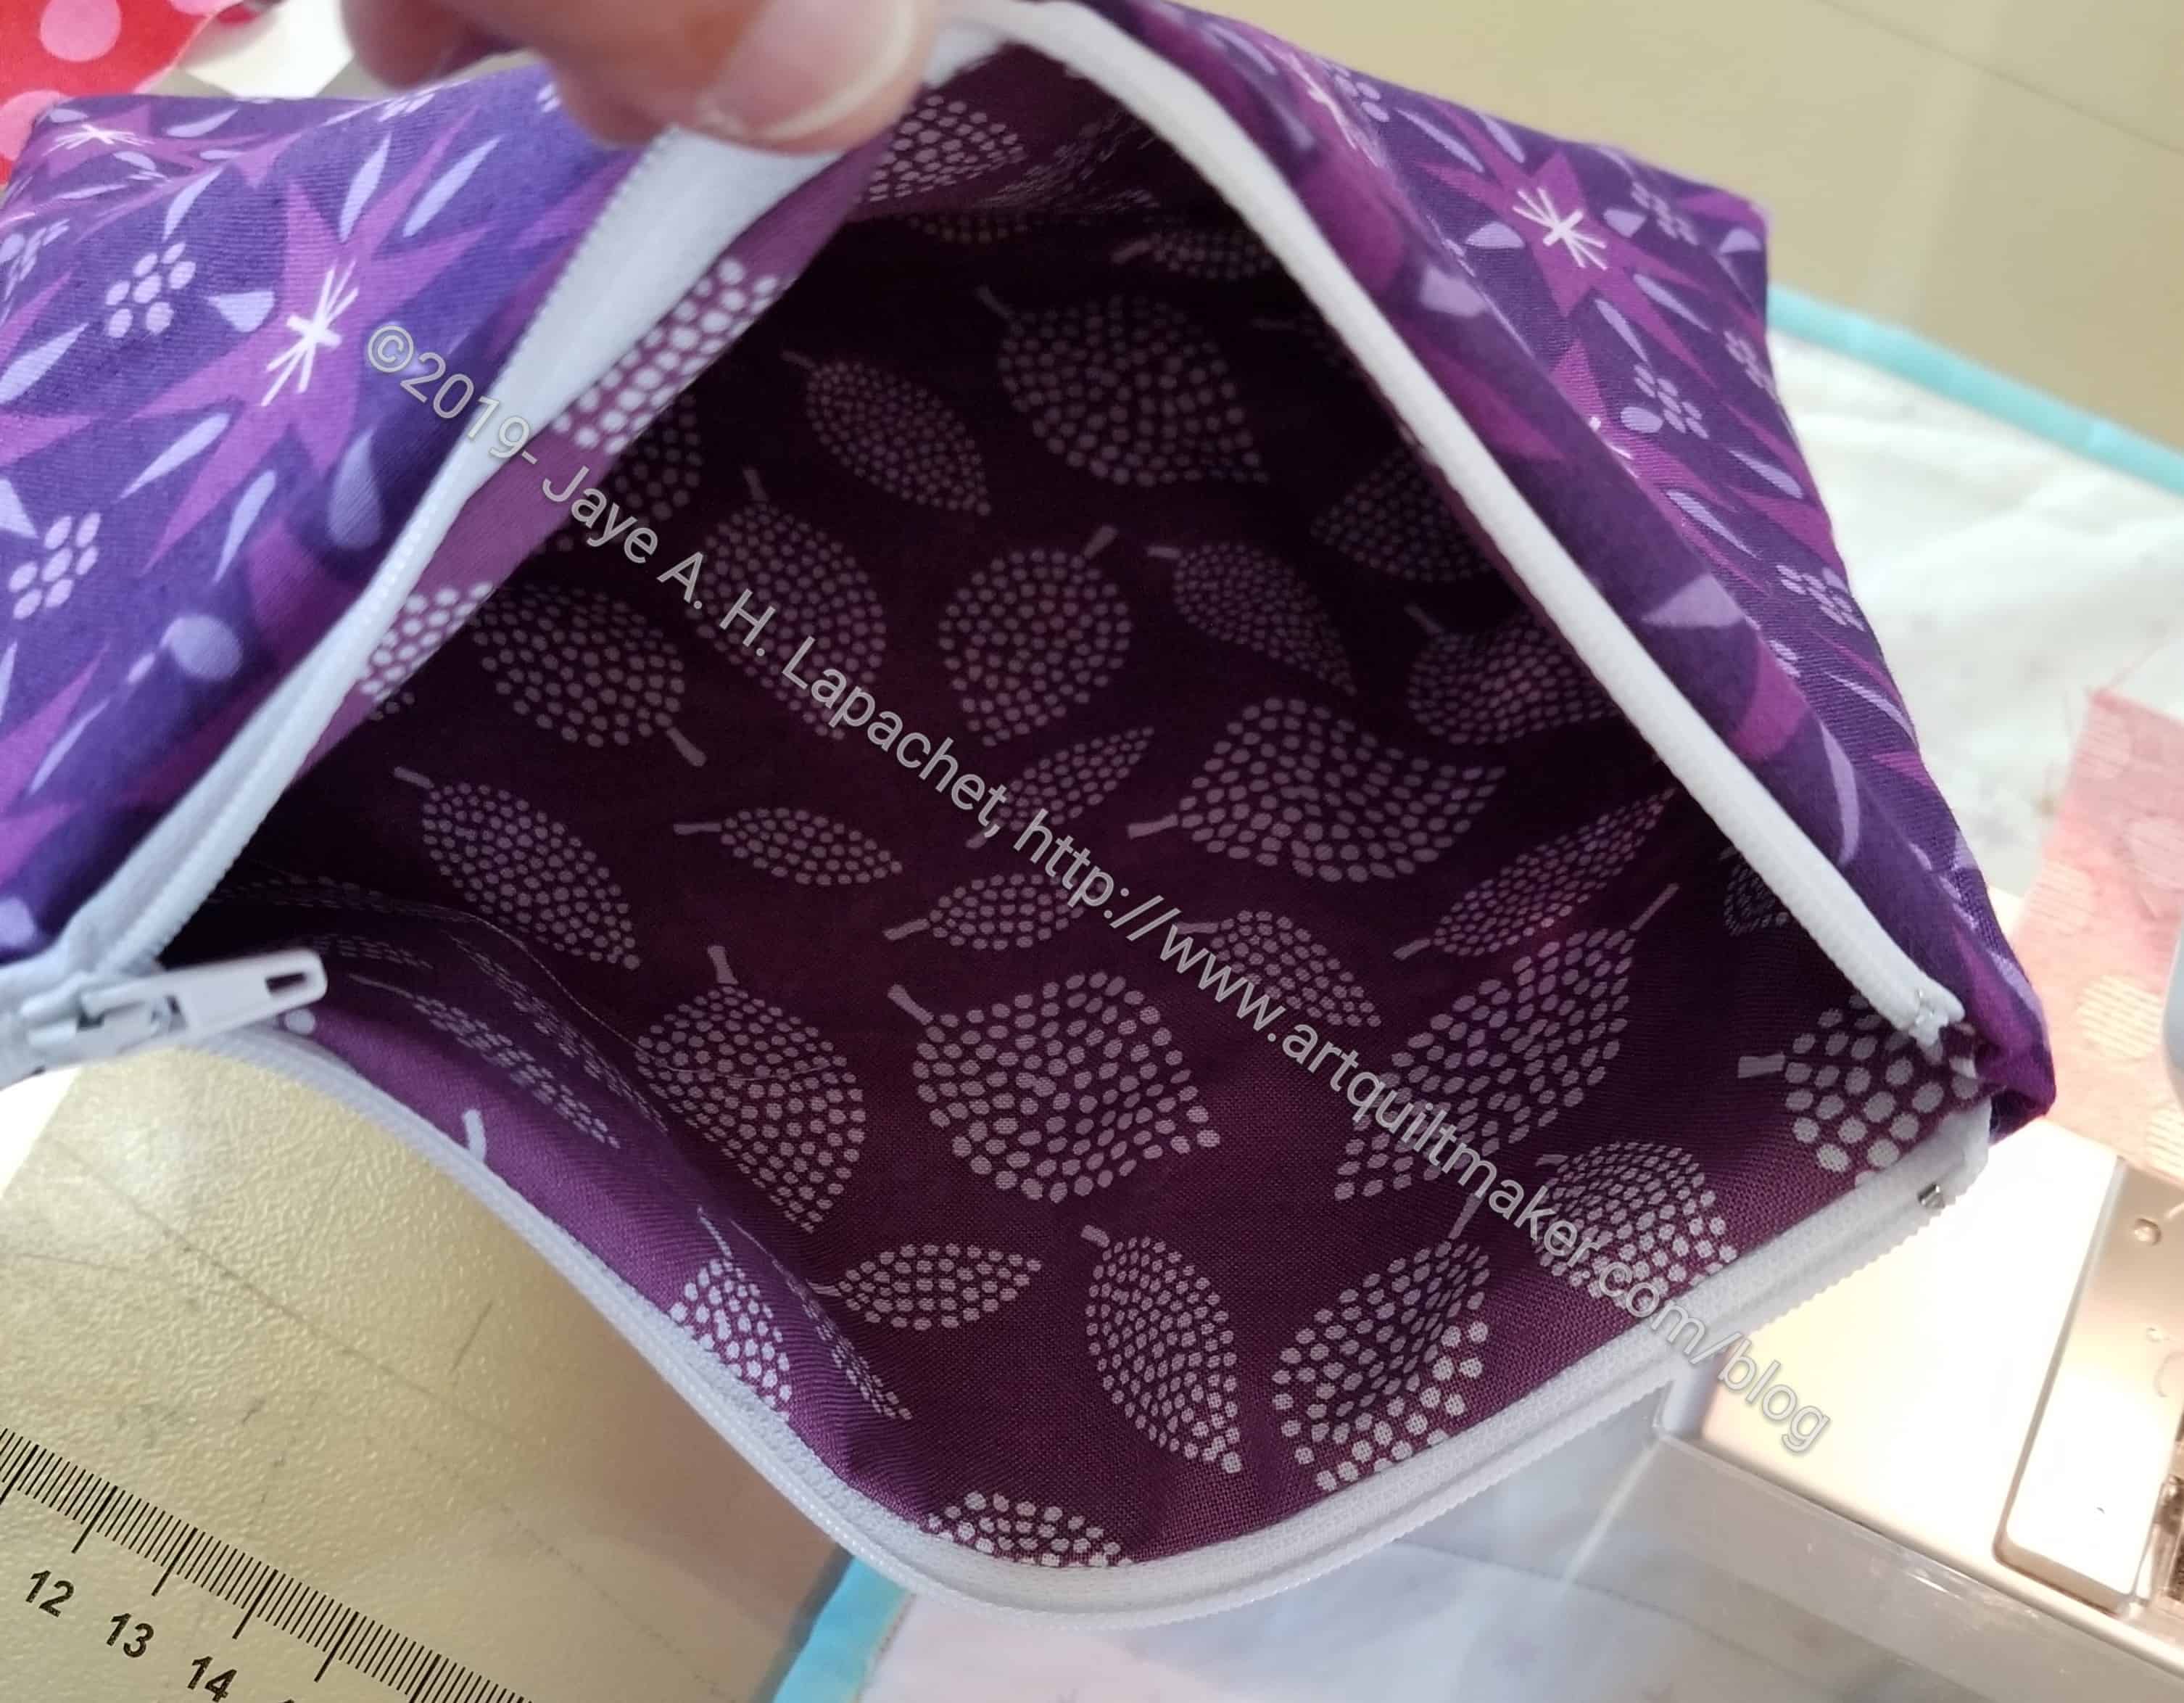
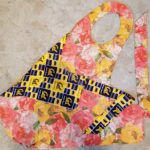
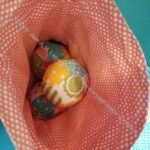
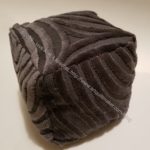
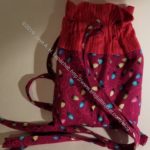
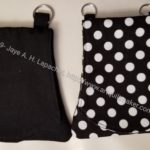
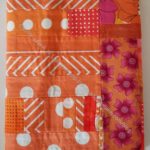
Sara of Sew Sweetness has a book club as part of her site. With each book she releases a free pattern. This time it is the Suffolk Coin Purse. This would make great gifts for guild mates.

MellySews has a whole bunch of tutorials. I was impressed with the accessories section, but there are clothing and kids sections as well.

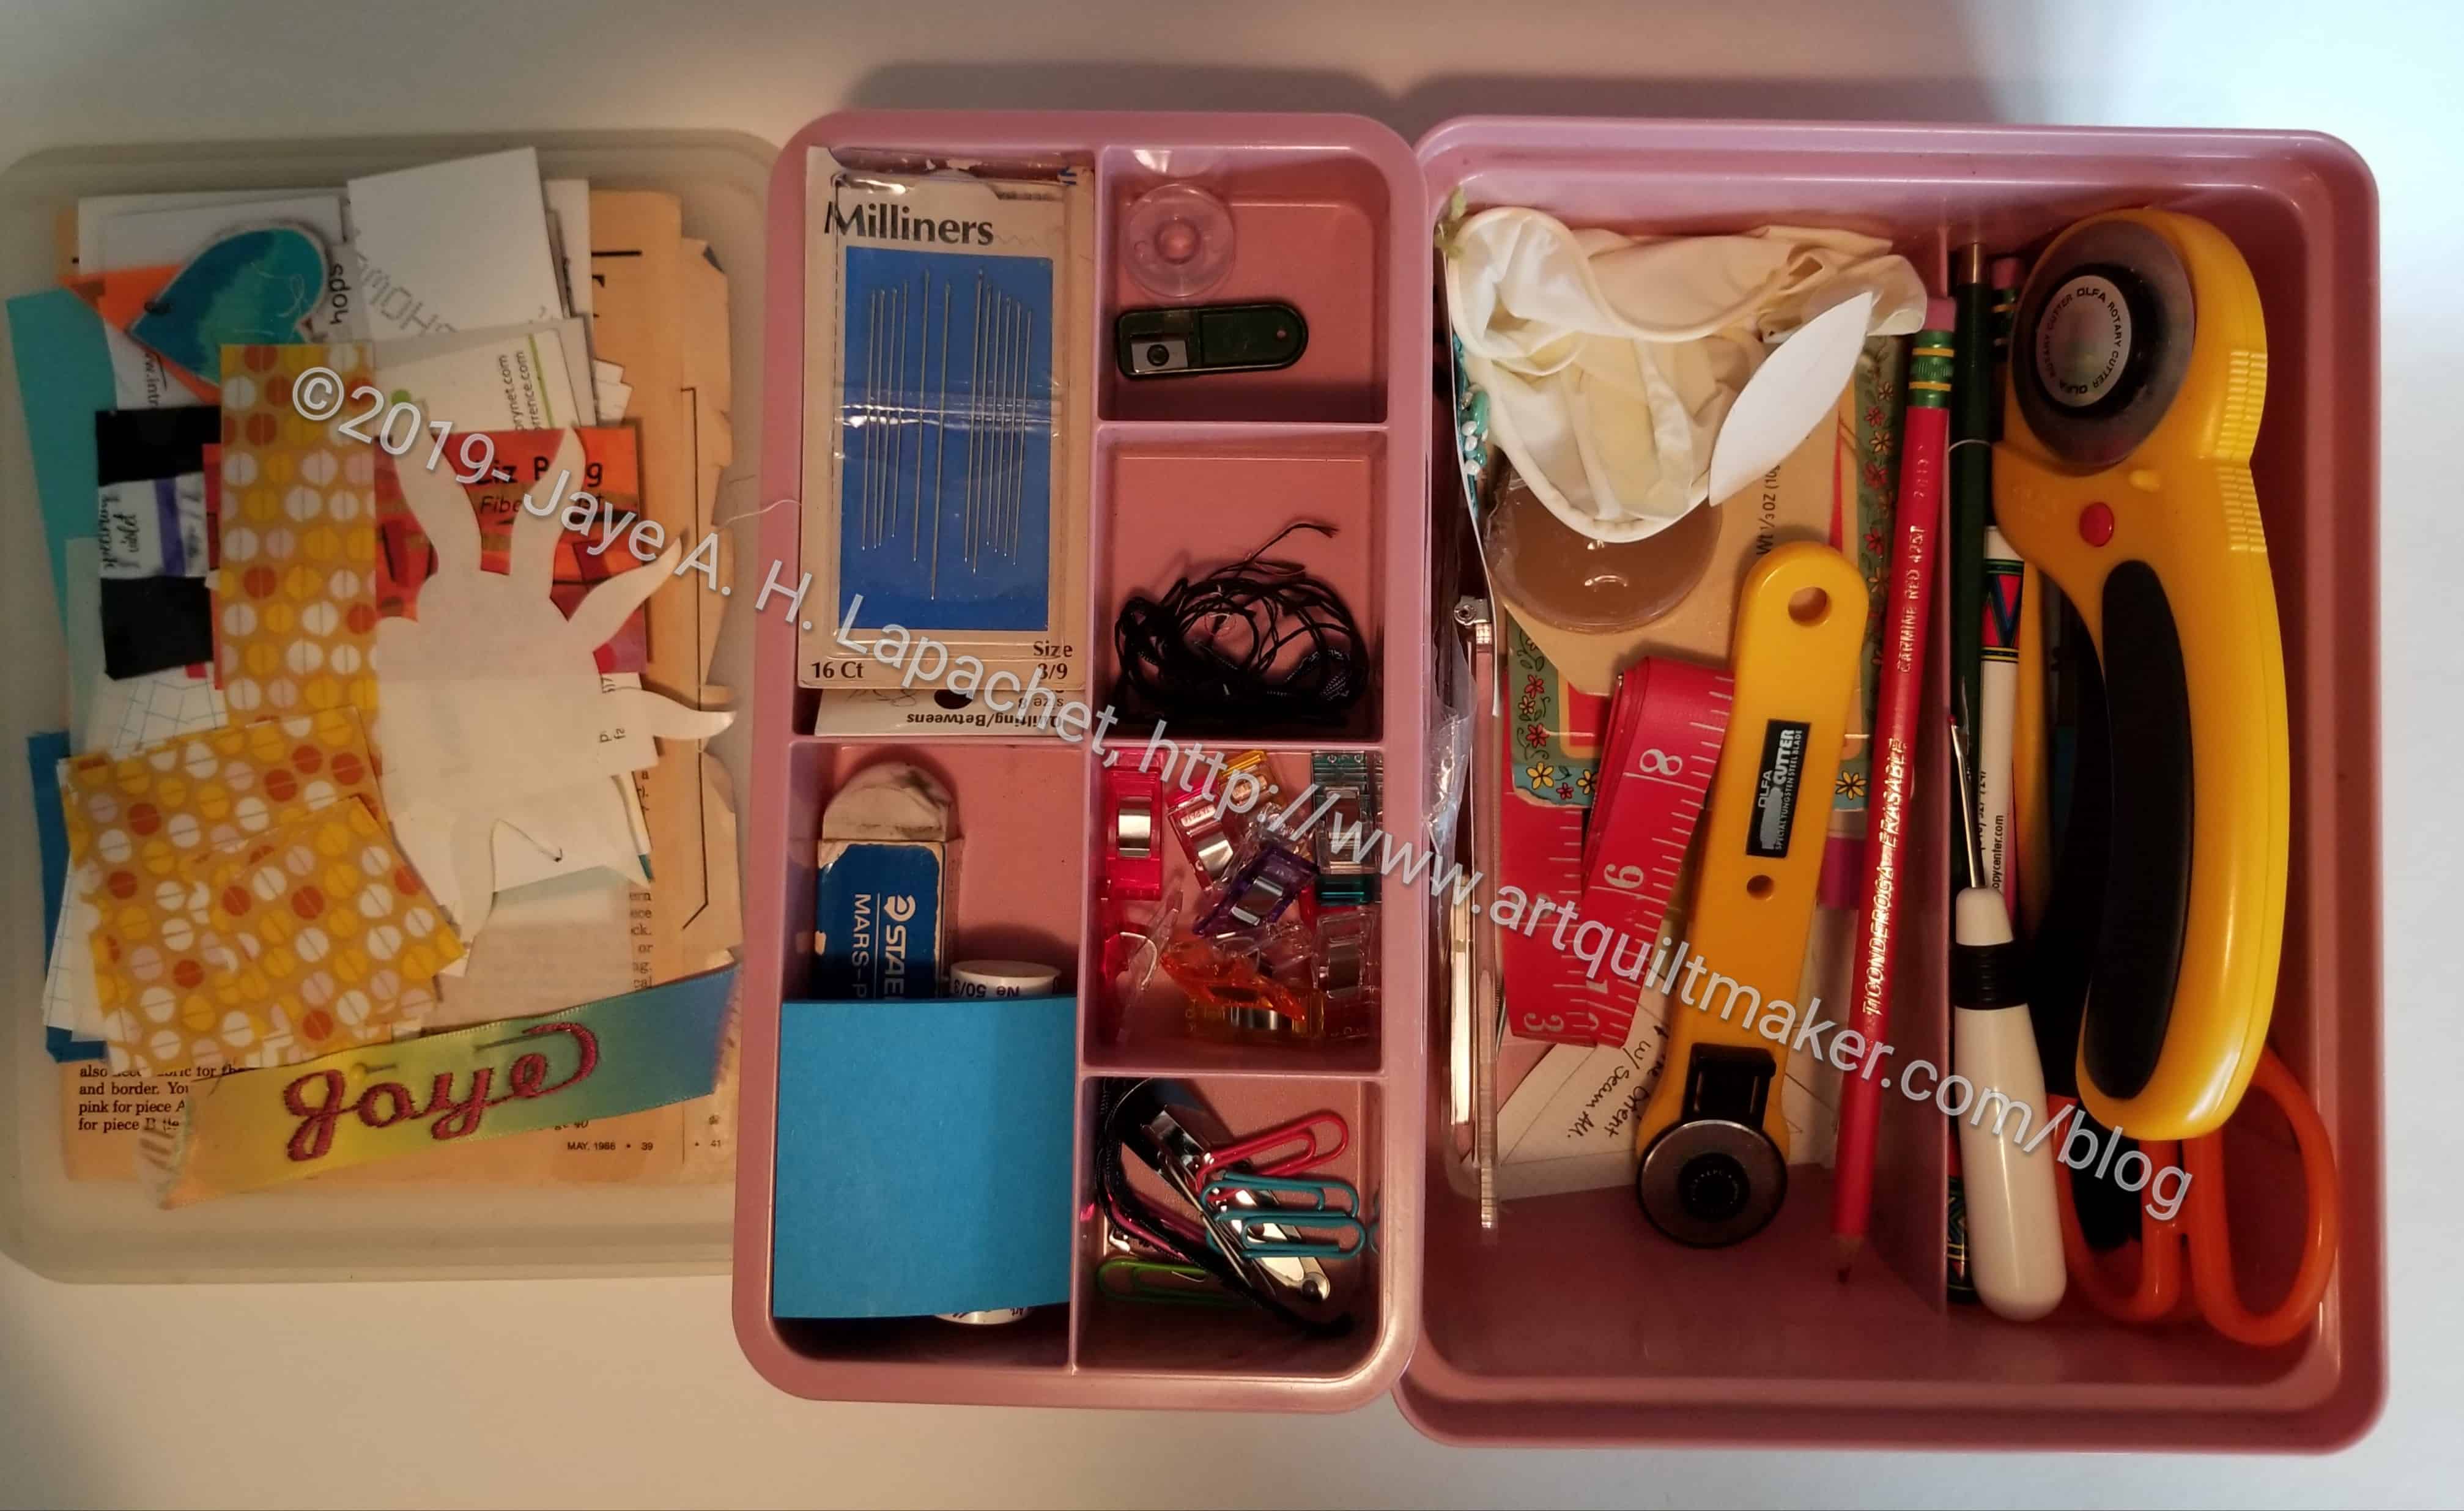
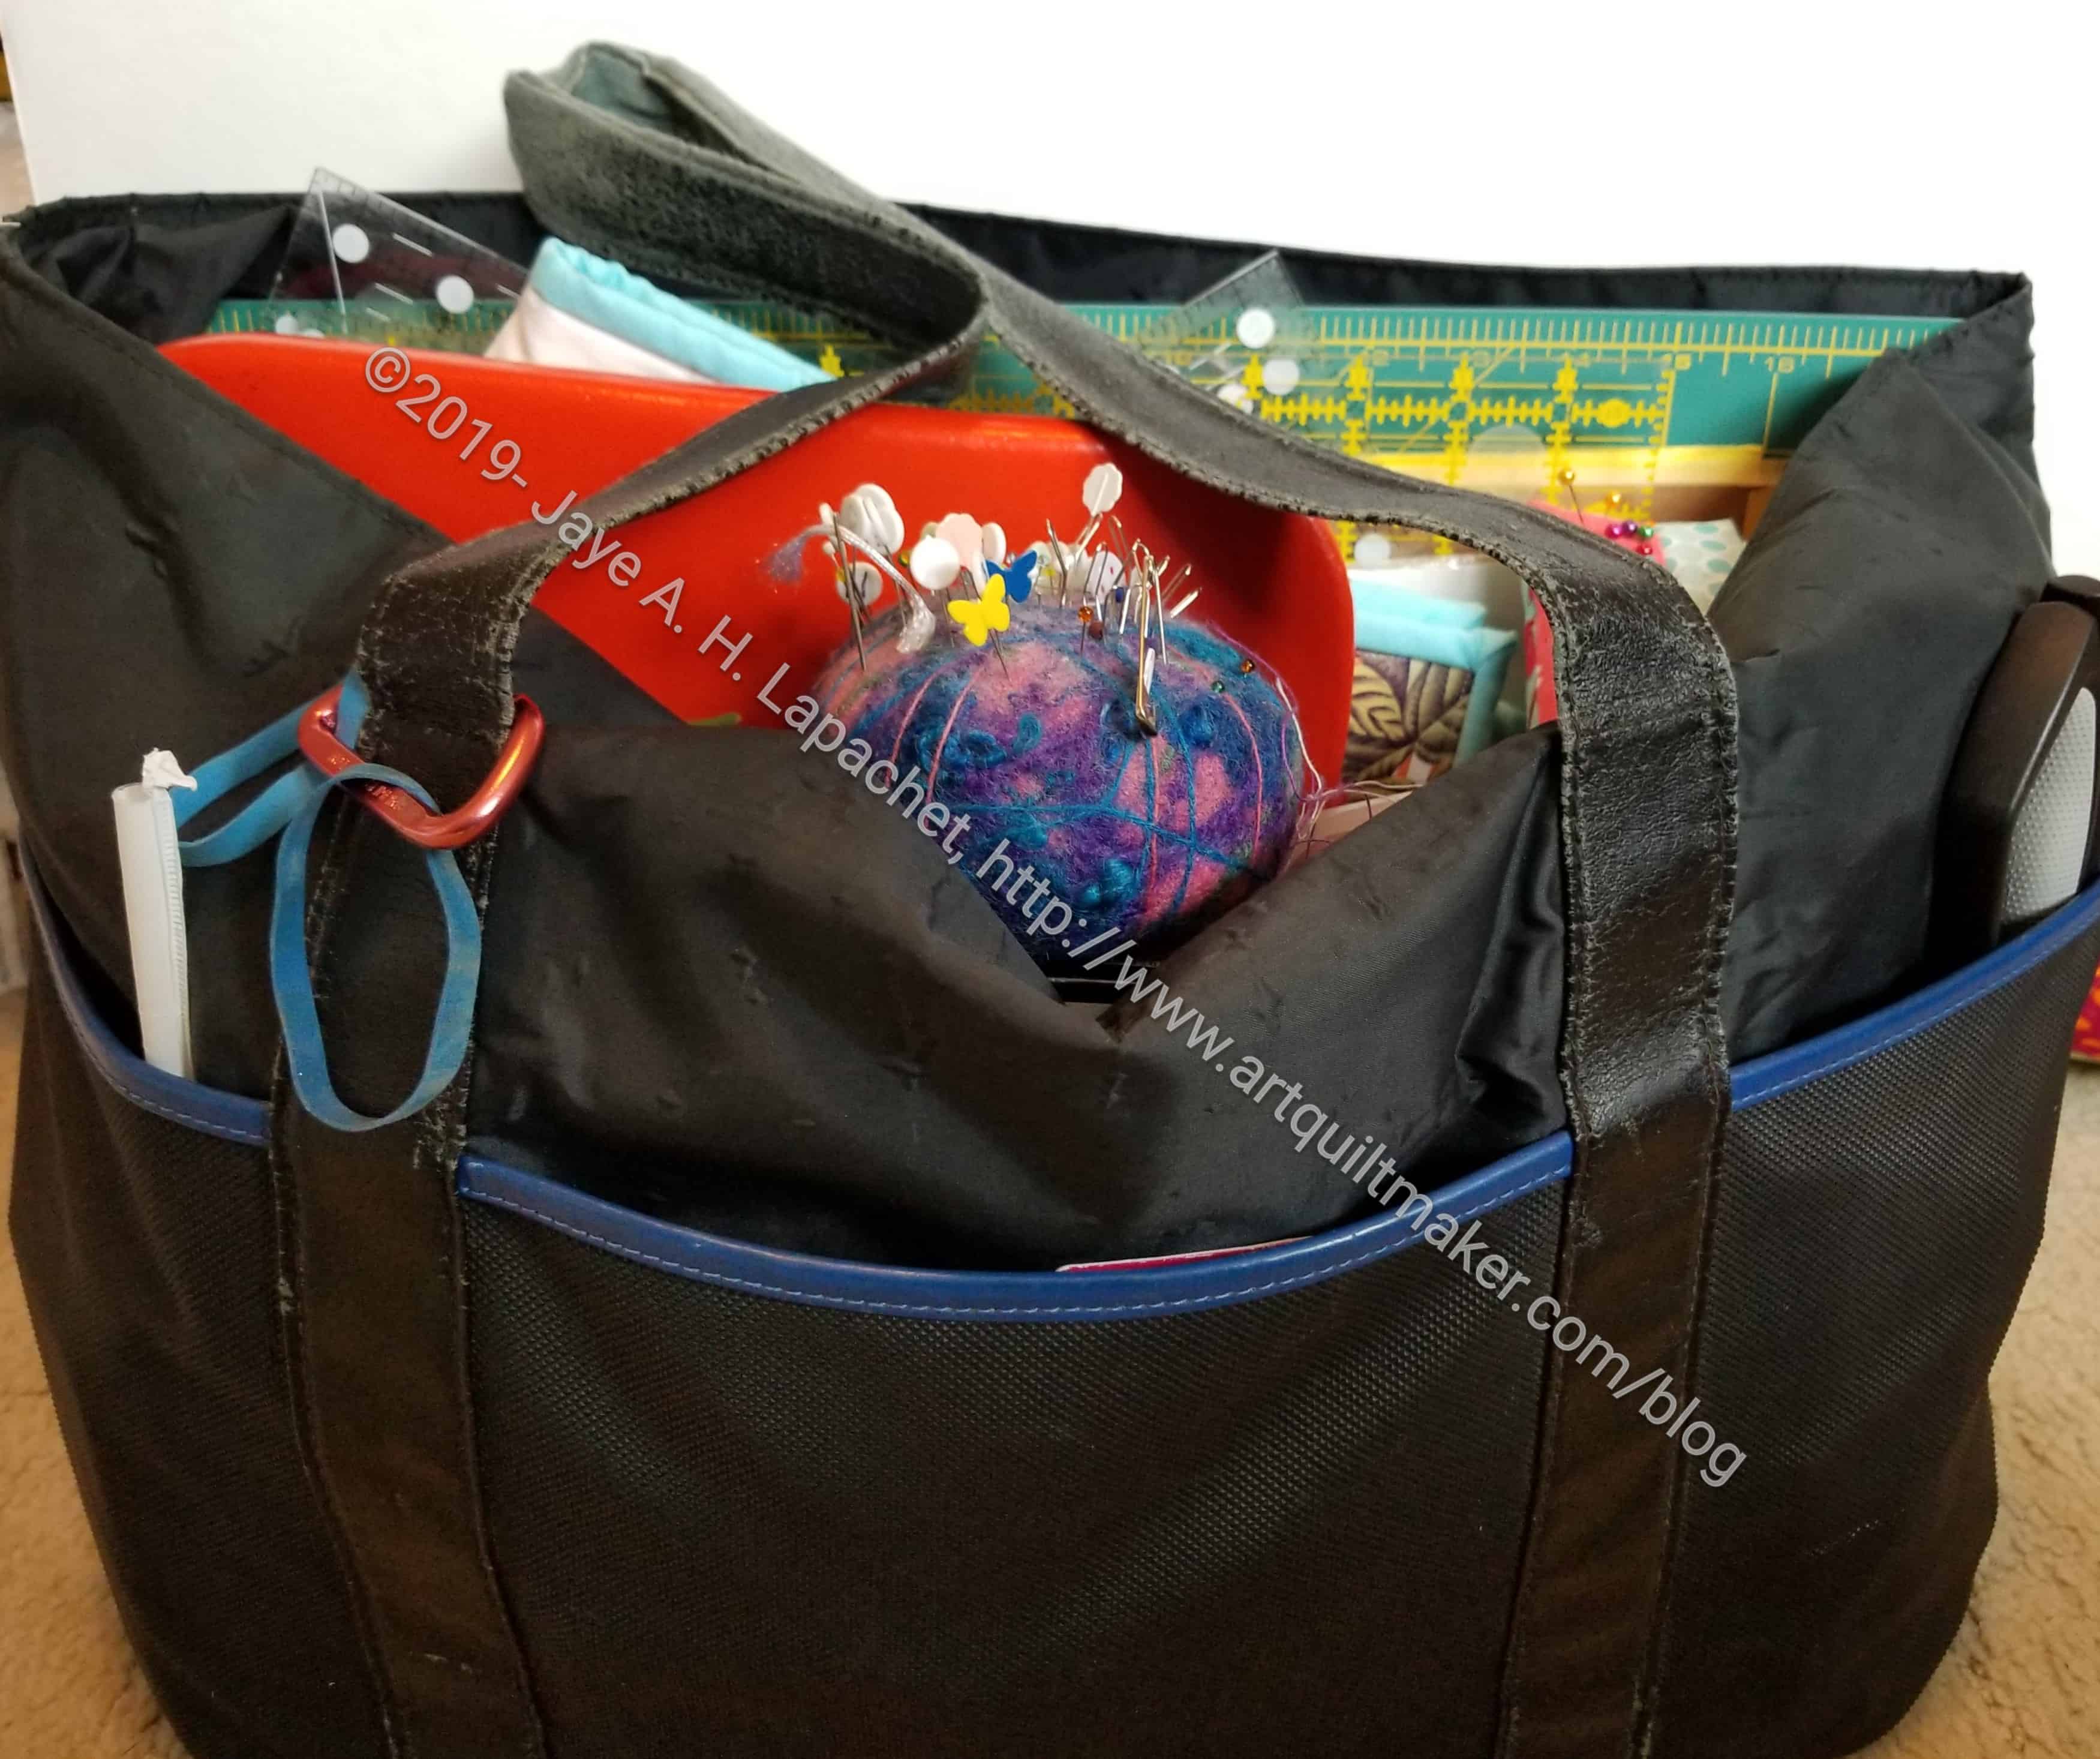
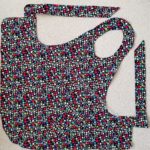
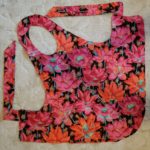
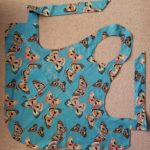
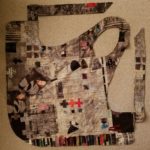
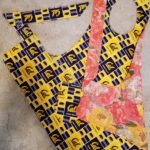
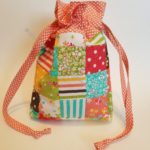
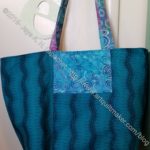
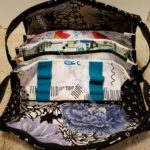
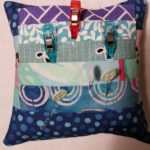
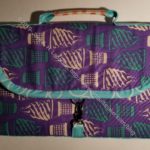
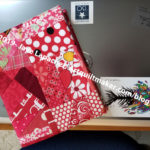
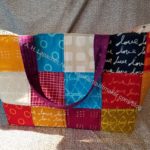
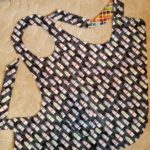
I found a Purse Organizer pattern in my quest for zipper pouches. I think it is more like a super sized zipper pouch, or makers wouldn’t need to use it as a purse organizer, but could use it as sub-organizer in other bags. With the fabric, men could use it as well.

 A week or so ago, I was reading Barbara Brackman’s Material Culture blog post. She posted the current results of applique’ BOM she is running on her Civil War blog. She has just posted block #7 and you can scroll back through the blog (January – July 2019) to to get the other blocks if you want them for free. Alternatively, you can buy them all at once in PDF form to print yourself from her Etsy site (instant gratification). She’ll mail you black and white pattern sheets, the purchase of which is also available in her Etsy shop.

Barbara is starting up a Daredevils QAL. I talked about this before, but now it has started. She introduced the first block a week or so ago. This block is not for the faint of heart, but speaks to me and my desire for more complicated and interesting blocks. I haven’t decided if I will do the QAL or not, but am thinking about it. She has some great examples of quilts made with the first block. One thing I like about the first block is that Barbara is showing old blocks, talking about them and exposing people with new and modern fabrics to them, so we can make something new out of them.

Fabric, Supplies & Tools

Remember my Octagon 9 Patch quilt? It has been on my mind lately. If you want to make one, check out these Octagon templates from EE Schenk.

I get the Paintbrush Studios newsletter. In a recent issue, sent July 29, 2019, they introduced their Hallowe’en fabrics, Halloween Night by Katie Larson. They also said “Halloween Night will not be available online this season, so the only way to get it is through your local fabric store!” I discussed it a little with Friend Julie and we have lots of questions. What if a fabric shop has an online presence? Do they just mean Amazon and other large fabric selling sites?

Spoonflower’s newest issue is out. Yes, it is all about trying to sell you their fabric, but it is a beautiful magazine with great imagery. I like the way they combine different fabrics and show various ways they can be used. There are no internal links, apparently, so you can’t click from something in the magazine to their website. I am sure that functionality is coming. Find a pattern for zipper pouches referenced.

Scruffy Quilts was  probably the closest shop to me. I went there for a few hours periodically to take advantage of their open sew and also to take classes. The brick and mortar store closed this year. The other day I got an email, so I think their online store is still open (or open again?).

Articles, Exhibitions & Books

The Quilters’ Guild of the UK is celebrating 40 years of collecting quilts. A book about their 40 years of collecting is available through their shop for 12 English pounds. It does not appear to be available on Amazon.

The Patchwork Association of Spain (Asociación Española de Patchwork) hosts

The Craft Industry Alliance has an article about Sara Lawson of Sew Sweetness and how she uses video.

With all of the celebrations around the Apollo 11 spacecraft, I was not surprised to see an article about the seamstresses who helped ‘clothe’ the astronauts. Women, the article reports, had the agility and accuracy to make the suits to detailed specifications and with no mistakes.

Lately I have been reading magazines via RBDigital by checking them out of my library. I’d rather read them in print, but I am being a cheapskate. I also want the library to buy more quilting books and magazines. In a recent issue of Quilts and More, I saw an Acrylic Ruler Connector. This seems like a great idea! It is described as: “Extend your cutting ability with our smart design Acrylic Ruler Connector. This device bridges and holds together two acrylic rulers of any size for accurate, longer cuts. A retractable alignment guide helps square up rulers for a smooth, clean cutting edge, and folds up, out of the way, to allow for cutting on all sides. The tension handle can be pressed to not only ensure a tight grip between rulers, but serves as a comfortable place to rest your hand while cutting.” The description appears to say that users can use any ruler. Unlike the Guidelines4Quilting connector which needs their special rulers. Check out product features on the Fiskars product page. If you buy one, tell me what you think.

I also recently saw an ad for the Clover Ultimate Quilt ‘n Stitch Presser foot. It is described as “Clover’s Ultimate Quilt n Stitch presser foot is your go to for creating parallel line straight stitching and straight line machine quilting. Featuring a built in stitch ruler for guiding rows of parallel stitching. Distance can be set between needle and alignment guide from 3/8 inch to 3 inch. Easily stitch multiple rows of stitching without marking each line.” I liked the variety of measurements. Some machines have these types of attachments, so you don’t this Clover version. Check your machine specs before you buy to make sure your machine is compatible.

Duke has a celebration of 20 years of the Durham African American Quilt Circle.

Nebraska quilters have a site that preserves their stories. This particular page points to Grace Snyder who was discussed recently in the Quiltfiction FB group.

My DH sent me a link to Aimee Hodge’s Crazy Quilt style parlor throw. It is thought that Aimee worked on this throw throughout her life.

Media

Want a dream sewing room/quilt studio? Sign up to win one with AllPeopleQuilt.

Quilts & More: 1 Block 3 Ways feature

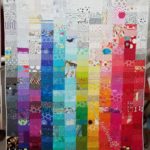
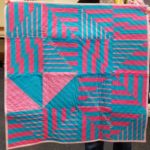
While reading the Summer issue of Quilts and More, I saw their “One Block Three Ways” feature. This is a great example of the power of blocks. It also shows how to achieve a completely different look from one block. I have since read another issue and they seem to have it in every issue. Check it out from the library or on the AllPeopleQuilt site.

Kind reader Colleen passed along a link to a publication discussing running a crafty business. How shopowners got started, pricing and other relevant business topics are discussed. It is a PDF and the PDF is well done and pretty.

I just heard about the Awesome Box, which looks like it could be a great way to get a variety of art from different people.

At Home with Artquiltmaker

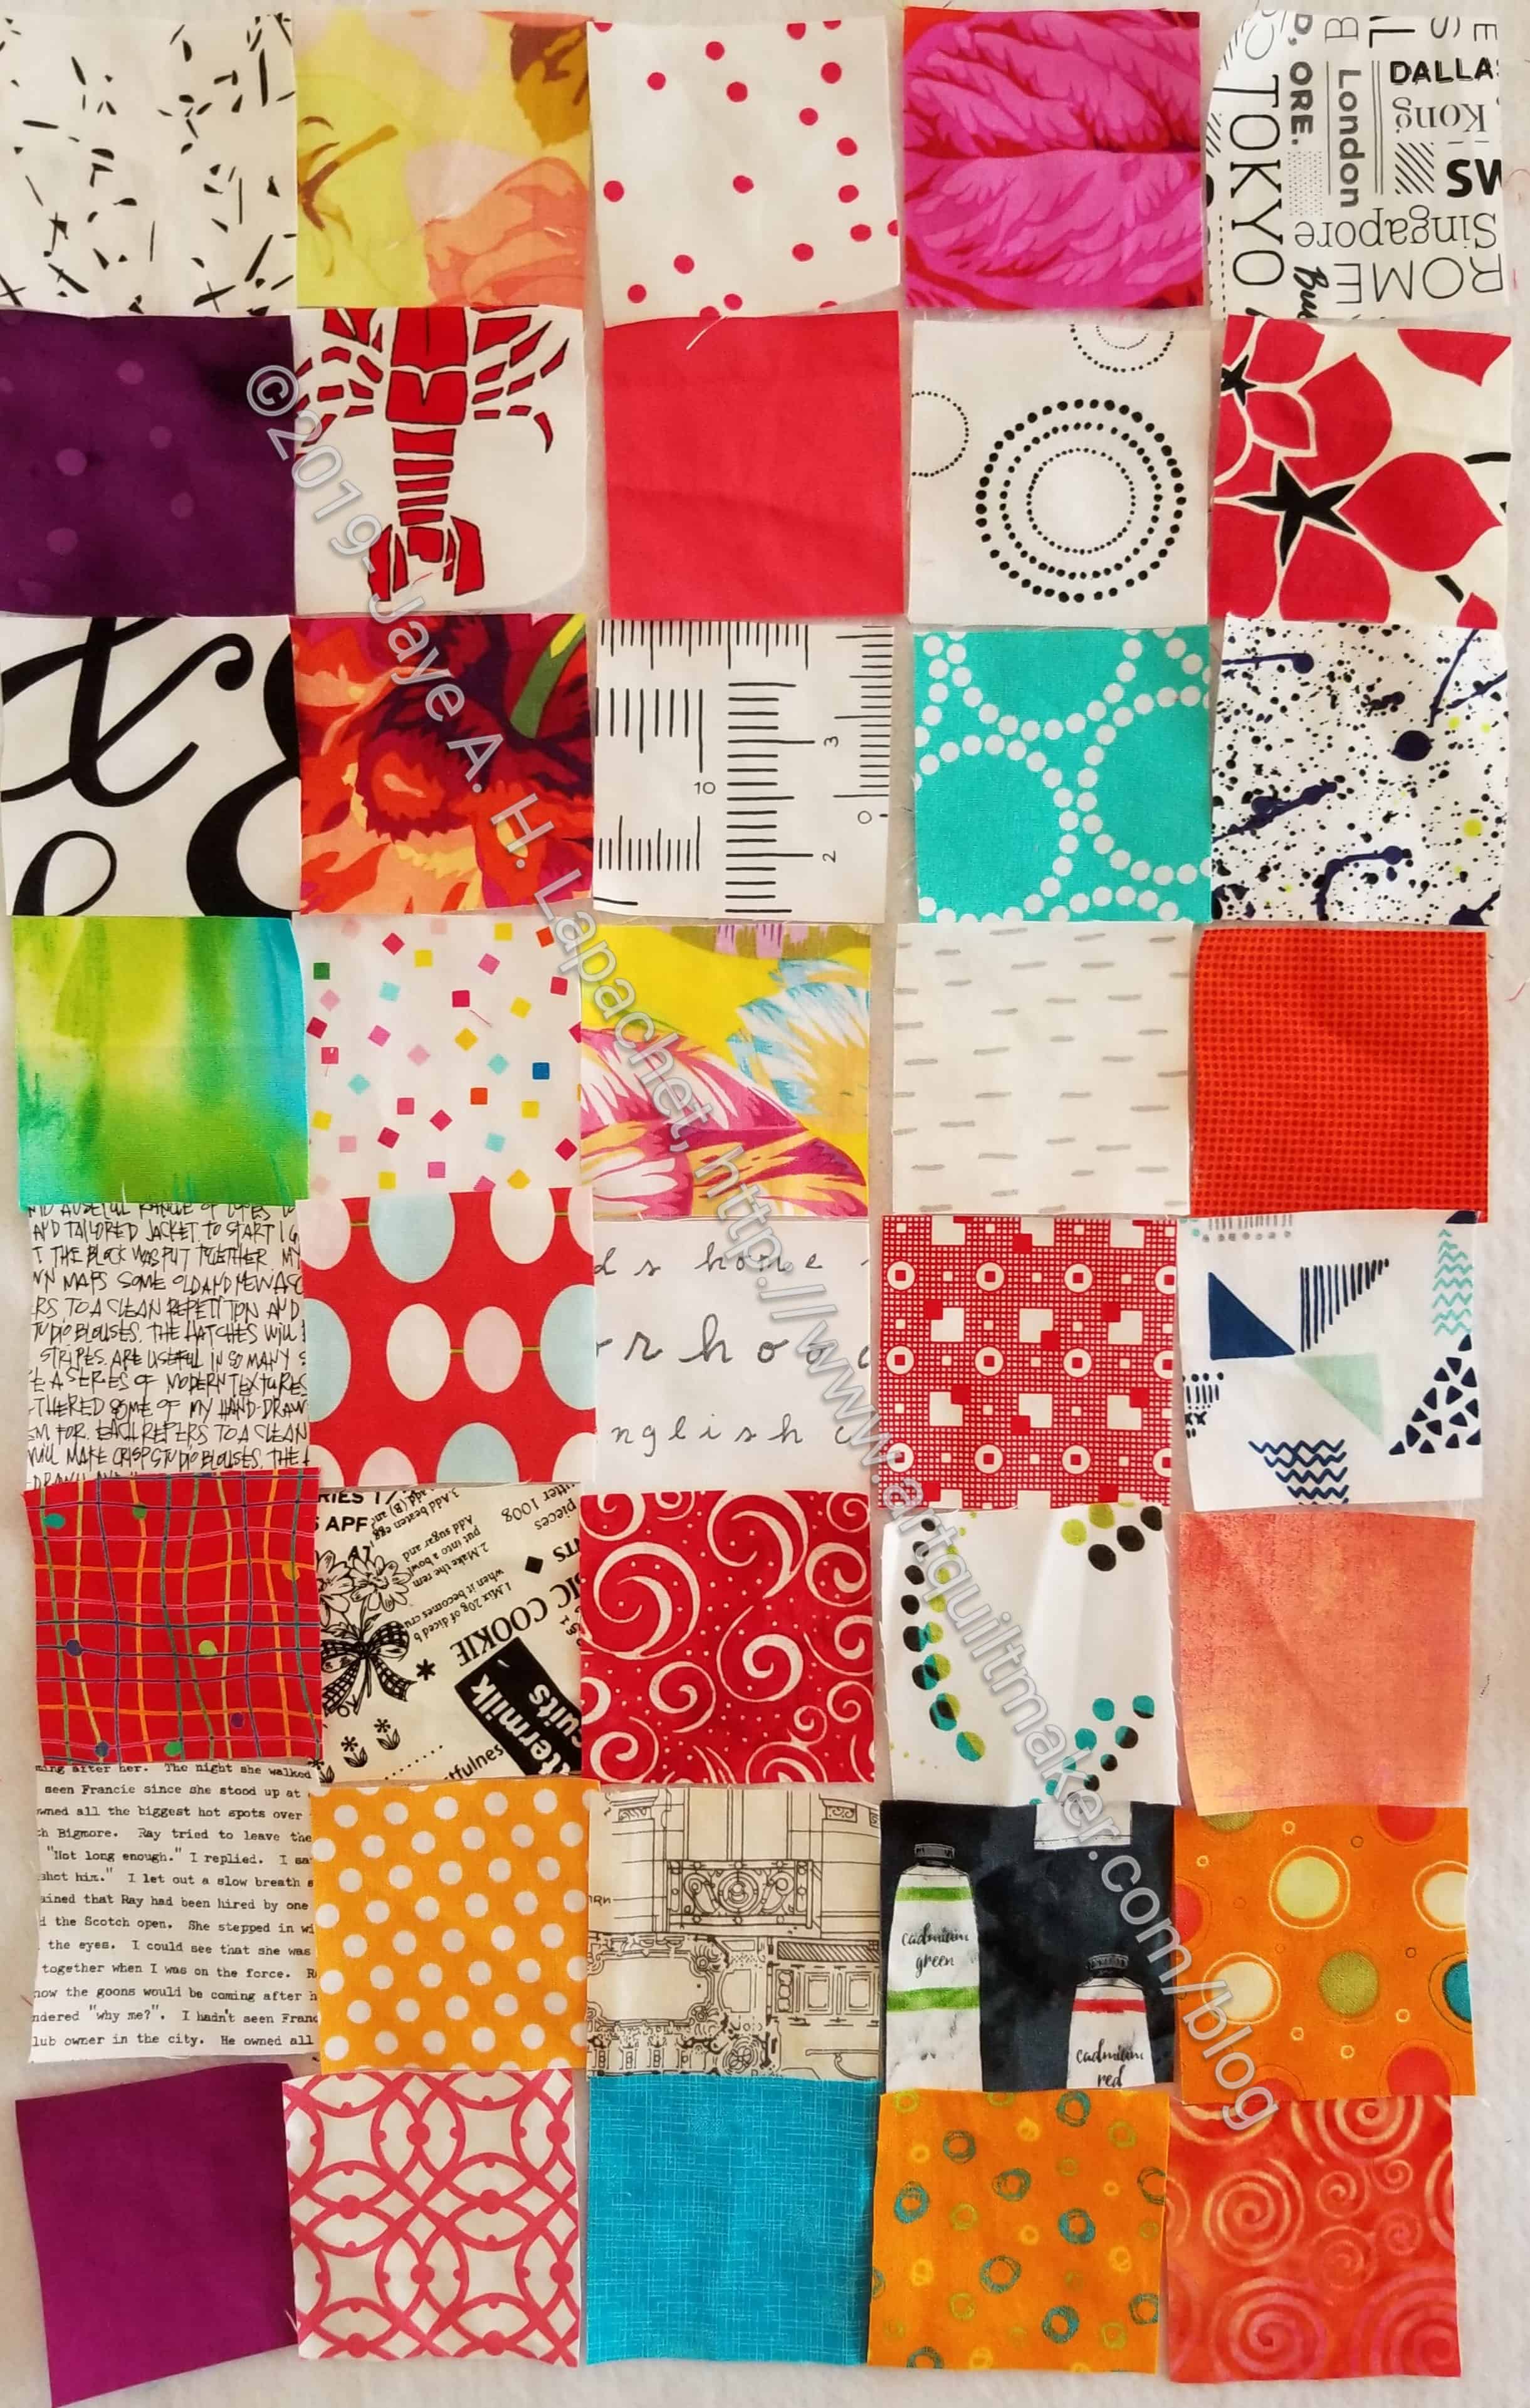
After buying a few yards of fabric, I have again achieved the net usage of 50 yards of fabric. I have actually used over 100 yards, but the purchases have offset the total used. 41% of my total usage is for charity. I am pleased with that, though it could be better!

More Orange Improv

Orange Improv Donation top in process

Over the weekend, I worked on Flying Around and on the Orange Improv donation top. I am pleased with how the Orange Improv top is looking.

I am trying not to insert big strips in as I didnt’ like the effect with the Purple Improv Donation top. I am inserting bits of strips in. I don’t think the ones I have added take the focus away from any other part.

Book Review: 1000 Quilt Inspirations

1000 Quilt Inspirations: Colorful and Creative Designs for Traditional, Modern, and Art Quilts1000 Quilt Inspirations: Colorful and Creative Designs for Traditional, Modern, and Art Quilts by Sandra Sider

I wanted to like this book more than I did. The promise of it is high, but the actual execution didn’t live up to its promise. There is very little text in this book. It is mostly images, which do provide inspiration, but there was a vague dissatisfaction running through my experience reading this book. Part of it had to do with the selection process. Part of it had to do with whether I was looking at the full works vs. details.

The book starts with a table of contents. The table of contents shows how the book is arranged: “traditional designs”, “modern designs”, “pictorial designs”, and “abstract and conceptual art quilt designs”. The images start right away with a whole page of quilts opposite the table of contents.

The text is primarily located in the Introduction (pg.8-9), which gives an overview of quiltmaking history, groups and fads from the mid-19th century to the present. The Introduction is short. I found it to include some gross generalizations. There were also some sections that I did not understand. Either sentences were too vague or the words were put together in a way that did not make sense. For example, Sider writes “Modern quilters, such as members of the Modern Quilt Guild, design mainly with solid colors and often adapt traditional patterns in innovative ways, finding their inspiration in every aspect of today’s quilts” (pg.8). Some of that sentence is true, but it leaves me with a lot of questions. Are members of the Modern Quilt Guild the only modern quilters? I know people making quilts right now. Are all quiltmakers making quilts right modern quilters? Also, I have no idea what “…finding their inspiration in every aspect of today’s quilts” (pg.8) means. Aren’t modern quilters making today’s quilts? Do they get inspiration from themselves? Does this sentence refer to Instagram? These examples might be semantics, but demonstrates the possible lack of editing. I think this introduction, being the only significant text in the book could have been fleshed out a little more. The book would have benefited from a less generalized view of the quiltmaking to introduce the quilts.

200+ quilts in the traditional designs section follow. The format for the rest of the book varies slightly, but is mostly 4 quilts per page. In a lot of respects it is difficult to determine whether the reader is looking at a detail or a full quilt. There is very little information about the quilts next to the image beyond what is listed in the introduction. Each image lists a maker, but no quilt name, size or any other information.

The images are stellar. The quilting is clearly visible as are the fabrics and construction.

Modern Designs begin on page 69 with no additional fanfare or introduction. Most artists have more than one design included (or perhaps details of one quilt?). I recognized very few names from those listed and was surprised to see postcards (pg.73) included in the Modern Designs section. I would have classified a lot of the quilts included in the Modern Designs section as art quilts, especially given the description of what modern quilters are making.

The book ends with an image directory (pg.300-311). Names of quilts, techniques and sizes are included as well as some information on who took the photo. There is also an artist directory (pg.312-319), which provides a list of all the images attributed to an artist as well as their website, if available. The best part of this book was randomly selecting artist websites and looking at their work.

If you are looking for an overview of 100+ years of quiltmaking with inspiration and explanation, this book falls short. However, there is no doubt that the imagery in this book is beautiful. The author and publisher worked hard to make the images high quality. For the variety of images alone, this book is worth buying.

View all my reviews

Quiltmaking Go Bag

At Sew Day the other day people were asking to borrow various items from each other. I dont’ mind loaning thing, but am a huge proponent of  quiltmaking Go bags. Even if you have a Go bag, there is always something not included. One of the advantages of Sew Day and group sewing is being able to continue with your project because you can borrow something. This whole scenario led me to think about quiltmaking Go bags.

A ‘Go’ bag is just like what they talk about in spy films except with quiltmaking supplies you take to class, retreat or Sew Day rather than clothes and new identity credentials. I have one that I have developed over the years. It is a great help to just pick up the bag and know I have a rotary cutter, mat, rulers, snips, and other basic supplies that I need for my projects. I like not having to hunt for them around my workroom to take to class. I like not having to cannibalize my workroom supplies to go on retreat. The downside is that I have duplicates of a lot of tools and they have to live somewhere.

Small Go bag supplies

The way my system works is that my Go bag has static supplies. As mentioned, I consider static supplies to be things I won’t use up like fabric or thread. Rulers, mats, rotary cutters, scissors, etc are all static supplies. I can just grab this bag when I am packing for a class or Sew Day and know that it is ready. For supplies like fabric and thread, patterns, etc, I toss all relevant items for a project into one of my Chubby Charmers. When I return, the Go bag is slotted back into its home and the Chubby Charmer gets unpacked.

I don’t like to have to hunt around for static supplies, which is why I have worked on gathering duplicates. Having duplicates is also helpful when someone comes over to sew.

Quilting Go Bag
Quilting Go Bag

My current, actual Go Bag bag, made of some kind of washable slick-ish fake leather/plastic, was a premium from some makeup I bought about 1,000 years ago. It has one main section and six pockets around the outside. The main pocket zips closed although I have no idea when it was last zipped closed. It can be set down on a damp surface with no harm to the contents. It looks ok, but it is showing its age. The handles are getting especially worn.

Small travel sewing supplies

In the bag I have a Tupperware box that has a removable tray. This box holds all the small static supplies I might need such as rotary cutters, snips, writing implements, latex gloves, WonderClips, etc. All the small things that need to be corralled are contained here. This box is starting to be too small and I am considering replacing it. I made the Tool Tote last year with the intention of replacing the box, but never made the exchange. I am not sure why. The making drama I experienced sewing the Tool Tote, perhaps?

Runs with Scissors Tote

After the Sew Day discussion, I started to think again about replacing my Go bag and the Tupperware box. I think I really need to upgrade my bags and totes. The problem is that they are working fine, except for the Tupperware box tight squeeze, but are showing their age.

During this thought process, I remembered the Runs with Scissors tote I mentioned in a January Various & Sundry post last year. Mrs. K was kind enough to gift me the pattern. It might be the right tote to replace the Tupperware box. The problem is that I need a bag that will hold the tote. I need this imaginary tote to be large enough to fit everything currently in my Go bag and made of a material that will not allow damp to seep through. A special Chubby Charmer might work, but I am thinking that I might need to buy something.

Quiltessa Ultimate Carryall Bag

The other bag I am thinking of is the Ultimate Carry All by Quiltessa Natalie. Natalie was kind enough to allow me to post one of her photos. I bought the pattern and have started to assemble the supplies, but haven’t dedicated much time to this project yet. In terms of going to class, I am thinking that the Runs with Scissors tote could hold more flat items like scissors and this Ultimate Carry All could hold more dimensional items, such as the small iron, extension cord, light, pincushions, etc. If I used both, I would still need a larger bag in which to place them.

This is still a work in progress, as you can see. Questions:

  • Do you have a quiltmaking (or other craft) Go bag?
  • Do you have duplicates of your static supplies or do you have a system for swapping them in and out.

Finished: Jelly Roll Rug

Finished: Jelly Roll Rug

The Jelly Roll Rug is finally finished. I finished the sewing a few weeks ago, but Gretchen said I needed to steam it.

I finally did the last step on the Jelly Roll Rug over the weekend, which was to steam the living daylights out of it.

It is now pretty flat so all I have to do is send it off. I was going to have my YM take it to Portland to its new home, but he has a super cheap flight that doesn’t allow baggage.

This was a good experience. I think I will make another one, but square or rectangular.

A Couple of Donation Blocks

Zipper Pouch Day Donation Block

I took some packs of leaders and enders at Sew Day. I wanted to make a couple of blocks in between sewing the zipper pouches. I used the packs that Peggy always has available.

This is the first time I have made the postage stamp blocks in awhile and it was kind of fun, though my fabric placement was a bit off.

Donation block from Sew Day

Community Giving Sew Day

I spent the day yesterday sewing for good. It was the guild’s Sew Day and we made zipper pouches for the Grateful Garment Project. The project provides a variety of items to assault victims. You can read more about the project on their website.

31 BAM zipper pouches

We ended up with 31.5 zipper pouches. I have one that I need to finish, which is the other half. 3 of us made over half of them, but everyone contributed. Mary talked to me about a production line where we could more done in the same time frame. I like that idea and hope we can do it again soon.

I also like the variety we came up with. Peggy, the awesome, put out a bin of fabrics and we were allowed to choose the ones we wanted. This meant there were fabrics with which I had never worked and that expanded my horizons a bit. I think some of them will be suitable for men, too.

Green & Yellow Zipper Pouch

I chose fabrics I liked, but I concentrated on producing as many well done zipper pouches as I could in the allotted time.

The first zipper pouch I made was the hardest. It came out fine, but was a challenge to get oriented to the pattern. After making the first one, I consulted with Mary on the zipper. We traded tips and after that our zippers came out as well as can be expected. I made two using the green and yellow fabric combination.

Purple Zipper Pouch for BAM

The second one I made was from purple fabrics. I liked the various motifs and like to use fabrics I enjoy.

I wasn’t a big fan of the white zipper, but there wasn’t a lot of choice in zippers. Peggy bought a bulk packet and there were no purple. Needs must and all. I think it looks fine.

Dots and Stripes Zipper Pouch

Midway through I made two bags from the dots and stripes. I couldn’t, of course, resist the dots and the stripes were just great.

I like light interiors for pouches bags and handbags. Black interiors: blech! The light insides/linings allow one to see what is inside the bag. Light can also reflect on the light fabric to aid seeing what is in the bottom corner of your bag. I am sure I have said this before.

Dots with white zipper pouch

I had a lot of the dots, so I made a third pouch with a different interior. I liked the stripes better, but the light white on white (or maybe a very light pink) is fine. It does show the red dot fabric through a little bit, which is a shame.

By the time I made all of these pouches, I didn’t need a pattern. I was just making them over and over and refining as I went along. One thing I should have done was sew the lining with a larger seam allowance so that it fit inside the pouch better. It didn’t occur to me until I was almost done. I’ll do that on the last one.

The pouches I made
The pouches I made


26 Projects 2019 #7

I have made a bit more progress.

 Finished 2019 Quilt Projects

Finished 2019 Non-Quilt Projects

This category covers bags, toys, aprons and knitting as well as other non-quilt projects.

Doing Good

In Process
The ‘In Process’ is used to denote projects on which I am actively working or are on the design wall waiting for me to stitch. I try not to put away projects, because that will ensure I never work on them

  • English Paper Piecing Project– half hexies – I have a big stack of stars ready to sew into the quilt. I am still thinking of my friend Faye whenever I work on it. She says that I have to think of this as my slow project.
  • Flying Around (was Flying Geese quilt) – just started, still cutting and some sewing
  • Serendipity Lady – thought I needed to rip out some stitching, but decided I didn’t. I need to decide how to finish it. I would like to frame this one.
  • Lobster – I finished the stitching. I plan to back it and overlock or satin stitch the edges. Really, I would like to frame it. That may still be in the cards.

Ready for Quilting

In the Quilting Process

In the Finishing Process

Nothing now

Still WIPs
I still have WIPs. Who doesn’t, after all? A project in the ‘UFO’ category means I am stalled. A nicer way of saying UFO is a WIP. The list is a lot shorter and the projects are newer, for the most part.

  1. FOTY 2018 – this has to be on the list now as I have cut a ton of squares and need to arrange and sew it together. As I am still working on FOTY 2017, I haven’t made a start on this yet.
  2. Handbag Sampler – this is still the forgotten project. It should be on the UFO list. Too bad I don’t have one. The blocks were teaching samples when I taught a sampler class the time before I started writing the quilt class sampler tutorials. I found one block recently, but otherwise I actually don’t know exactly where the blocks are hiding. I have an idea and still have to crawl up in the far reaches of my fabric closet soon and see if I can find them. I haven’t even found a picture of all the blocks. Sad.
  3. Pies and Points from 2016 Victoria Findlay Wolfe class. The last time I worked on it was when Julie and I had a playdate in April 2018. I brought this piece with me so I could cut more elements (Julie has a Sizzix). I lost my excitement about this piece shortly thereafter and still have to get it back. Thus, I had to move this to the WIPs area.
  4. Pointillist Palette #4: Fourth is a series of 6 quilts; needs tiny square patches sewn together. No progress.
  5. Self Portrait: started in 2006 at a class at Quilting Adventures in Richmond, Virginia. I am still stalled on this again. As one of my oldest (I am pretty sure) UFO, I put it on my blog and out into the Twitterverse and Diane suggested that I not consider this as a self portrait. I think that strategy is a great idea. I am now trying to think of a new persona for her.
  6. Black and Red quilt – This project is creeping into my mind, so it might be up for work soon. The project originally came about because of two other projects. I made a whole bunch of bias tape as part of my failed attempt at doing the Mighty Lucky Club a few years ago. Another part of the inspiration came from my class with Tina of Little Blue Cottage fame. This was going to be for a nephew, but I think it will be for one of my SILs and BILs. I have rectangles cut and some bias tape ready. My next step is to sew the bias tape to the rectangles like pickup sticks. I don’t have any photos of this, so you’ll have to use your imagination.
  7. Who Am I? – This piece is off my design. I have lost momentum, but I think that just has to do with the amount of satin stitching I am facing.

Small Projects in Process

Most of my progress involves thinking or just cutting.

  • 4-Zip Organizer – part of Crafty Gemini Organizer Club. I quilted the outside cover and need to figure out the next step so I can do the next step
  • Mondo Bag – started laying out mini-charms
  • Poolside tote gift – I cut out all the pieces. Now the pieces are laying around my workroom.
  • Retreat Organizer – another project from the Crafty Gemini Organizer Club, also on my list, but not yet started
  • Ultimate Project Organizer – another project from the Crafty Gemini Organizer Club, also on my list, but not yet started

Book Review: String Frenzy

String Frenzy: 12 More Strip Quilt Projects; Strips, Strings & Scrappy Things!String Frenzy: 12 More Strip Quilt Projects; Strips, Strings & Scrappy Things! by Bonnie K. Hunter

I wasn’t really interested in another project book until I saw the Straits of Mackinac project somewhere. I love the block and the way the overall quilt looks like it has curves even when there is no curved piecing. I looked at buying the book, but decided to see if my library had it first. I have many library cards and use them to excess! The system with the second closest branch didn’t have it so I ordered it using interlibrary loan (ILL). Then it occurred to me that it might be available from another branch in the system and I could have it delivered to the closest branch to my house. I thought ILL would take forever so I requested it again. Then I promptly forgot about the whole thing until both books came in on the same day!

This is basically a project book. It is about 95 pages, most of which are filled with patterns for the 12 quilt projects. The projects start on page 16 and end on page 89.

The book starts off with a dedication and acknowledgements (pg.3). A brief table of contents follows on page 4. One of my favorite things for project books is an overview of the projects page (pg.5), which is included in this book. The layout of the page shows a detail image of each project, gives the name and the page number.  I like this because it is useful for going straight to the project in which you are interested. I, of course, went straight to the Straits of Mackinac project (pg.26)!

“…to think of stitching all of these small bits back together simply to cut a shape to sew to another shape and then another. But something happened when I did. I was no longer simply following a pattern or a design, but creating something unique that danced and dazzled before my eyes” (pg.6). This quote explains the true wonderfulness of quiltmaking. I am not completely sold on string piecing, but my strip donation quilts have brought me back to this concept. I may not want to make blocks from tiny pieces all the time, but I do see the allure of creating something unique that nobody else can create. I also see the value in using a lot of different fabrics to make a quilt shimmer.

I have found that “there is magic in the piecing. Every scrap is full of memories of the project from which it came – every color, texture, and bit of contrast. They might not look like much on their own,these humble little pieces, but together they are a symphony of beauty, each scrap a spot on the timeline of your life as a quilter” (pg.6). This sentiment is so true for me. Every morning I wake up and look at Scrapitude Carnivale and it makes me happy. I pull scraps out of my scrap drawers and think about the project in which I originally used it. That is one of the beautiful things about scrap quilts.

Of course, there are basic sewing guidelines, as every book seems to have. Bonnie has put her own stamp on it by assuming readers know what tools and supplies they need. She does mention a sewing machine in “good working order (to avoid frustration)” (pg.7), which is straightforward and useful. Since the projects use scraps, she tells readers how she calculated yardage and more about the project instructions (pg.7). You’ll have to wing it a little if you are using scraps, since they are usually not full yards or even FQs. Bonnie Hunter is famous for using scraps, so the “About Project Instructions” section briefly talks about the ins and outs of using scraps. She also mentions cutting binding strips (pg.7), which I don’t remember seeing in books like this.

Bonnie Hunter designed a specialty ruler called Fast2Cut Essential Triangle Ruler. This ruler helps make HSTs, QSTs and Flying Geese units. Hunter provides a picture and a brief description of the ruler in this section (pg.8). The ruler is a good addition to my Triangle Technique when you want to make one or two HSTs units rather than eight at a time. Not only does she show the ruler, but she shows how to use it for HSTs (pg.8), QSTs (pg.9-10) and Flying Geese (pg.10-11) units as well. Bonnie provides as chart near the Flying Geese instructions, so the reader can make different geese sizes. The ruler instructions have accompanying images, which make them easier to interpret.

‘Strings’ haven’t come up thus far in the book, but the author starts explaining what they are, how to make them and why to use them following the discussion of the Fast2Cut Essential Triangle Ruler (pg.11). The discussion includes the definition of a string and how wide strings should be (pg.12), using foundations with strings, easy paper removal and pressing (pg.13). One tip, which I didn’t know is not to use tracing paper or vellum since they will curl or shrink when touched with an iron (pg.13). Interesting!

After reading this book, I also now know the difference between a crumb and a string (pg.14). It turns out that the way I make my Improv donation quilts is crumb piecing and I use string piecing for the strip version. A project book can teach me something new, too, which is why I like to take a look at as many new books as I can. The book teaches the reader to build crumb blocks (pg.15) with briefl but mighty instructions.

Patterns start with Geese on a String (pg.16-21). No lifestyle shots in this book, just a nice flat photo of the whole quilt (pg.17), with sizes for blocks and the entire quilt given (pg.16). I like it that there are no surprises.

My favorites in the book are Serpentine Web (pg.22-25), which reminds me of my Spiderweb quilt re-imagined in a new and fun way. The yellow is a bit much, but also may make the quilt. Straits of Mackinac (pg.26-33) is my absolute favorite in this book. It has the feel of En Provence, with a new,  different twist. I wouldn’t make it with the strips in the Peaky & Spike blocks like Bonnie does (too lazy?), but I would use a variety of fabrics. I also like Indigo-a-Go-Go (pg.84-89), thought not in those colors. The chain effect is a good use of 9 patches.

The patterns have a photo of the quilt flat so you can see the whole quilt along with some text that explains Bonnie’s inspiration or the fabric, which I like. There are also extensive materials lists, which do not include notions, machines, etc. These lists are for fabric, batting, etc. Hunter references tools, such as her Fast2Cut Essential Triangle Ruler in various places. Each pattern has some tips and tricks boxes, extensive construction notes from blocks to quilt assembly. As per usual, the finishing instructions are brief. The ‘At a Glance’ section in each pattern gives visual instructions for putting the quilt together.

The book ends with some foundation piecing patterns readers will need for various patterns. I recommend this book for a few projects you can sew as leaders and enders.

View all my reviews

Supporting Young Artists

SF View towards Coit Tower

A few months ago, a college friend contacted me and told me her daughter was coming to San Francisco to attend a summer art program. We made plans to see each other while she was in town and I offered to be emergency mom, should the need arise. Wouldn’t you like to go to school at a place with that view?

Identity by Jillian Taylor

A few weeks (or a month?) later, I got another call inviting me to the young artist’s reception. I drove over with my BIL to view the art. The art was very interesting. Some good, some not to my taste. My friend’s daughter’s art was very appealing to me, though it wasn’t all sweetness and light as I usually like.

Her work has a mystical quality that invites the viewer to come closer. I told her about my attempt to reward viewers with surprises if they come close to my quilts and she said she does something similar.

Jillian’s work is definitely worth walking up closer and looking at carefully.

Visions of a City by Jillian Taylor

The students were given assignments and one was about buildings. I forget the basics of the assignment, but I thought her interpretation was fun and interesting.

She talked to us about wishing the cat that ran away was still in the picture when she took the photo and then delighted in describing how she realized she could add a cat even if it wasn’t in her reference image. I was delighted as well! Sometimes we feel we have to stick to the truth when doing realistic work and that just isn’t true.

Strings by Jillian Taylor

The students explored all media, including sculpture. I haven’t really ever done much sculpture. I was fascinated with the airy, flying/breaking out of the wall quality of the Strings piece.

As you know, I am fascinated by 3D in quiltmaking. You have seen some of my bags, right? And the textured cube? Jillian’s piece is a whole different thing that I don’t think I could ever achieve with fabric and thread. I suppose something like this wouldn’t be the same with fabric in and thread.

Obviously, there were other works by other students as well. I looked at some of them and enjoyed them as well. I love the 3D aspect of the white vase. I don’t mean the vase itself, but the flowers and vines.

Hellish and Full of Heartache

The first piece the young artist did when she arrived was a directed painting. The professor told them what to paint and they interpreted the directions in their own way. This painting started off with three triangles.

There is a lot going on in this painting. One thing I thought was interesting was that I could not see the three triangles. They were pointed out to me, so they are still part of the painting (an aspect of the assignment?), but I couldn’t tell you where they are now.

Finally, Jillian had an installation piece. I have to admit that I didn’t understand it very well, but it had that same mystical quality that some of her other work had. Her mom was pretty distressed when it was taken down – all the work had to be removed so it could be shipped home.

Diego Rivera mural at SF Art Institute

The San Francisco Art Institute not only has a great view, but it also has a Diego Rivera fresco. The information said that it was painted in 1931 and was a gift of William Lewis Gerstle when he was president of the SF Art Association. There are other works by Rivera at City College of San Francisco.

This exhibit was outside of my normal daily ramblings. It was good to get out and see something different. I encourage you to do something similar.

FOTY 2019

FOTY 2019 Summer Squares

I am moving slowly on gathering fabrics for FOTY 2019. It might be a small quilt! This slowness is because of working with the scraps for the strip and improv donation projects and also because of how long it is taking me to piece Flying Around.

Most of these are light and I know you can tell what I have been working on from what you see. This is sort of the beauty of the Fabric of the Year projects. I can remember the fabrics I bought and used that year. It reminds me of various projects and trips to great shops.

FOTY 2017 Finished!

FOTY 2017 Finished
FOTY 2017 Finished

After having to redo the sleeve (too long), I spent some time away from the half hexie project stitching away on the binding and sleeve of FOTY 2017. The piece is finished!

Others were able to see the skyscraper/tall buildings that I was intending when I created this layout. I am pleased that it is finished.

FOTY 2017 back Finished

For once I also photographed the back. I know I have been slack on that lately.

Orange Strip Donation Top Finished

Orange Strip Donation Top: finished

I finished the Orange Strip Donation top & back yesterday. It came down to finishing the back, which took longer than expected in a busy week.

My quilt holders were around so I was able to get some photos in a timely manner.

The blue is an unexpected choice, but I talked about it before, so I won’t go into it again. I kind of wish I had more orange strips so I could do a version with a white background. I don’t, though, so I’ll have to do that next time I get a plethora of orange scraps.

Orange Strip Donation Back

I used some odd oranges for the back. These are nice fabrics that I don’t think I will use for something else. I had a hard time curating the fabrics for the back as I really like 90% of the oranges I have left. I guess I had better use them for something if not for donation quilts.

Using up fabrics makes me wish I hadn’t stashed so much fabric when I did. On the other hand having so much fabric on hand means that I can put my hands on almost any color I need for any project. It also means I can make almost any quilt I want without going to the store.

Recent Donation Blocks

I have been remiss about posting donation blocks lately. I have also not been making the standard postage stamp blocks that my guild collects. Here are a few I have made recently.

Tuleberg Community Quilt Day

Tuleberg Finished Pillowcases

On Wednesday the YM and I went to Stockton to spend the day making pillowcases with the Tuleberg Quilt Guild. My mom is a member. She told me about it and since we haven’t had a chance to get together alone this month, I decided to go. When I found out the YM would be home, I convinced him to tag along. He wants to learn to sew, so this was a good opportunity to start.

It is a far drive for us, so we go there a little late and, after setting up, he went off with my mom to get something to eat. Is tarted cutting up fabric to make the first pillowcase and quickly realized that he wouldn’t be able to make a whole pillowcase on his own. I decided to do the cutting and have him sew.

YM Sewing Cuffs to Bodies

It has been a long time since he sat in front of a machine, so this was a good decision. He carefully guided the fabric through the machine, encountering the stop and start problems of the feed dogs not grabbing the fabric, thread bunnies and backstitching. We used the pillowcase tutorial I have cobbled together from experience and a variety of sources. He chain pieced the cuff/body burrito together. I also had him turn the burritos inside out and do a little pressing when I got behind. By the end, the three of us were all working together to finish the pillowcases.

Mom working on pillowcases

I brought some yard sized pieces of fabric I didn’t think I would use, but cutting bits out for other projects does help with this. Fortunately, I have realized this and started cutting up the side of yardage, so I have a chance of having enough for a body (yard sized length) and cuff (half yard sized length). Newer fabric is easier to use, but so far I still like it enough to not want to use it for community quilts/projects. I suppose that is something I have to work on.

As a team, we made 5 pillowcases in about 3 hours. This is probably a bit slow, but I do French seams so everything is enclosed and that takes longer. I don’t have a serger, so this is the best way for me to achieve my goal.

They also had an ice cream social, which was make it yourself sundaes and banana splits. I love banana splits and made myself a small one. They brought real glass sundae holders, which was really classy.

Tuleberg Pillowcase display

The guild ended up with 121 pillowcases for the day, which I thought was a good effort.