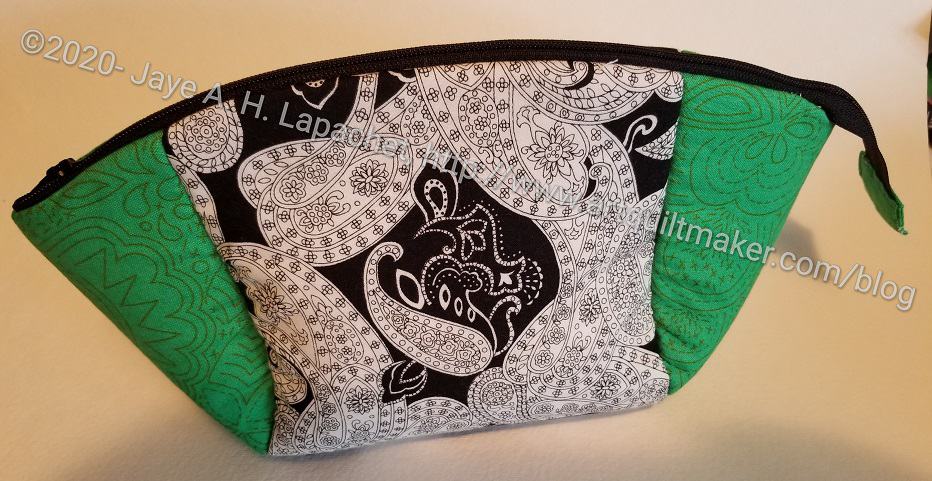
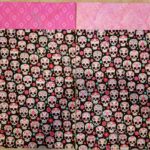
This is the second of the three pouches I made over the weekend. I used the Philip Jacobs Variegated Ivy fabric in pink for the ends and the lining. In order to tone down the large and exciting flowers, I used the black and white for the main panel.
It is actually not for one of my co-workers. I made this for my co-worker’s daughter. They are having an especially tough time at their house. Another zipper, some time and fabric were not that big of a deal.
I sent this one off with my co-worker’s yesterday.
In some ways this will be pouch Week. I didn’t intend it to be, but I have a lot of pouches to show.
I made three Cotton Candy pouches over the weekend. As mentioned before These are to be gifts for co-workers who have helped me.
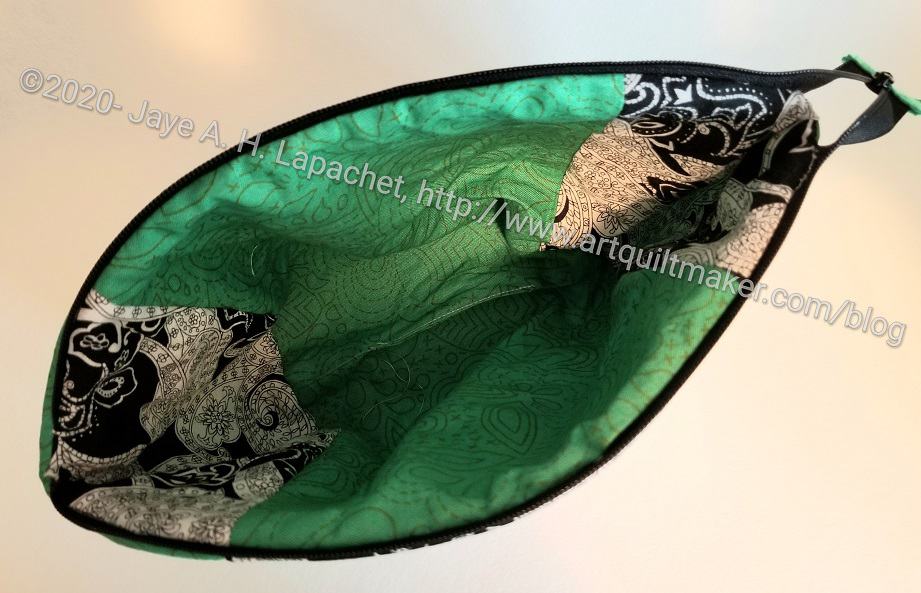
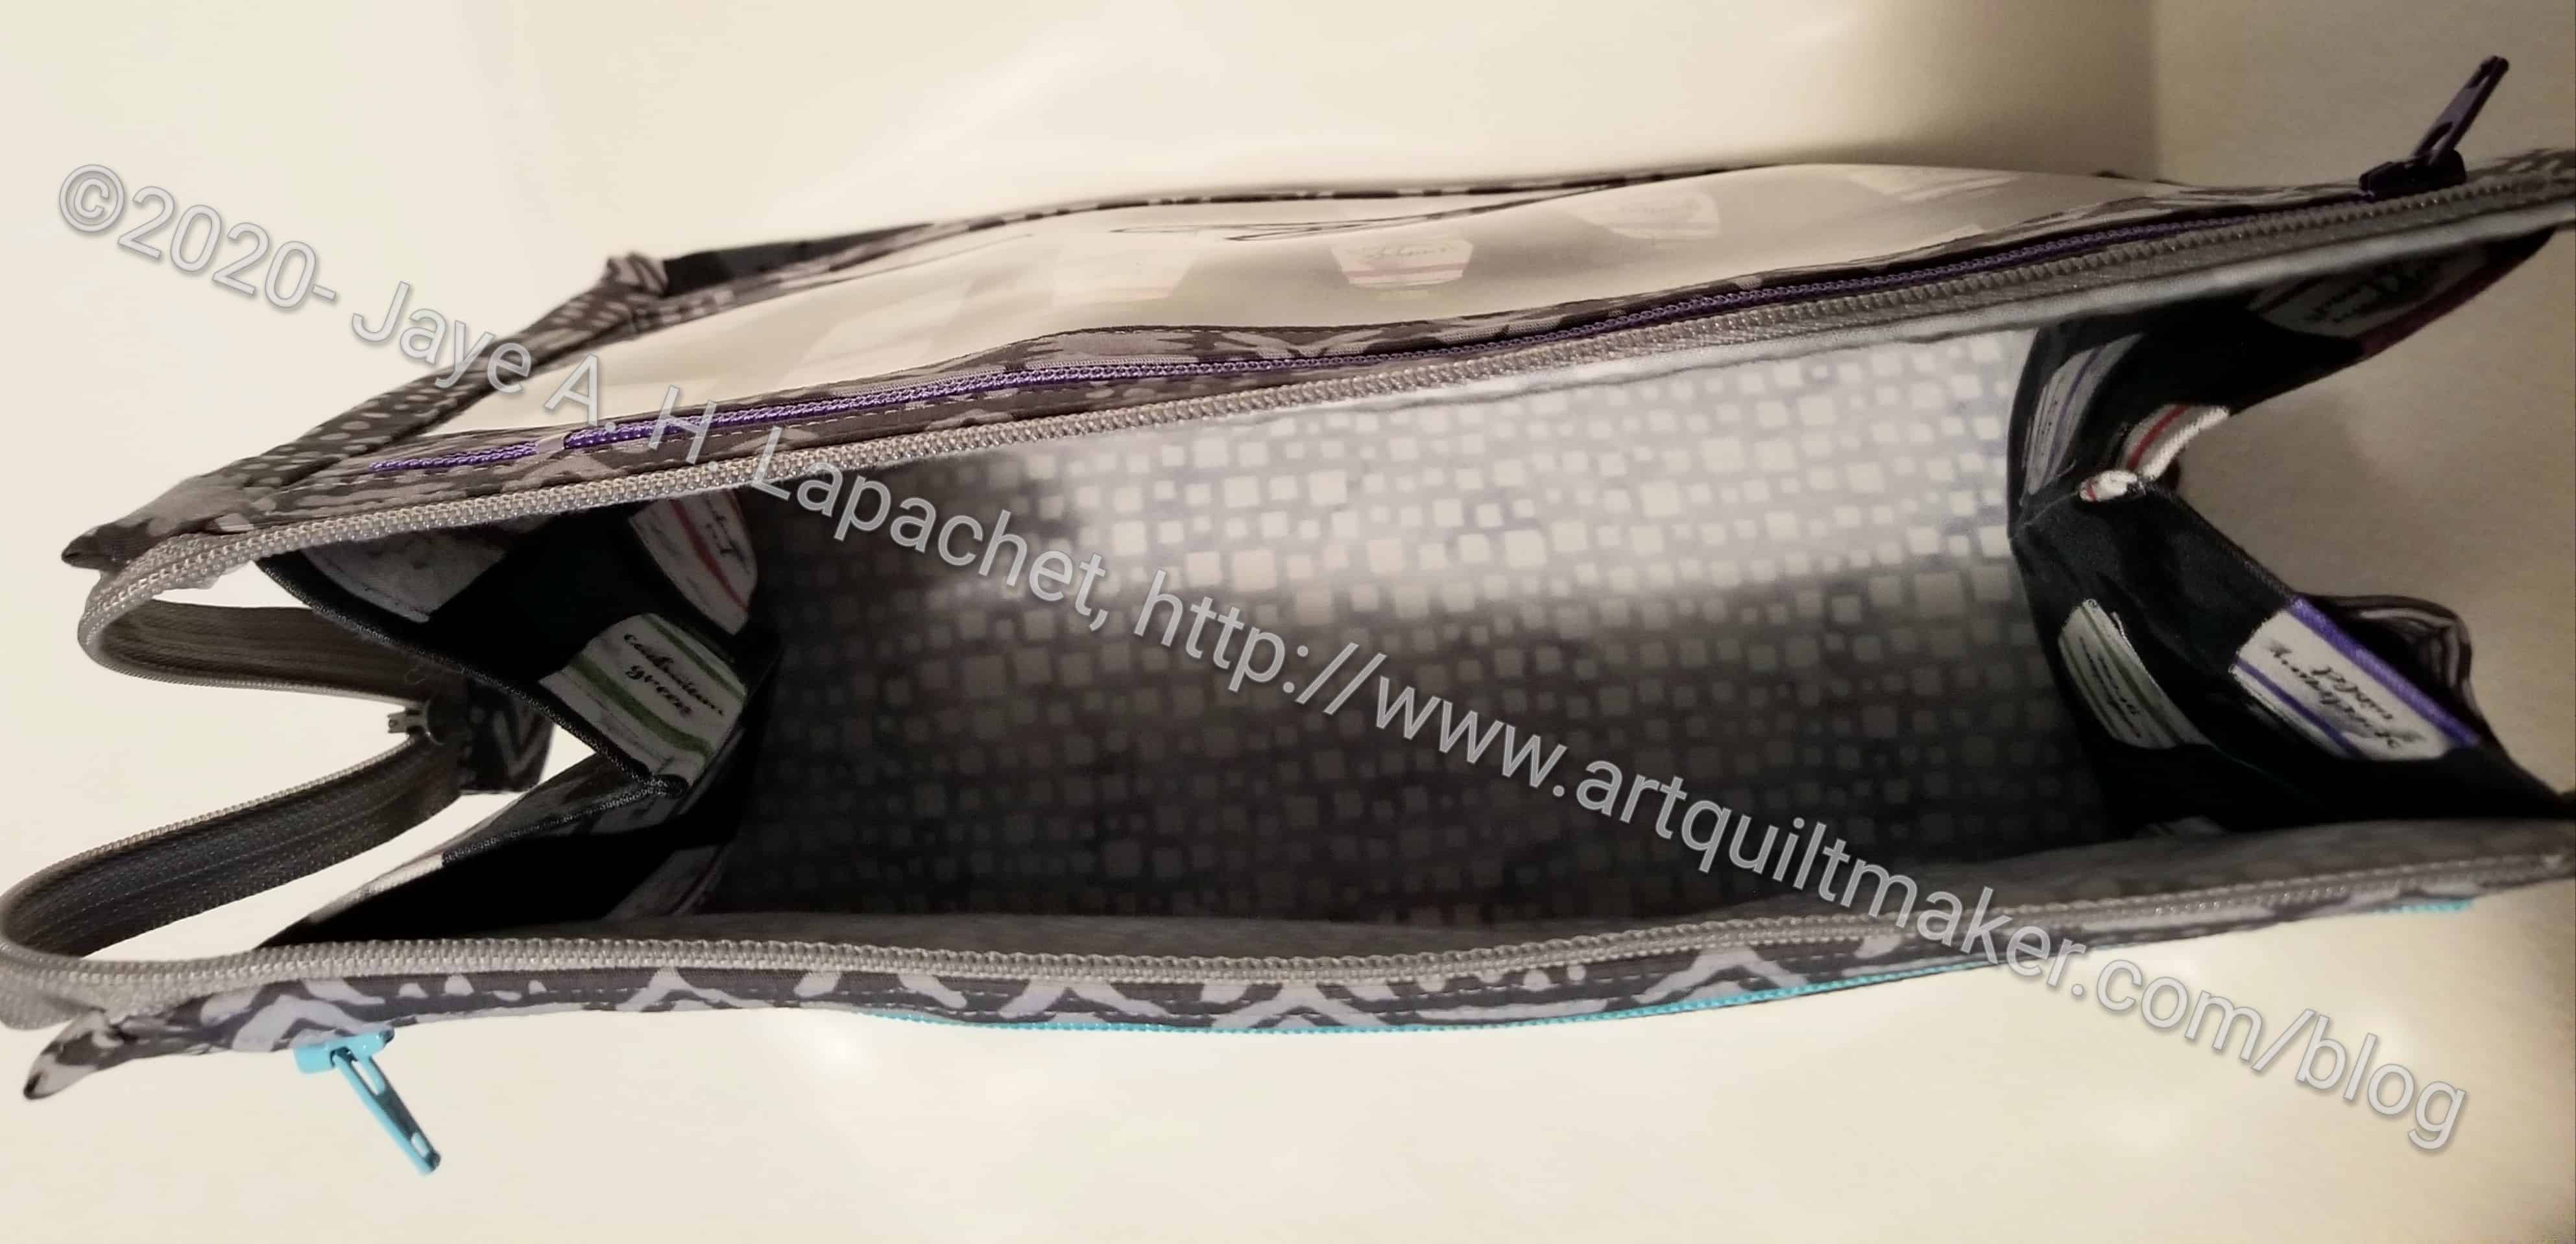
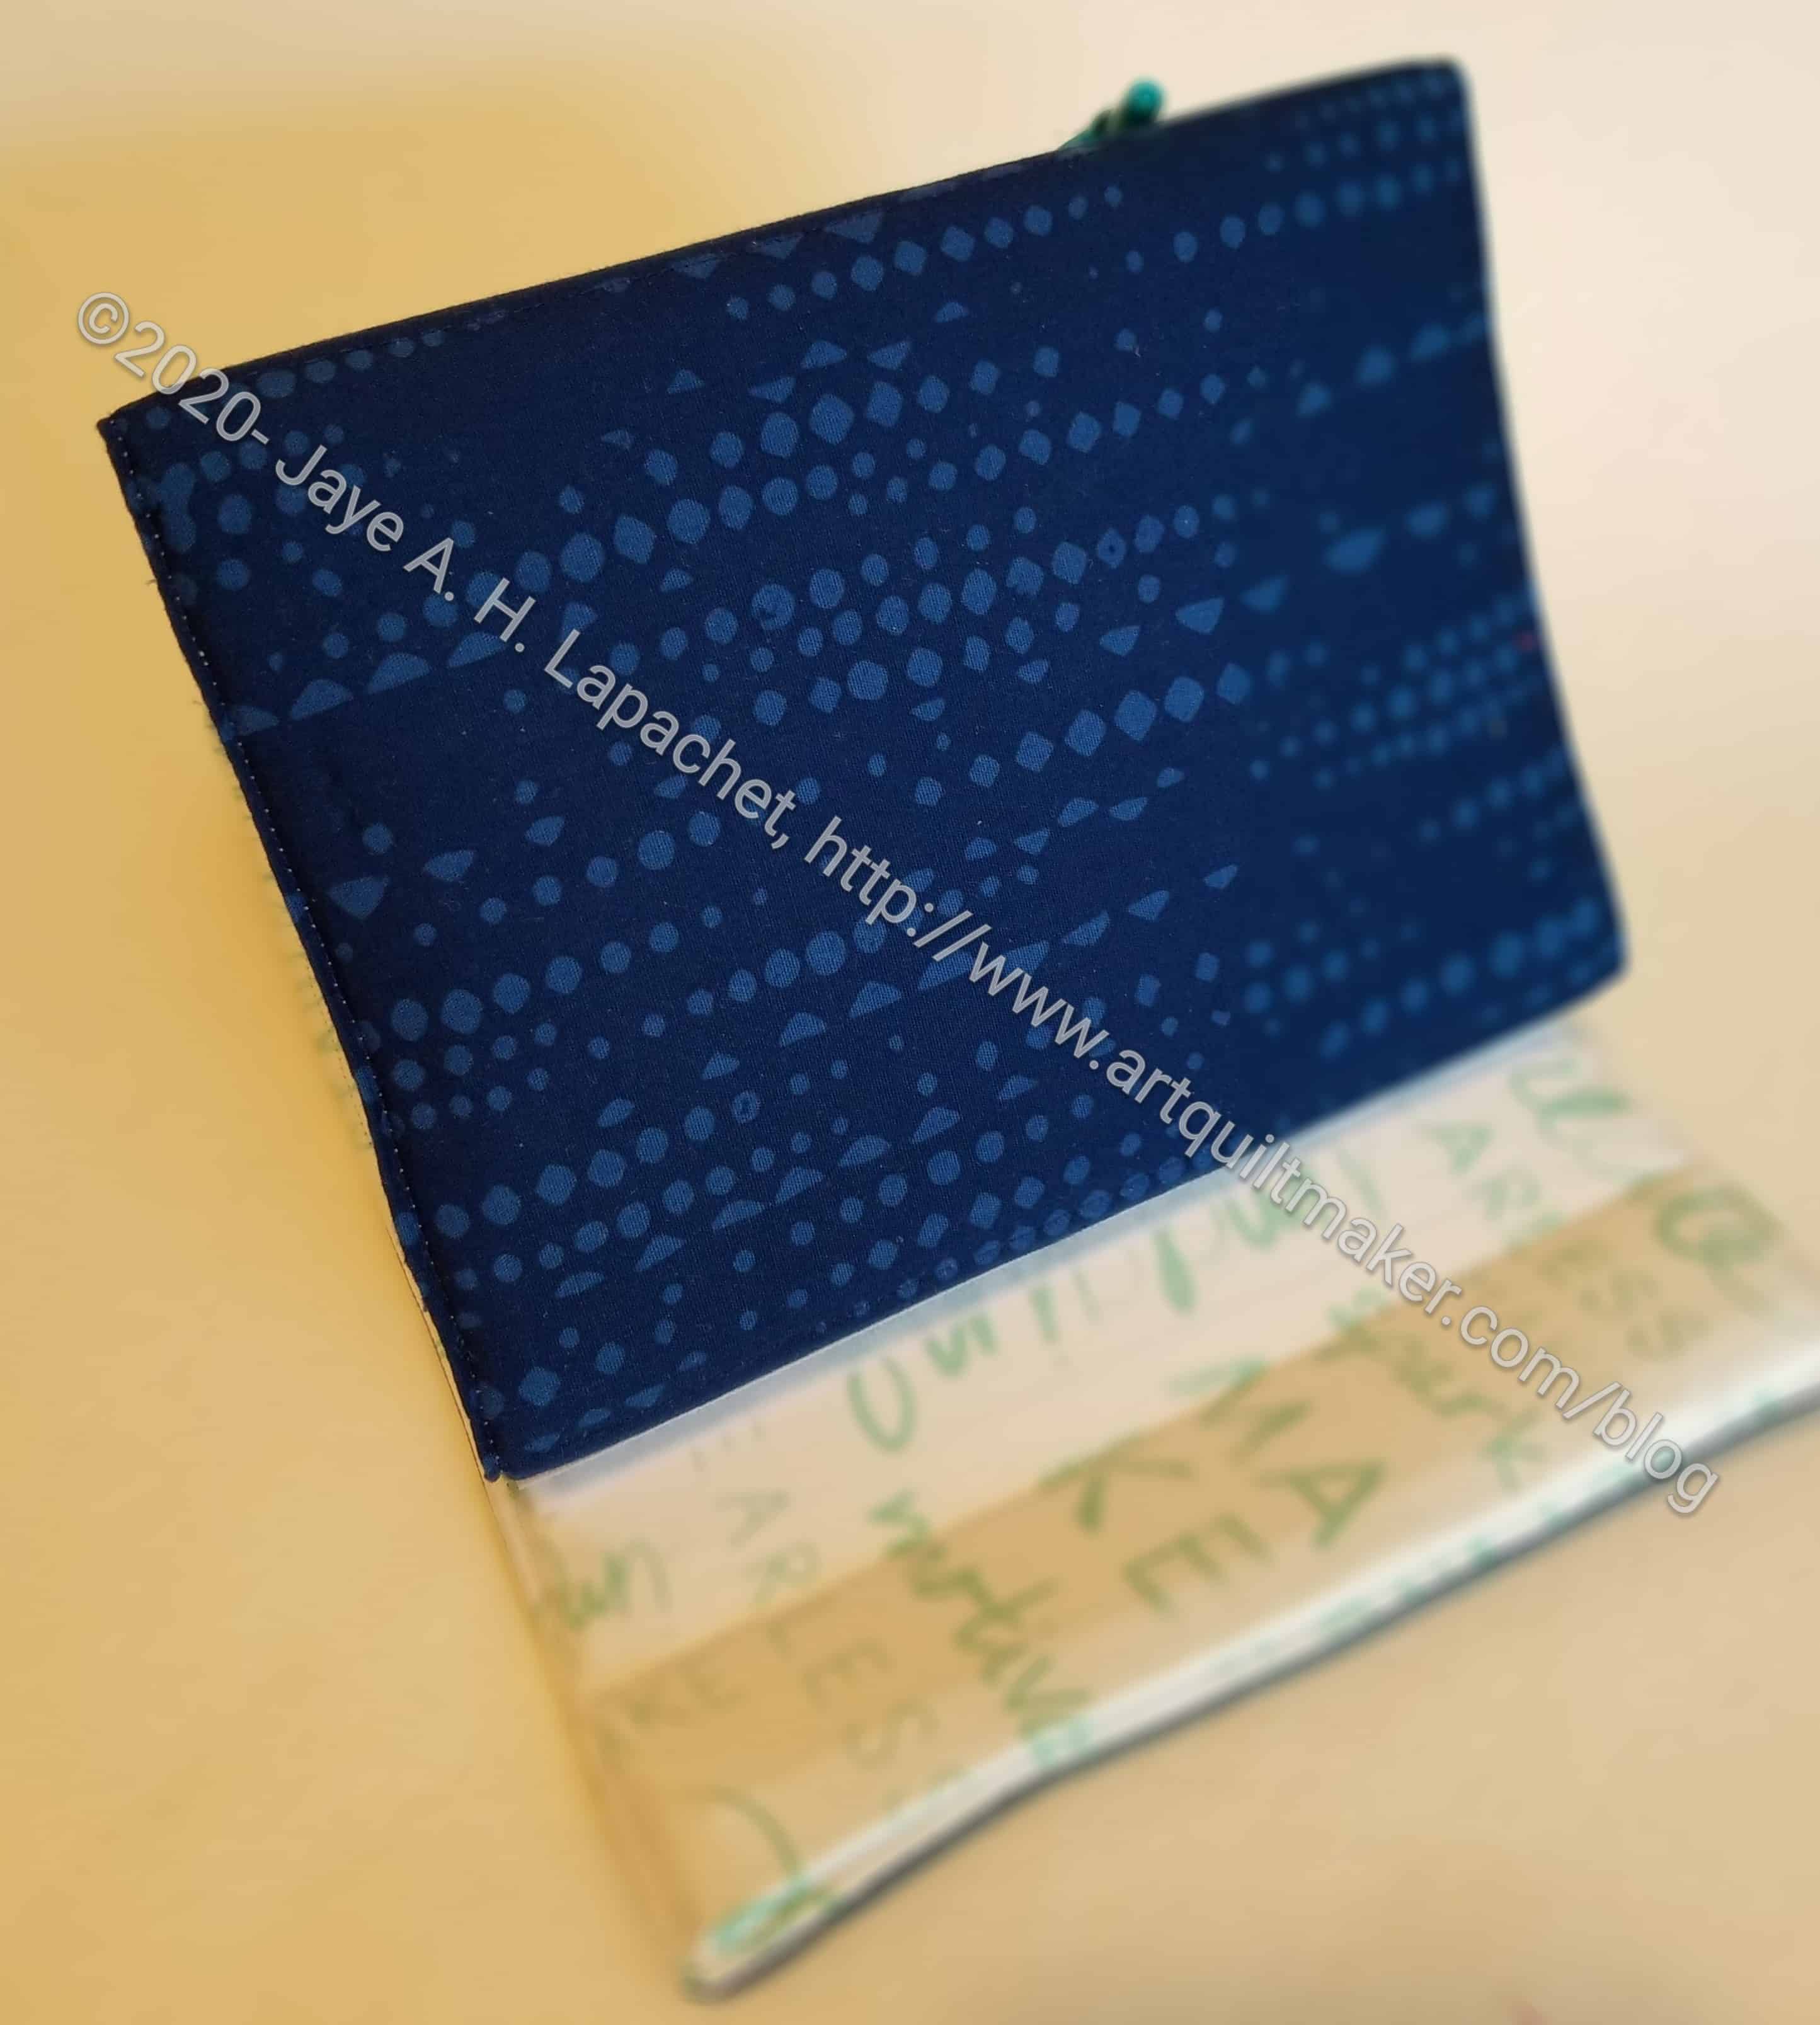
Green Cotton Candy Pouch-open
I really want to get good at this pattern, so I keep making it even though I have many patterns from the Minikins to try. There are a couple things I need to work on. One is veering the zipper. I didn’t get both sides of the end even this time. Next time, I think I will mark where I want to veer the zipper off the fabric and see if that works. I ripped it out a couple of times, but couldn’t do better, so I’ll try to do better next time.
I am making 3 more Cotton Candy pouches as gifts for people at work. I am also trying to perfect my efforts at sewing this pattern.
Making 3 requires a lot of cutting time. It took me about two hours to cut out all the pieces, which didn’t include forgetting to cut out the lining side panels! Duh! I guess I have decided that cutting out all the pieces at once is the best way to work.
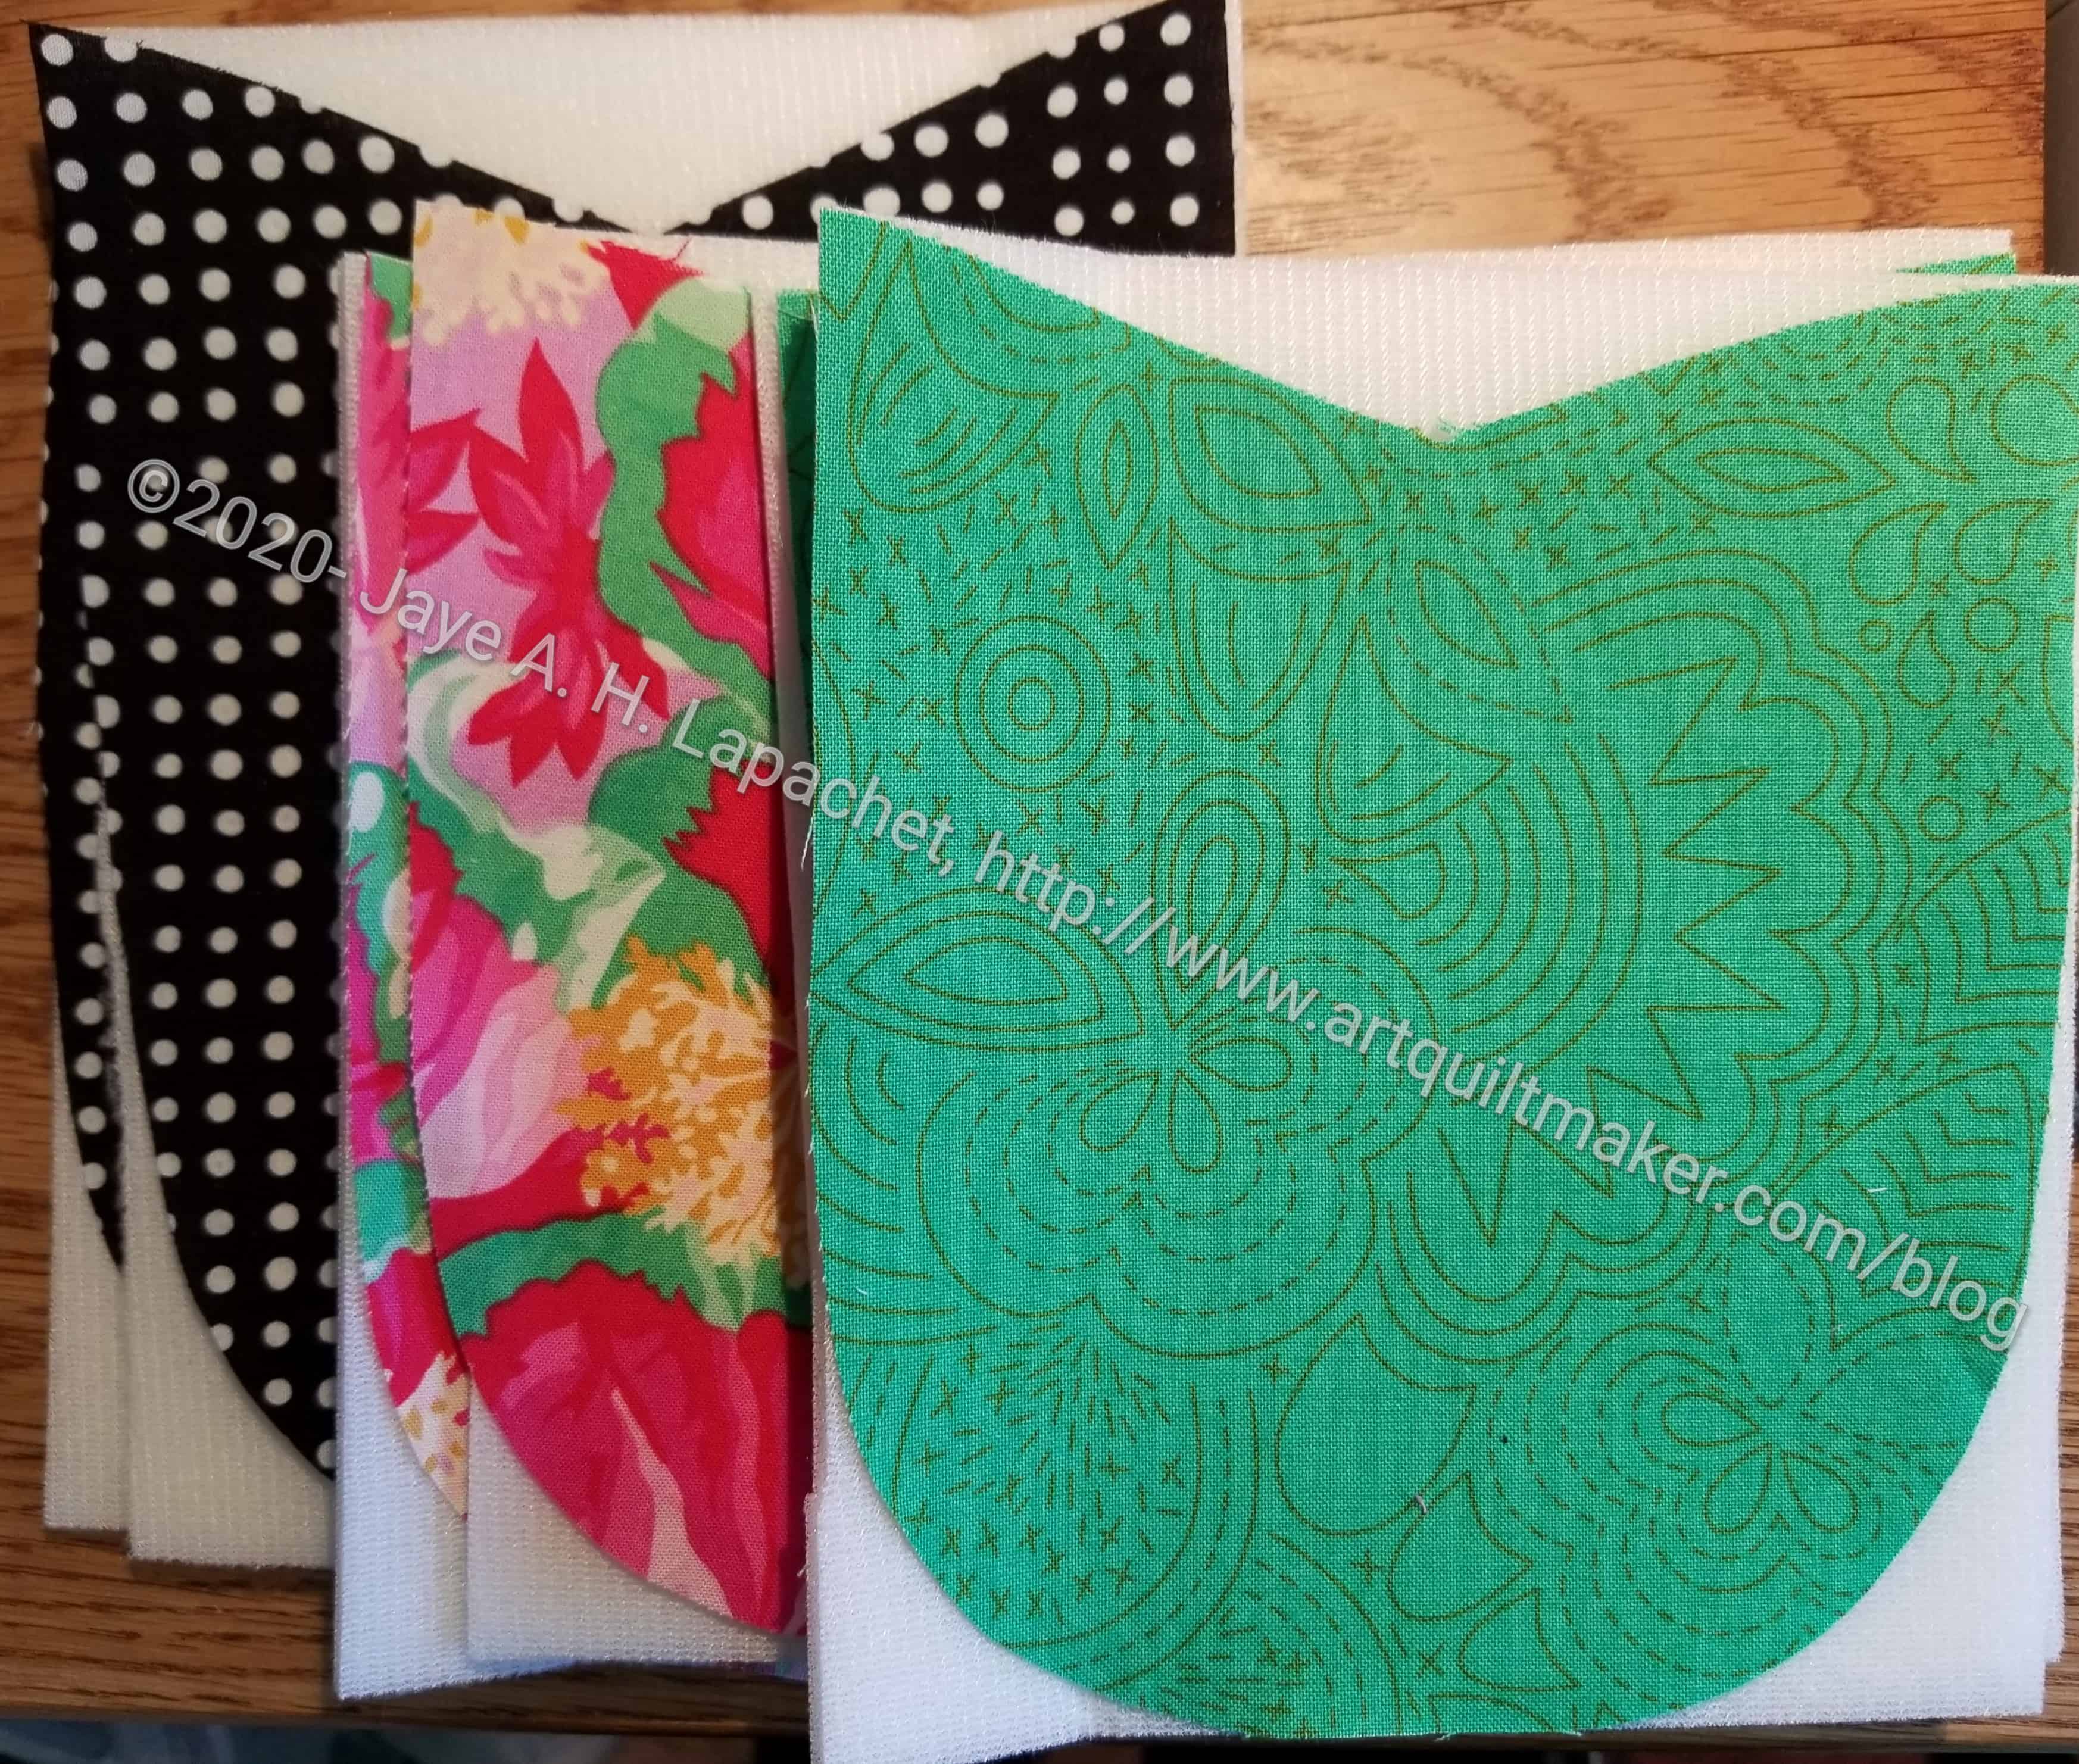
Cotton Candy Pouch side panels
One of the things I found was that basting the side panels to a square and cutting the shape out later was really handy. Cutting out the side panel, which is tulip shaped, with the rotary template on the Soft & Stable is difficult. It is difficult, because the Soft & Stable is so thick. Cutting the shape out after basting it worked really well.
I also found that basting the pieces to the Soft & Stable in advance was really helpful. I know the pattern says to do it, but I hadn’t done it before.
I am still struggling with veering the zipper. Apparently, I need to make more of these to get that right. I made some annotations to the pattern so I remember what to do next time and where salient points are in the videos.
Yesterday we all opened our swap gifts. Thus I know my swap giftee received the gift I made back in May. I mentioned that I had made it for someone, but didn’t say who.
The parameters of the swap were to make a pattern you have been wanting to try.
I did end up following those parameters by making a Boxy Clear pouch for Angela.
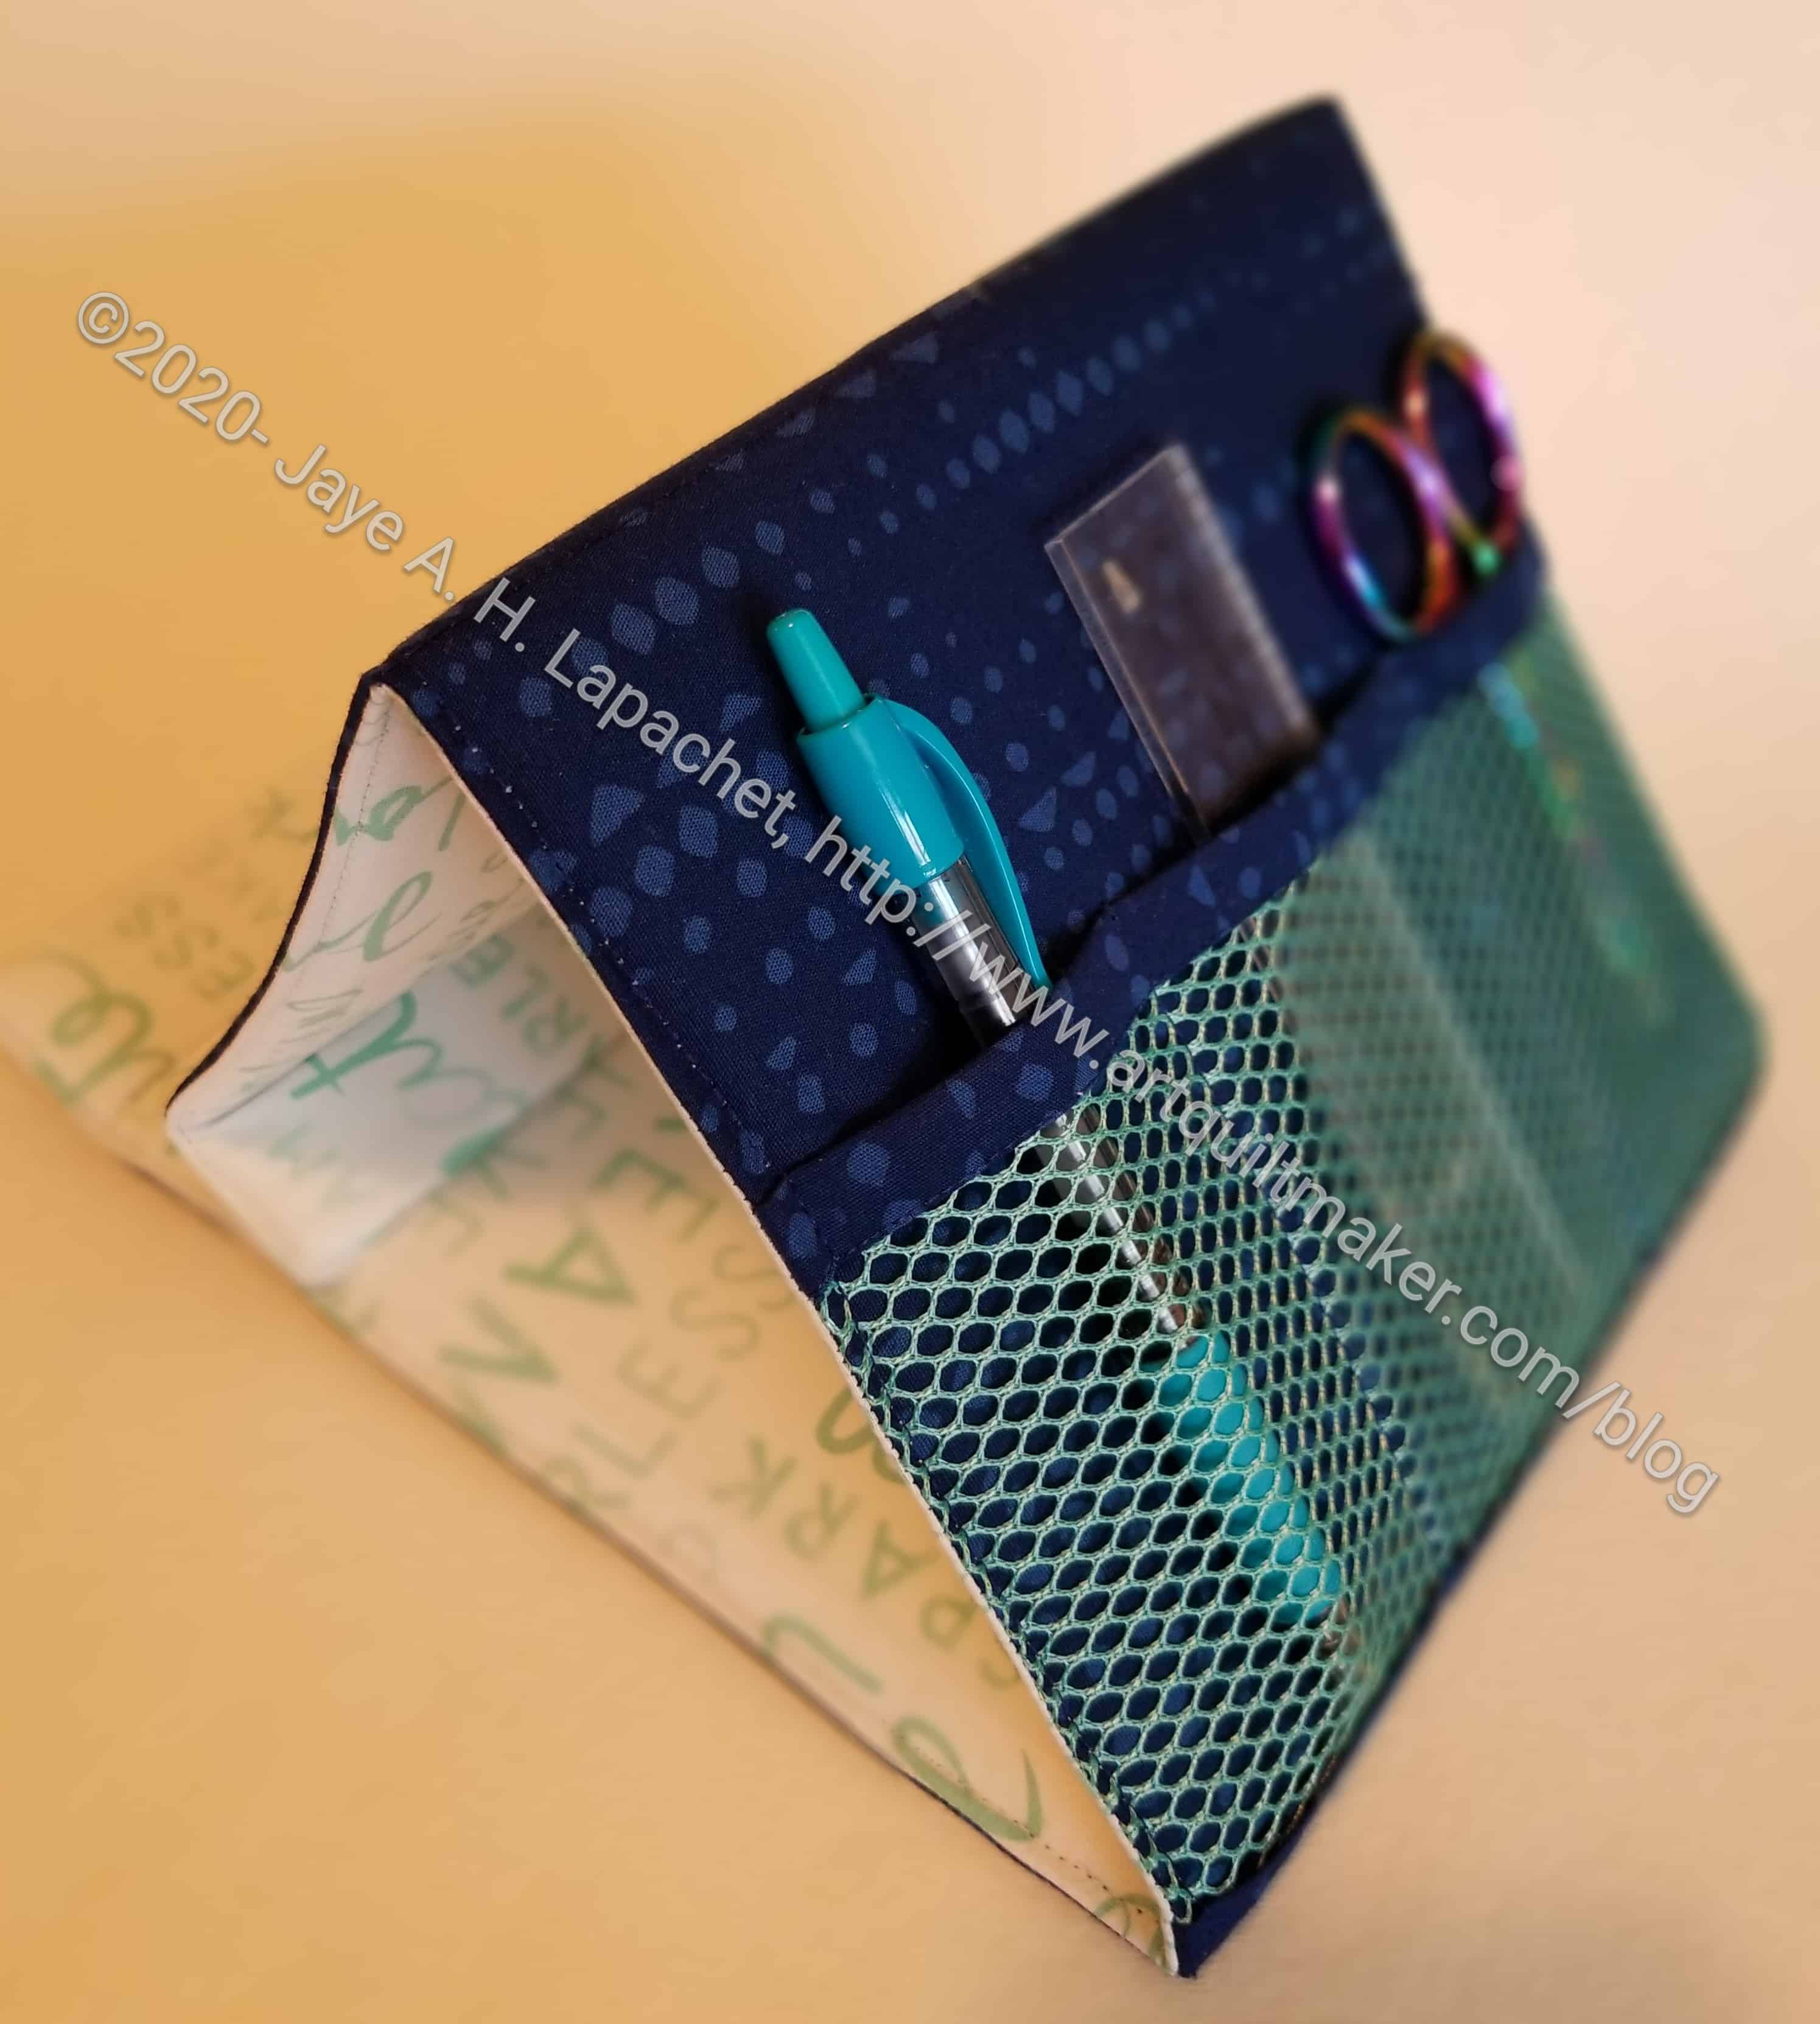
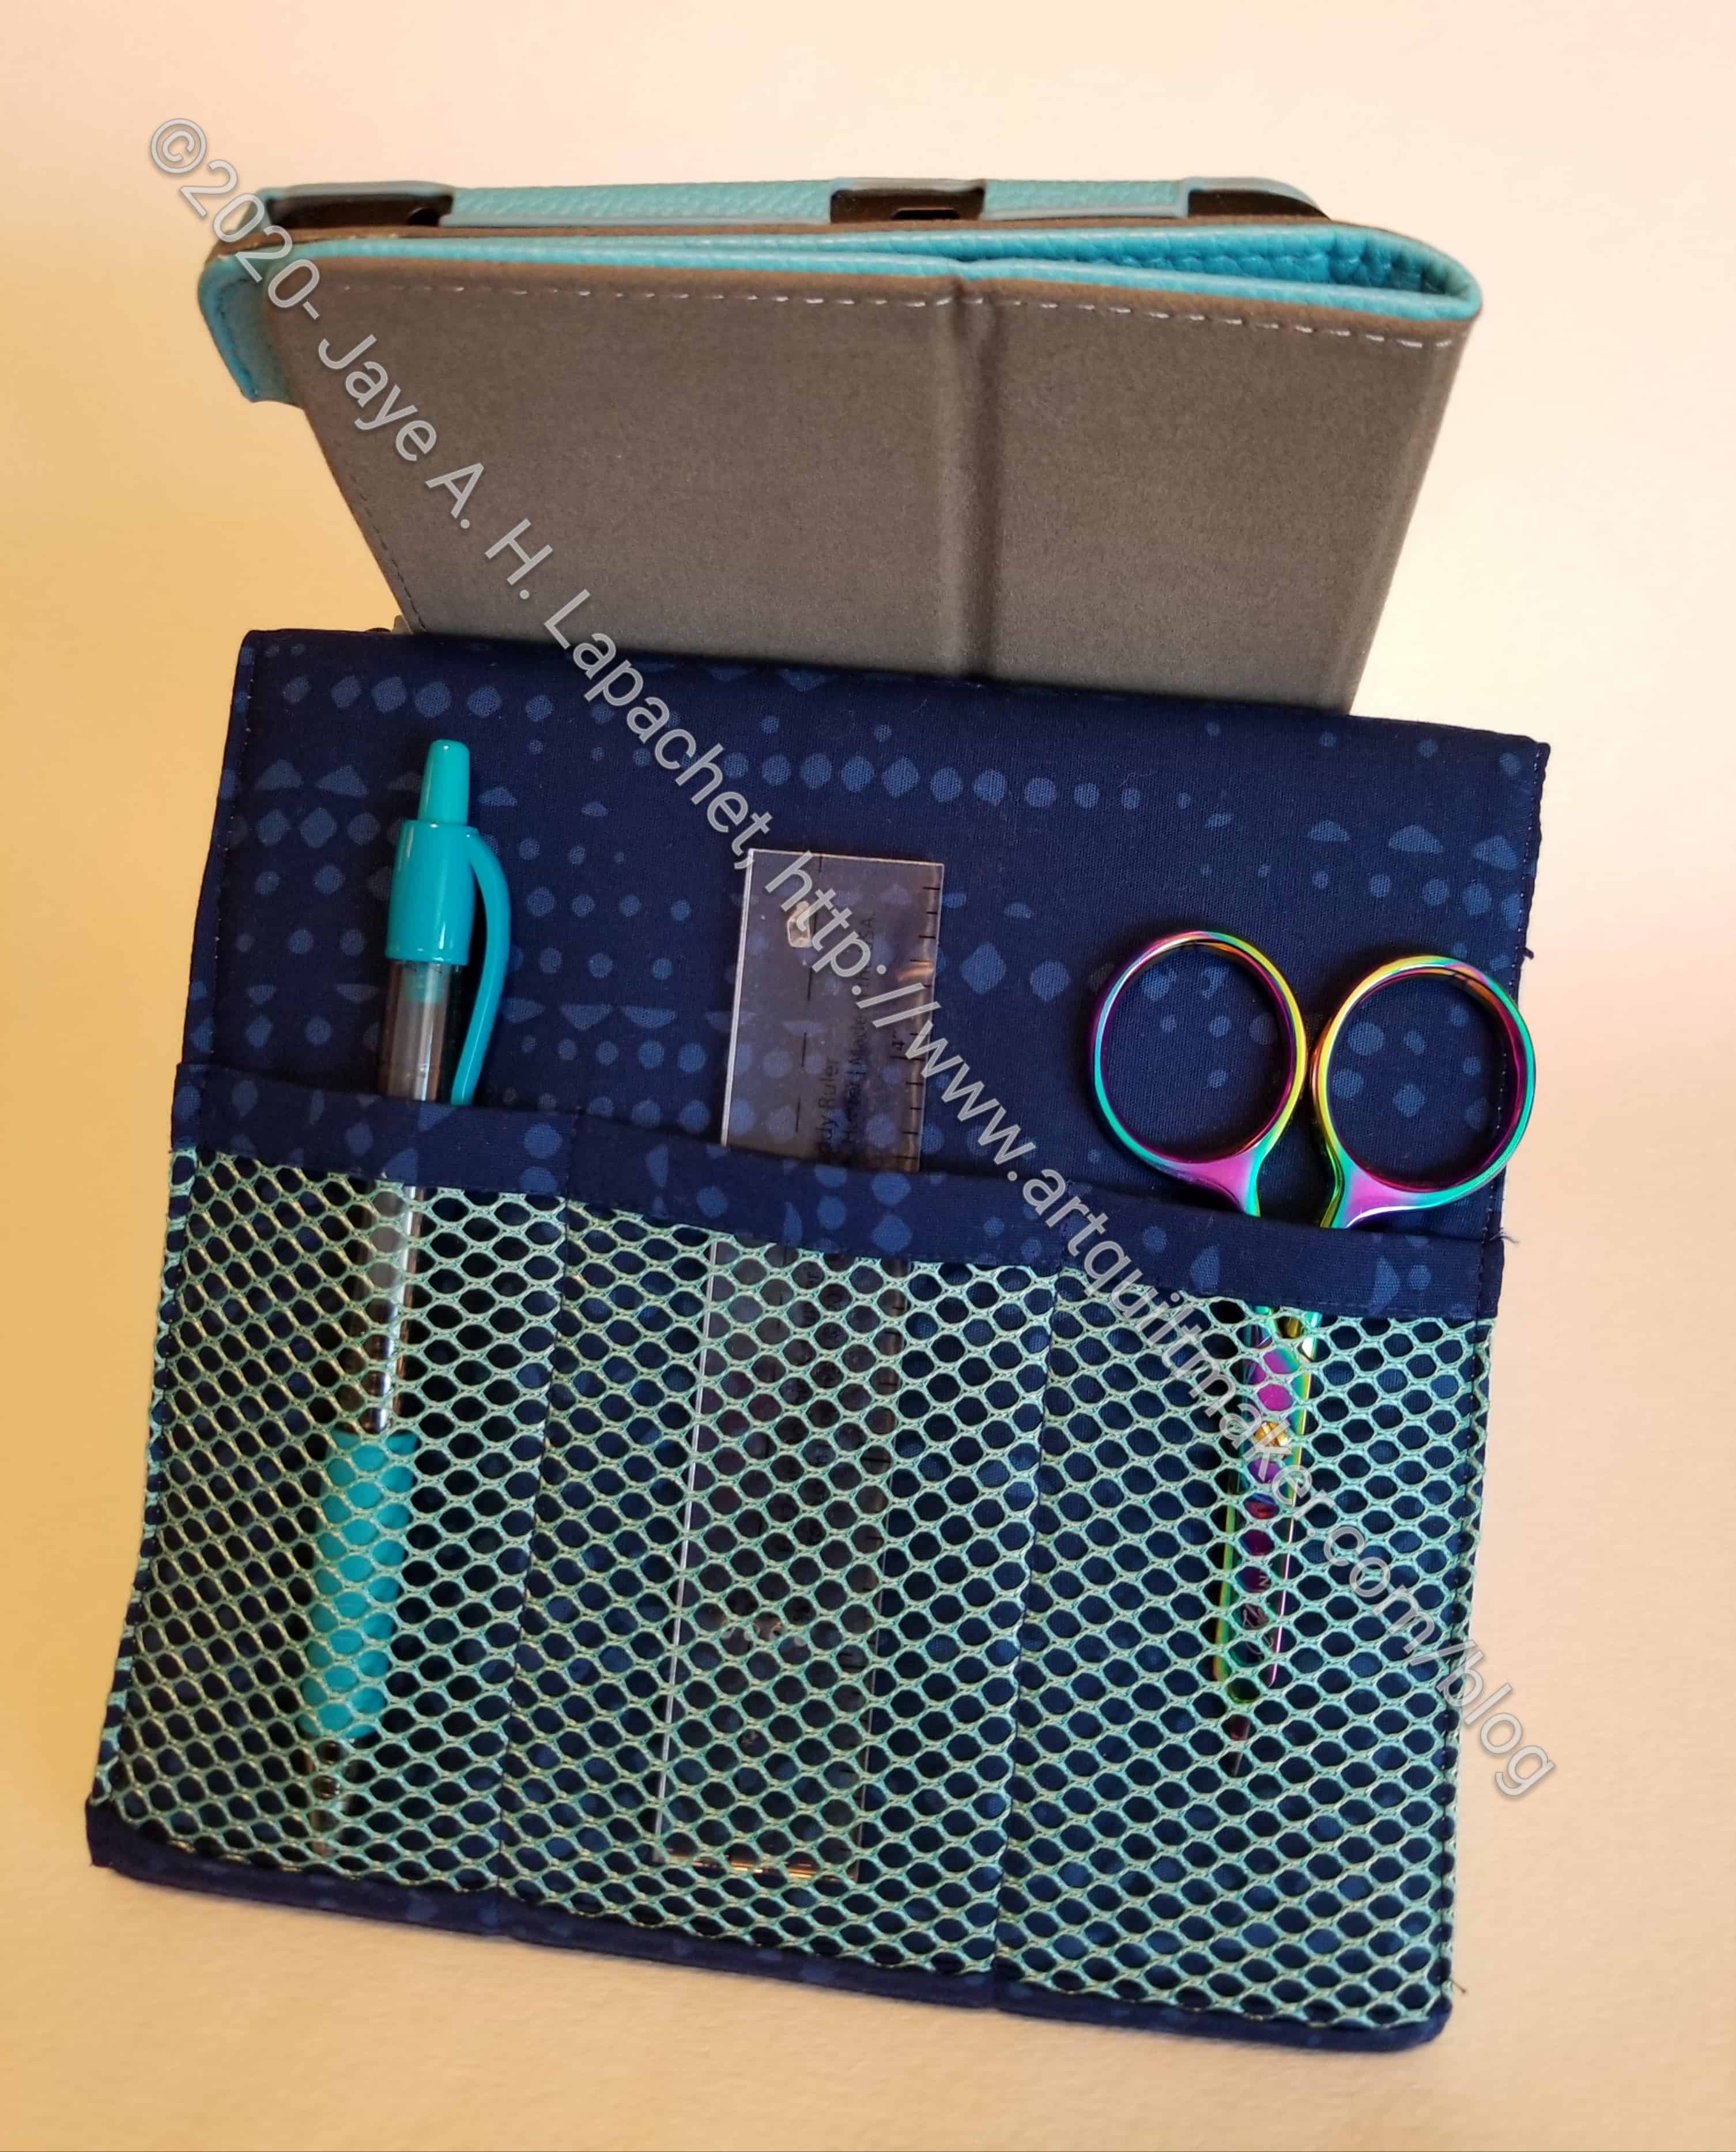
Minikins 2: Sewing Room Stand tool side
For the swap gift, I used colors I thought Sue S. would like and use. Angela helped me out by asking Sue about her decor and preferences. Originally, I thought I would make a cushion cover, but then I changed my mind. I have seen Sue S. at Sew Days using her tablet to follow a pattern. Thus I thought the Minikins Sewing Stand would be great. It isn’t a pattern I have been wanting to try specifically, but I have been wanting to try all of the Minikins.
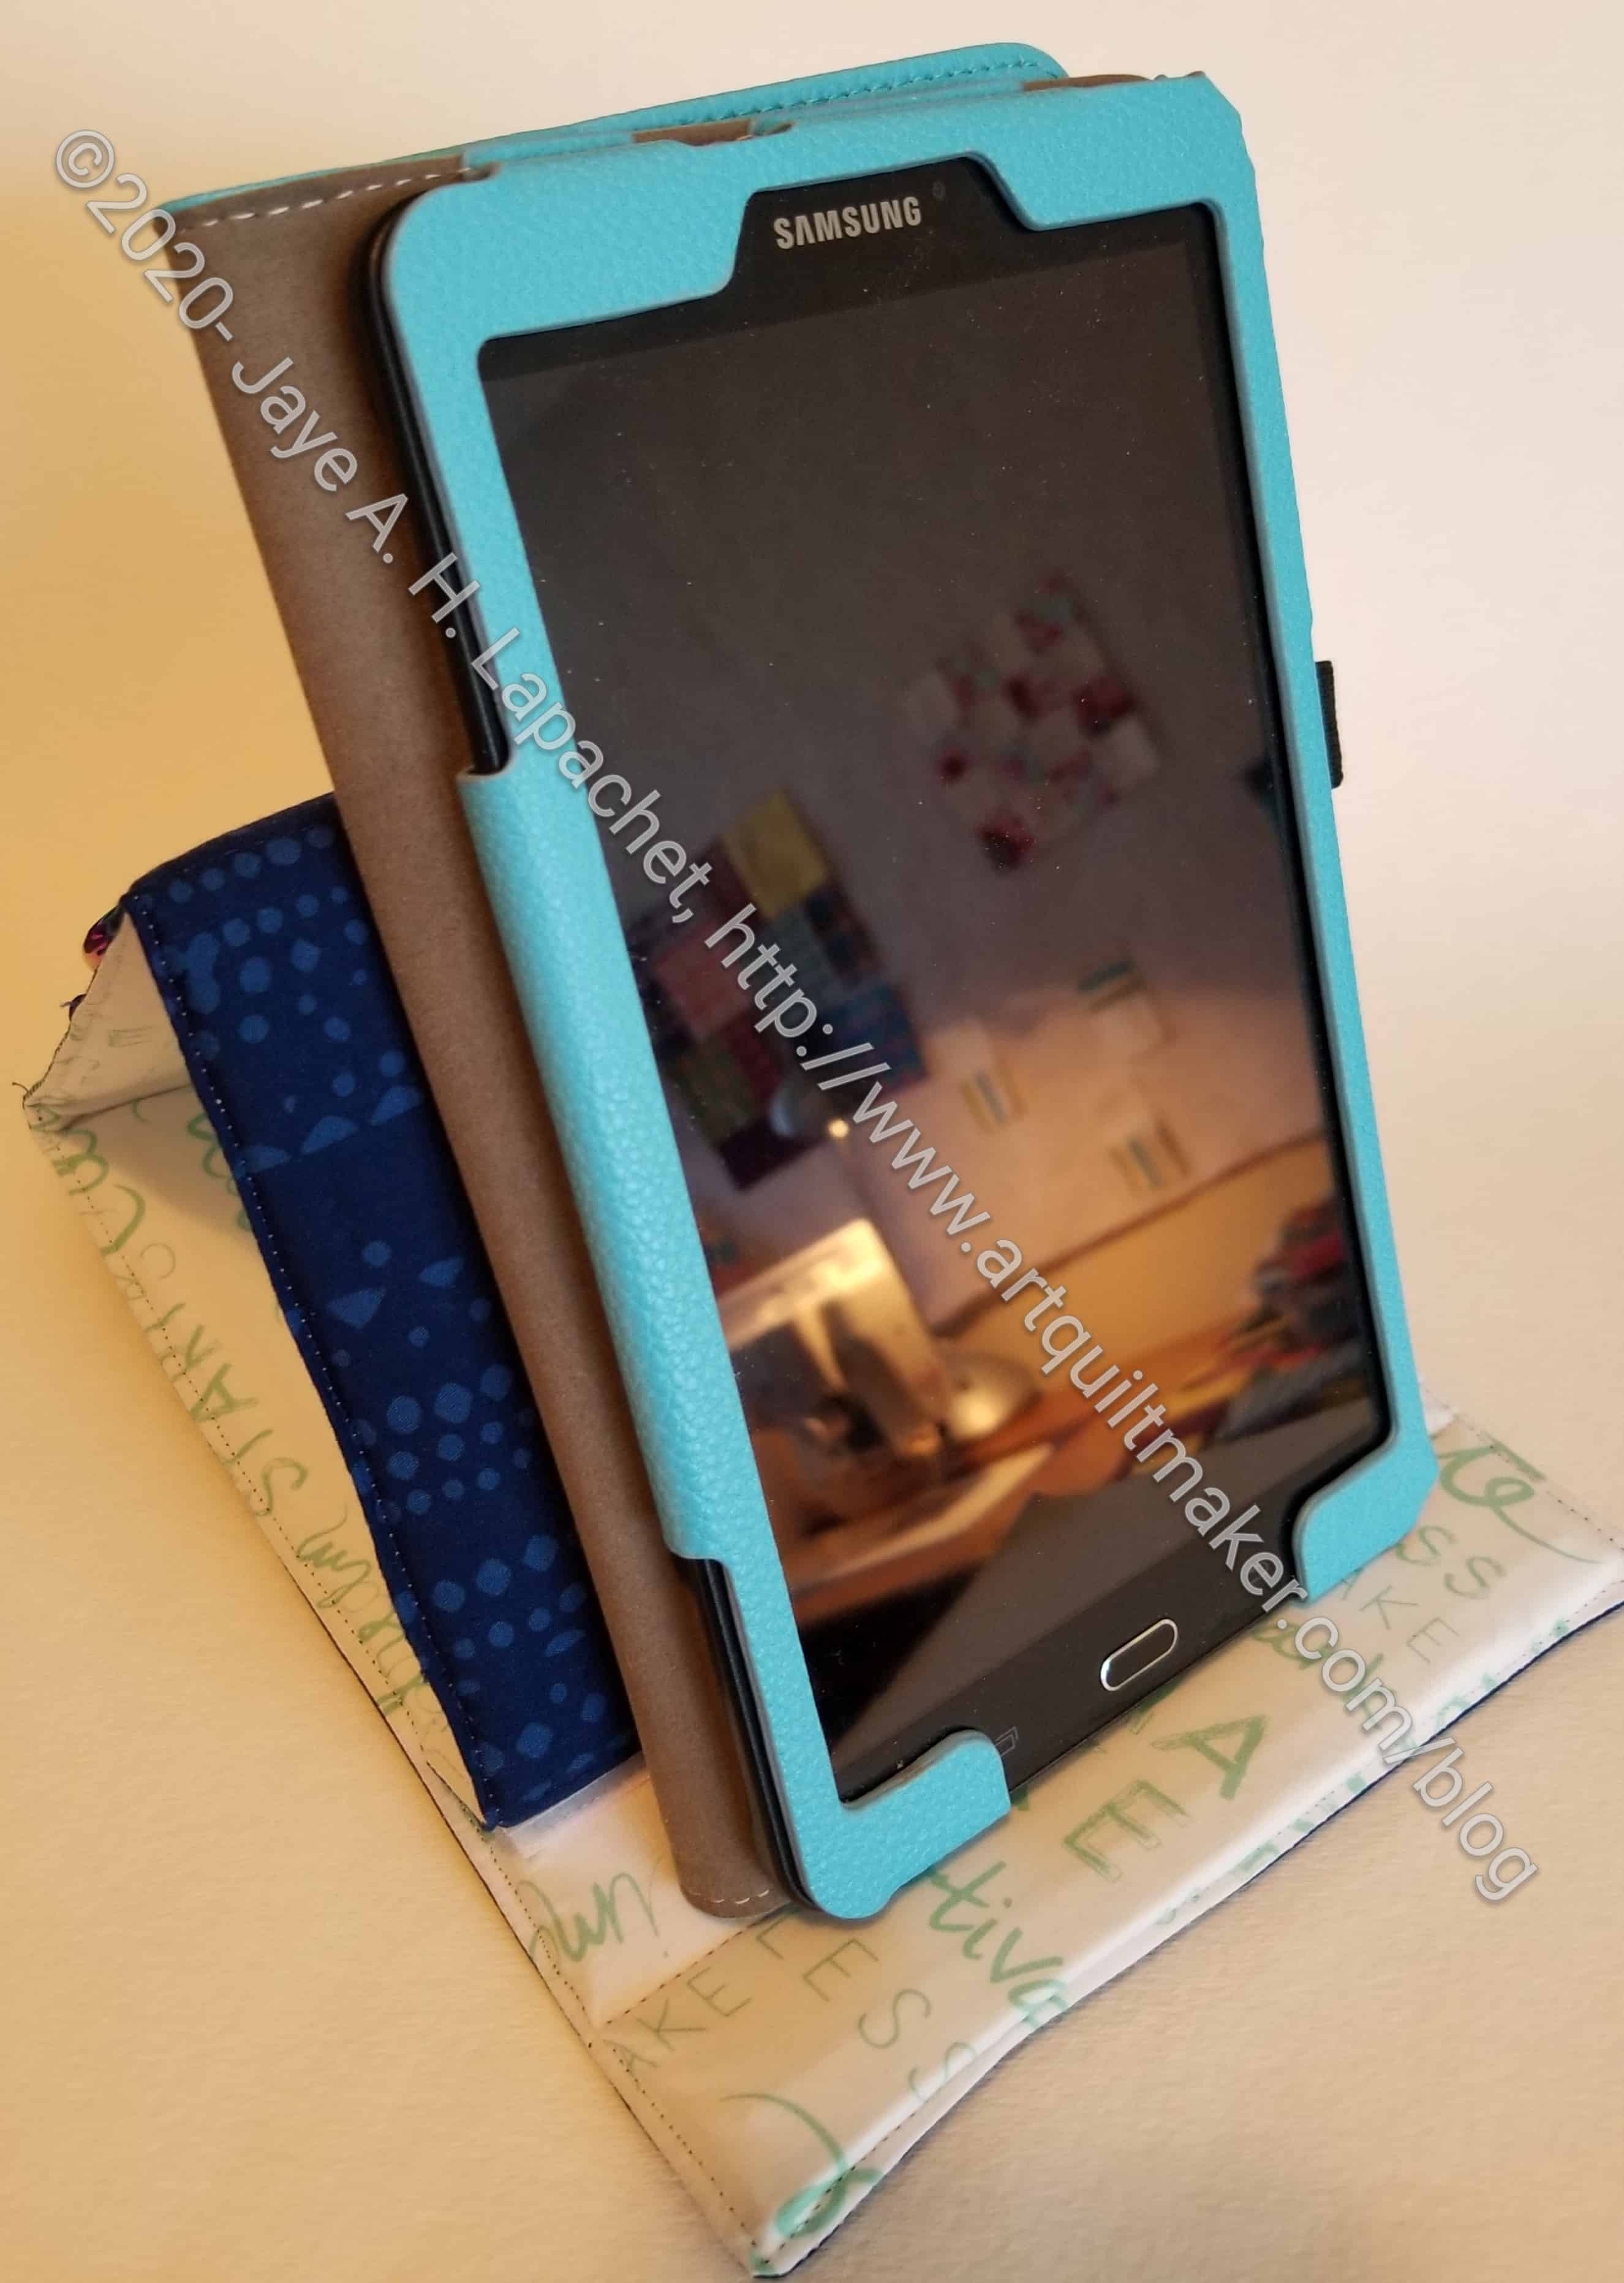
Minikins 2: Sewing Room Stand tablet side
I confused the lining and exterior, so the light is on the outside and the tools have to be against dark fabric, but at least Sue gets to look at pretty fabric.
I really hope she likes it and it is useful to her.
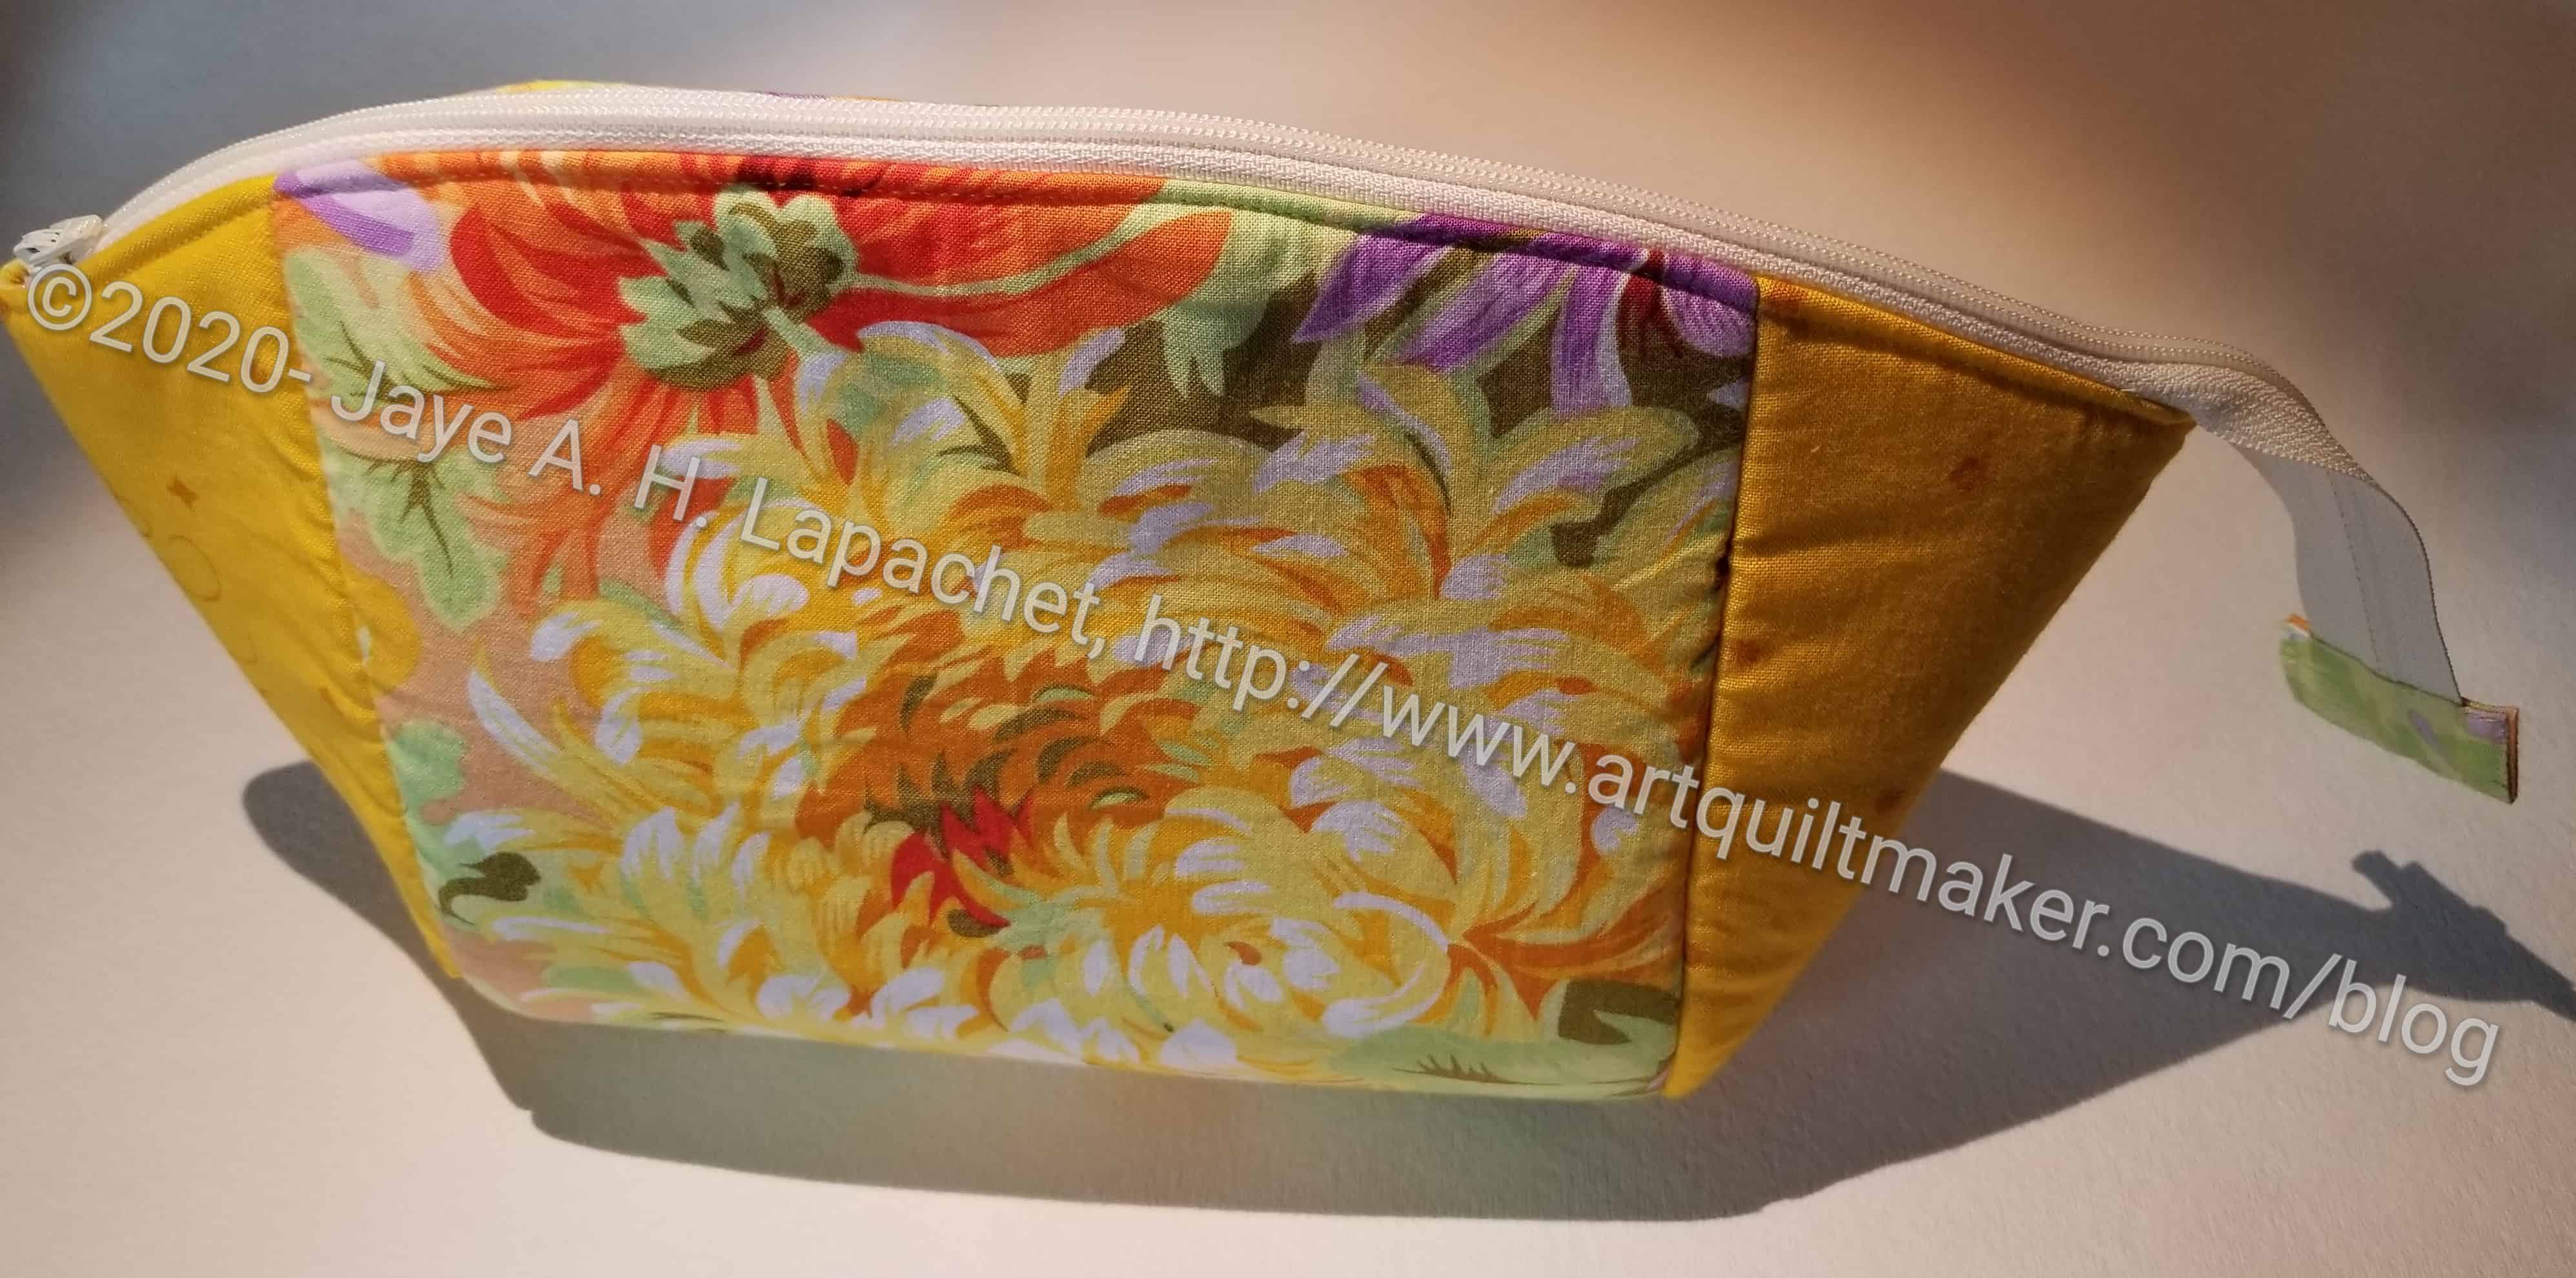
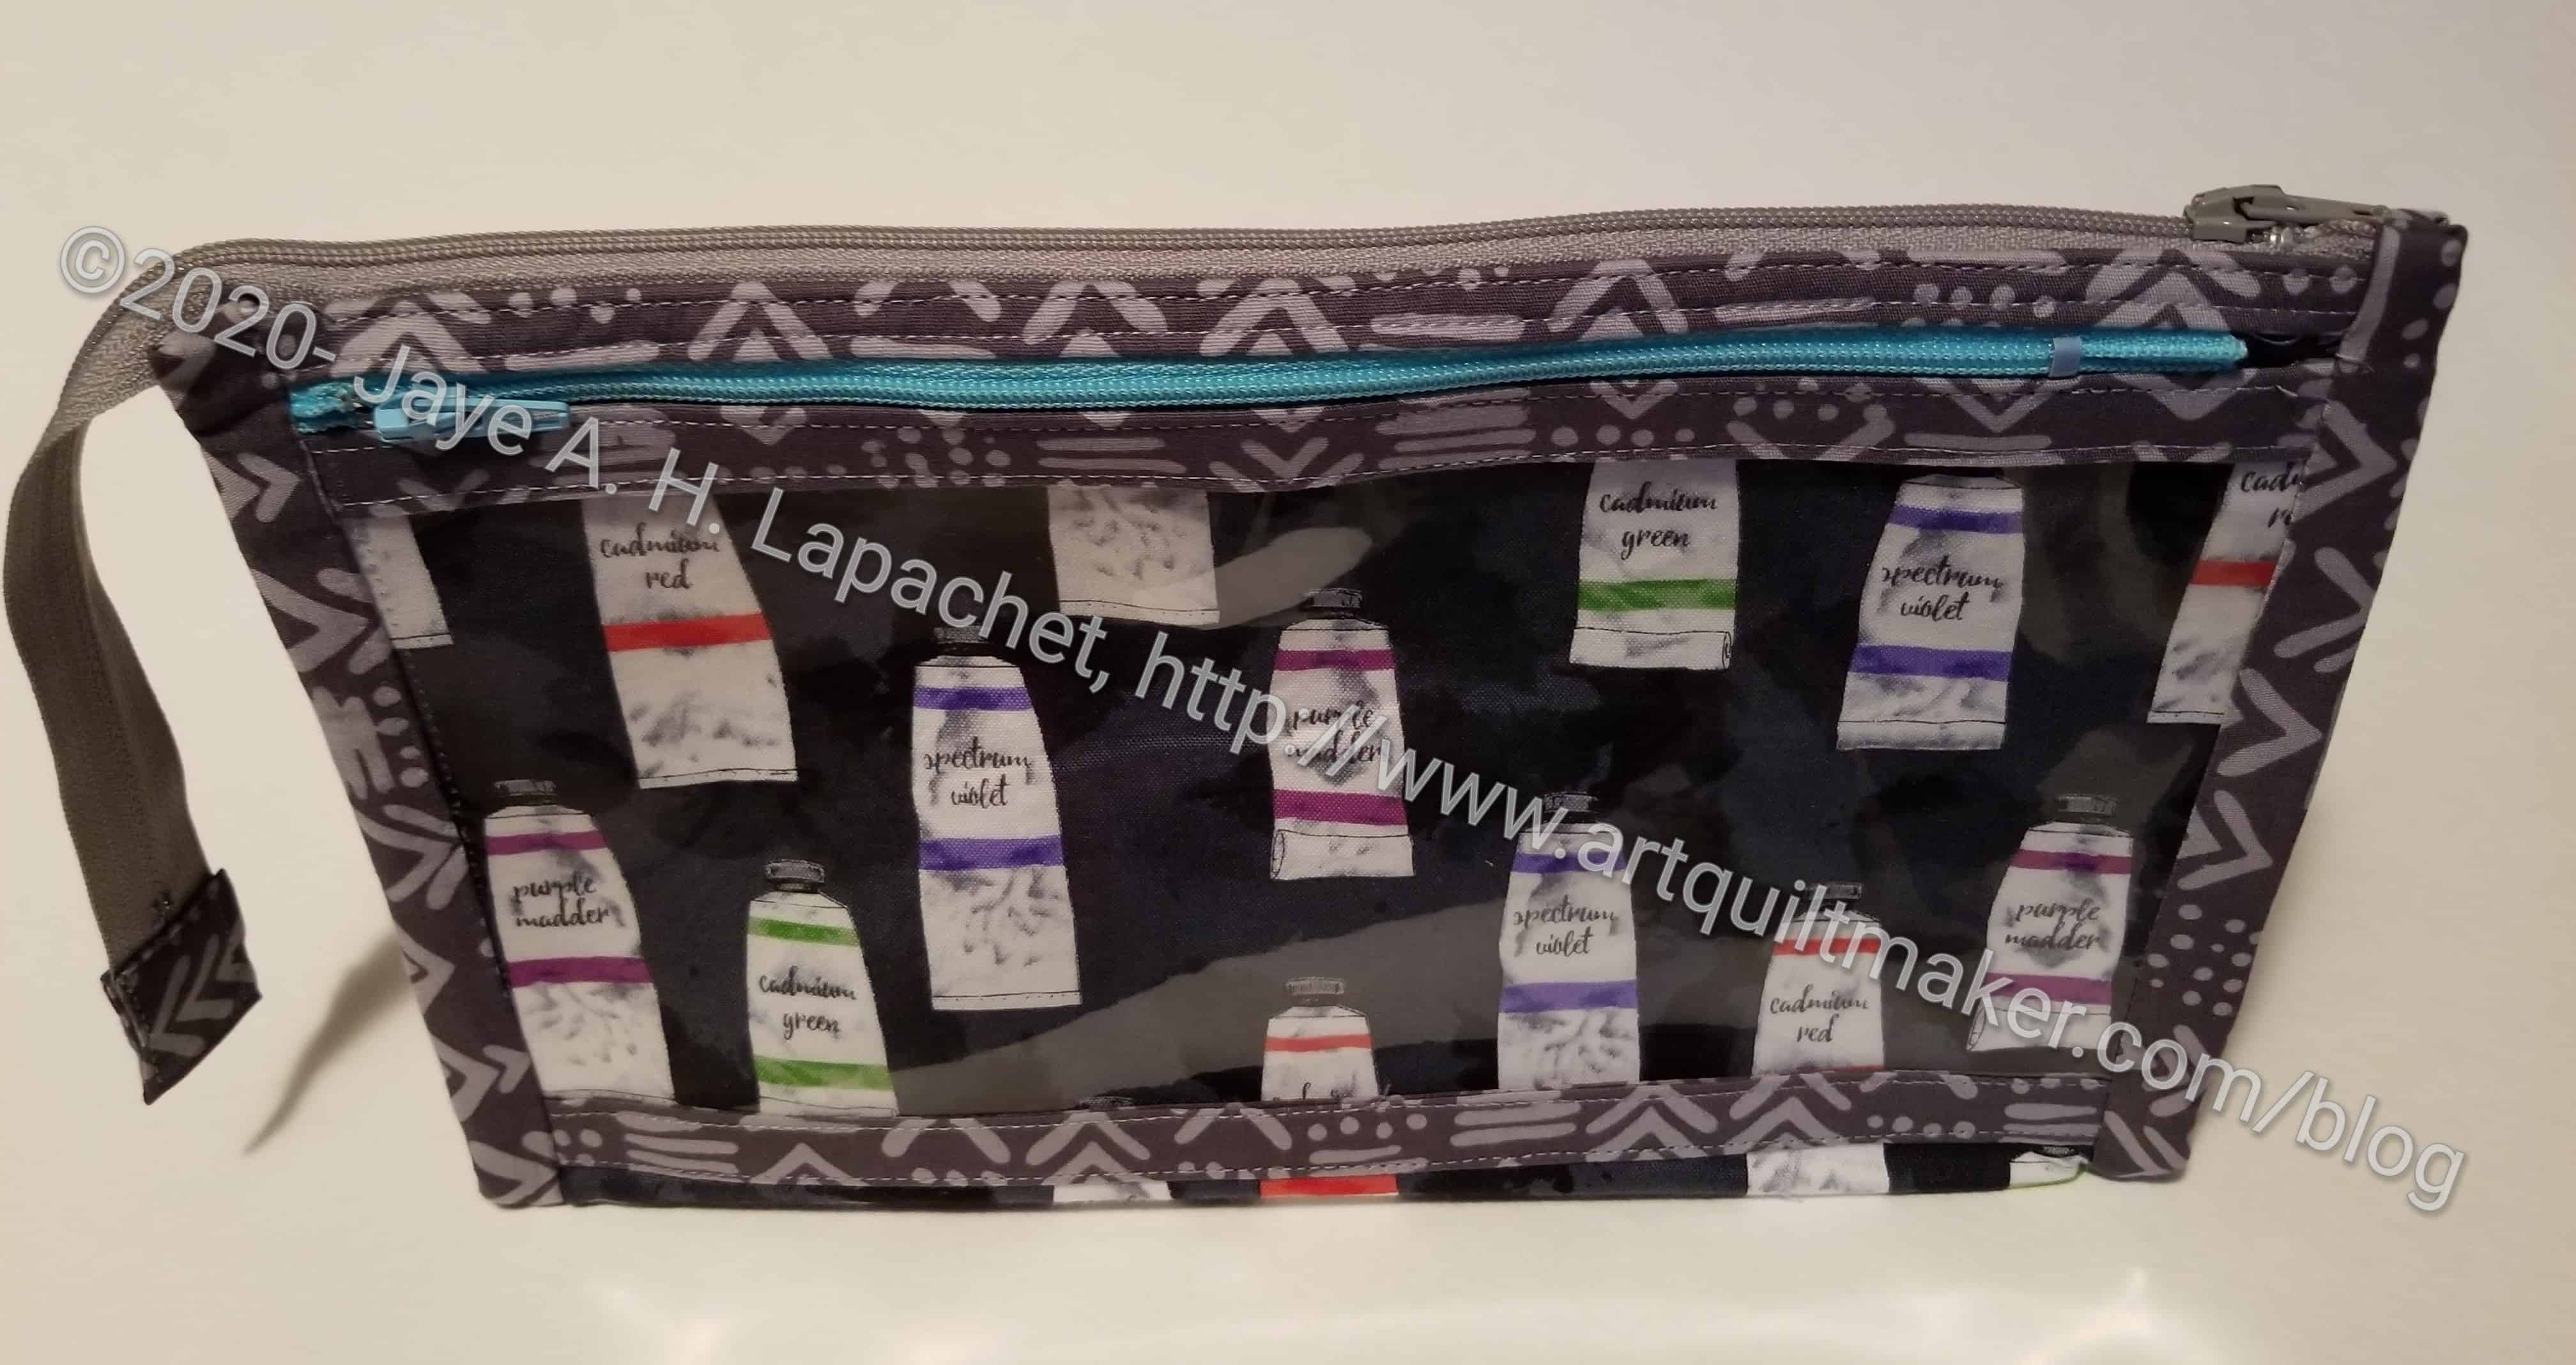
I finished another Cotton Candy Pouch over the weekend. As mentioned in a previous post, this pattern is from the Minikins Seasons 1 & 2 (no affiliation) by Sara Lawson of Sew Sweetness.
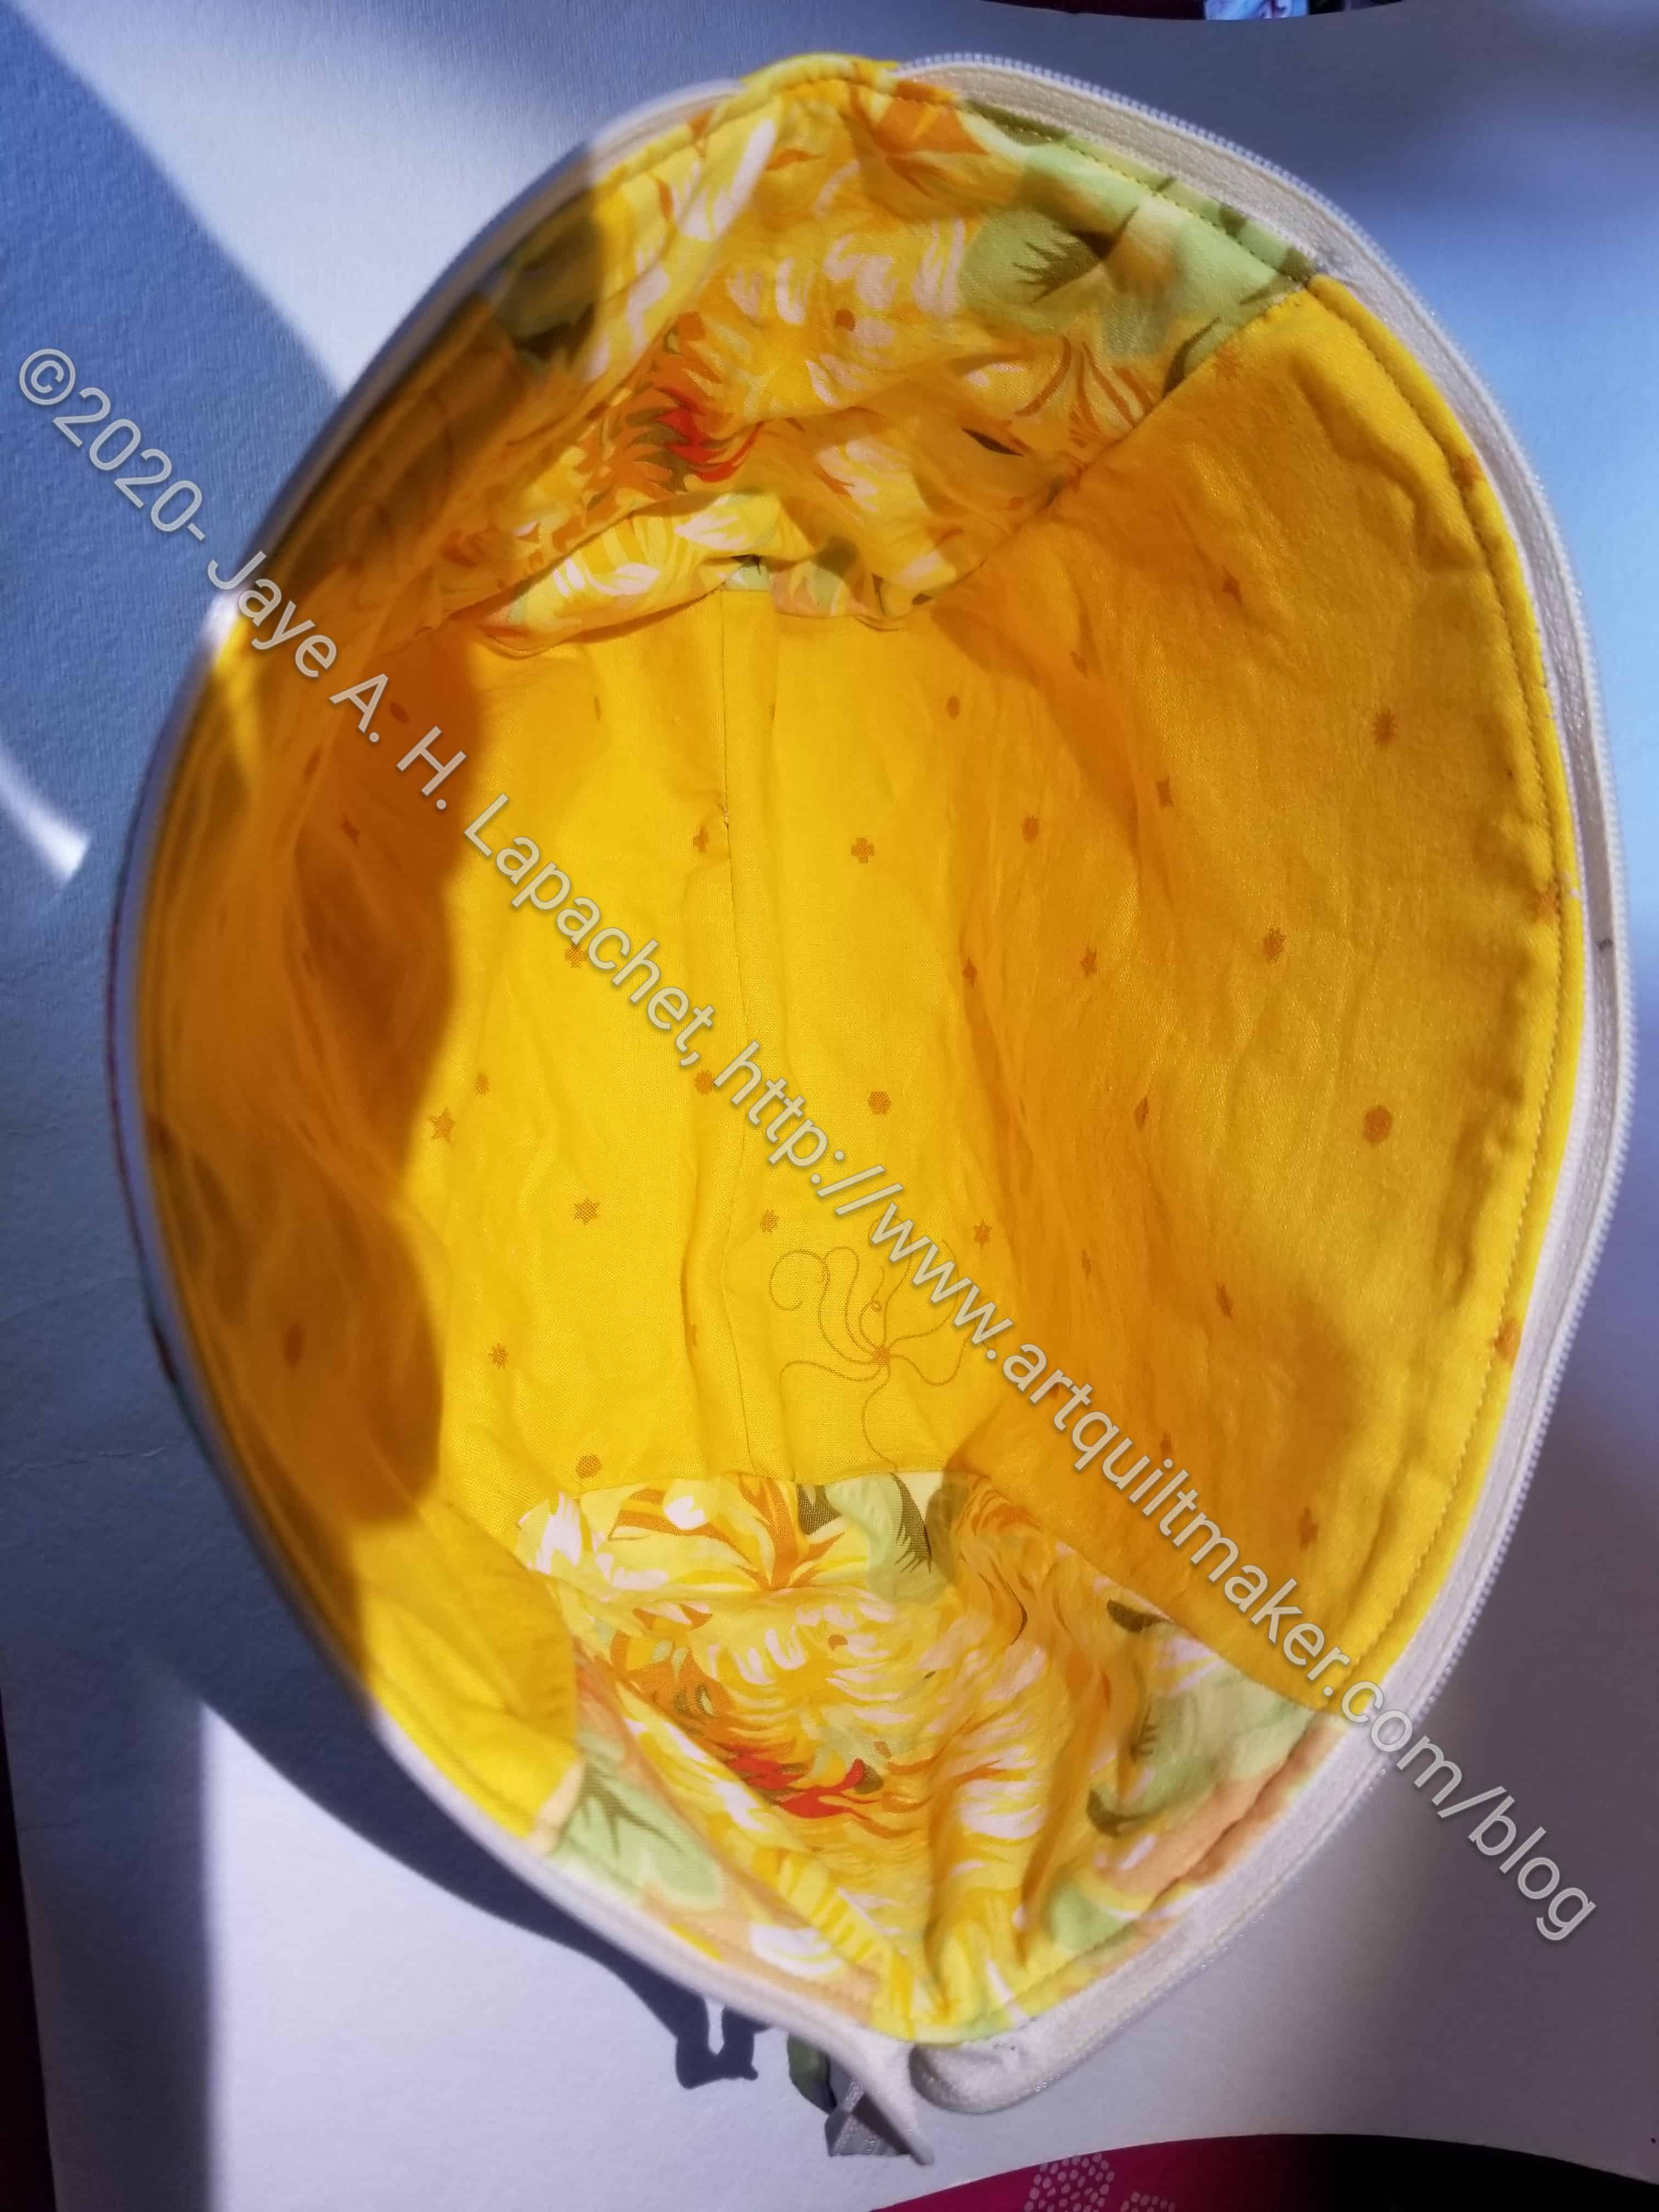
Chrysanthemum Cotton Candy Pouch – inside
I made an effort to fussy cut fabric this time so my pouch highlighted some great fabric. Sara does this in her pouches and I really like the look. I cut the side panels out of the Philip Jacobs fabric, which was not correct – I keep thinking those side pieces are the main fabrics. I decided to use them on the inside, reversing the way I put in the fabric.
I had some trouble with the zippers, but in the end the video about veering the zipper off the project and the project video finally got the thole technique into my head. I want to cement it. I think I might make another pouch with some of the Echinacea fabric I got from the last Modern Quilter’s Box.
I finished the Inside Outside Pouch at Craft Night on Monday. I only had the binding left and that was a good task to work on.
The pattern is pretty easy, especially after making the Boxy Clear pouch as many of the steps are the same.
Inside Outside Pouch inside detail
One problem I had was with the zippers. This was not a problem with the pattern, but was a problem with how to measure zippers. I know now that you measure from puller to stopper, not from end to end. The zippers in this pouch are a little short, but it shouldn’t matter in the grand scheme.
I used some leftovers from projects for Mom, so she will probably end up with it. I am not sure how much I like this product. It is a good pattern and easy to follow, but the pouch is kind of large and I am not sure how I would use it. I’d like a smaller version for my binding makers. I may try making a smaller one.
I have said before that my guild Raffle Team is awesome. They continue to show their amazing willingness to continue to make things for the raffle baskets.
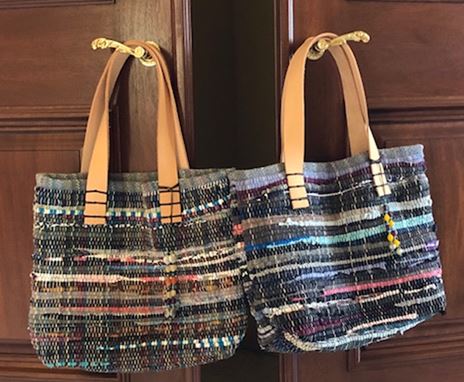
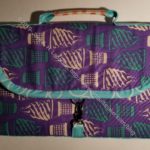
Carrie’s Raffle Bags
Carrie sent me a photo of two bags she made for the team last week.
I will fill these, when I receive them, with the other goodies and the whole package will be given to two lucky winners.
I haven’t seen these bags in person, but they look like they have wonderful texture.
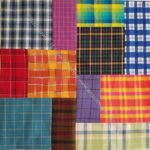
I spent some time working on sewing the plaid blocks together. I was able to finish the top with only a minimal amount of irritation. There are a few places where I would have changed the blocks if I had been able to see them on the design wall, but didn’t and am not unsewing.
In general, I am pretty pleased with how the piece looks. The yellow is pretty well distributed over the top, so it helps the eye to move around. Now on to back and binding!
As mentioned, I had (took) Friday-Monday off for Memorial Day weekend. While I had to clean the house, I also took the time to finish a few projects that needed finishing or knocking other must-do projects off my list.
Minikins 2: Sewing Room Stand
One thing I started and finished was a Sewing Room Stand from the Minikins Season 2 patterns.
I made the item in a couple of hours. I used the video portion of the pattern (Sew Sweetness Minikin patterns comes with a video as well as the printed pattern). I didn’t find it difficult. I thought it was a lot easier than Tooly McToolston, though the Sewing Room Stand is smaller and doesn’t have as many pockets. It is the same idea.
Minikins 2: Sewing Room Stand tablet side
One of the things I like about this pattern is the possibility of standing a tablet on it and having the tablet oriented in such a way that I could see a pattern as I was working on it.
I thought the stand would come out larger based on the picture on Sara’s website. My tablet is not large (*inches?), but the one in Sara’s photo seems larger and the stand is still larger. Granted, my tablet does not hang over the ends, but still seems like it is overwhelming the Sewing Room Stand.
Minikins 2: Sewing Room Stand tool side
Thetool side is tall enough to accommodate a medium sized tool, so you could have your tools and your tablet in use at the same time.
I turned pretty quickly to the video to make this item. I was not getting what the printed pattern was saying. The video made it very clear, so I was glad to have it.
As far as I can tell, the pattern doesn’t fold up into a flat package.
Minikins 2: Sewing Room Stand empty
I chose the colors as this will be a swap gift and these are the colors the person requested!
I had 4 days off over the weekend and it was great to cross some things off my To Do list AND get some chores done. I have a number of bags and a swap gift on my to do list, but after 3 hours worth of video chats and an hour on the phone with the YM, I really only had time for the plaid blocks. I did press some new-ish fabric, though and found some pieces I’ll use for the swap gift.
I now have 25 blocks, so am definitely on the downward slope of block making for this piece. I ordered the felt for my design wall yesterday. I have little hope of it arriving today, but I am hopeful it will arrive int he coming week. I want to get these blocks up where I can see them all before I start sewing them together.
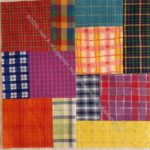
I consulted with a friend who said this block is called Block Party. I did a search and found some instructions on a guild community service site. The instructions are in PDF, which is handy. I wasn’t able to find anywhere else to confirm the name.
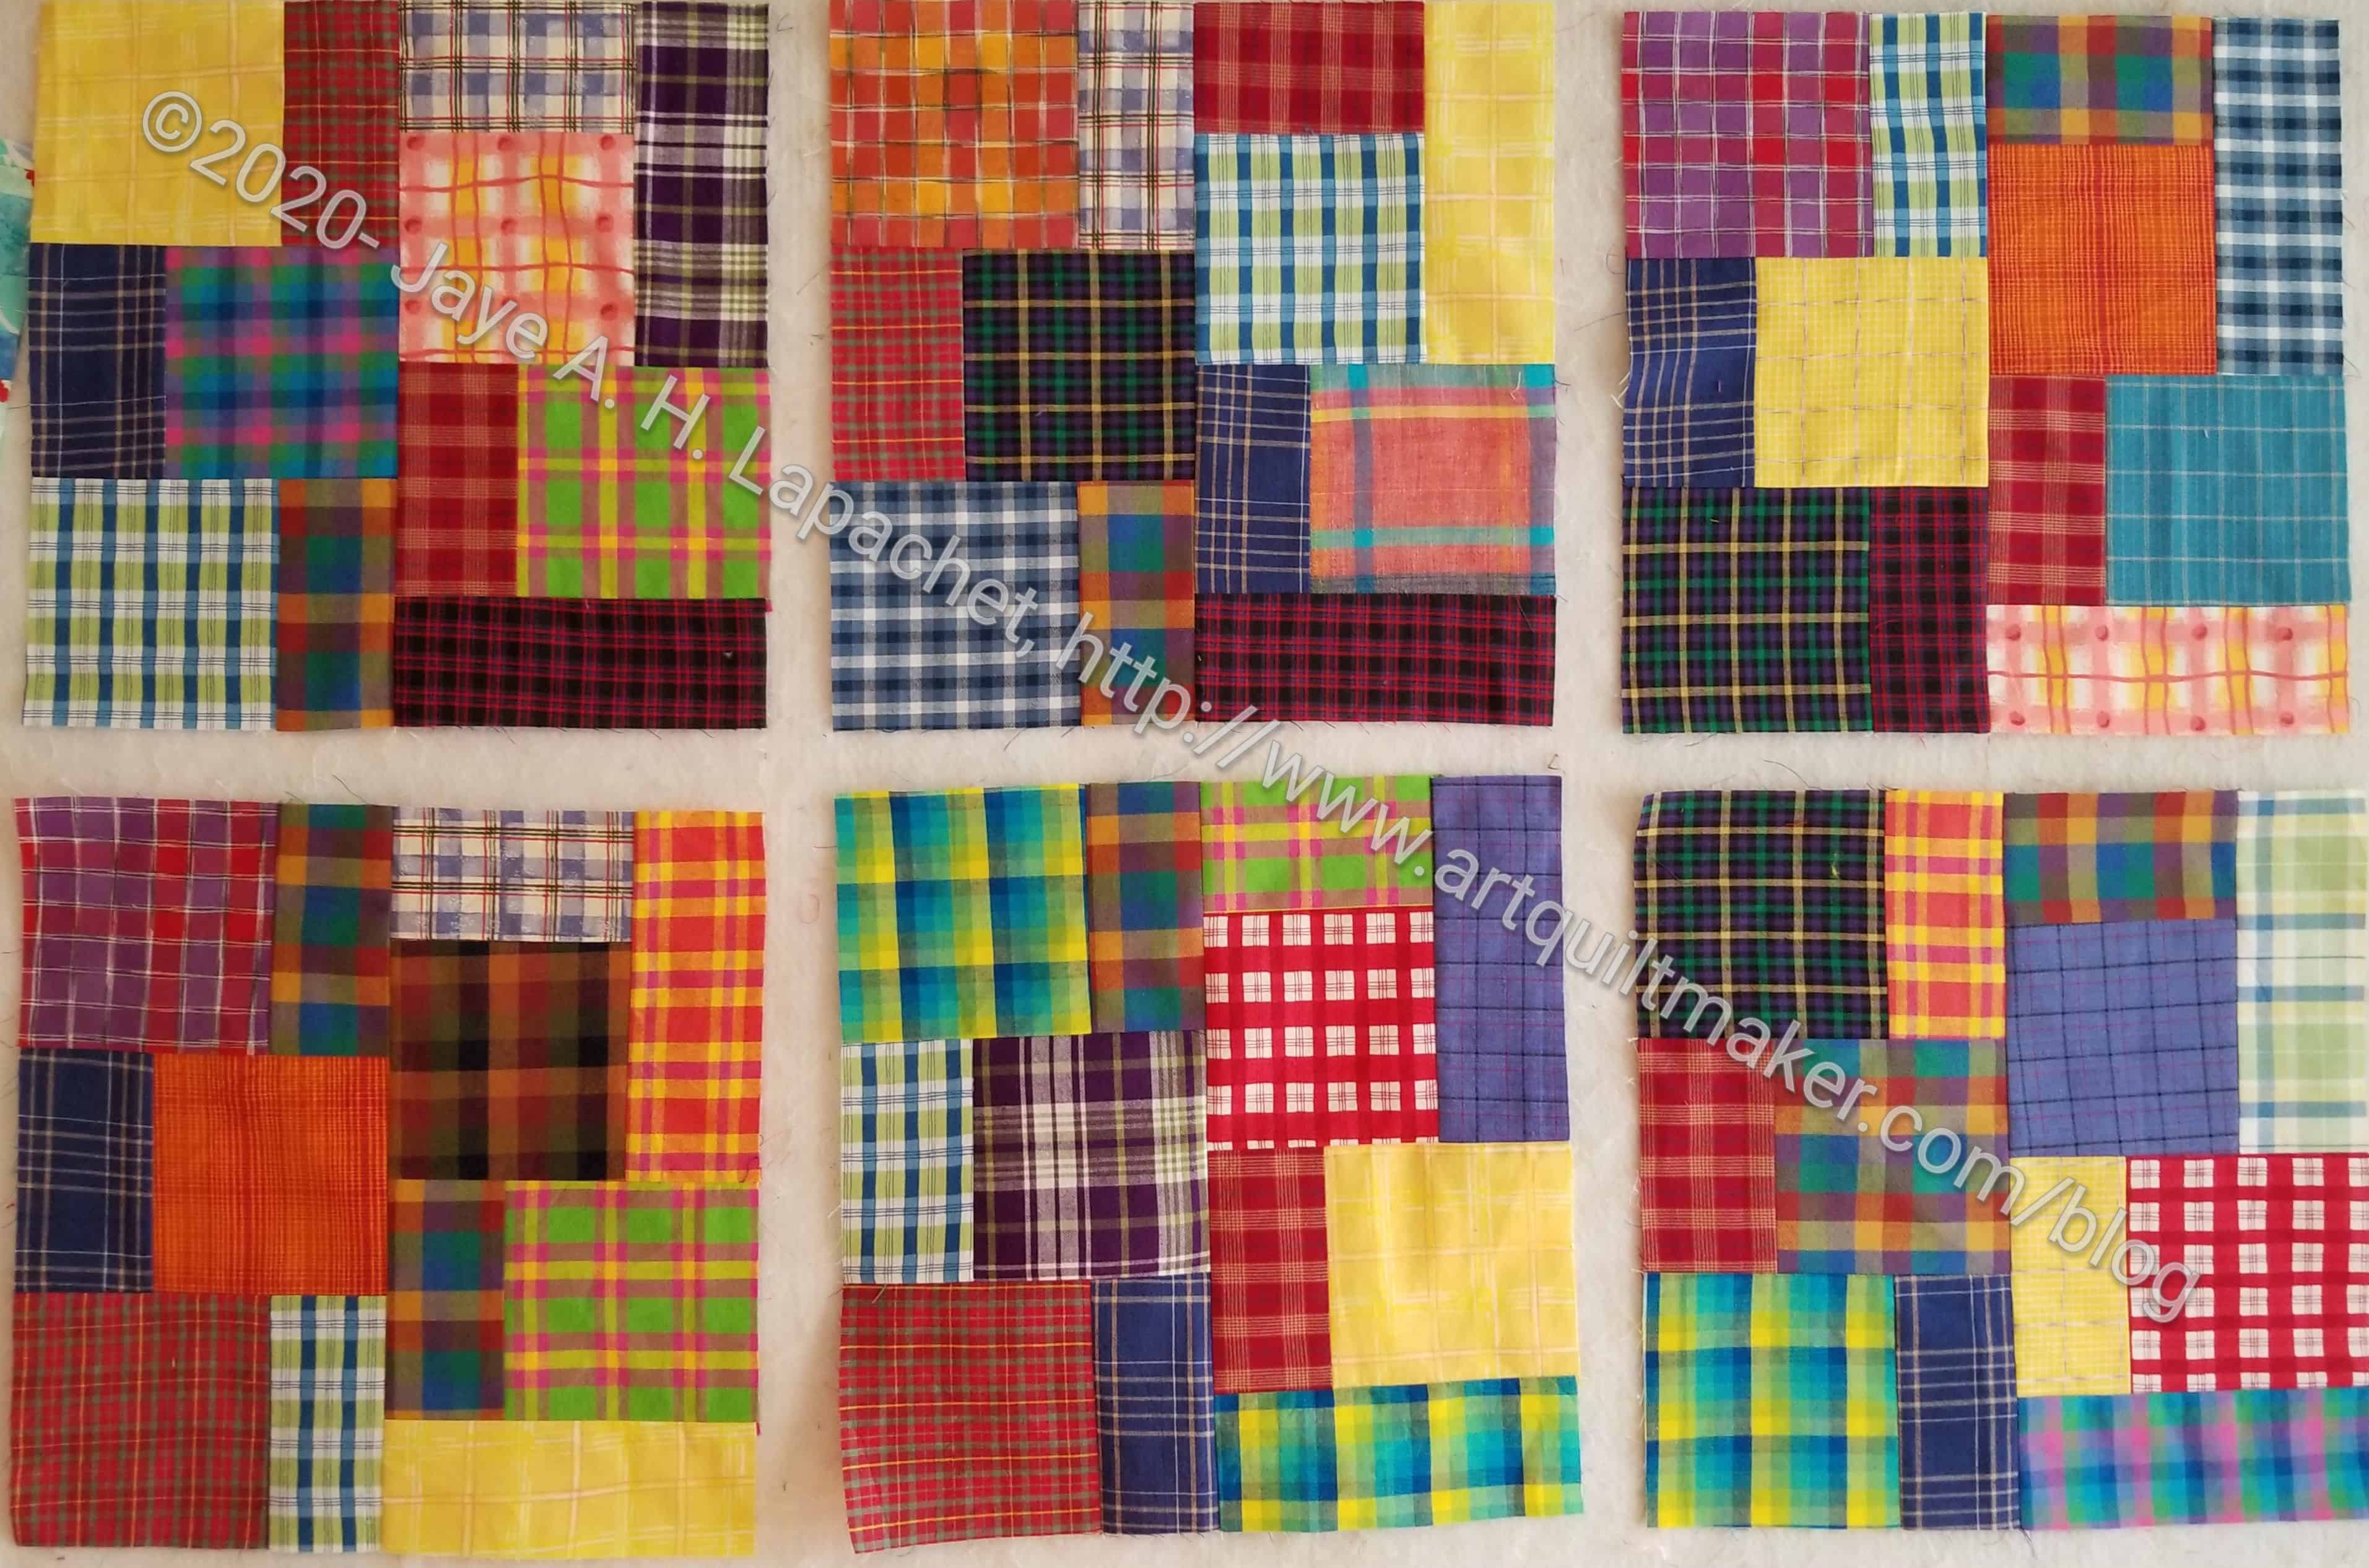
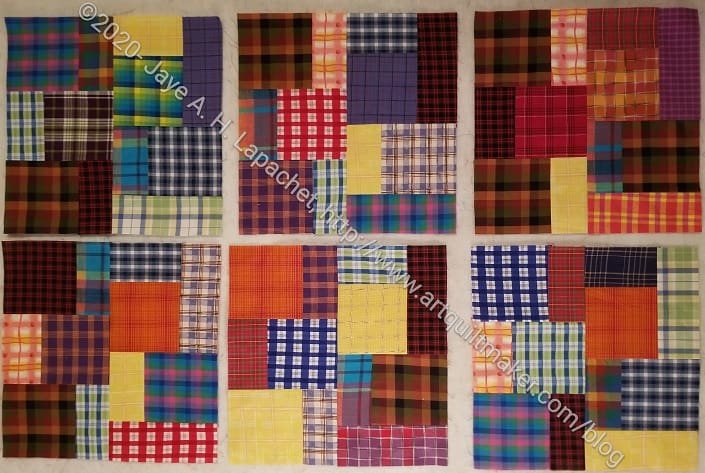
6 more Plaid Blocks
I added another few blocks to my total during the week and am now up to 15 blocks. My first plan is for 36, which means 21 more to go.
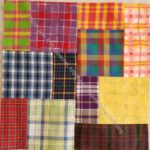
I cut up a few more fabrics so there are some new ones included. Since I am working without a design wall, mostly, I don’t know if I am duplicating layouts. I don’t think it likely, but I also don’t think it will matter if I am.
I made blocks like this for the charity project back in February (when we could still go out). I having been wanting to make a quilt for my cousin and decided that this was the block to use. Once the pieces are cut, the block goes together really fast. Even with all the cutting, I made 7 blocks over the weekend.
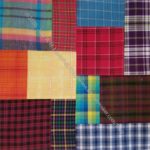
I am not sure how many I am going to make. I don’t have a design wall to fill up at the moment. I am kind of flying by the seat of my pants when I make them in terms of choosing fabrics, but I’ll make a bunch of them and see where I am. In thinking about the size, I have a 6×6 grid in my mind. The blocks are 12 inches finished, which would make a quilt 72×72 inches. That is slightly larger than the last Windmill I made and would be a fine size. I’d like to have at least three quilts to take to Colleen when S-i-P is over. More if practical or possible.
The plaids I used have been languishing for a long time. I think they have been around since before the FOTY project started. I think that is the case because some of the fabrics had no cuts out of them. Some of the pieces were just FQs, so there won’t be much of them. I think this will be lively group of blocks.
I keep thinking of men’s plaid shirts when I look at these fabrics. I am thinking of a name like The Ghost of Plaid Shirts or Thinking of Plaid Shirts. I have to think up something clever.
I finally bought the Minikins Seasons 1 & 2 (no affiliation) a few weeks ago when I received a bonus from a vendor with whom I work on occasion. I talked about being obsessed with these patterns back in January since they came out. They are on sale when they first come out and then they went up in price. I plan to buy Season 3, if there ever is one, when it is on sale.
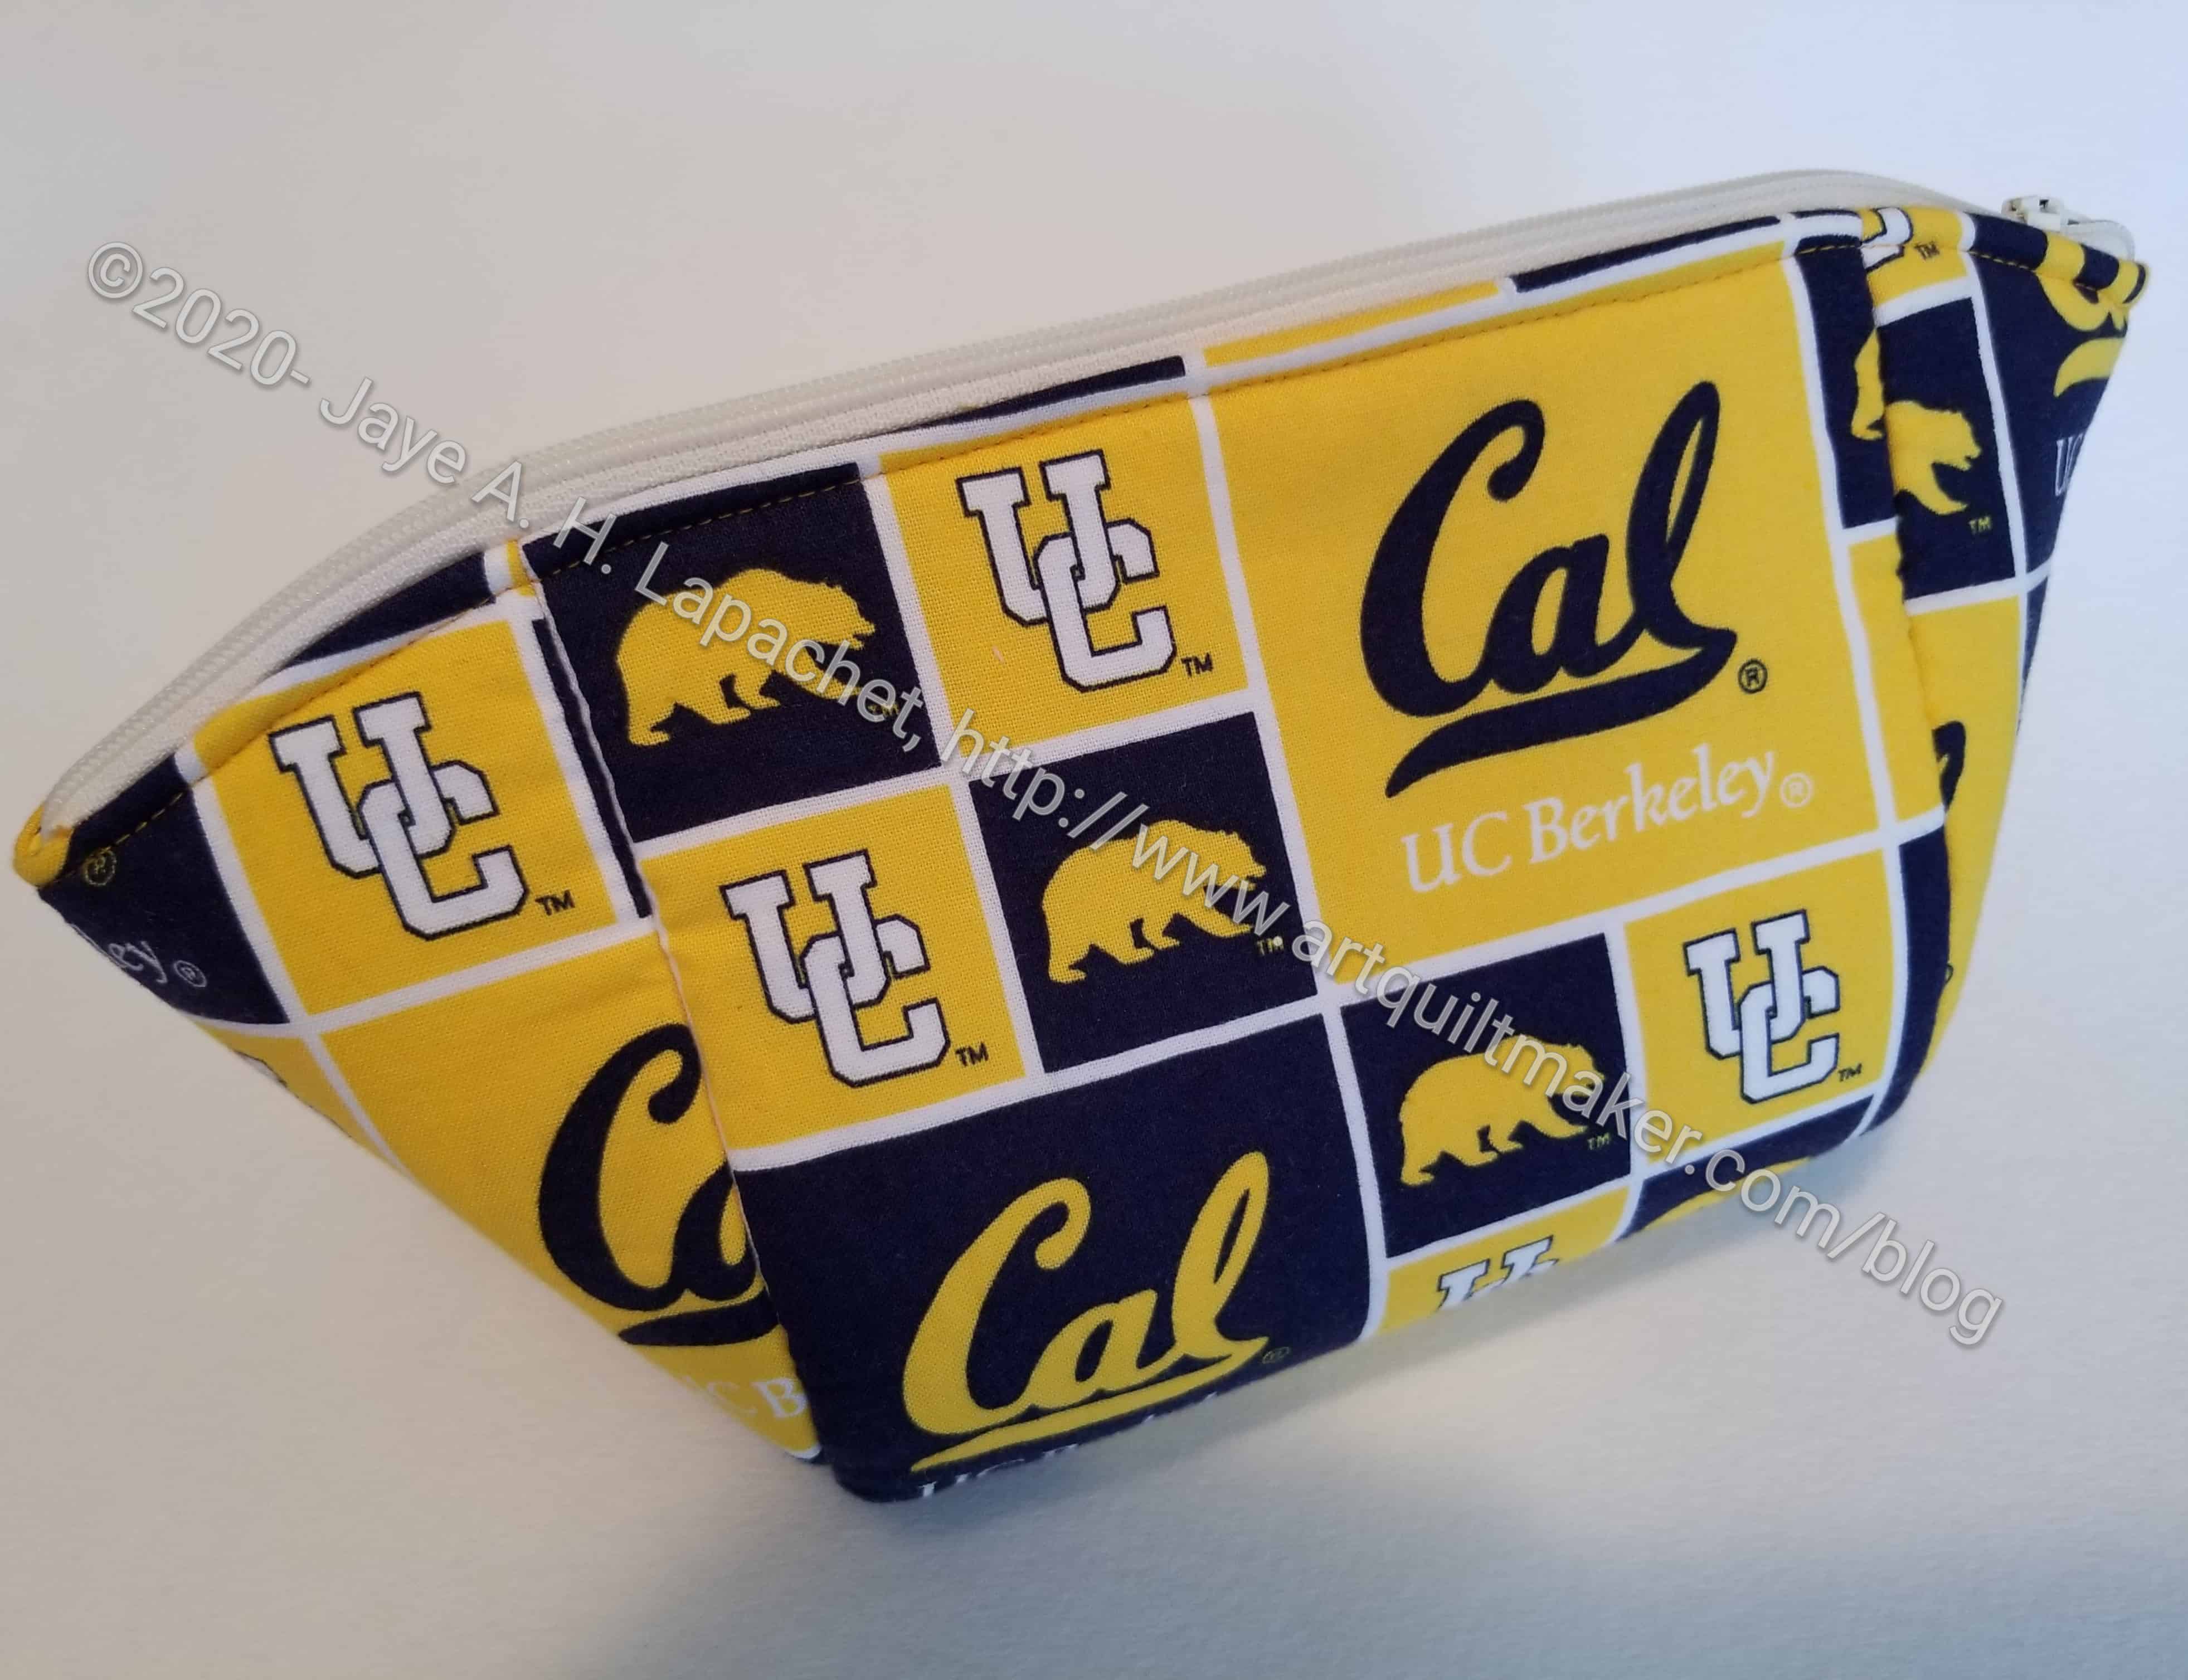
Cal themed Cotton Candy Pouch
Anyway, I made my first project from the patterns, the Cotton Candy Pouch. I made this for my SIL for her birthday. Fortunately, she lives around the corner, so I just put the bag on her doorstep during my morning walk and then texted her to take a look. Not as good a party with cake, but something during this shelter-in-place situation.
There are a few things I had trouble with. I am pretty pleased with the evenness of the zipper, but the ends were a bit of a problem. Next time, I think I will use a coordinating or solid fabric for the side pieces. I think it will highlight the themed fabric better. I find that making a project the first time is always an adventure and a learning experience.
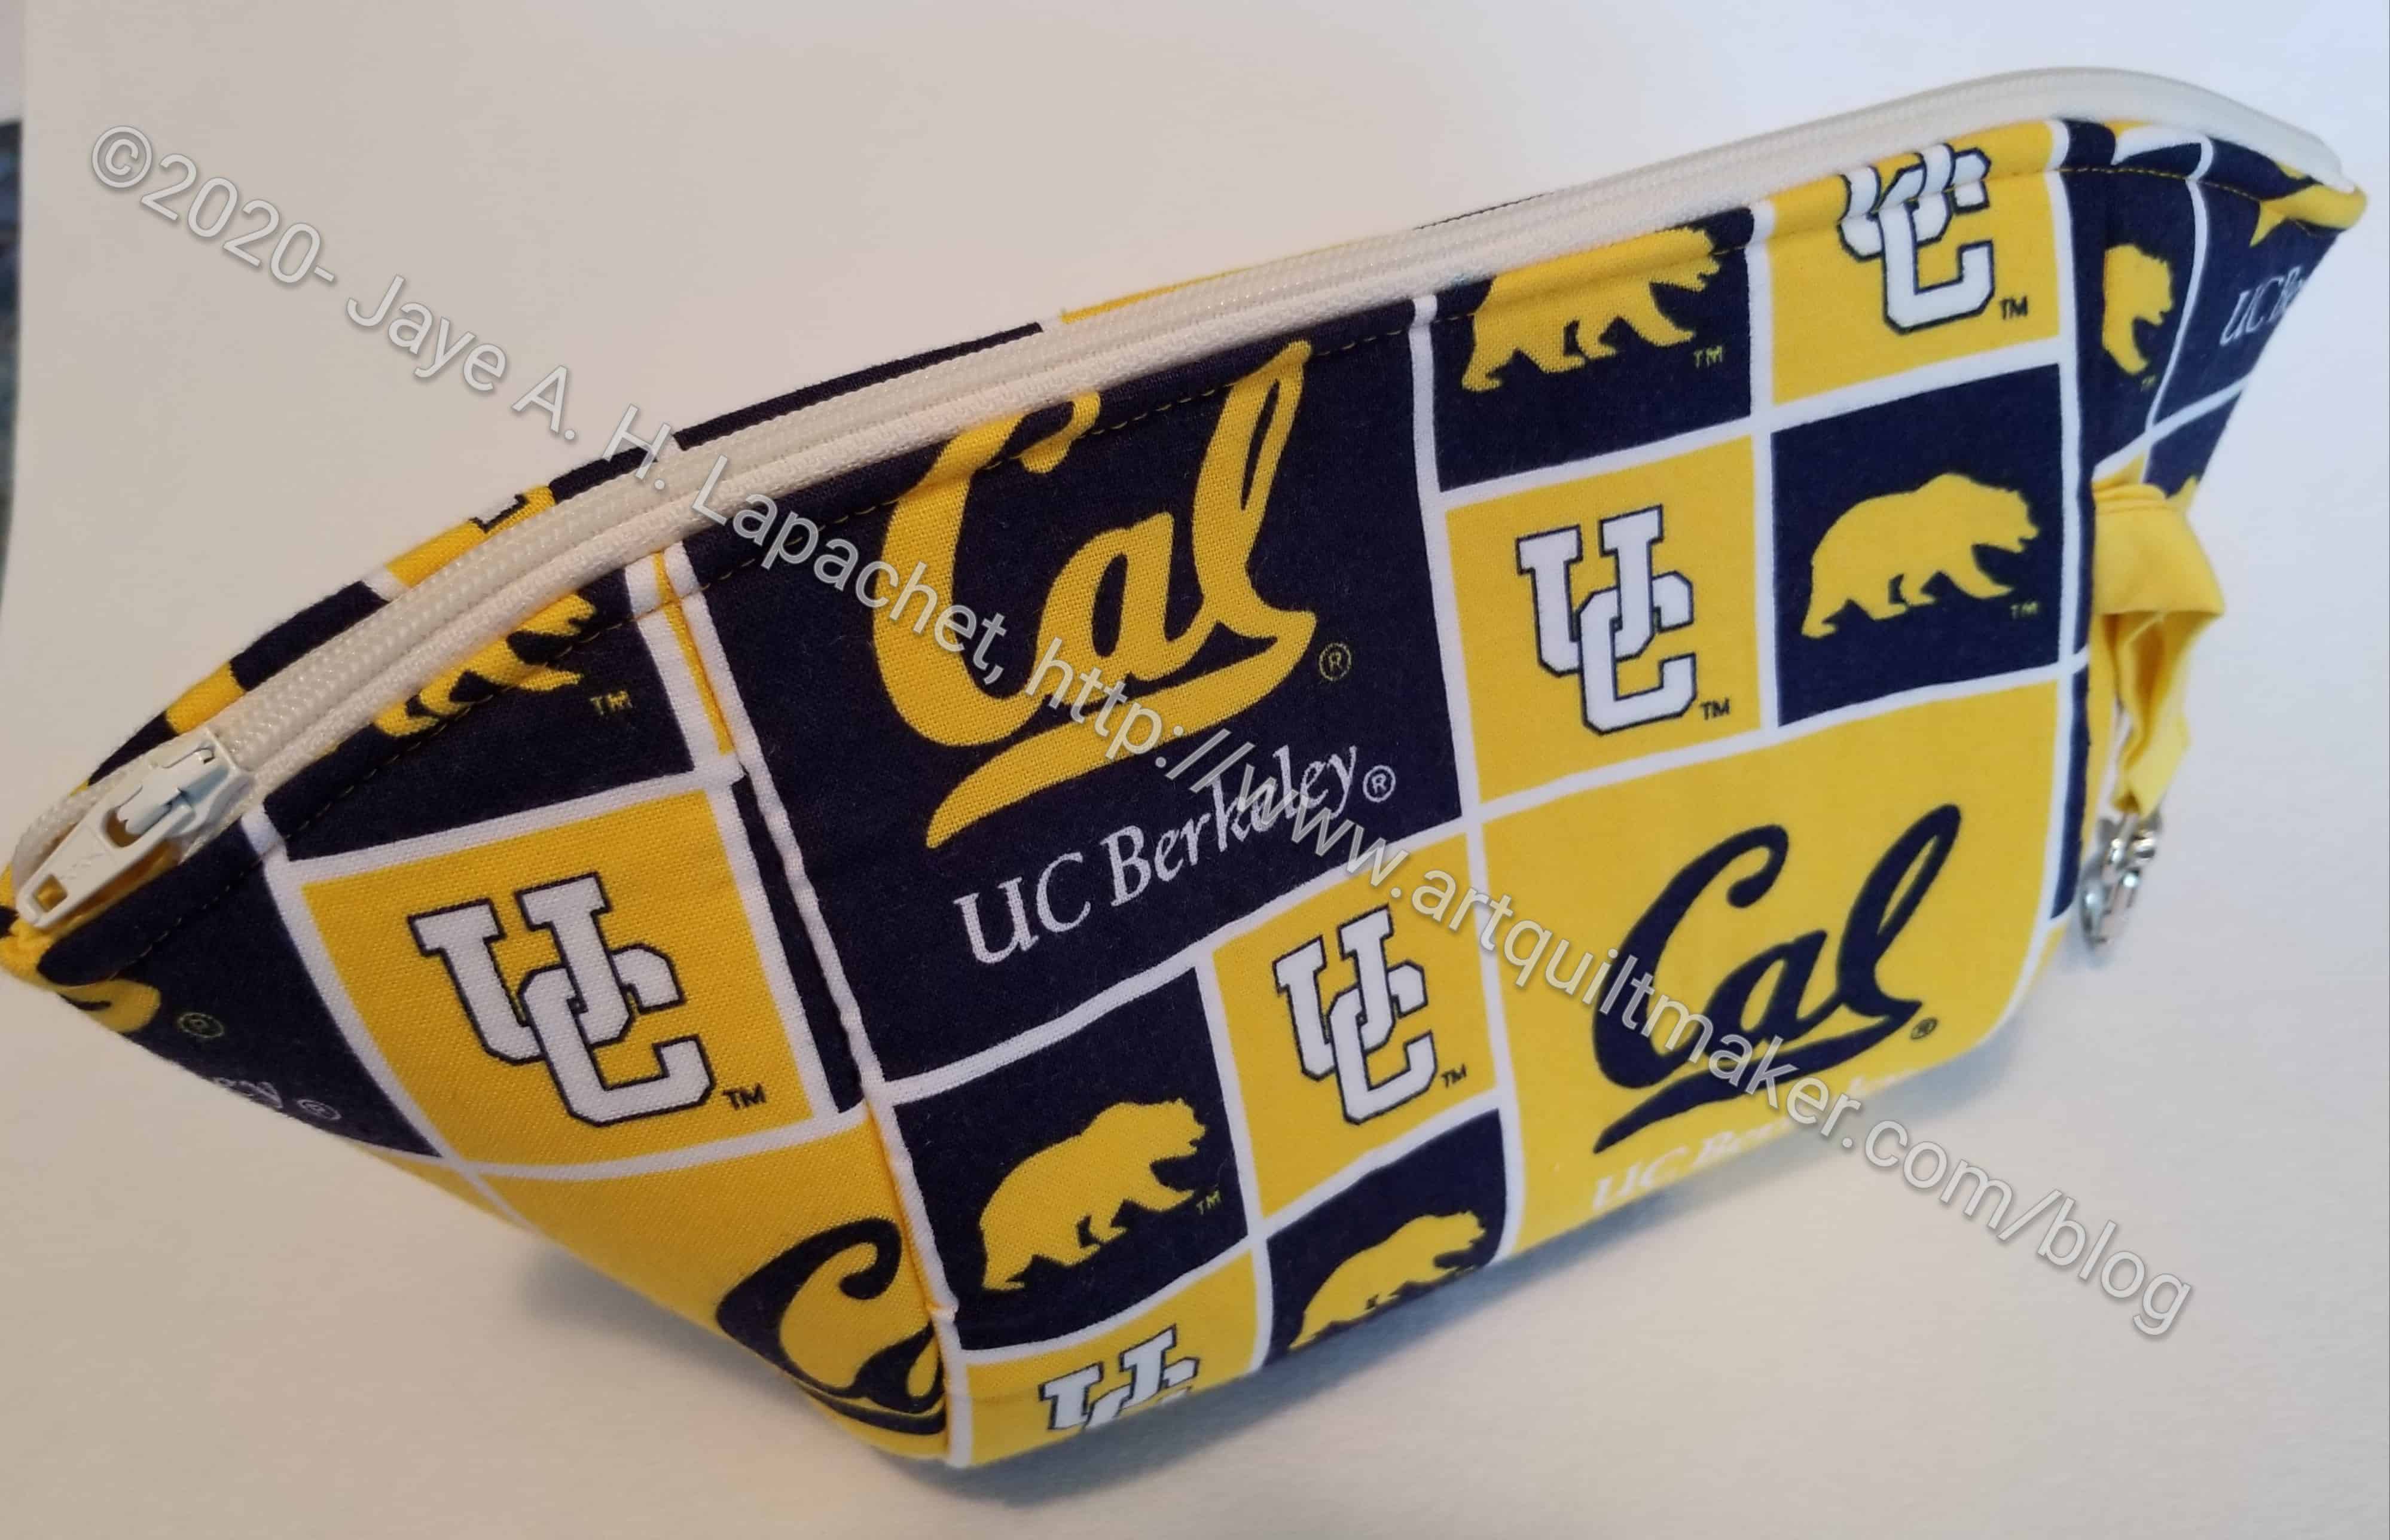
Cal themed Cotton Candy Pouch
I also added a leash. I don’t know if she has a bag with a D-ring, but when she does, she will be able to attach it.
This pouch takes an 18″ zipper, which I thought was long. I don’t have many that size, so I’ll have to think about getting some.
I have enjoyed revisiting gifts I made for Julie and my mom. I haven’t made as many gifts for Gerre, but I decided to revisit them anyway.
I am not trying to show what a great person I am. I enjoy making gifts for other, especially useful gifts. Revisiting them is just a way to enjoy them again, I guess.