Gabrielle Swain Class Day 1


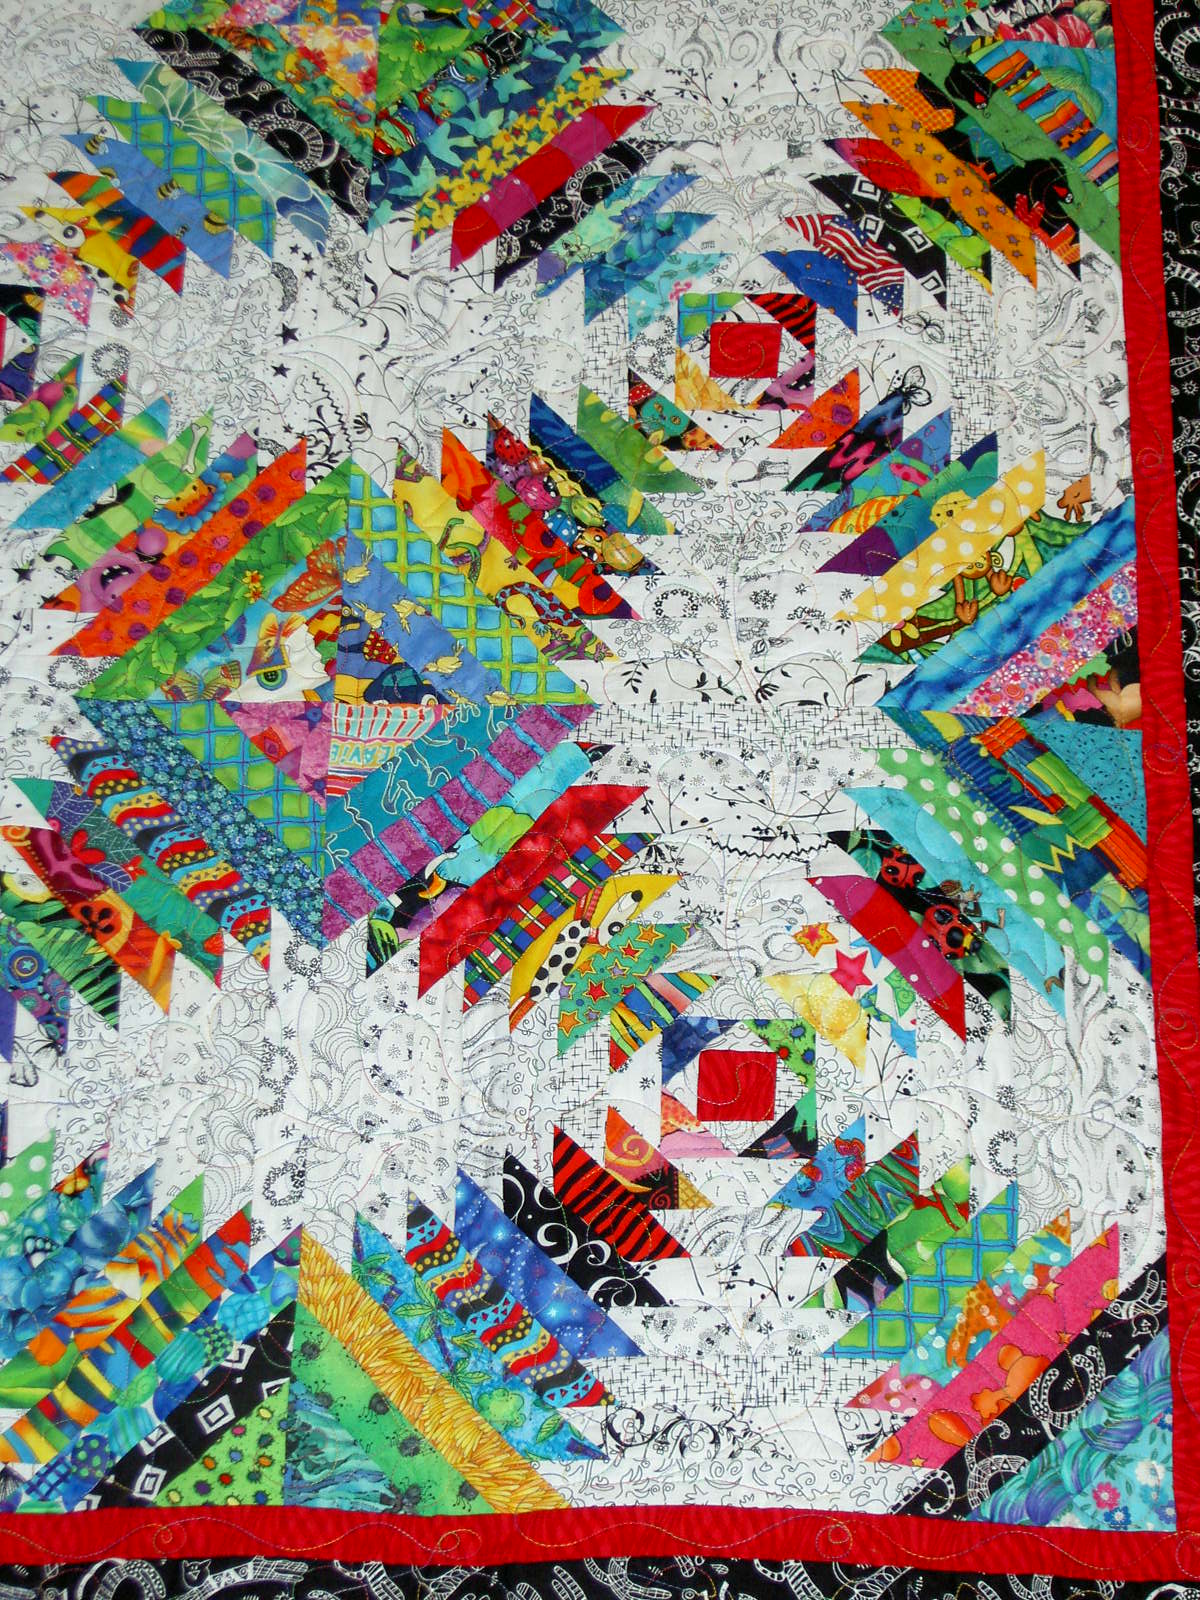
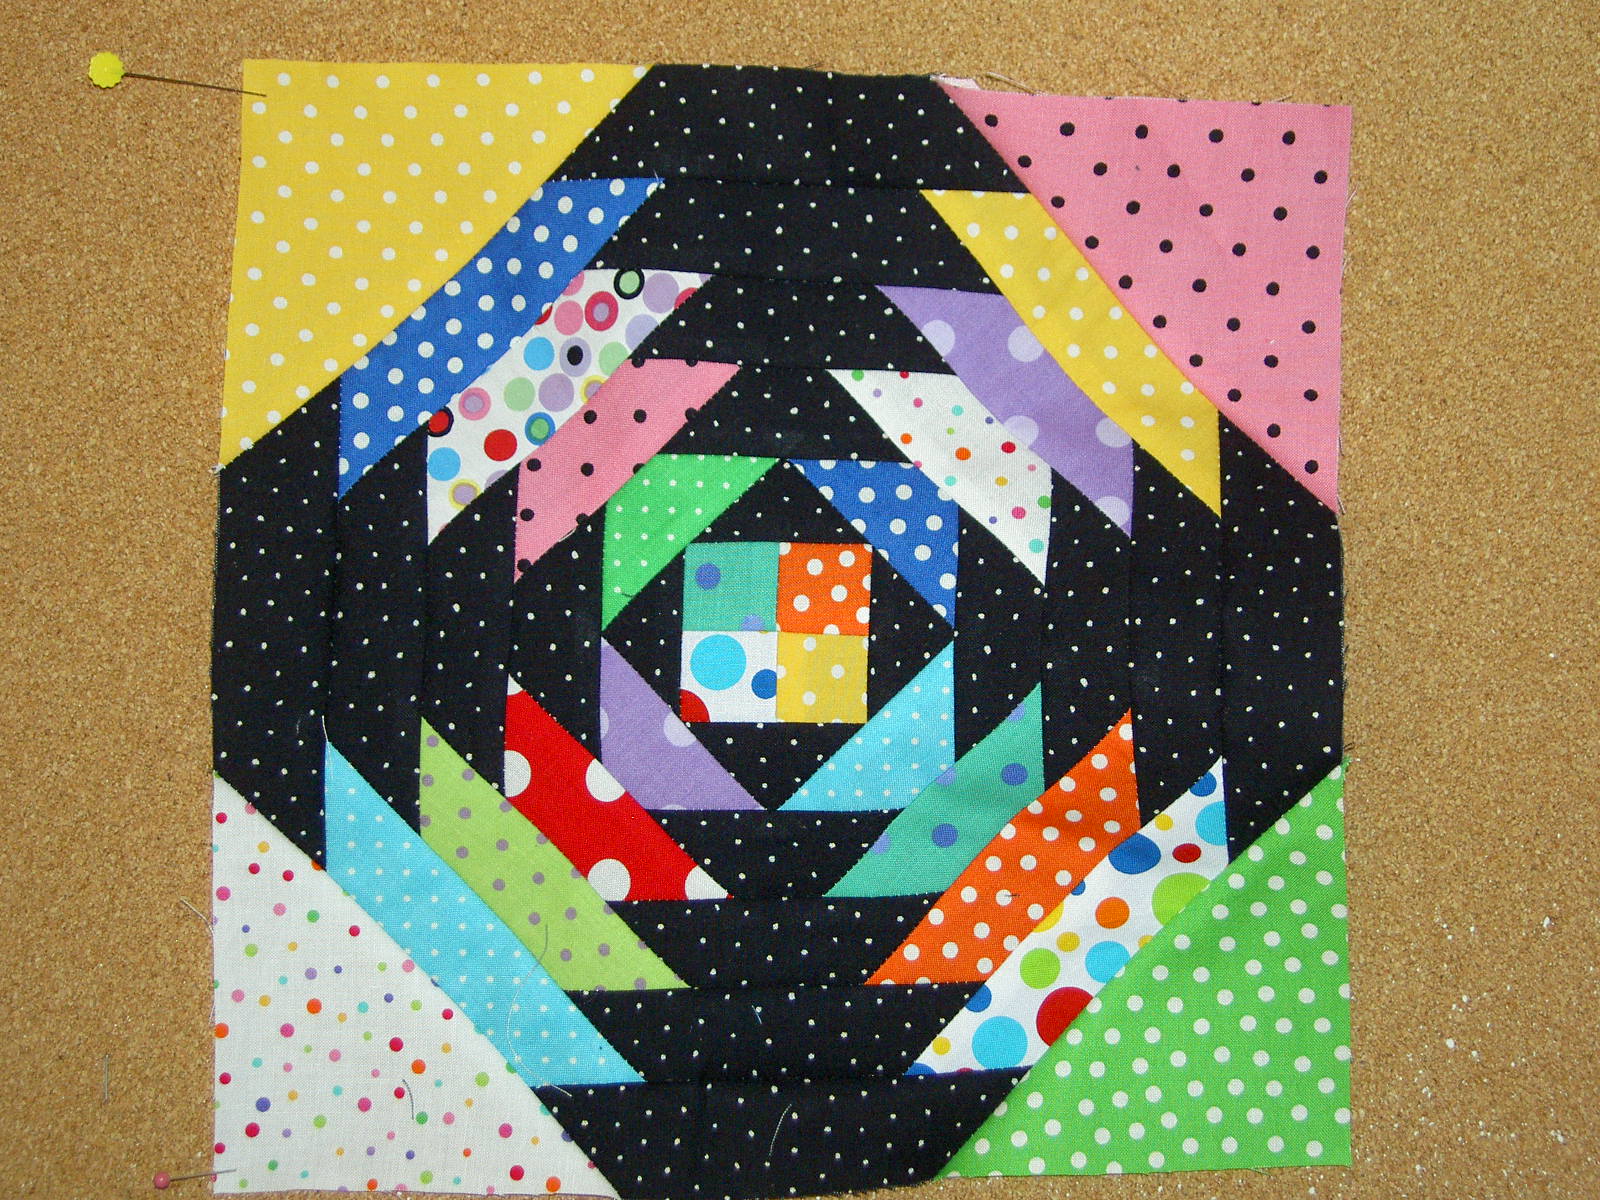
Another teacher to add to your ‘must take’ list. This woman knows how to teach! She knows her stuff, has confidence in her teaching and has an opinion, which I like. I don’t have to agree with the opinion, but wishy-washy “well, what do you think, dear?” kind of comments from a teacher, make me crazy.

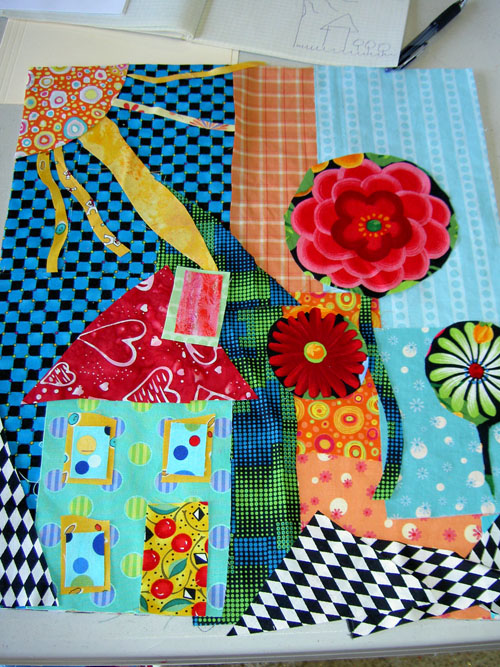
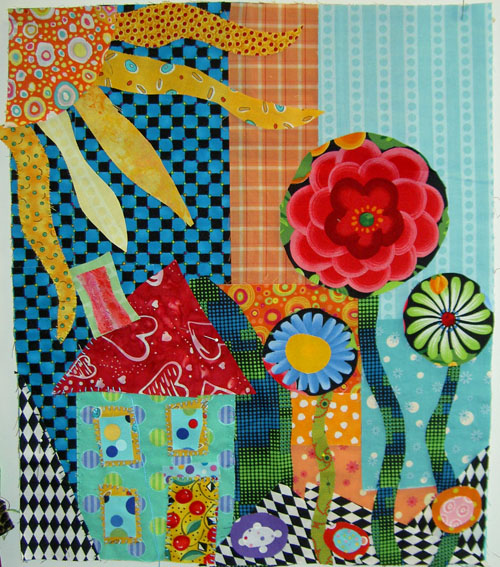
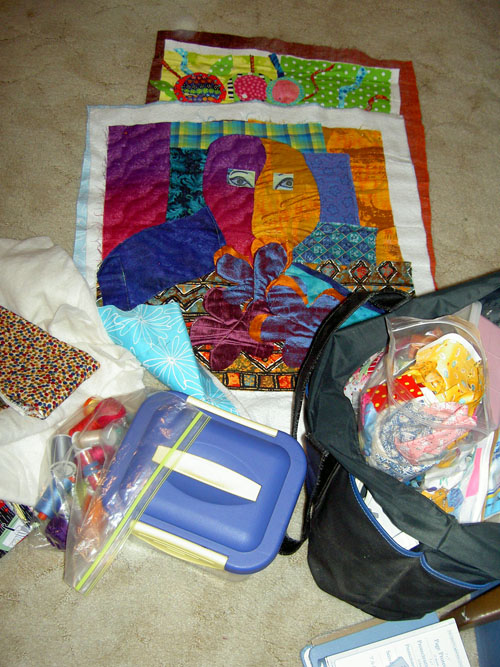
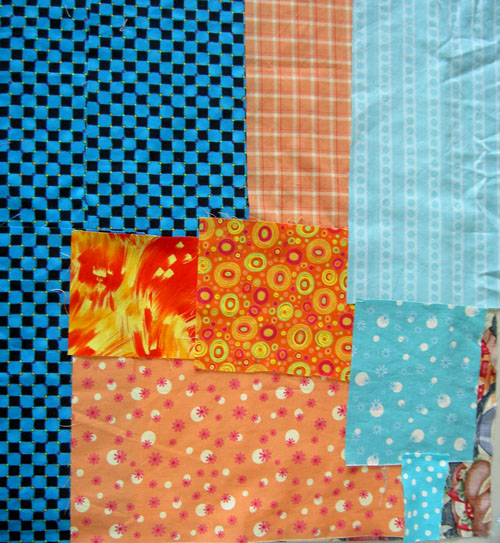
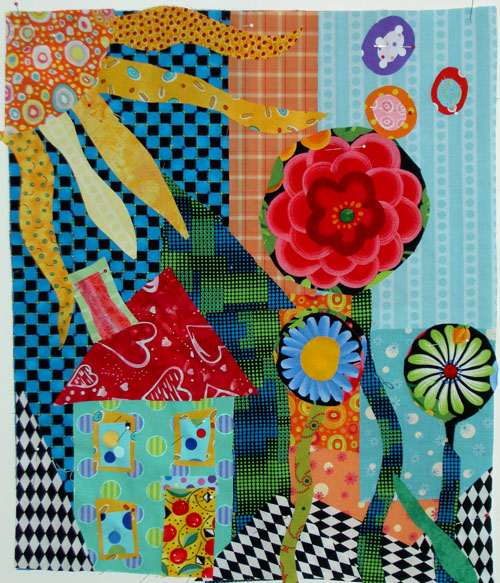
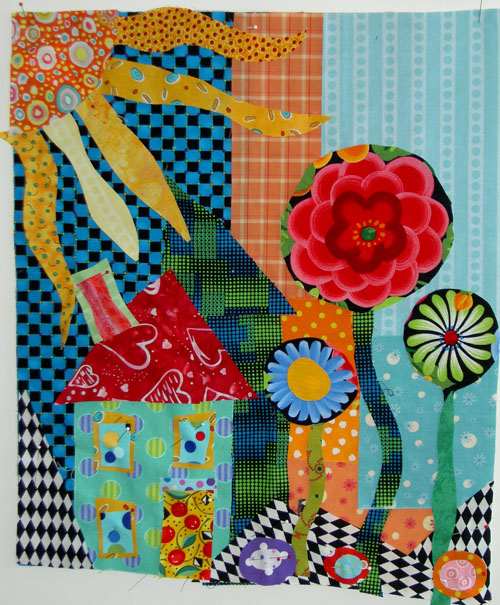
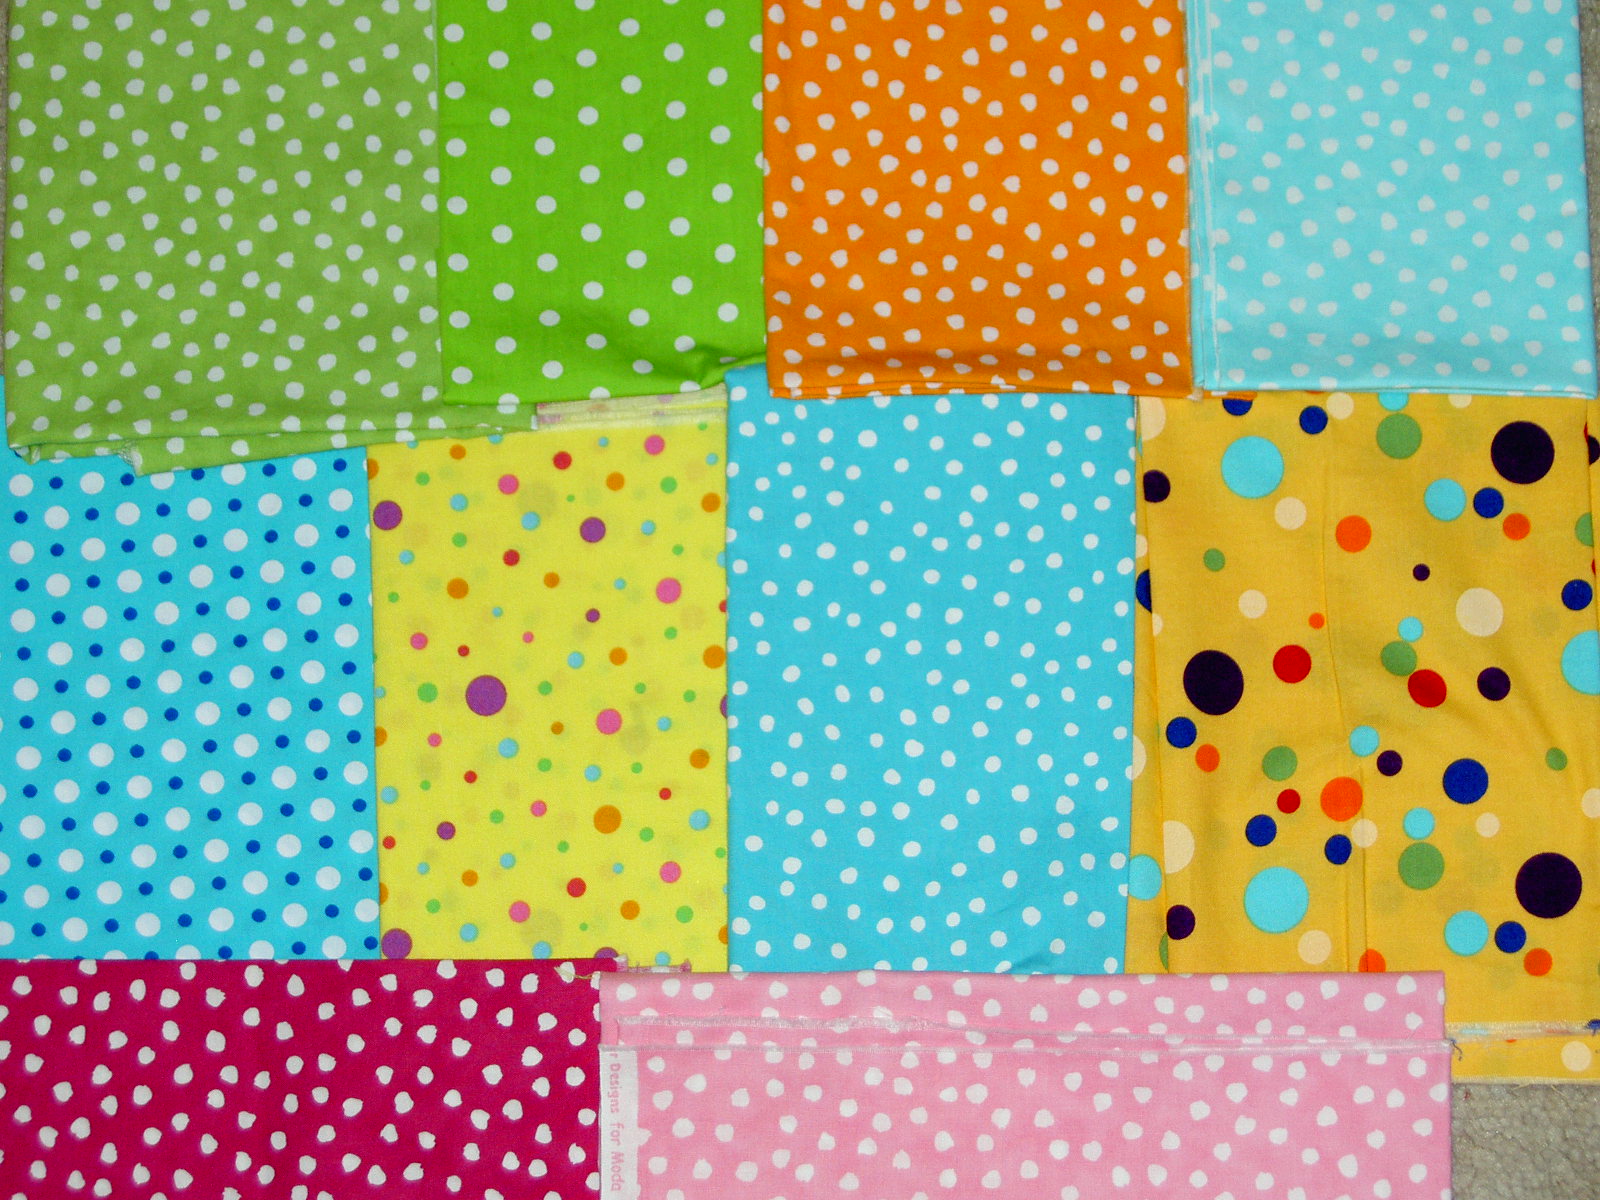
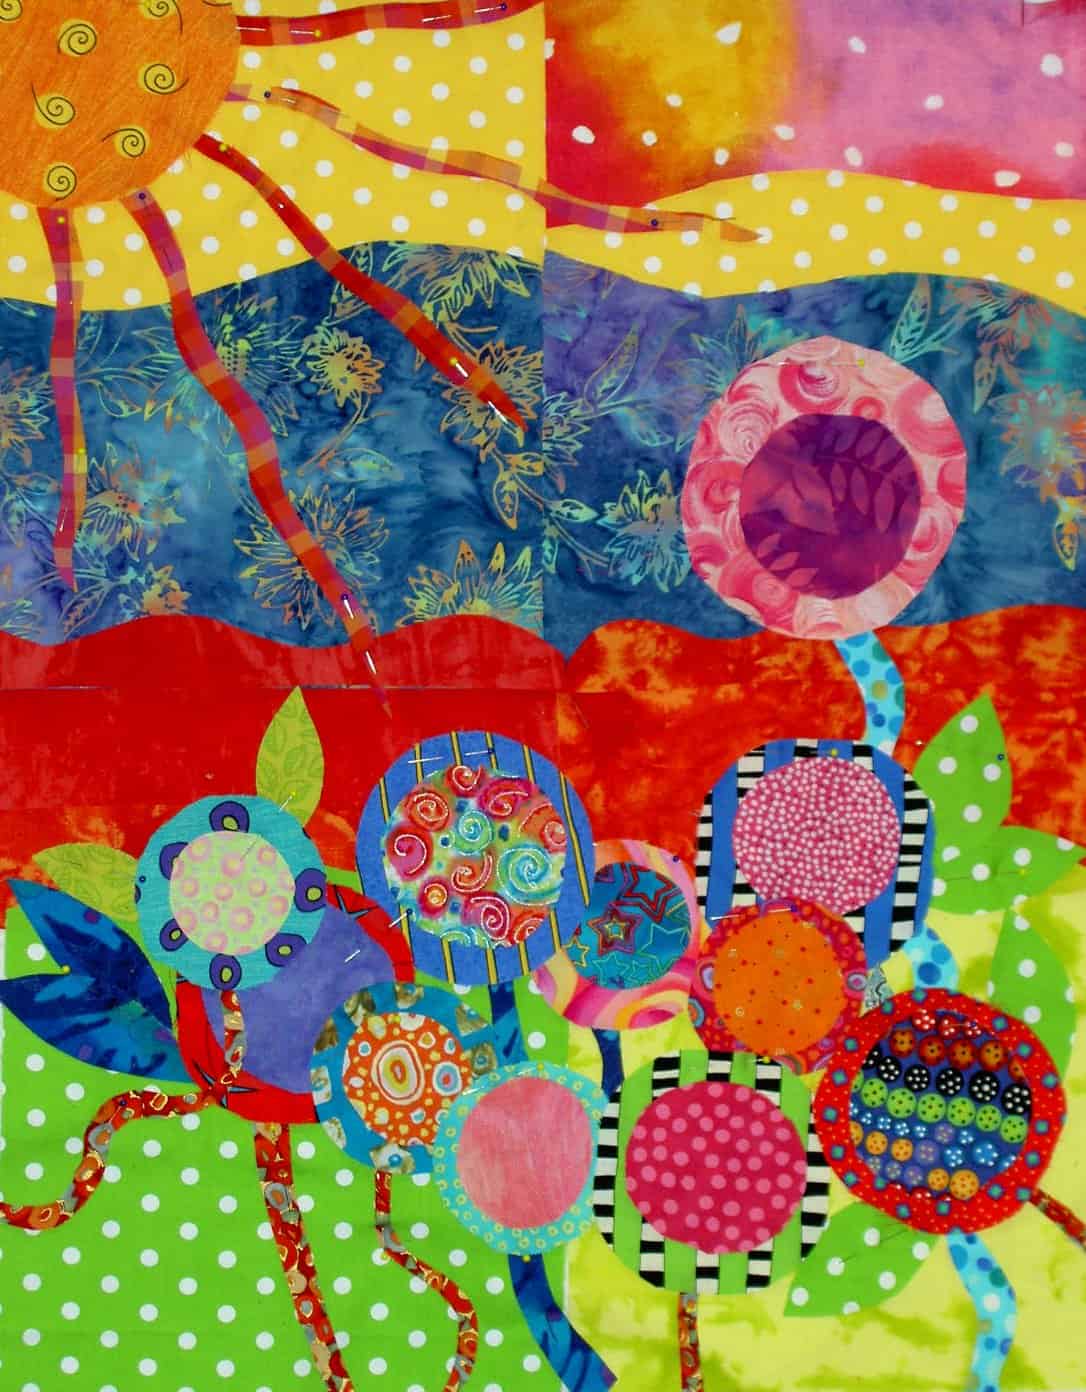
Above are the fabrics that I brought to class. Not being a hand-dyed girl, I chose batiks in a palette that I like. Her suggestion of 3 yards was a wild shot in the dark, IMO. I would improve the supply list by asking for 20-30 FQs evenly divided among all the colors. In this case, I was able to find some fabrics out of my small batch to work with, but other people were having a really hard time. Even people who had brought a lot of fabric with them.

The first part of the class was all about design. No sewing. Some people were completely mortified. I was thrilled. I actually got to spend time on my design and try out a couple of different things. One thing that Swain said, which resonated with me, was that people find their materials first and then try to find a design to fit the fabrics. I Think it is true in a lot of cases, but I don’t think it is true, mostly, for me. It is definitely something to consider and keep in mind.


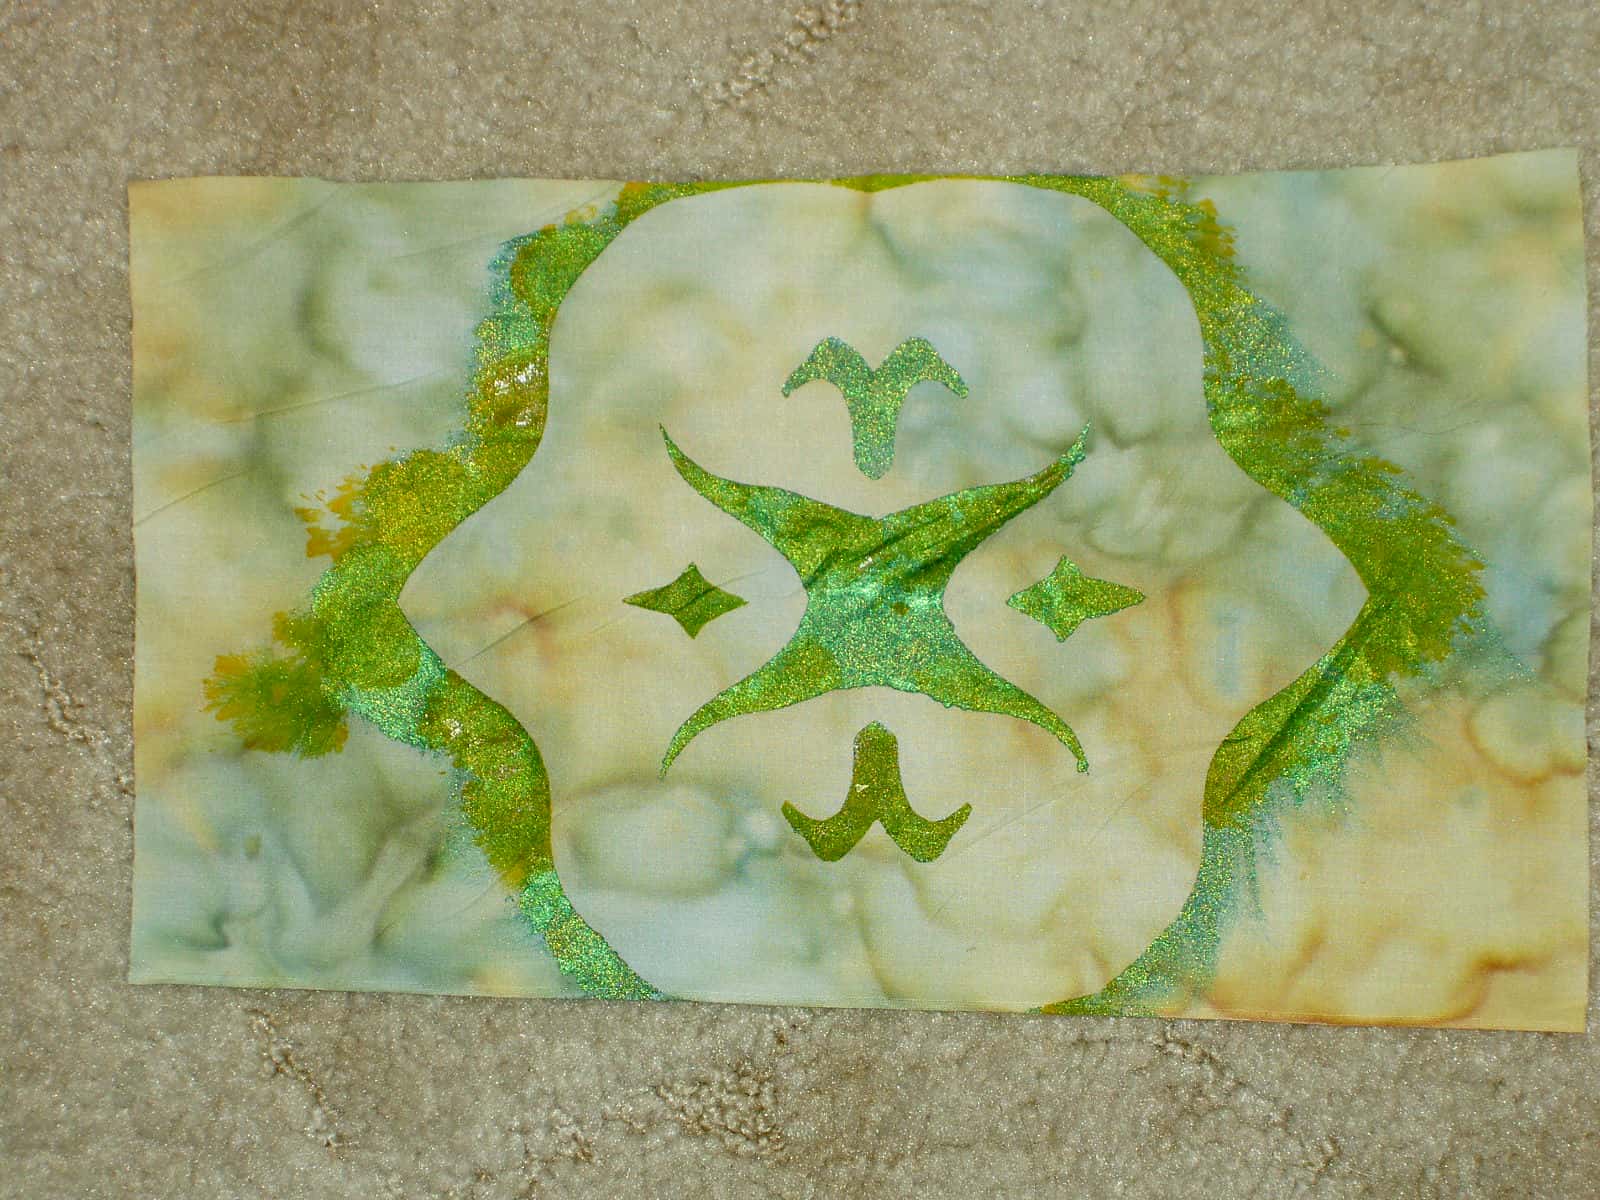
The theme of the class was leaves. Mom went through my inspiration file and pulled out many of the pictures containing leaves. Talk about a hero! I went through the pictures a few times before I started the design and whittled down the group. I finally settled on a Georgia O’Keeffe postcard of a painting called Yellow Leaves (bottom left). Apparently the real painting is at the Brooklyn Museum of Art. In surfing the web, I found an image of another of her leaf works that has to be in the same series called Pattern of Leaves.

Swain gave us large format patterns, which we could have also used, but I don’t think anyone did.


This was my first attempt and , frankly, it is pretty much a copy of the O’Keeffe work. Swain said to add another leaf (rule of odds) and turn the leaves so they were going in different directions. I had a hard time understanding what she was suggesting. She ended up explaining it by saying to align the leaves so they hit various points on the letter C. Finally, I got it and set to work.

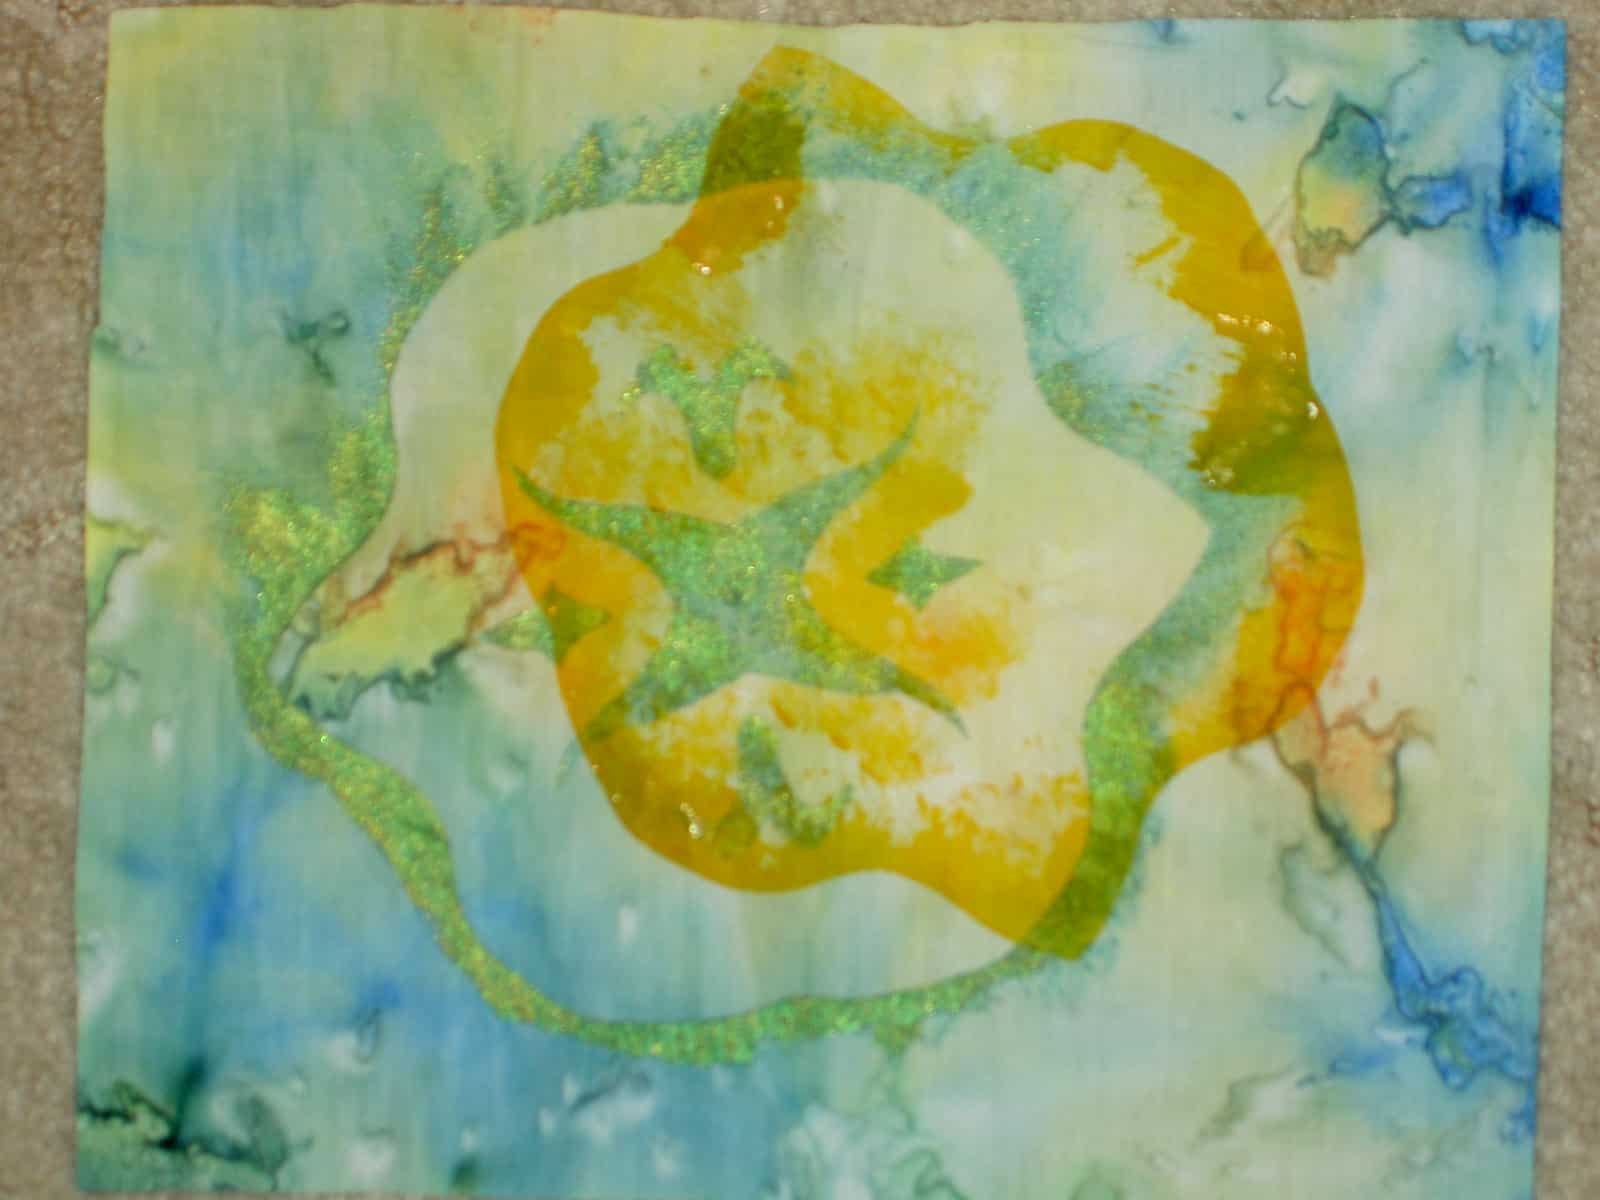
This was my second attempt. After finishing the draft, I was concerned that not enough of the two upper leaves were showing.
I traced my second attempt, but shifted the paper slightly to modify the spacing. It ended up with too much spacing.


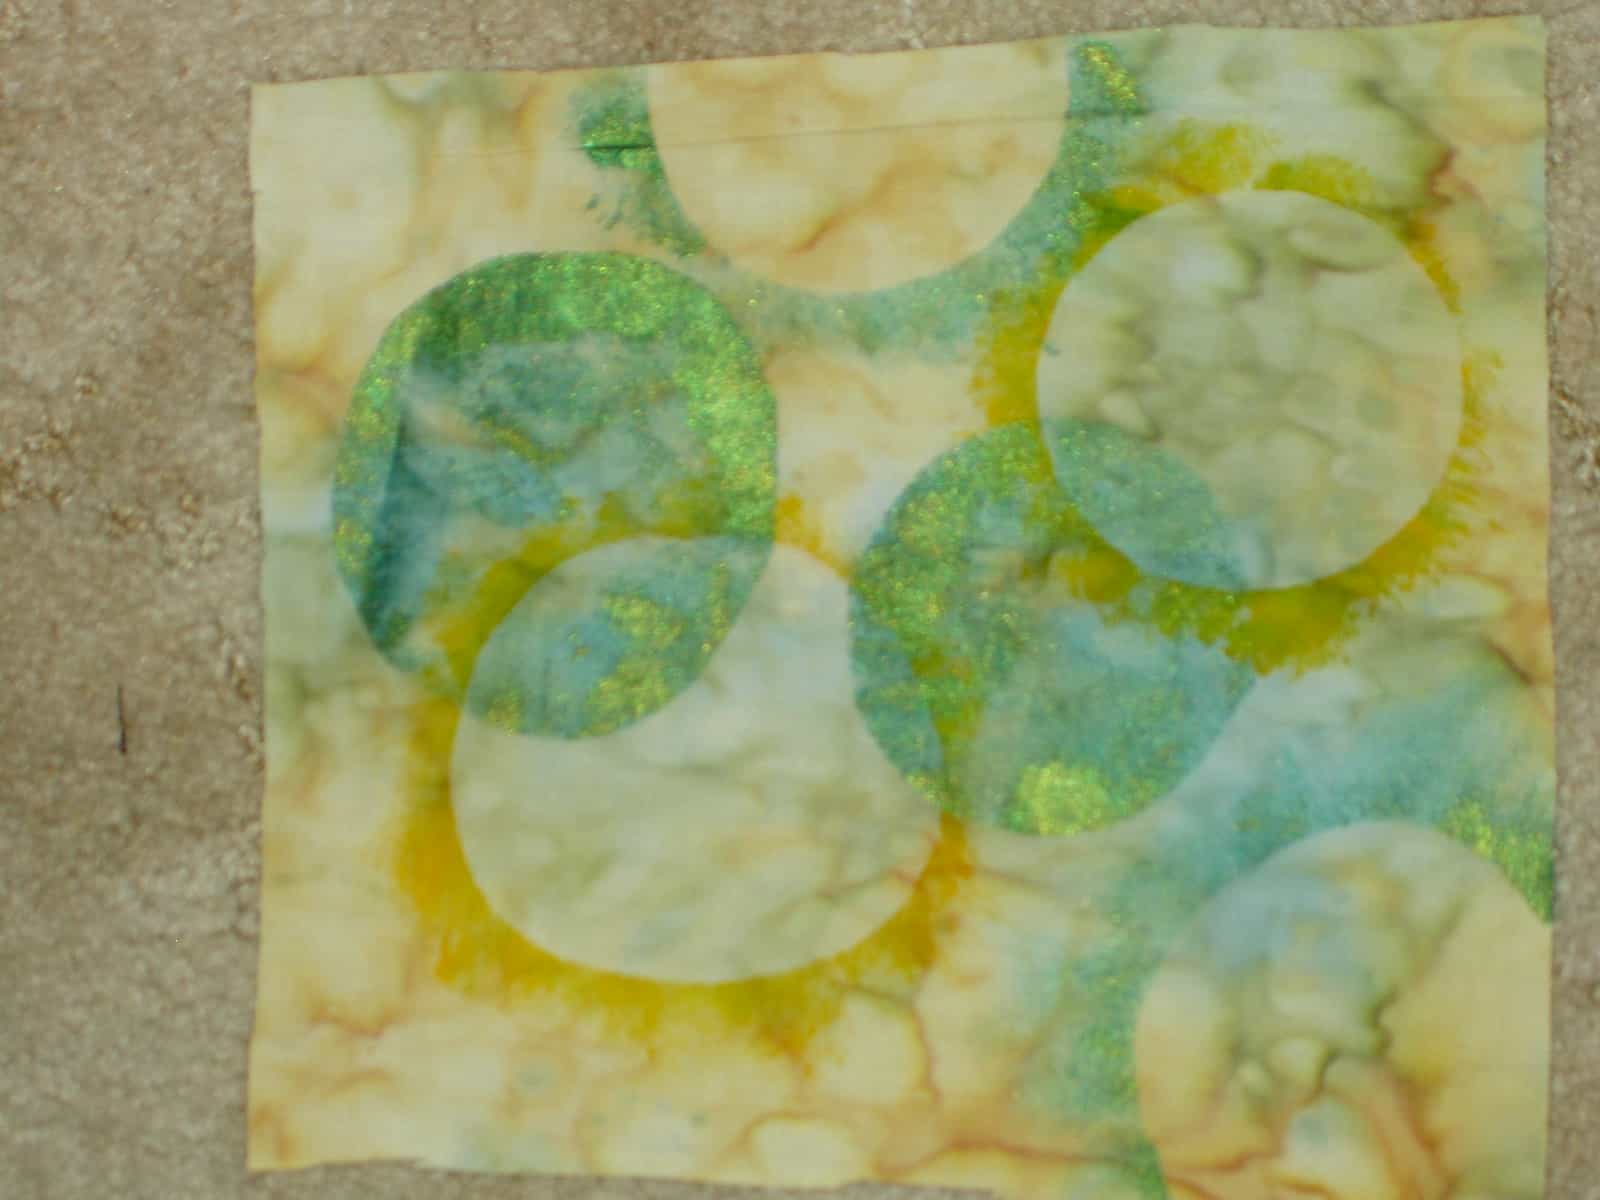
Above is my fourth attempt, which I liked. Again, I modified the spacing.

This is the final design for my project. It is the third drawing, which Swain thought was better than the fourth.

I think the above process is a good example of why spending the time on the design is worthwhile.

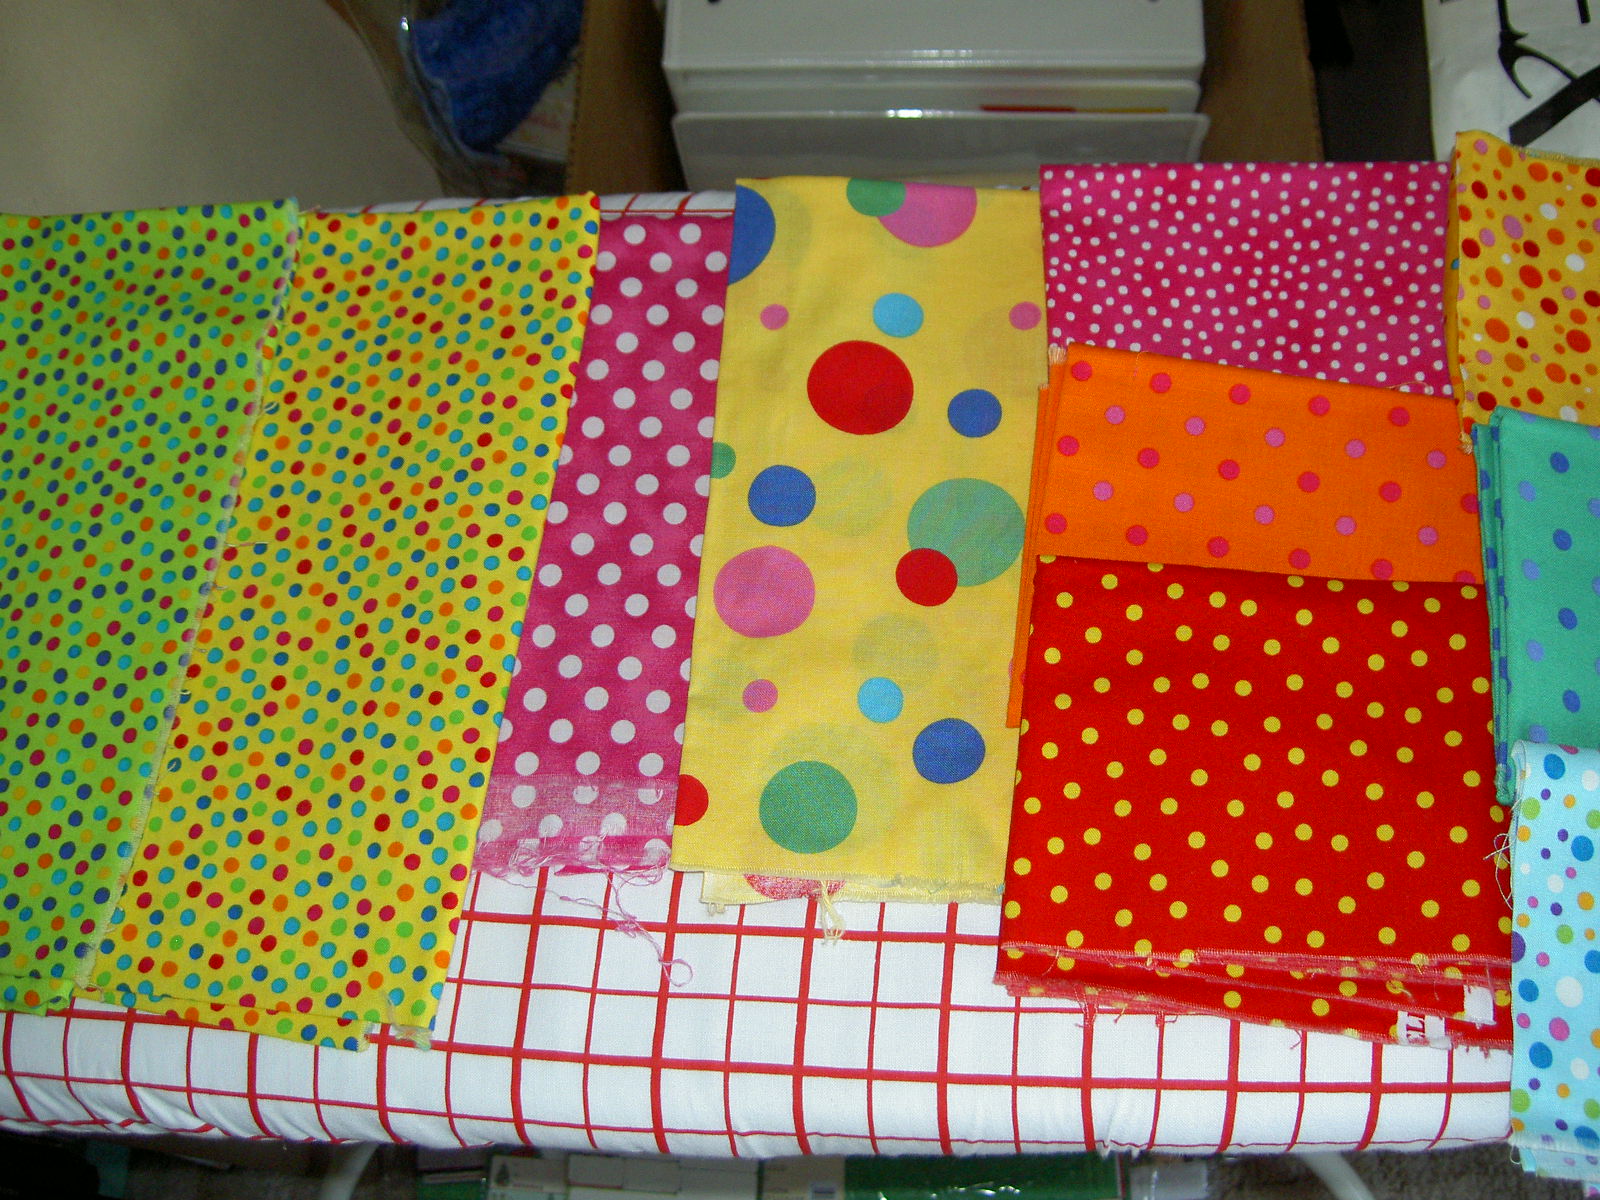
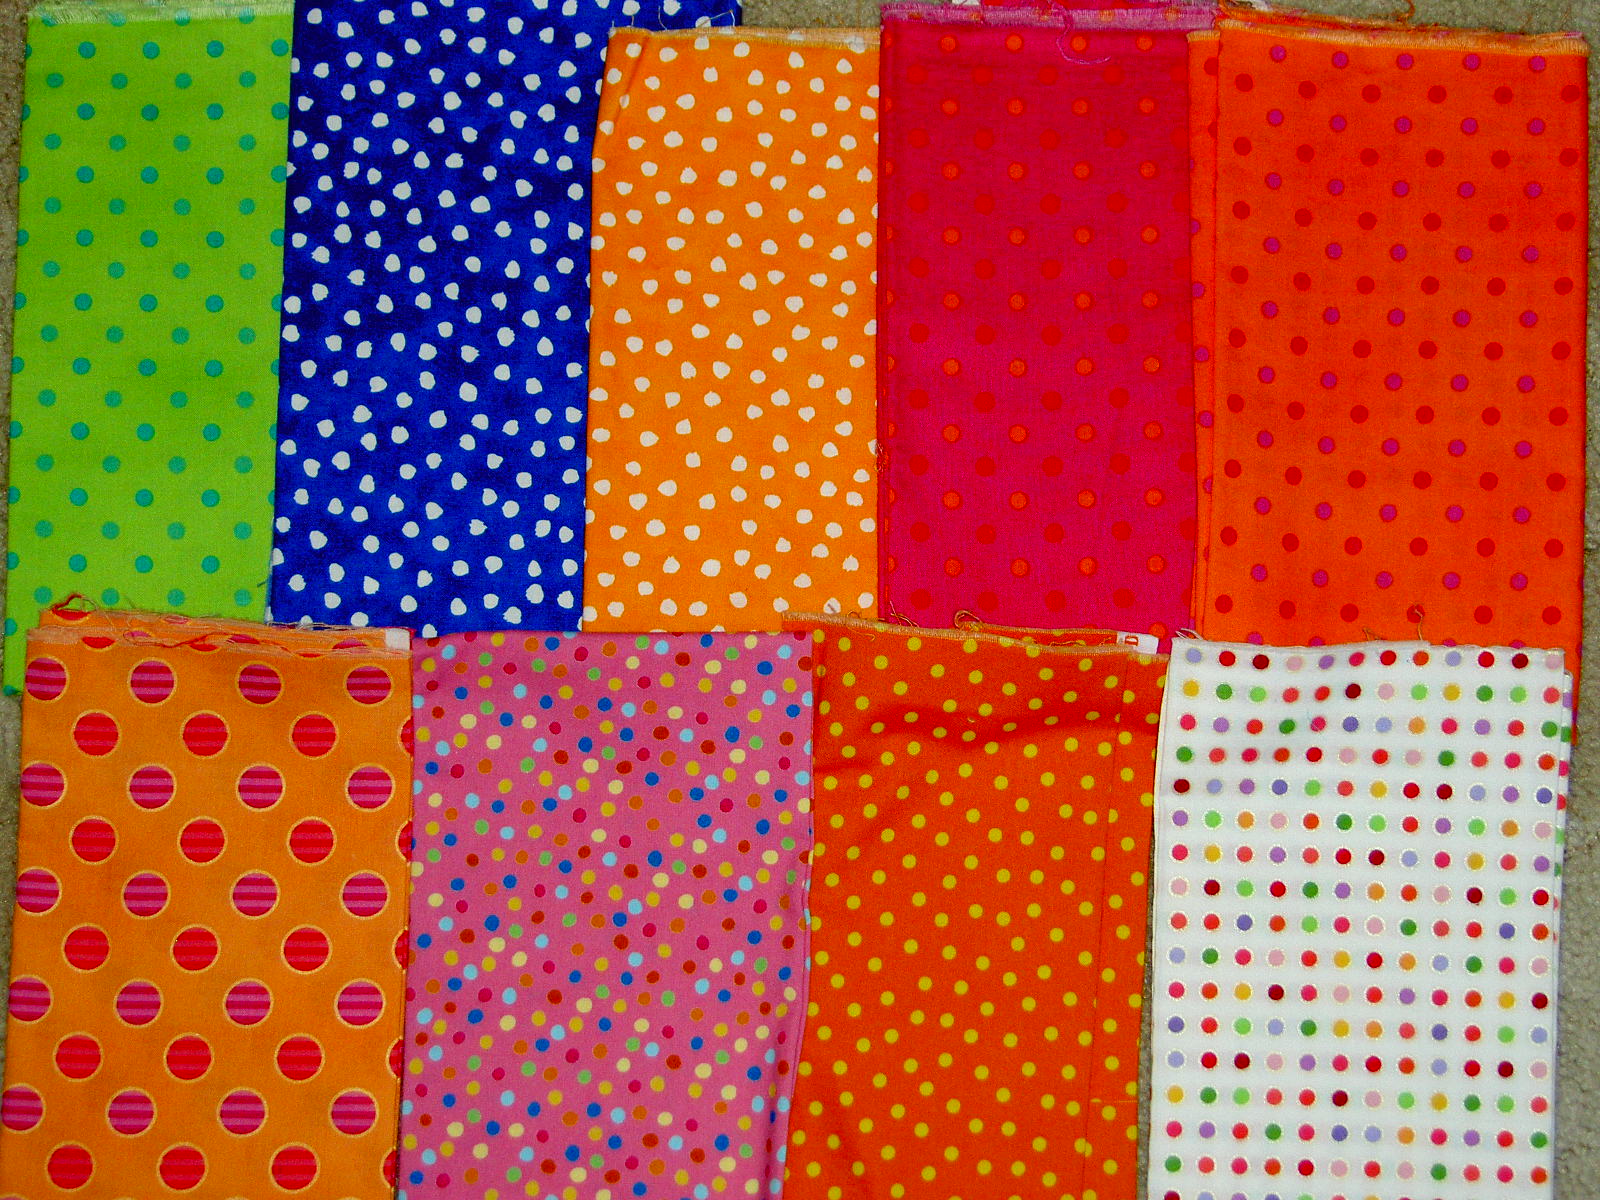
My first thought was hat I would make each of the leaves out of a variety of different fabrics. Above is my first pass at fabric selection. I was thinking that more fabrics would add interest.

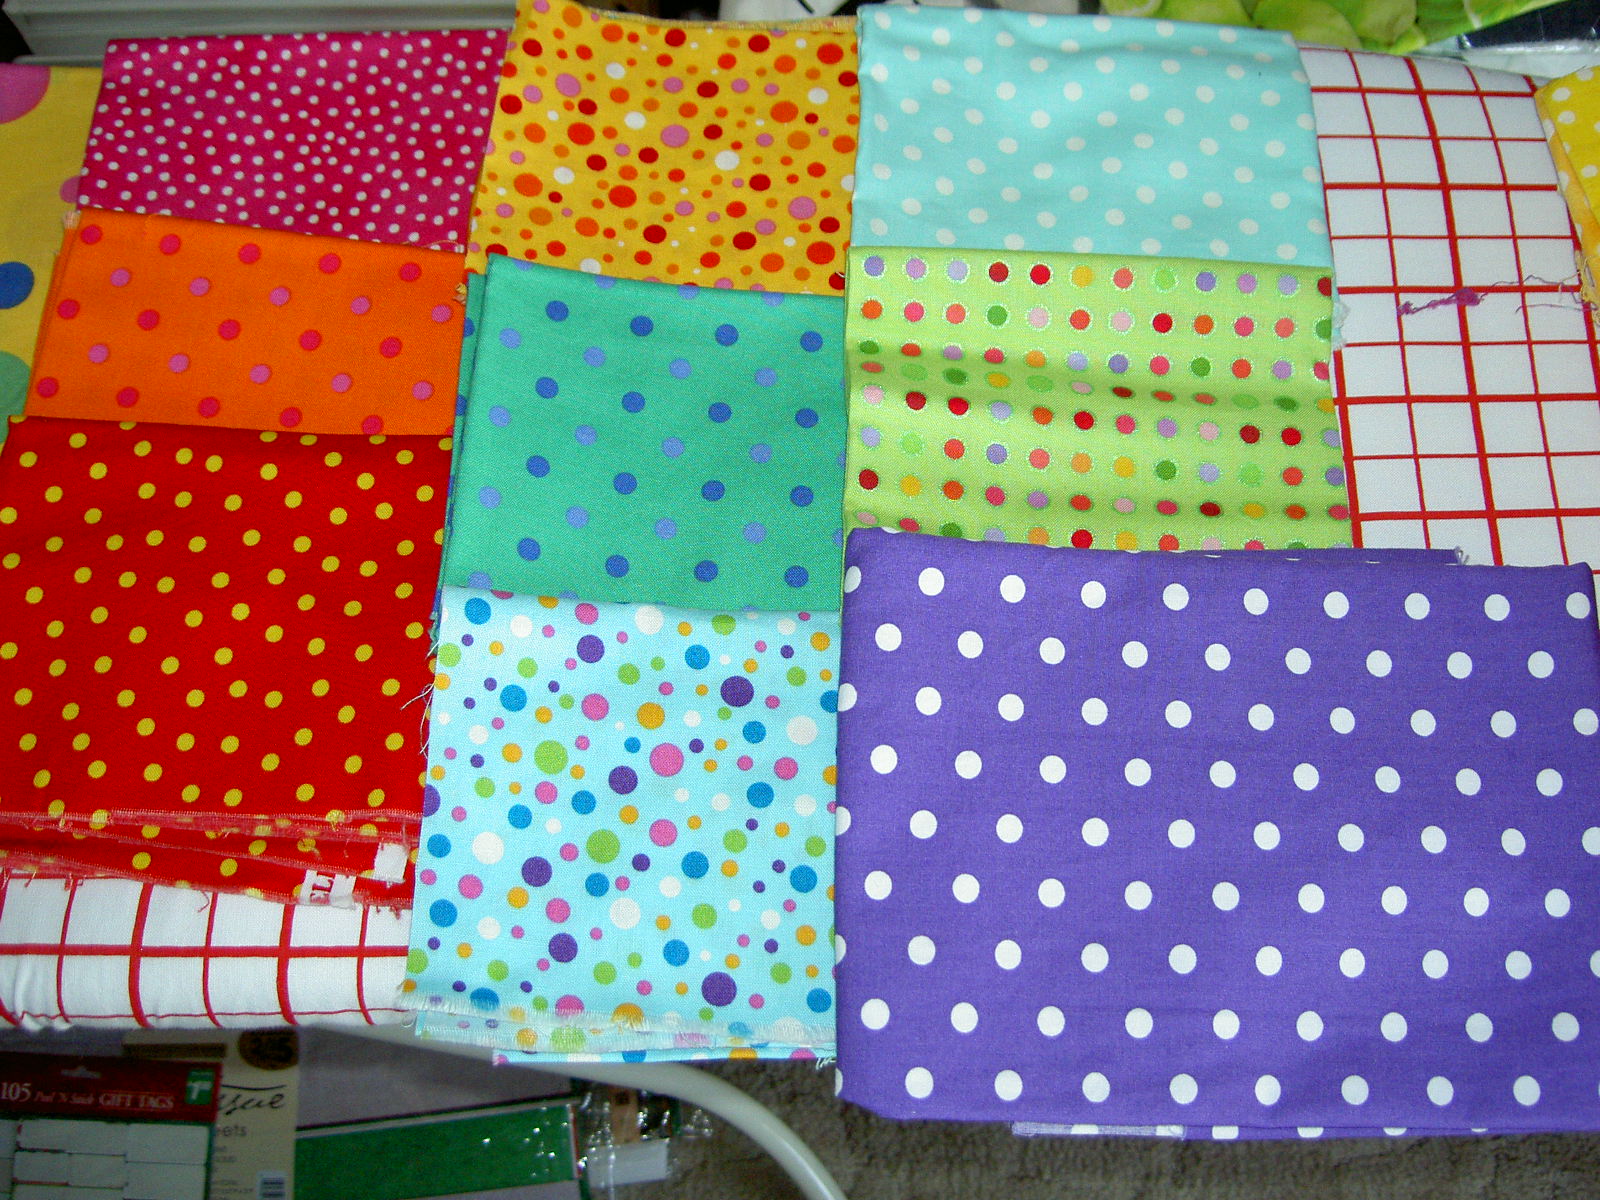
Here are my choices with the background.

This group is good, but Swain was concerned about the strong print on the middle fabric. She thought, when cut up, the petals of the sunflower would draw the viewer’s eye in an unintended direction. She is very much about careful choices in both fabric and seam lines. There were a lot of things she said that reminded me of Ruth McDowell’s work with seam allowances.

Here is my final selection. I guess it is ok. I may work on it a bit more later just to make sure I am happy with it. I like the fabrics, but the combination as leaves is a bit of a stretch. I am, however, willing to work with the colors to see how Swain’s advice works. Here is one example Swain had for a design principle. Think of a tic-tac-toe board. Put an x in the middle, because you don’t want to put anything exactly in the middle. The Os at the intersection of the squares are where she suggested we place our images, if doing this kind of a design.

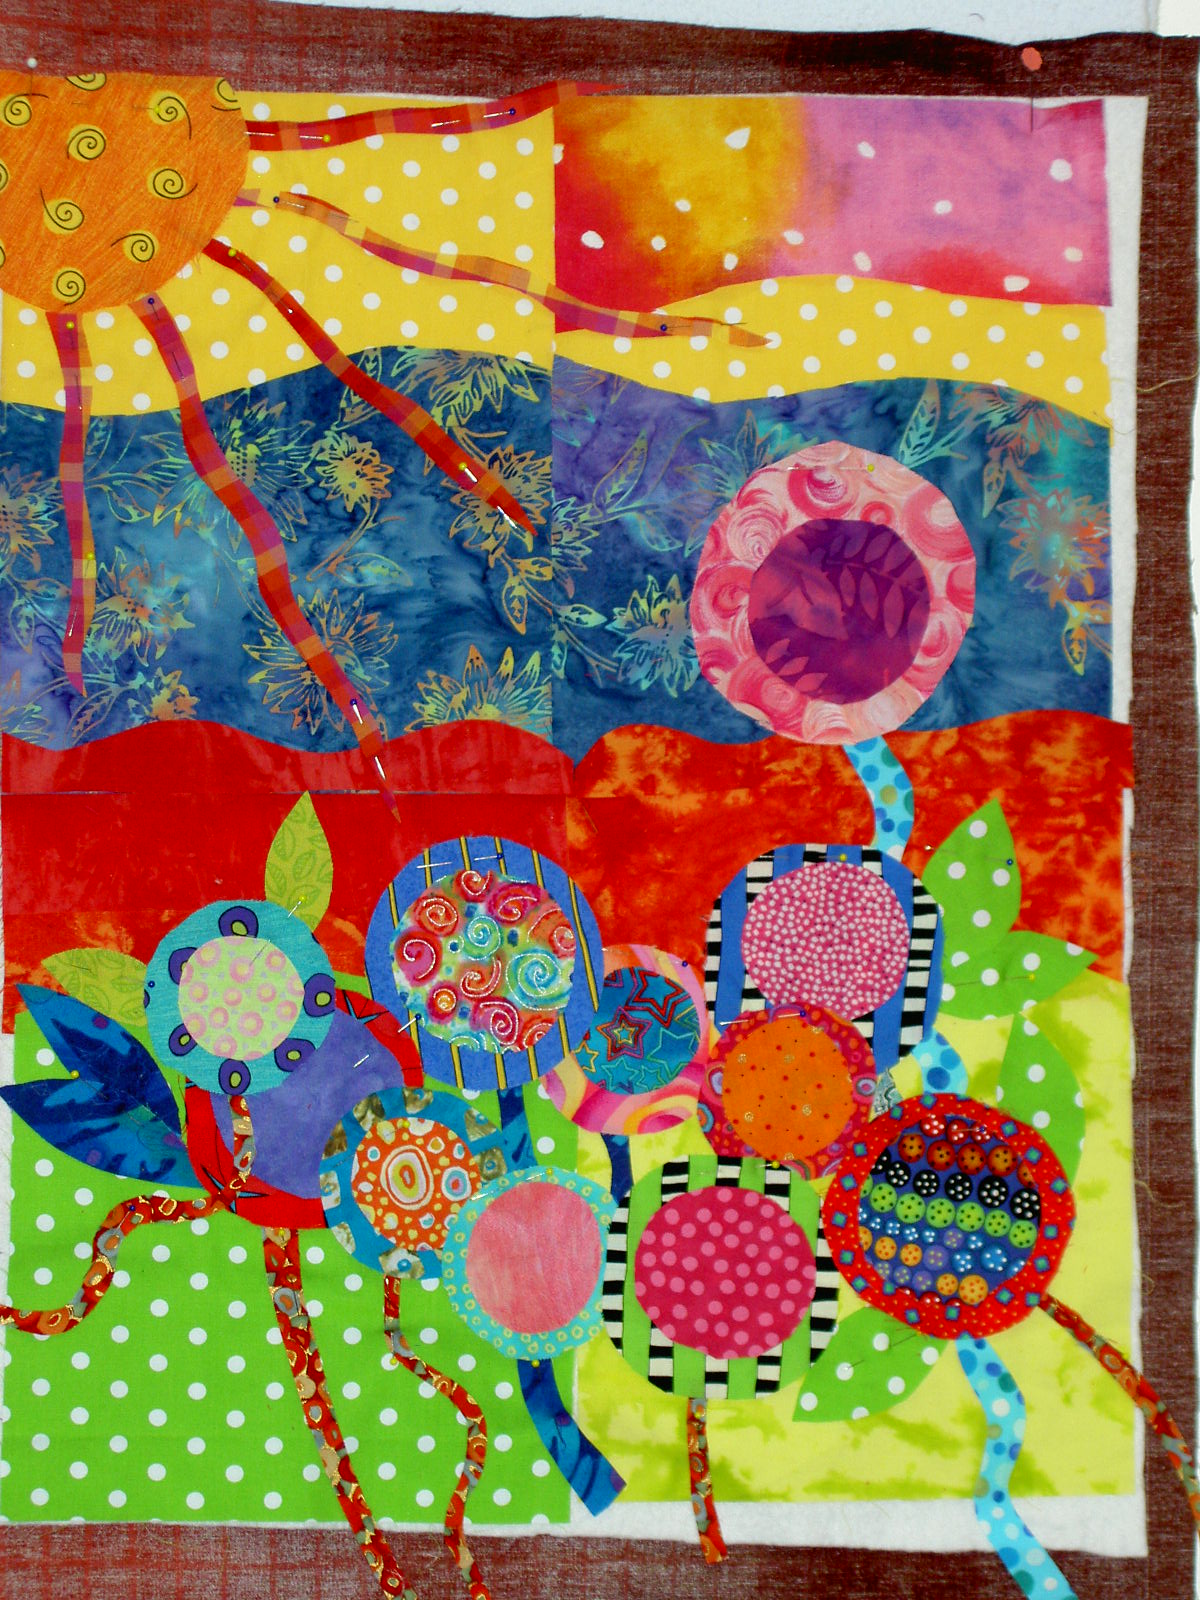
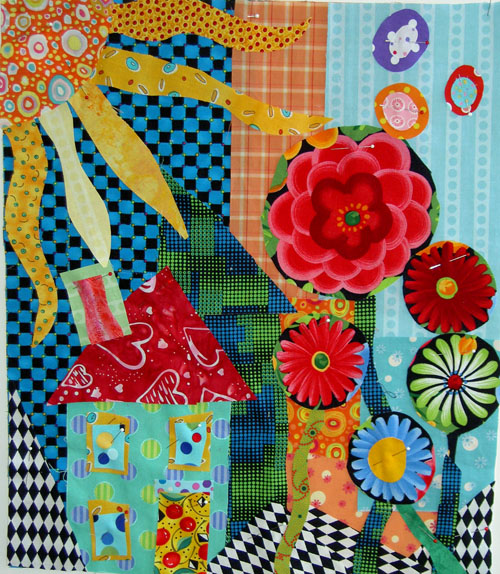
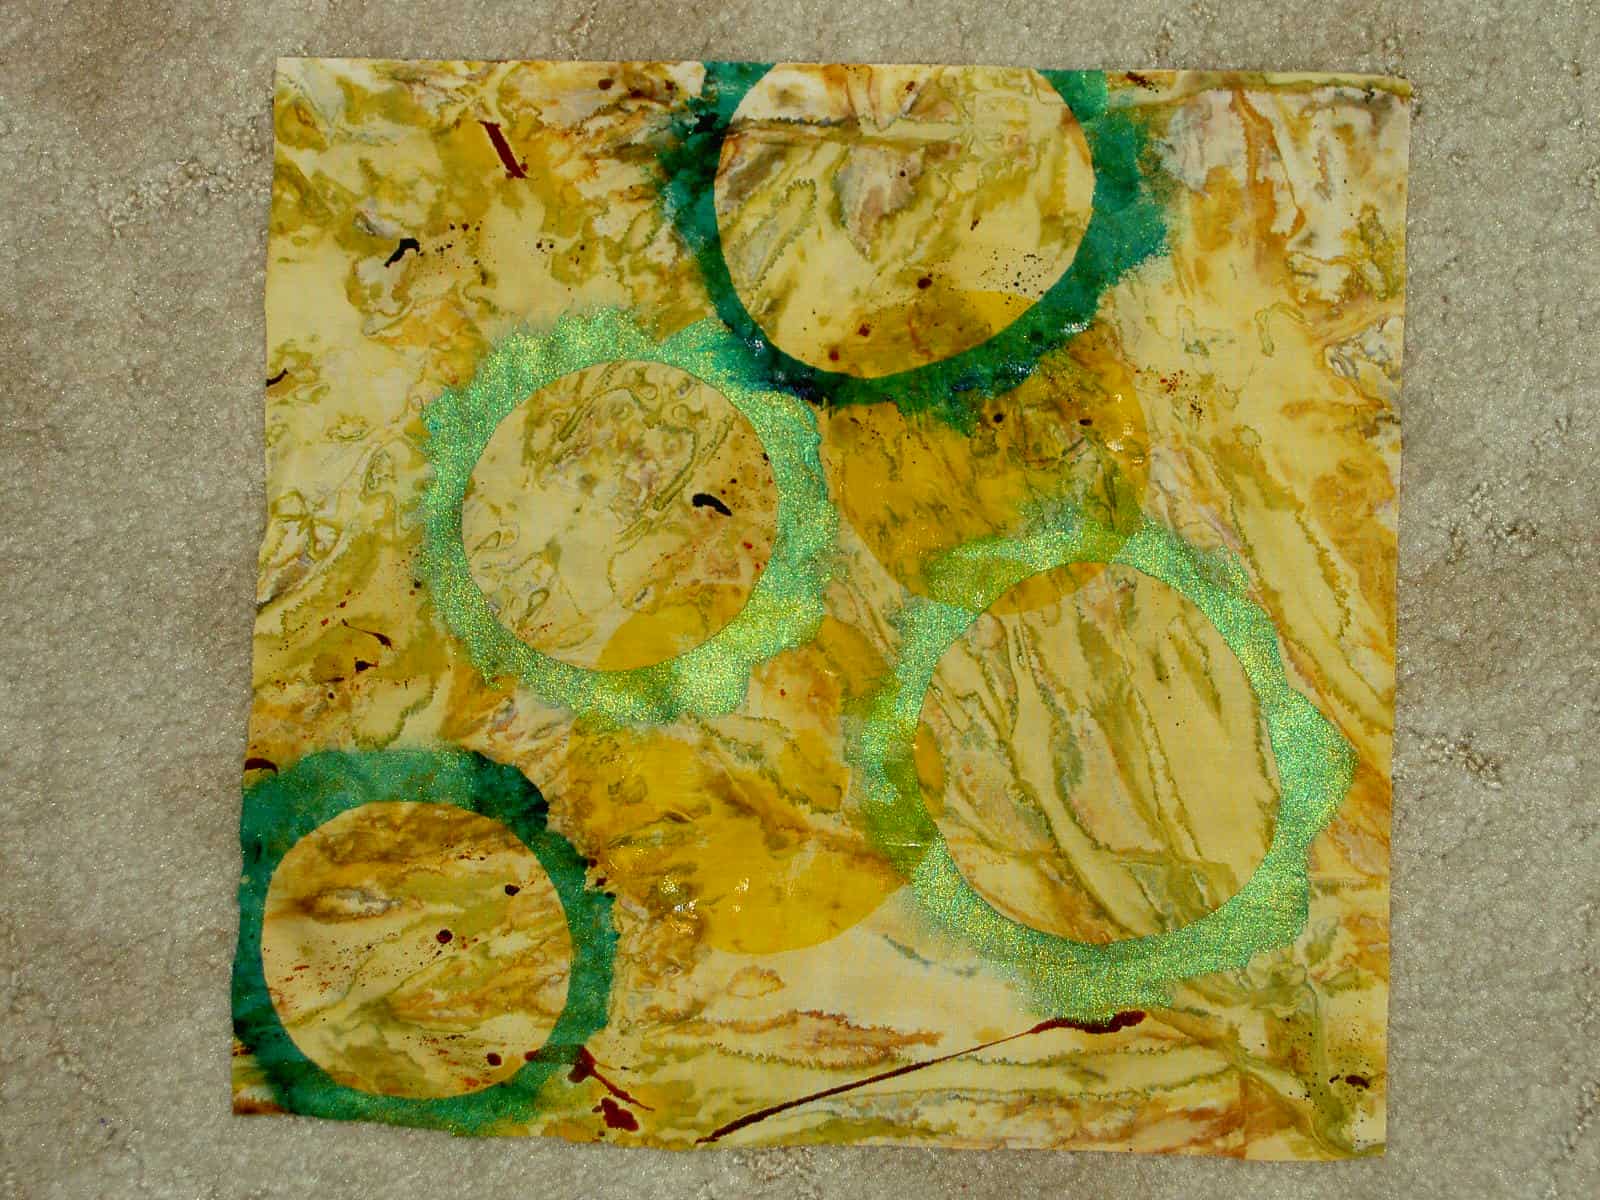
Julie’s fabric selections and pattern. Julie is Swain’s star student as Julie took her 6 month creativity class earlier this year. Sadly, none of the glow is rubbing off on me. 😉

Another One Night Stand, Part 2

At the end of the Nance O’Banion class today, we had to talk about what set us off in the direction we went and the themes we saw emerging our work. Both of my pieces were driven by the beginning of the class when Nance said to be open to serendipity and surprise. Because of the “personal pieces” I chose, the themes that emerged were themes that I had worked with in the past: One Night Stand and the Goddesses.

Nance’s class was full of different types of supplies and things to inspire us.

Rubber stamps lined up and ready to use in the books.

The book on the bottom is full of wonderful bits of embroidery and quilted books.

I was intrigued by the way she lined up everything.

This was waxed linen thread that she offered for our use. I used my own hand dyed thread.

We were supposed to bring three meaningful things with us. I wasn’t quite sure if she meant things we could use in our work or just things in general. I chose the former definition and these are the items I came up with.

Dots, of course.

The little woman figure is very like Desiree and I like her shape.

I am really into taking time for tea right now, thus the cup.


Cover: Here is the cover of the finished piece. I made this one MUCH smaller. We had less time for this second book and I wanted to accomplish a lot, if not finish the piece.
Page 1 and Page 2: First I went through and drew all of the figures. I alternated between the shape from the bead and the Desiree shape. The little figure on page 1 said that her name was Paulina. Not sure why or what her goddess responsibilities are, but there you have it.

After I was done drawing the figures, I went back and modified colors, sewed a bit, added beads. I think I want to stiffen the pages on this book as well.

Page 3 and Page 4: I merged the two shapes in the figure on page 3.

Page 5 and Page 6: Page 5 may be Referencia, but may be someone else. She did not reveal herself. The wings are a flash of brilliance, I think. The house in the Little Mother’s tummy is supposed to be a Gwen Marston house.

This is the end. I used a rubber stamp that I bought from Karenlee (finally!). You can also see the binding very well. It is called a stab binding. I still need to sign and date it.

Another One Night Stand

Today I made fast art again, which, on this blog, is called a One Night Stand. Start to finish is all one session. A One Night Stand here has nothing to do with sex.

EBHQ, the East Bay Heritage Quilters, had a workshop with with Nance O’Banion. She is the head of the printmaking department at CCA (formerly the California College of Arts & Crafts) and teaches, among other classes, book making. I mentioned, earlier in the week, that I thought this class would be interesting in the visual journaling department. I was correct.

Nance O’ Banion doesn’t teach many workshops, as she is a full time faculty member at CCA and doesn’t really have the time. She taught this workshop for EBHQ as a special favor and it was fantastic!!! First, of all, we worked quickly. I finished two books today.

Second, we worked with a limited “palette.” It wasn’t a palette in the sense of colors, but a palette in the sense of materials. She gave a us a group of materials and our job was to make something out of the materials she gave us and what we brought. Since I couldn’t bring my entire sewing room, this limited what I had to work with, but it was fine. It was actually great. I think working with rules, even if they are self imposed, makes for more interesting projects/pieces.

Third, Nance was a very nurturing instructor. Not in a gooby, “I want to be your best friend forever” kind of way, but in a “you can do great work and I will support you” kind of way. I would love to take a semester long class with her. She normally teaches bookmaking with paper and I don’t think I would mind taking that with her.

Fourth, she was really organized. She had a packet of stuff that she had prepared for us (magazine pictures, pages ripped from books, blank paper, etc. She also had a schedule, let us k now what it was and stuck to it. I really enjoy working in that kind of environment. I am good with deadlines. I am not bothered by deadlines unless I don’t know what they are.

Cover. My book came out a little big for the first exercise, but I used it anyway. I wanted to play a bit with the double meaning of One Night Stand. Remember, I didn’t have much time, so I did what I could. I could always add more to the piece. I think I will shore up the pages with some interfacing as they are very floopy.

Page 1 (left) and page 2 (right): The red and white motifs on page 1 are on the back of the fortune card (Nance’s words) that was in my prepared packet. I didn’t want to lose them by gluing the card onto the page, so I sewed it on with Laura Wasilowski hand-dyed Perl cotton and cut the back out so the motfs would show through. Page 2 just plays more with the meaning of One Night Stand.

Page 3: Here I wanted to get the reader’s mind out of the gutter and tell them that a One Night Stand is about creating quickly. It allows things to happen with my work that wouldn’t happen if I thought too much about it. I also tried to incorporate a piece of the motif of the iron grille with the shadows I saw in Seattle. I was a also trying to reintroduce the woman shape I used for Desiree. This was the first attempt of the day and she looks a bit wonky. This page had a bit of a problem, because I had cut a piece out of the yardage and didn’t realize it was in the middle of my book until I was well into. I had planned to have the camera peek through, but I didn’t line it up properly. I may leave it but I may fix it somehow (door? sewed on ‘patch’?) . We’ll see.

Page 4: At this point, things started to pop into my head and I would write them down. I was feeling like the piece was a bit word heavy, but just went with the flow. The pink card with the compass came in my prepared packet.

Page 5: Here I am back to a little bit of wordplay with the double meaning.

Page 6: The ‘think,’ ‘try,’ ‘do’ are relevant to creativity, I think, but they are also a take off on something that Yoda says to Luke in Star Wars, Episode 6: Return of the Jedi.

Page 7: While you see this page in the same orientation as the other pages it is actually oriented 90 degrees to the right, so you have to turn the book. This is one of my favorite pages, because it just told me what to put on it and I like the layering of the leaves.

Page 8: I wanted to have a closing credit, so I started on a “The End” page. They I thought of the phoenix rising from the ashes and new beginnings came to mind.

I’ll write about the second book later.

I stopped at New Pieces to see if they had interfacing for the bags and bought, in addition to the interfacing, the following:


The turquoise dots on the bottom will be a bag outside and the pink flowers with the black will be a bag inside for the white dots that I bought from fabric.com.

Making Cross Blocks (Flowering Snowballs) Tutorial

Judith asked about making the Flowering Snowball blocks, so here is a visual tutorial. Please note that this is the “Jaye-Way” and may not get you an prizes at Houston.

I would suggest that you read the book by Jinny Beyer on handpiecing, as she has a lot of good tips, though she doesn’t recommend using a felt tip. You can use a mechanical pencil to mark, if you want.

I am using templates and handpiecing them. I use a black or red Pilot (formerly SCUF) ultrafine point felt tip pen to mark around the templates. I use grey Aurifil thread and a thimble. Sometimes I put wax on the thread to keep it from tangling. Use whatever needles you like. I use betweens for piecing.

Practice with the felt tip on fabric. You want a thin line with no blobs at the end. I usually run over the end of the template a little and start lessening pressure on the tip right at the end of the template. If you leave it in one place too long, you get a blob. Blobs are bad for precise handpiecing and they look ugly, too.

Trace around the templates on a hard surface. In this case, I am using the book as hard surface. Trace on the back/wrong side of the fabric.

That tiny print says to flip the template 180 in order to get the most pieces out of your fabric. I was cutting 4 pieces from each fabric, but found that to be too many. I will use the ones I have, but am now only cutting one or two. I am trying to keep this quilt to a reasonable size (HA!) and to have as much variety in the fabrics as possible. If I like the fabric, I can always go back and cut more of it, right?

I trim around the templates by eye. I don’t measure the seam allowance. I try to keep it to arounda quarter of an inch and not to get too close.

Detail of trimming.

Here are the pieces cut out.

Here is the pinning. First, I pin right in the corner just inside the drawn line. I poke it through the foreground (colored) fabric first.
This is the back of the pinning. Same deal goes here. I come up through the back. Get the pin right in the corner where the drawn lines intersect and just inside. Remember you have drawn around the template, so the drawn line is a little larger than the template. This is why I try to pin AND sew just inside the drawn line.

Here (above), the pinning is done. Note that I put two pins close together at the beginning, but I take the first one out right when I am ready to sew, so I can start. The second one holds the pieces together while I get started. I try to make small, even stitches that are evenly spaced. Remember to look at the back as you sew so that you are poking through the back right inside the drawn line.

It is ok that the piece is wrinkly, because you want to match up two curves that are going in opposite directions. Use the bias to make them match.

How the Pieces Go Together

My whole philosophy, which I am pretty sure is a general quiltmaking philosophy, is to go from smaller to larger. This means to build the blocks by making the smallest patches into larger units and then putting the larger units together to make a whole block.

First, take one corner piece and one background piece and sew them together. Sew/pin with right sides together. Curves require, at least for me, a lot of pinning. For pinning, start at each corner and put pins in by lining up the corners of each piece with each other.

When you sew the corner and background together you will have a unit that looks like the above unit. You can see how the felt tip lines show through, which is another reason to sew just inside the drawn lines. They won’t show on the front of the quilt if you keep them in the seam allowance.

Seeing the felt tips lines here also allows you to see how they line up, if you do the piecing correctly.

Add another background unit. Note: I am trying to use all different fabrics in each position in the block, but you don’t have to do that.

Now you have quite a large unit. You will need two of these units per block.

Sew the center patch to one of the corner (foreground) units.

Here is how he unit looks once the middle patch is attached to a corner.

Sew a second corner to the center patch.

With this unit complete, you are ready to attach the side unit to the center.

So, just do it. Attach a side unit to the center.

Once you add that unit to the middle piece you are nearly there. The above piecing is the hardest part (but not like you are taking the SATs without a prep course), because the seam is long and the middle section is quite floopy. It also takes a LOT of pins. Make sure you sew through where the seams match several times to keep it strong and make sure the seams line up. I care about that stuff, but you don’t have to match your seams.

I don’t always press the patches after I sew them, because I am sitting on the couch watching TV while I sew (why do you think I have a hand project?) and am too lazy to trudge upstairs to press. It makes the piecing a lot nicer if you press as you go.

Add the last unit and you are done!

Completed square. I usually trim the block after I am done with the hand piecing. Make sure you don’t cut over any of your seam lines, because your piecing will unravel if you do. This is not machine piecing.

Reflections on Pamela’s Class

I know I overloaded myself with photos posted to Artquiltmaker blog on Saturday after the class with Pamela, so I must have overloaded you all as well. This post is about focus and reflection on the class.


Here is my first draft, so to speak. I had looked at my previous effort, from the first class with Pamela, before this class and had an idea that doing a related quilt would be a good idea. I was also looking at Collaborative Quilting by Freddy Moran and Gwen Marston last week, which made me think about houses. The sun and the flowers are in common, I think.

One thing I realized is that I have not been working with scale much lately. The Pineapple, the various square pieces including Thoughts on Dots did not require me to work with scale in any meaningful way. I did pay attention to dots were in the various prints I used for Thoughts on Dots. I didn’t have to worry about scale overall in terms of the elements of the quilt. So, this piece made me stretch. When Pamela came around to help me the first time, scale was what we focused on. I needed larger flowers and larger rays of the sun.

Final piece (sans quilting)

It wasn’t quite so easy as making some elements a little bigger, though, because I had the previous garden quilt (below) on my mind as well. Some of the intermediate “drafts” of this piece had many more flowers. You can see the various drafts in Saturday’s post.

I brought scraps per the directions, so I didn’t have a lot of choice of background. I had a lot of variety in fabrics, but not a lot of variety in size. My scraps are relatively small in general, so I put some darks in (per Pamela’s instructions) and really had trouble working with them, as I also mentioned. I have not been working with black and the checkerboard is interesting, but it doesn’t read as a cheerful fabric to me. I have gotten some feedback that it isn’t too dark, so I am considering it stretching and moving on.

Pamela’s technique of cutting directly into the fabric is a very freeing way to quilt, however, and I think it is good for me. Now that I have two of these garden type quilts, I might try to make two more and have a quartet. We’ll see.


I enjoyed her handstitching techniques with Perl Cotton as well. One of the things about this is that it doesn’t have to be perfect. The stitching adds to the charm, but I don’t think it looks like the fake folk art kind of look. I could be wrong, of course!

My 2006 Pamela piece. I am more excited about getting back to it now. I machine stitched some of it down, but plan to go back and work some more with the Perl Cotton on the flowers, especially.

I highly recommend Pamela’s classes. She is a quilt teacher, but she has been trained in art and knows about design principles. That is the focus of her class with fabric as the medium. She seems to truly want people to do good work. I am glad she directed me, in her gentle but firm way, to scale, because that is what I needed to work on.

A Day with Pamela

I made it to the Pamela Allen class at EBHQ.

This is all the stuff I took to class, except my sewing machine is not in the picture. (above). The pieces you see are pieces that I made in a previous class with her at Quilting Adventures.

Pamela’s work (below)


Tooth Fairy


Tooth Fairy (detail)


more Tooth Fairy detail


This is what it looks like when I work in a class. (above) What a mess!


My background for the House & Garden quilt. I really can’t help starting new projects in her class.


First draft


Pamela working on my piece


Lots of flowers and flying dots.


Not so many flowers and flying dots.


Not so many flowers and no flying dots.


Final composition. I like it, but I have to admit that I had a very hard time working with the darker colors (the black around the flowers and the blue/black checkerboard. All I could think of was that I wasn’t used to it. I haven’t been using much black lately and, as you know, have been trying to make cheerful quilts. This quilt-let seems a little dark to me.


Pamela working with Julie


Julie’s piece. I love the line up the left hand side.


Group Sampler project. We had 15 minutes to make our part of this piece.


Julie’s two fish. Can you find the second one?


My fish – with dots, of course!

I am tired and about to sign off, but I thought I would put up some photos for all of you to drool over while I go recover from a FAB day. More tomorrow.

Pineapple Class Review

The class was great.

I had enough dots, but could have used more.

The Pineapple Ruler is totally worth the money.

The above photo shows how to place the ruler to cut the pieces. No foundation.

Here are the blocks that I made:


This is how my one block looked after a couple of rows.

This is how my two blocks look now. I have two more rounds to go: I have to put some strips on the corners and one triangle on each corner then each block is done. I should have cut the strips in advance, so I would have had more sewing time, but I didn’t have the time, so the point is moot.


This is the teacher’s, Katrina Lampken, quilt. She did a nice job teaching. She a little background on the Pineapple block. She talked about different ways of making it and why she liked this method. Then we got started. She was able to answer all of the questions. She was really mild mannered, but go her point across. It was a great day.

These are some of the other student’s work:


Sue

Barbara from San Ramon (we were dot sisters)

Laura worked with gradations

Pineapple Homework cont’d

I worked, yesterday, on selecting fabrics for the Pineapple class, which takes place next Friday. These are the fabrics that I have selected so far. As I looked through my dot fabrics, I felt like some were missing, but couldn’t find any others, so I guess I just have the impression in my mind that there are never enough dots! I am pretty happy with the selection, but am still contemplating whether or not the dot sizes are too similar and whether the colors are too similar in value.

In this selection, I didn’t include any of the Fusions fabrics by Robert Kaufman, but am considering adding some to add a little motif size interest. Some of the colorways are very light, however, so if I do add them I need to take care. I don’t want the background to bleed into the foreground creating visual confusion. I can certainly bring them with me, so if I need them I will have them, but if not, no harm done. Opinions are welcome.


Ignore the checkerboard, as that is my ironing board cover!


The two pictures above are the same group, so you will see some overlap (e.g. the red).


Value too similar? I might have get rid of the red one in from the right as it seems to read as a solid.

PameLALA Teaches at Quilting Adventures

Pamela Allen
Pamela Allen

Pamelala is Pamela Allen, an artist who has come into her own in recent years using fabric and through quilts. Pamela came from a painting and assemblage/mixed media background. Her background includes classes that many quiltmakers never take: college level design classes. She brought this background and shared it with students at Quilting Adventures on Staples Mill Road in Richmond Virginia.

If you haven’t been to Quilting Adventures, make the trek. Joyce and her team have done a fantastic job selecting fabrics that speak to those of us who don’t do reproductions, small calicos or brown. You won’t see these varieties of fabrics at Quilting Adventures. If repros and brown are what you are looking for, Joyce and her staff will cheerfully direct you to other stores in the area that have the fabrics you need. There are lots of bright fabrics as well as many, many tone-on-tones. I could have bought the entire store. I did my best.;-) In addition to fabrics, Joyce also carries a nice selection of fabric alteration supplies: dyes, paints, fabric crayons. She carries the supplies, but also has samples of what happens to the fabric when you use the various supplies.

I took two classes from Pamela. The first, a fabric portrait class, was an exercise in negative space. The portrait I made is NOT a self portrait. We were given the assignment of working with the negative space first and later filling in the details. It was interesting to think about the fabric of the negative space defining the portrait. I have a hard time seeing the negative space, but I got some practice in during this class. I was able to use the Glitter thread from Superior on Joyce’s Babylock machine to appliquilt the pieces down. I have to figure out the hair (if any), the mouth and the nose (OH GOODNESS!!!). Pamela has a gentle manner in directing her students without being a doormat. She also has firm boundaries, which I appreciate and takes care of herself. I probably could have spent a week with her working on this piece. Of course, I didn’t finish, but am well on my way.

Self Portrait, in process

The second class was a class on composition. My piece is a garden and was limited by the distance I had to travel and the supplies I was able to bring. It also helps to remember to bring your supplies. 😉 Mrs. Kristen, a fellow Mavette, was quite generous in sharing her stash with me, so I was able to make a small piece.

Jaye's Garden
Jaye’s Garden

First we assembled the background and then we laid our design on top of it. I used some of the leftover circles from the bullseye quilts and created a garden. This piece lends itself to hand stitching and I hope to be able to do some and complete this piece. During this time when the machine is better left under plastic, the timing is perfect. I’ll try to get to it. The piece is on its way to completion, but also not completed.

I would recommend classes with Pamela. She is a teacher who forces her students to think, is diplomatic about student work and gives the class the opportunity to work in a positive critique situation. She is an artist and also a teacher, not an artist who thinks s/he can teach. You can find more of Pamela’s work at her website.

Portrait Class

I spent the day in a class at Quilting Adventures in Richmond, VA with quilt artist, Pamela Allen. Pamela is from Canada and you can see much of her work at her website.

If you haven’t been to Quilting Adventures, drop what you are doing and go. The shop is great: bright colors, fabulous samples of dolls, quilts and what paints and dyes look like on fabric as well as examples of what you can do with them. Joyce and her team have done an outstanding job with the shop. They are not all things to all quiltmakers, but I think everyone could find something there!

In the class, the topic was Mavericky portraits. Mine is not a self portrait, and is clearly not complete. I took the above photo before I started to quilt it. I “appli-quilted”, which is to say I appliqued the pieces down as I quilted them.

It was a rocky road to quilting as I wanted to use the Glitter thread, but had used very fat batting. I took my initial attempts at stitching out after several frustrating thread breaks. Joyce, the owner of QA, calmly and ably assisted me and replaced the batting with thinner batting and the quilting went much more smoothly. I was able to finish all I wanted to on one machine.

People may be afraid of Glitter, but it is wonderful thread. It gives the sparkle of metallic threads without the headaches. I have tried it, now, on three different machines with minimal issues. It does not like the fat batts, though.

I still want to do some work embellishing, the silk flowers especially need centers of some kind. I also need some kind of hair, but perhaps I will leave her hairless. She is very much still in progress and her personality is not developed, so we will see what comes next.

Magical Secrets of Creativity

Kathan Brown is a printmaker and author of a book called Magical Secrets about Thinking Creatively. She is also the founder of Crown Point Press. At the de Young, they had an exhibit of Crown Point Press prints. On the legends I noticed some of the magical secrets, which made some sense or were interesting to think about so I started to write them down. I stopped when I found a brochure. The Magical Secrets are listed at www.magical-secrets.com.

Seeing these ‘secrets’ made me think that creativity is a lifetime experience and that you have to work at your creative work.

I like the idea of Magical Secrets of Creativity. It makes me wonder if people have their own ideas about creativity and where people’s ideas intersect. I want to think about Brown’s ideas and see if they work for me.

Class notes

My students are back in the groove of quilting, so tomorrow I will give them their next block, a foundation piecing block. I picked the New York Beauty for the block with the Pineapple as the alternate. Not sure which one I will do. Perhaps both.

I still have to finish the damn Nosegay and am thinking that I will have to completely redo the bottom (cone) part. It just doesn’t fit. C’est la vie.

I did have osme success with applique’, however. The Grandmother’s Flower Garden petals are applique’d to their background. This is one of the blocks from the class that has been kind of languishing.

I also worked on applique’ from an Elly Sienkiewicz class that I took years ago at Thimble Creek. It is one of the blocks from one of her Baltimore Album Quilt books. After doing two of the cut snowflake type blocks I decided that there was no way I could do an entire Baltimore Album Quilt. Still the block I worked on is nice and I did want to finish it. My applique’ leaves a lot to be desired, but it shows me making progress. The journey not the destination. I look forward to finishing it so I can say that one UFO is off the pile.

Fabric Painting

After the CQFA Steering Committee meeting at KAM’s house, we did fabric painting. KAM organized the whole thing and it was a nice ending to the meeting.

This is my first attempt:
After my first attempt, we watched a five (or so) minute segment of Simply Quilts. It was good to watch after, because I wasn’t too influenced by the demonstrator.

Here is the piece that I finished after we watched the segment.

One thing I got out of the segment is that simple shapes seem to be better, so I worked on this one:

My final piece is the best one IMO.

It was GREAT not to have to do any organization for the project but to just start painting on fabric. KAM was so generous with her paint, fabric, etc. It was wonderful. As you may know, I am not a big fan of messy work. I did enjoy doing this project as I could just play and not worry about making a masterpiece.

I plan to try the presentor’s idea of doing some curved strip piecing through the middle of my piece. I don’t want to make these the center of a piece. I just don’t think they could stand up to the scrutiny.

DCM and I discussed not having enough time to just play and wreck fabric pieces. We are both having a hard time getting over the feeling that each piece we make must be perfect.

A topic for another day….

Another quilt class attempt

Saturday CQFA had a members only workshop on design with Liz Berg. She was a good teacher. Informative, fun, well prepared. I thought I was insane to try another design class from a quilt teacher after I signed up for this one, but it turned out fine. She wasn’t familar with Pentak & Lauer’s Design Basics book, but I was still impressed with her teaching.

She went over the basics of design – line, value, etc and then had us do exercises. Some of the exercises were similar to the ones we did in the other class I took, but they made more sense this time, because of the preparation.

One thing she said was to keep a sketchbook. Her sketchbook has magazine cut outs in in it as well as her own doodles and drawings. I am going to try to at least condense my doodles and drawings, but I may have to just do them in my journal as I can’t imagine carring a sketchbook as well as a journal. Still, I did get the cool sketchbook with colored pencils for Christmas so perhaps I will have to.

I would recommend her as a teacher. I’ll post some of my exercises later. See Liz Berg’s work at