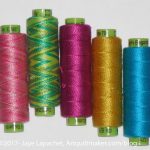
I am a sucker for embroidery threads. Not really the floss that comes in hanks, but the Perl Cotton balls, the Aurifloss and, now, Sue Spargo embroidery threads.
I admire Sue Spargo’s work, because of the cheerfulness and liveliness of the designs. Her book, Stitches to Savor: A Celebration of Designs, is a favorite. I admire her work with the simple shape of the cups and want to do something similar with cakes. Can you imagine how fabulous a cake quilt would look with embroidery designs applied to it to simulate frosting and cake decorations?
Sue Spargo Threads from Stitch
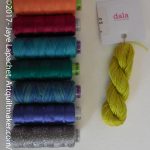
Sue Spargo Threads from Thistle Dew
Of course, given the colors I bought, the cakes would be cheerful, and, possibly, unappetizing. 😉
You may noticed that I have mentioned Sue Spargo embroidery threads a few times recently. After visiting Thistle Dew and Stitch quilt shops, I was hooked. Both shops had these threads and it was the first time I had seen them. I have a lot of Perl cotton, etc, but couldn’t help indulging in a few spools. I want them all.
I have used them on Under the Sea and they were great to use. I need to get inspired by Gerre and use them more.
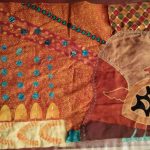
I am making some progress on Under the Sea. It is a shock, because this piece has been on my list and a UFO for YEARS. I really never thought I would finish it and here I am.
Under the Sea – Late August 2016
We went to Southern California for the weekend, so no sewing machine and I missed the BAMQG meeting. My DH better know I love him. 😉 I did take Under the Sea and my EPP project to work on. I didn’t do much in general – no sewing, no EPP, no quilt shop visits, but I worked on Under the Sea a little on the way home in the car.
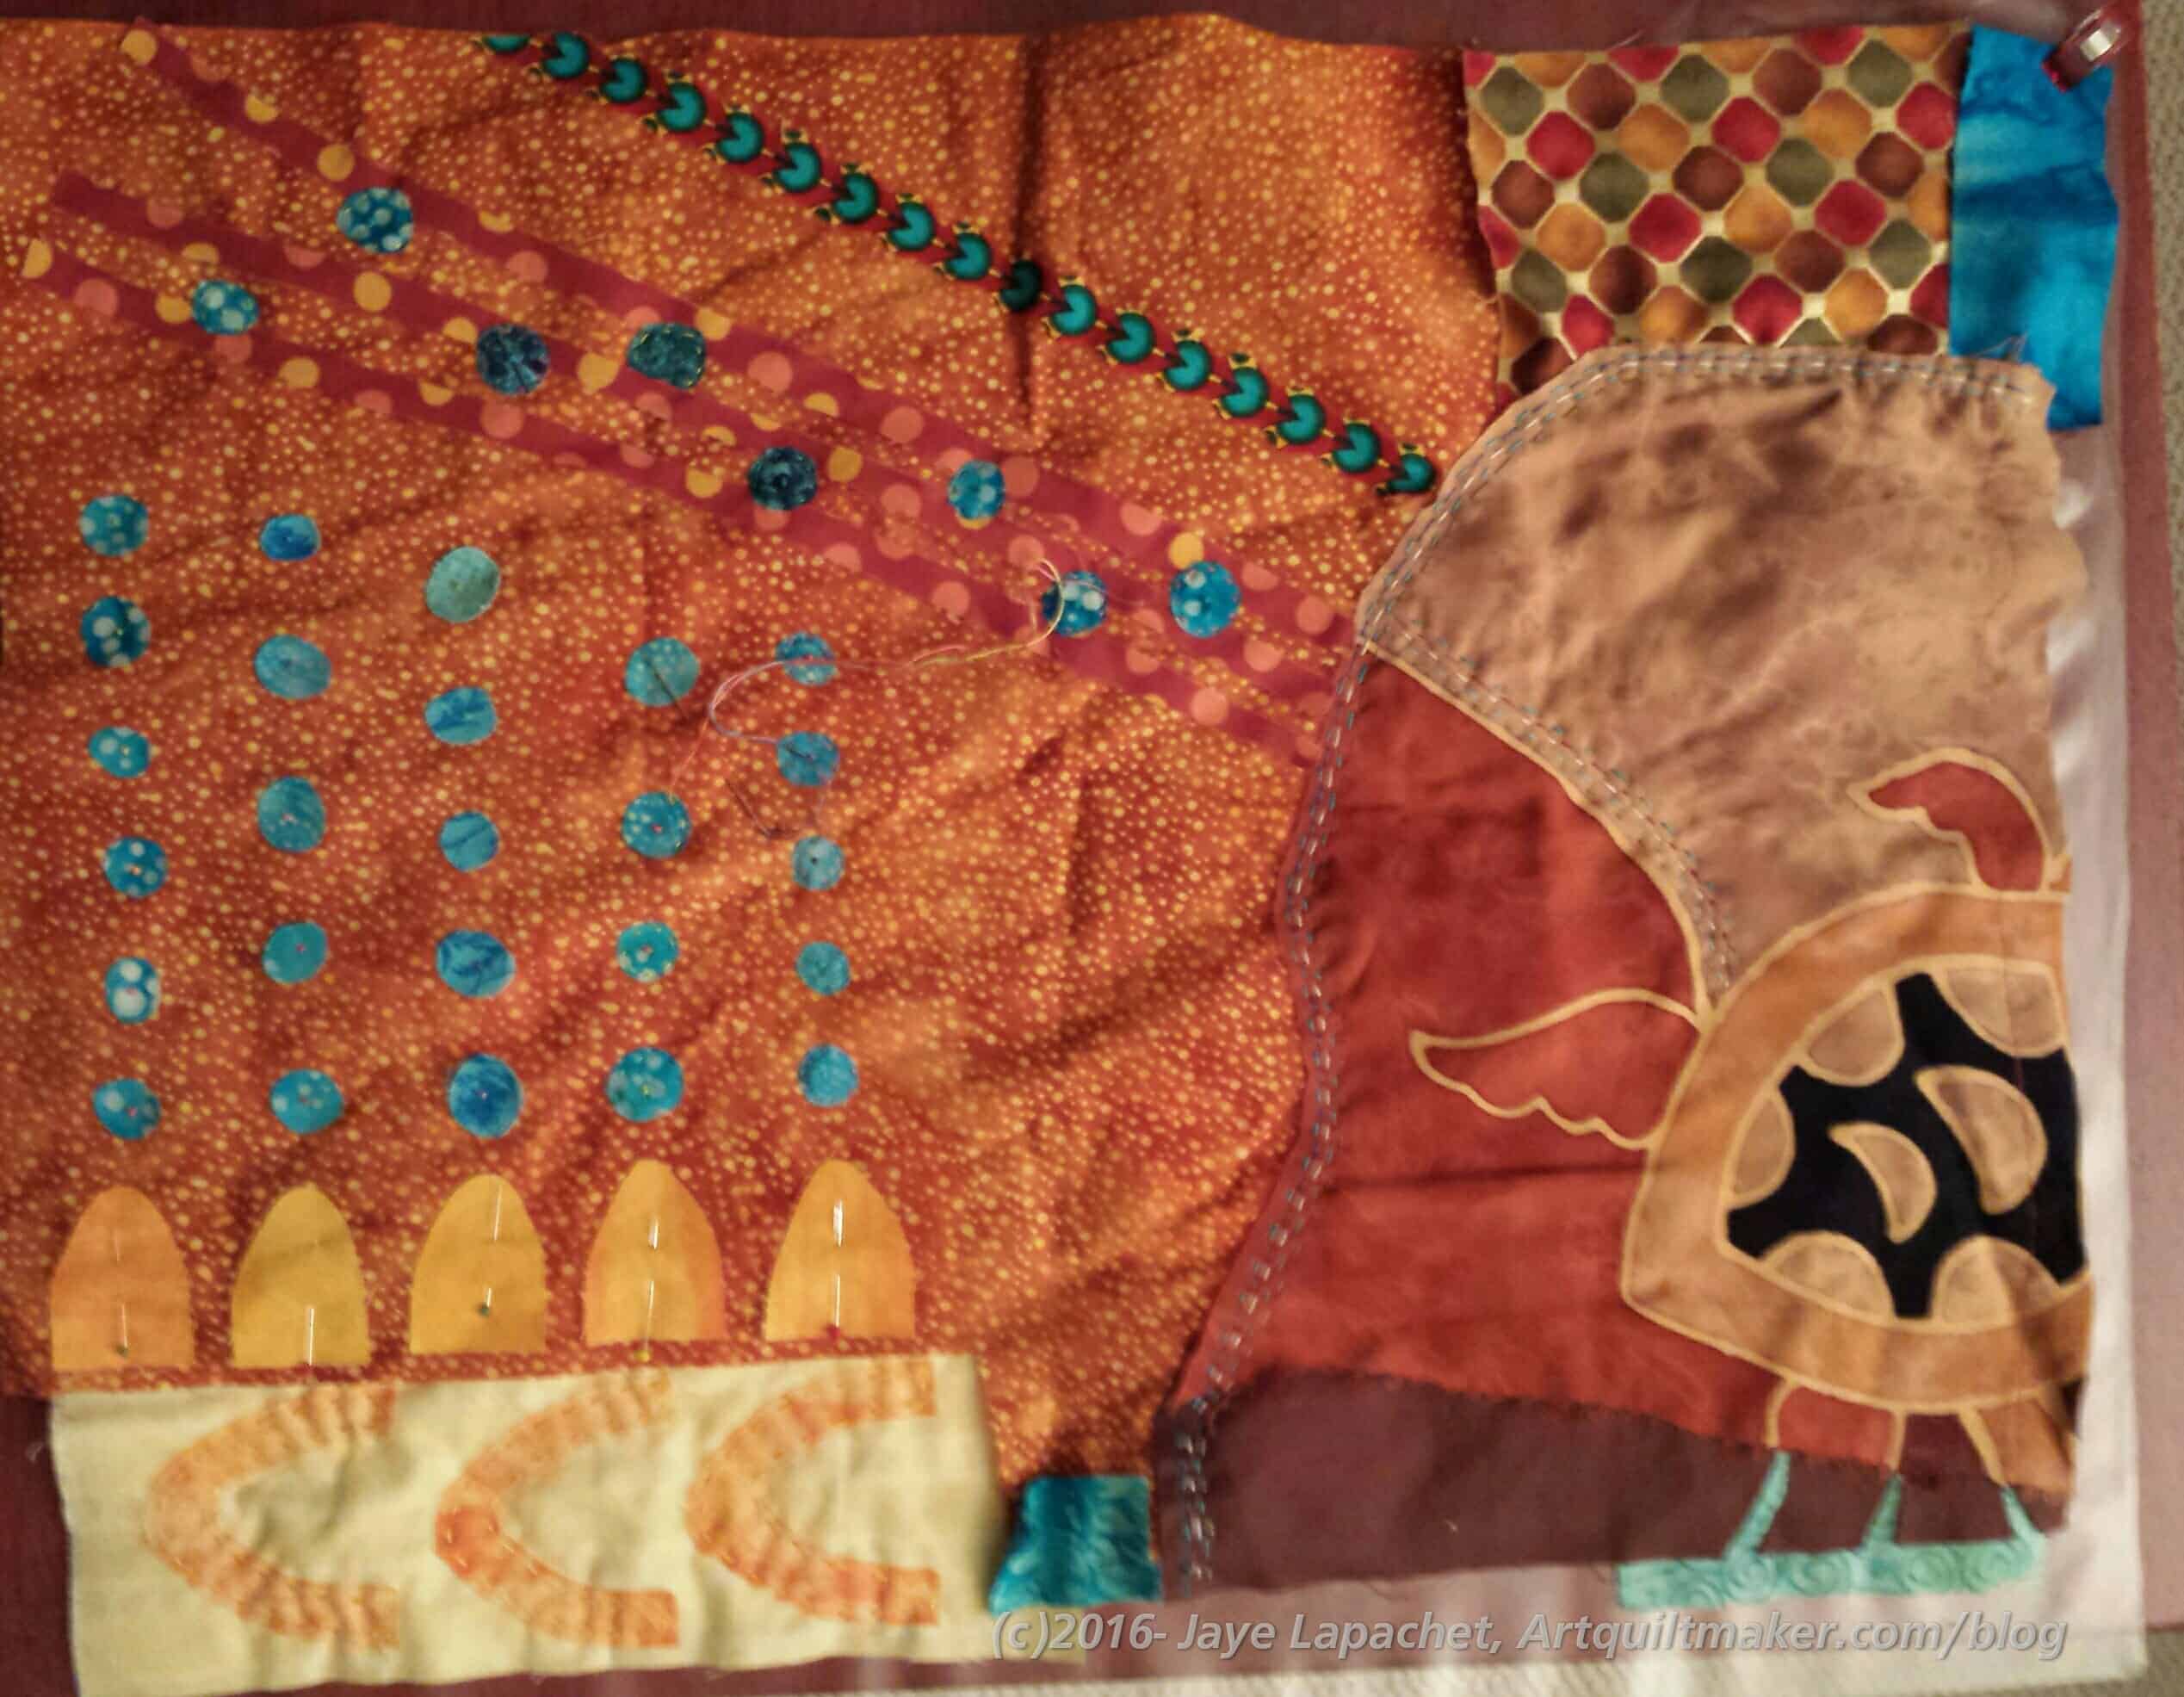
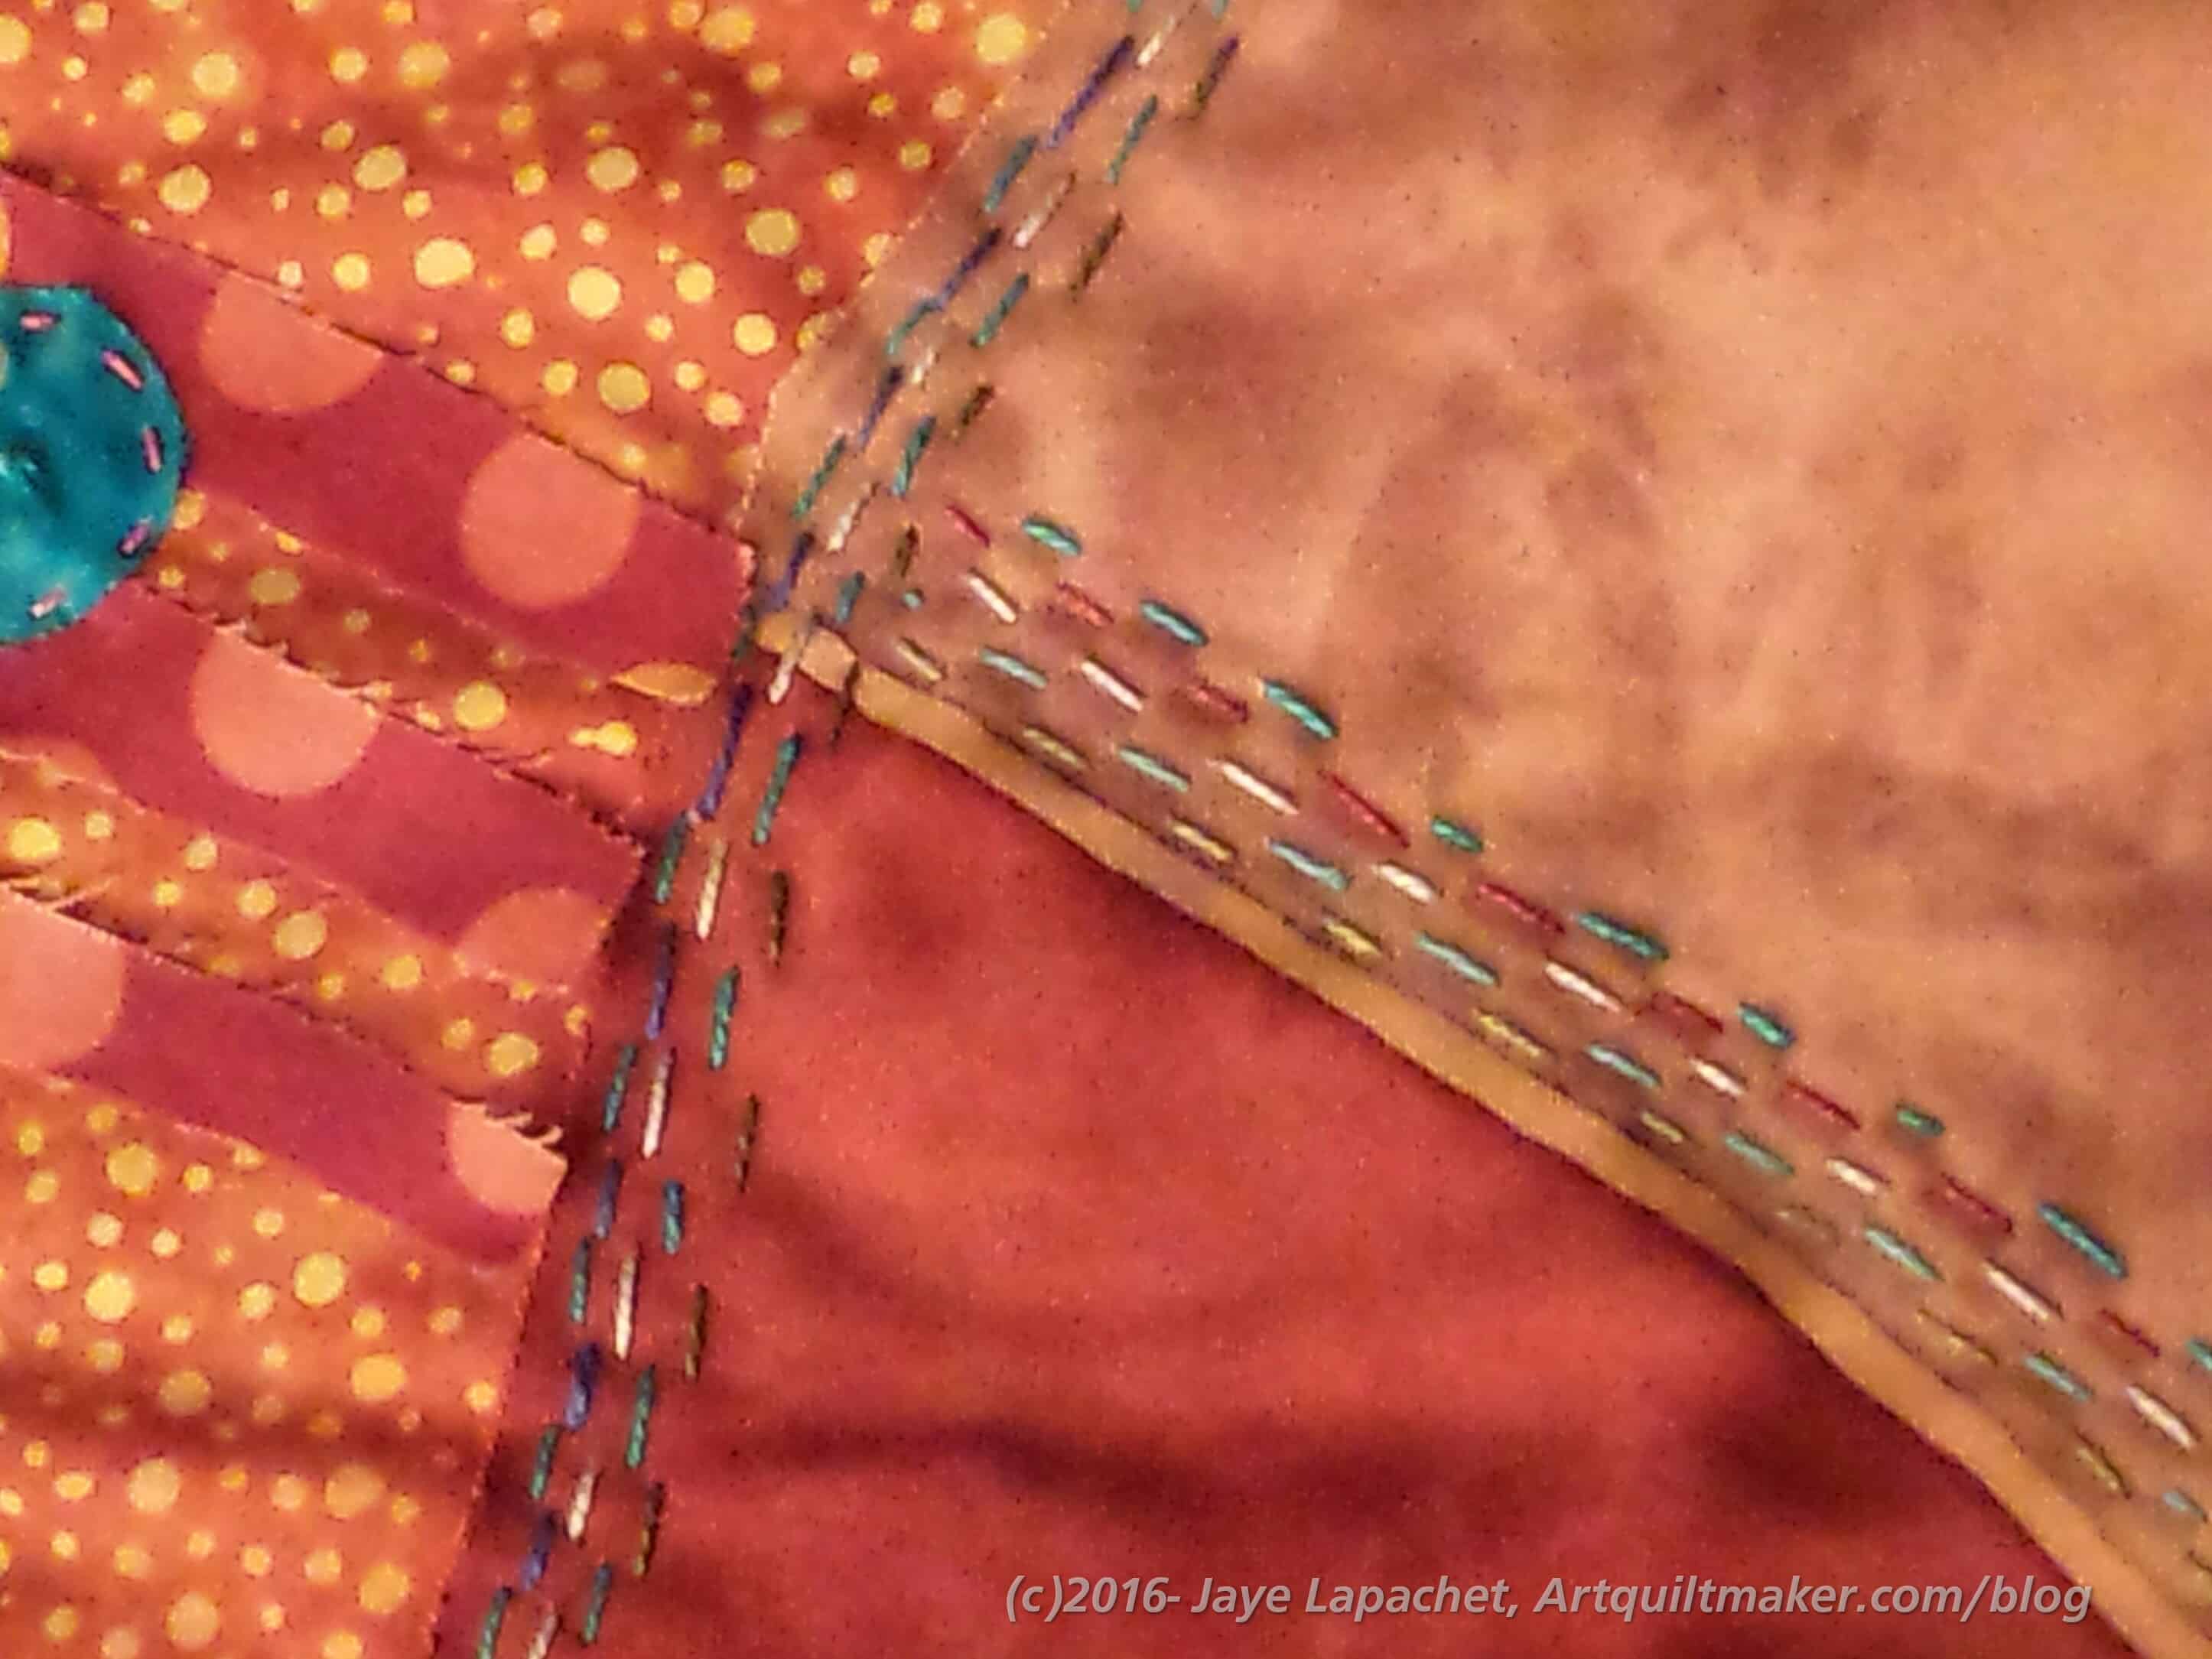
I bought some 12wt Aurifil and have used a little of it along with the Perl Cotton that I have had laying around. It is fun to add layers of texture to this piece. The stitches are adding interest.
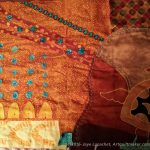
Under the Sea (detail) – Late August 2016
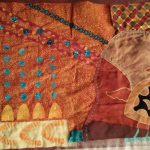
I am not sure about the green circles. I like them as a motif. I am not sure I like them around the turquoise dots. I don’t want to disrupt that bubble like effect.
I am hoping that the viewer won’t see them until they get closer. We’ll have to see.
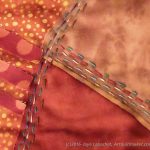
I have been working on Under the Sea pretty steadily in the evenings. It is soothing to do the handwork. I am also surprised at how quickly I can fill up an area with embroidery.
Under the Sea, detail, july 2016
Under the Sea, detail, july 2016
Under the Sea, in process again
Under the Sea, detail, july 2016
Under the Sea, detail, july 2016
Under the Sea, detail
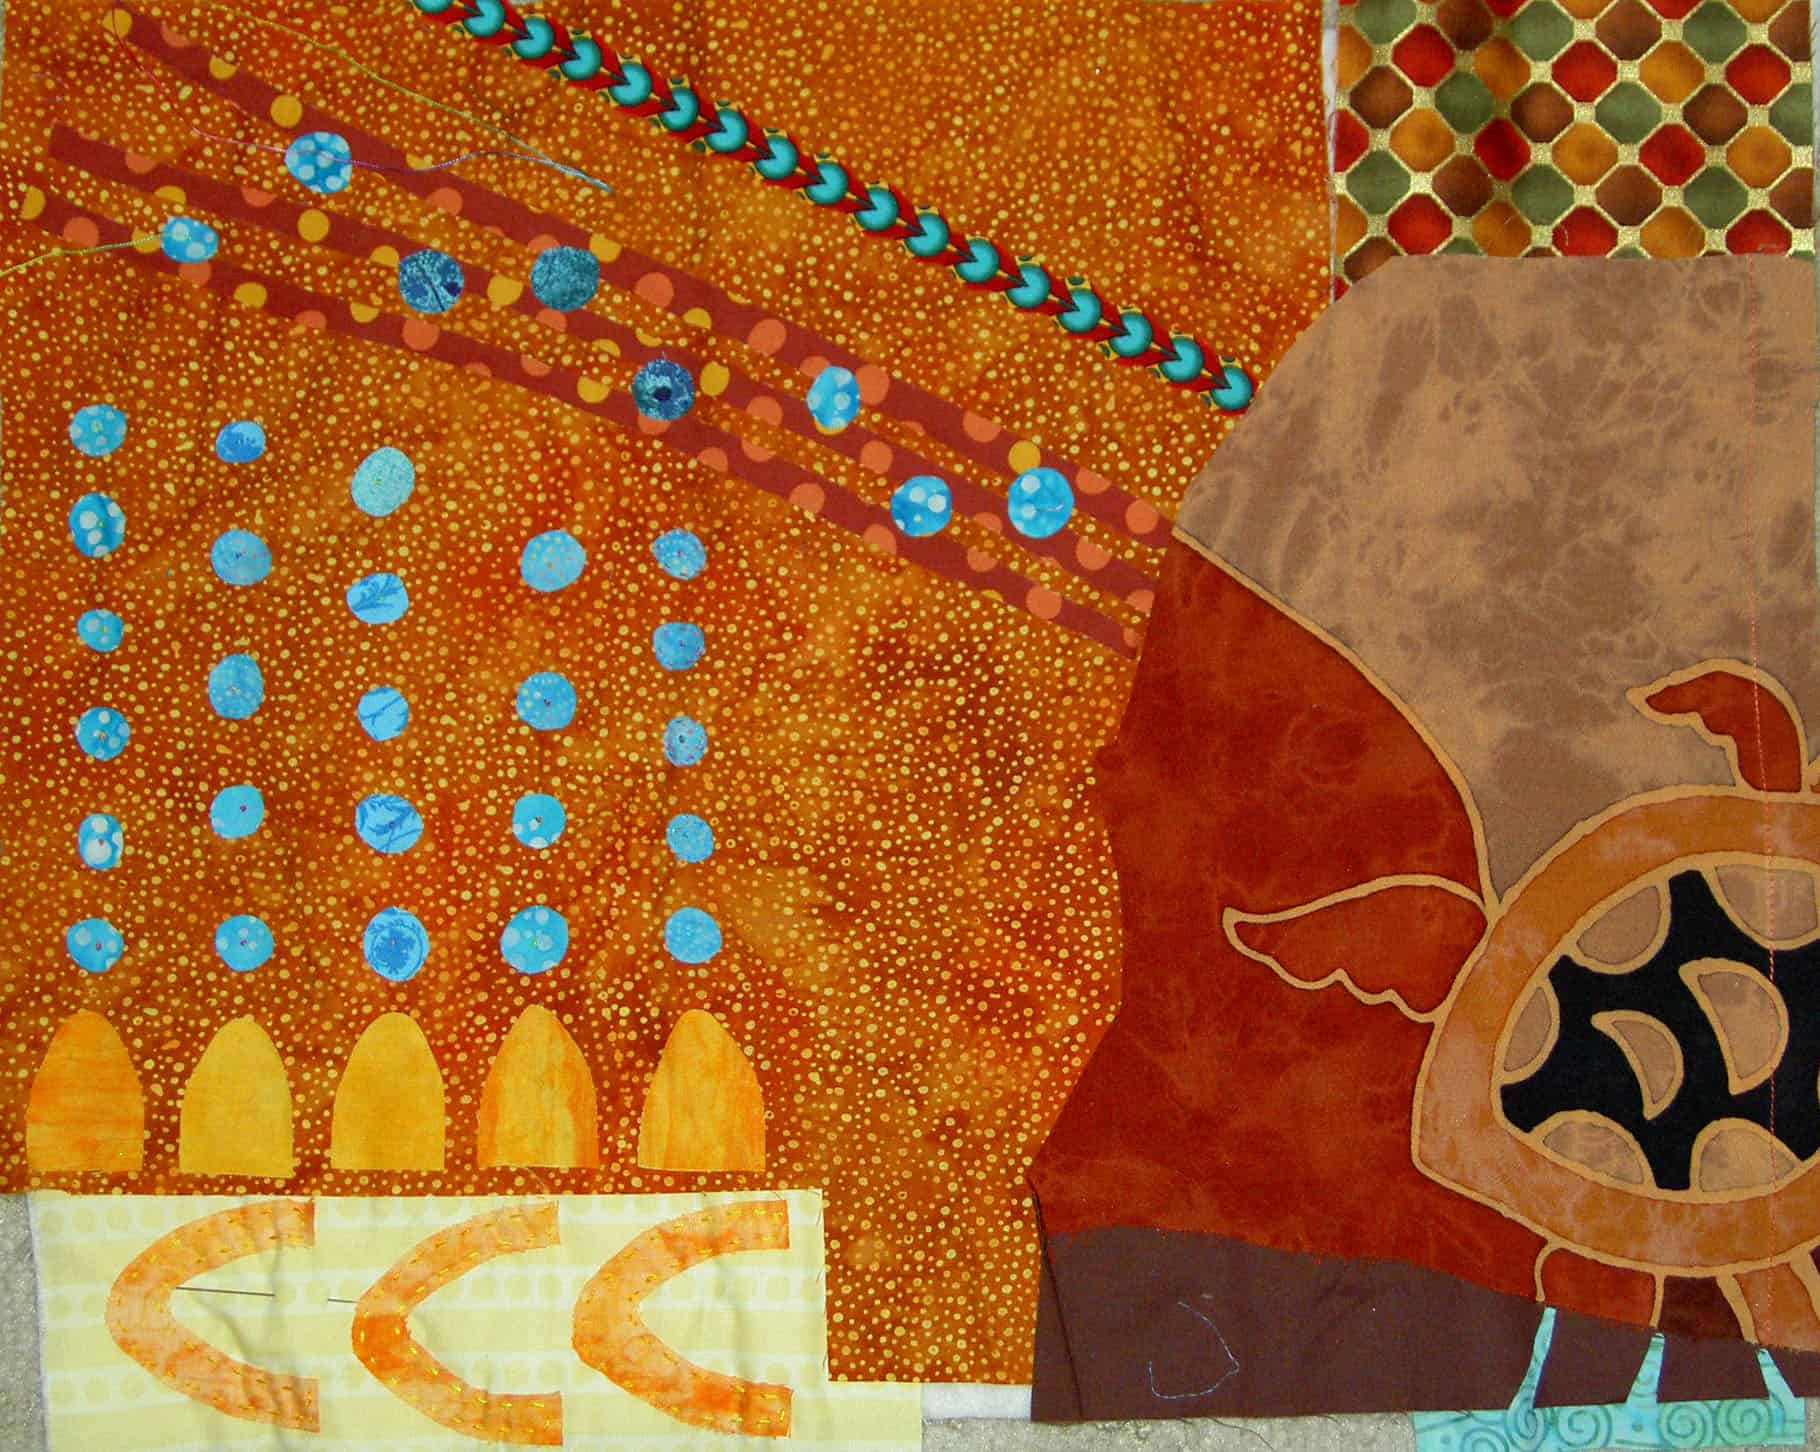
As I said a few days ago, I am pleased with the work. I am still pleased despite some design challenges.
I want the embroidery to be simple, so that limits the stitches.
I don’t have enough colors, but when will I have enough colors? This should not come as a surprise to anyone who reads regularly.
The browns, rusts and golds are not my favorite, but I am finding that I don’t dislike them enough to toss the project.
Beads or no beads?
I have been pretty tired or working on other things the past two nights, but I’ll get back to this soon.
Under the Sea has been on my 26 Projects list for a long time. I started it in 2009 in a class with Pamela Allen. I started it at the same time I started the Flower Garden. I finished The Flower Garden in 2013.
Despite my best efforts, this piece has been on my mind. After my Special Whine, I picked it up and have been embellishing it with Perl cotton and other types of embroidery thread in the evenings while I watch TV.
Under the Sea, in process again
I am pleased. Doing the embroidery, though simple, has calmed down my creative crisis, if just for the moment.
Of course, I don’t have enough colors of Perl Cotton. When do I ever have enough colors? I am making due for the moment.
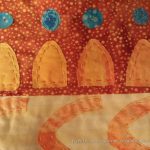
Under the Sea, detail
I know these colors are odd colors for me. It is a problem, because I keep wondering where to add pink. The turquoise additions do help.
I am trying a combination of greys with the turquoises and blues to see how that looks. I am not sure if it makes any difference, in the way my mind wants, because so much of the piece is made up of browns and oranges.
The piece is small and I think I will make it into a cushion cover and give it away. Not my colors, you know. We’ll see.
I have a lot of Tsukineko Inks. I love the idea of them. They don’t change the hand of the fabric. They purport to be permanent (have not Googled that nor do I have personal experience). They are not too messy and have fabulous colors.
Sadly, I have never had a lot of time to learn to use them or practice with them. Awhile ago, Nancy and I got together one time to try them out. I had fun and was inspired, but I haven’t really had a chance to work with them since. I love them so they have been on my mind.
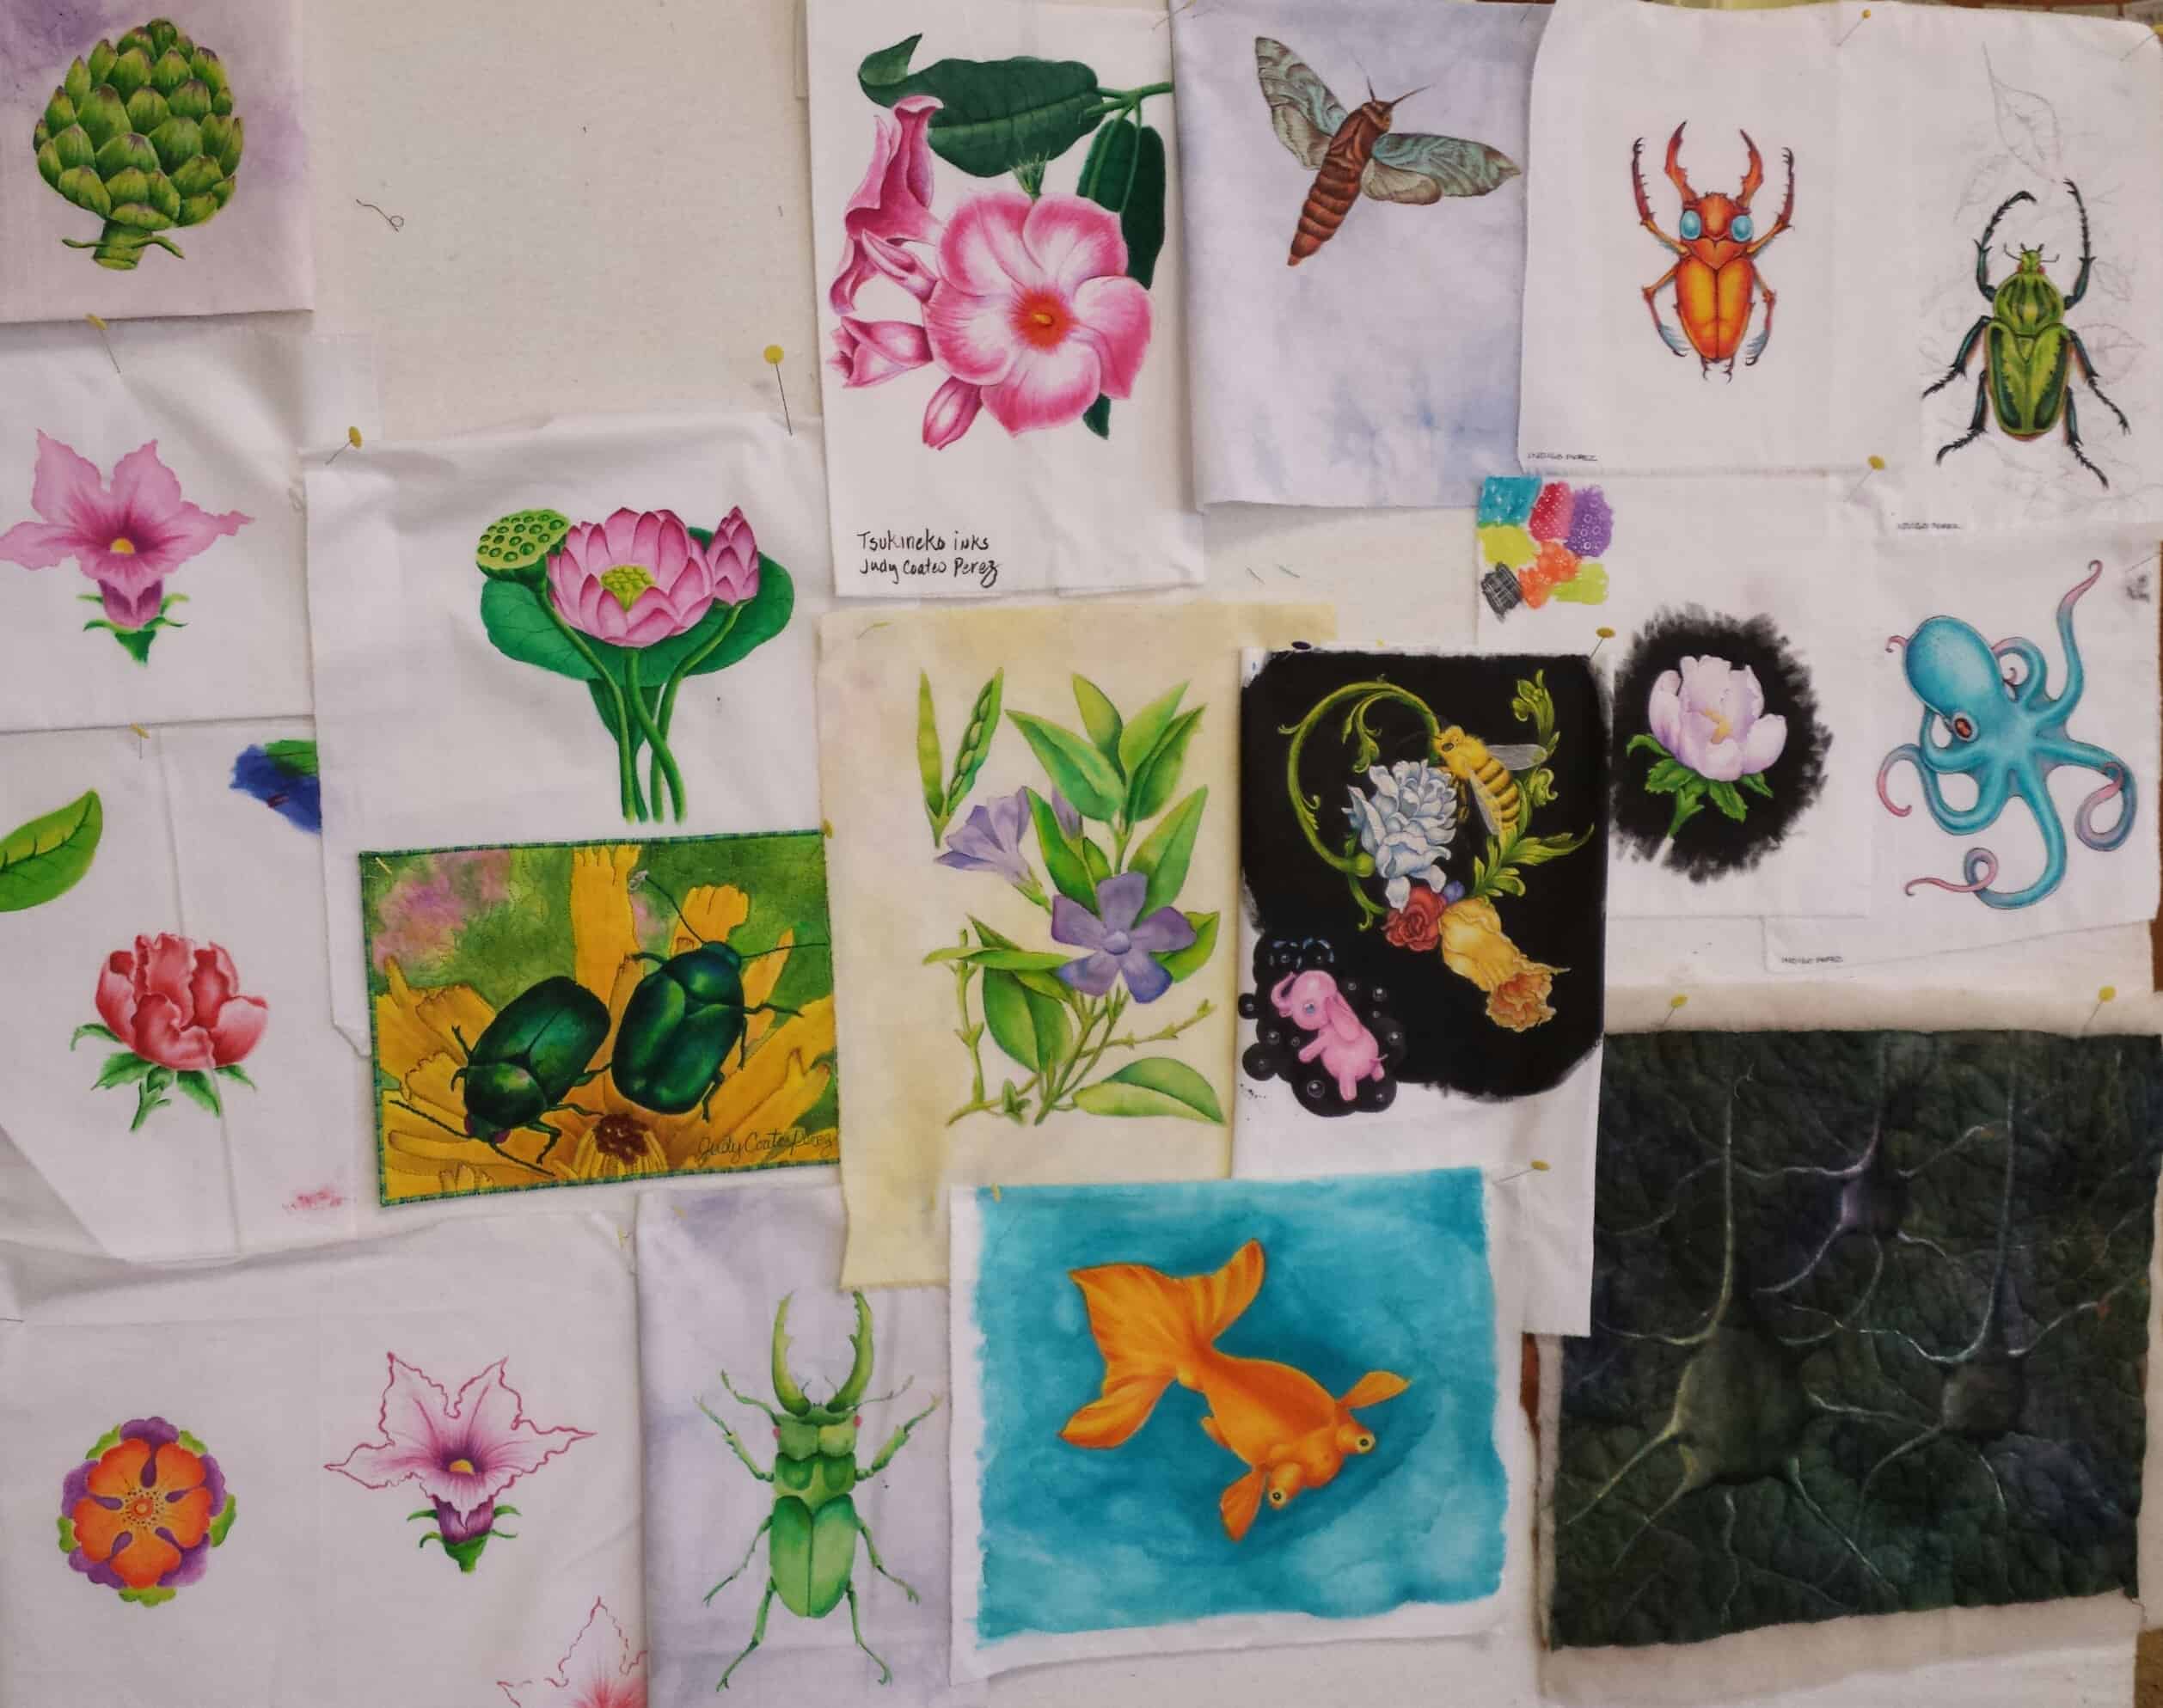
It turns out that my class was with Judy Coates Perez. She is awesome and then I read my blog and found out that the first time I wrote about Tsukineko Inks had to do with Judy Coates Perez!
So, this was an EBHQ workshop and I signed up a few months ago knowing I would be on the East Coast around the same time. I signed up and made plans to be sure and be home by the time the class started.
Then I found out I was on the waiting list.
I was #8.
I had no chance of getting in. I was disappointed. Supremely disappointed.
What else could I do? I moved on. The inks stayed on the shelf.
Then I went on my trip. Practically as soon as I settled into the East Coast I got an email from the workshop coordinator saying I had gotten into the class and needed to confirm ASAP. I couldn’t believe that I, #8, had gotten into the class. That is practically a 50% dropout rate. I found out later that the dropout number was the most people who had ever dropped out of a workshop in recent memory and the most people on the waitlist who had ever gotten into a class.
I was really happy! I RSVPed ASAP and then panicked. Did I have the right colors? How could I know? I wasn’t at home to check. I panicked about it on and off until I got home. Finally, when I checked, I was completely astounded to find that I had all but one of the colors. I must have bought a ‘basics’ kit at some point. It didn’t even matter than I didn’t have that color once I was in the class.
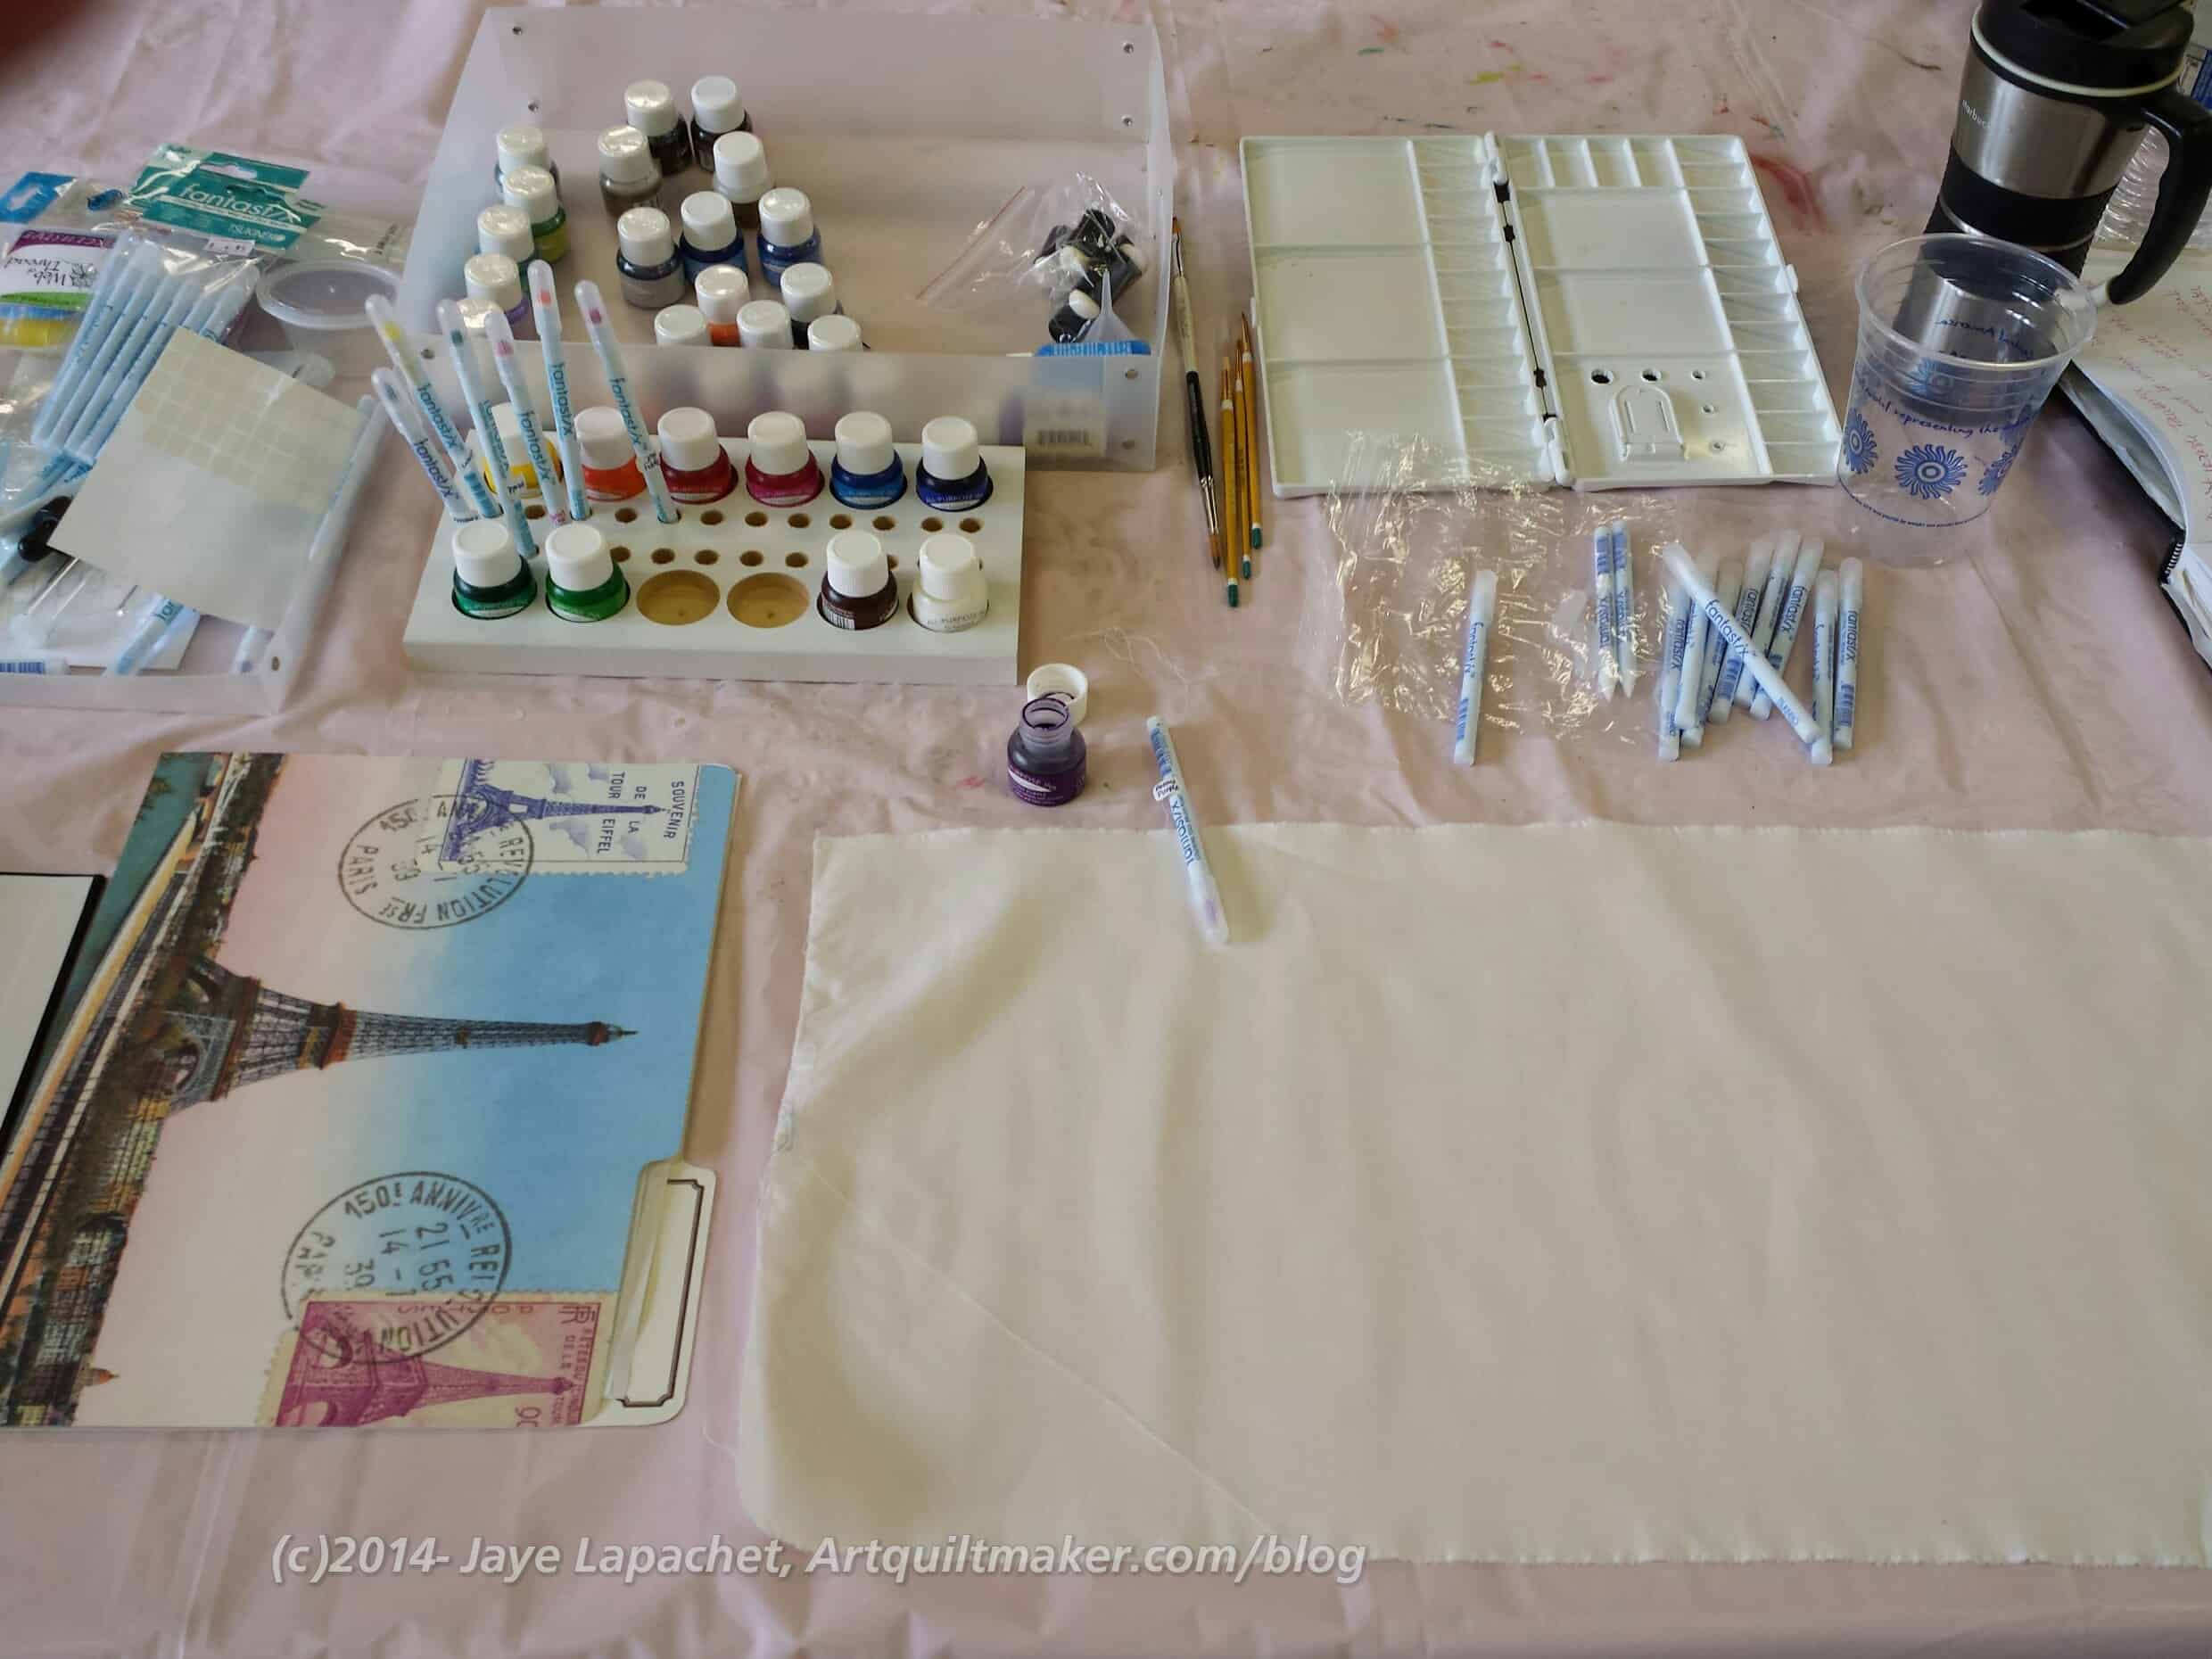
Judy Coates Perez is an awesome teacher and I would take a class from her again in an instant. She is caring, giving and very easy going. She has a lot of extra colors (yes, I bought a few more) and supplies. Since I didn’t really have a chance to buy anything on the supply list, I scrounged a water cup from Peet’s when I got an extra cup of morning tea and bought the rest from her: brushes, etc. Fortunately, the supply list was short and sweet.
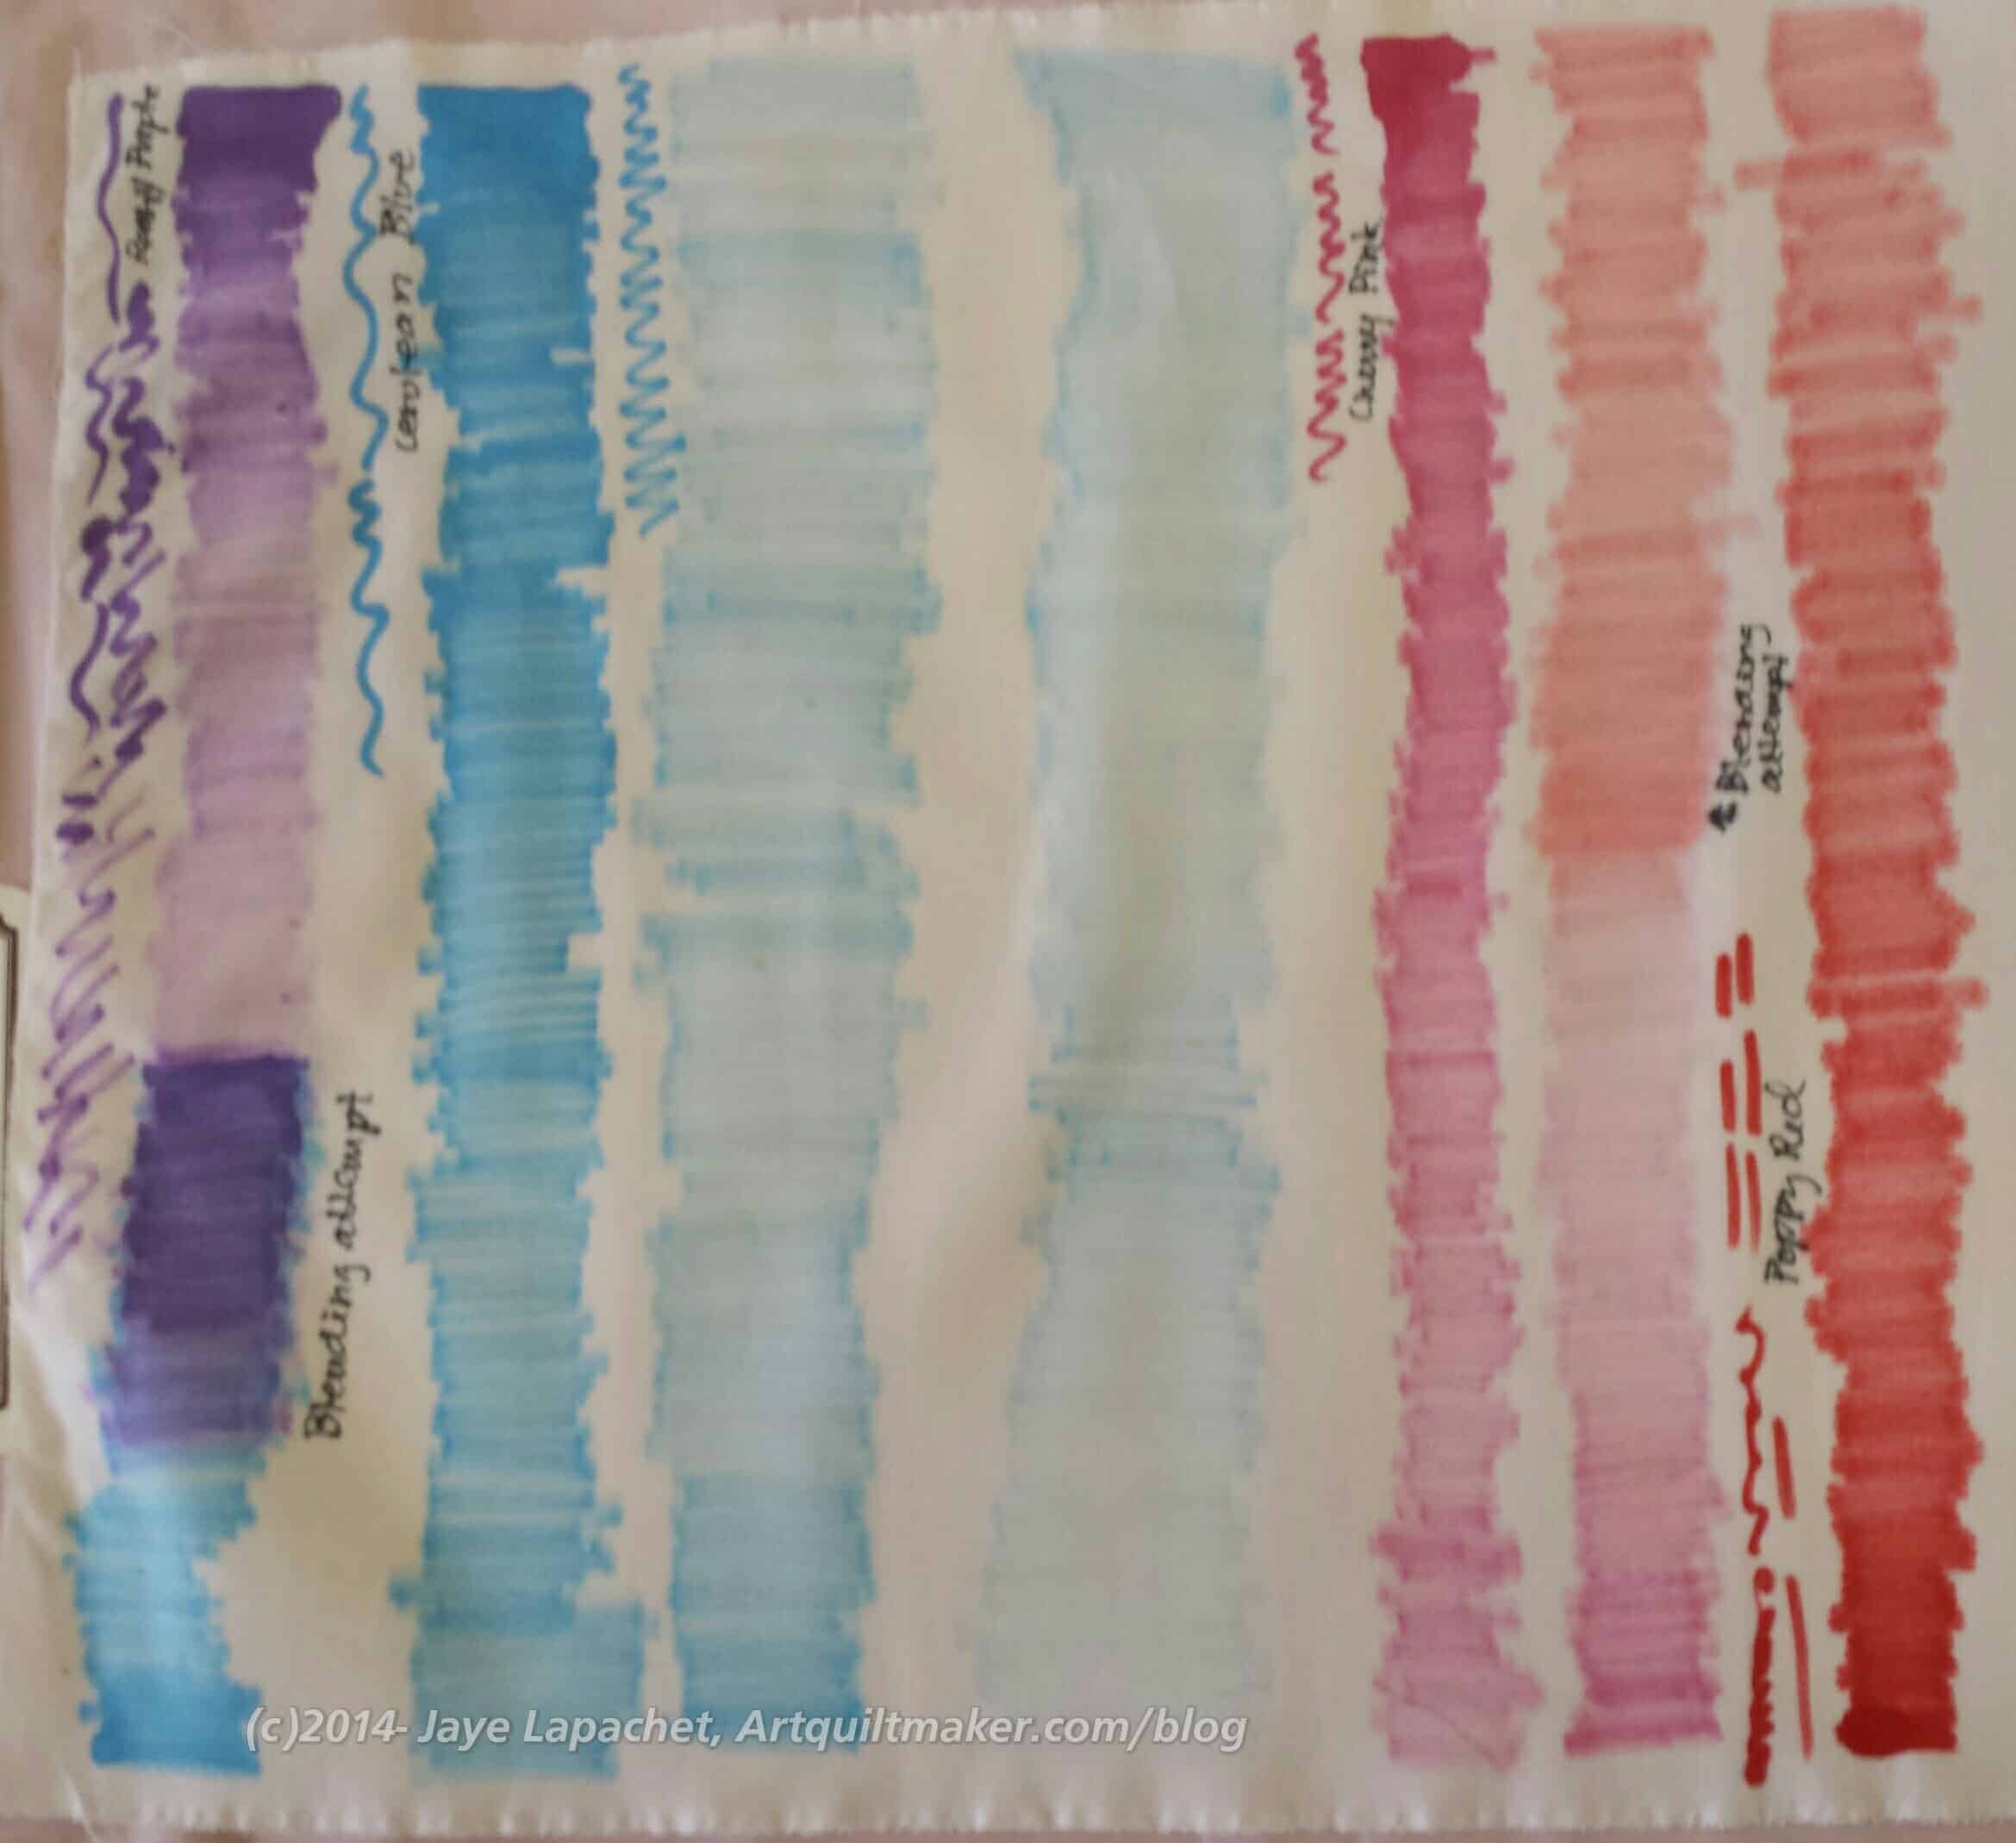
Blending
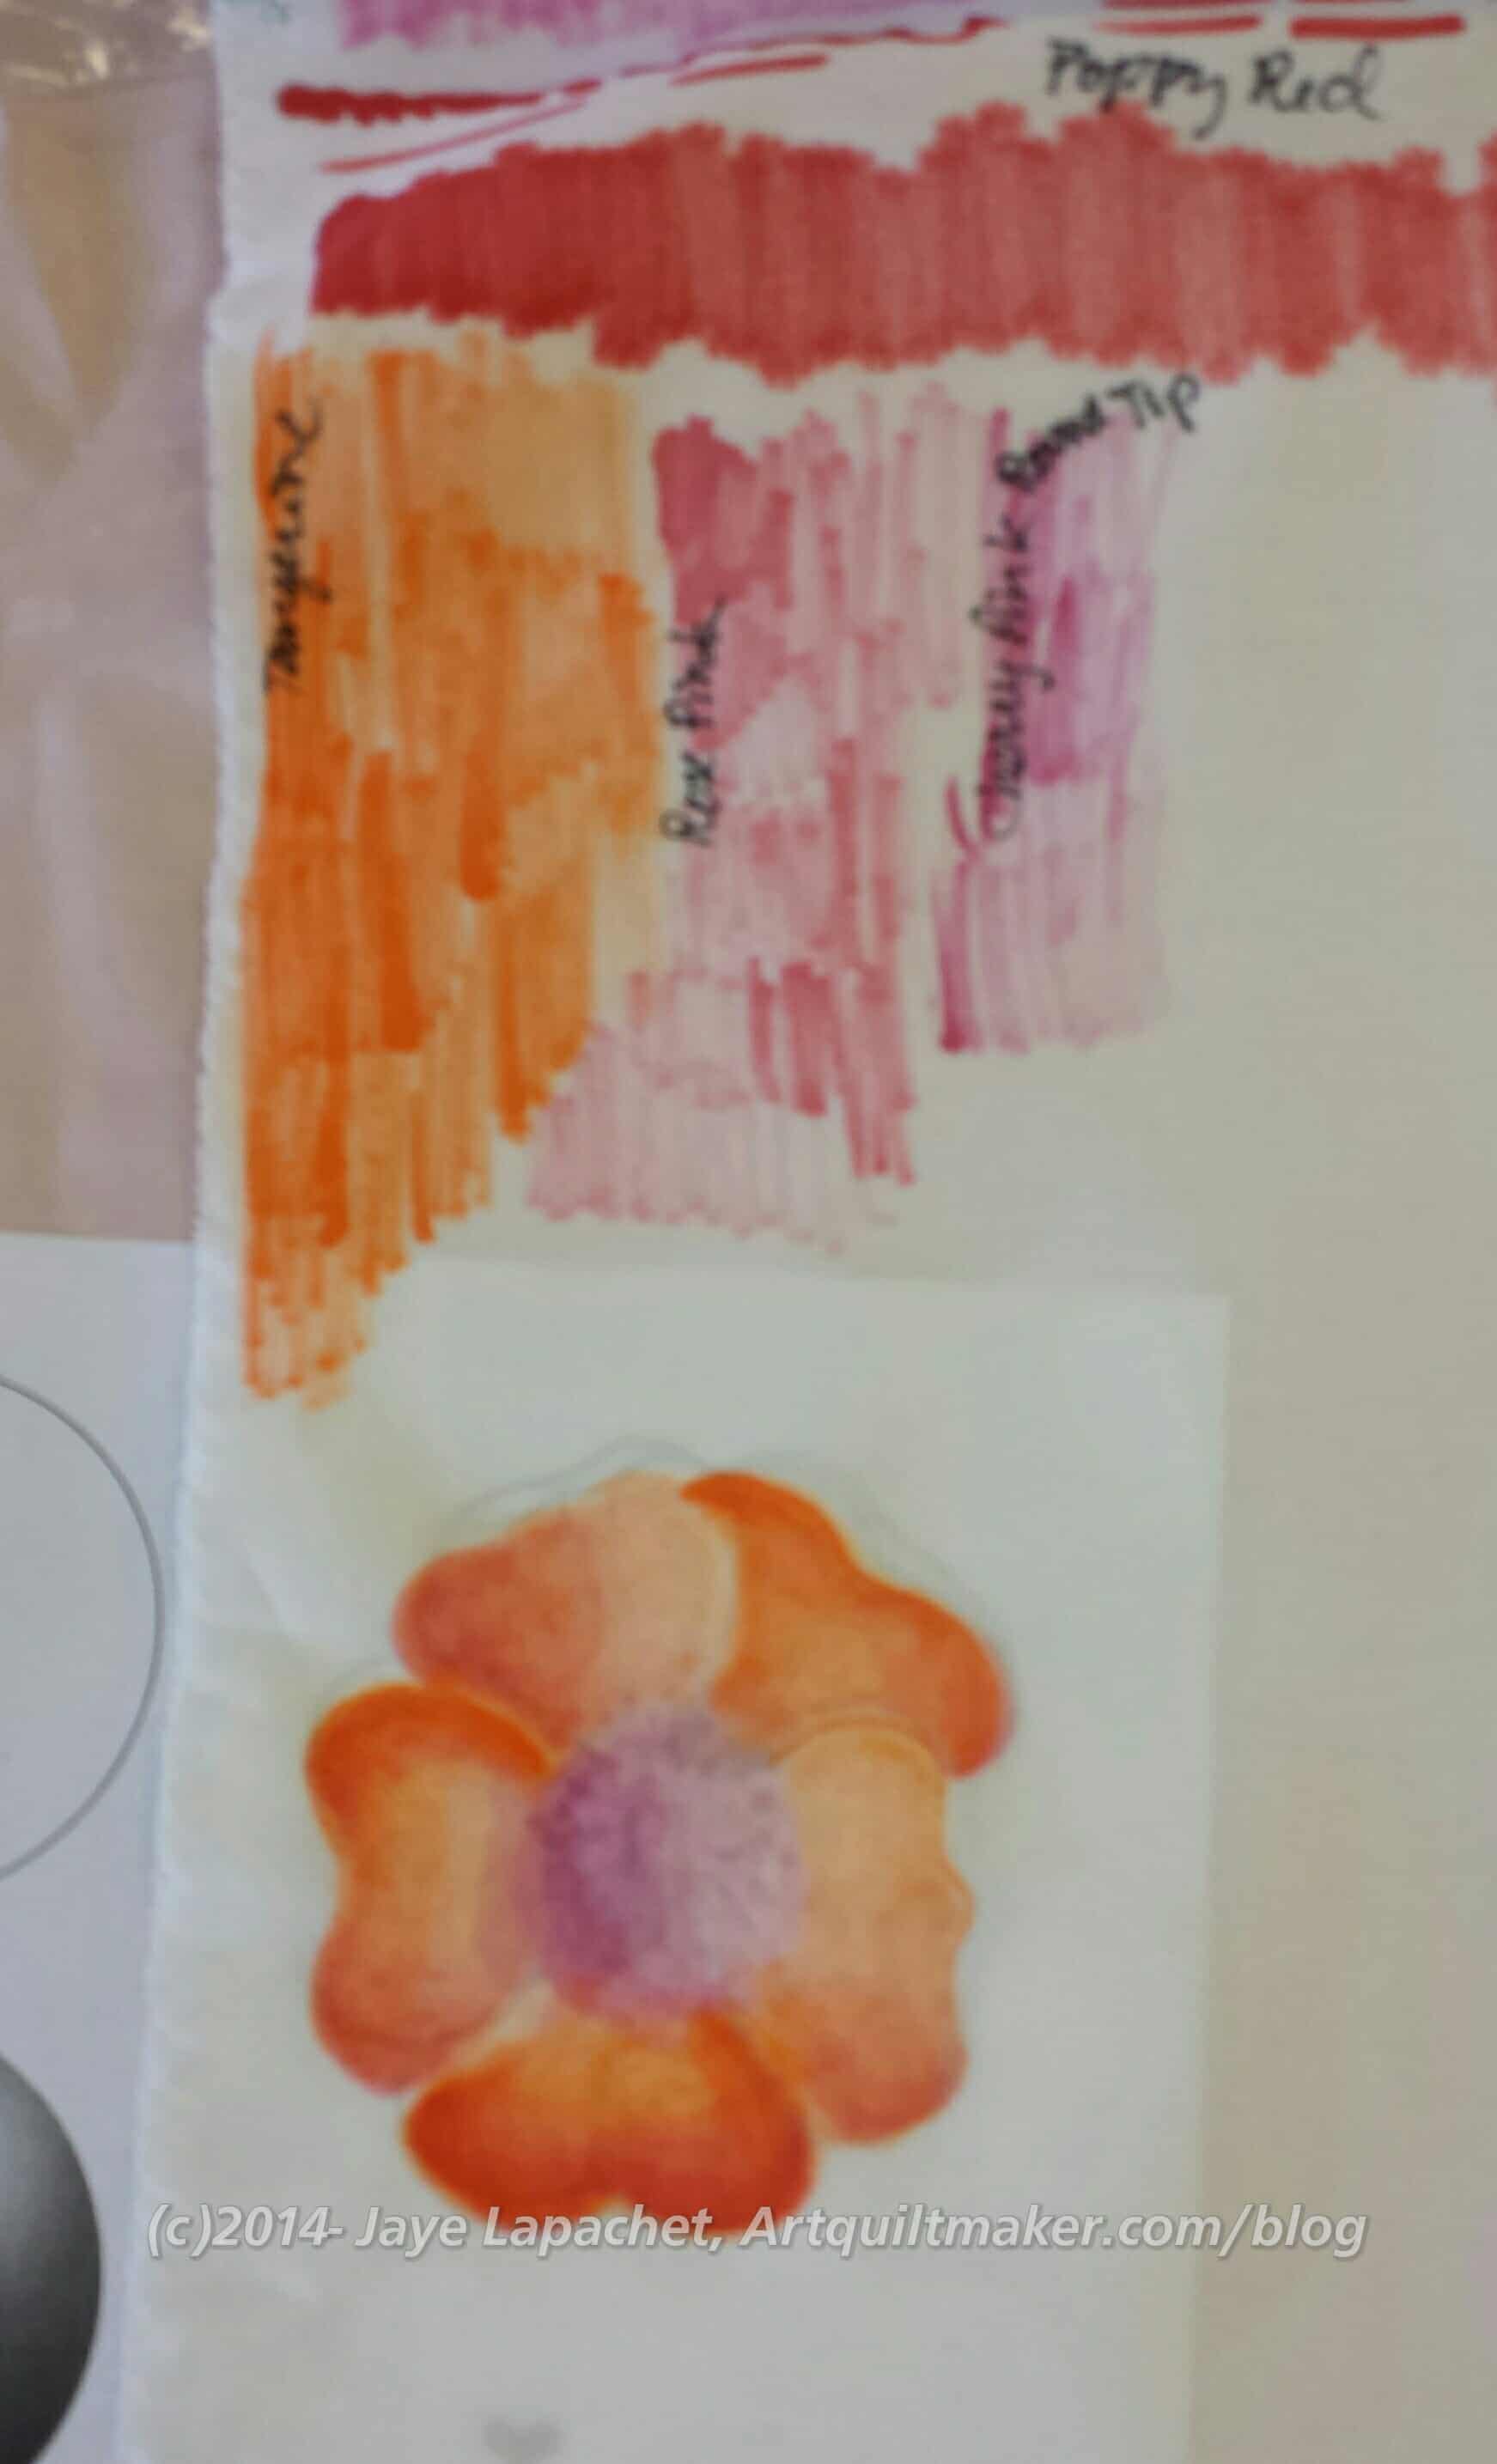
The first thing we did was work on getting used to the ink and blending. I wrote the colors down next to my practice pieces so I would know what I had done in the future.
It takes practice.
The technique requires a light touch. Having a light touch, I found is not my strength. I also found that, since I was determined to succeed, that I made an effort to calm down, slow down, be patient and realize that this technique was a commitment and not a sprint.
I really like the slow and careful way one has to apply the inks. It is soothing in a lot of ways.
Leaf and Flower
Once we started in on leaves and flowers, my rhythm was in full force and, though, my first leaf was a little heavy handed, but the practice helped and I got better. I needed to slow down and apply the ink more lightly. I tried to do that with the second leaf. It isn’t perfect, but it is much better.
The squiggly lines are me trying to get a smaller amount of ink of the applicator.
Tsukineko ink Flower, January 2015
I made a really nice flower. It isn’t as good as Judy’s, of course. For having only worked with Tsukineko inks for a few hours, I was pretty happy with my work. I can see shading and some shadows. I can also see how the blending changed the original tangerine I used for the first coat.
In the afternoon we switched to using paintbrushes. It is completely different and you make the inks more transparent and lighter in color using aloe vera gel (no additives).
I had to get used to a whole new technique, but I tried to take my patience with me into this new technique. The key with the paintbrushes is to have synthetic brushes (boar bristle for oils are too stiff and sable used for watercolors absorb too much liquid) and work in small spaces at a time.
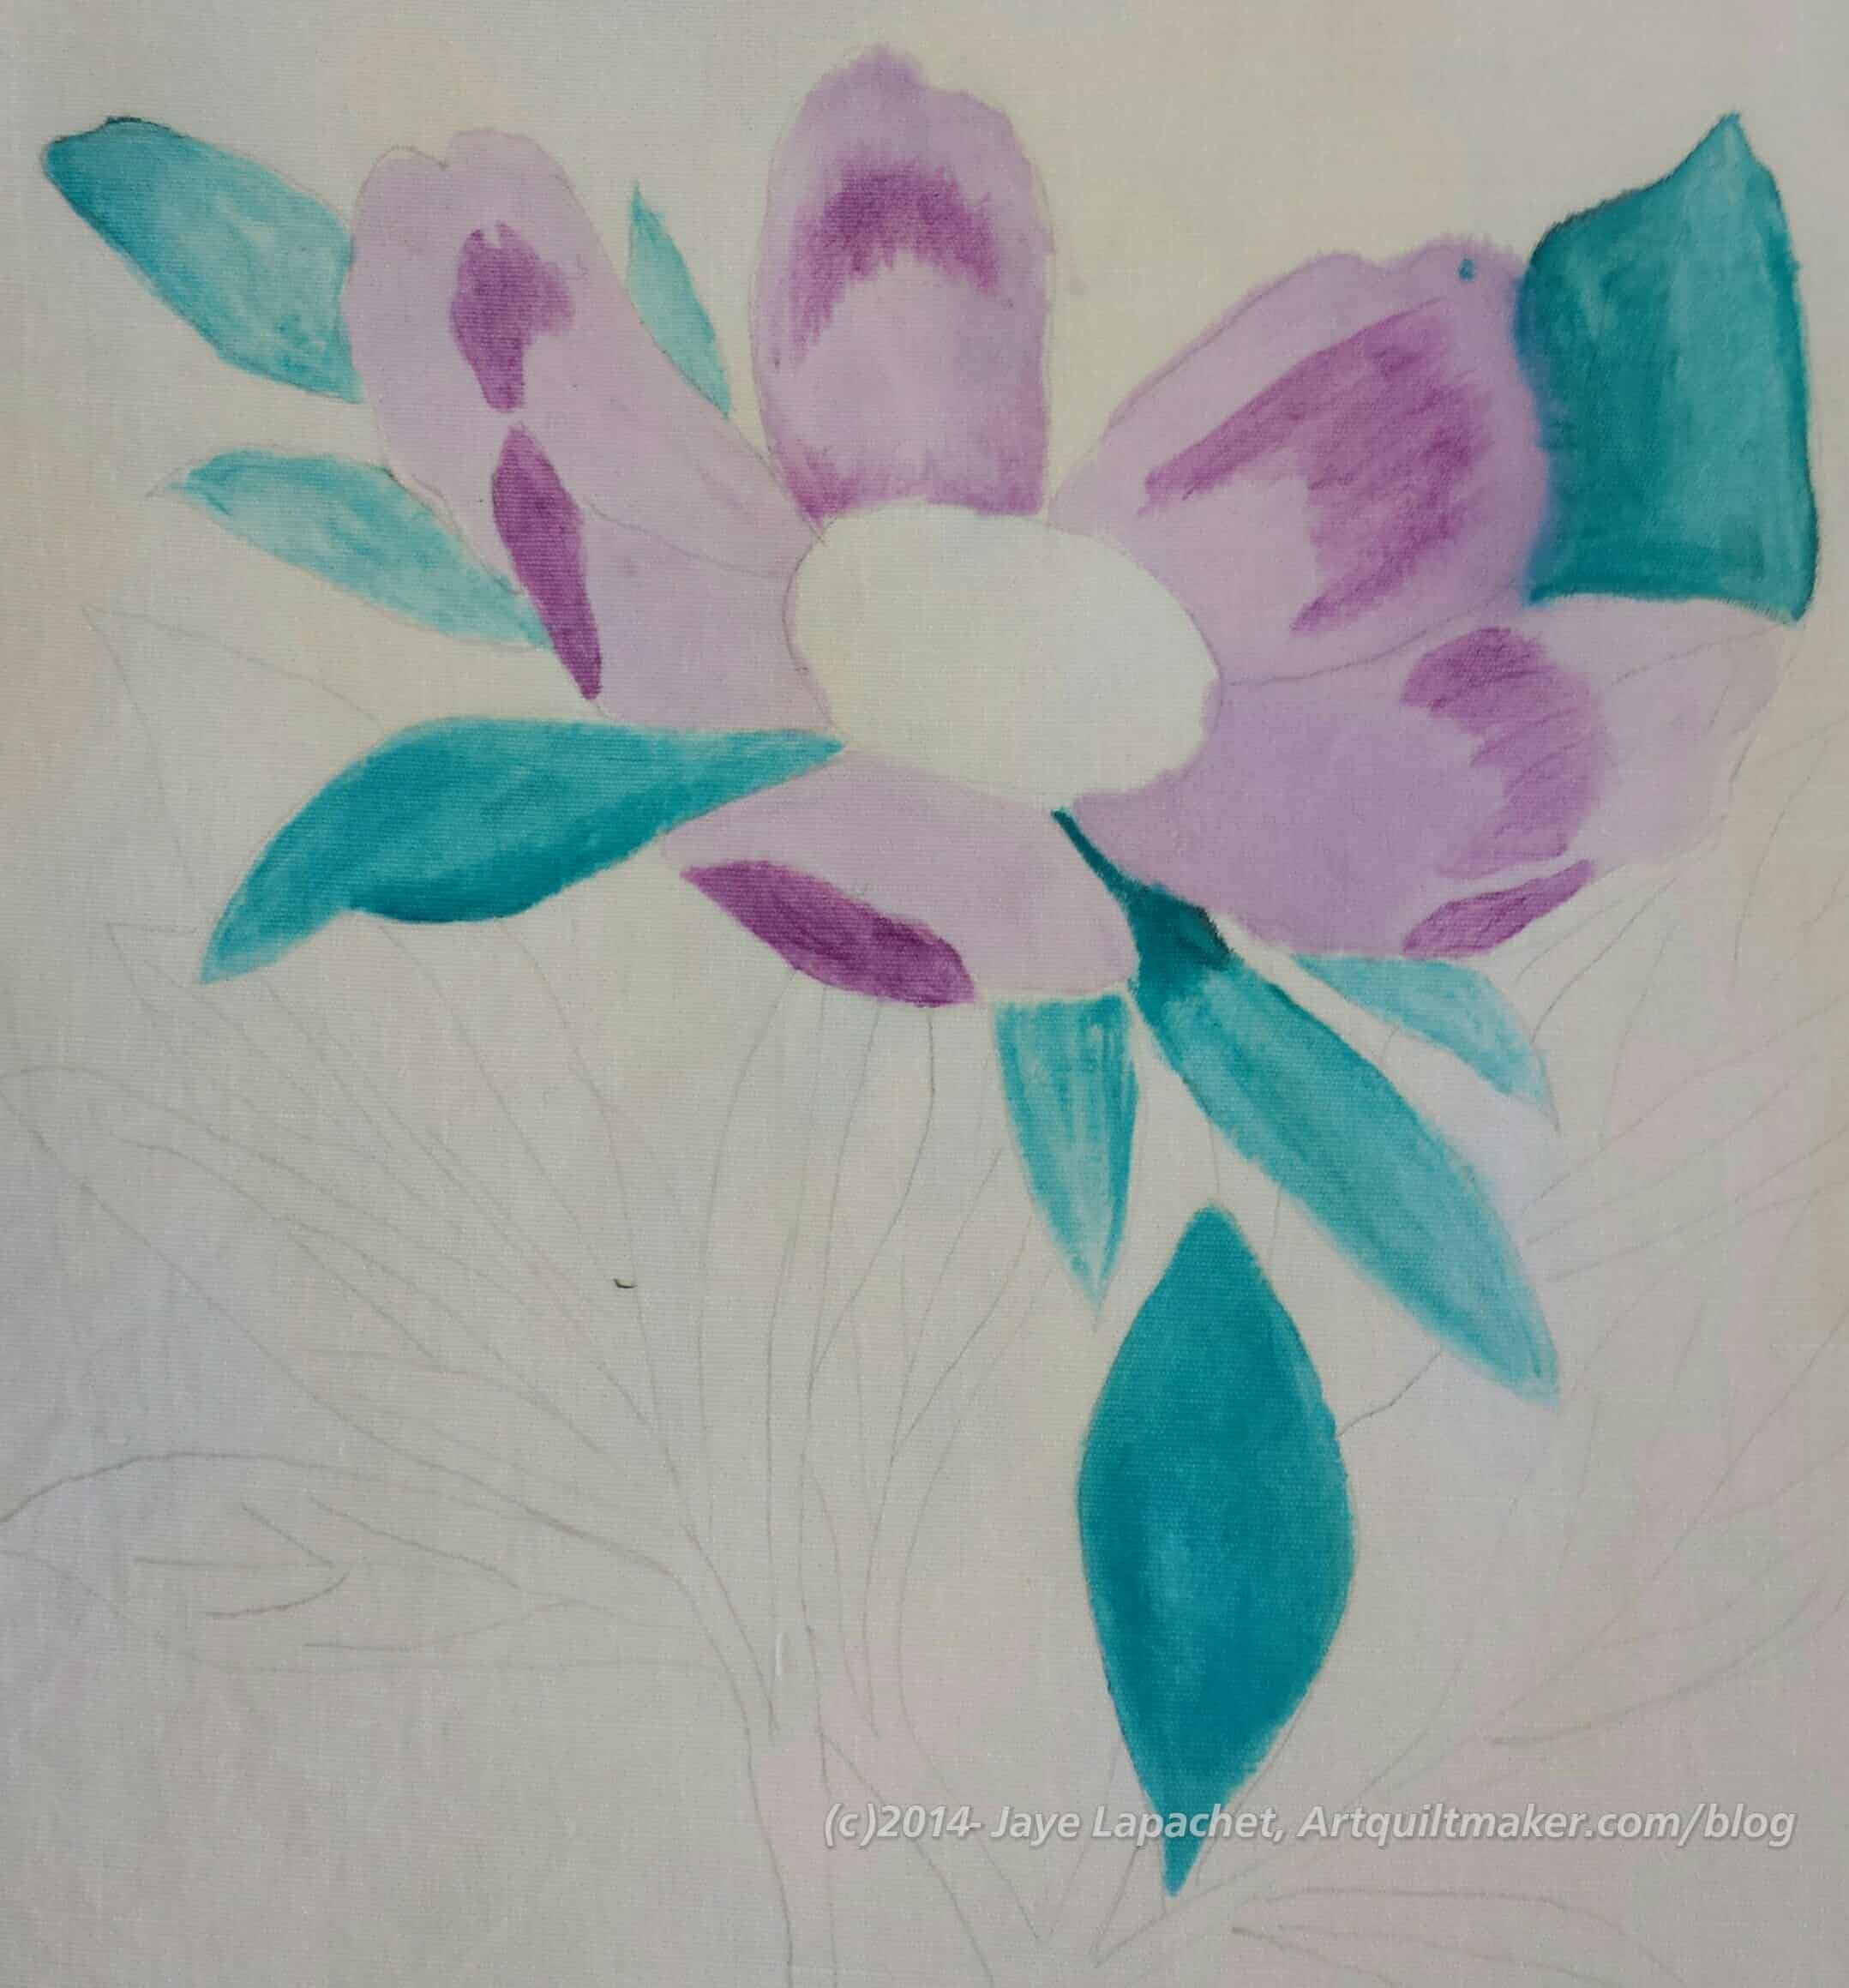
Tsukineko inks, Peony in progress
Judy had copies of botanical line drawings and I picked a peony. I didn’t want to get the snail! My neighbor did, however, and she did a really great job with it. Snails, though, YUCK!
While trying to make the ink looks smooth and even, I was also practicing managing the amount of ink I was using. I got better as I went along.
I could tell other people were getting frustrated with the technique and the inks as the noise level grew as people stood up and started to chat. I just sat and worked away at my little spaces on my Peony.
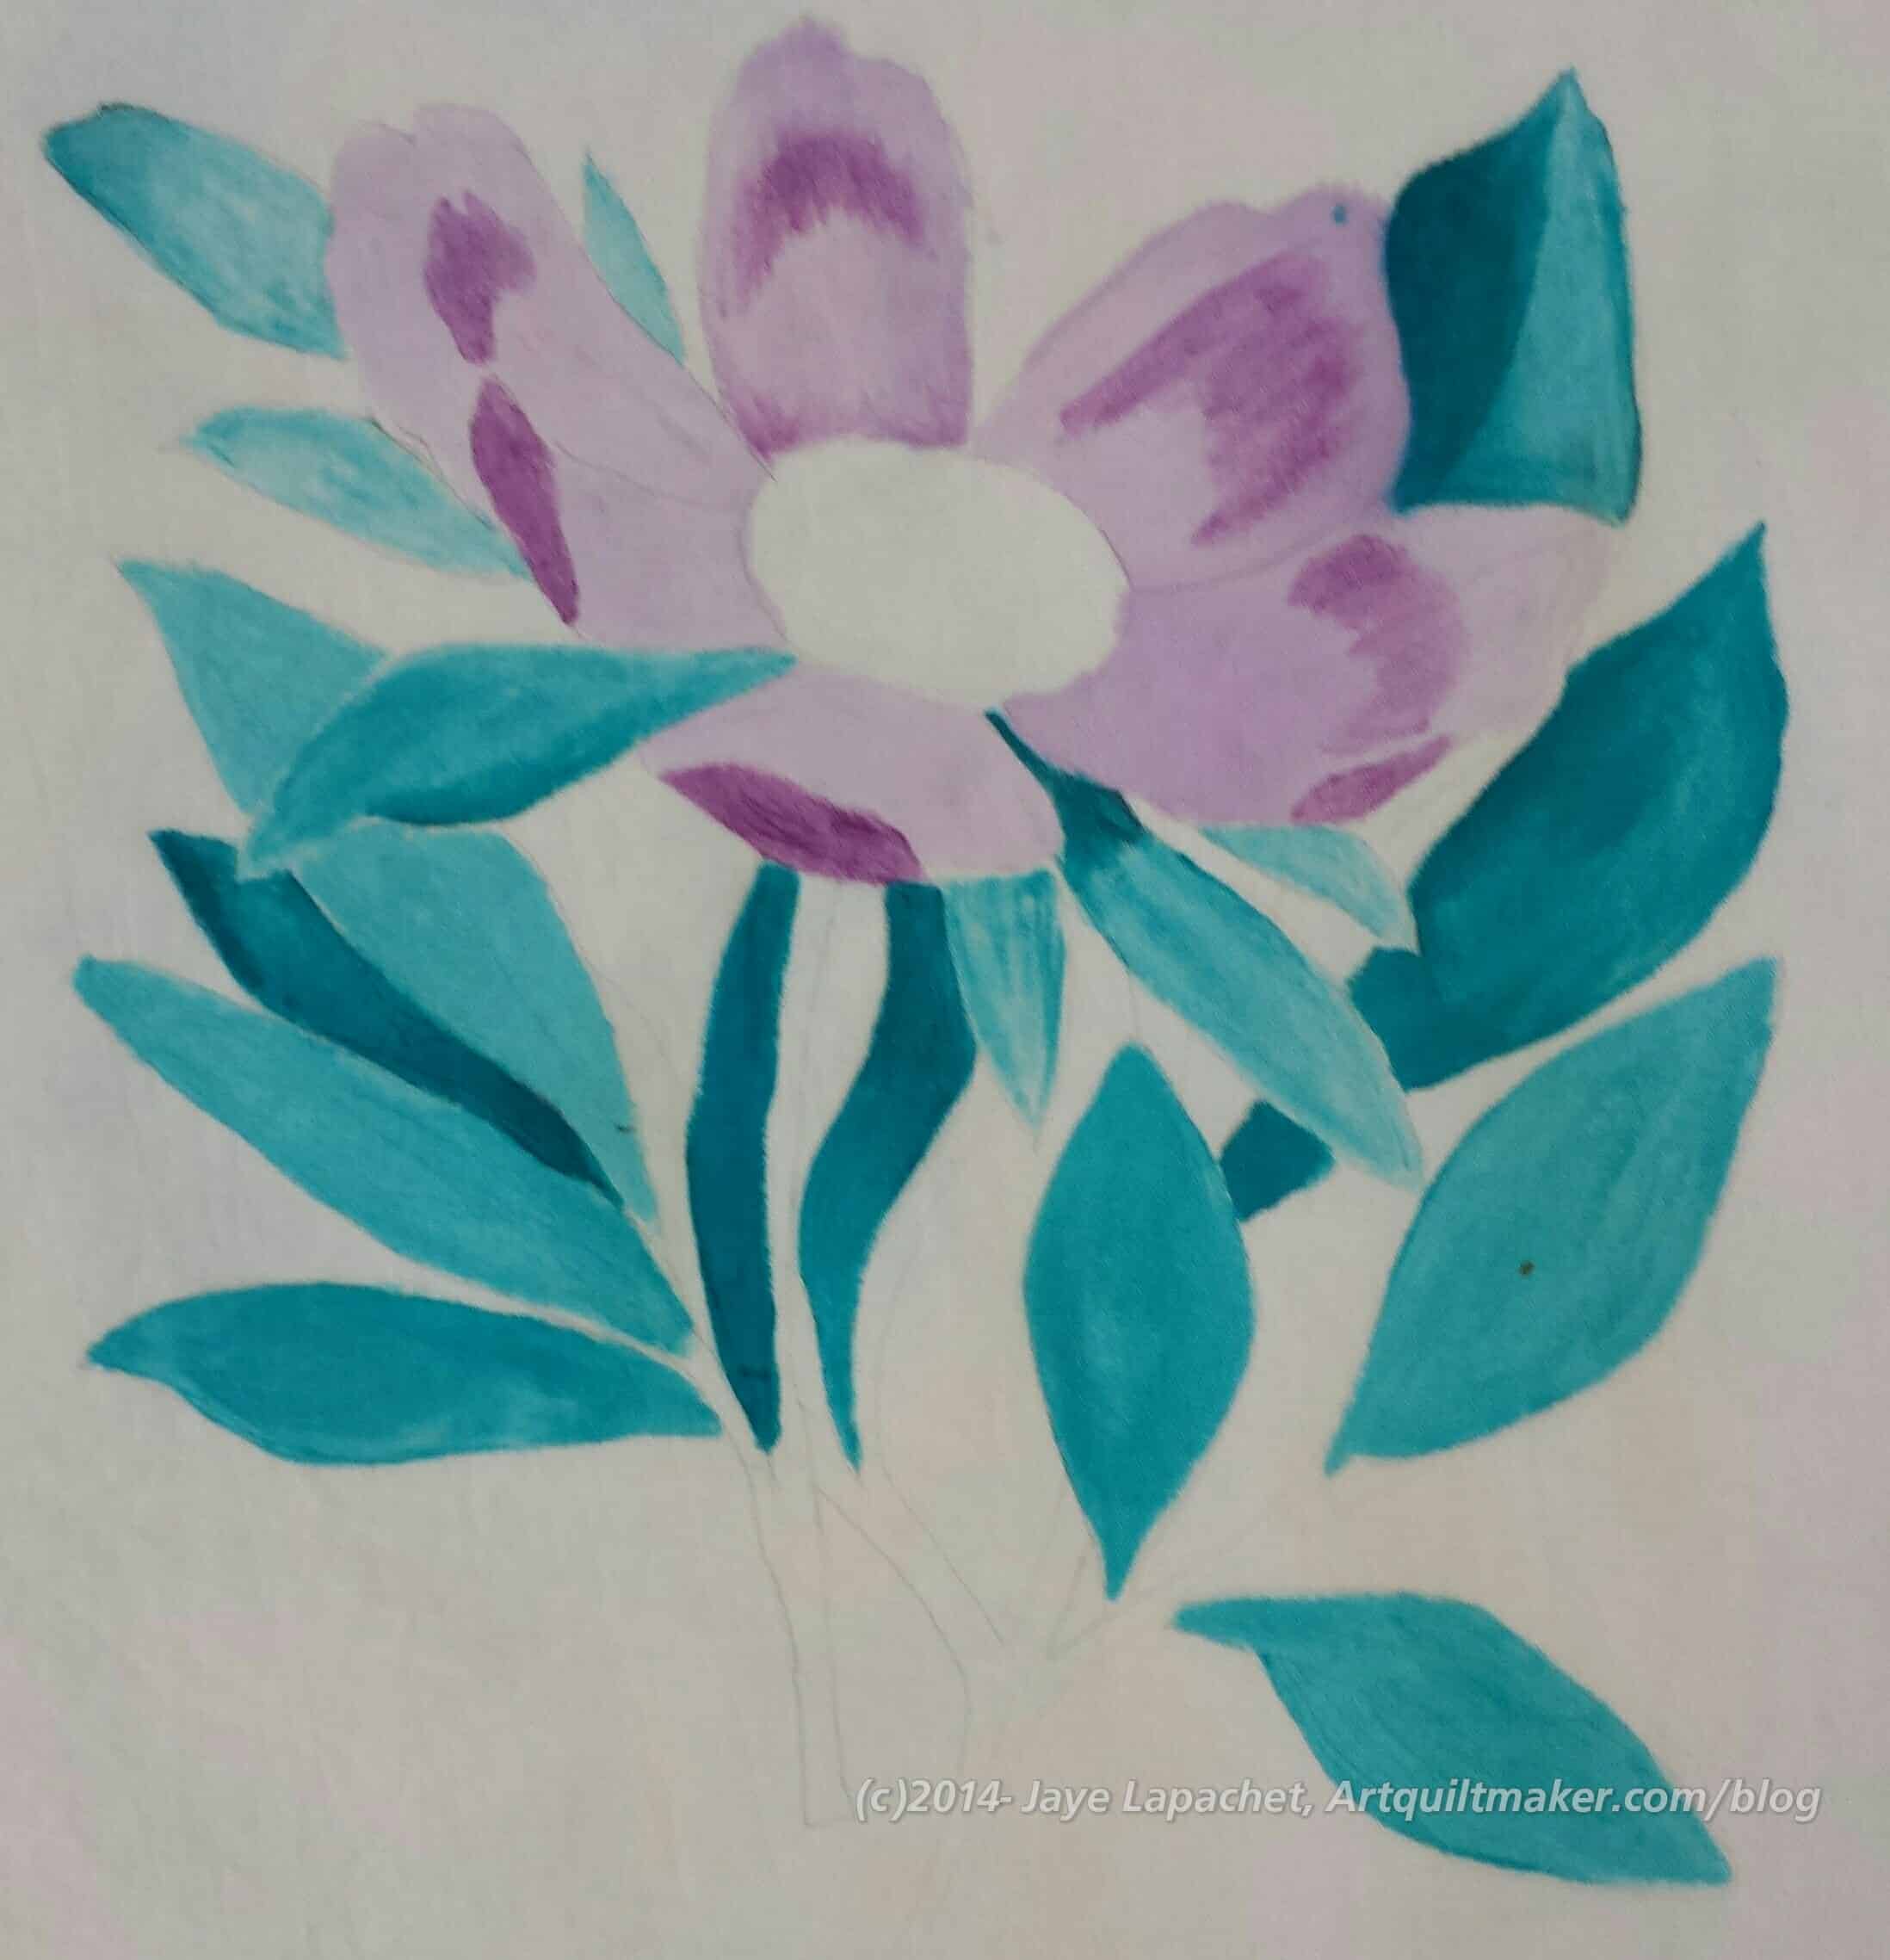
Tsukineko inks, Peony in progress 2
I used Orchid Odyssey for the petals, Thistle for the shadows on the petals and Tropical Lagoon for the leaves. I wanted to something a little different in terms of color and to try out some of my other inks.
Way too early they chivvied us along and got us to pay our bills and clean up our areas. I didn’t finish, but I am pleased with my progress.
The inks get heat set and are permanent when they dry. I learned in this particular exercise to heat set areas once I am happy with them.
I am trying to think of a way to use these inks in my work. I can’t think of anything at the moment, but will keep thinking as I want to use them.
I bought some Tsukineko inks some time ago and never had the chance to use them. As time passed, I lost my inspiration and the inks languished.
Mark Lipinski did me a real favor when I was at his house and I don’t even think he knows. He asked me about my art quiltmaking in the process of the podcast. He was trying to get to know me and, instead, he changed my focus. I had gotten away from surface design and was focusing on piecing. I don’t know why, but it was my reality. By asking me Mark made me think about art quiltmaking again.
As a result of that innocent question, I have started to go back to some older art quilt projects. I finished the beading on Kissy Fish, but before I finished, I was looking for some green beads. In searching for them, I found the inks. Soon after I was talking with Nancy and another friend and suggested that we work with these inks together. I am much better at new supplies when I have another person to work with. So we got together and tried the inks.
It was really fun. I didn’t make great art, but it was really fun.
I am at loose ends right at the moment…bored actually. This is a new feeling for me as I usually have a zillion things to do and am running around doing them. It is not that I don’t have a zillion things to do, it is that I don’t feel like doing them. Part of the problem is 1) the child woke me up at the crack of dawn for some stupid, trivial (to me, not to him, of course) request and I have been out of sorts all day; 2) I have been working 5+ days a week lately with no time just to veg and that is what I am doing now; and, finally [most significantly?], 3) the Pineapple Problem is growing [probably] out of proportion. I want to sew, but seeing the Pineapples laying on my cutting table paralyzes me. I am thinking of abandoning the whole project, but I had such high hopes. I have so many dots. It seems like a big failure. If I could see the lesson in the failure, then I might do it and start over, but I can’t see the lesson and suspect that there isn’t one.
To combat this unfamiliar and unwelcome feeling, first I checked eBay for my SIL’s discontinued crystal pattern, then I tried to buy fabric on eQuilter. Got an error message and didn’t succeed. I am a master at finding web and software bugs and I don’t even try. This was not the moment to have this particular ‘skill’ rear it’s ugly head. Finally, I went to Melody Johnson’s blog, because I noticed the last time I was there the amazingly large blogroll she has. One of the blogs I found there was Frieda Anderson’s blog. She took a class in Tsukineko inks the other day. (I bet you were wondering when I would get to the point!)
I have been thinking about the T.I. inks sitting abandoned in one of my drawers lately. Thus, I was pleased to see this article about using them. It gives me a more realistic view of how they might work. Clipmarks has a publishing limit, so go to Frieda’s blog and read all about it. Perhaps I can convince Friend Julie to hold my hand while I try this medium sometime.
Yesterday Judy Coats Perez led a class for the Textile Diva’s at the College of DuPage on Tsukinelo Inks.We had a blast. I had never used these inks and was very interesting in giving them a try. What I discovered is that you need to practice. Big surprise.
Judy demonstrated the various techniques of applying the inks to dry white or light colored hand dyed cottons. Dipping the Fantast/x coloring tool bullet point (nub), either sharp or rounded, into the ink you then rub the nub onto the fabric creating shading and shape. To thin the inks you can use Aloe instead of water. After playing around I found I liked using the Aloe method better as it gave a smoother appearance.
If you haven’t seen JZS’ self portrait, go and look at it immediately. I have been thinking about a similar sort of thing to put on my blog picture spot, but haven’t done it. Perhaps the time is now? JZS always inspires me with her work and especially her OUTPUT. She just keeps working while I moodily stare at things for a year and a day. Another quality to strive for! Onward!