I went to class on Monday with Robin and finished my Tuffet. As I said the other day, I worked on making the cover at home by myself. I couldn’t do the other parts so off to the finishing class I went.
I had forgotten to do the drawstring, so I took my machine and did that part in class. It was fine and I helped another student who was on that step in class as well.
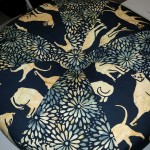
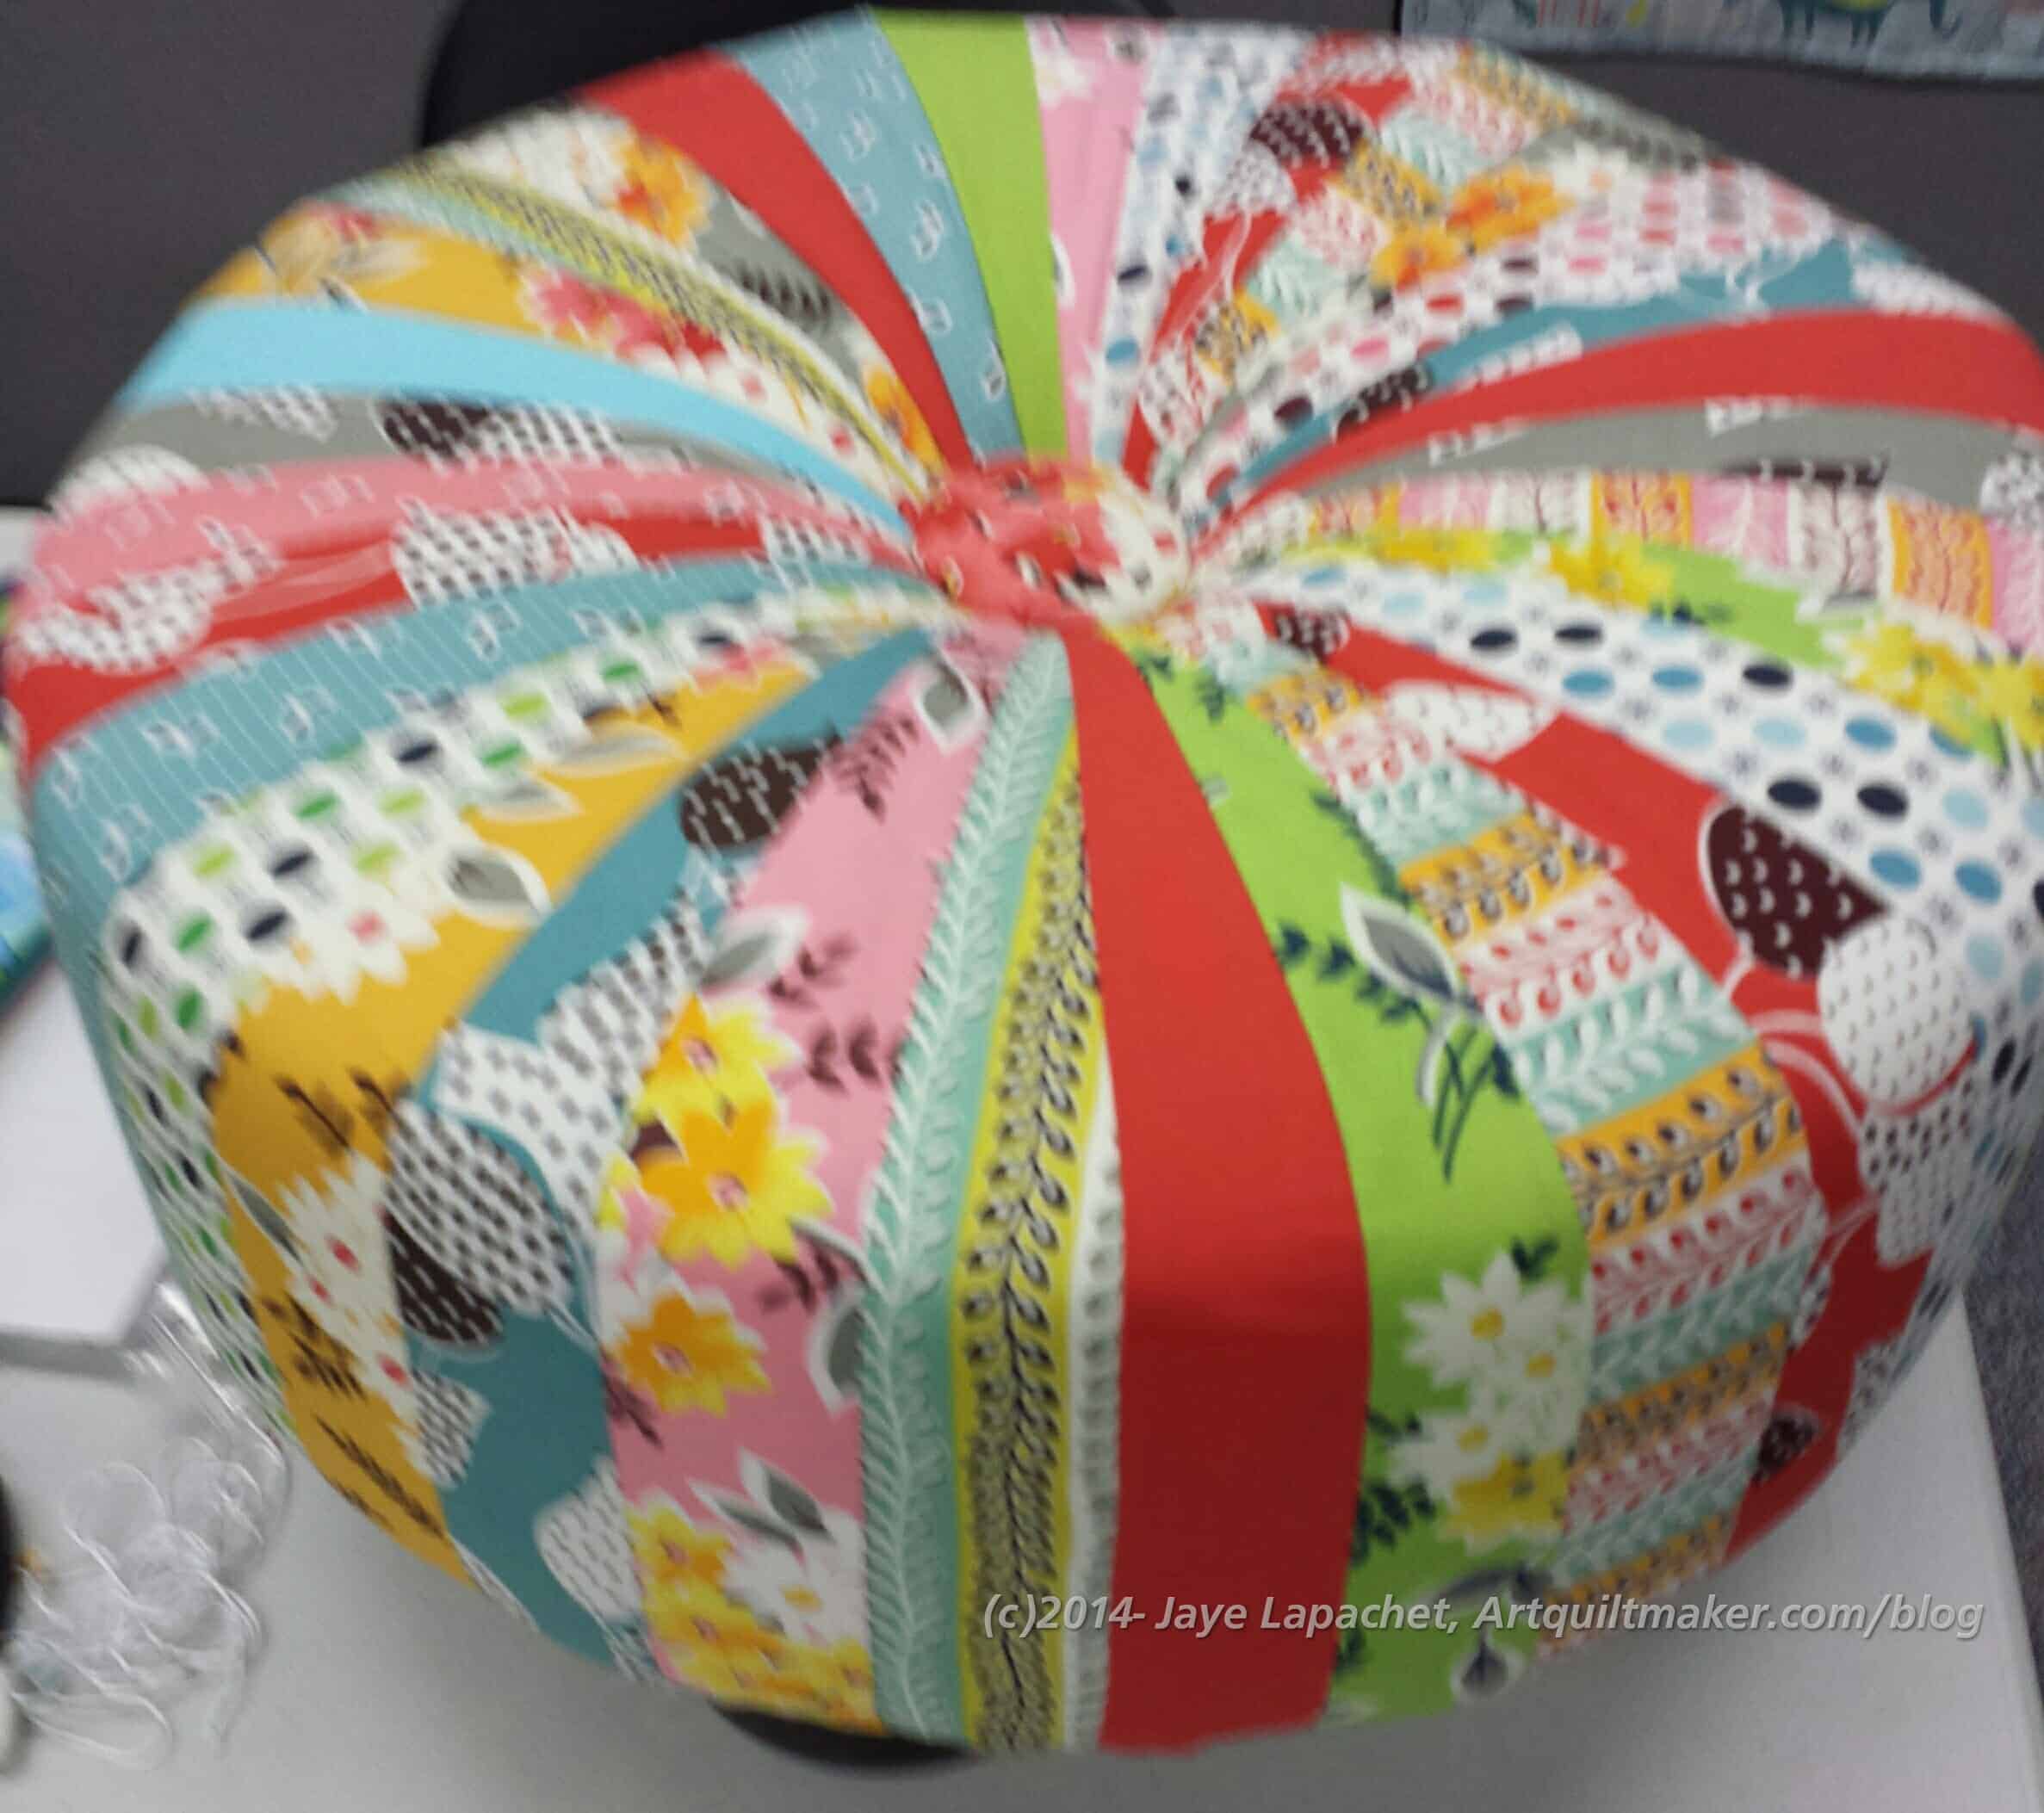
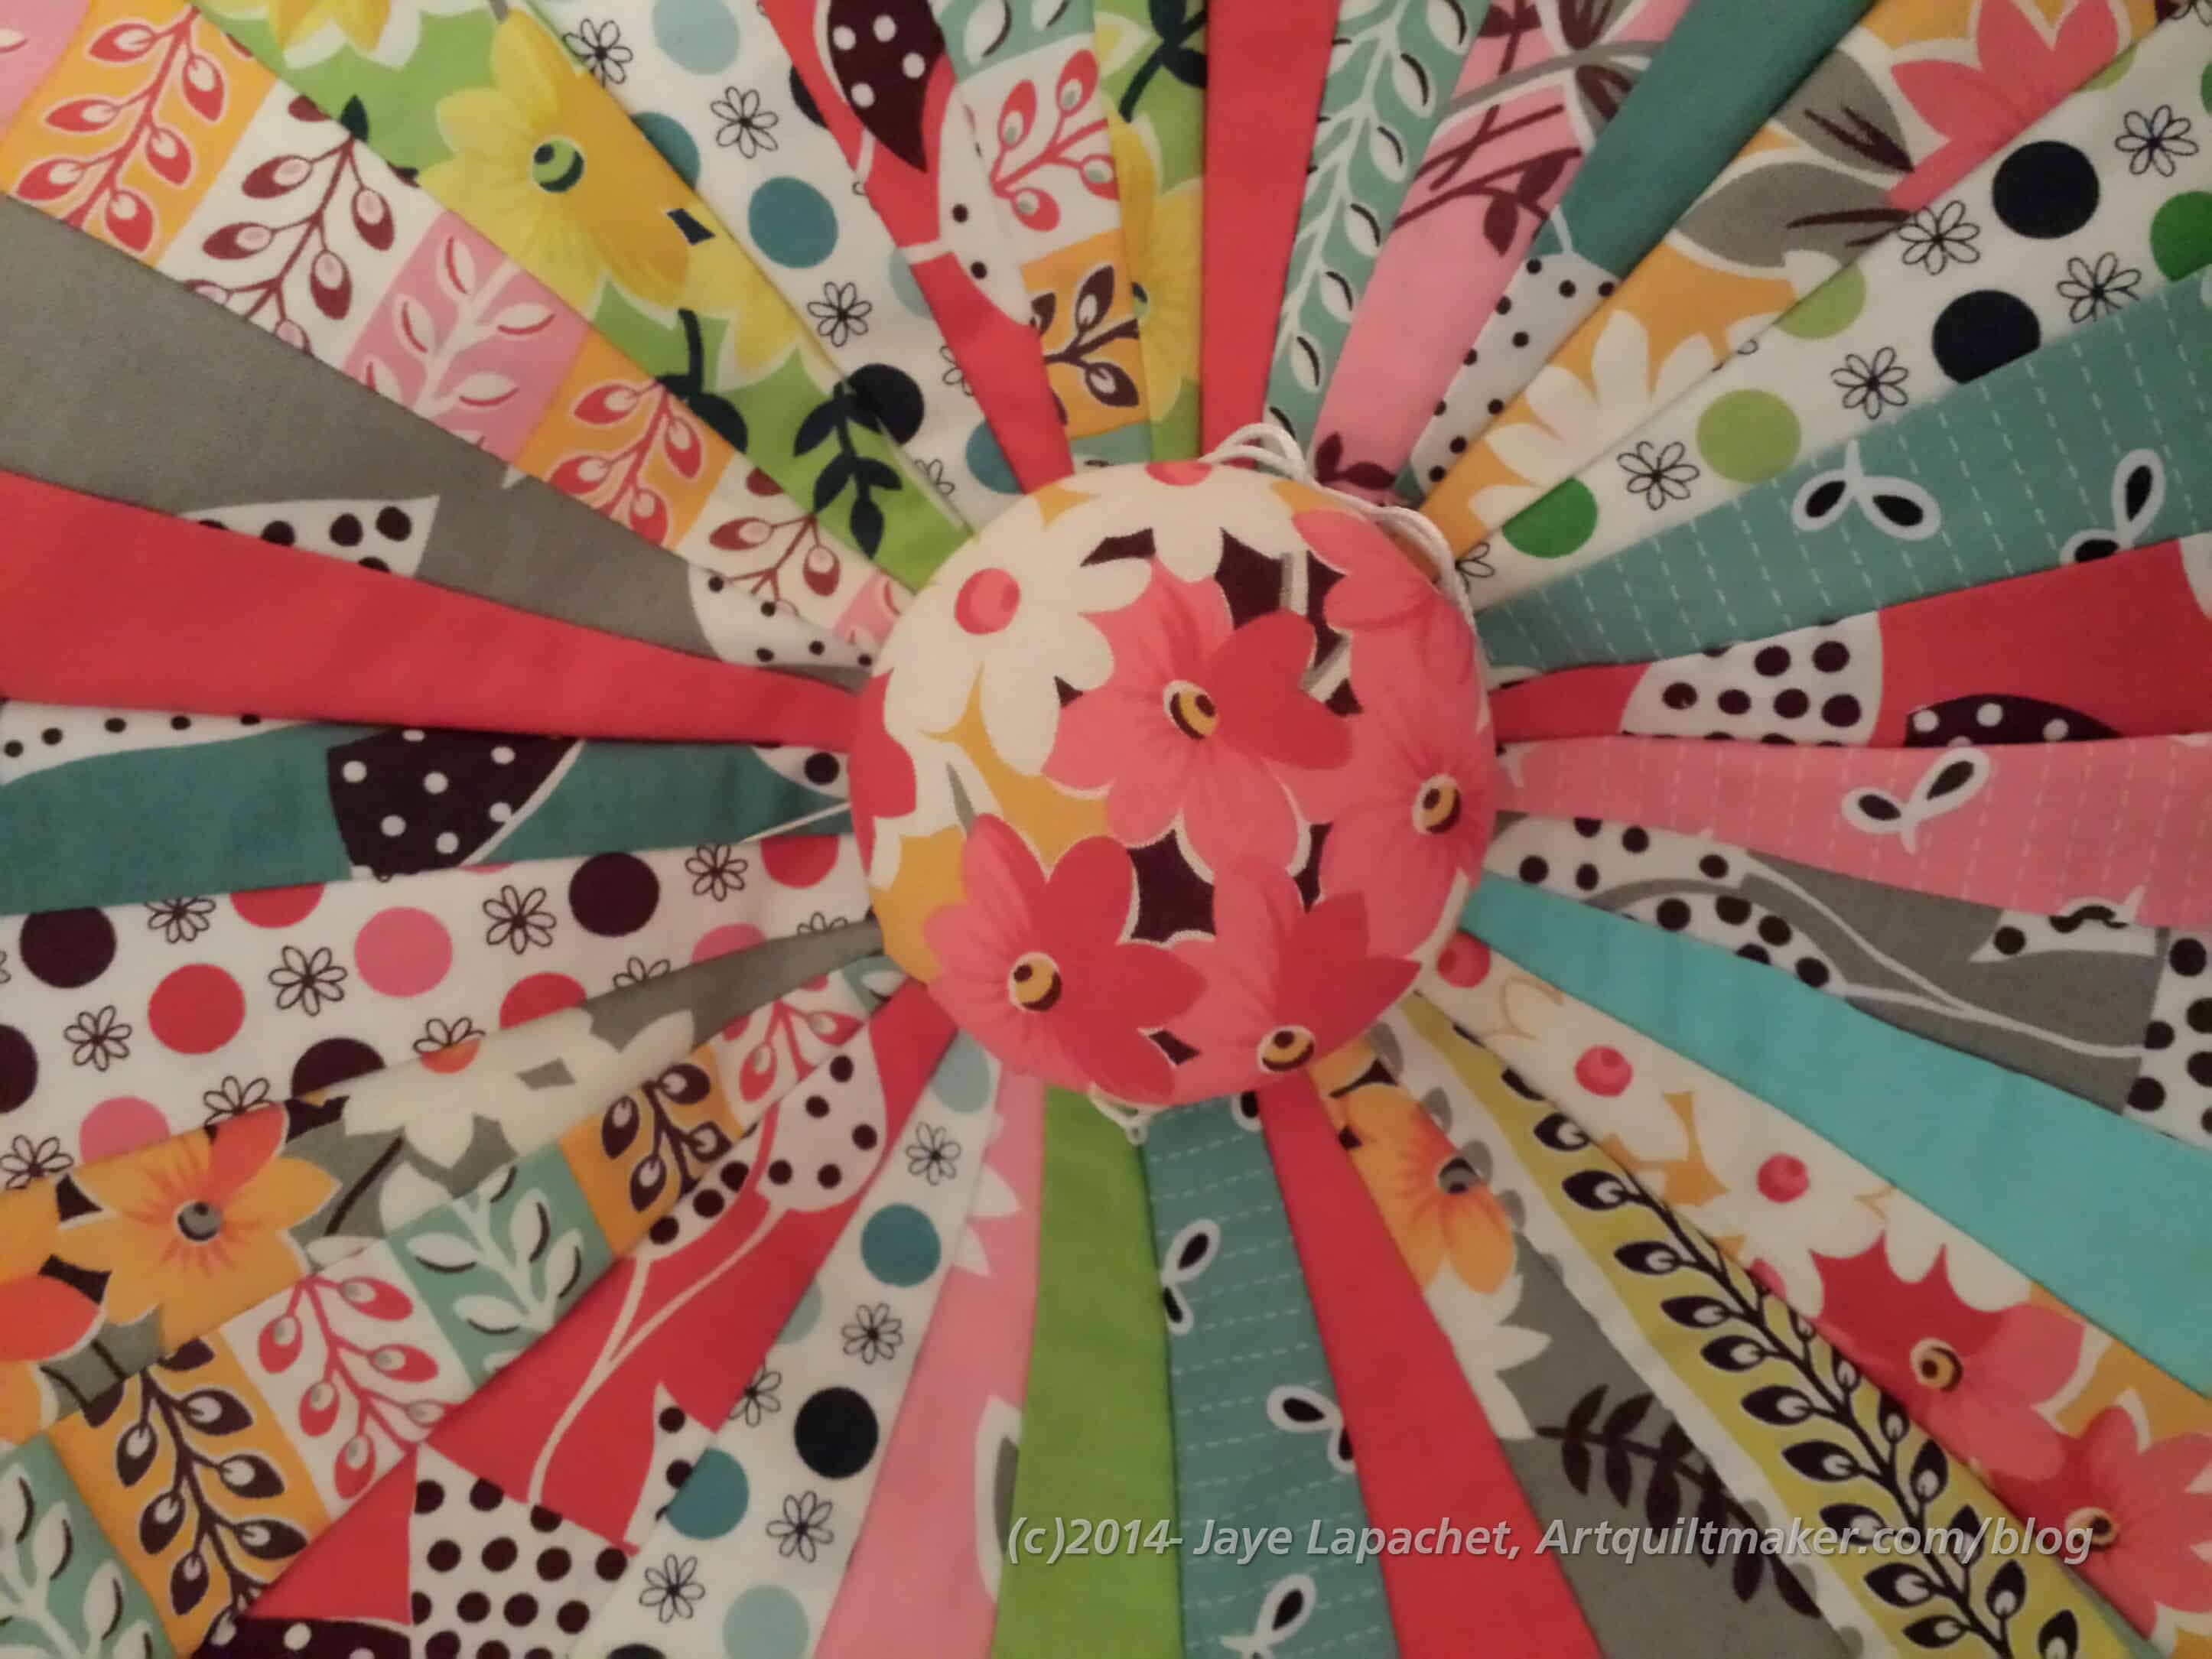
Tuffet #2 bottom
Robin had carpet tacks, or, probably, furniture tacks, this time and many of the people in the class used them to put down the bottom cover of the Tuffet. I did mine the same way I did the last one, which was to hand sew down the grey over the drawn up cover.
We also had a problem with my feet. I wanted the same feet as Tuffet #1. I put 3 feet on and found that the fourth was not the same style. Someone out there has a Tuffet with my last foot. I switched out the feet for a different kind. The new feet are the same color as those on Tuffet #1. No big deal.
The class was pretty full with 4 other people there, two of whom were making 2 Tuffets each! Two of the women making 2 Tuffets and one other woman were all making Tuffets for their children. I am not making one for the YM until he gets his own apartment and then we will see. He will have to ask VERY nicely.
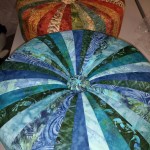
Kathy’s Tuffets
Grey Tuffet
Kaffe Tuffet
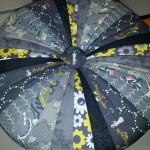
Katrina’s Tuffet
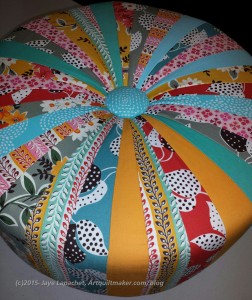
As usual, as soon as I saw the other Tuffets, I wanted those instead of my own. Everyone else said how bright and cheerful mine was.
I love the Kaffe Tuffet. LOVE it! Click on the photo and make it bigger so you can see how fantastic it is. I love the colors – they are bright and cheerful. I also love the juxtaposition of the fabric pattern motifs.
One thing that was different in this class is one student used one fabric per foundation (Katrina’s Tuffet, bottom right), which is a great way to showcase the fabric and makes the Tuffet-making go a lot faster.
Robin is still awesome and if you have a chance to take her class, you MUST! I had a great time chatting with her. I want to help her spread the Tuffet love throughout the world.
I am heading to another Tuffet class today. I have spent the past few days putting another Tuffet cover together.
I know I have too many projects on my plate right at the moment. Miss Lottie told me that she spent 25 minutes each working on a variety of projects on which she needed to make progress. I decided to do something similar and worked on a bag at the same time I was working on the Tuffet. I alternated the projects. It didn’t work perfectly, but I made progress on both, which is all that I cared about.
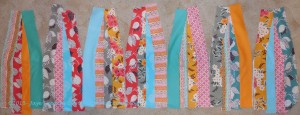
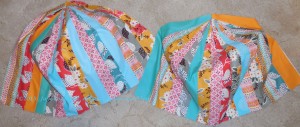
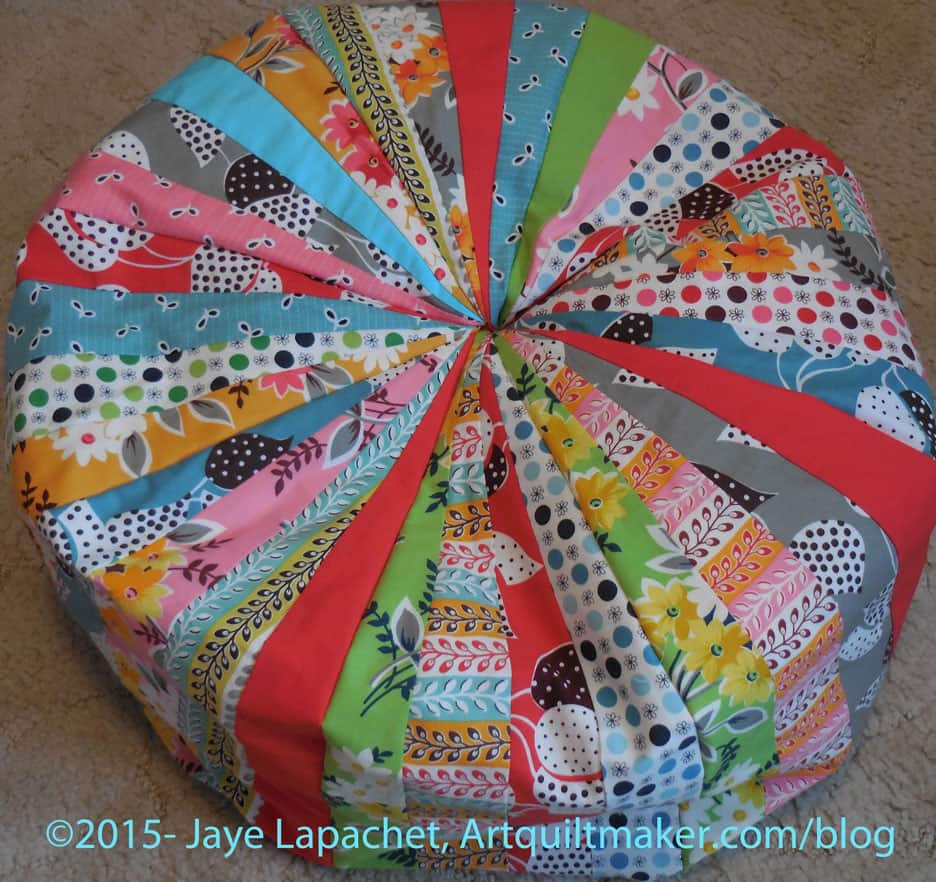
When I decided to make another Tuffet, I decided I would make the cover, etc on my own and only take the second part of the Tuffet class. Being ready for the class meant making the whole Tuffet cover myself, which meant I had to do it. I made the foundations and cut all of the strips, but then I just let the piece languish until almost the last minute and I really couldn’t leave it anymore. Once I really got down to it, I was able to make good progress.
Tuffet halves
I wanted the Tuffet I made before and this new Tuffet to look similar since they will be in the same room. I used some of the same fabrics, but exchanged others. I am not sure that I like the combination 100% and think that I will use no more than two of the same fabric strips if I do make another one. I am going to finish it, because I am sure it will be fine and now that the whole cover is together I think it looks ok.
I think, because of the difficulty of the fabric choices, there are more Tuffets in my future. However, how many Tuffets does one family need? I may have to buy more armchairs so I have an excuse to make more Tuffets.
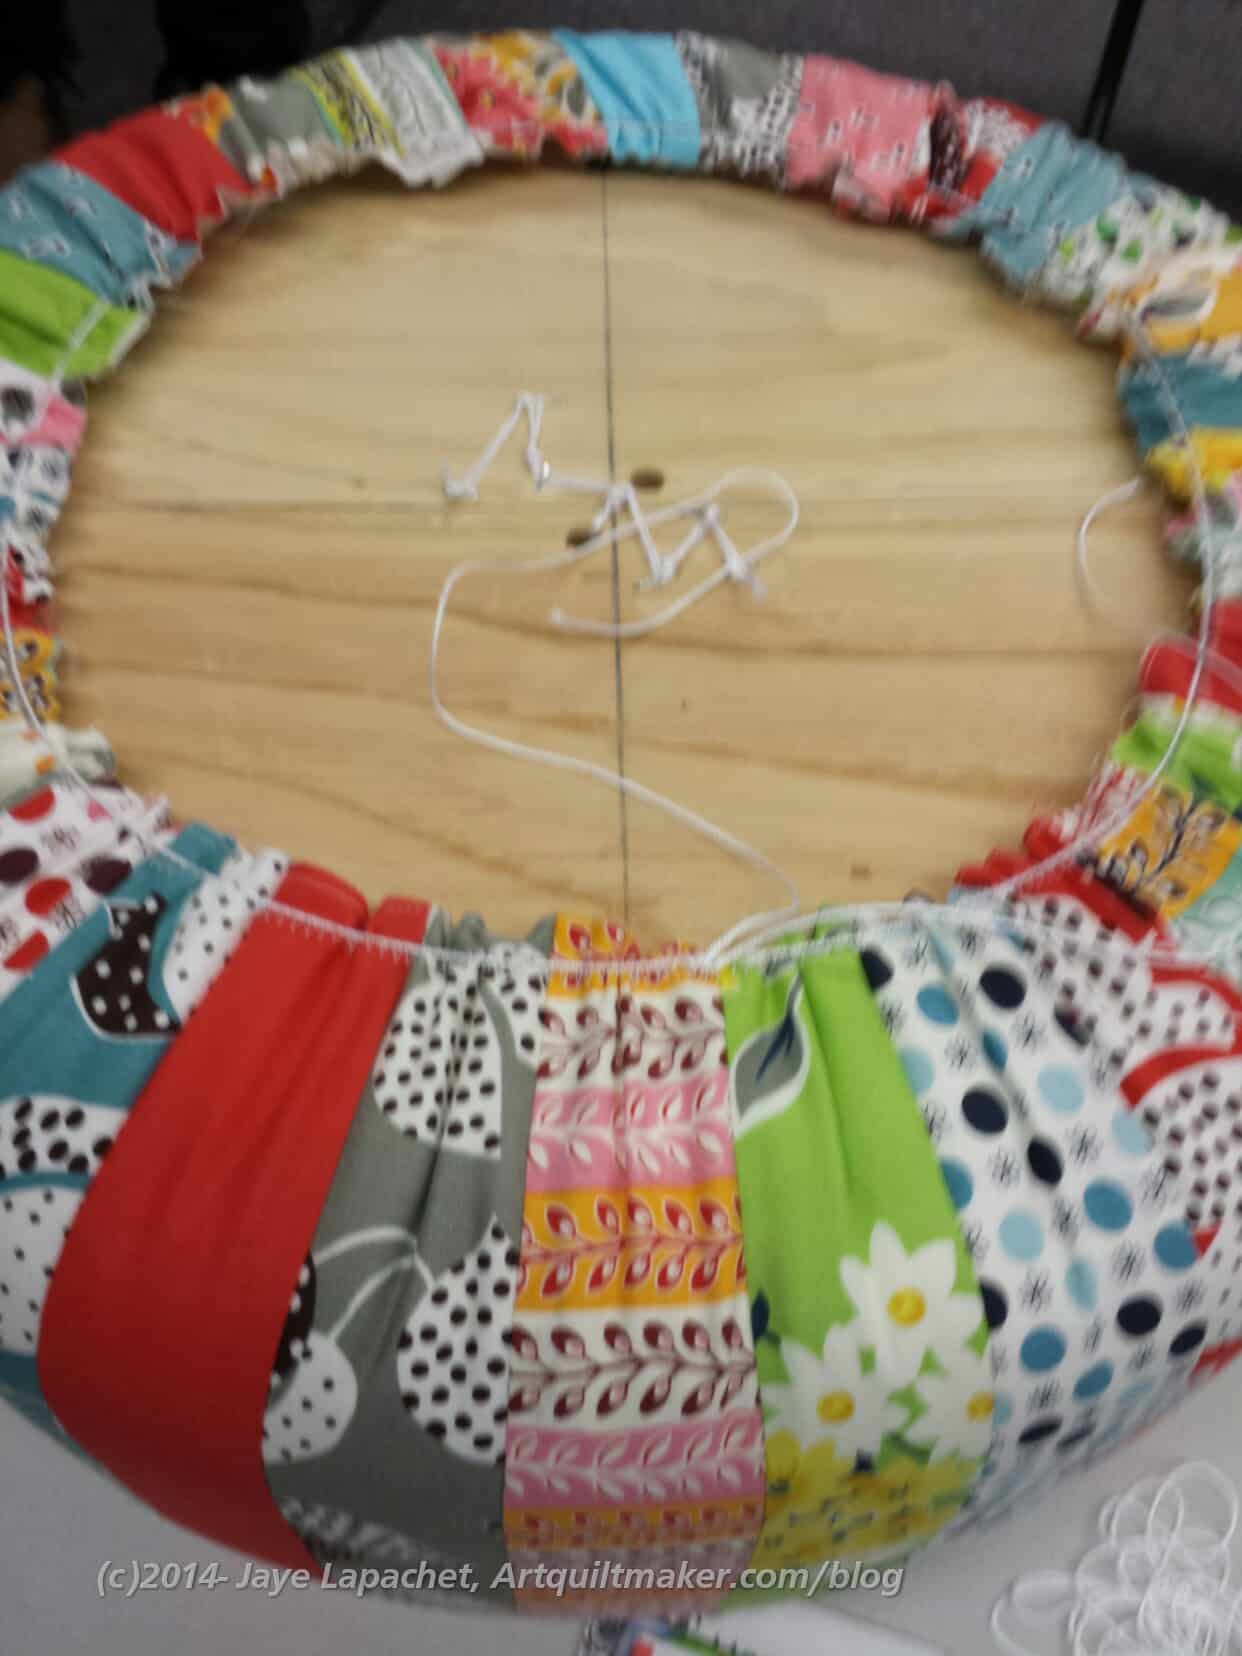
As you may remember, I had a lot of work to do on the tuffet at home in between classes. With some drama, but not major drama, I got the tuffet top together except for the drawstring.
I misunderstood (all me not the teacher) the directions and used the drawstring cording to make the button. This left me short for the drawstring.
I got another piece of cording from Robin and sewed the drawstring in class. I also remade the button, taking out some of the cording and redoing the tightening part with upholstery thread. Robin was very patient with our foibles from between class and that is a great quality in a teacher.
Cover on Tuffet Structure
Once the drawstring was on, I was able to put the top (or cover) over the structure of the tuffet. I know this picture looks the same as the photo I posted in my previous post when I stuffed random bits of batting under the top so the photo would come out better. Trust me when I say that there is a big fat piece of foam and a piece of plywood under that cover (picture right).
Nota bene: Robin was kind enough to put my tuffet structure together. I wasn’t really able to wield a hammer or the staple gun very well with my hand. This was very frustrating for me. If I had known that the class required wielding tools, I might not have taken it, thus I am very pleased that Robin was willing to help me with the difficult parts.
I was completely thrilled when I saw the tuffet like this and would have been, mostly, satisfied with it, but it wasn’t finished and Robin was definitely encouraging us to finish. It wouldn’t have stayed together either.
Tufting the Button
The next step was to add the button and make the tuffet look like an upholstered piece of furniture. Not only is Robin funny and encouraging, but she is also smart and the steps of the class are well thought out. She had an ingenious way of tufting the button through the 2 feet of foam. GENIUS! It was fun and not difficult.
Using the cording (which is like cording for blinds), I made the button look like a jelly fish. After the button was in, I tightened it to correct tufting levels 😉 and tied the button off on the bottom using the jelly fish “arms” and a surgeon’s knot to tie the button and tuft the tuffet. We had some fun talking about ‘jellyfishing’ our buttons. I know that making nouns into verbs is the path to destruction, but the whole class found ‘jellyfishing’ to be quite hilarious and I, at least, couldn’t help laughing over it.
Bottom of Tuffet
Next I tightened the cover and drew up the drawstring to keep it tight. The cover was long enough (intentionally) to fit over the bottom of the tuffet, which was a thick piece of plywood.
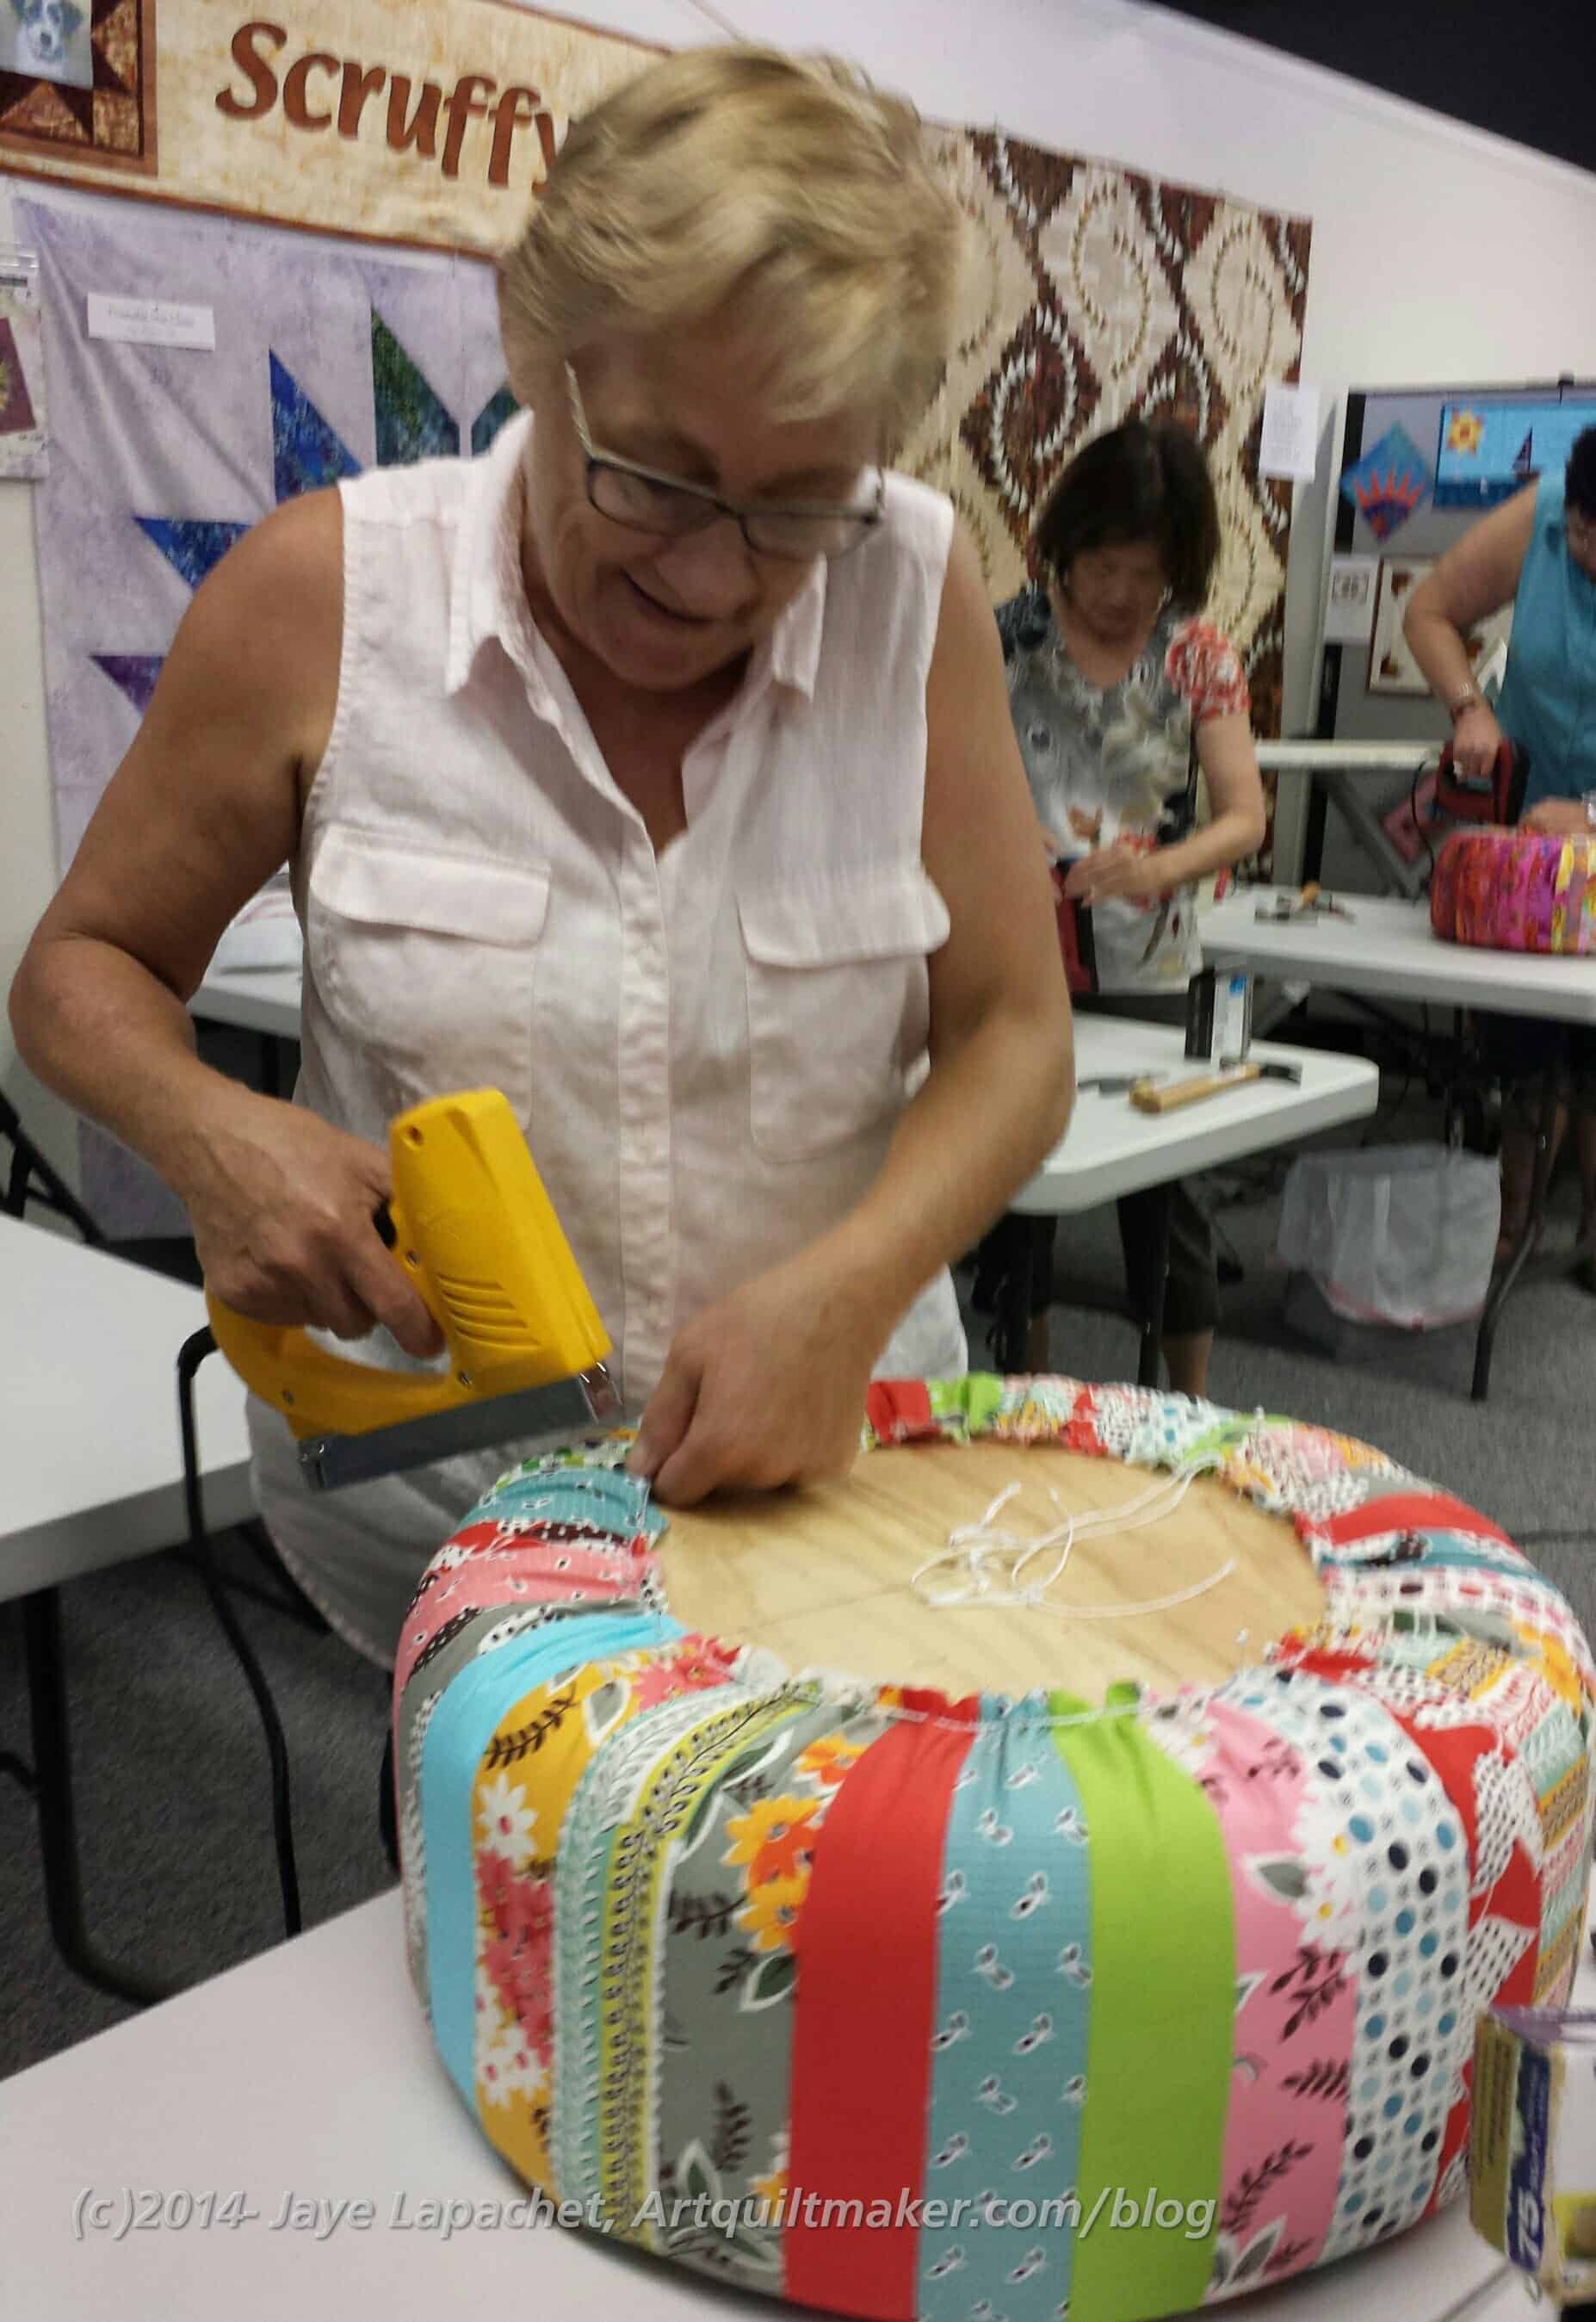
We marked where the feet were to be inserted (there are holes drilled in the plywood that are covered by the tuffet cover) and stapled the cover to the plywood. Robin, again, helped with mine, though I was able to do a bit of the staple gunning (I am right handed, but had to use my left hand, which isn’t as good at tasks as my right, so I was a bit of a danger to myself and the class, thus the assistance. ) Julie helped as well.
Robin Stapling my Tuffet Cover
I am pretty sure that I would have been reluctant to staple through my cover (All that work!!!), so I think it was good that Robin did most of it for me. Nobody died in the stapling of the cover and I lost my feeling of preciousness over it.
I cut dime sized holes in the cover and cut away the batting and foam so that I could insert the feet.
I also made the bottom. Stitching it down started a long discussion, because many of us were whip stitching our bottoms about various methods of speeding up the whip stitching, which took a lot of time. Katrina, an awesome quiltmaker (I took the Pineapple class from her), who works at Scruffy Quilts suggested that we use Steam-A-Seam in the 1/4″ tape version to keep the bottom in place and then whip stitch at home. Robin hadn’t thought of that and since she is still reviewing the process, to a certain extent, thought that might work, but wanted to try it. I plan to make another tuffet (perhaps two) and will try it. I enjoyed sitting there and stitching, but it is a step I could have easily done at home. One of our classmates tried the Steam-A-Seam and it seemed to work out very well.
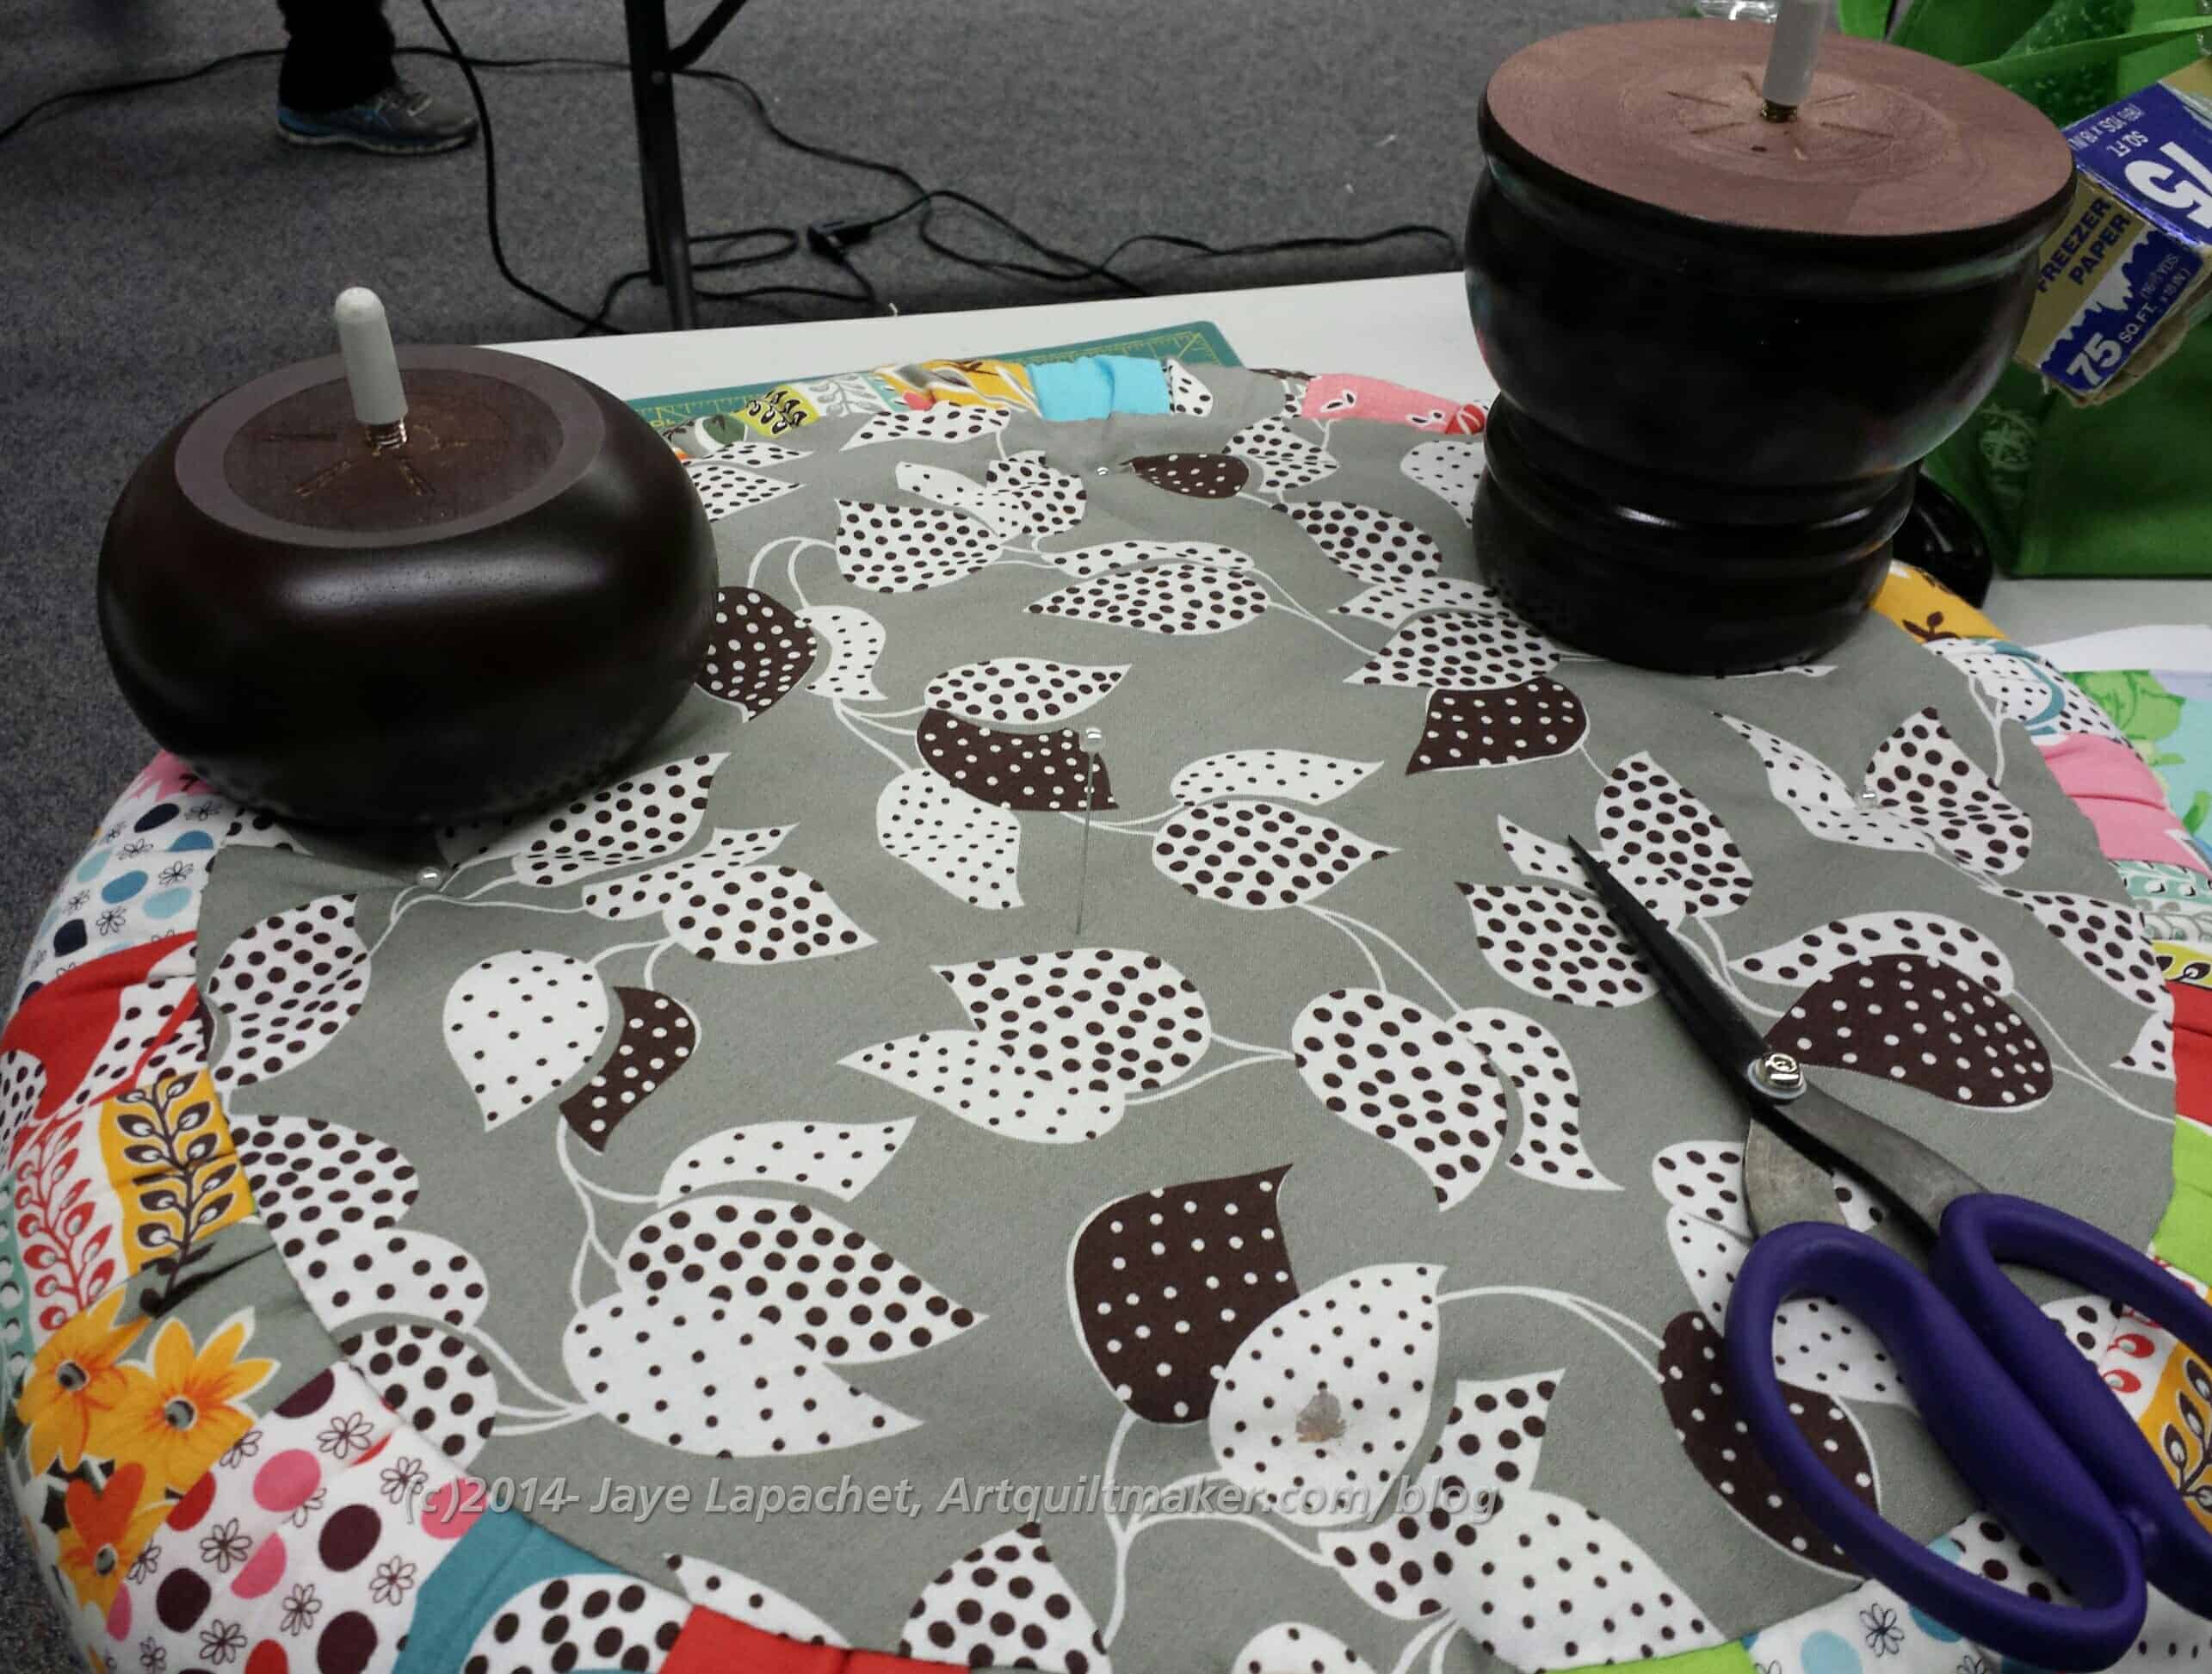
Auditioning Feet
I went back and forth on feet quite a bit. Robin’s source stopped production while they retooled their factory (or something), so her inventory was a bit low. At first, I thought I wanted white feet. That would have meant finishing them myself, which I knew was not going to happen. Then I decided I wanted the feet to match my furniture, which has a cherry color. I took some that were a more beigey brown kind of wood that I thought would match (make visual decisions visually!). I compared them with my other furniture and found that they were not the right color.
Robin didn’t have any that were the exact shade. I looked at all of her feet and finally decided on the bun feet (shown right). They are darker than my furniture, but have a tinge of red and on the bottom of the piece, they are ok.
Once the bottom was on, we carefully put in the feet and the tuffet was finished!
Completed Tuffet
It was such a thrill to take home a completely completed project. That is one bonus of doing the stitching in class: I went home with NO additional work to do.
The class is a little on the expensive side because of the finishing kit, but it is worth it to get the finishing kit from Robin (West Coast Tuffets), because everything is there and in good order and well documented.
Julie’s Tuffet
I love Julie’s Tuffet. She used a batik jelly roll and it really fits her personality. It is so cheerful and this is a gorgeous picture of her!
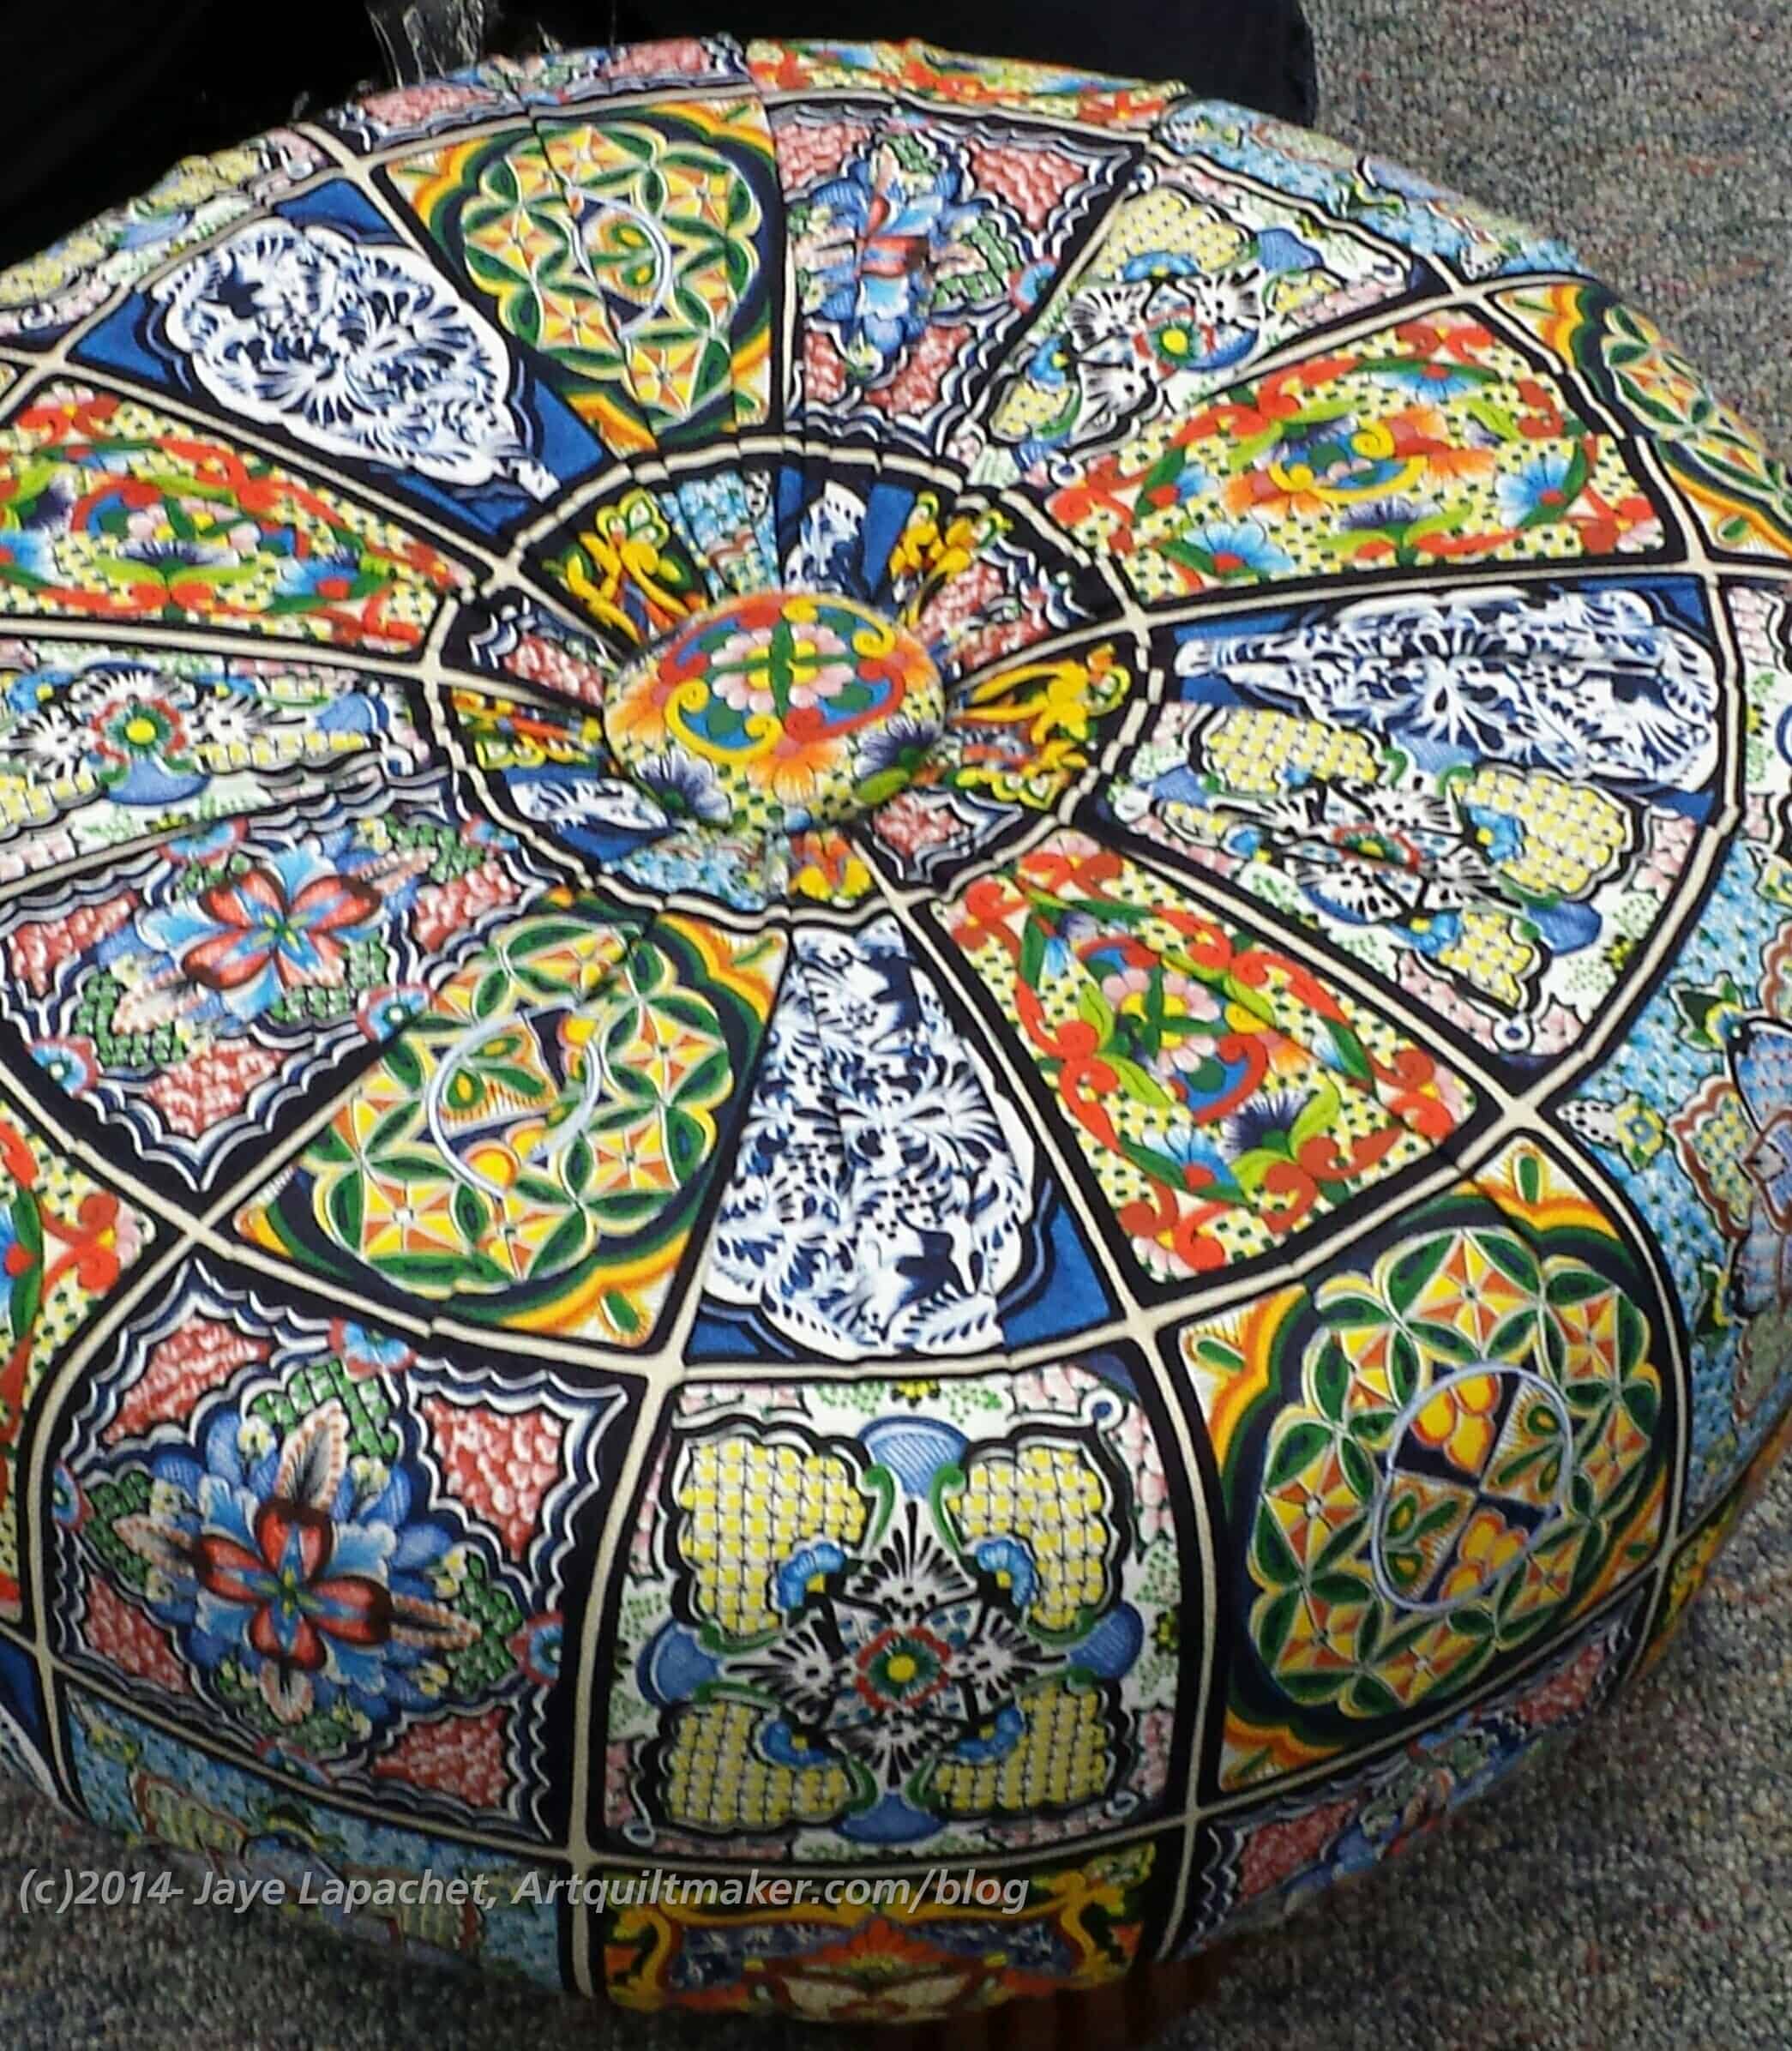
Robin’s Tile Tuffet
Robin brought a few tuffets to show us. She made a great, rich looking tuffet from a whole piece of fabric. She gathered the center under the button rather than cutting the fabric into almost-points and it looks really amazing. I think some experience with gathering or making a few tuffets first would be required before doing this kind of tuffet. I do like the idea of whole cloth tuffet. Can you imagine one with some Philip Jacobs fabric?
All in all, I really liked this class and want to take another one. I want to make a tuffet in the colors of the Stepping Stones blocks even though it will do with nothing in my house as well as another for the living room so I can put my feet up.
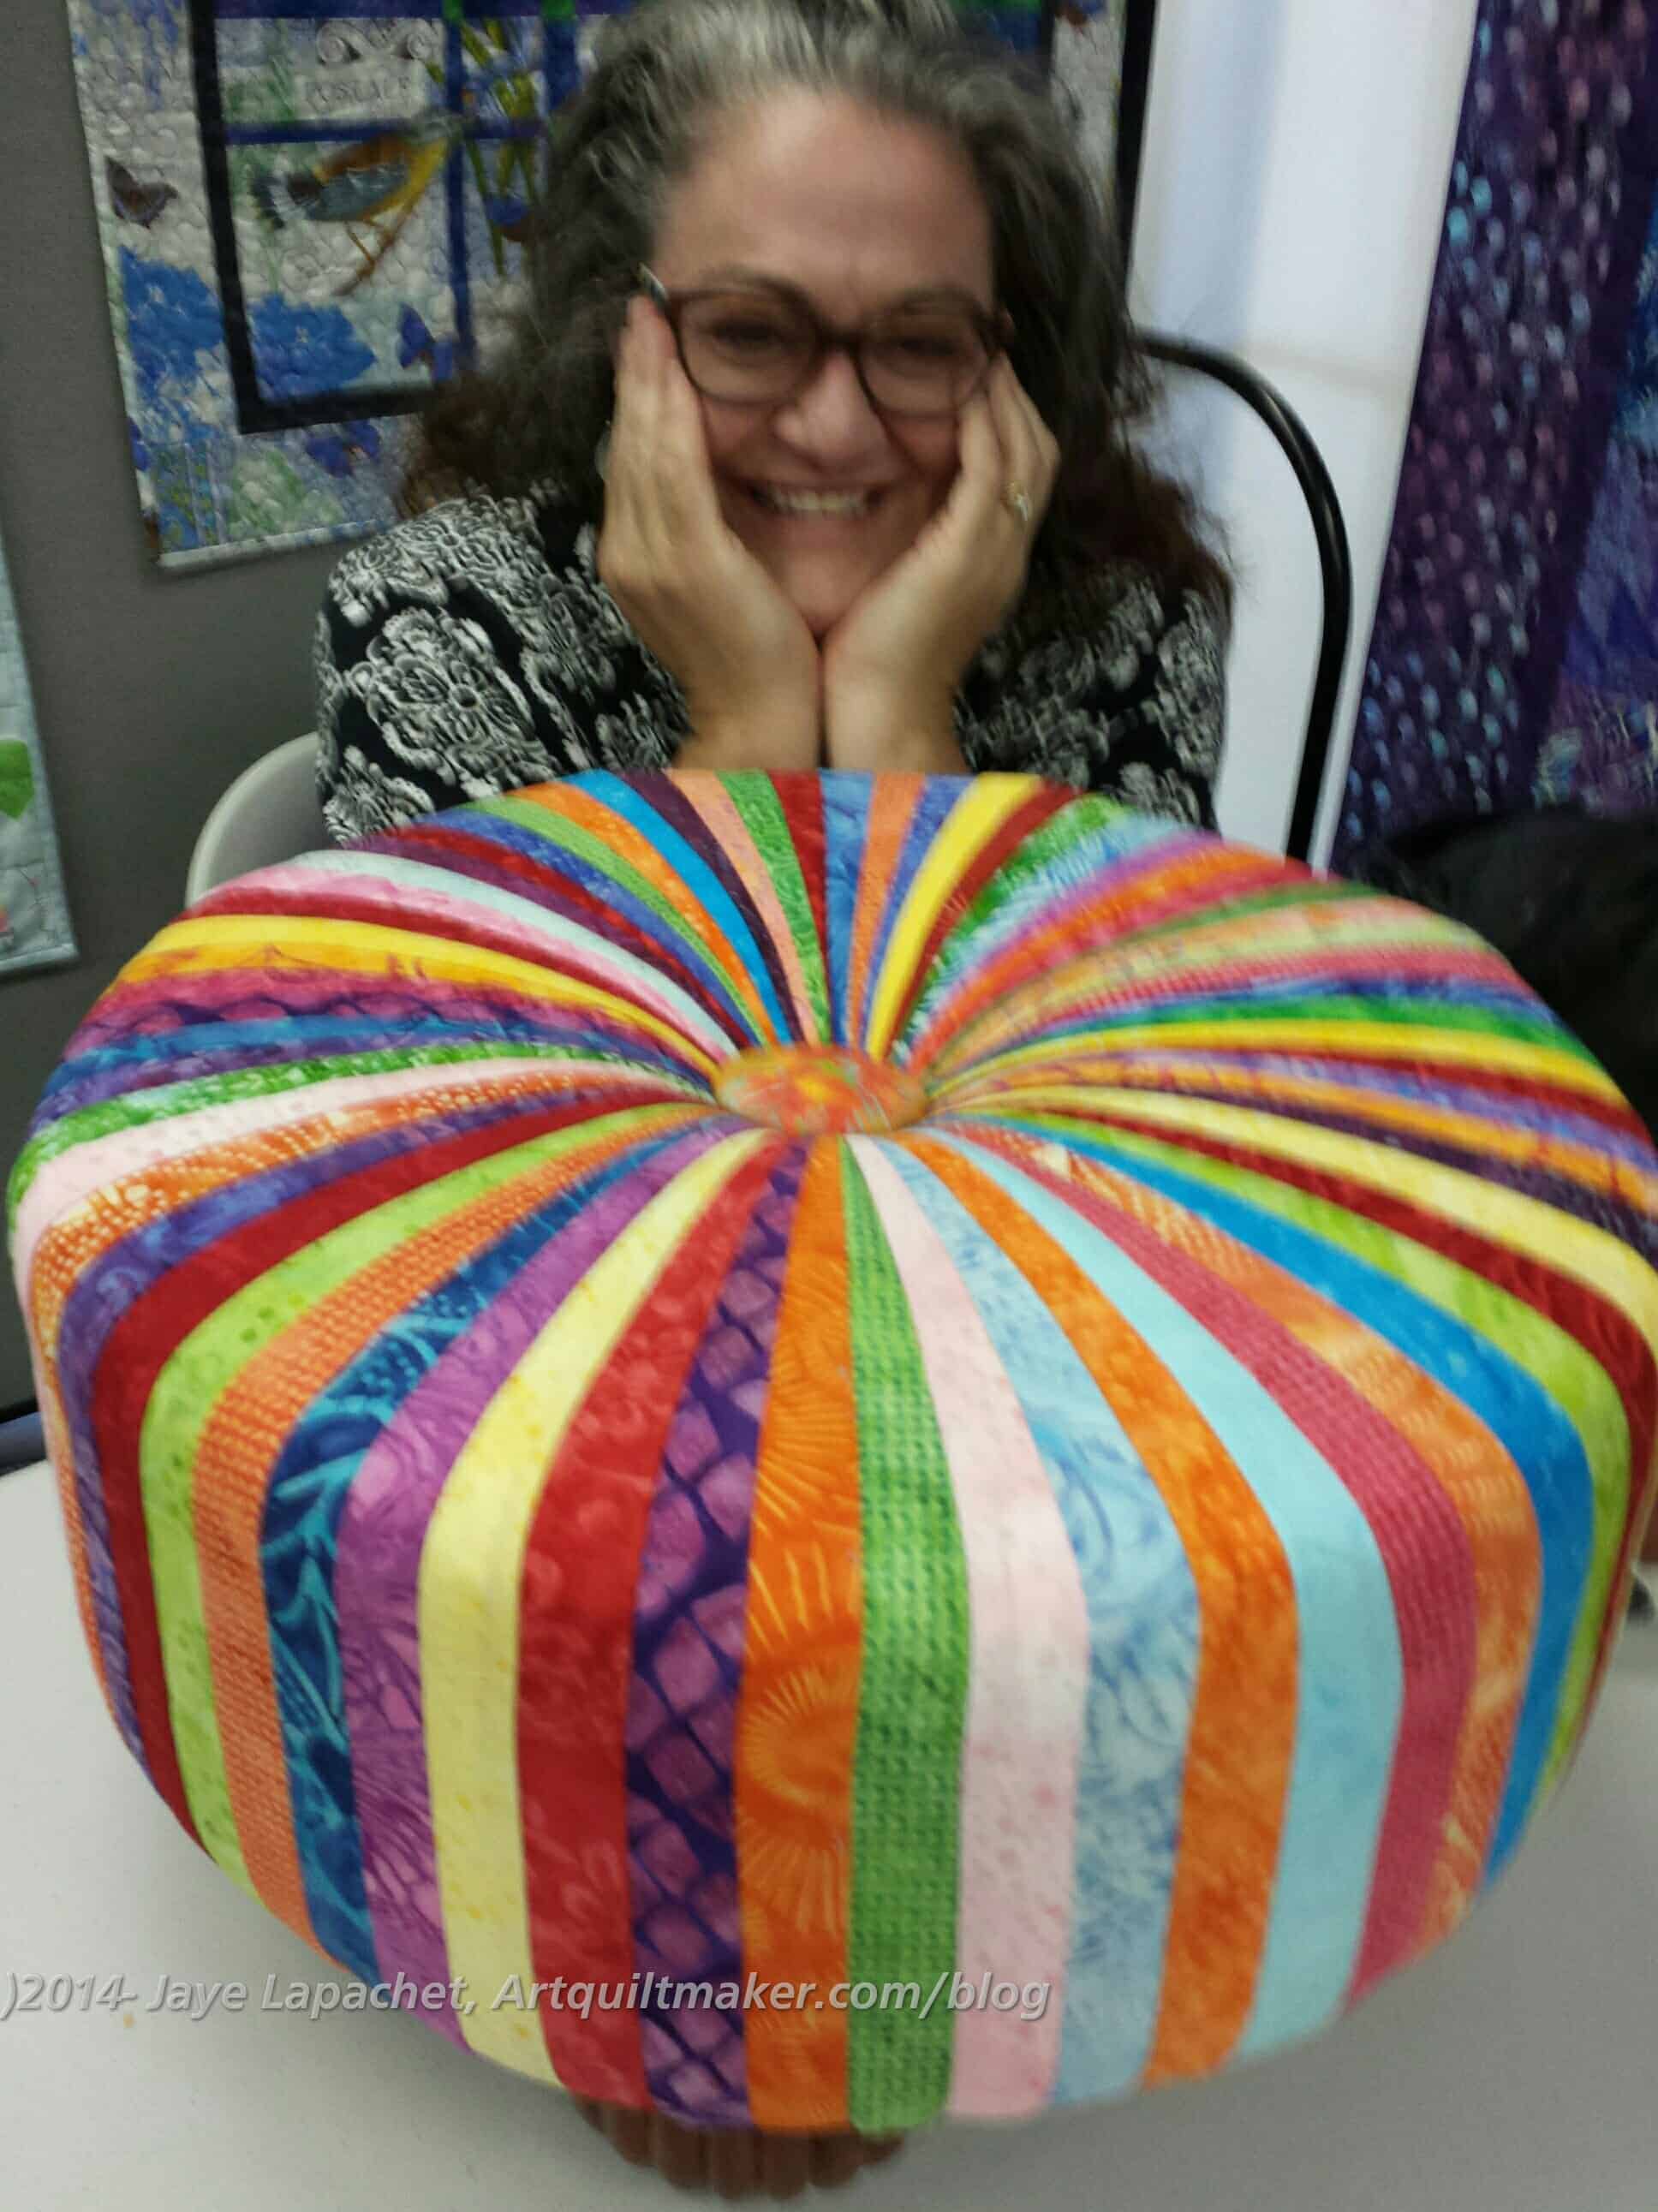
Yes, I finished my Tuffet in class on Thursday. I can now call myself a Tuffeteer. It is awesome and I love it. There were squeals of delight in the class as people finished. Mostly I am not a squeal in delight kind of person, but these Tuffets inspire squeals of delight.
Everyone really liked the way mine came out except the Young Man, but he has little no sense of cheerfulness in fabric.
I intended to make this a super long post telling you all about finishing the tuffet, but I will save that for another post. This post will just be about sharing the delight!
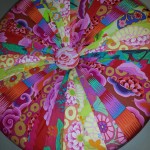
I was so nervous about the fabric selection, but I am so pleased about how it turned out. I hope it will fit well with my living and dining room. My dining room is a rich red and my living room is a butter yellow, so this piece isn’t a perfect match, but it is an interesting combination of motifs.
My issue from the other day was seam allowance. You know that I have hard time actually reading directions and understanding them and the Tuffet directions were no different (all me, not Robin). I always assume a 1/4″ seam allowance, which, as a quiltmaker, is normal. As a real sewist it is absolutely not normal. In this case, the pattern had the seam line on it or I could use a 3/4″ seam allowance.
I had to unpick all the stitching that held the tuffet top together, but when I resewed, it looked like Robin’s description of how it should look.
Tuffet Button Cover
I was running up and down the stairs, doing as much as I could while chatting with my Mom as she cooked (she was cooking the Y.M.’s last meal with her and the Big Guy and preparing a meal for us for later in the week. She is awesome!). One of the things I was able to do was make the button cover.
I fussy cut some flowers out of one of the Flea Market Fancy prints. The button blends in, which I might not do again, but I kind of like it.
I was thinking that Robin should print the patterns at Spoonflower and then people could just buy them without having to make the foundations as part of the class. I do think that there is an element of “becoming one with the pattern” that you get from drawing out the pattern, but printing them off of Spoonflower would be much easier and it might be less expensive than some of the other pattern choices Robin described.
I am thinking that I will make another so both DH and I have one to put our feet on. We will see since the class is tomorrow and I have to see how it goes.
I am not Miss Muffet, but I am making a tuffet. As I mentioned, I have wanted to make one for a long time. I took the class at Scruffy Quilts and had a great time. The teacher, Robin Koenig, of West Coast Tuffets, was excellent. She was funny and helpful and engaging. She didn’t patronize us and she wasn’t a ditz.
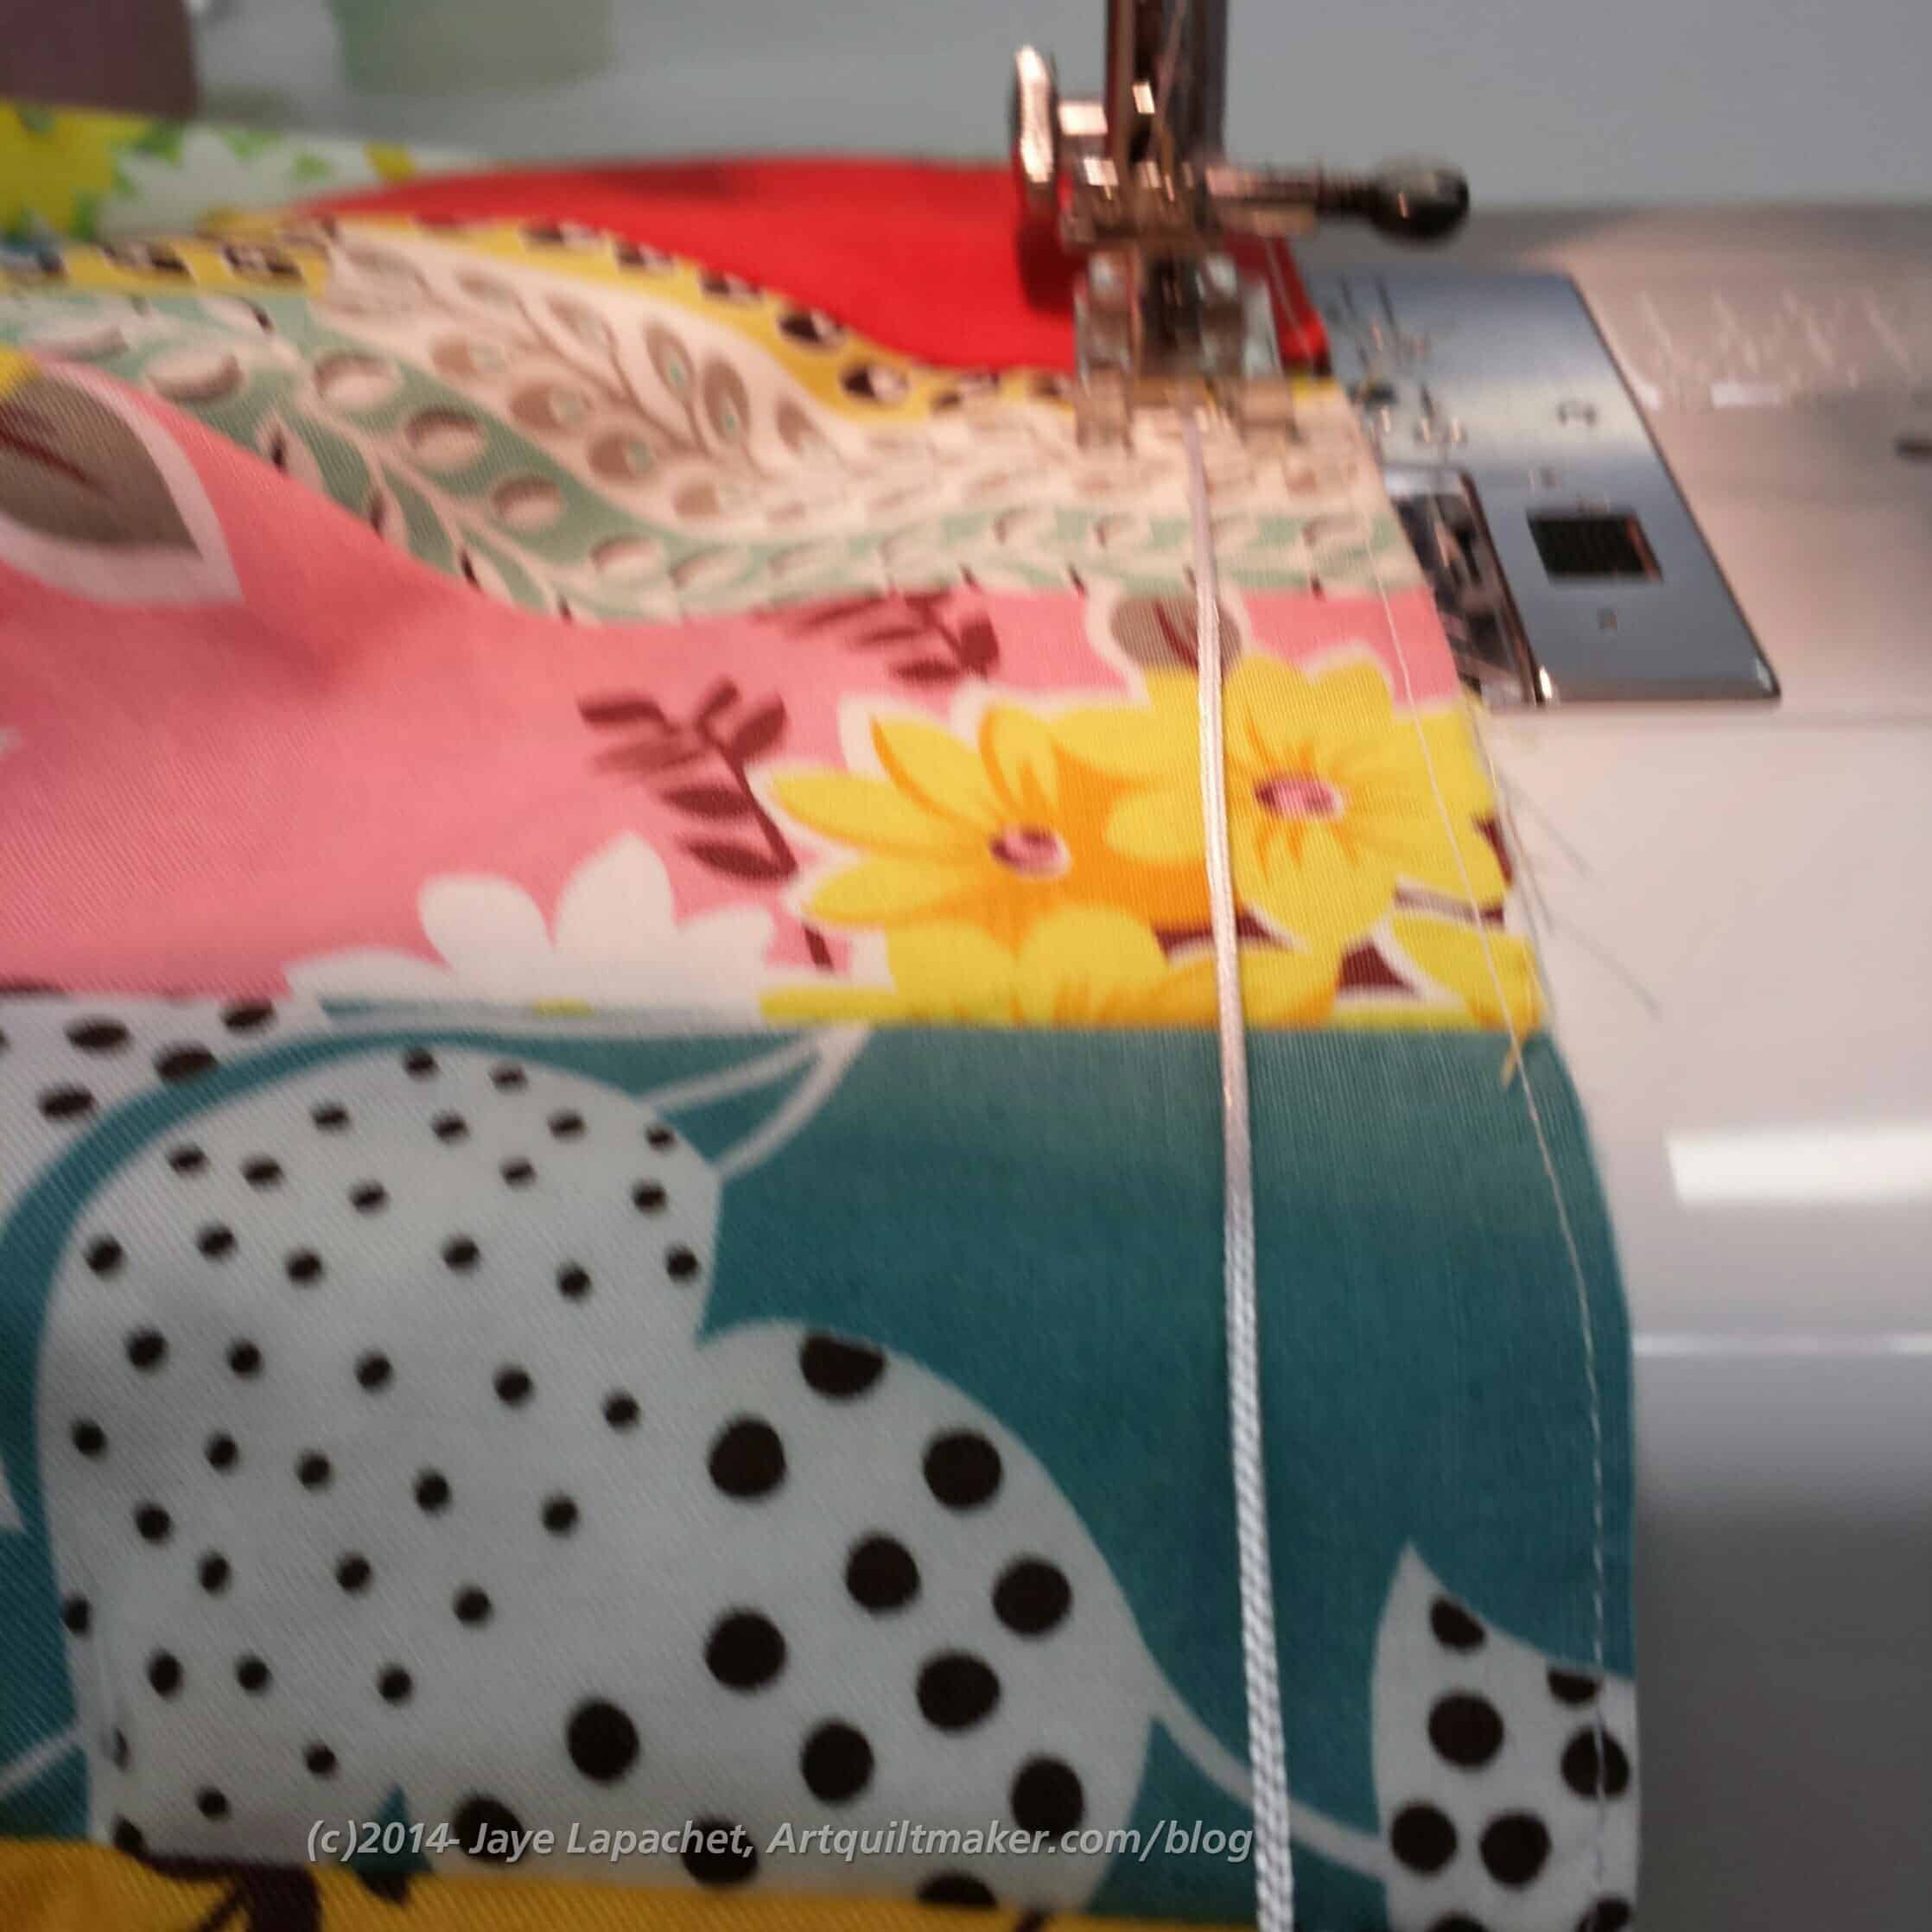
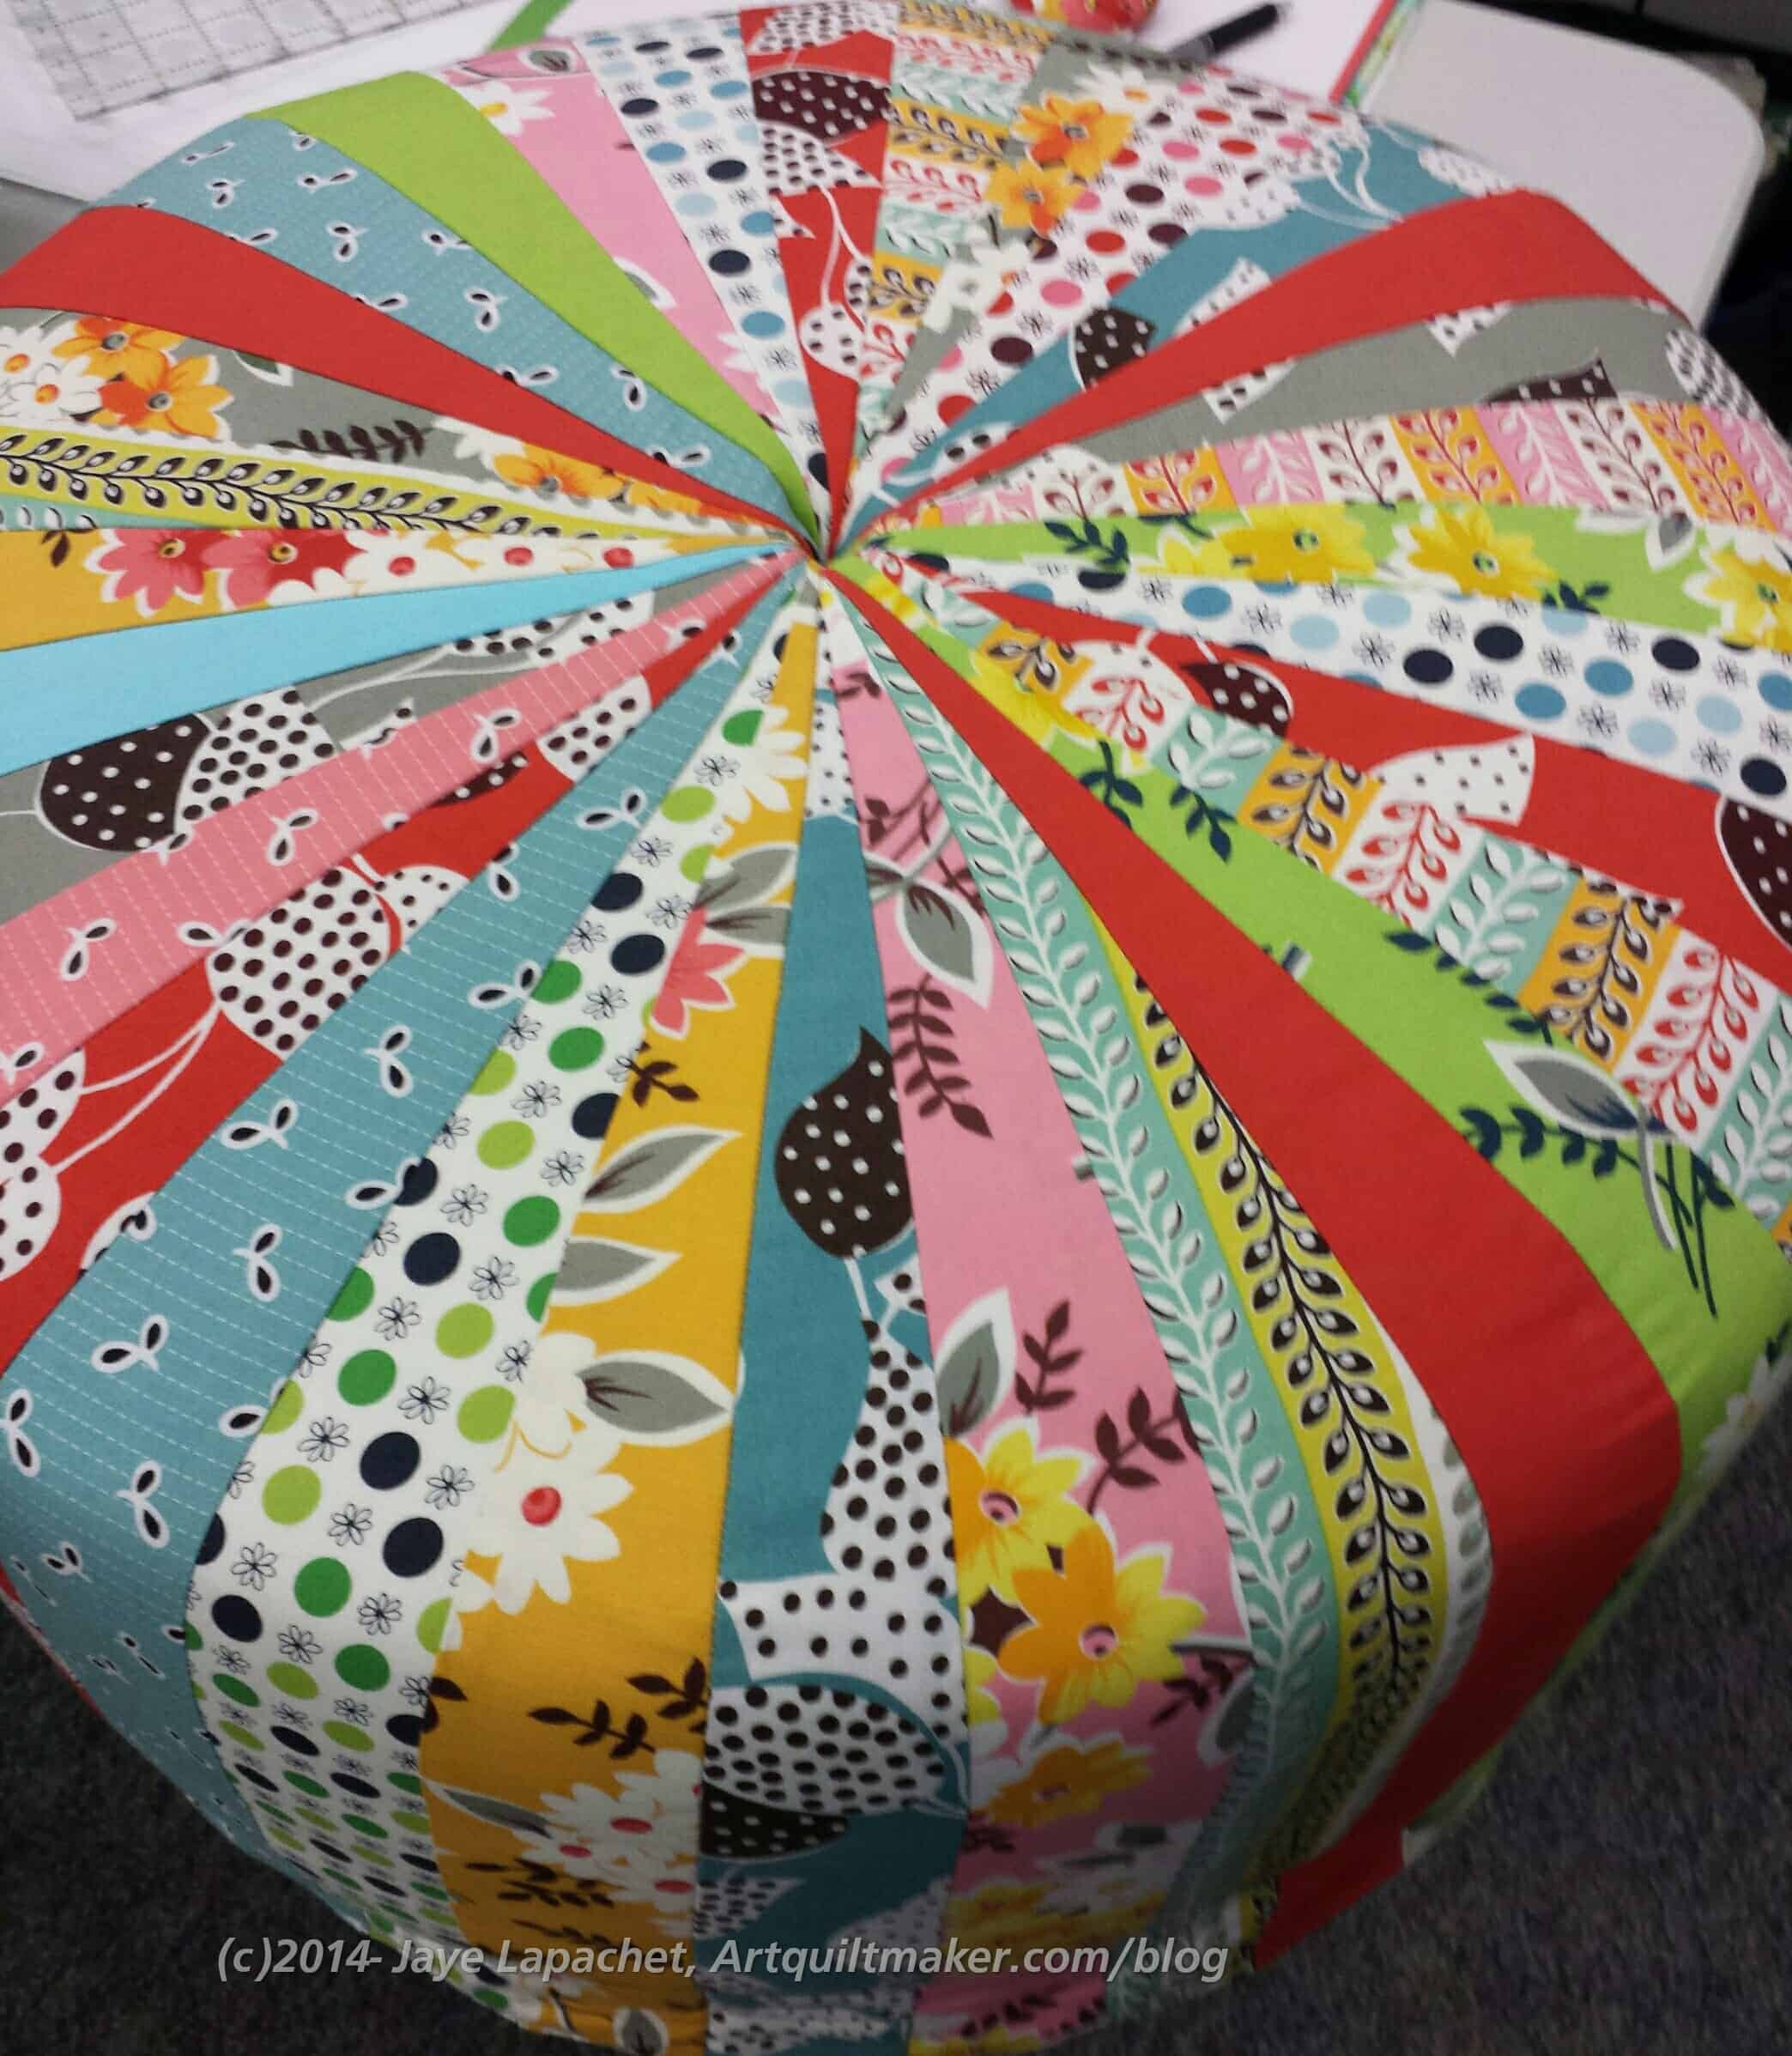
The class is four hours, 2 sessions. The first session was last Thursday. We had to cut strips in advance (or buy a jelly roll), so we were ready to make the pattern and sew when we got to class. The patterns were a bit of a pain to make, but Robin had the templates ready, so we had to trace and cut. I was able to sew two sections out of eight, an accomplishment of which I was very pleased.
Tuffet, 2 sections
I got so much done, because I used 3″ strips, which meant that each section only required 4 strips. My fellow students used jelly roll strips and their sections required at least 6 strips per section so they had a lot more work to do.
The next class is in two weeks. I need to have all eight sections finished. I also want to make the button that covers the center.