Undercover Maker Mat Goes Out to Play

Undercover Maker Mat on Retreat

I took the Undercover Maker Mat on the CQFA Retreat. I got to try it out. That was why I made it.

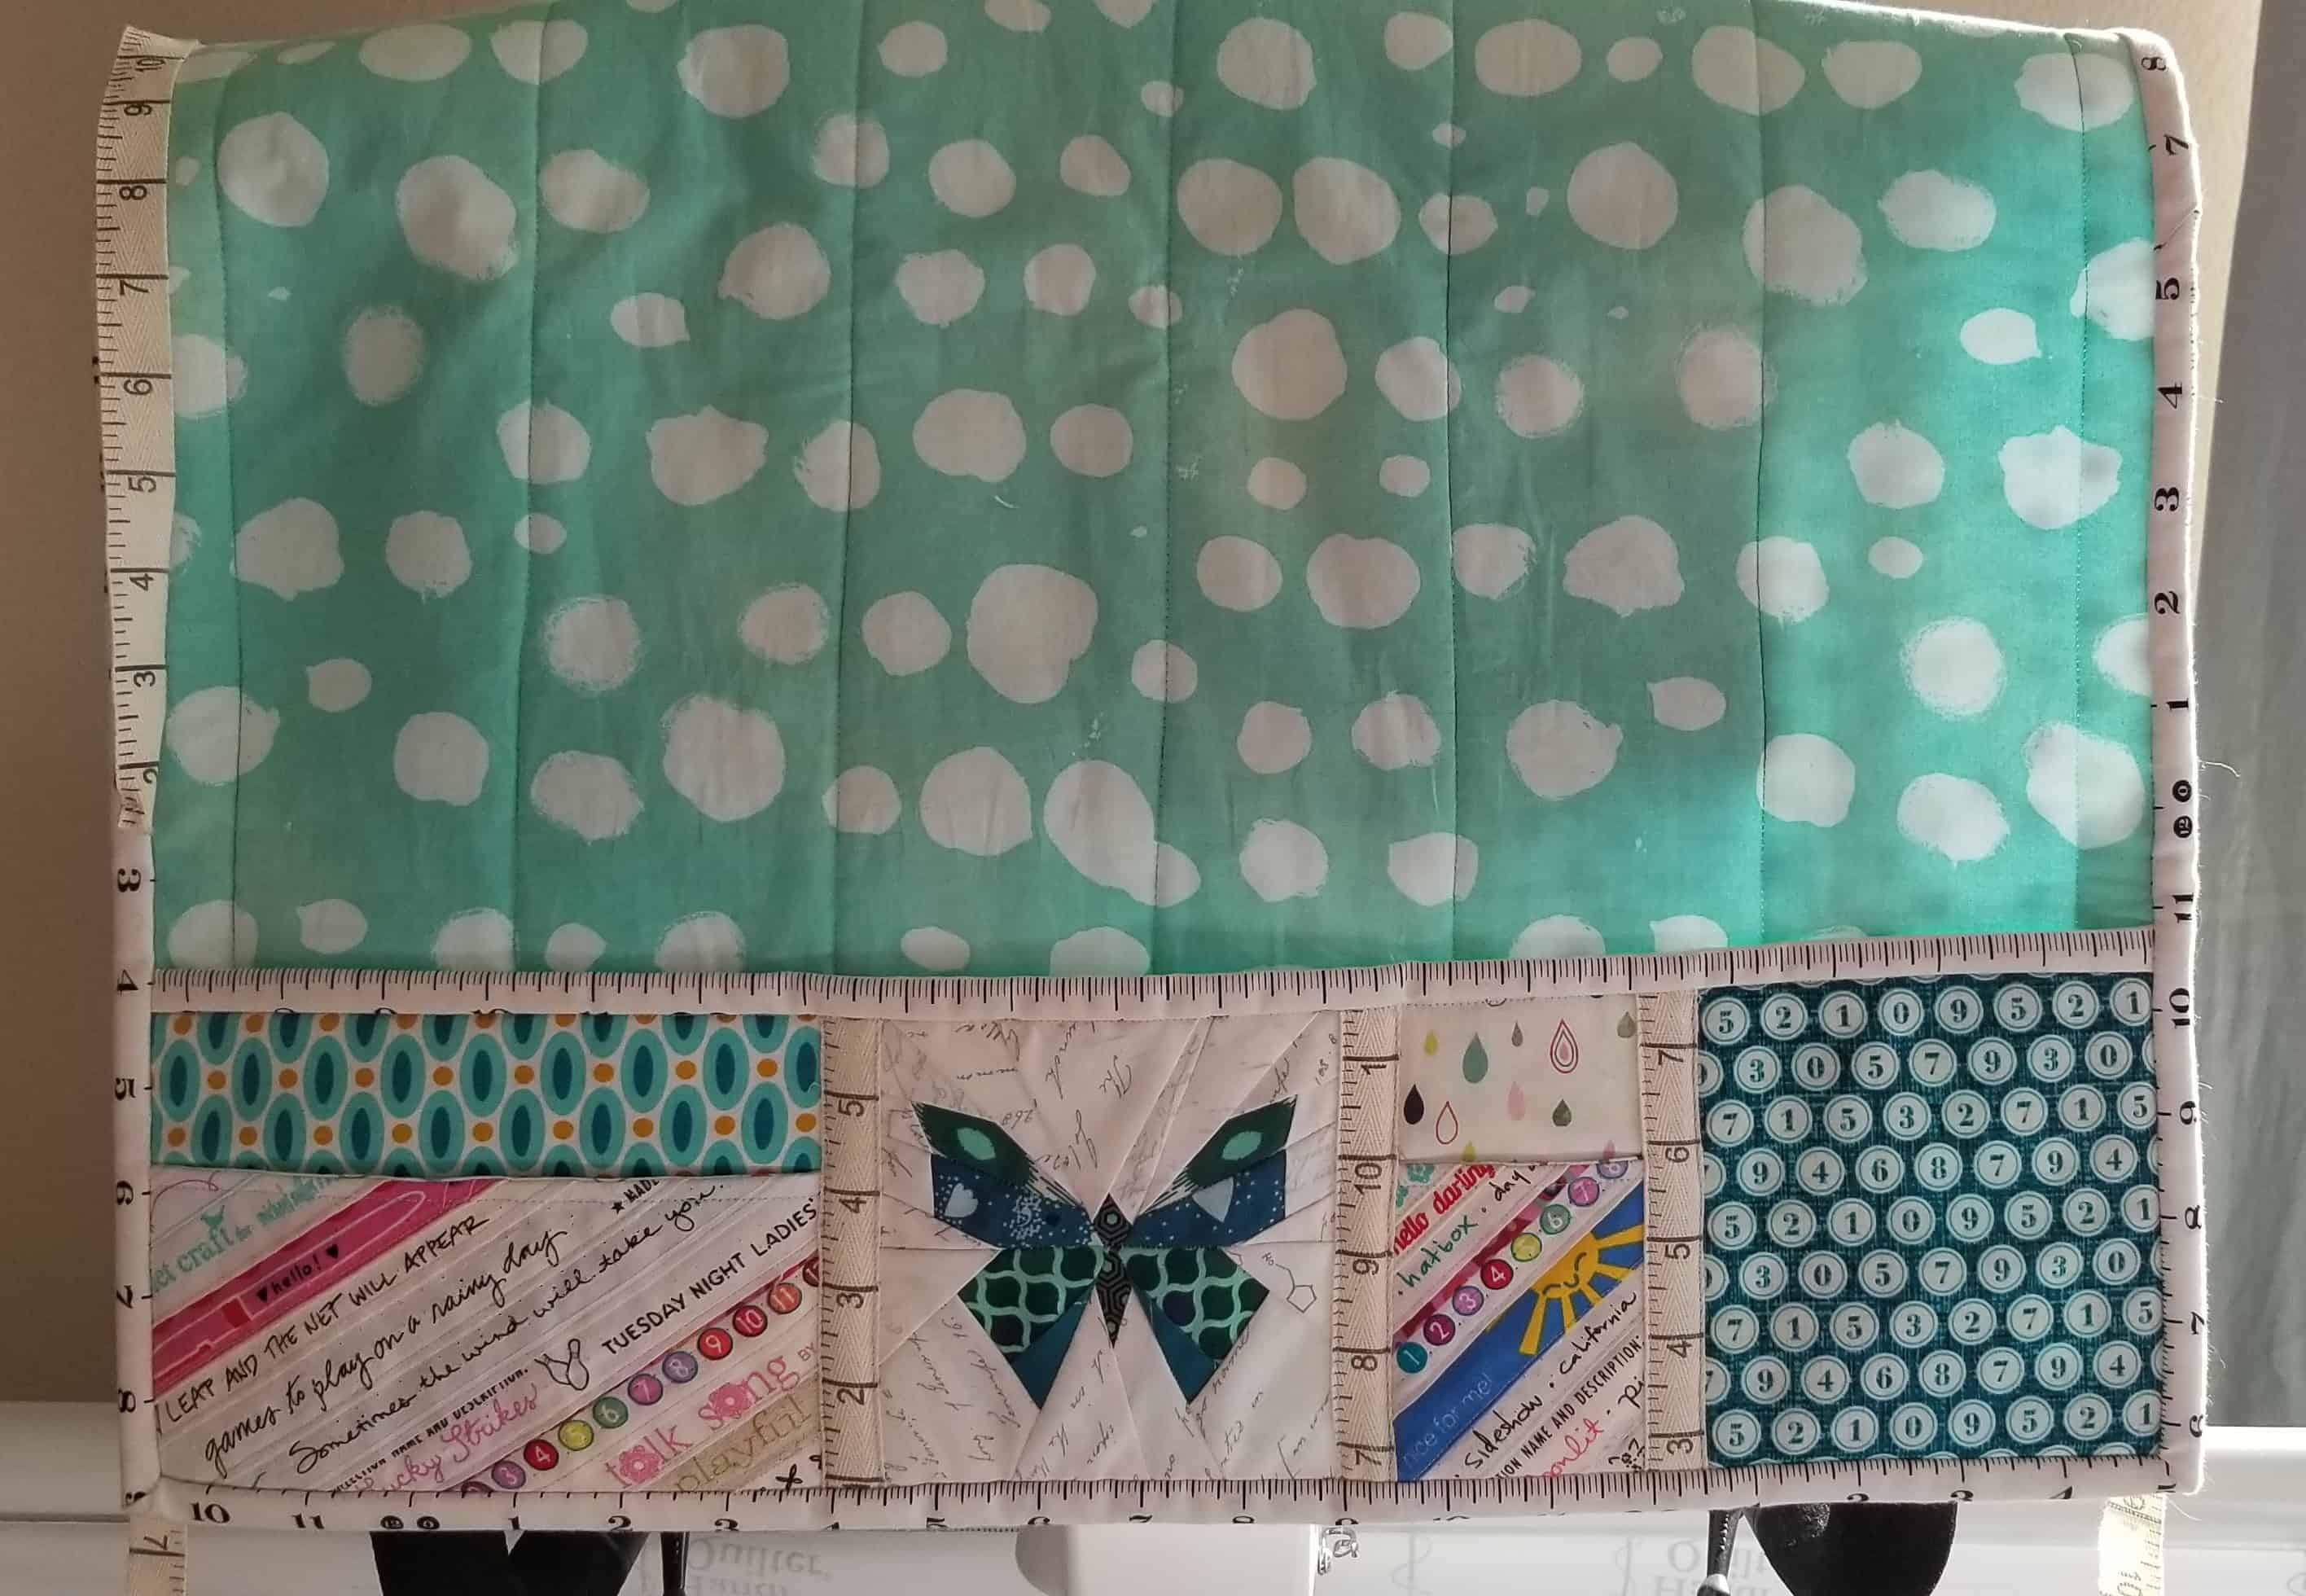
I thought the front pockets worked pretty well. I can see where a pincushion might be handy, but I don’t plan to transfer my pins from pincushion to pincushion every time I use the mat.

I think the pockets would be more in use depending on the different projects I might be working on. I might use the larger selvage pocket on the left for a 6.5 inch ruler as needed. For what I did at the retreat having my snips and seam ripper handy was fine.

I had a couple of issues. First, you can see that the snips sleeve is in the pocket. Without the snips sleeve, my snips kept getting caught on the inside of the pocket. I added the snip sleeve because I didn’t want to cut the mat. Perhaps I should have used oilcloth for the inside of the pockets?

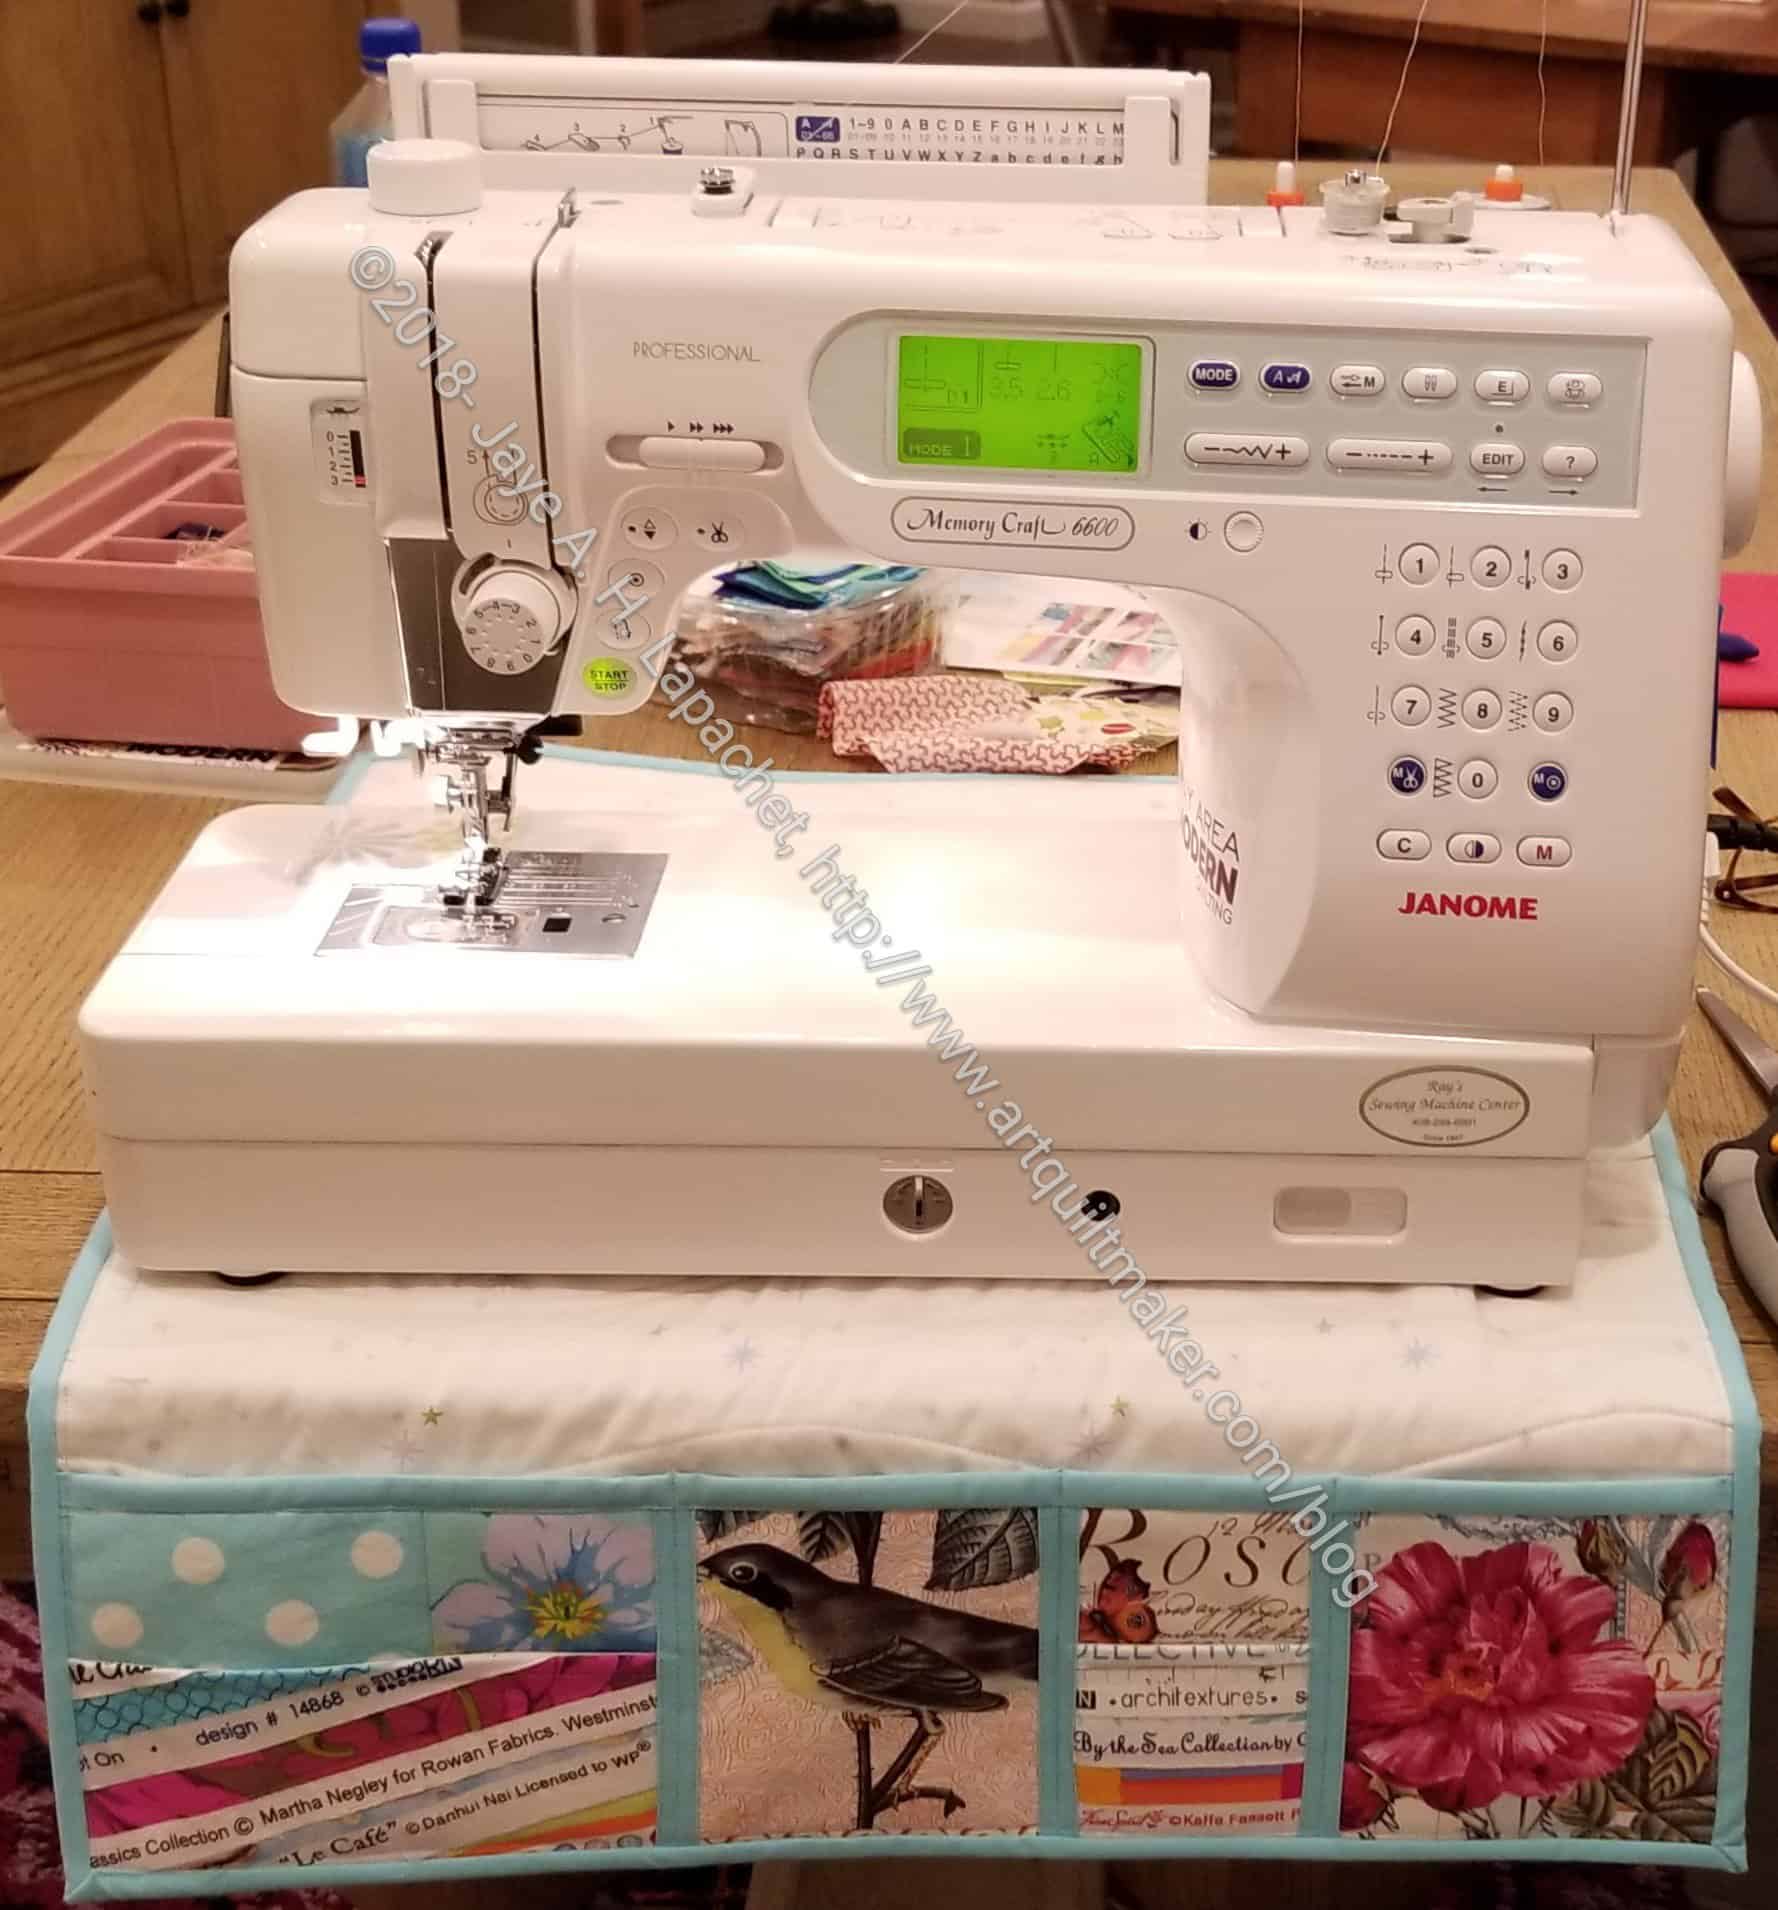
I didn’t notice it at the retreat, but I did notice it at the Jen Carlton Bailly class. I couldn’t get the legs of my Sew Steady table level when using the mat. I may want to make another mat that is larger so the Sew Steady doesn’t have to try and deal with different heights (mat/table).

None of this is fatal or a problem with the pattern.

Undercover Maker Mat Finished

Undercover Maker Mat finished

Hooray! The Undercover Maker Mat is complete!

My plan is to use this mat at Retreats and Sew Days. I tend to put the tools I am using on the right side of the machine so they are easily at hand and don’t interfere with the fabric ‘products’ on the left. This works relatively well, but at Retreats, things can get knocked off the table or I don’t really have space to put tools in their usual location.  It won’t really work at home because I have a cabinet even though I could use it since I don’t have a lot of space on the right side of my cabinet.

Undercover Maker Mat with portable table finished

I didn’t adjust the size at all, though I thought about it. The size of the mat, as you can see, fits my machine pretty exactly. I decided that my portable table didn’t need a mat underneath it. I also didn’t want a giant thing. It is usually better for me to make adjustments after I have made the project according to the pattern at least once.

I think that this item will be a good gift as well.

Undercover Maker Mat Continues

I spent some time away sewing this past week with Friend Julie. I didn’t get to sew as much as I thought I would because I had some social and professional obligations to conduct as well. Still, I made progress and that is a good thing.

As mentioned the other day, I started the Undercover Maker Mat along with the sew-a-long going on @Lillyellasworld. Julie worked on it, too, and spurred me along. I always feel discombobulated when I sew somewhere else, but I got myself together and started working on the pockets.

Undercover Maker Mat fabric tryouts

I had dome some work on them, but hadn’t finished the big pocket piece. I threw in a bunch of fabrics, so I would have some options if what I thought would work didn’t end up working. That was a good idea as I had to play around with fabrics until I got a combination I liked. My first group of fabrics is shown above. Somehow I found it to be too light or too much of the Michael Miller London Portfolio fabric. I also wasn’t sure about the turquoise binding.

Test group of fabric for Undercover Maker Mat

I decided on the above combination. It has a good amount of London Portfolio, but some dots and Martha Negley as well. I did not make the foundation pieced center. I forgot to make it at home and don’t really like foundation piecing anyway, so it was easy to decide to fussy cut instead.

Kathleen's Undercover Maker Mat
Kathleen’s Undercover Maker Mat

I was surprised that Kathleen knew the pattern, but she had made one and was using it for her longarm head. I shouldn’t be surprised She knows and makes all of the most popular modern patterns. She used some really nice fabrics.


Undercover Maker Mat Begins

As mentioned the other day, Nicole over at Lillyella’s World is leading a Sew-a-long making the Undercover Maker Mat. I’ll be heading out for a few days of sewing next week, so I wanted to get a few of the fiddly bits done and lessen the amount of stuff I needed to bring.

Undercover Maker Mat small pocket

I started making the selvedege pockets. I am not sure I wanted to use selvedges, but the pockets on the sample look really cute. I thought I would try it out. I can always cut some fabric and use that if I decide I don’t like it.

I am still on the fence about selvedges. They can be pretty and fun, but I don’t see myself making a selvedge quilt or using them in a large way. Small touches, yes.

For the small pocket, I tried to pick selvedges that I really liked or meant something to me. I also wanted a little bit of color. I don’t know what I will get when I sew the pocket into the whole piece.

Undercover Maker Mat large pocket

For the large pocket, I followed the directions and put the selvedges on the diagonal.

Now both pockets are on the design wall and I am looking at them. I want to make sure I like them both.

The other thing is the size. I think I need to make mine a little bigger, because my machine is 19 inches wide. I think it would better just slightly bigger. I am thinking about how to do that.