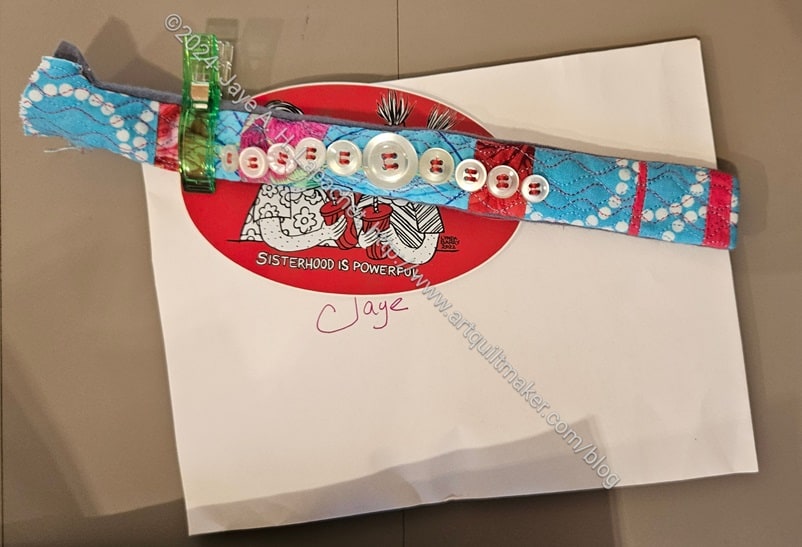
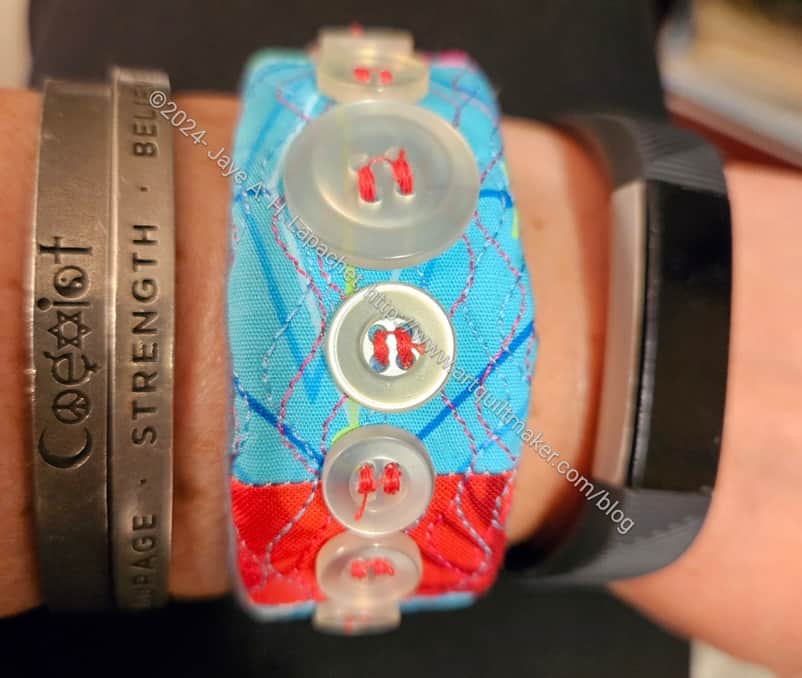
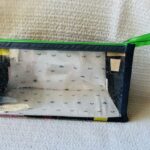
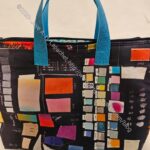
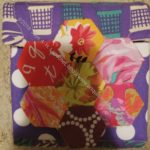
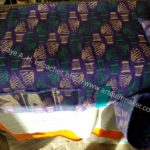
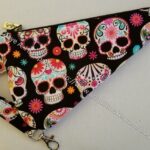
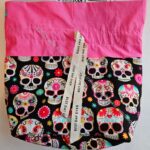
Mine has been sitting on my desk for a year not doing anything. I thought hers was so cool that I asked her to make me one. This is the package I got at Sew Day the other day. The thing with buttons is the cover for my slap bracelet.
Bracelet – full
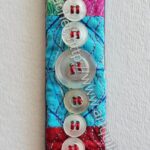
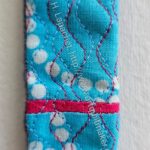
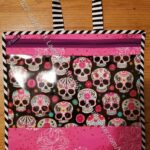
Bracelet – detail
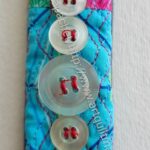
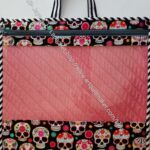
Bracelet – detail
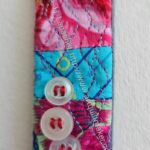
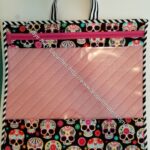
Bracelet – detail
Wearing my new bracelet
I had to do some jamming in to get the bracelet into the cover. Then I sewed the piece shut and can wear it.
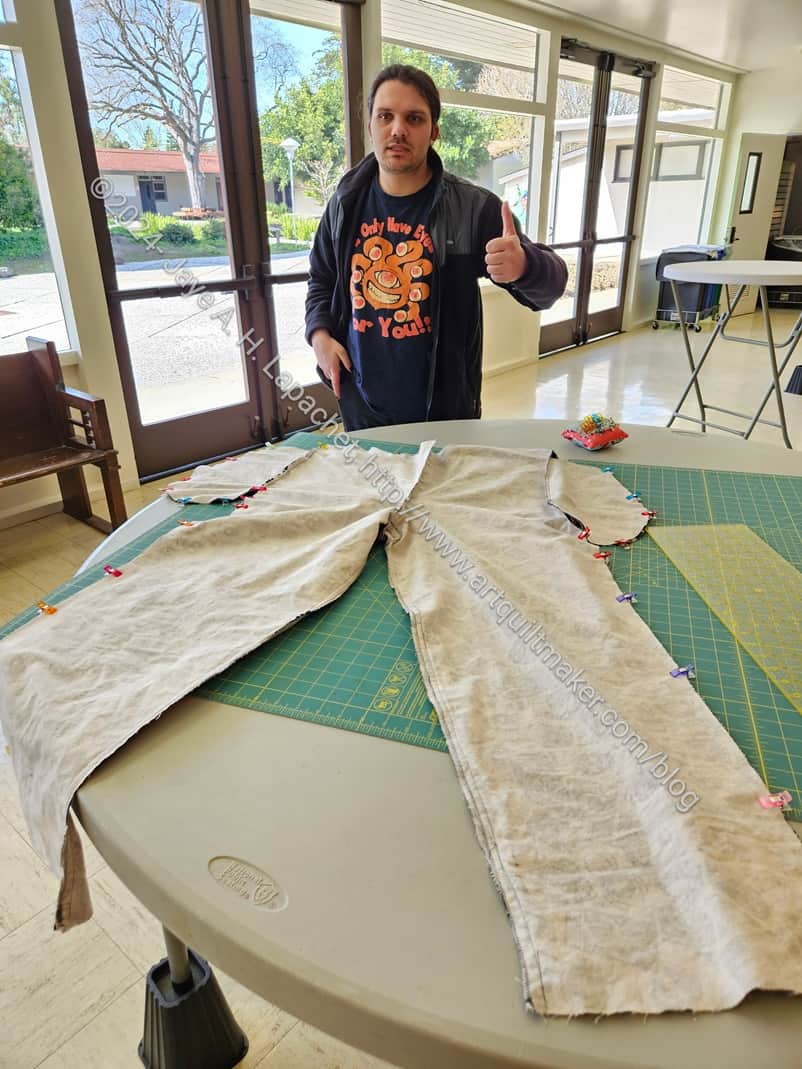
At Sew Day the other week, I spent the time helping the YM start some PJ Pants. I know you are ROTFL when you think of me and garment sewing. Have no fear, I was under complete supervision.
I was thrilled, and kind of surprised, that the YM was willing to go to Sew Day with me.
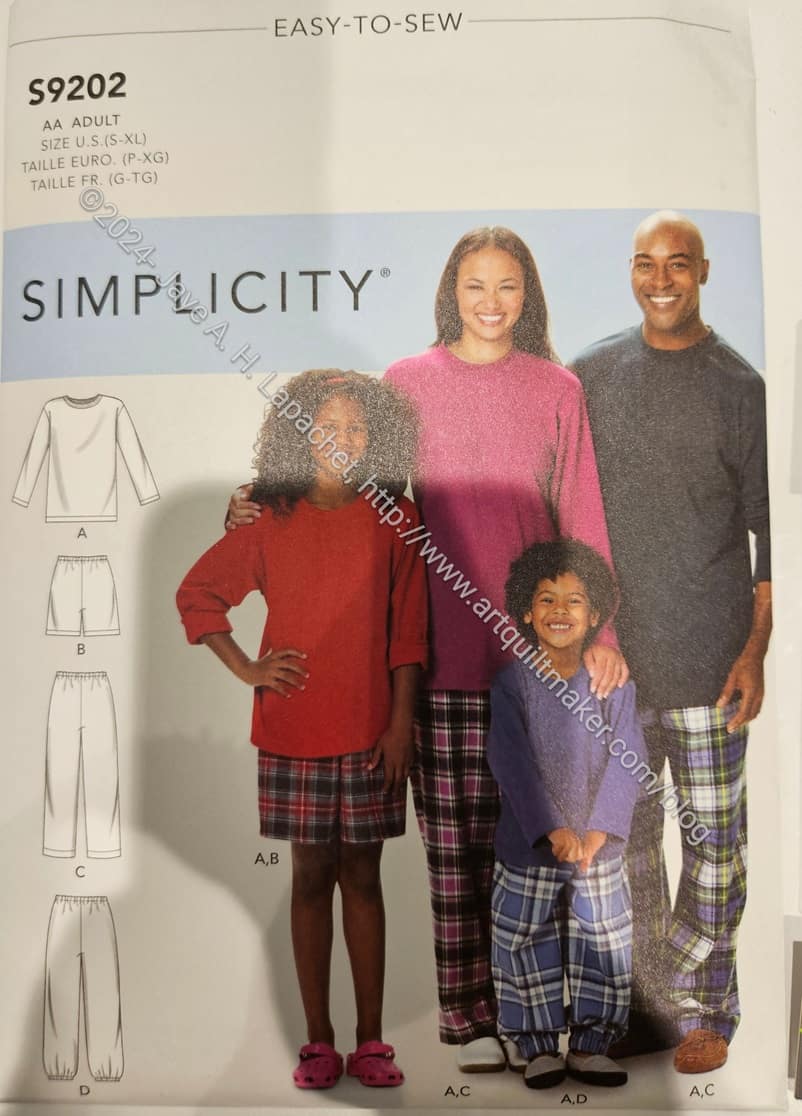
PJ Pants pattern
He is in town working during the week, but comes over on the weekends. He wants to learn to make clothes better, especially costumes for events like Sakura-Con. I am not a great garment maker, but I thought I could handle this pattern, if Mary was there to answer questions. SIL #2 was also available for consultation. Sew Day was a great opportunity to work with him.
Mary C had told me that PJ pants were a good starting project. I couldn’t get the pattern she suggested, but I got one that was marked as ‘Easy to Sew’.
When she saw it, she was pleased. She told me that the pattern she has is really old and that this one would do fine. WHEW! There are three pattern pieces total. As a bonus, the pants have pockets.
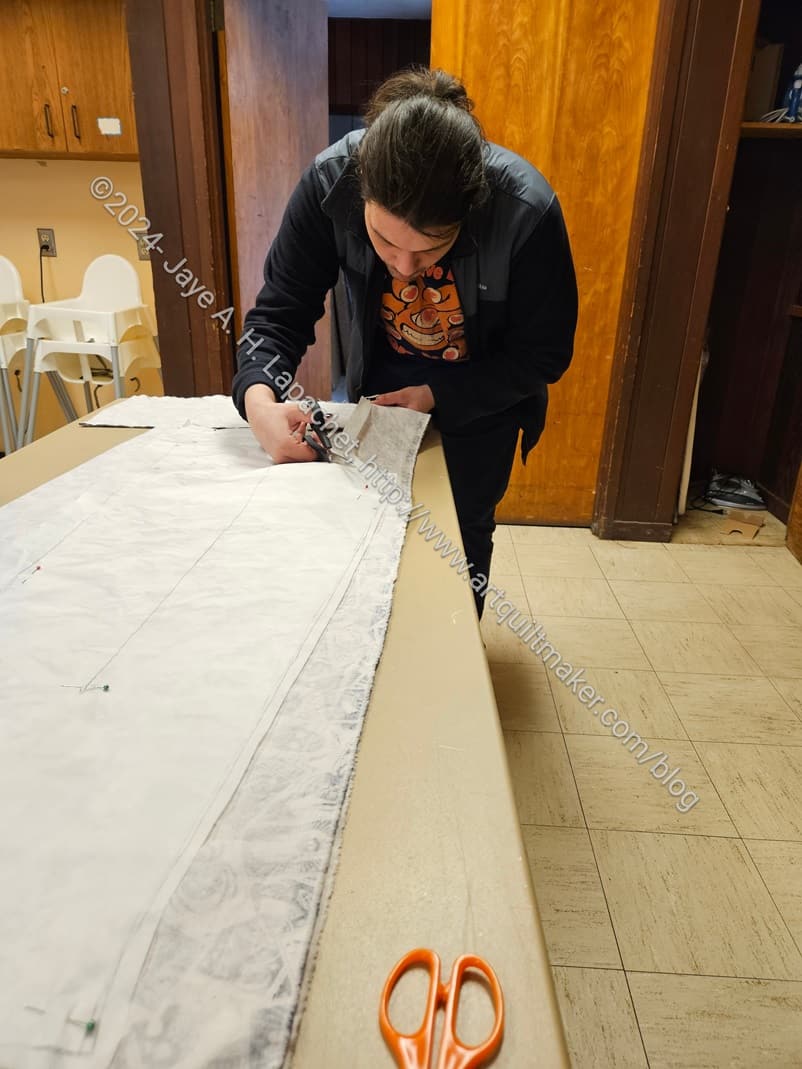
YM prepping the pattern and fabric
Mary started out helping the YM, but I took over partway through as she was doing some handwork. I didn’t think it was fair to make her keep getting up.
There was a table set up near the kitchen and Mary suggested he work there. It was actually perfect, because it gave him plenty of room to work. As a bonus, I could get steps in walking back and forth.
He made a pattern with tracing paper first and did all the prep. He was surprised at how long the prep takes. I was reminded of my complaints about cutting out bags. Like mother like son, I guess.
YM Sewing pajama pants
He eventually got to sewing. My promise that the prep was worth it all came true then as the pants went together very quickly.
I brought my travel sewing machine with us. I was afraid he wouldn’t get to sewing and it would have been a waste, but he did get to the sewing part.
He needs practice, because some of his seam lines wandered a bit, but the more he sewed, the better he got.
YM and his almost pj pants
He almost got the fabric to look like pants by the end of Sew Day. You can see in the photo that the outer seem is just clipped. They do look like pants, though.
He sewed the outer seam and zigzagged all the seams the next day. We only have to do the elastic in the waist and hem the bottom and he will have pants.
I suggested that he make a few pair to get into the groove. I explained to him how I like to make a bag pattern a few times to get the feel of it. I don’t know if he will do it, but he didn’t dismiss the idea out of hand.
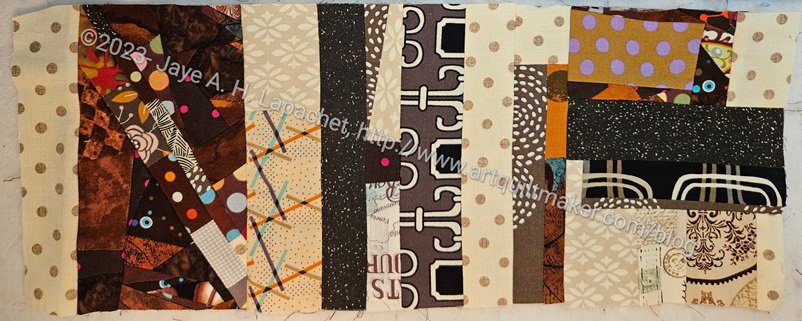
No more brown for me for awhile. I sewed this ‘slab’ together, but am out of brown scraps. As a result, I gave it to Marty to work on at Sew Day the other day. I don’t know what she’ll make with it, but something. I am more interested in the grey and black slabs
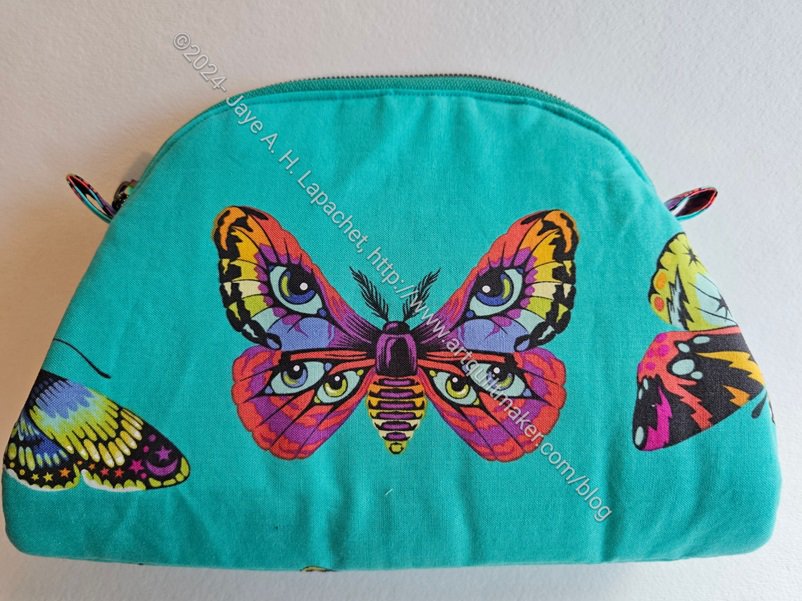
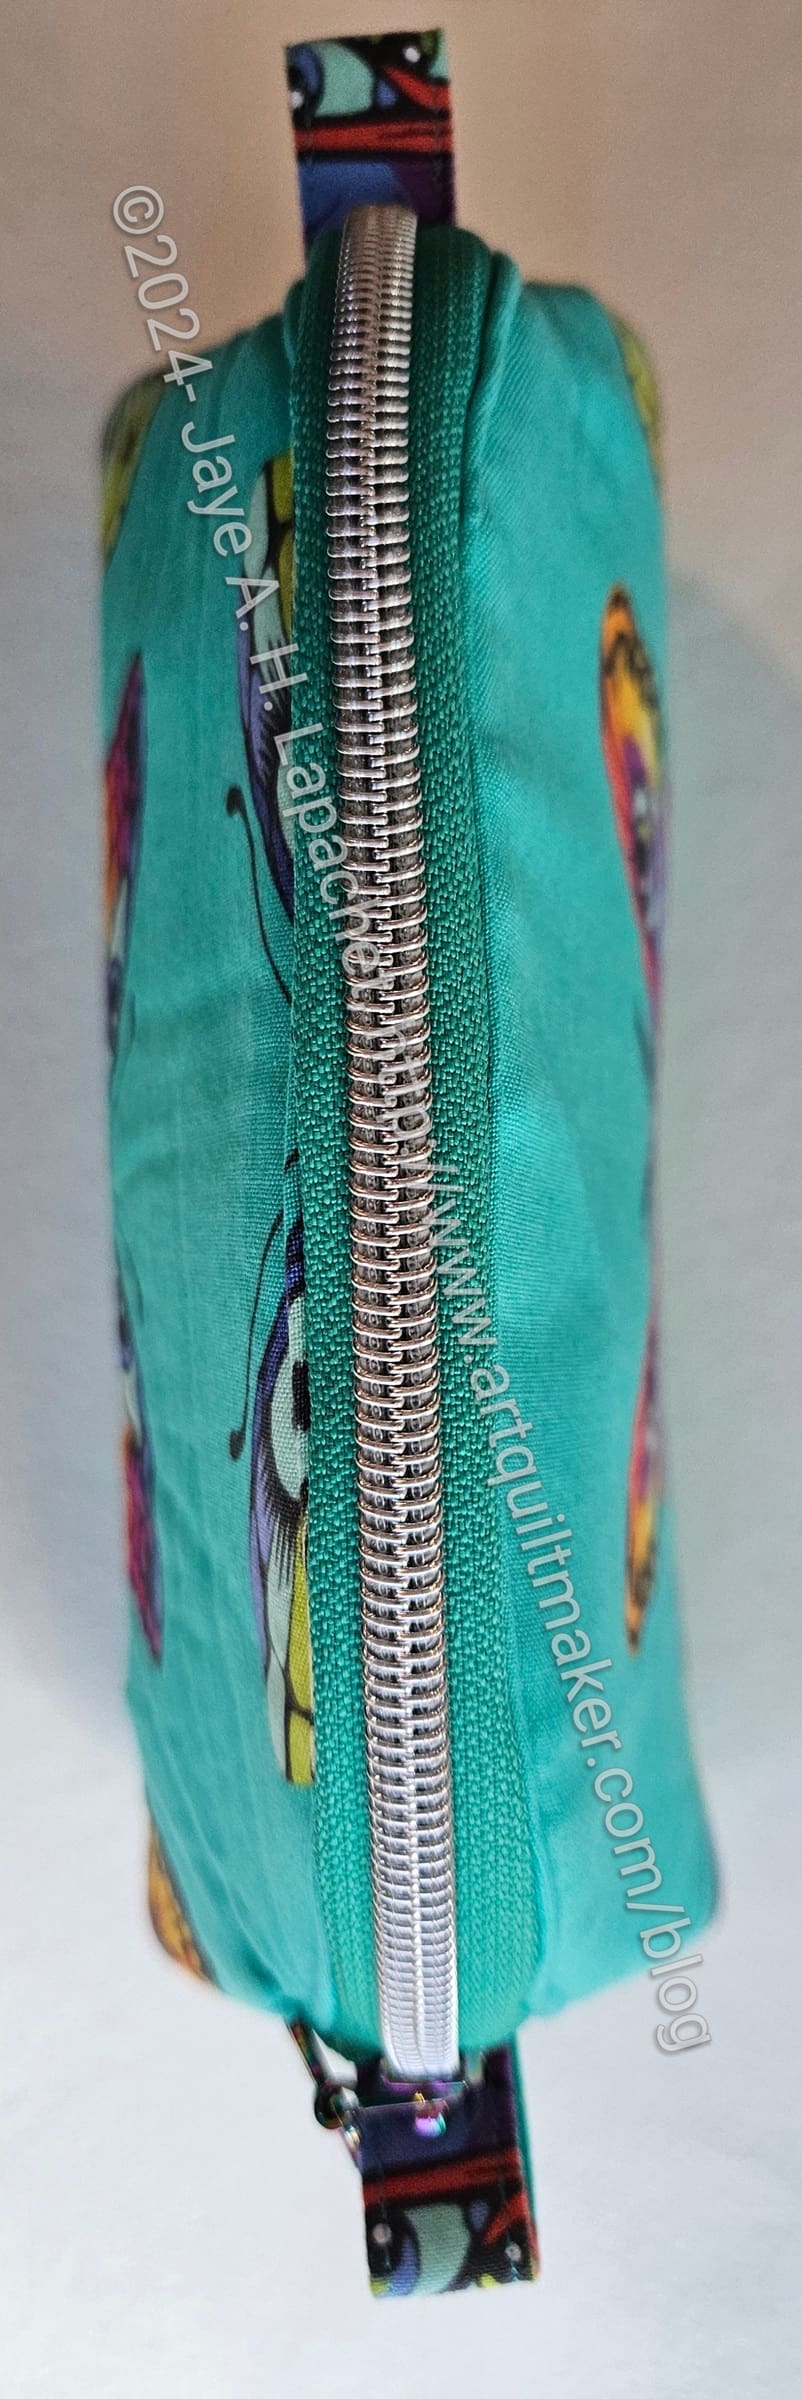
The Palomino is finished! I am going to make another one right away. This pouch has only a few pieces and with the way the side panels and zipper are inserted, it is very easy to put together.
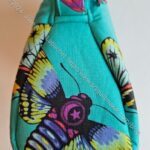
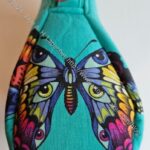
This is a gift for a friend and the fussy cutting is important.
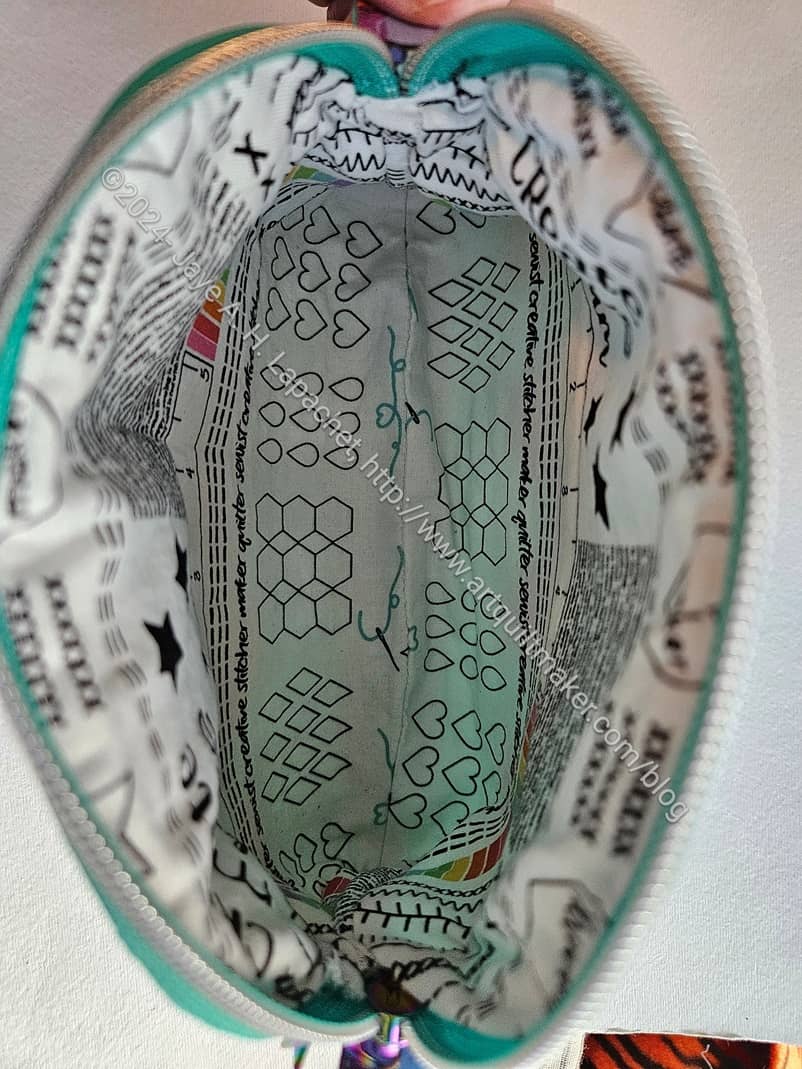
Palomino Pouch-lining Finished
It really went together pretty well, in general. I had some trouble inserting the lining. It does have the same glue closure as the Piebald. Not so great as I missed the instruction to stop at the 1/4 inch mark when sewing the lining together, so the edges shredded a bit (Moda fabric) when I ripped out some of the stitching. It would be really helpful to have a free arm when making this pouch. Now I know, so I’ll do better next time.
No drop-in lining or binding: perfect.
Palomino Pouch-top Finished
The zipper I used is one of the set I bought from Sew Hungry Hippie. I wonder if Natalie of SHH collaborates with Tula on the colors? The green matched the butterfly fabric exactly.
I thought it might be a little big, but the pattern called for a handbag zipper. I tried two zipper pulls, but it didn’t work with this pouch design so I took one off.
Palomino Pouch-side Finished
Palomino Pouch-side Finished
I took the opportunity to fussy cut the side panels as well. I can’t help that these motifs run into the partial motifs on the main panels, but I still think the side panels look good.
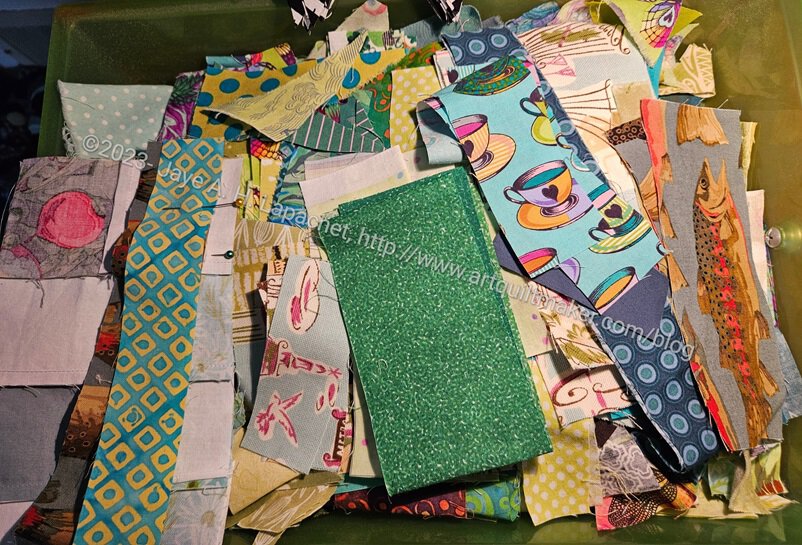
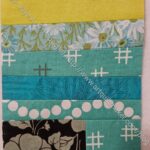
My green scrap drawer has been full for awhile and now that I have made FIVE quilts from my black-grey-brown scrap drawer, it is time to move on. I really can’t get over how many quilts I made from the black-grey-brown scrap drawer. It is somewhat shocking, especially since I haven’t finished the grey improv piece or the black improv piece.
Green strip block #1
Green strip block #2
I have already made a couple of green blocks and have several in process. I am also working with smaller scraps to start the improv donation quilts now. It may turn out that I use some combined smaller pieces in the strip/chunk blocks. We’ll see.
The original green strip donation top was one of the first in this series. It is interesting to see how the various quilts, using the same sort of blocks has developed. I think I didn’t completely empty out the bin when I made that quilt, but I don’t remember. I am much more diligent about using every scrap now.
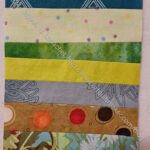
Yes, I have made some good progress and I really like the way it is turning out. This piece is approximately 24.5 w x 17.25 tall. I have some sewing to do before it can be considered large enough for a donation quilt. Still, I really like it and it is shaping up nicely.
I am still concerned I won’t have enough scraps to make it large enough. I am trying not to worry about it. Sometimes I can’t help it.
I am not really wicked nor am I green, but some of my post titles have been super boring lately, so I thought I would shake things up.
The green scrap drawer is too full, which is good, because I can move on to a new leaders and enders project. It is bad, though as I have plenty of other things I want to do as leaders and enders. Still, I was enjoying making strip blocks, so here we go.
One burning question is WHY do I have so many green scraps. I can remember making things out of a few of them, but not most. How are all of these green scraps multiplying?
On a side note: that large green Pointillist Palette piece is going to get cut up into smaller pieces to be part of a Niece-phew quilt.
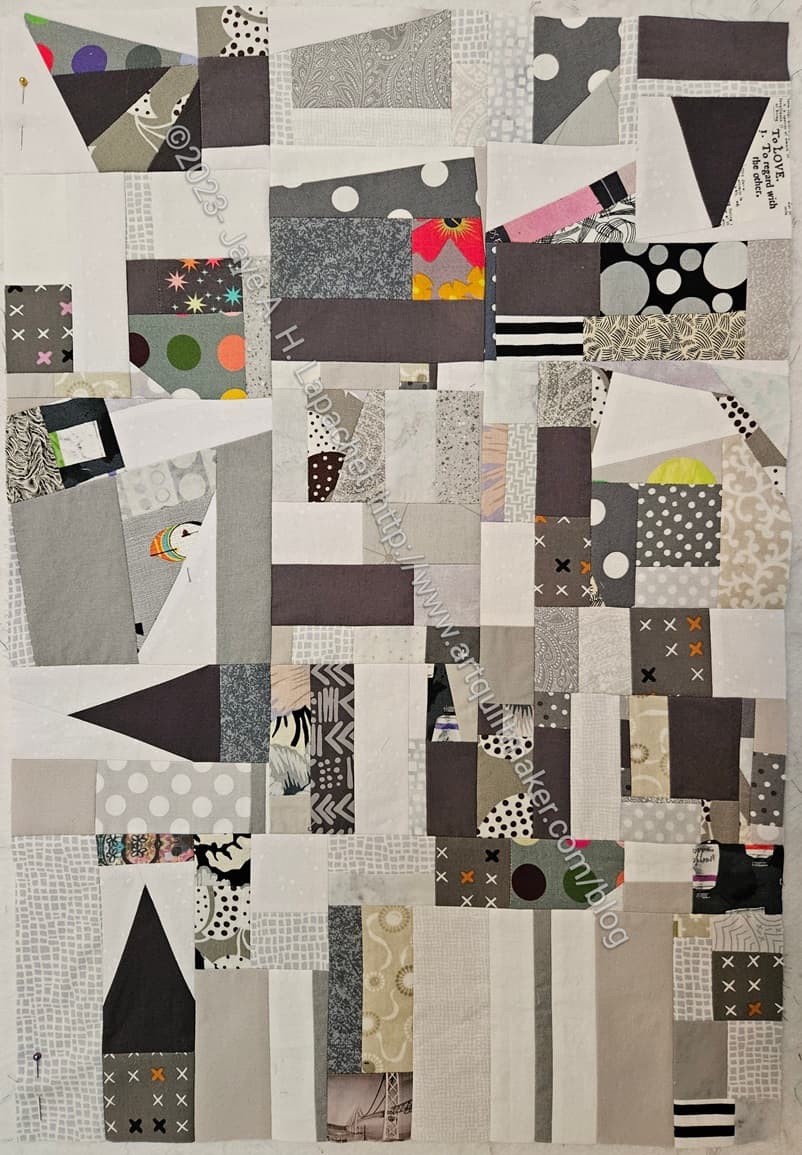
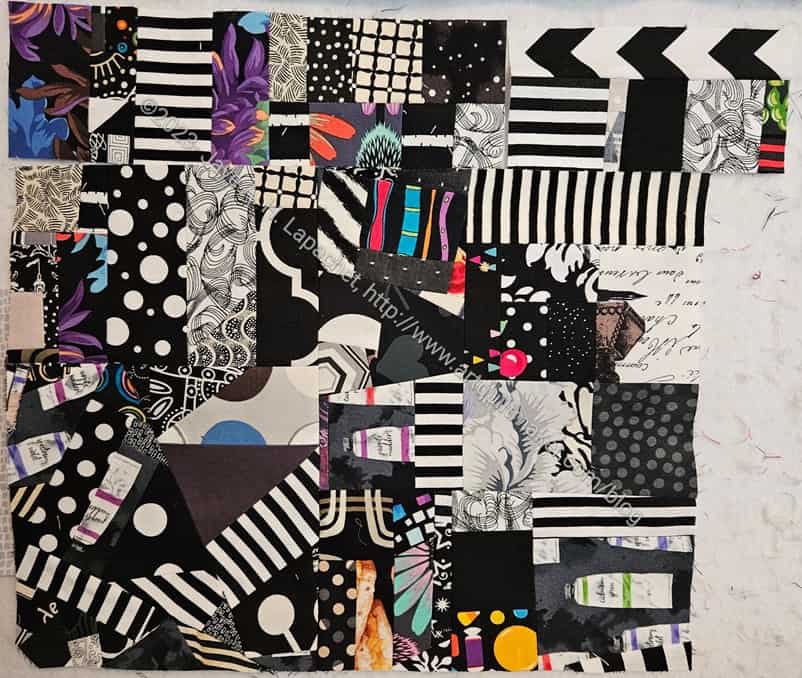
It’s been a few weeks since I talked about this piece. The black pieces are getting larger and my scrap bin is getting emptier.
This is a lot more active than the grey, which you will see in a few days. Those stripes really make this piece dynamic. I think it needs some space for the eye to rest, though. I’ll have to work on that.
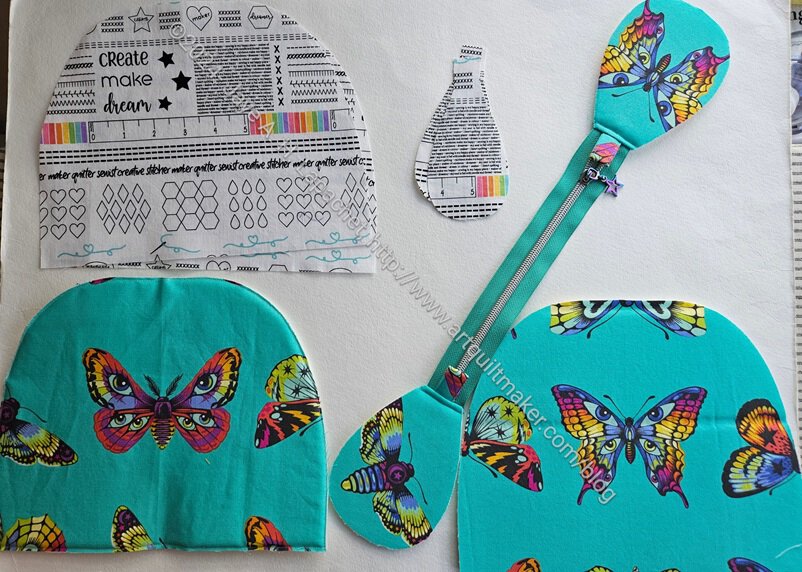
This is another pattern from Minikins Season 3. For some reason, it struck my fancy and I decided to make it.
One of the things I already like about the pattern is that you sew the zipper to the side panel as one of the first steps. That means that when I sew the zipper to the main panels, I will sew the side pieces as well.
I did some fussy cutting of the Tula butterfly fabric, as you can see.
I had some trouble cutting this out with a rotary cutter, because the side panels have an interior 90 degree angle, which doesn’t work withe a rotary cutter. I ended up drawing lines around the template and cutting it out with scissors. I used WonderClips** to keep the fold in place while I cut the pieces out.
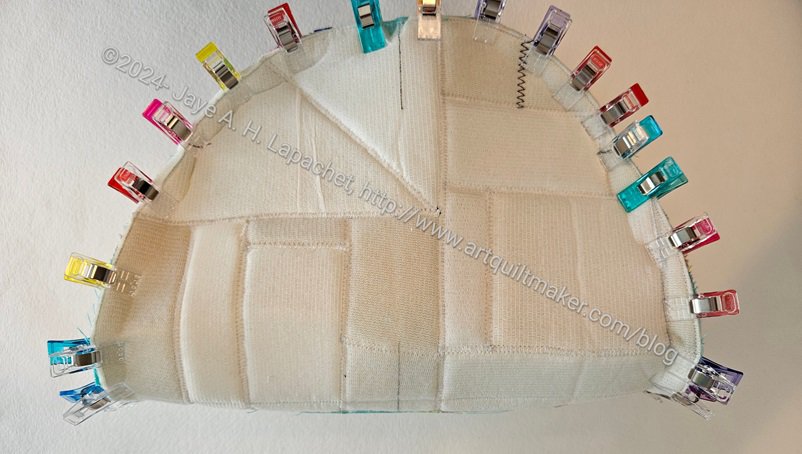
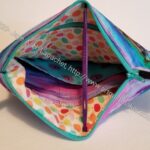
Palomino pouch inside
This picture (right) shows getting ready to sew the zipper and the side panels to the main panels. I used some Frankenfoam and hope that works out. I used some quite small pieces. Apparently, I can’t throw anything out! Pouches are a good use for Frankenfoam, however.
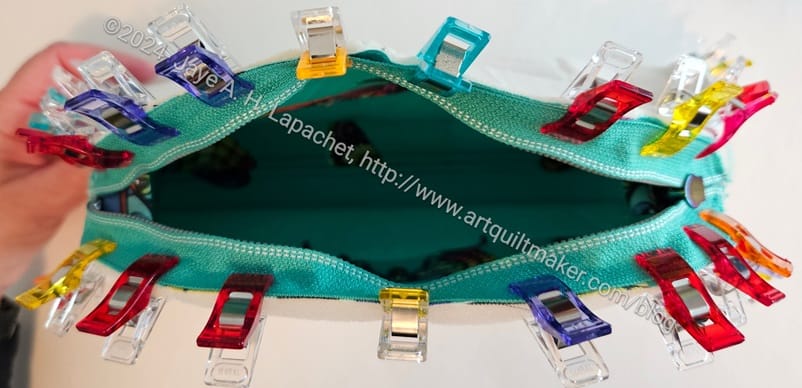
Palomino pouch in process
This is the same picture as above, but from the top. Stay tuned for the finishing.
**N. B. : Obviously, you should shop at local quilt shops and small businesses. However, if you are too busy or can’t find what you need there, I use Amazon affiliate links and may be paid for your purchase of an item when you click on an item’s link in my post. There is no additional cost to you for clicking or purchasing items I recommend. I appreciate your clicks and purchases as it helps support this blog.
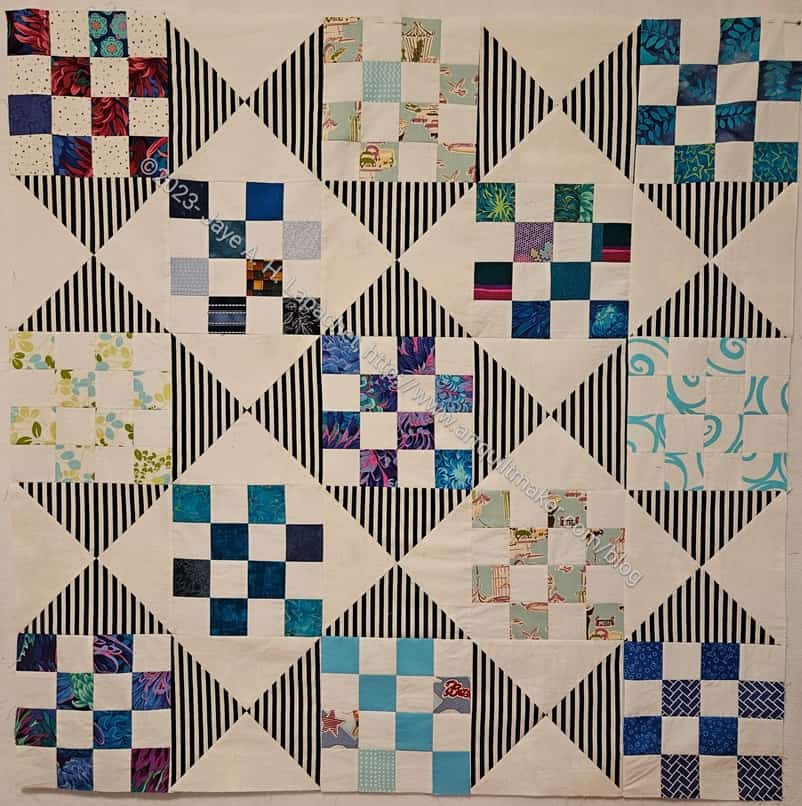
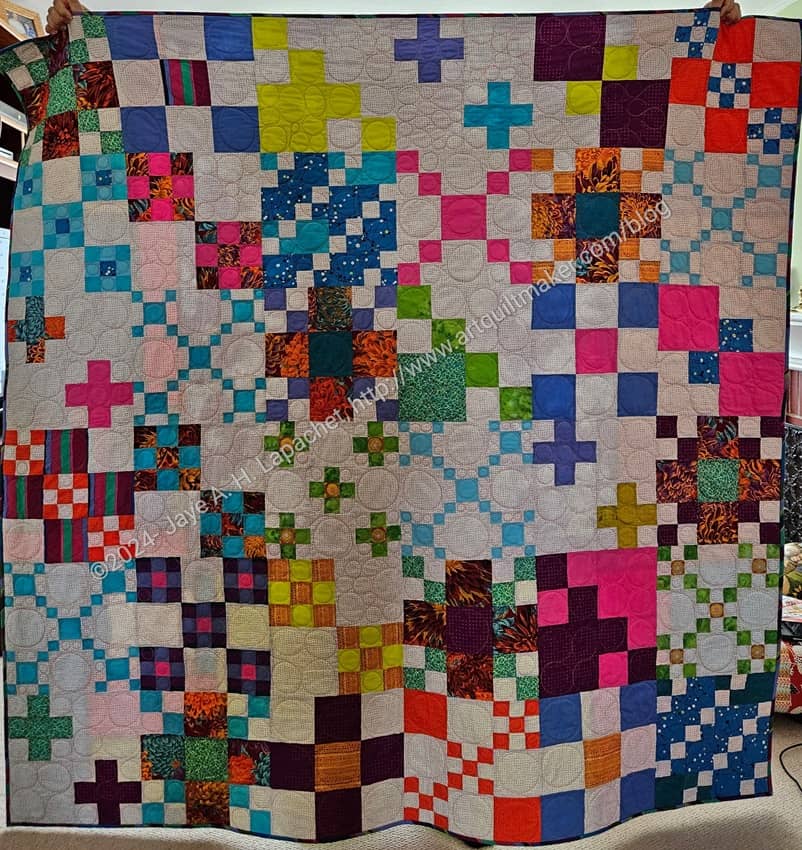
I finally finished Scrappy Celebration! I am well in time for my niece’s wedding and shower. Now I just need to decide if I want to enter it in the Fair.If I do enter it, I’ll have to add a sleeve.
I don’t have much else to enter. If I do, it would mean not giving it to her at her shower, but I think that would be ok.
I am pleased with how it came out, but I think I want to make another quilt, or something complicated, with my man Phil’s Chrysanthemum print. I don’t know why I like the colors so much, but I do.
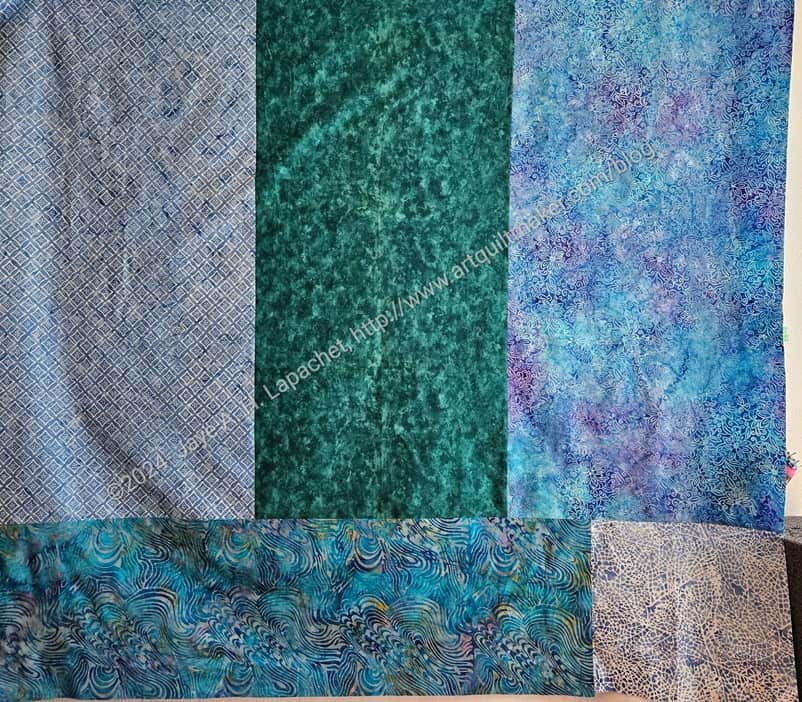
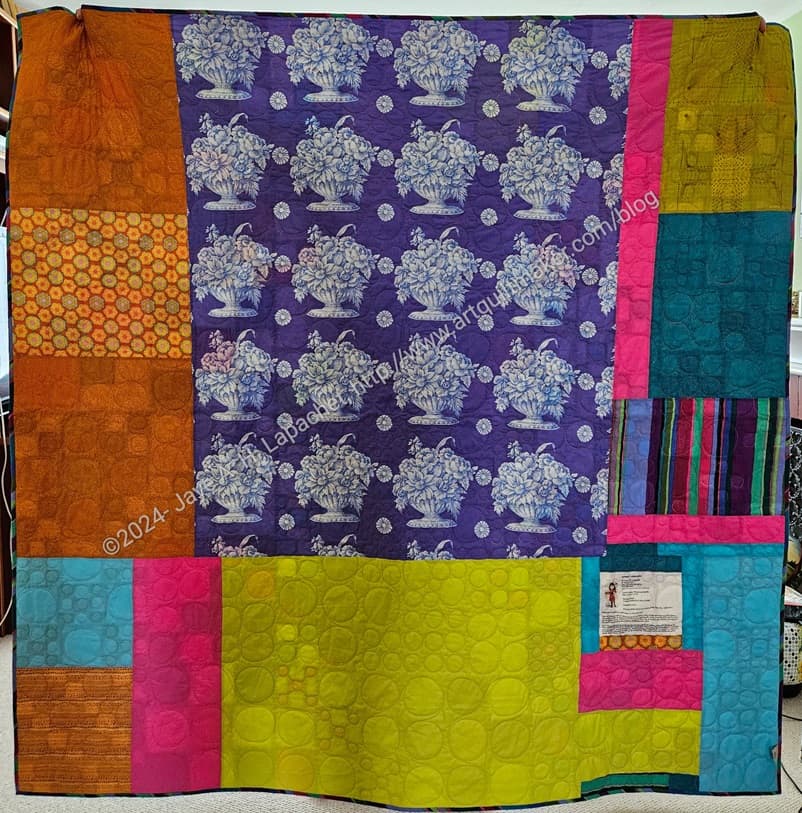
Scrappy Celebration – back
The back isn’t super interesting. I was reading the New Jersey issue of QuiltFolk. They said that this type of back makes the quilt a 2-sided quilt! Who knew?
I still don’t really have a plan for 2024 in terms of sewing. I am just not sure what type of projects I want to focus on. I am starting to think that finishing a lot of UFOs was a bad idea. It left me sort of feeling like I don’t want to generate more UFOs.
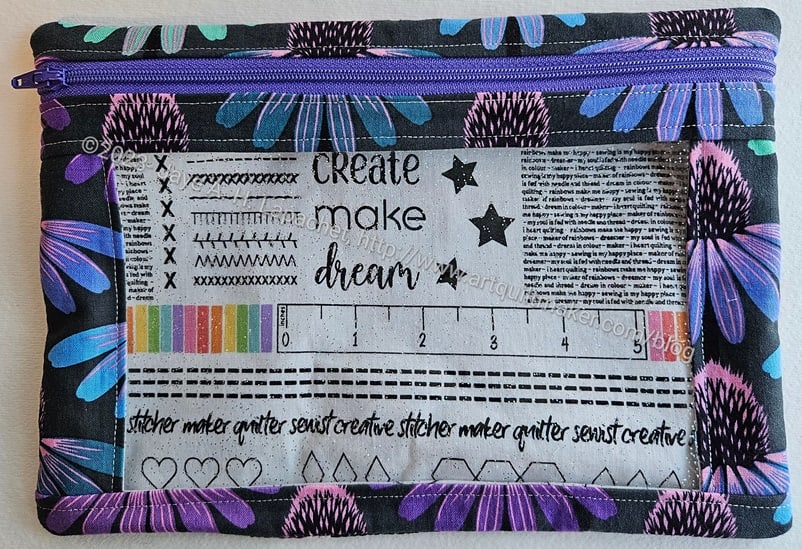
Create * Make * Dream I Spy
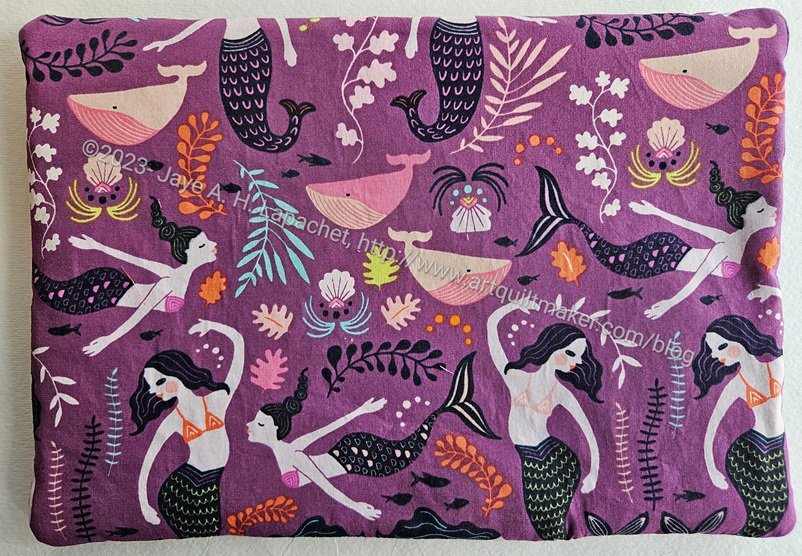
I still want to sew, so I fell back on my potato chip project: the I Spy pouches. I have some templates coming from Sew Sweetness so I thought I would get ahead of the game and make the pouches in advance. The first one I finished was the Mermaid pouch AKA the Create * Make * Dream I Spy.
Create * Make * Dream I Spy – back
I used a different coneflower colorway than I did in the last I Spy. Surprisingly, I didn’t have as much of it as I thought, so the three pouches I made are sort of scrappy. This one looks relatively normal from the front, but I used a mermaid print for the back.
I bought this fabric on a whim at Cool Cottons in Portland last year, possibly for a bag for my sister. This is the first time I have used it, however. It is a fun fabric and I am glad I will have a little piece of it for myself. I still have enough left to make something for Lil Sissy.
I haven’t put any templates in yet, but it will be used for acrylic bag templates.
The other day I wrote a post about gifts for Gerre. I thought I would write one for the gifts I have made for Carrie as well. I thought I had made more, but I have only been making bags for her since the pandemic.
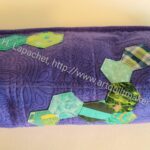
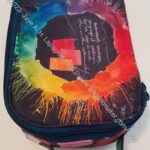
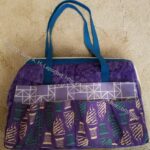
As I said the other day, I had three gifts to make in the early part of March. One of them was a birthday gift for Carrie. Since I was pressed for time, I made a lined drawstring bag. I did an assembly line with Gerre’s bag and got them done in an afternoon.
You can’t see it very well, but I tried to fussy cut an entire color wheel for the outside of the bag.
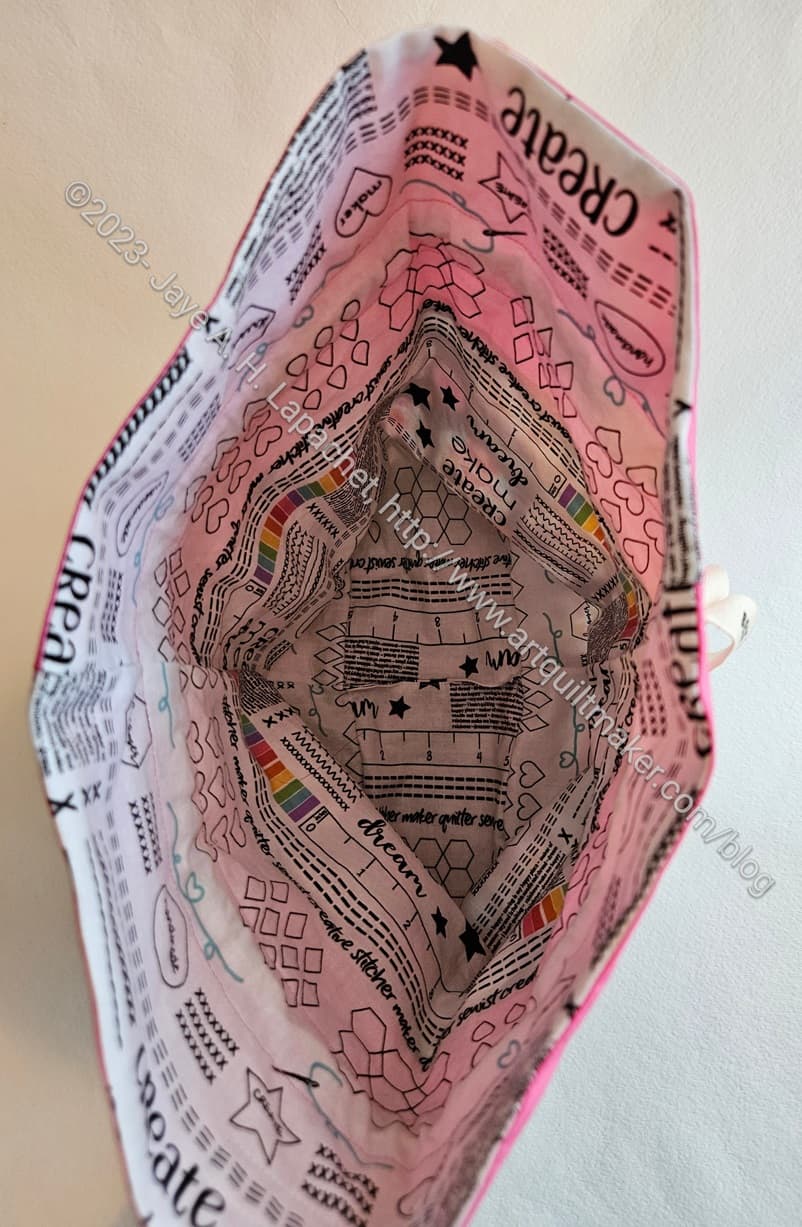
Carrie’s Lined Drawstring Bag – interior
I use some of the Create ‘I’m a Maker’ fabric I bought just for this purpose. I installed it upside down, but Carrie can see it easily when she looks at it, so I am going with that as a design choice. 😉
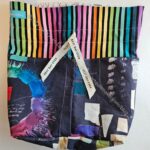
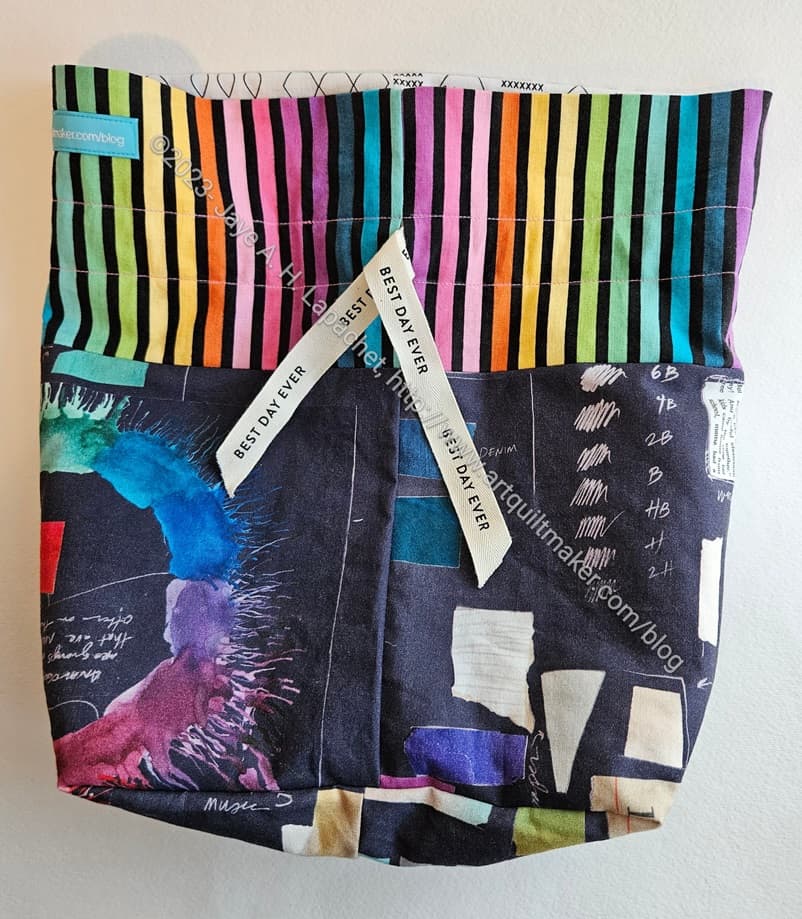
This time I put labels on the outside of the bags, which I thought looked nice. I didn’t stuff them and take pictures (see above reference to time pressure).
I find it useful to keep track of all the gifts I make for my friends – and my Mom. It is really fun to see them all together. It is also useful to know what I have made, so I get an idea of what new patterns I can use going forward.
Gerre’s EPP Travel Pouch
Gerre’s Journal Cover
Gerre’s Pillowcases – February 2019
Gerre’s Classmates Tote
Gerre’s Mega Pinnie Gift
Sewing Machine Mat from above
Gerre’s Purse Organizer (#2) – inside
Gerre’s Eye Mask
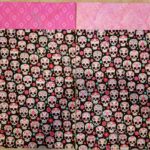
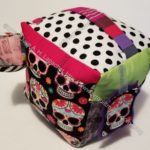
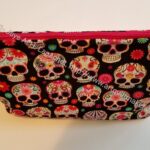
Large Sugar Skull Retreat pouch
Sheffield Tool Tote – front
Scissor Cozy for Gerre
Gerre’s Project Bag
Gerre’s Project Bag #2
Gerre’s project bag #1
Lined Drawstring Bag for Gerre
I can see that I could make an I Spy pouch for her for sure. Perhaps I should make those this year for all the bags. Still, I do enjoy trying new patterns and I have several to try, so we will see. I like to make useful bags and the I Spy pouches are very useful.
It is also fun to see the Mega Pinnie. I had forgotten about that. It might be time to make another. I have a whole bag of poly stuffing and no project in sight for that.
It is pretty amazing that I have made 15 gifts for her. It started out as a way to make her smile and has become a tradition, at least for me.