<Nota bene: This is an updated version of a previous tutorial>
TFQ taught me this method of putting quilts together. I have adopted it as my own and use it for block-based quilts. Very occasionally I’ll put a long border on after the center of the quilt is complete, but otherwise I try to avoid the long seams required to put quilts together in rows.
Using this method, usually I have only one really long seam to sew at the very end and 1-2 mid sized seams.
This technique improves accuracy when you have sashing and cornerstones, but also improves accuracy with just sashing. If you have no sashing, then the pieces are much easier to handle.
Occasionally you will have a quilt where chunking is not appropriate for one reason or another, thus it is good to know many techniques, so you can choose the one that is most appropriate for the creative vision you have.
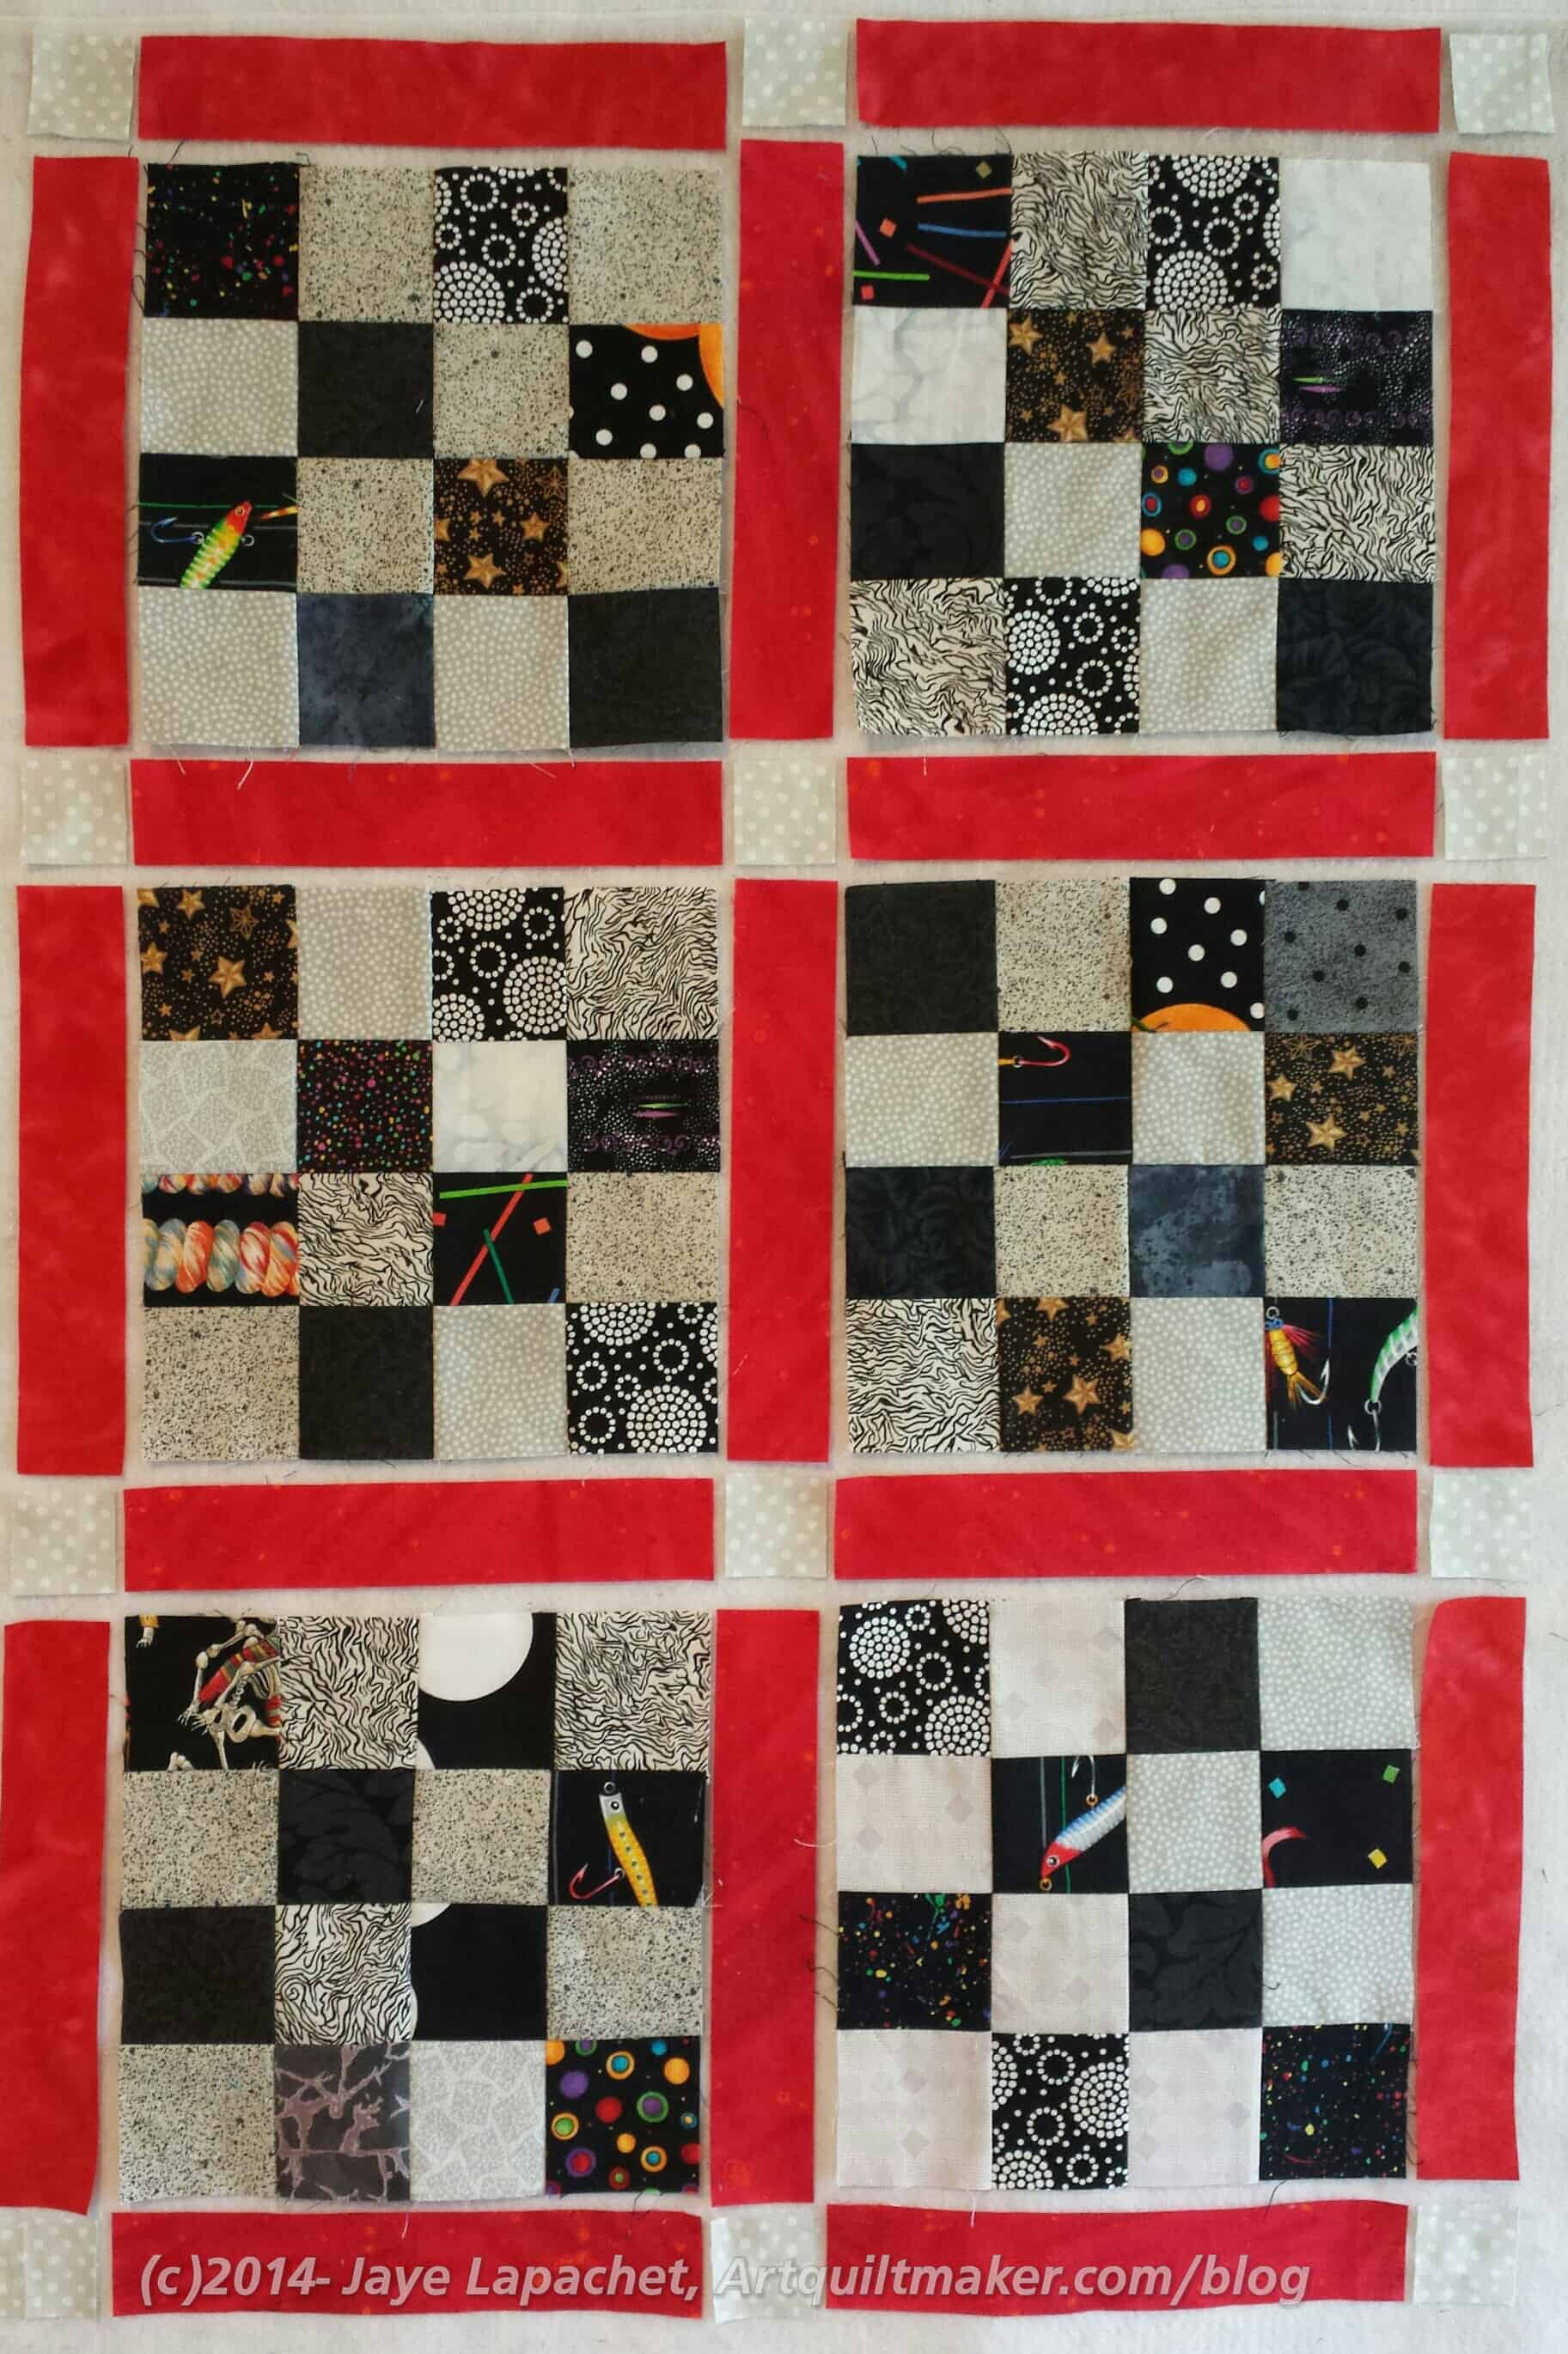
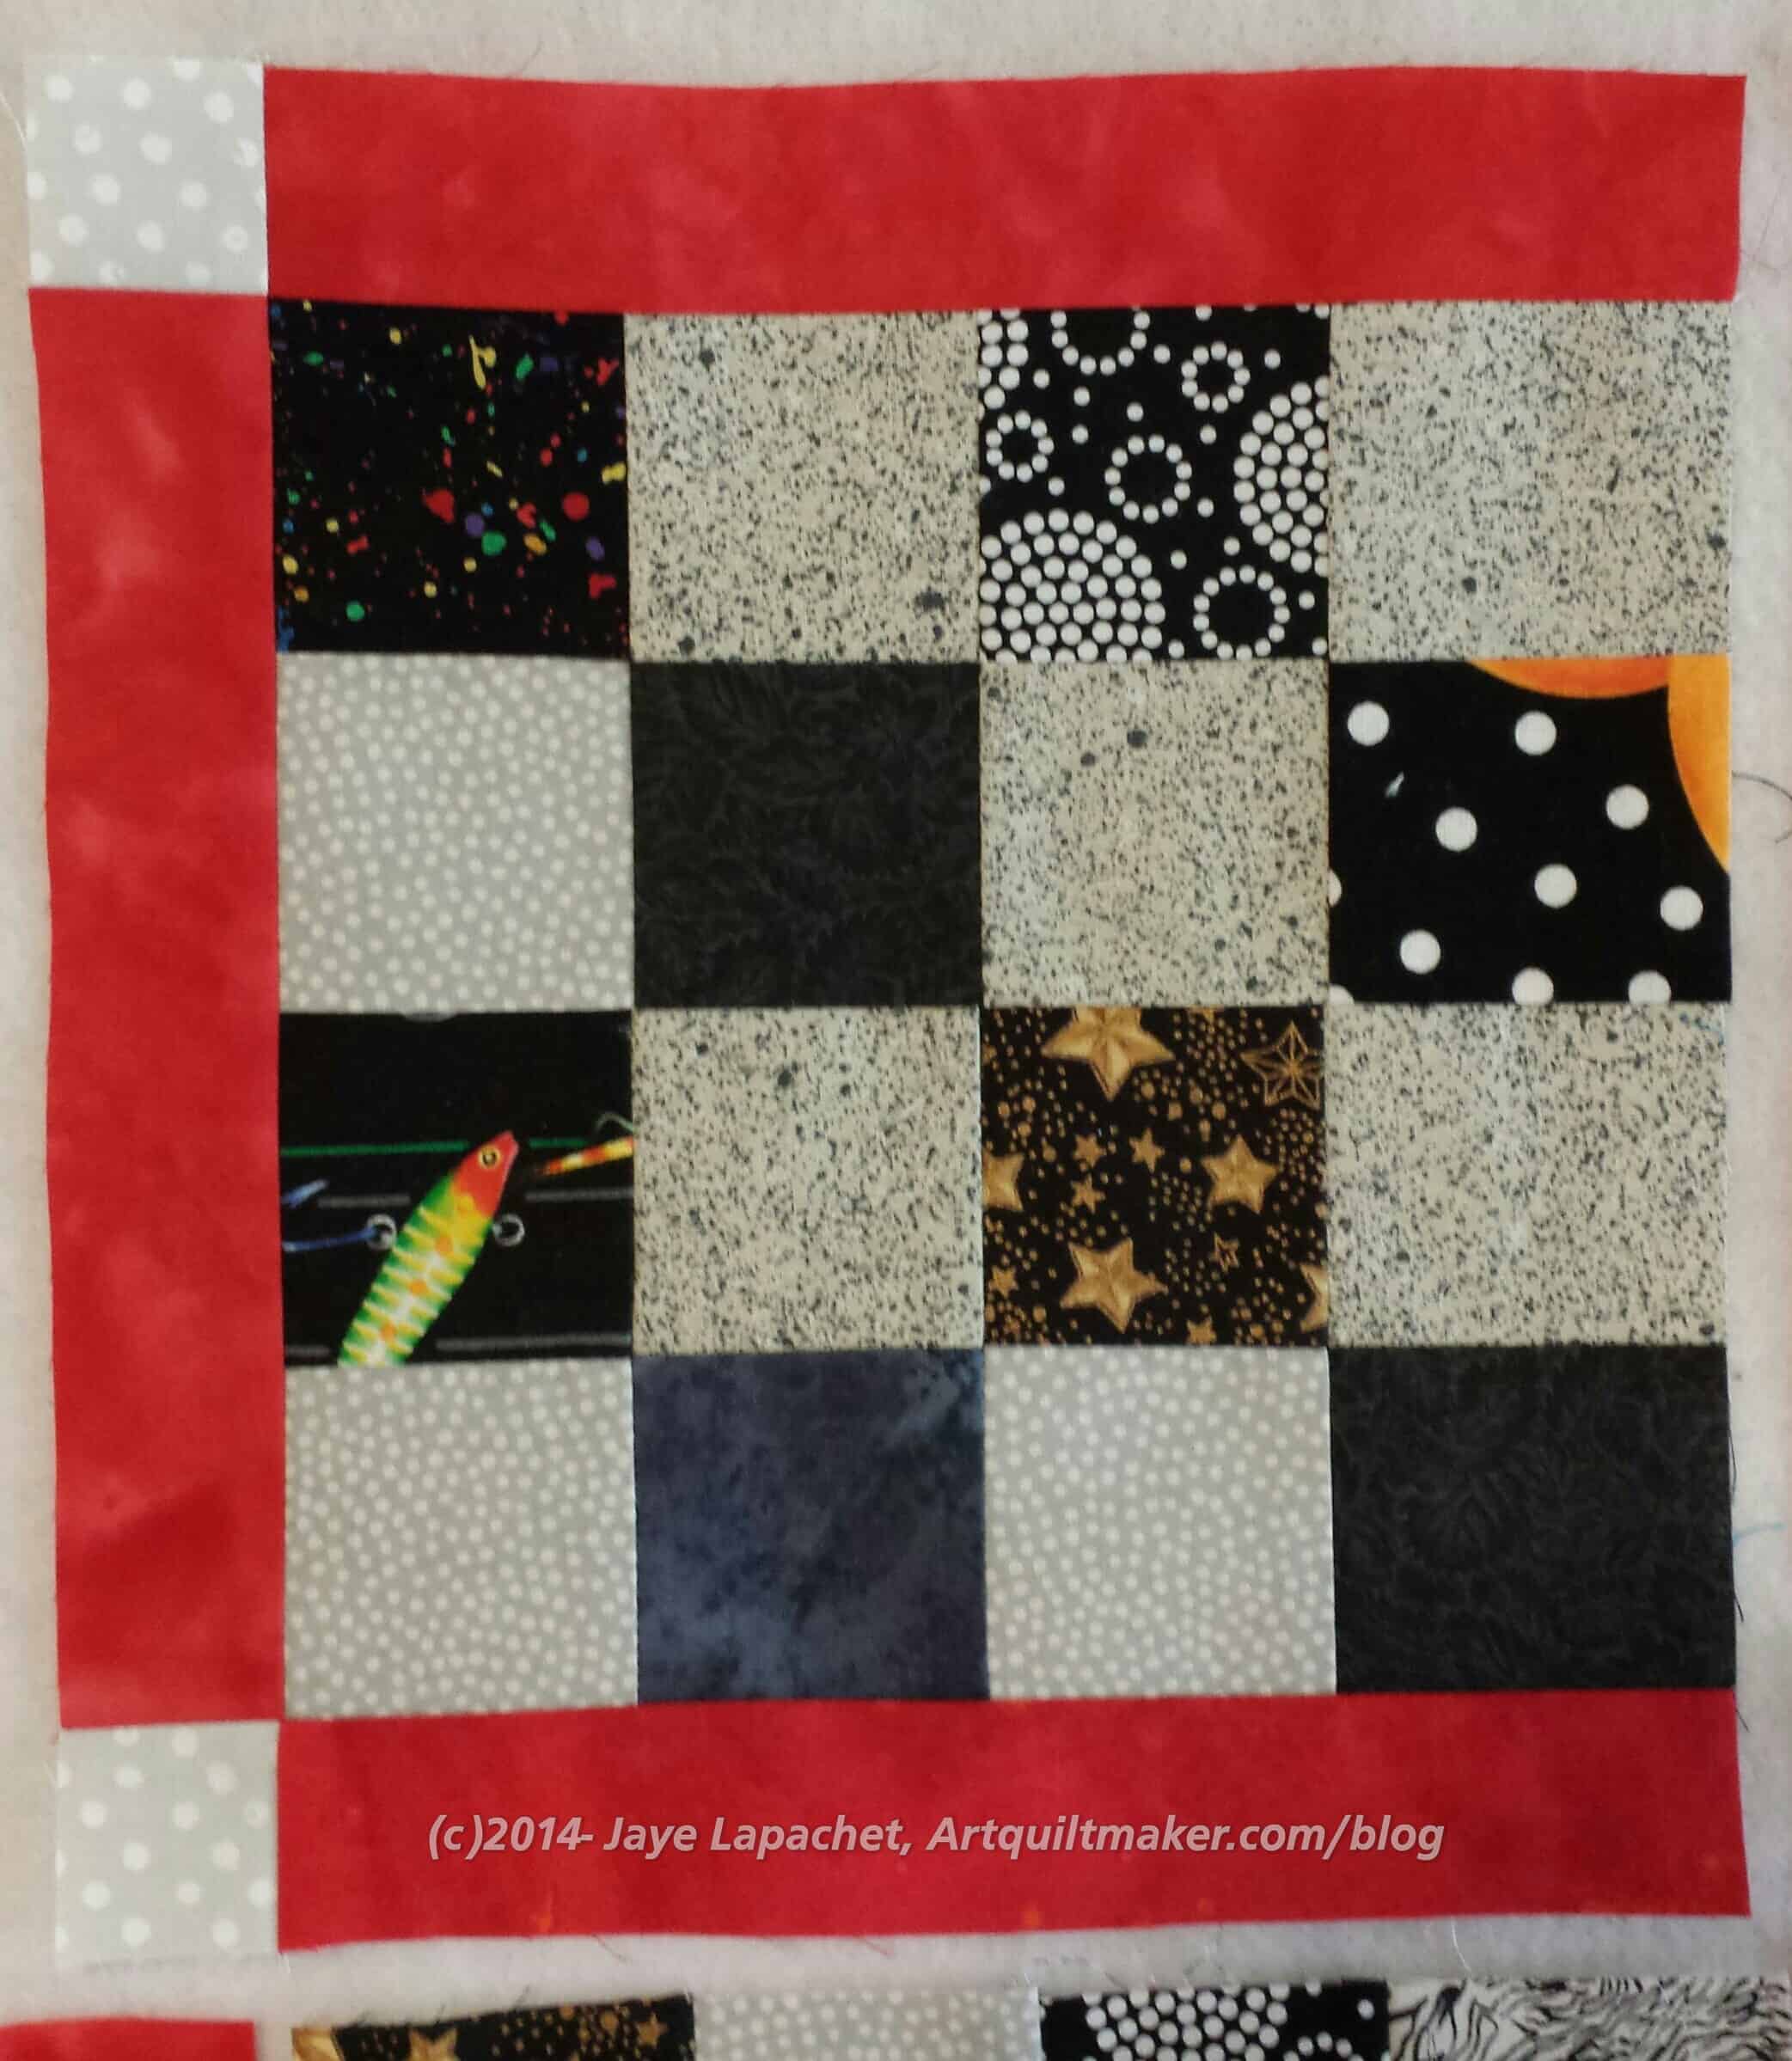
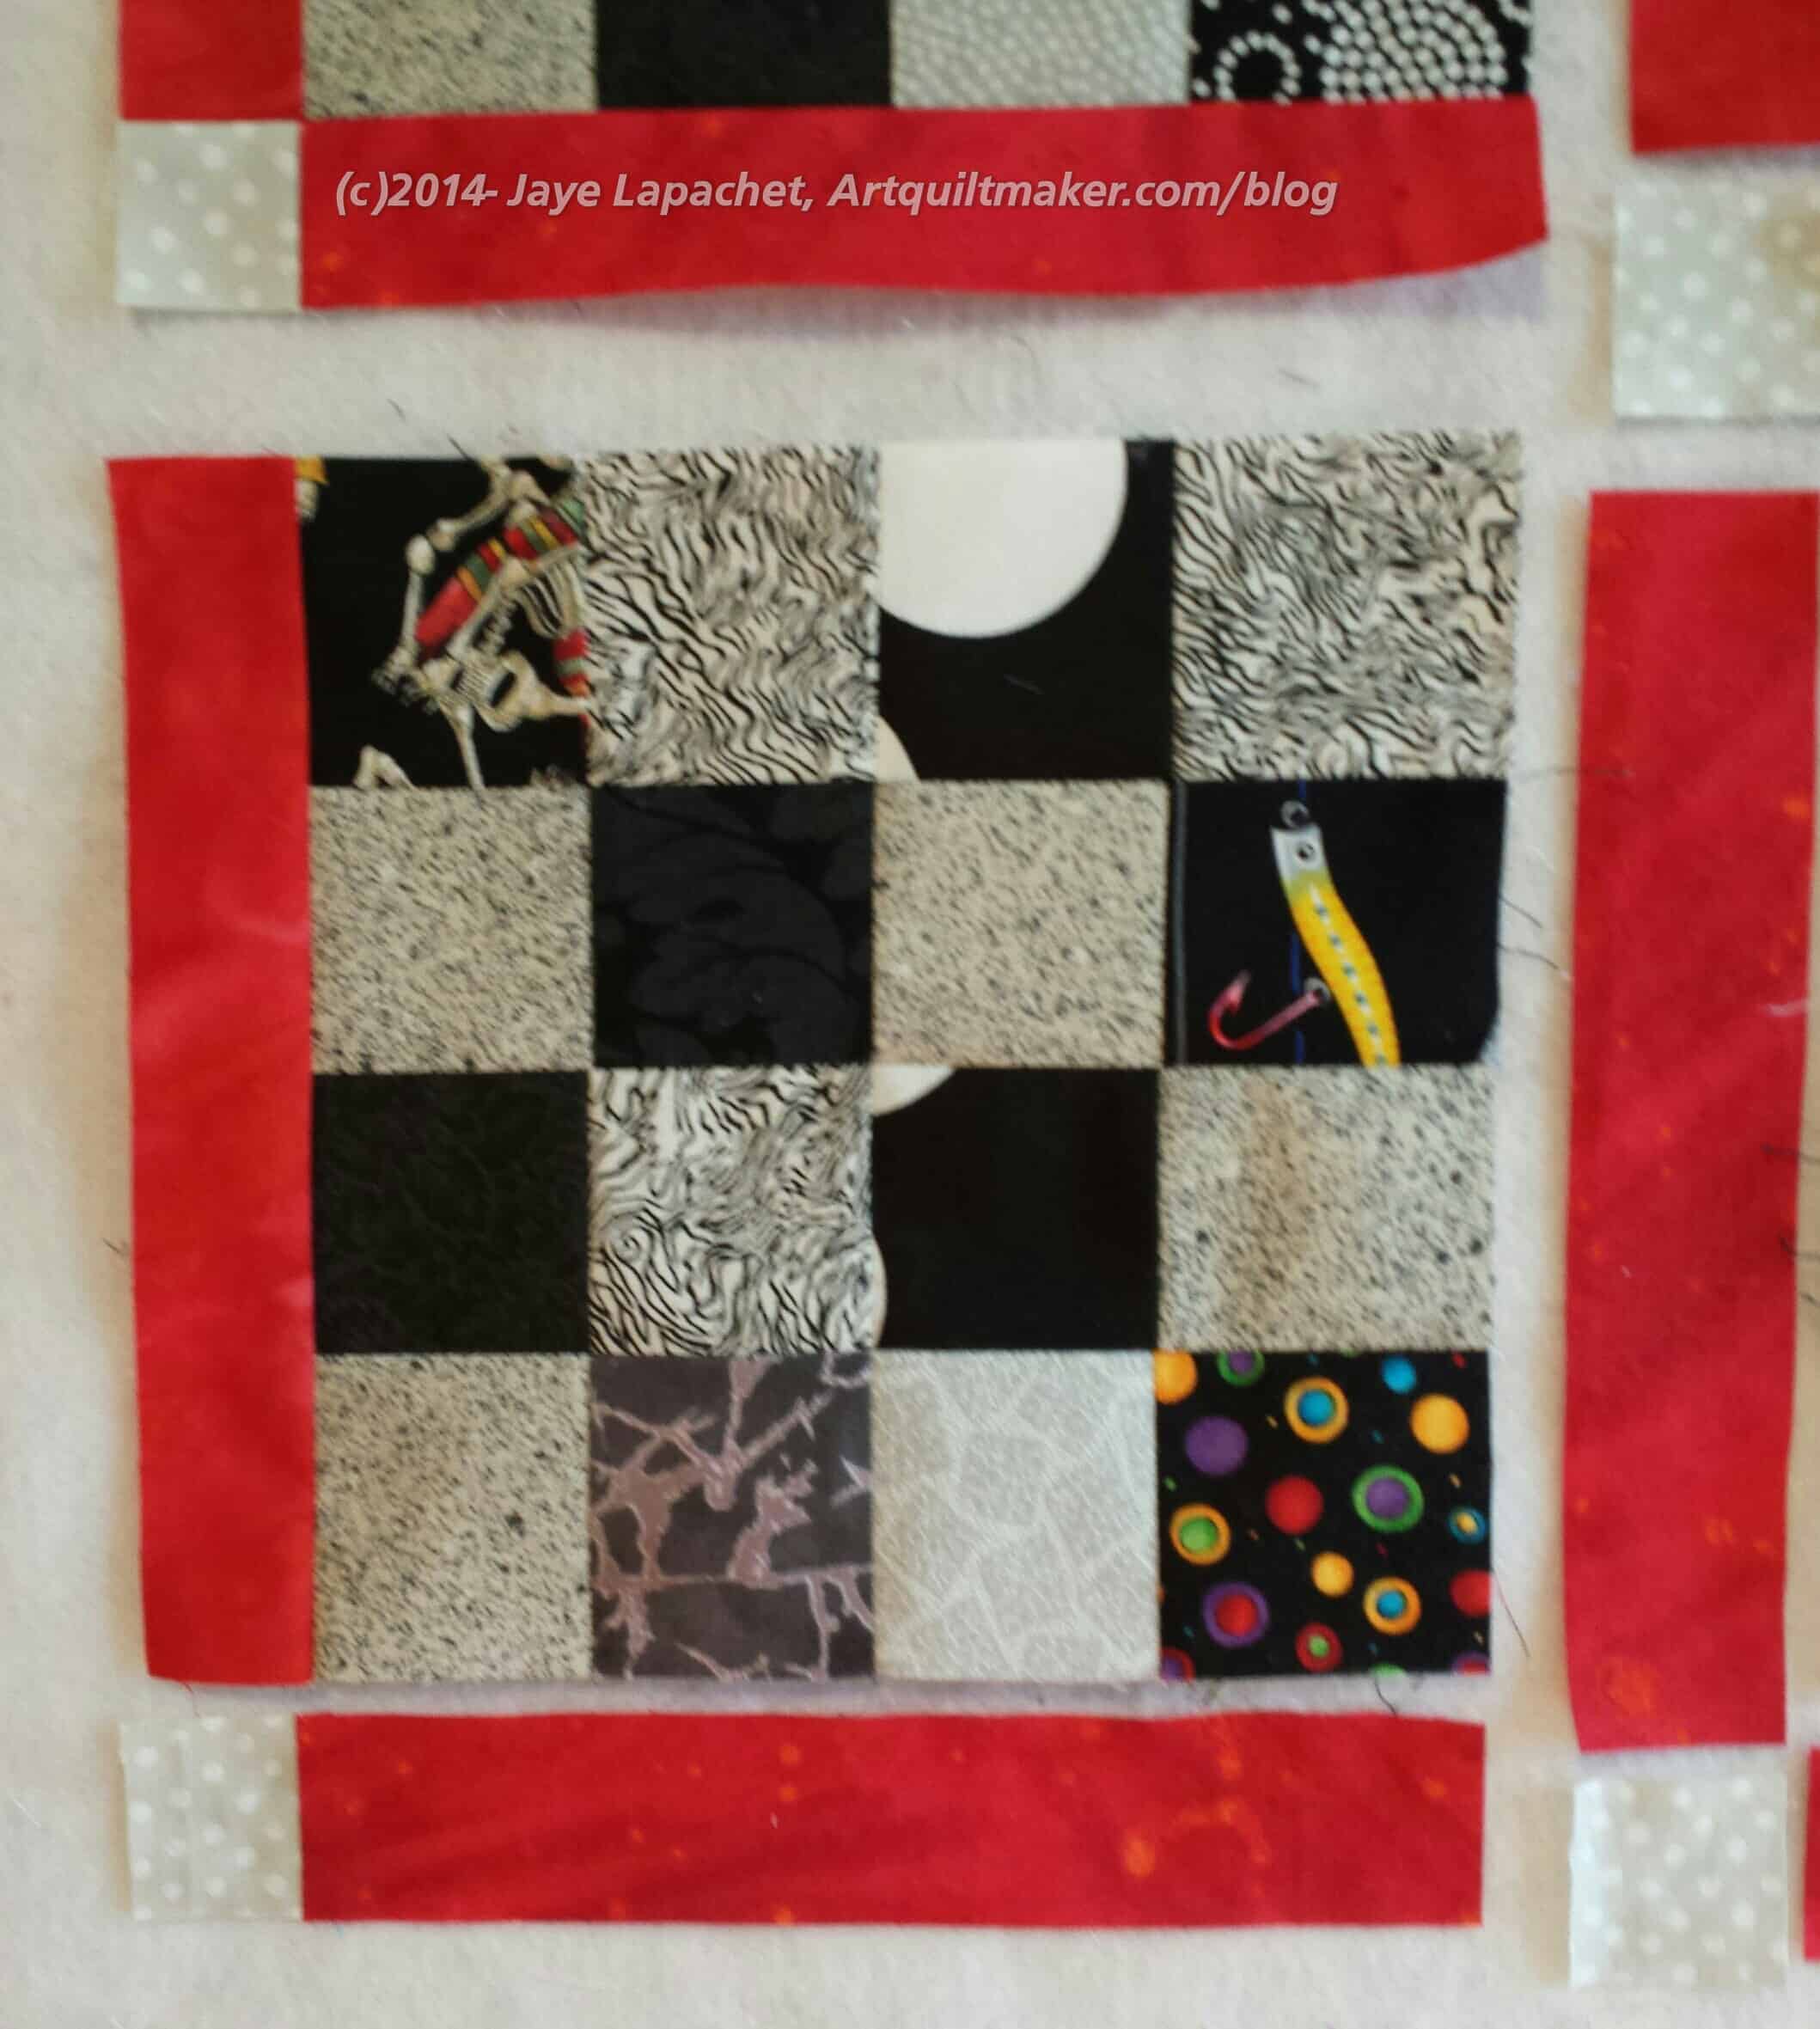
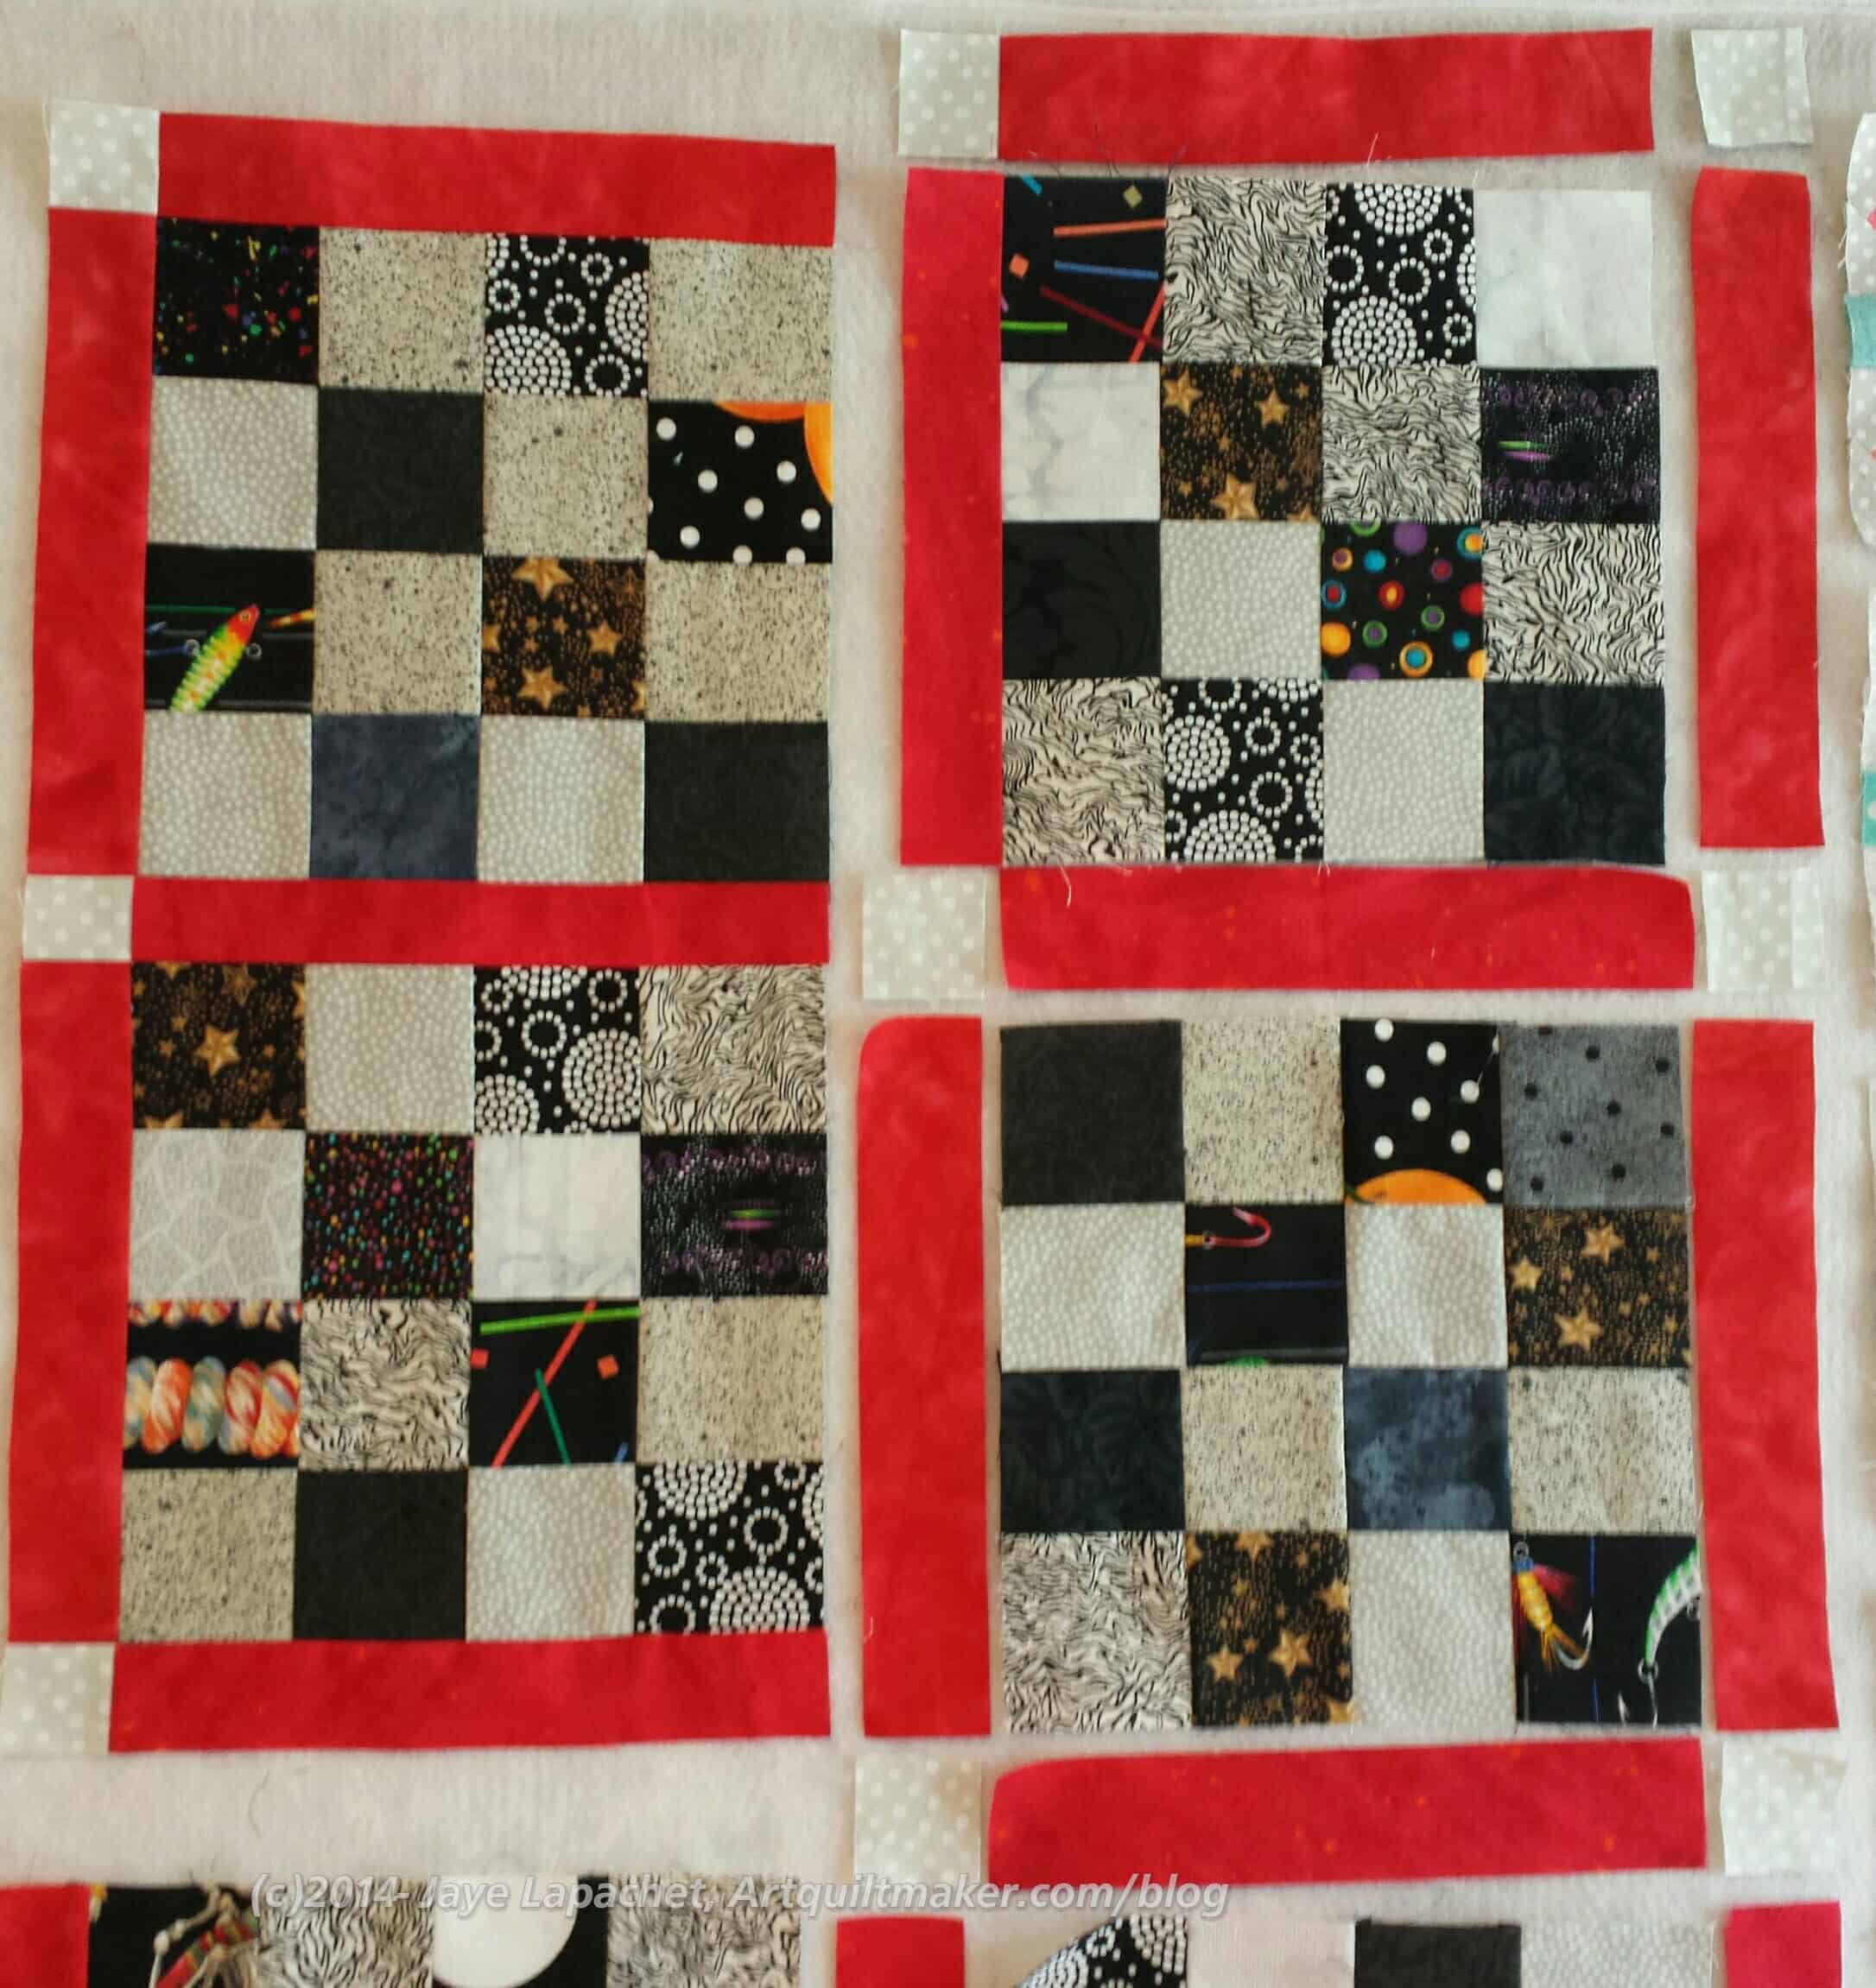
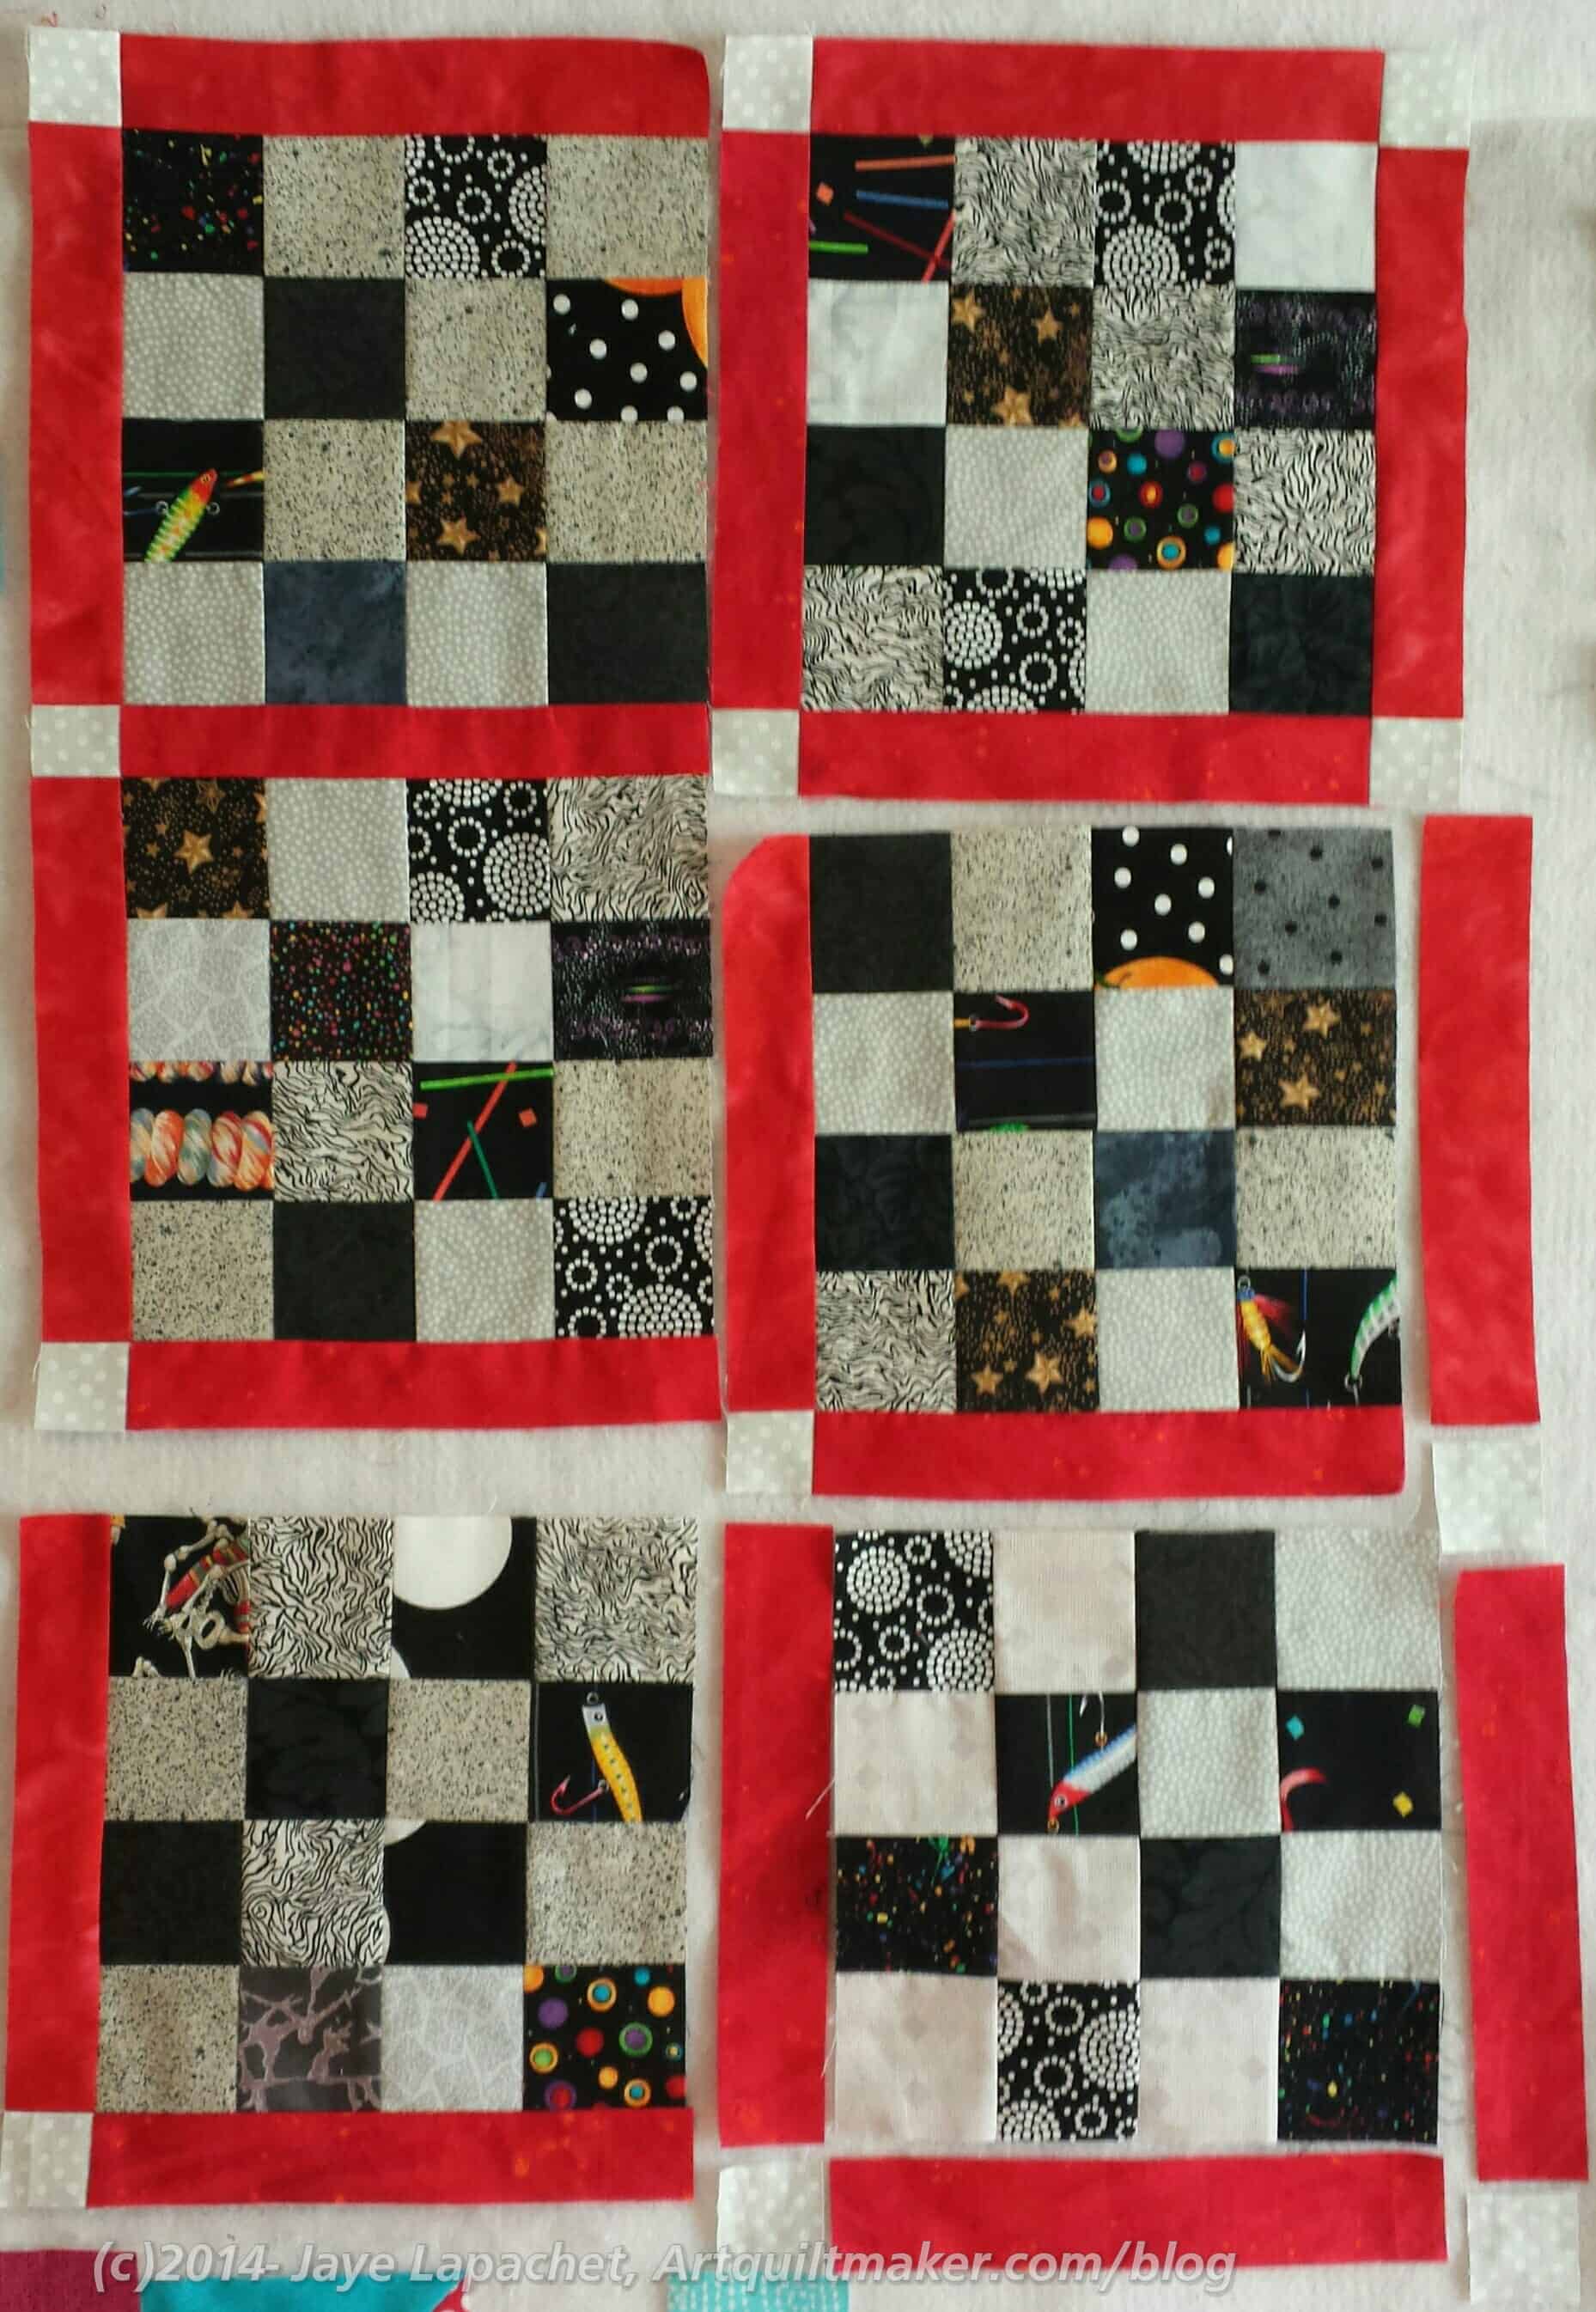
The quilt starts out as a bunch of pieces waiting to be put together. In the example above:
Blocks: grey and black
Sashing: red
Cornerstones: grey
The basic idea is to put the quilt together as you would a block: sew smaller patches together to make larger sections. I avoid sewing the quilt together in rows as I think the quilt is more square and there are fewer out of line intersections than when the quilt is sewn together in rows.
In the example above, the border can be incorporated into the construction of the quilt. You won’t need to put it on after, which will also help line up the cornerstones with the sashing.
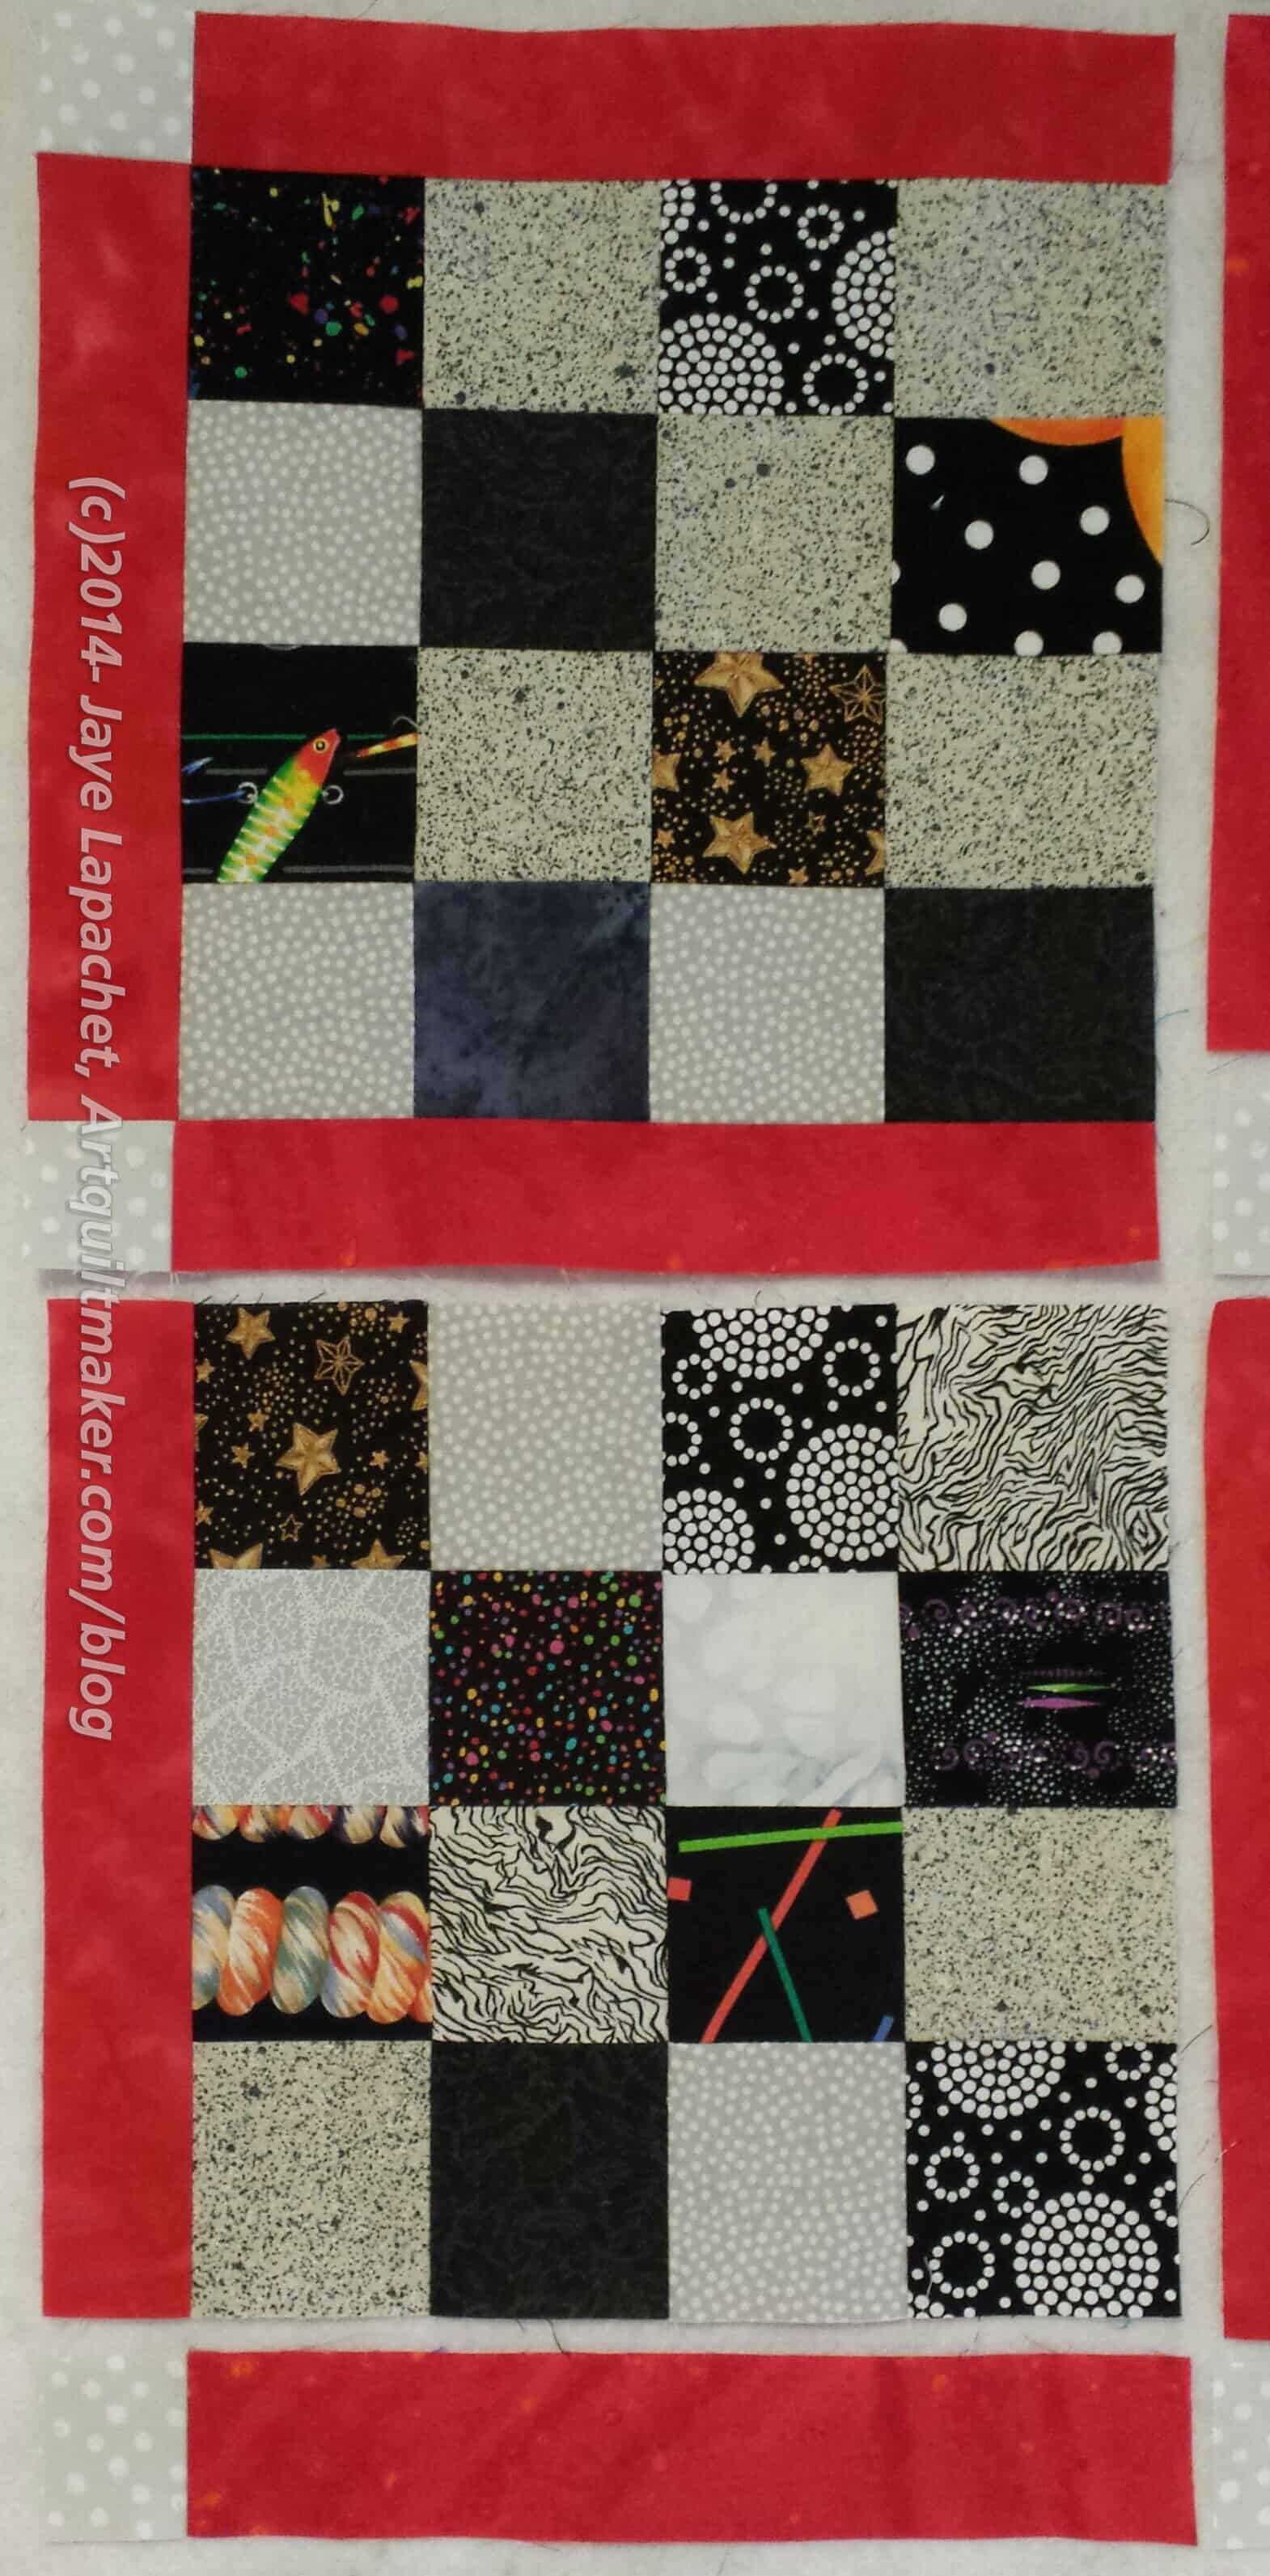
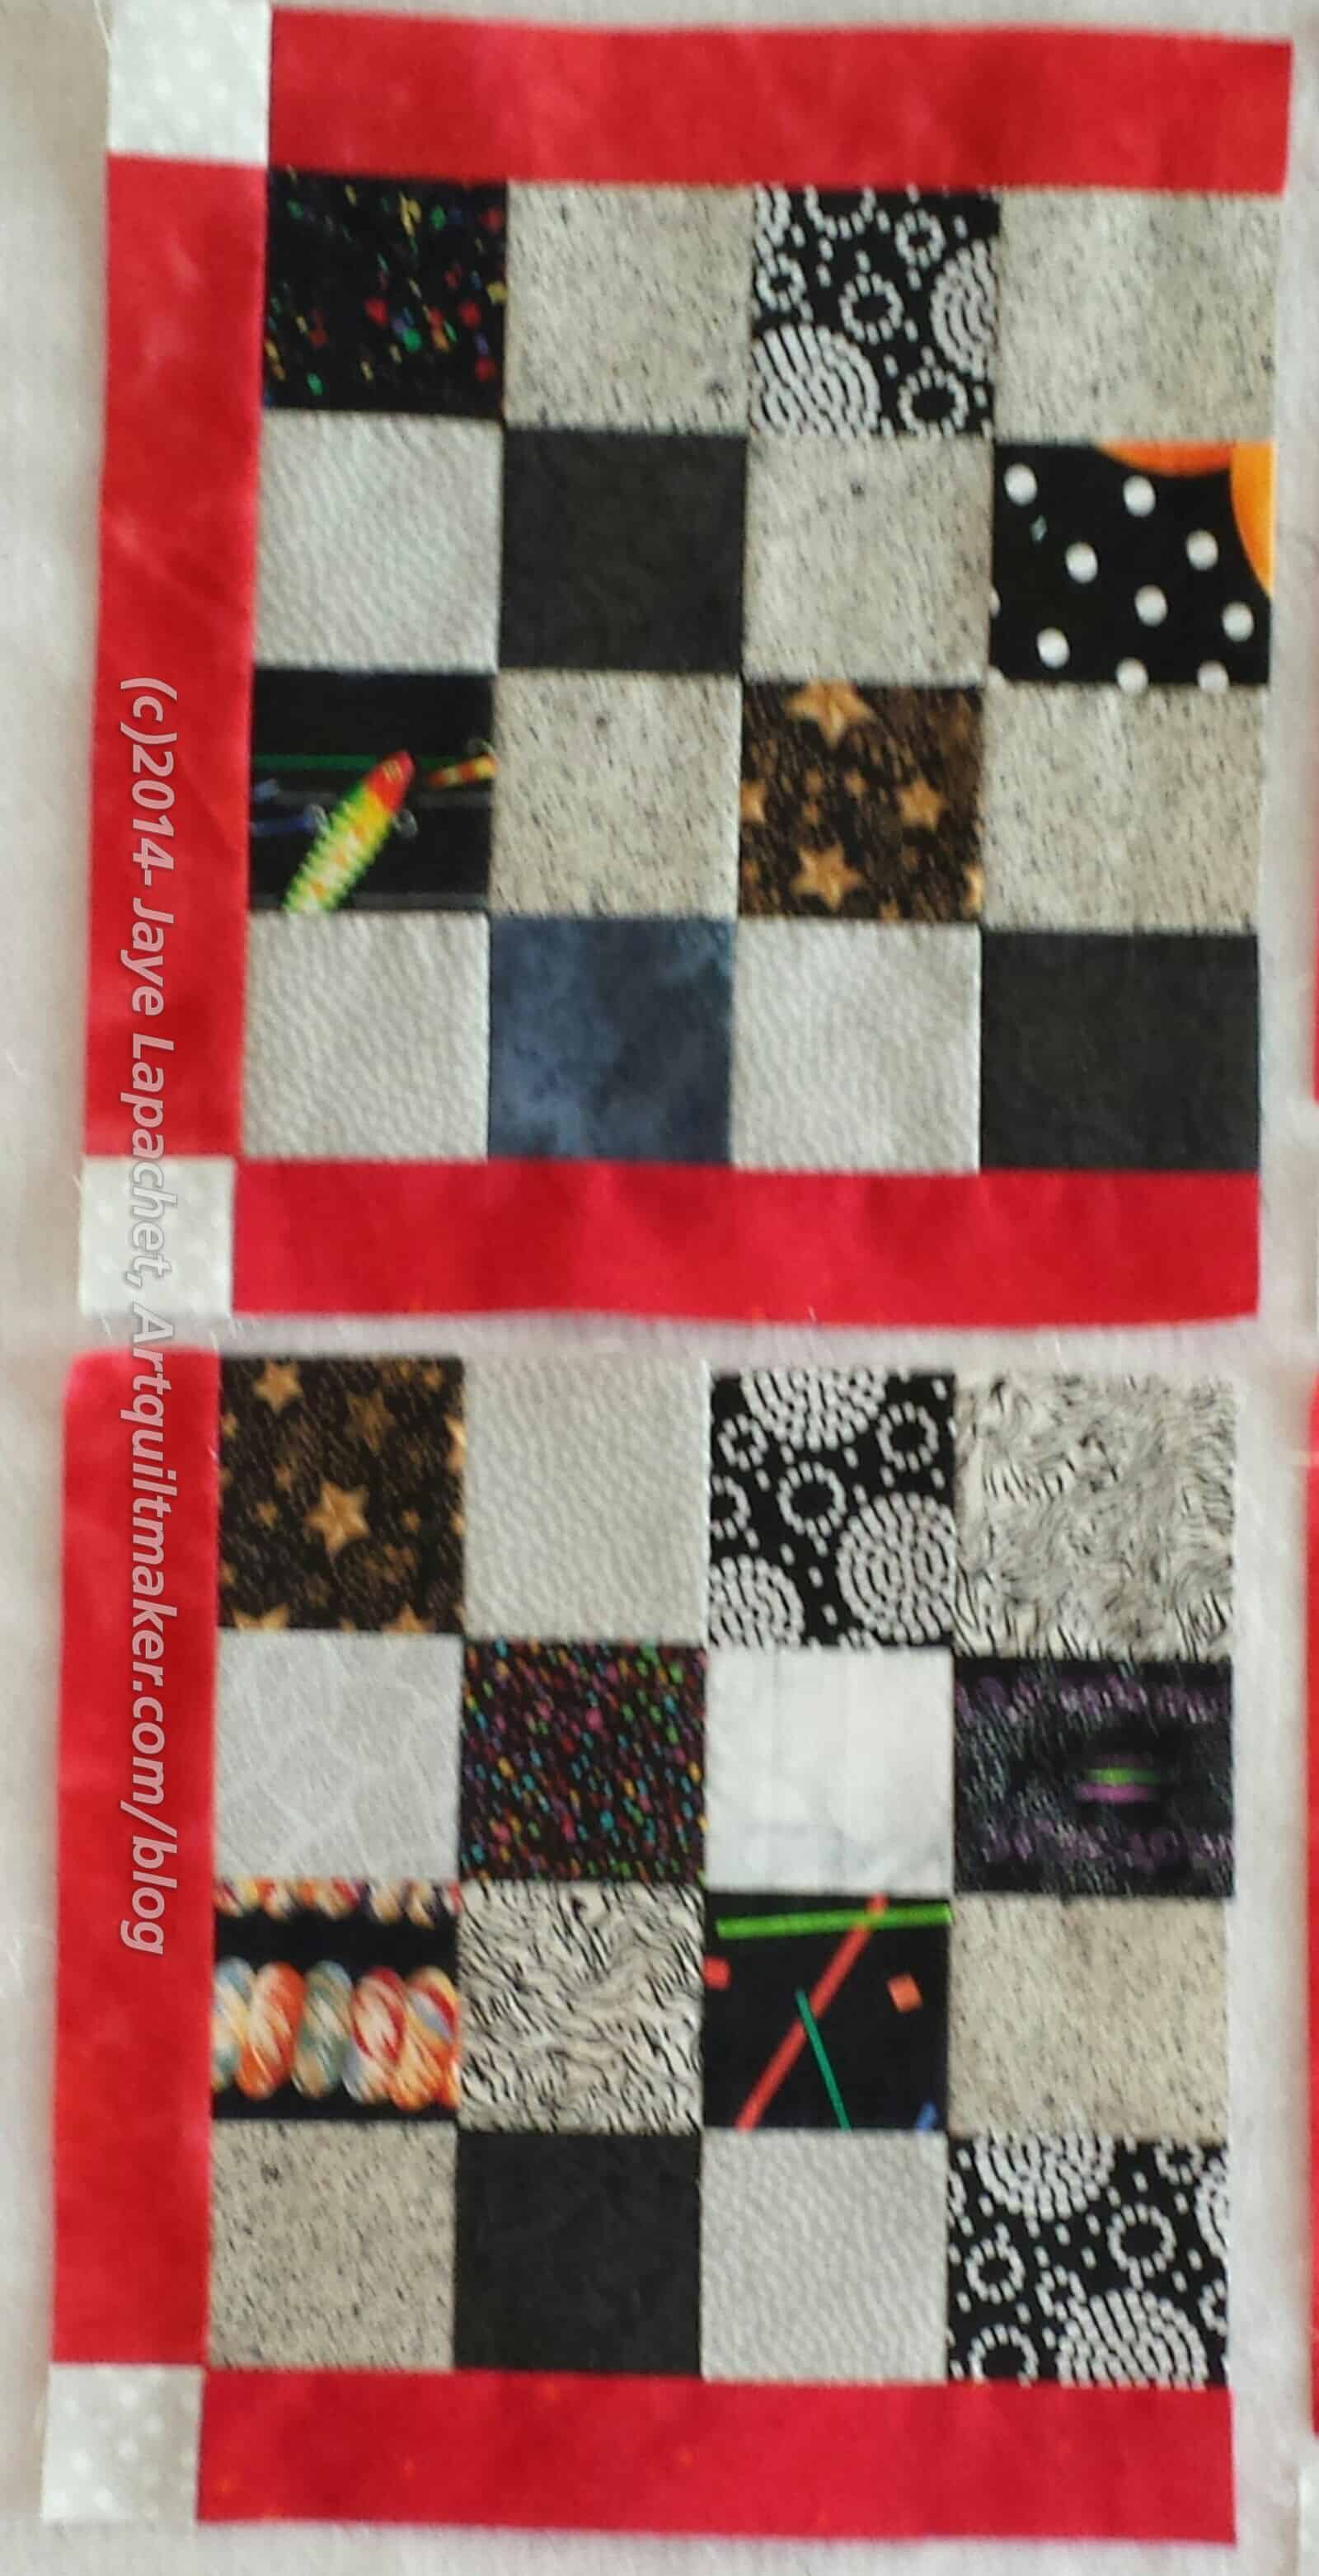
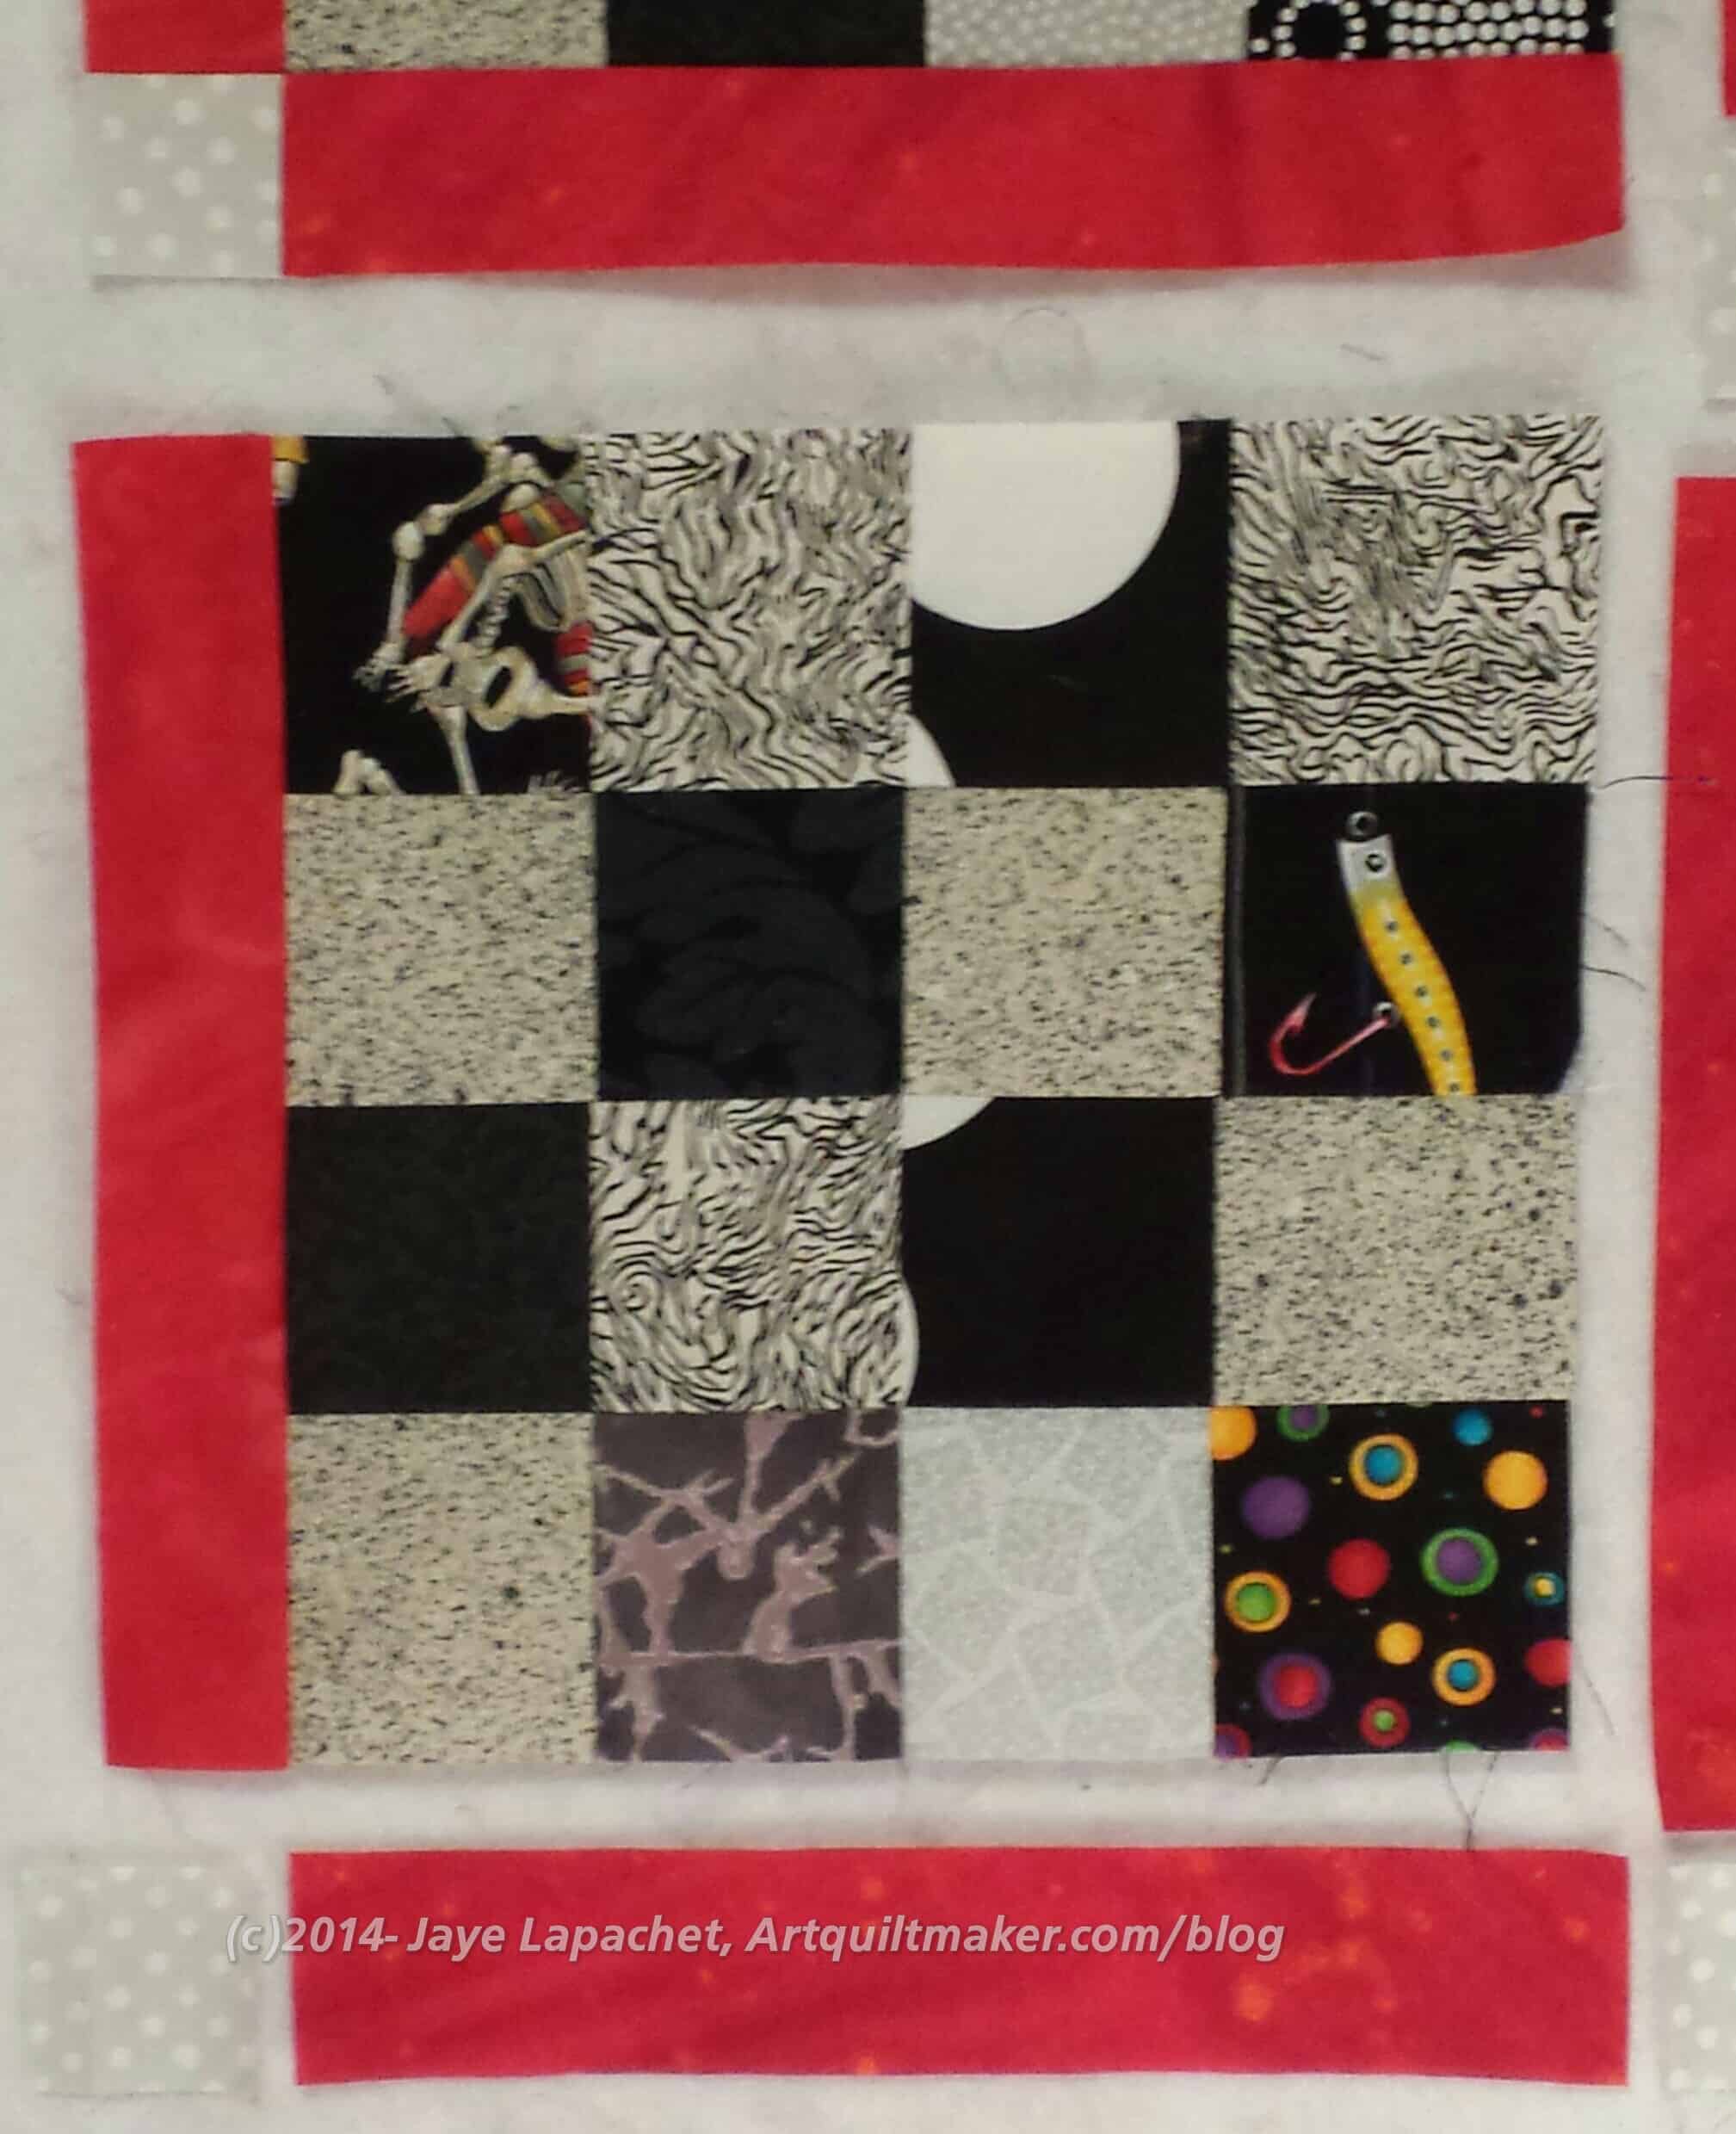
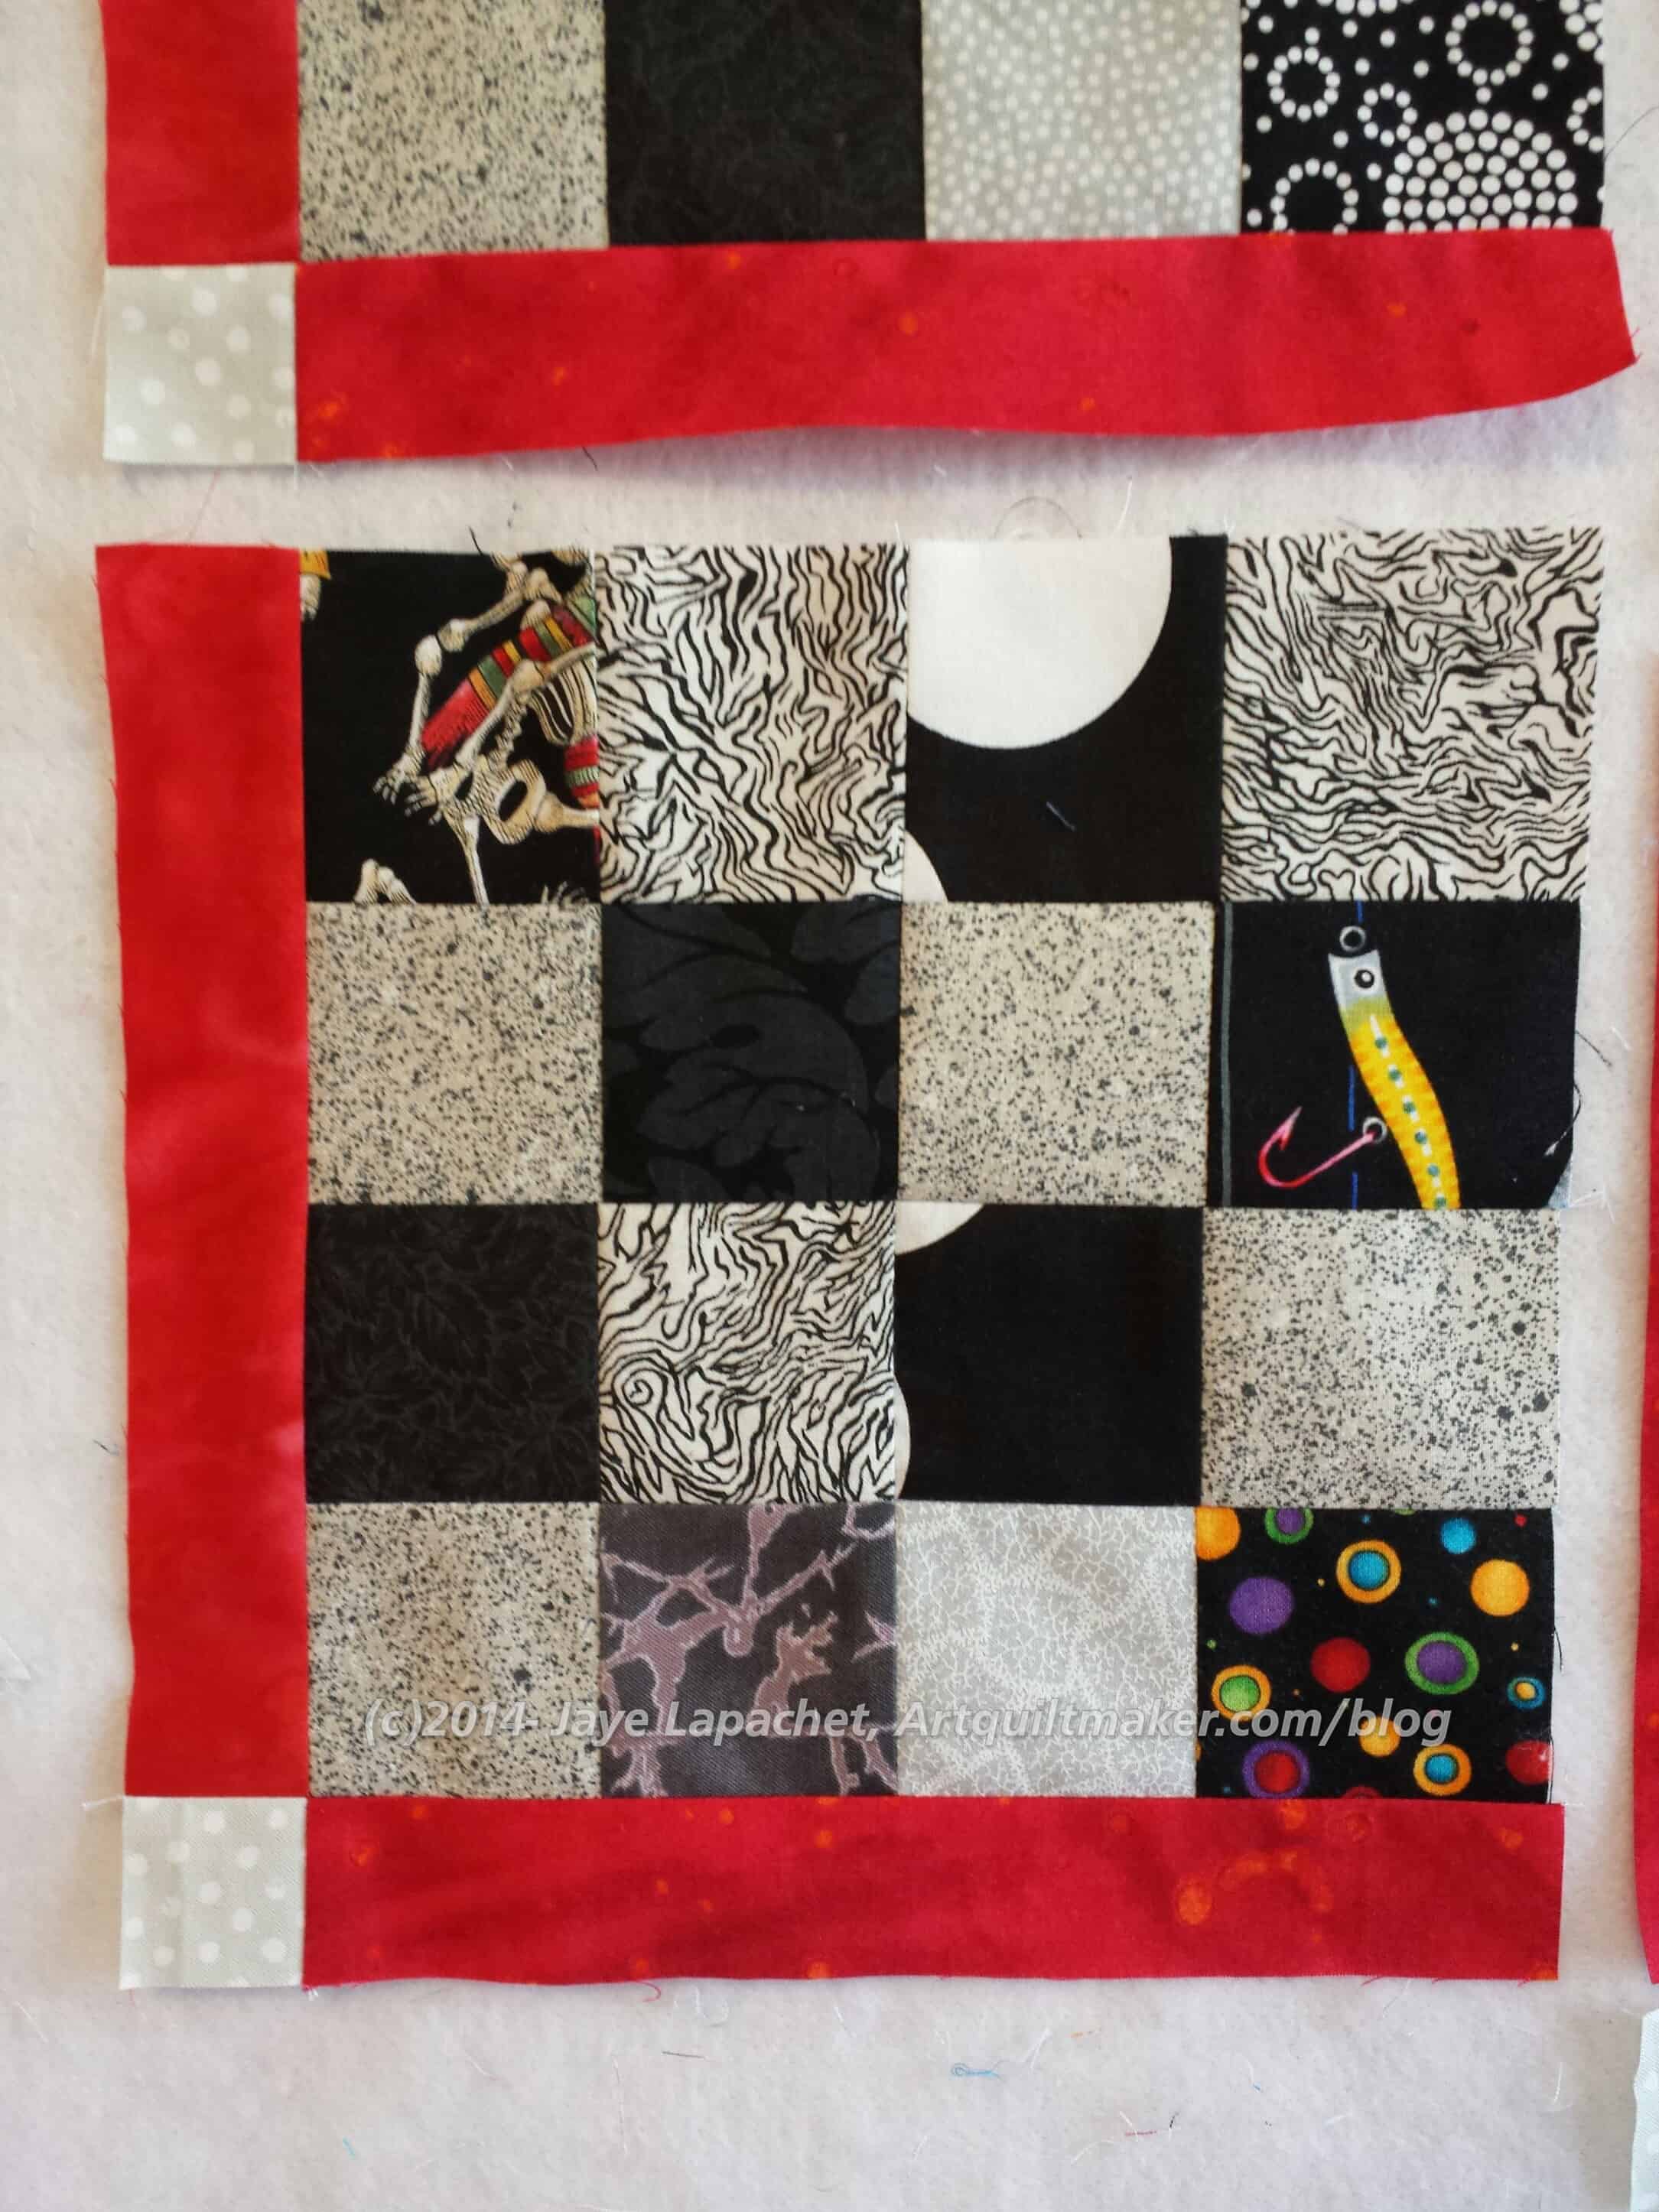
Nota bene: The picture below is numbered, so it will be easier for you to follow the tutorial.
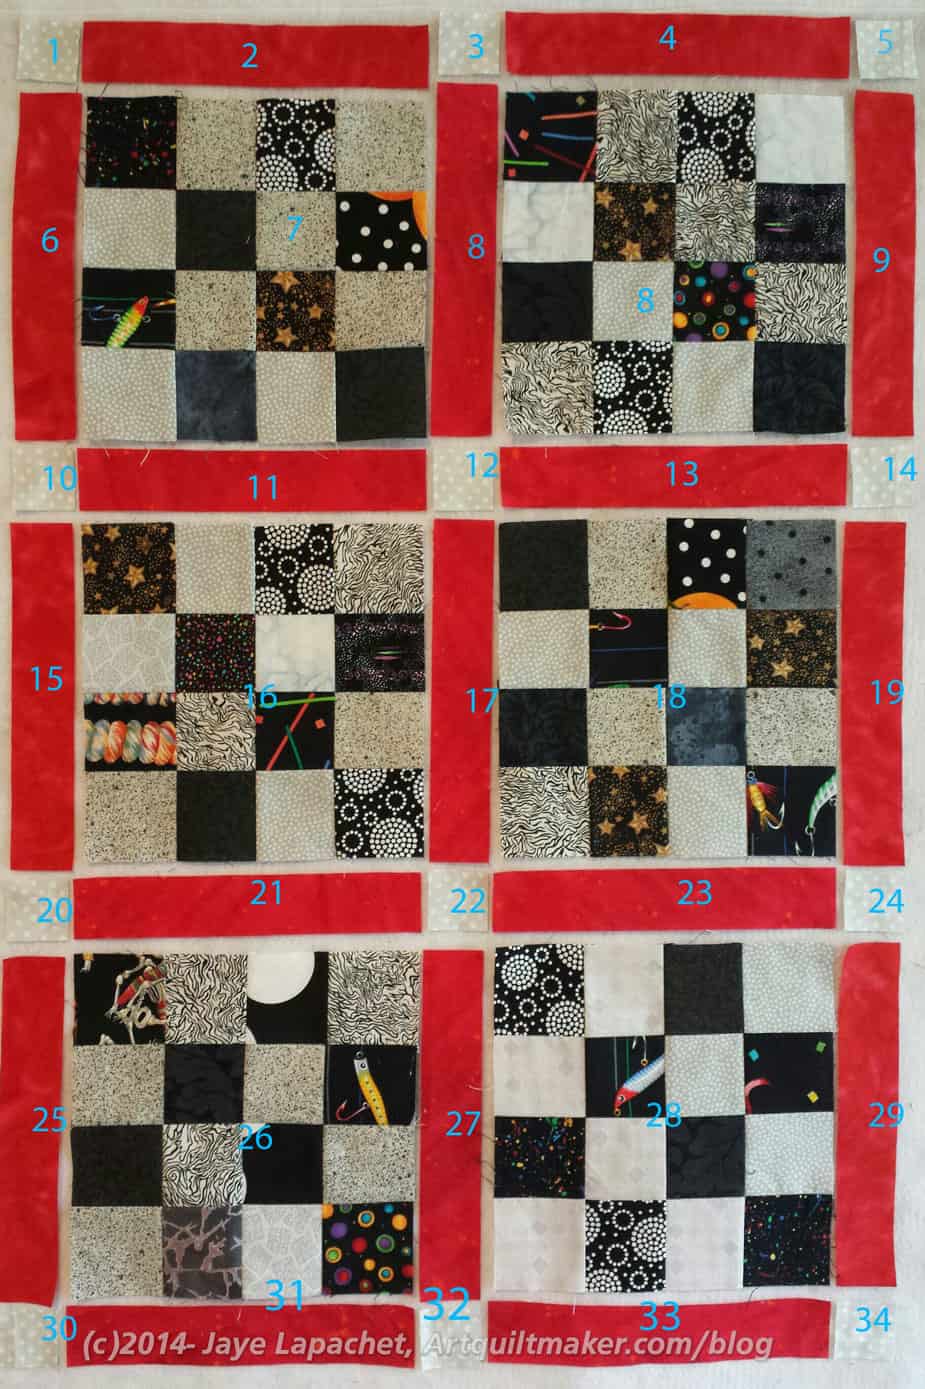
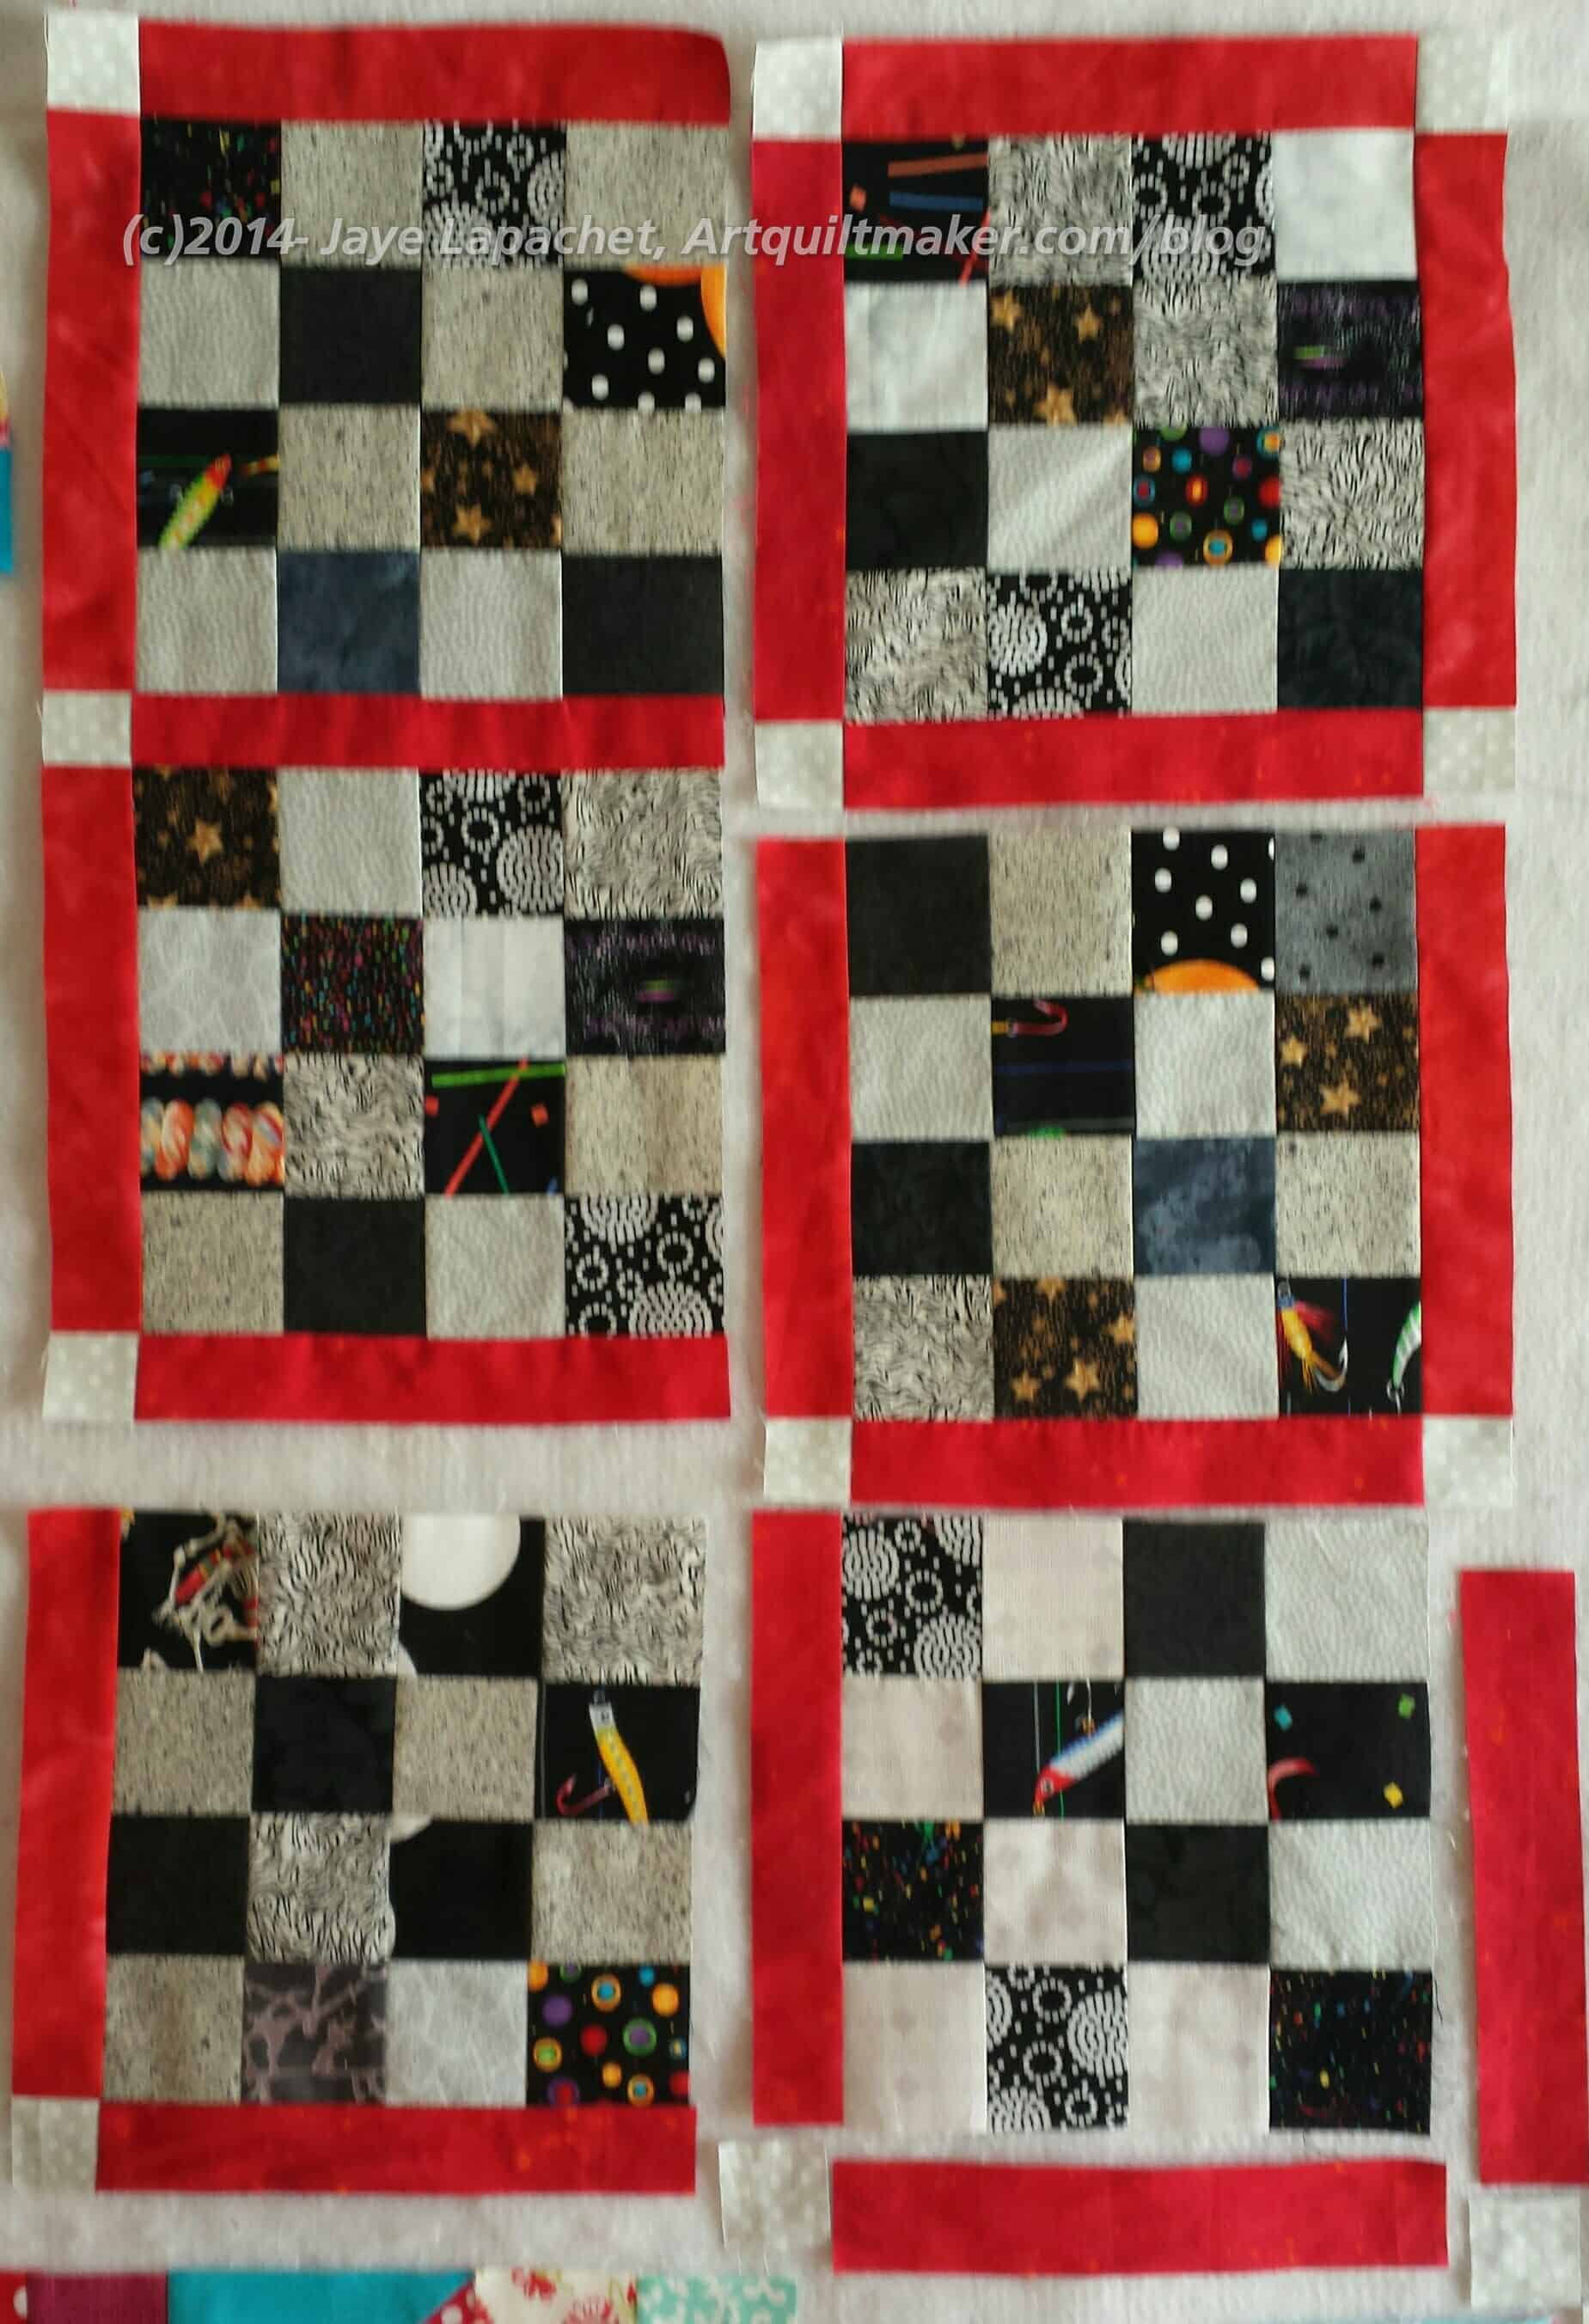
First, sew #2 to #7, the top piece of sashing to the first left hand block. Press to the red piece of sashing. I press to the red, because there are fewer seams to get in the way.

Next, sew #1 to #6, the first grey cornerstone (upper left hand corner) to the first side piece of red sashing.
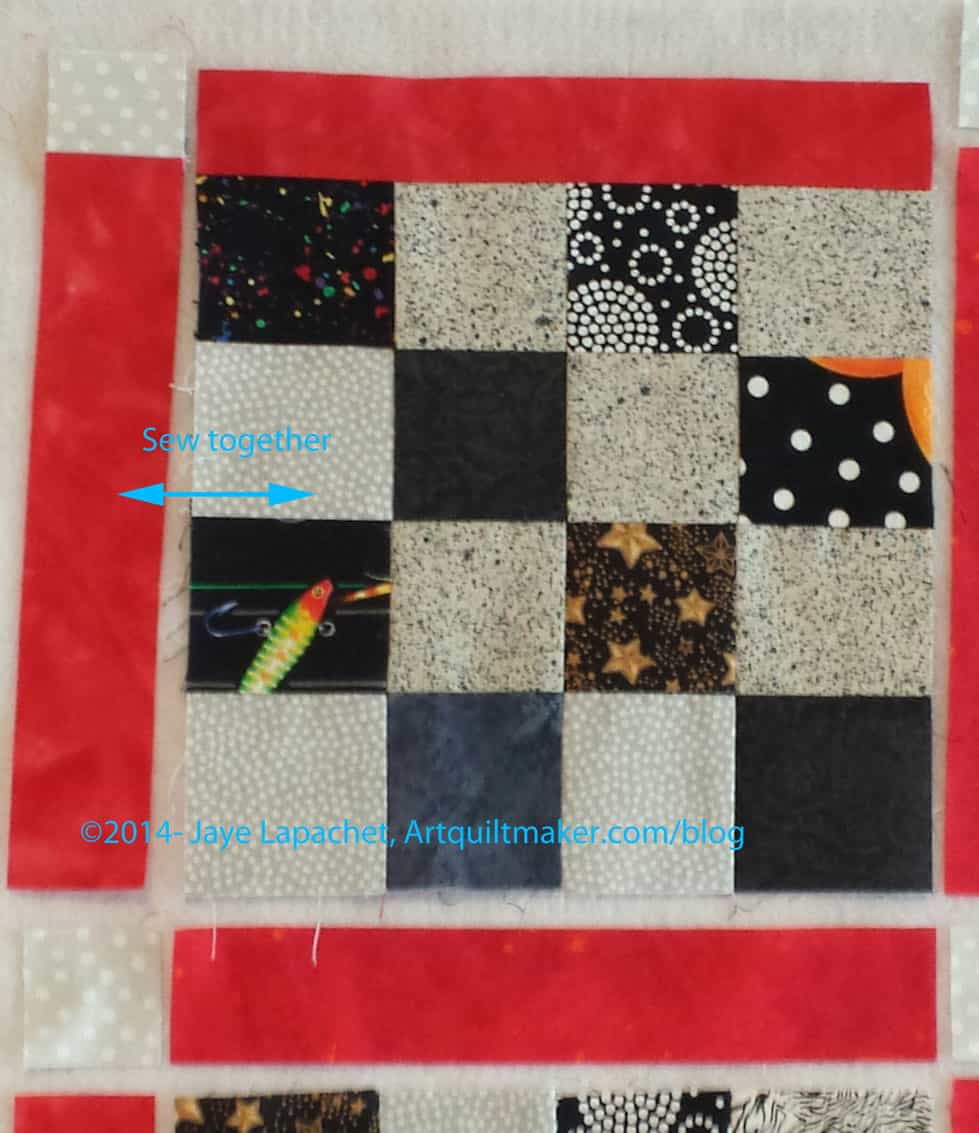
Now you have two sections which you should now sew together. This is how you sew the border on. If you had a second border, you could also incorporate that into the piece, but this technique works best when the border is broken up into pieces (e.g. sashing and cornerstone). You can always put additional long borders on later.

You now have your first ‘chunk’! Hooray!

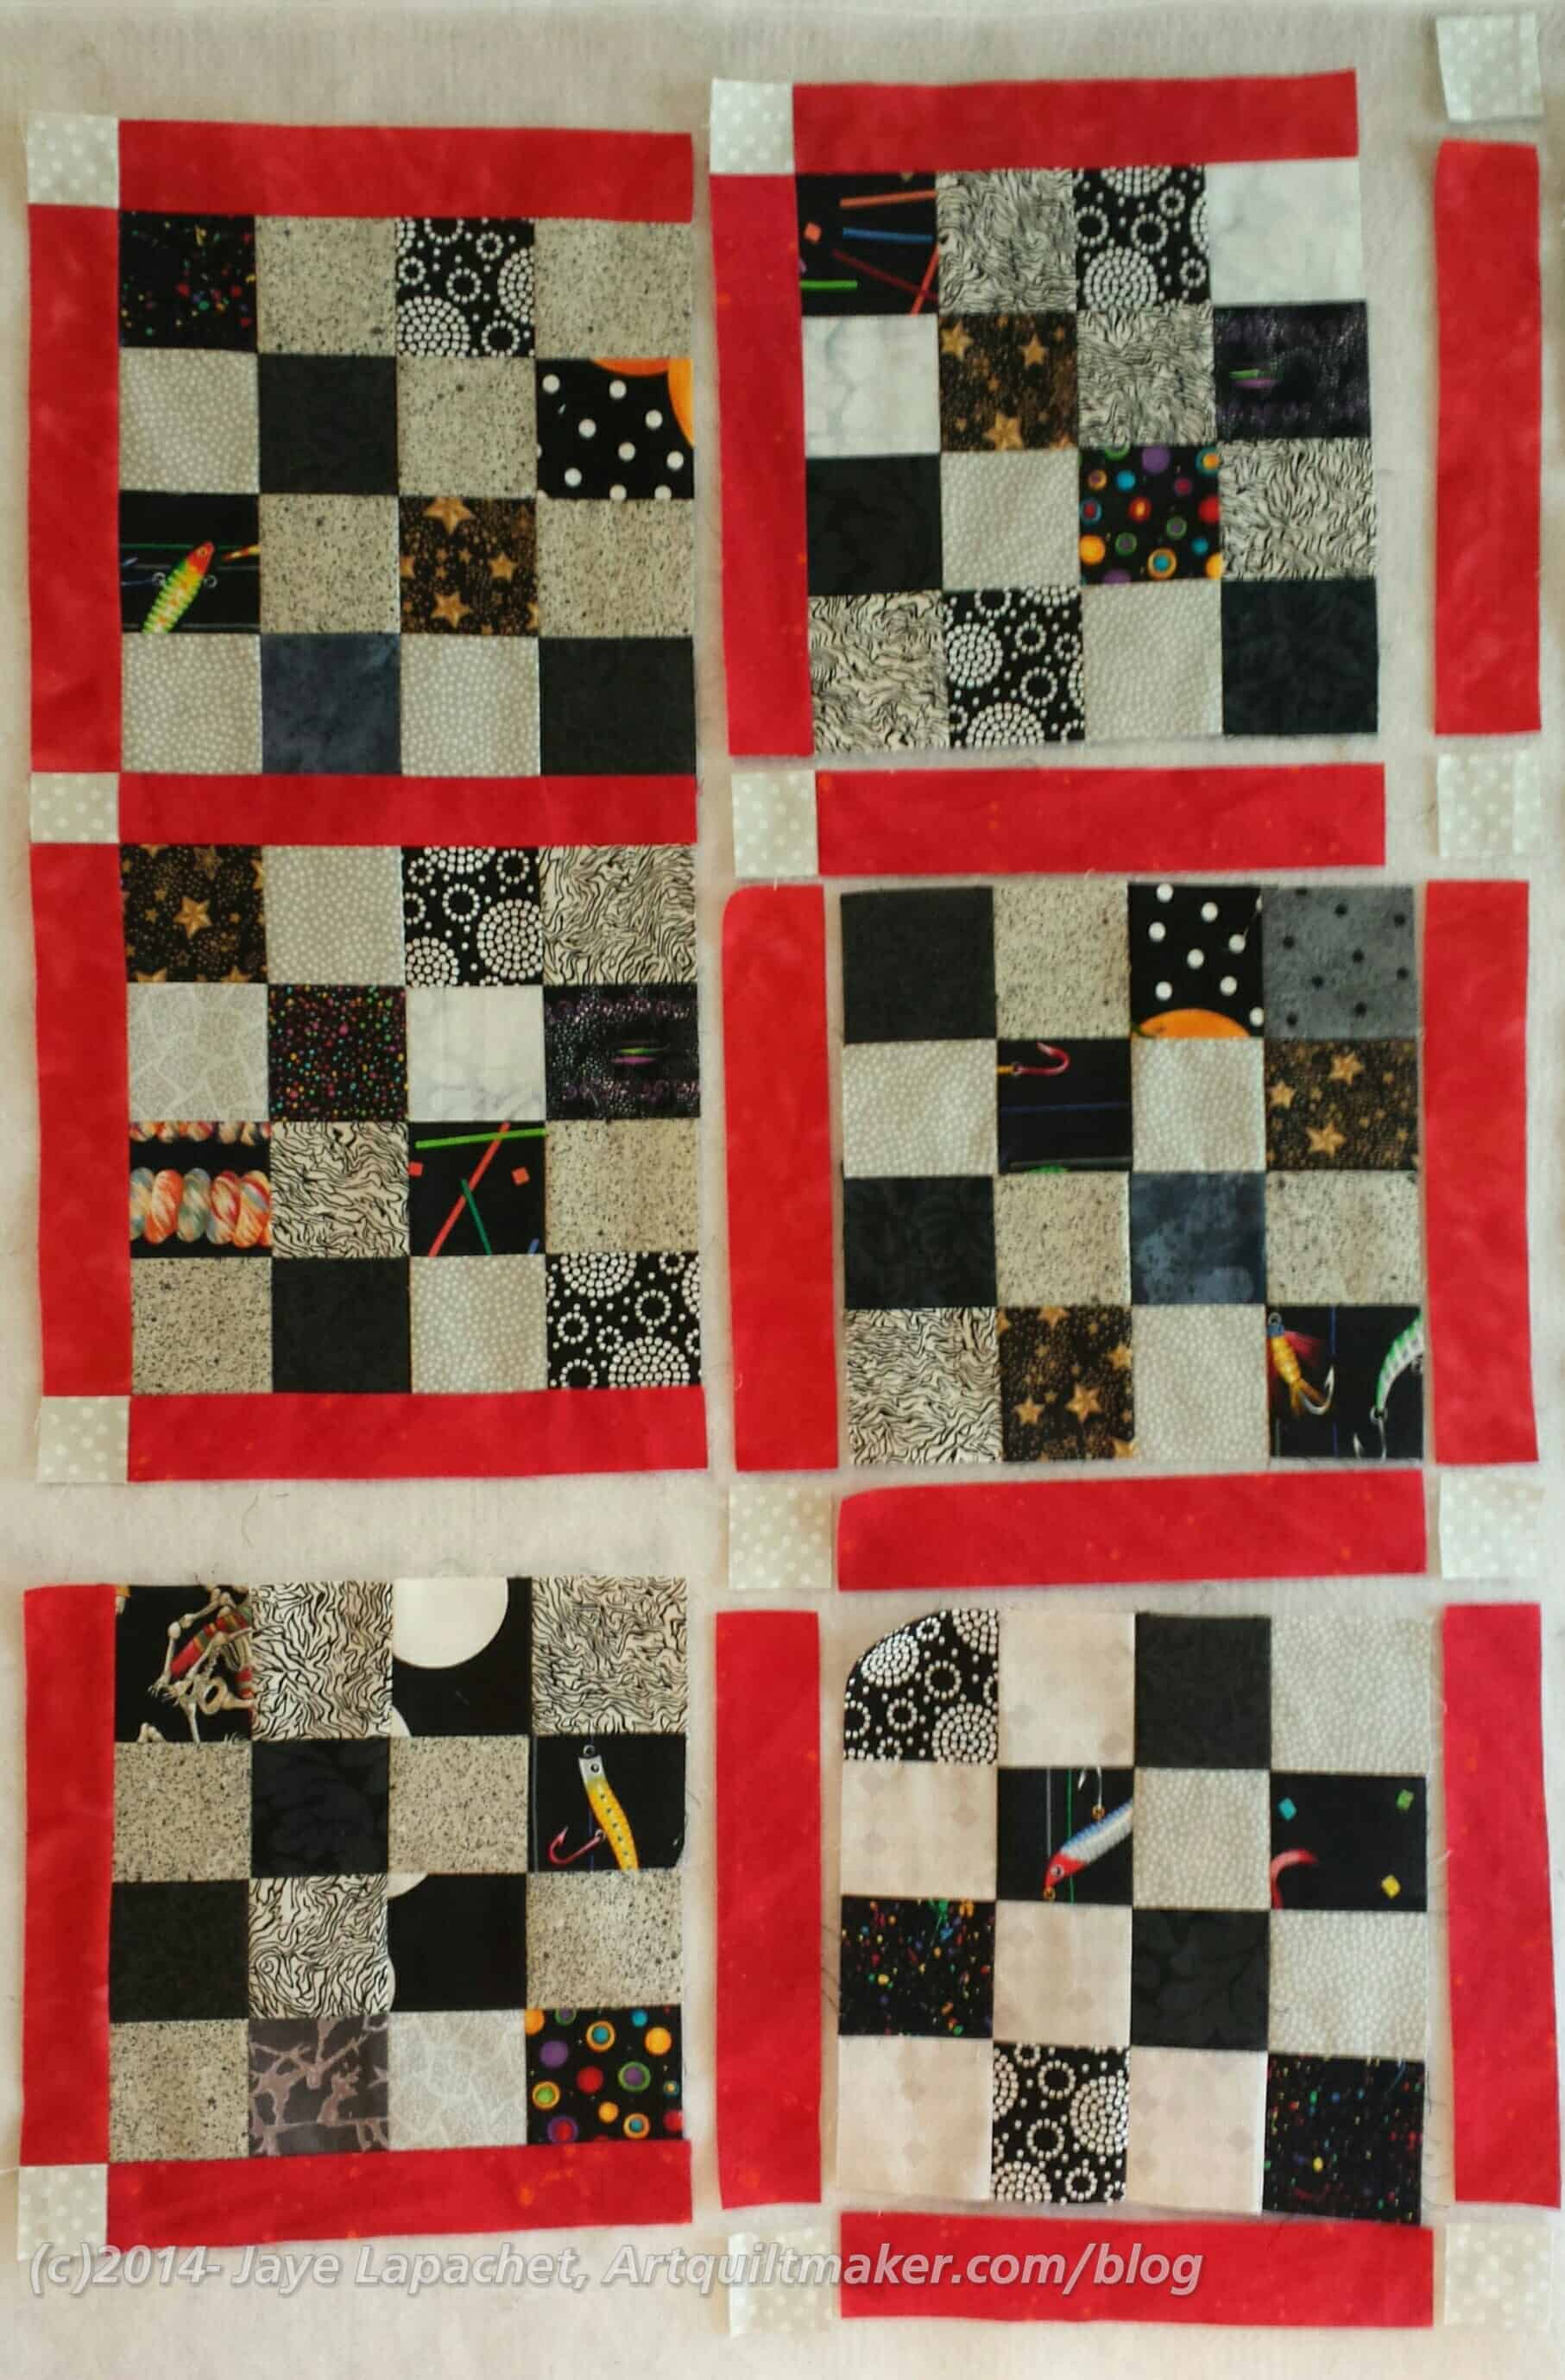
Now sew patch #10 to #11, the bottom cornerstone to the bottom piece of sashing. Then sew that 10-11 cornerstone-sashing bottom pieces combination to the first chunk.
Voila! You have a chunk fully sashed!
Pin sashing piece #15 to block #16. Now sew the sashing to the block.
Generally, there will be a piece of sashing that needs to be sewn to a block alone before you can sew a sashing-cornerstone combo to a chunk. You make the ‘chunk’ by sewing a piece of sashing alone to the block.
The center ‘chunks’ are just comprised of one cornerstone, 2 pieces of sashing, and a block. Sew the side sashing to the block. Sew the cornerstone to the bottom sashing, then sew the bottom cornerstone-sashing combo to the sashing-block combo for another chunk.
At this point, you can sew your two chunks together.

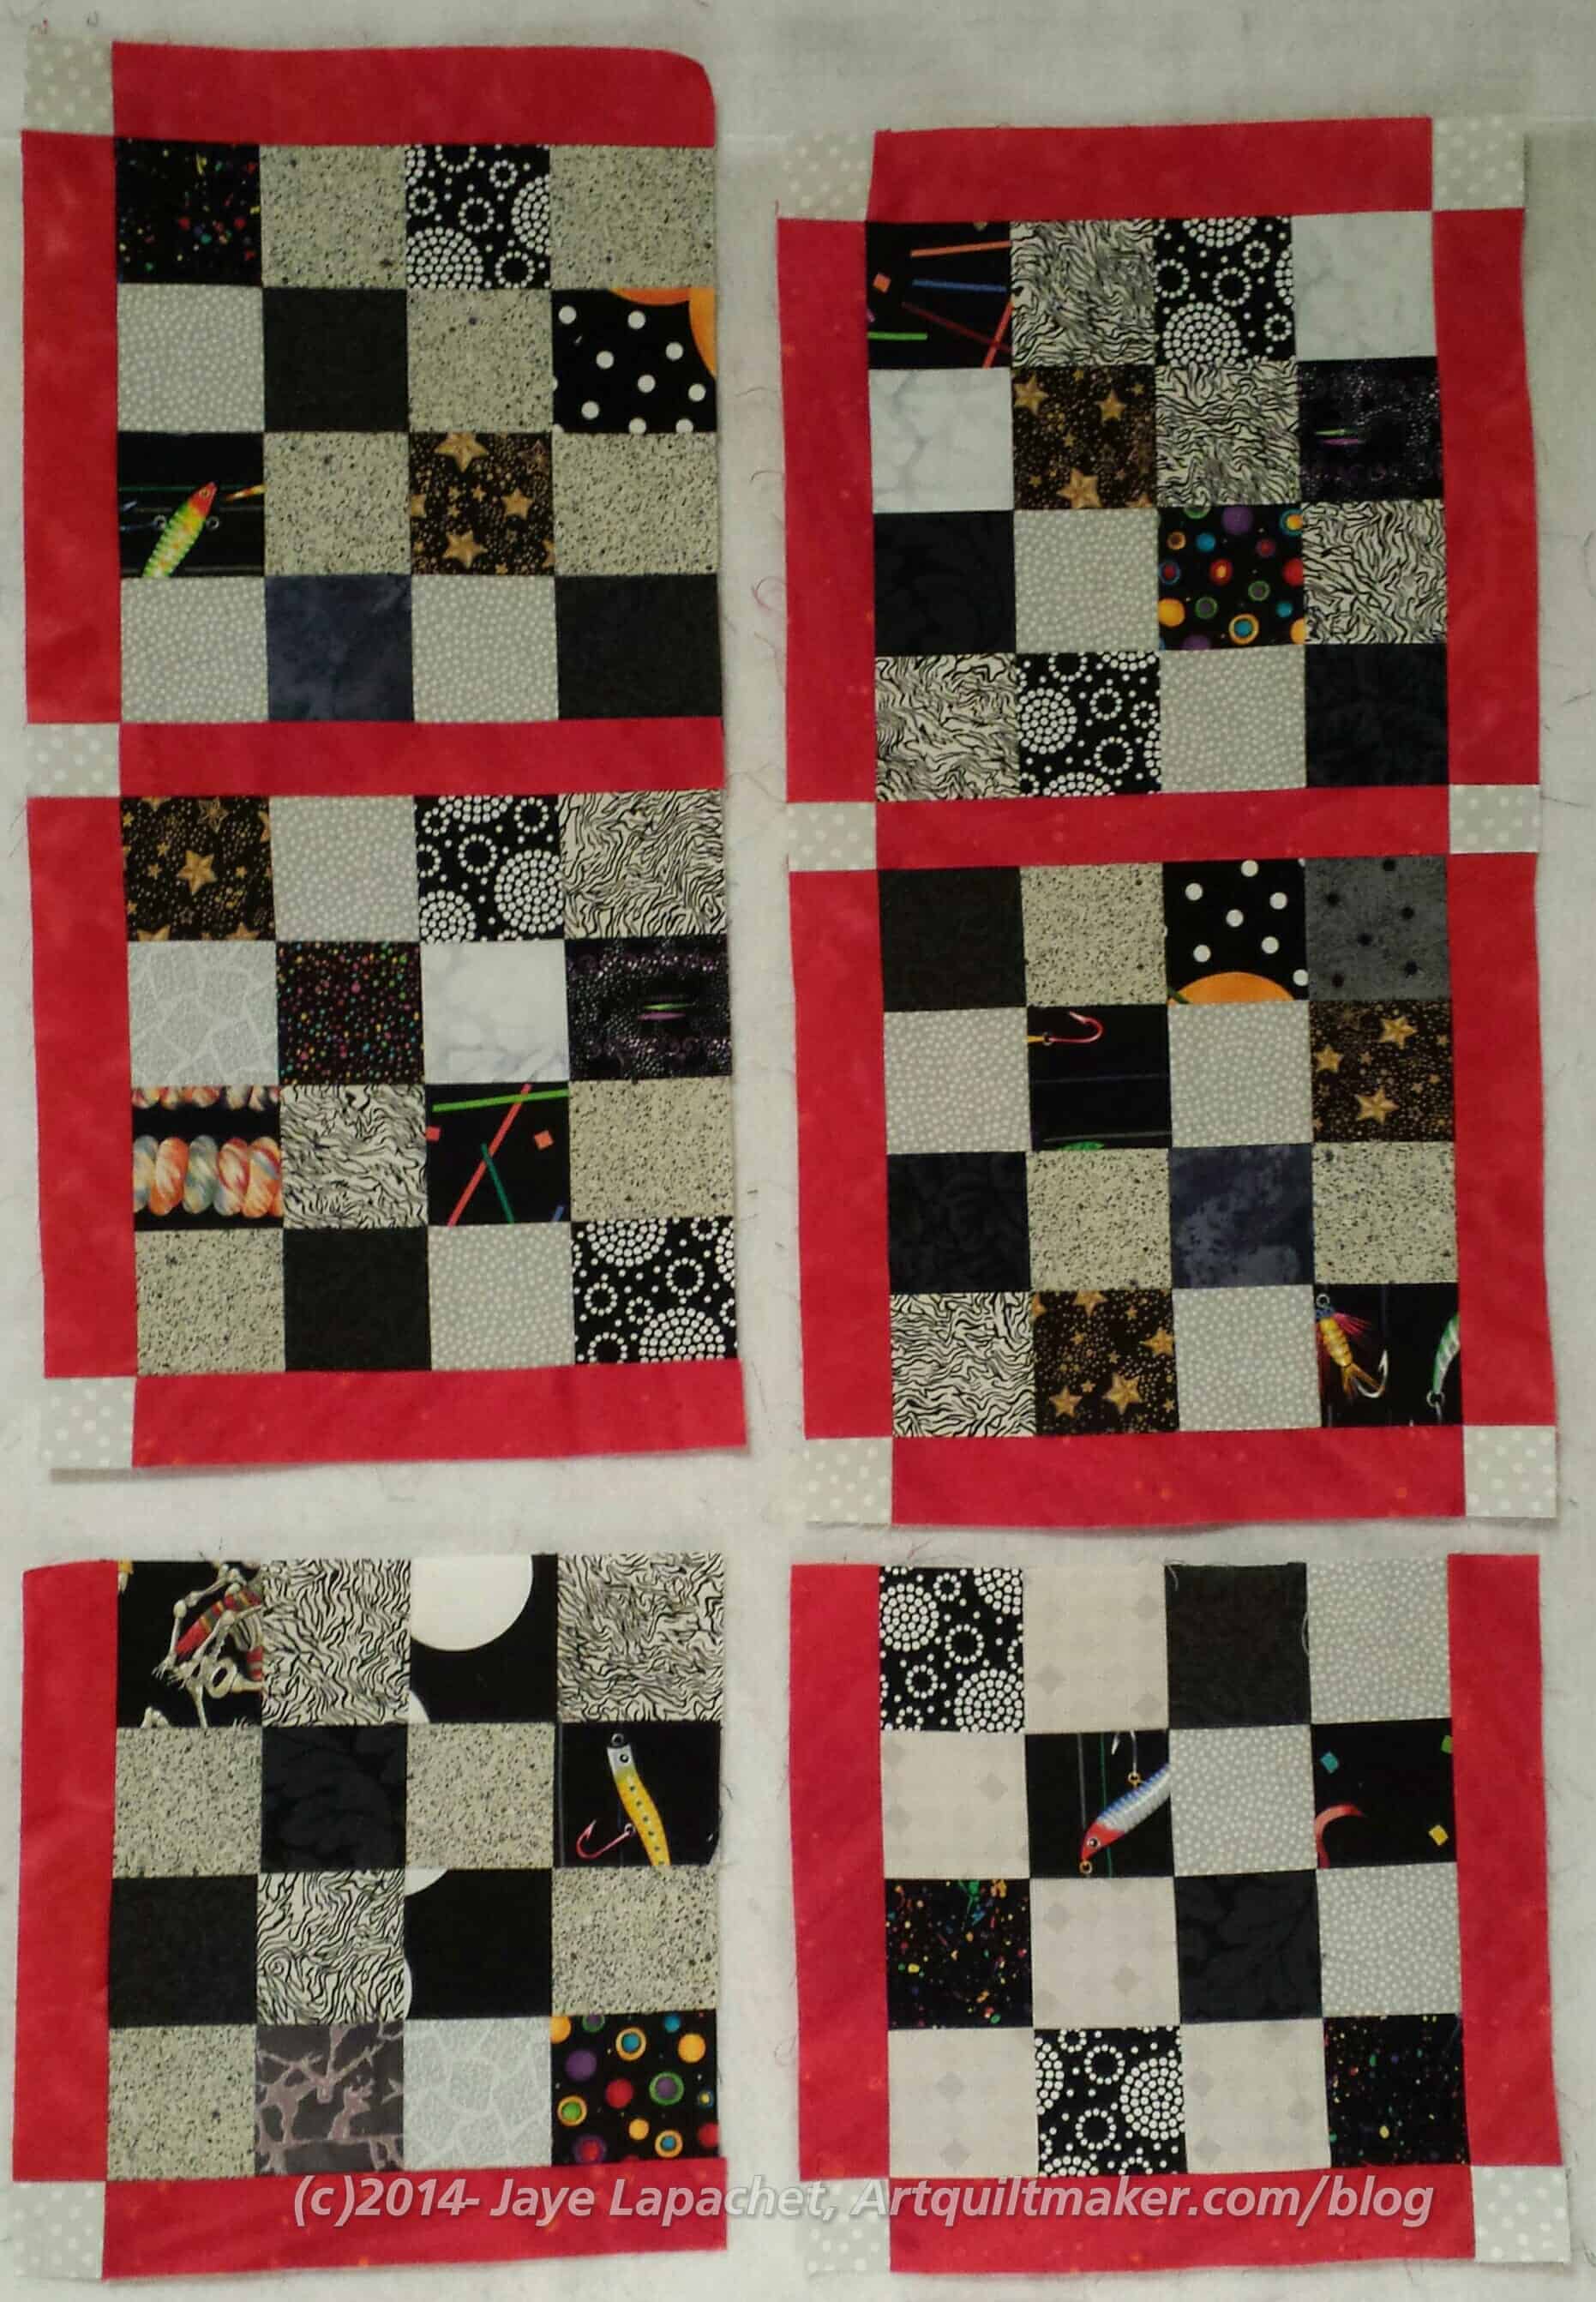
Now that you have two chunks sewn into a larger chunk, the next step is to prepare your next chunk. You do it the same way you prepared the two chunks above.
Pin sashing piece #25 to block #26. Now sew the sashing to the block.
Now sew patch #30 to #31, the bottom cornerstone to the bottom piece of sashing. Then sew that 10-11 cornerstone-sashing bottom pieces combination to the first chunk.
With two pieces of sashing and a cornerstone sewed to block #26, you have your third chunk. You could sew the #25-#26-#30-#31 combo to the chunk you sewed together before, but I suggest you wait until you have more pieces sewed together.
Refer to the drawing of your pieces in Step 1. Now we move up to the top of the section again and sew #3 to #4.
Sew piece #8 to block #8**. This puts a piece of red sashing on your block #8.
Next, sew cornerstone/sashing #3-4 to sashing/block #8.

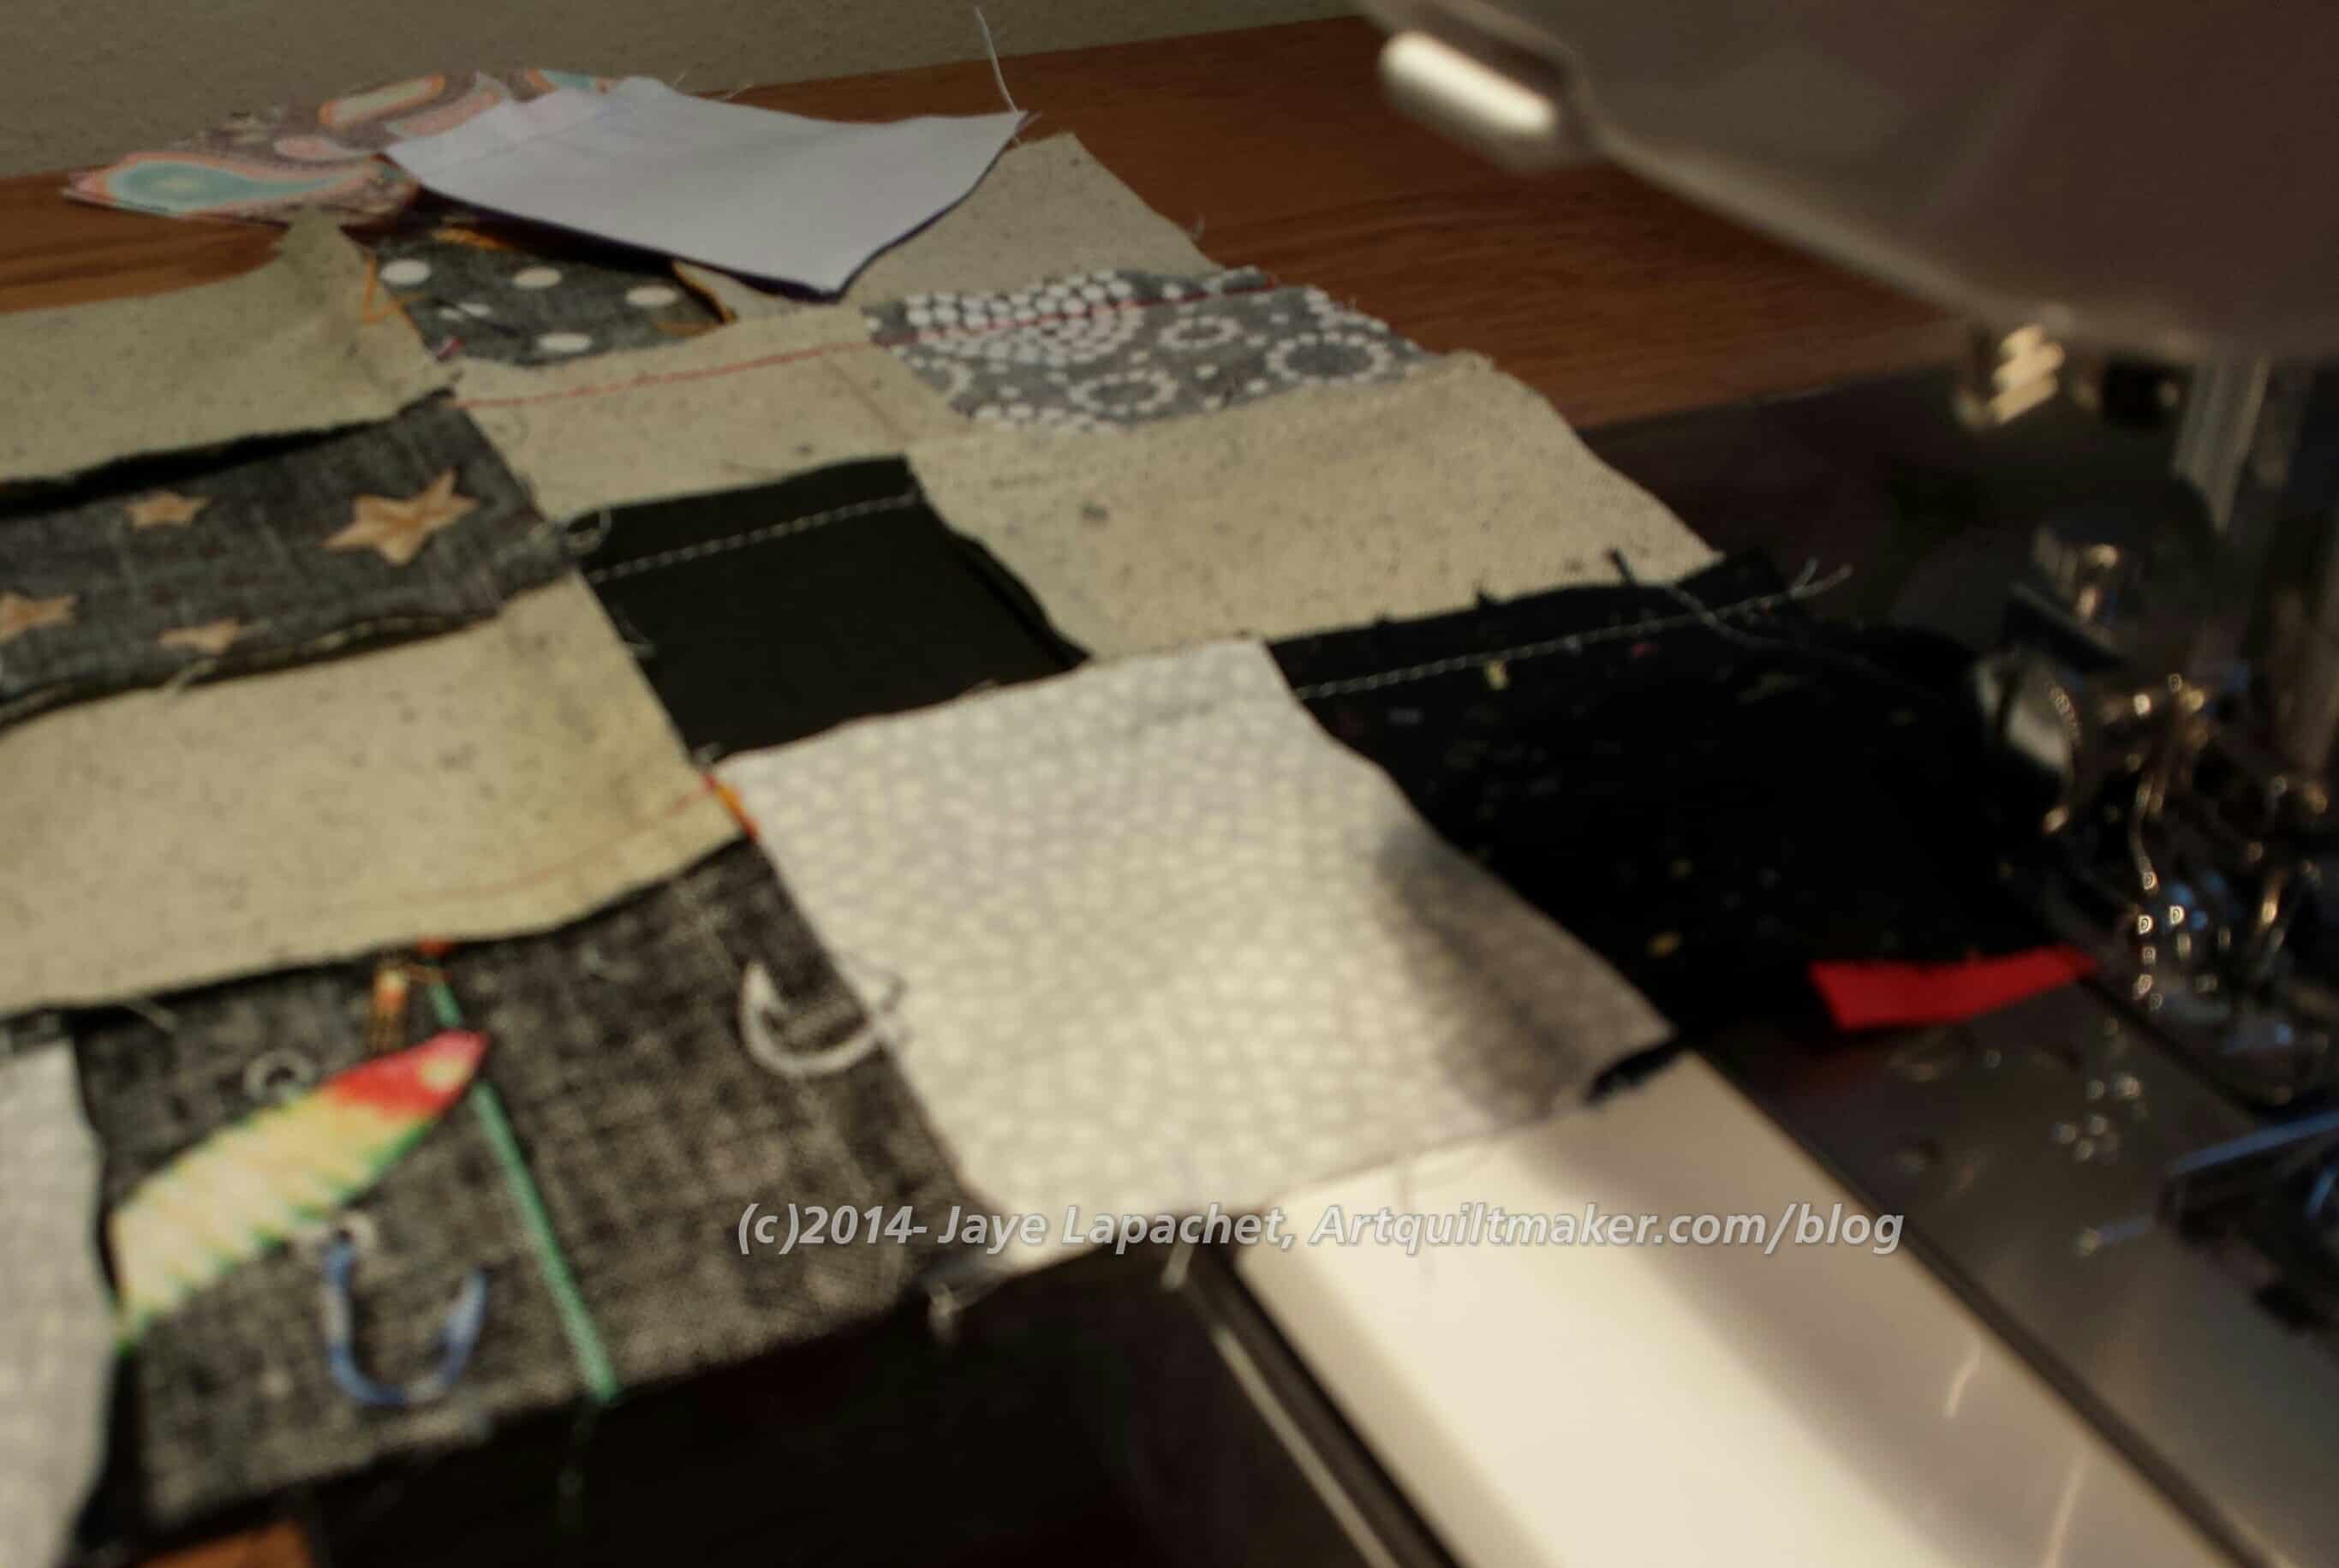
Sew cornerstone #12 to sashing #13 and then to the block. I don’t have a picture of the two pieces sewn together before I attached them to the block, but you do have to sew them together before you sew them on the block. Now, sew that combination to the block.
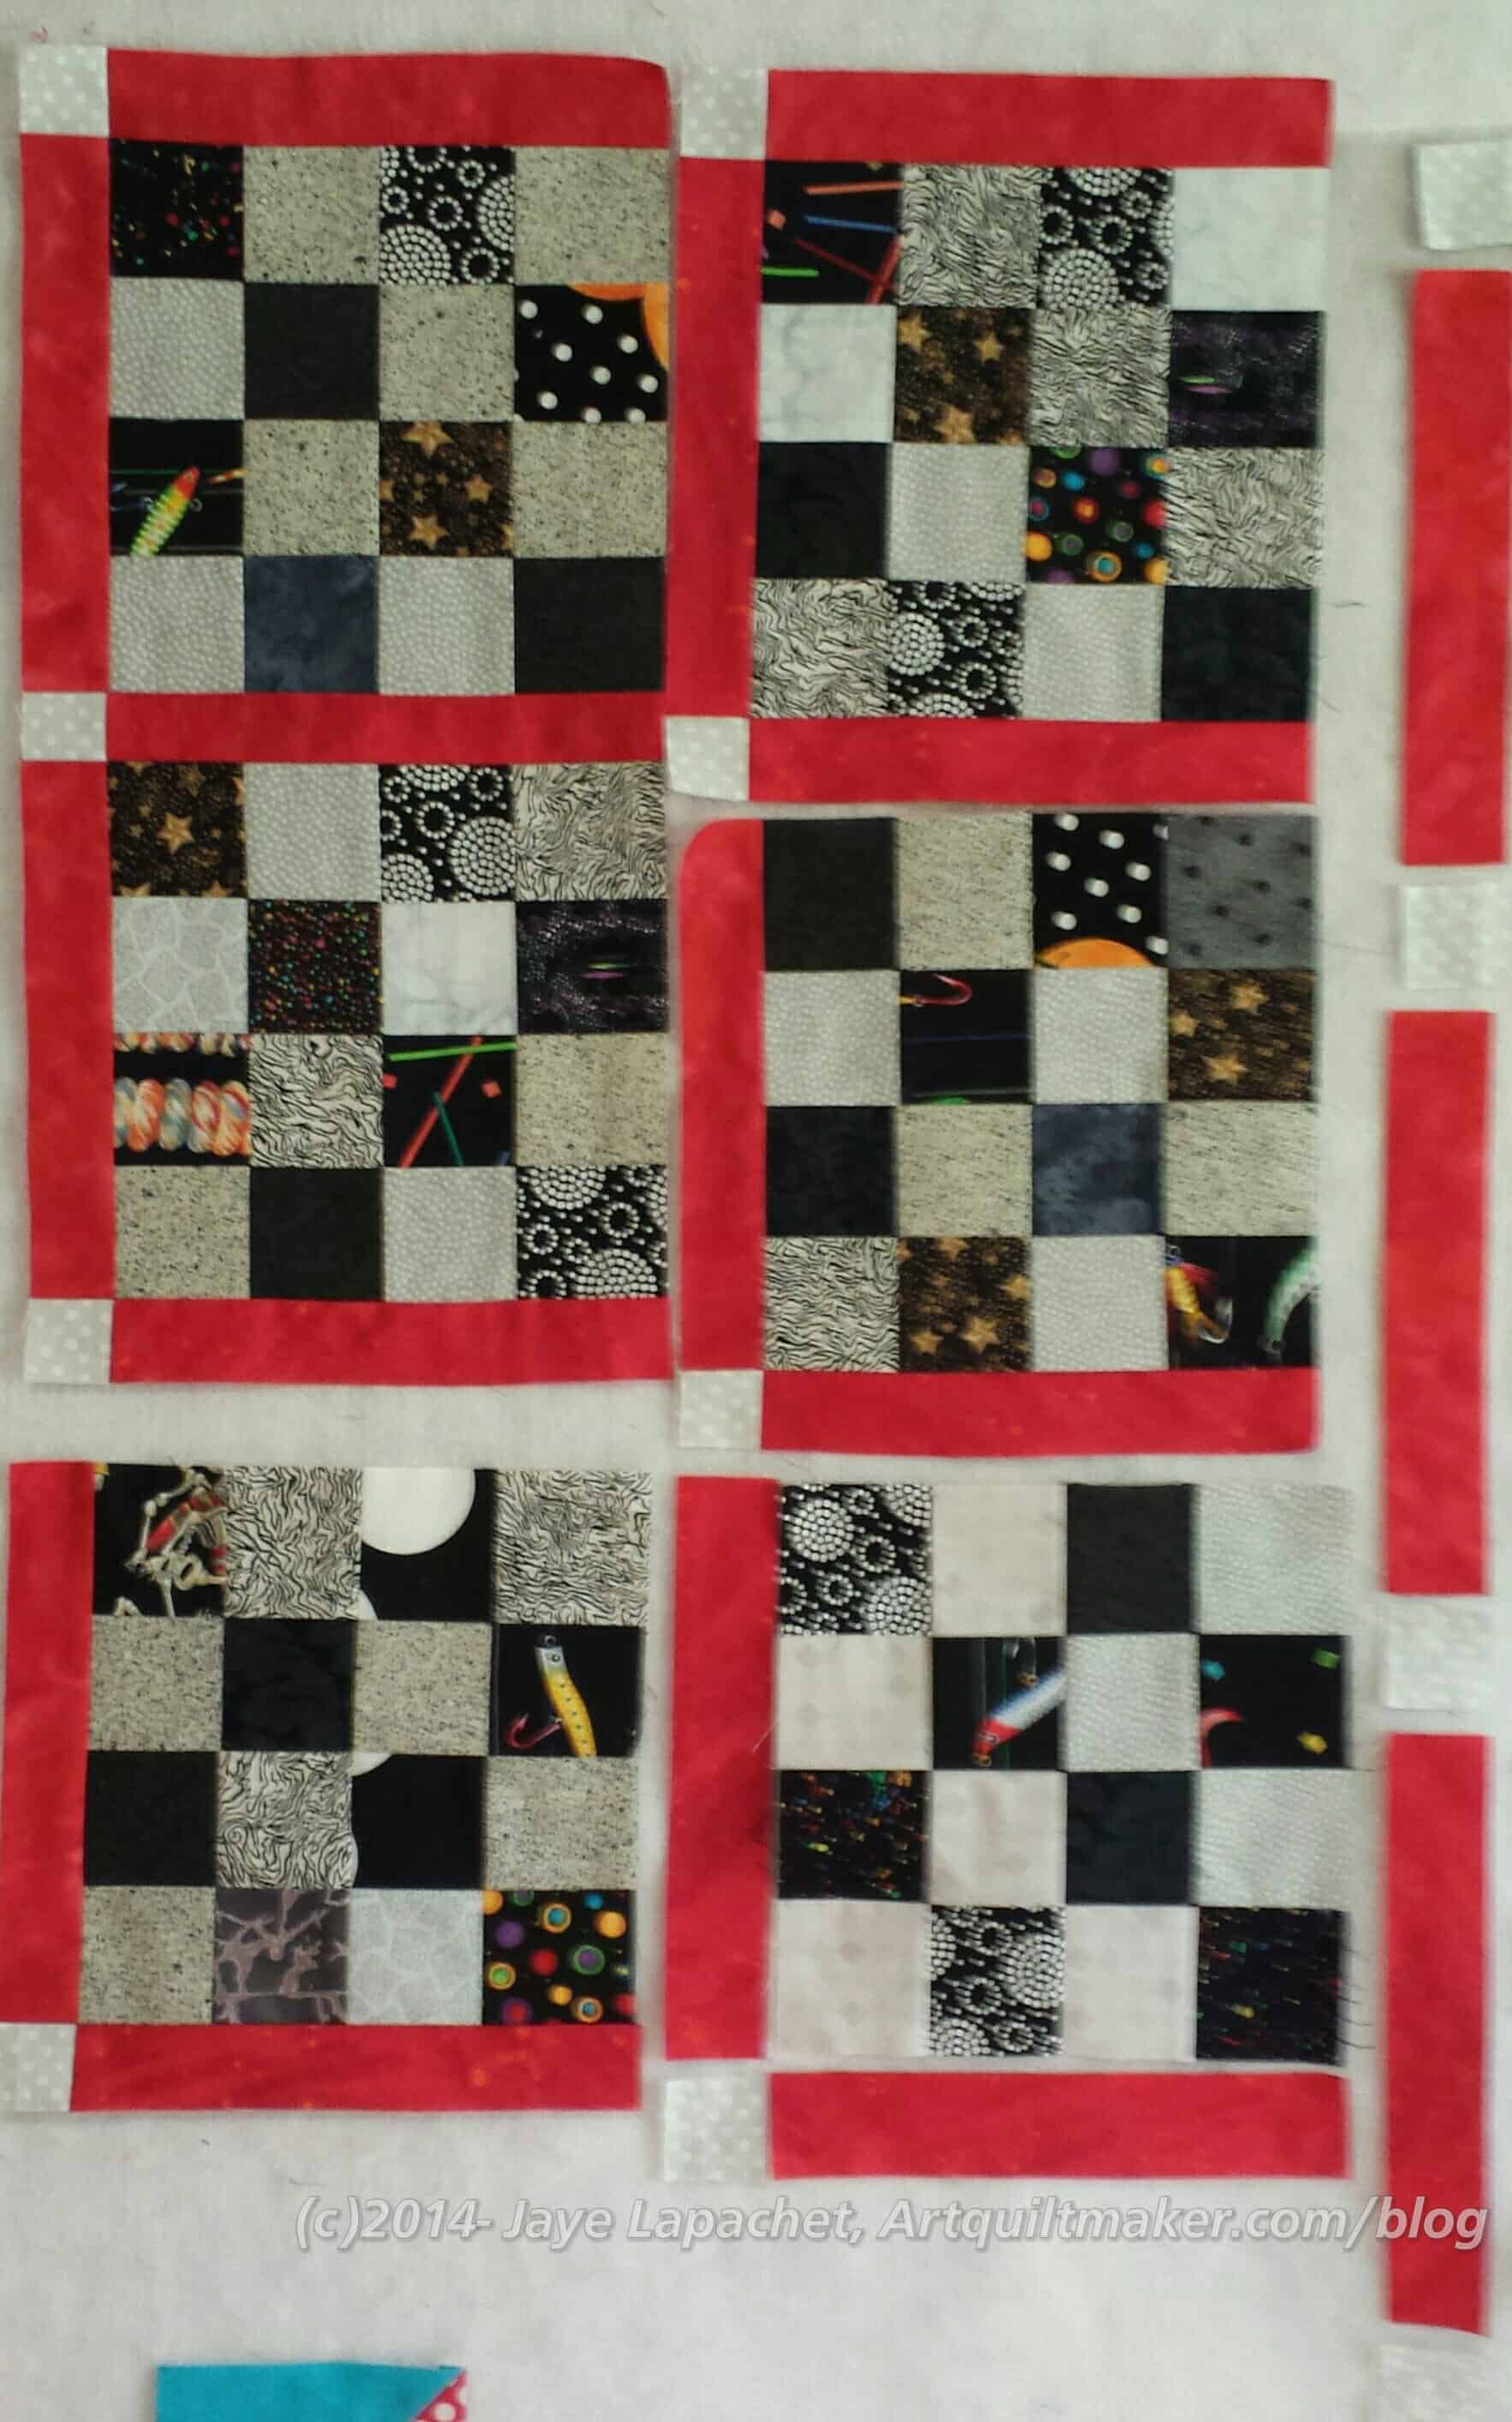
Follow the same steps for block #18 as you did for block #8. Sew sashing #17 to block #18. Press. Next, Sew cornerstone #22 to sashing #23 and then to the block.
You will have two new chunks, one with sashing on three sides and another chunk with sashing along two sides.
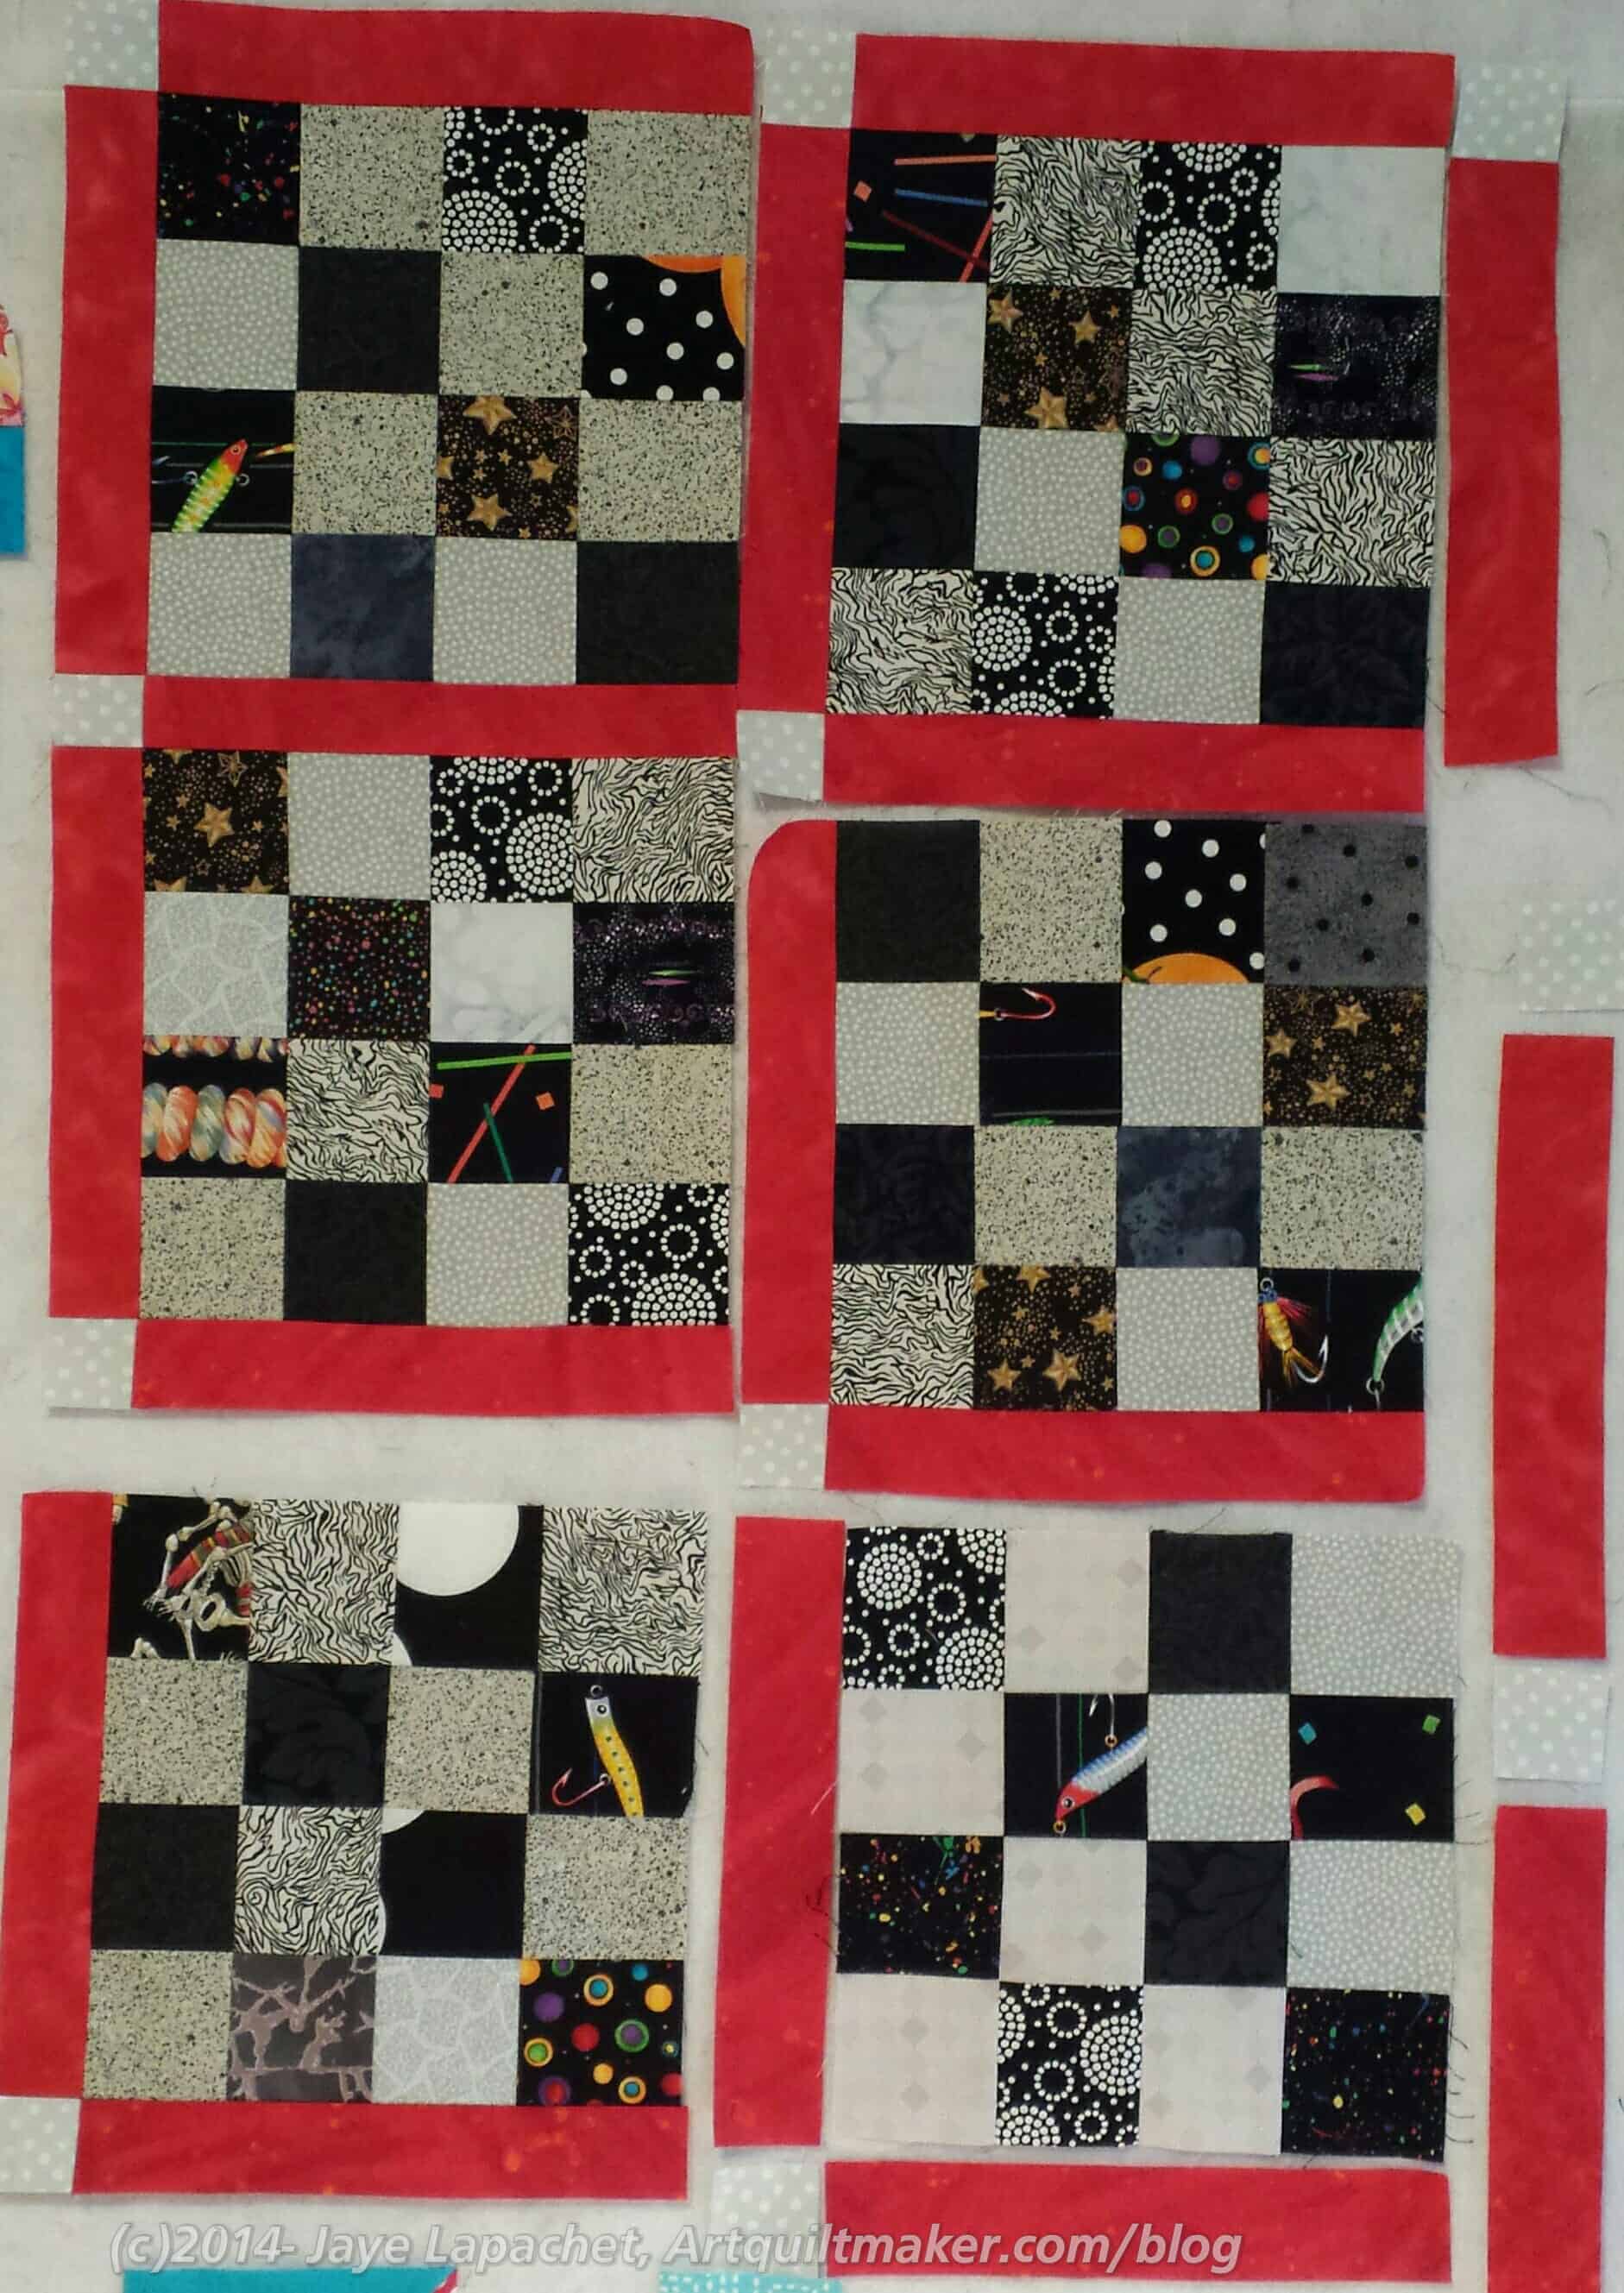
Sew cornerstone #5 to sashing #9 (upper right).

Sew cornerstone #14 to cornerstone/sashing piece #5-9. You will have a piece made from three patches.
When you press, press the cornerstone seams in the opposite direction as you have pressed the other sashing already applied to block #8. This will allow you to piece your seams more precisely.
Sew the long thin piece made up of three patches (2 cornerstones and a piece of sashing) to block #8, which already has sashing on three sides.

Sew cornerstone #24 to sashing #19. I don’t have a picture of the two pieces sewn together before I attached them to the block, but you do have to sew them together before you sew them on the block. Now, sew sashing/cornerstone piece #19-24 to block #18 (middle right).
Sew sashing #27 to block #28.

Sew cornerstone #32 to sashing #33. Now sew combined piece #32-33 to block #28. This will give you a chunk that is sashed on two sides (left and bottom).

Sew sashing #29 to cornerstone #34, then sew that combined strip to block #28. Pay attention to seams so you can line them up.
You now have five chunks and are ready to sew them together.
Sew the two blocks on the upper right side together.

Sew the two bottom blocks together. Now you have three chunks.

Sew the top two chunks together, which is four blocks.
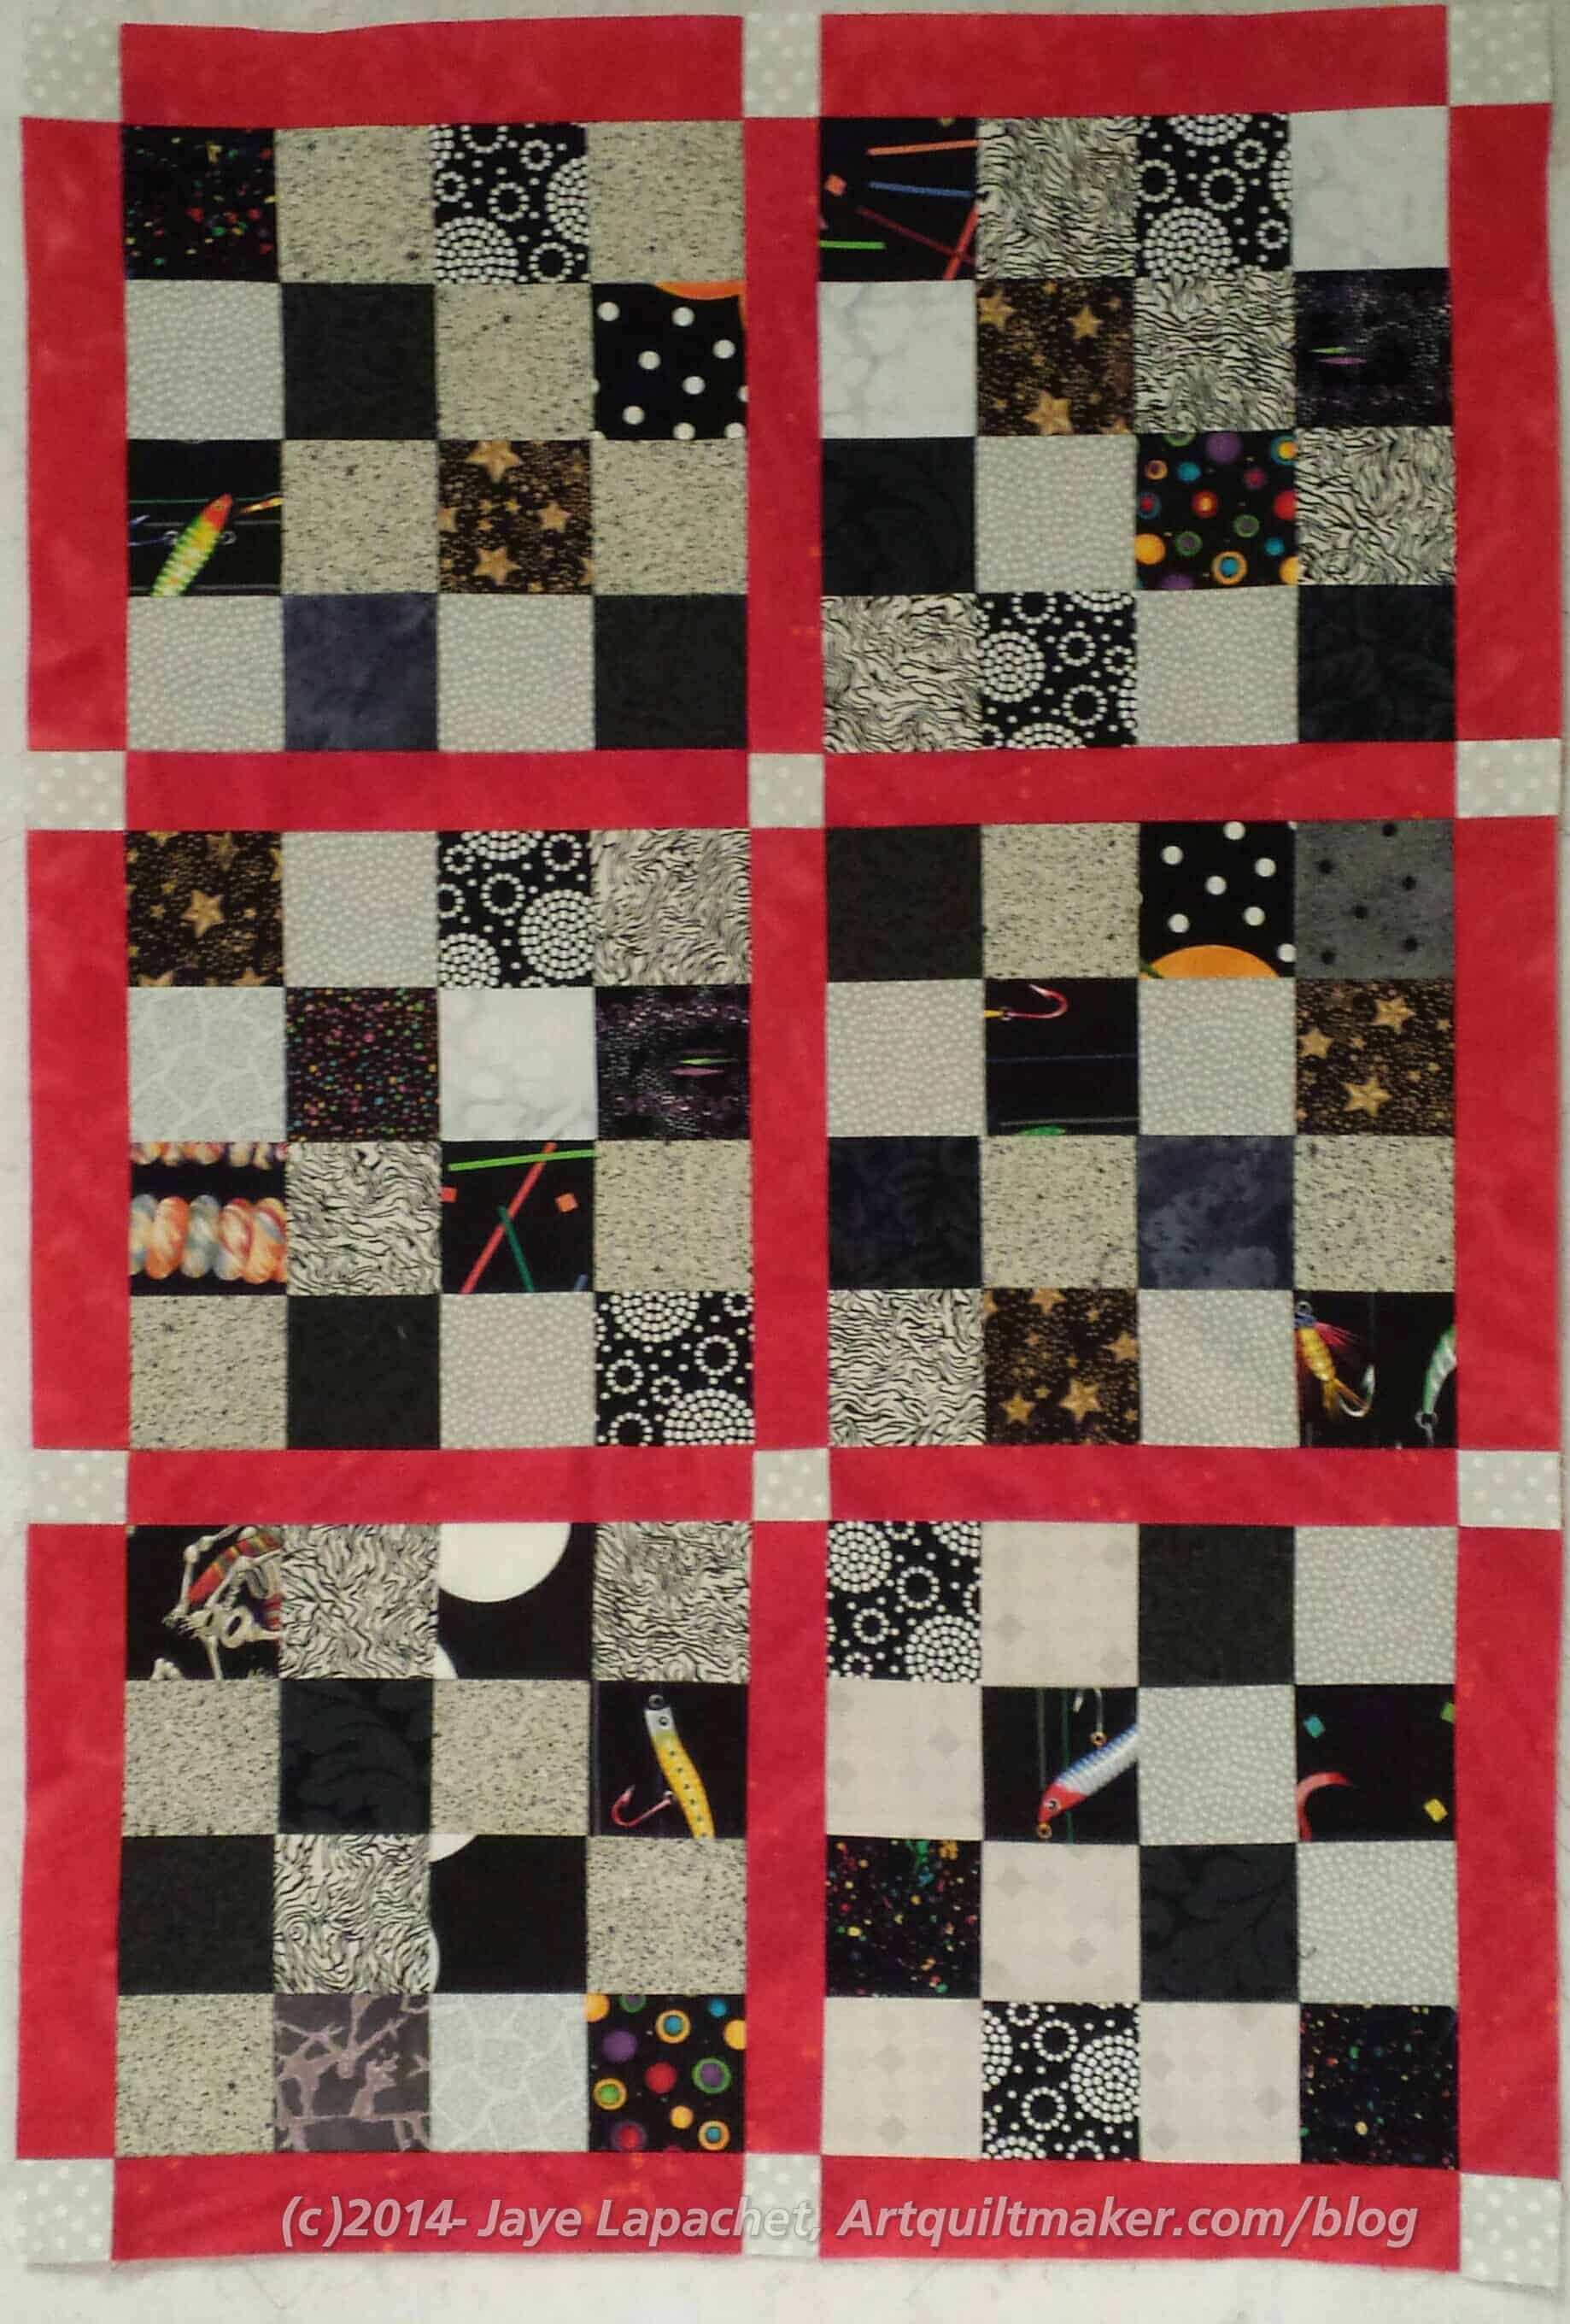
Sew the bottom chunk, made up of two blocks to the top chunk, which is made up of four blocks.
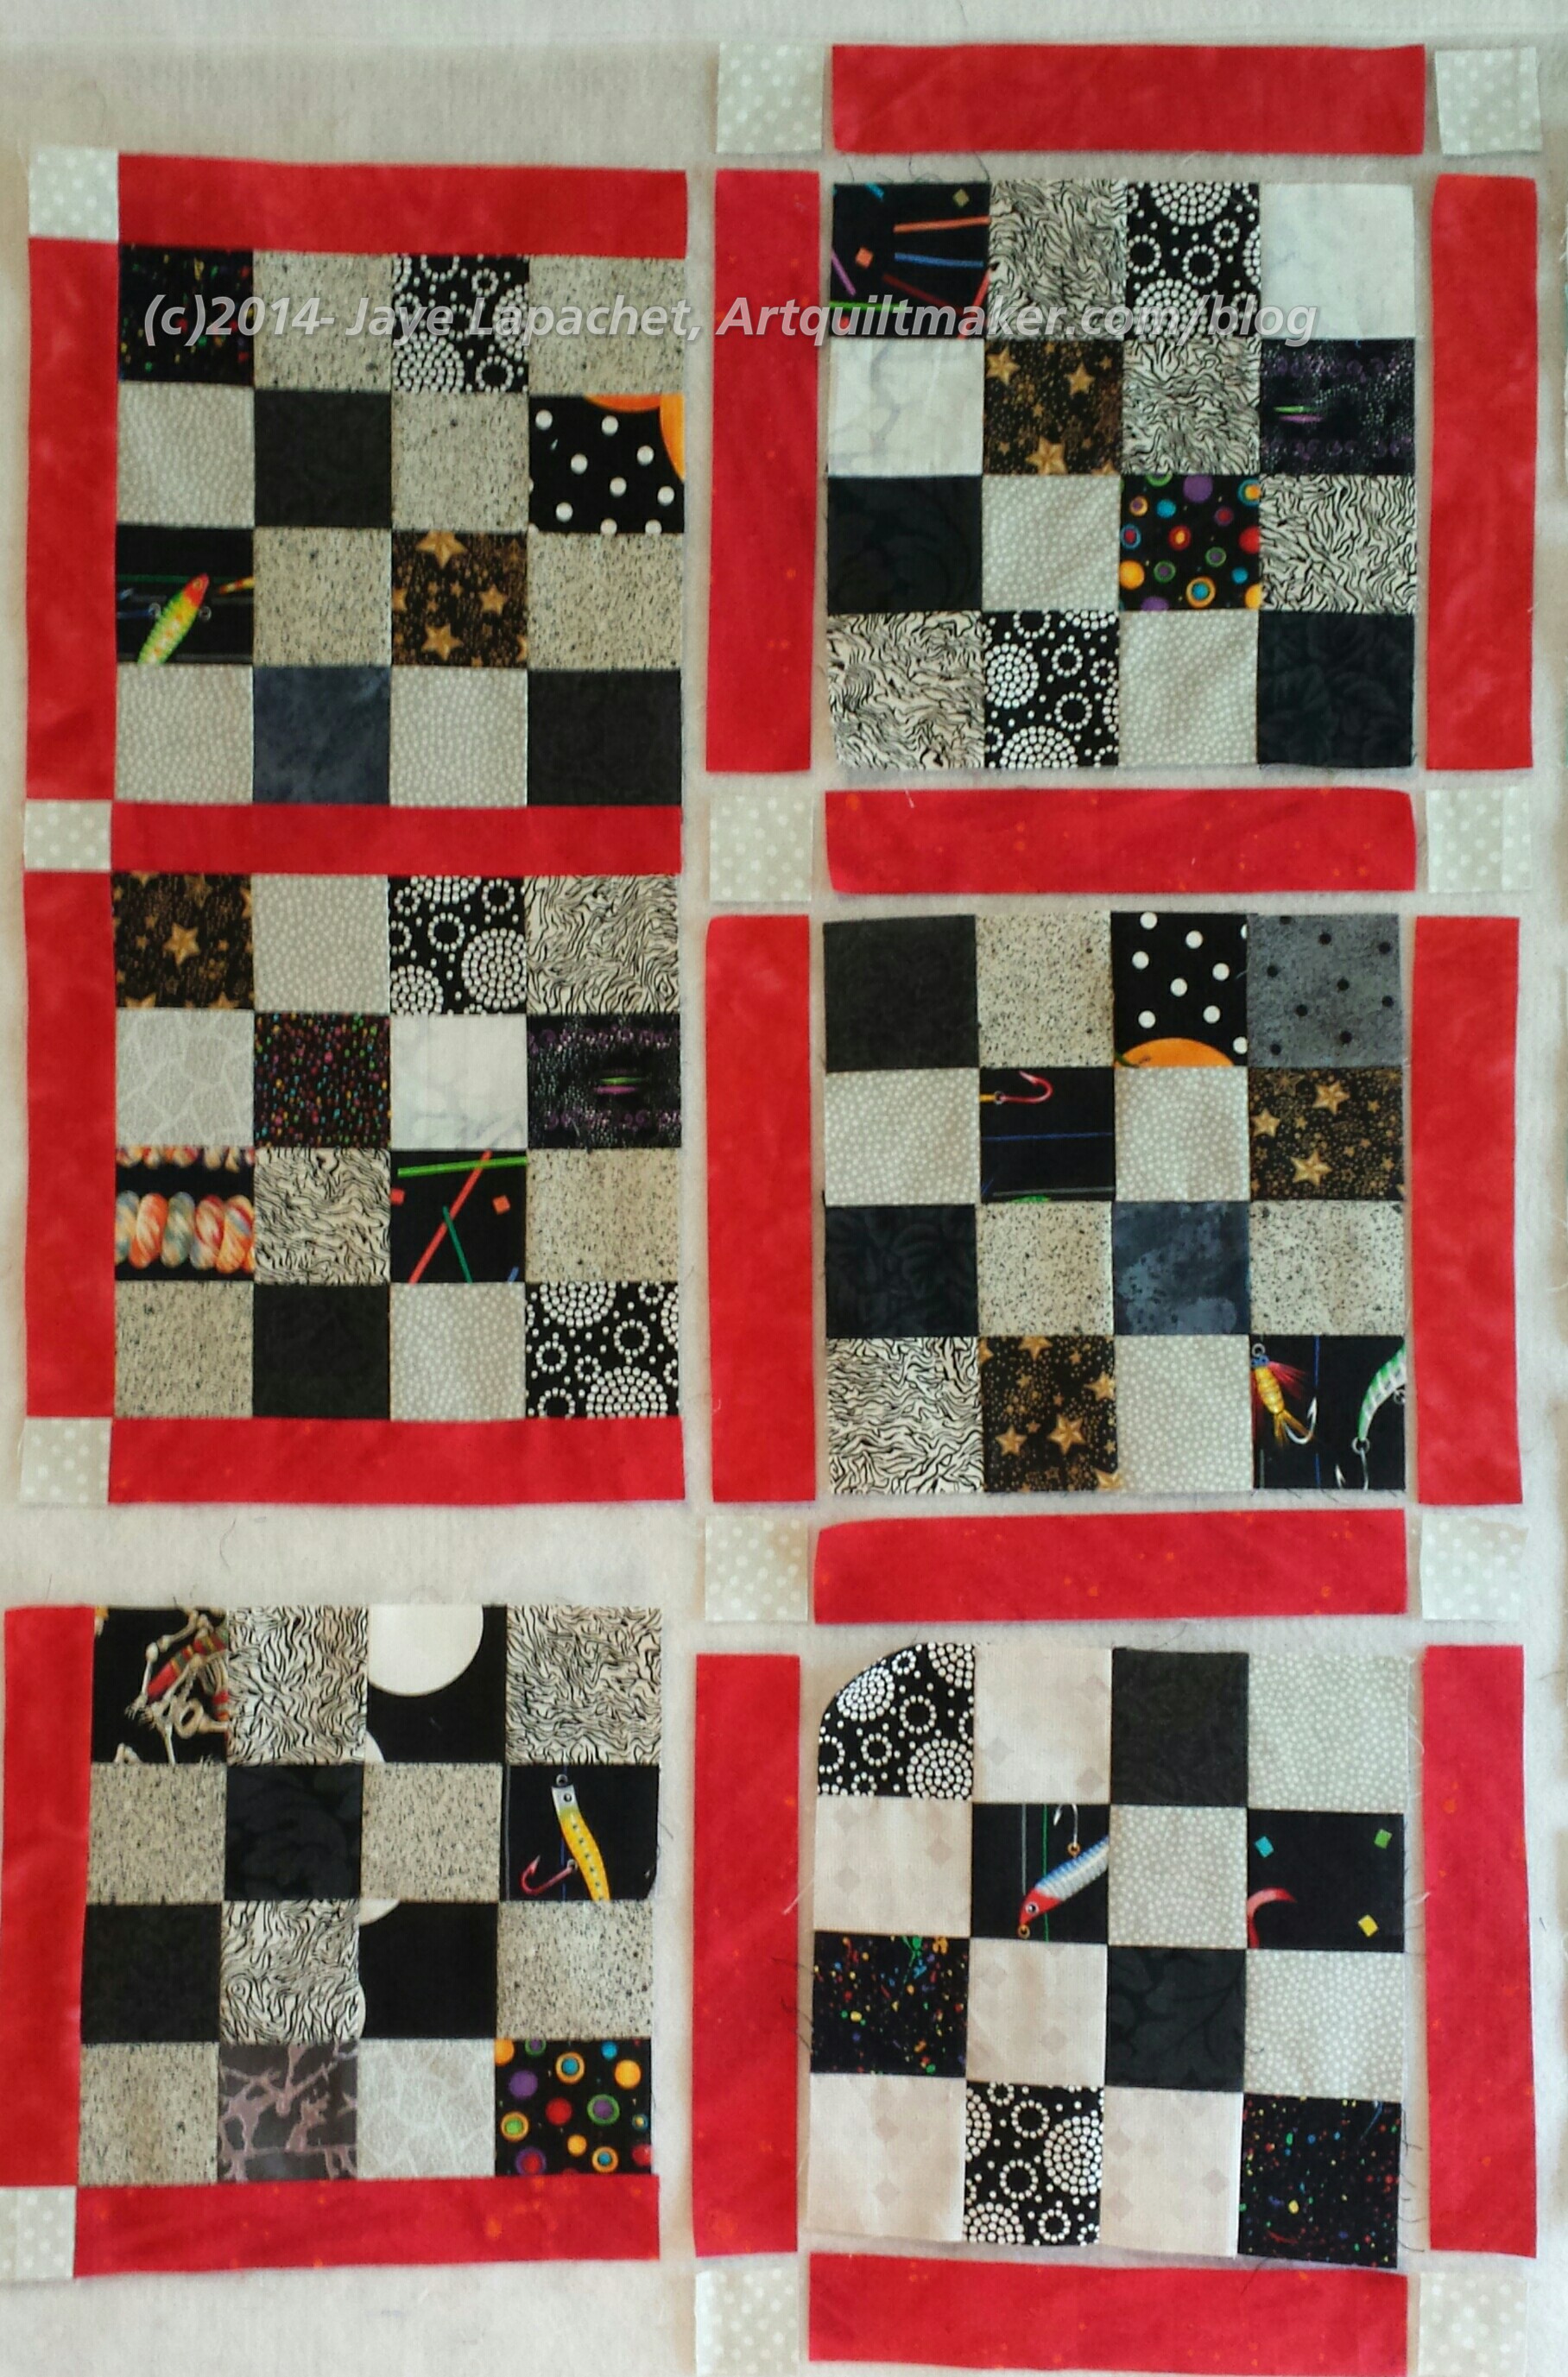
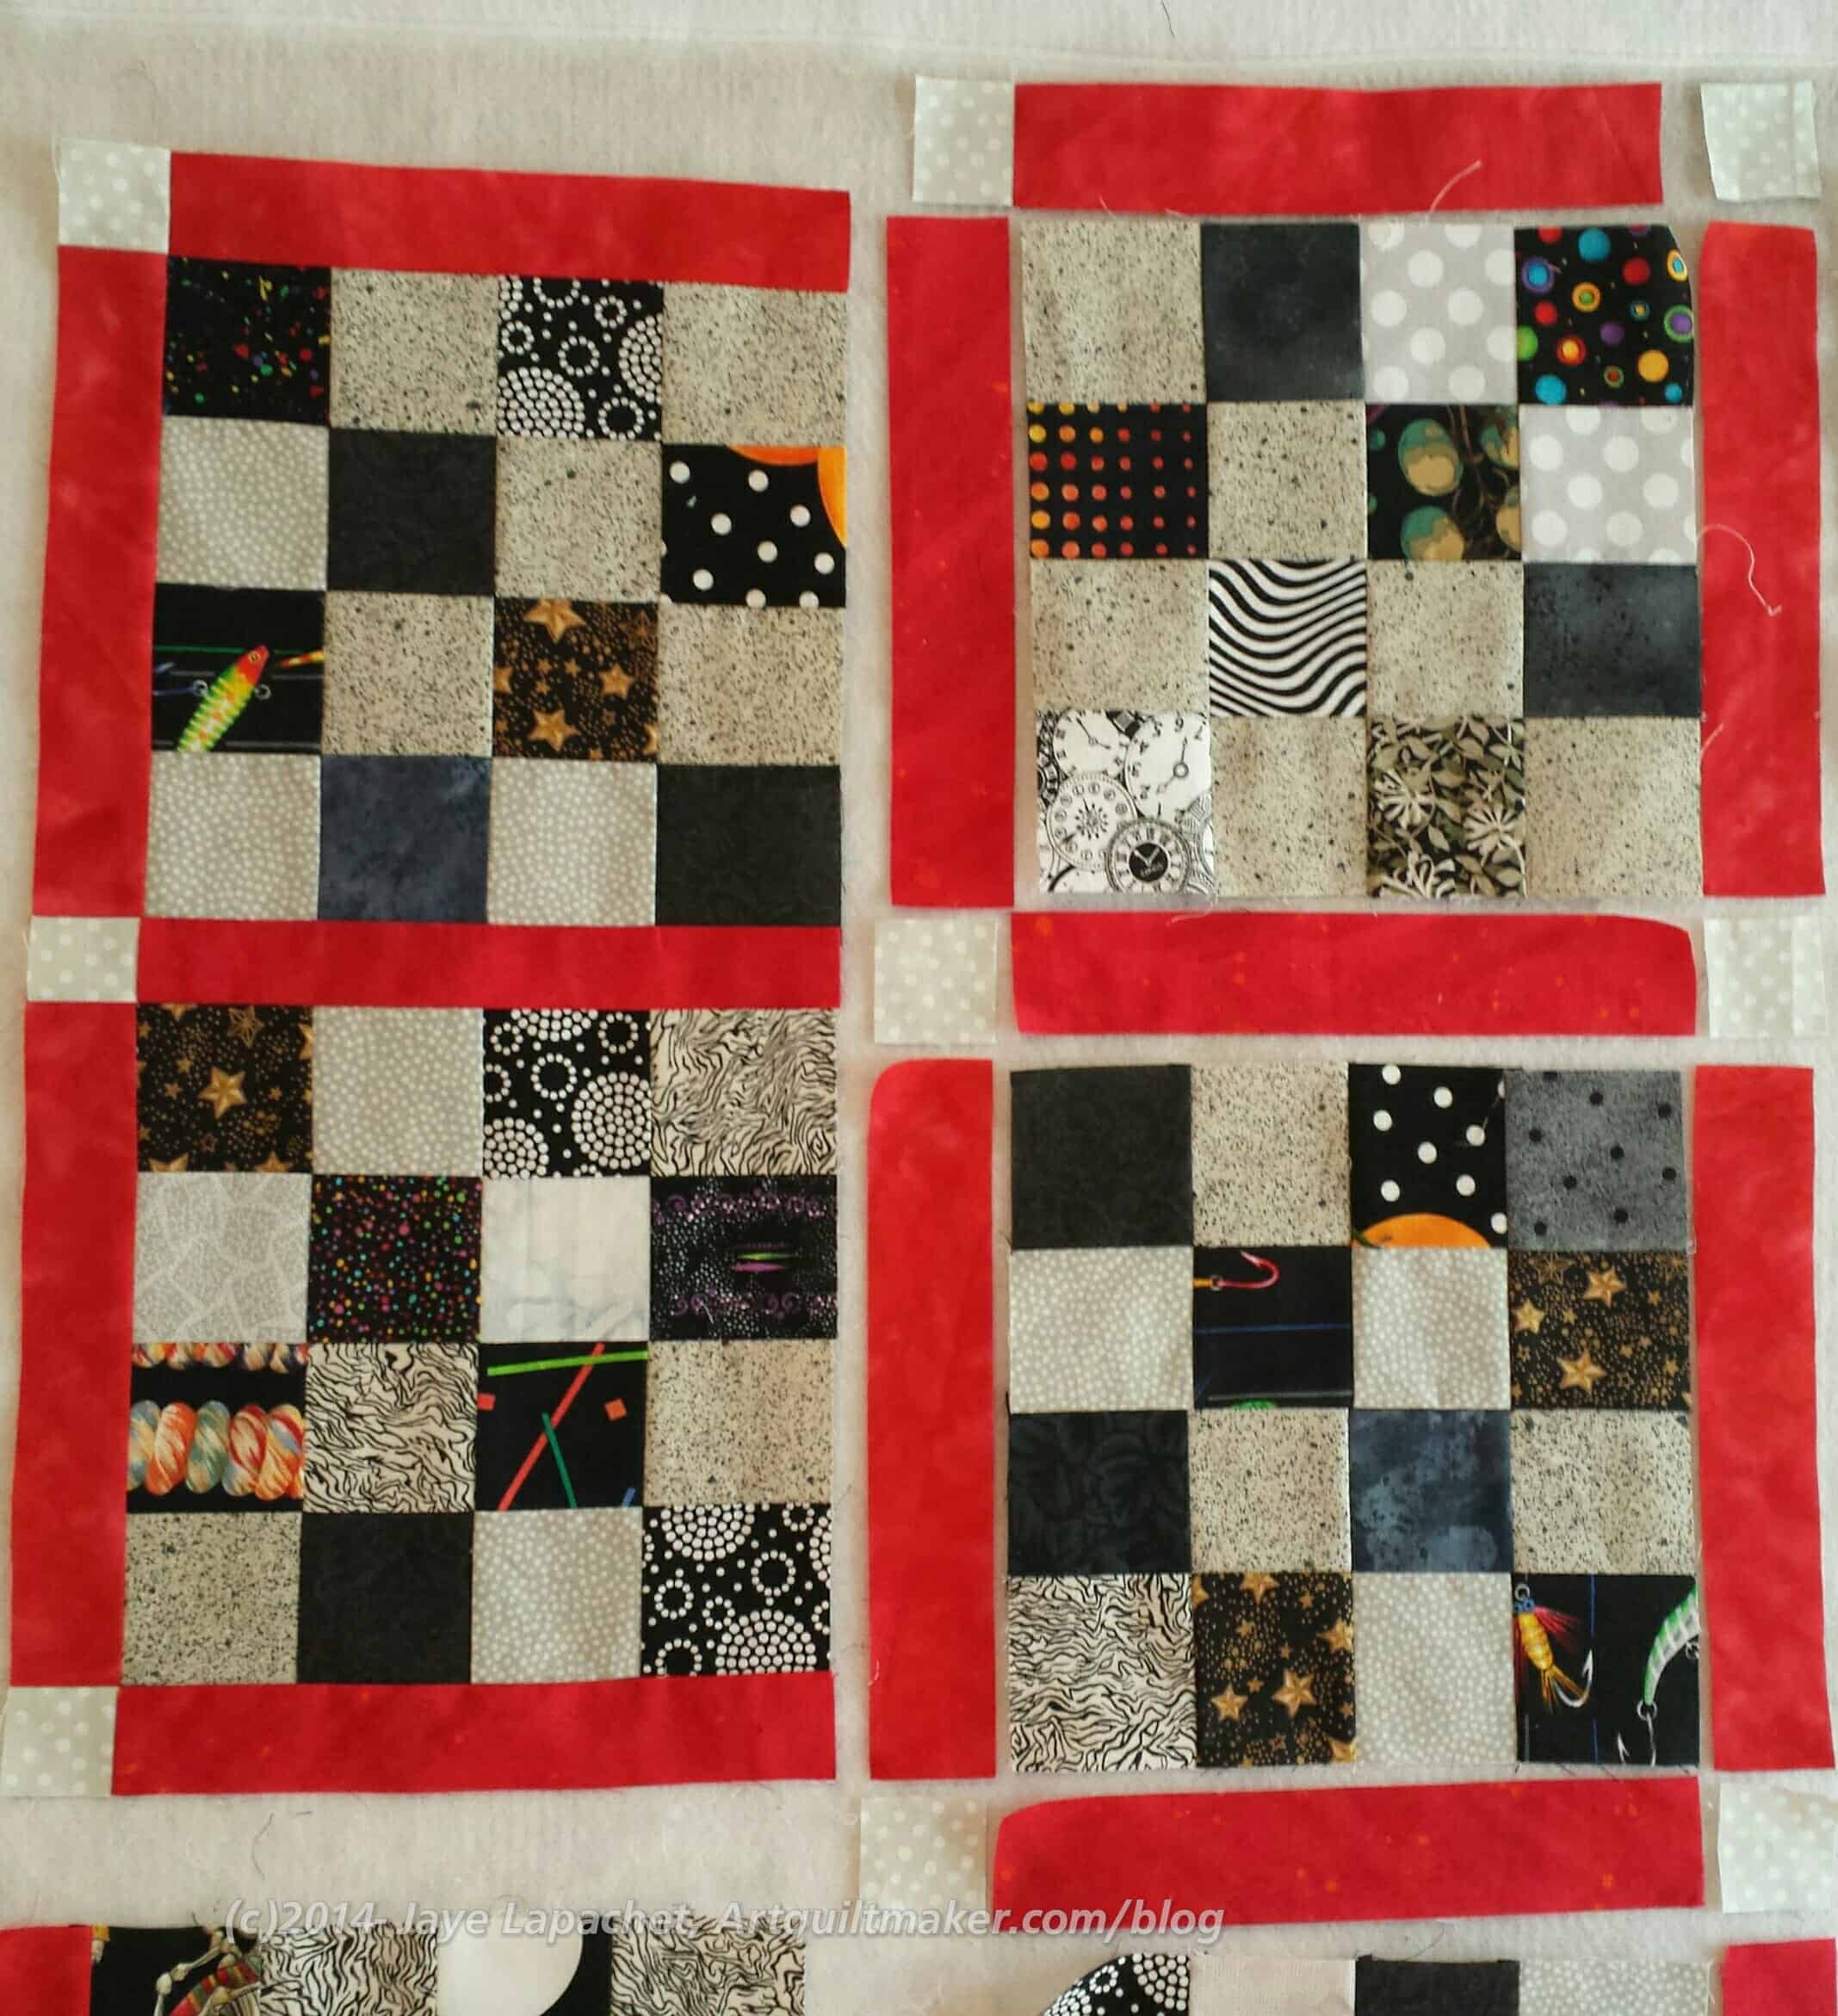
I have used a small piece as an example, but the same principles apply to a larger piece. I start in the upper left hand corner and work my way to the lower right hand corner, making chunks and eventually sewing them together into larger chunks until the quilt is finished.
Let me know if you have questions.
**Nota bene: I accidentally labeled two pieces of fabric with the number 8 in Step 1. Note that one is a piece of red sashing and the other is a block. Please look at the photos to assist you with the correct sequence of piecing.
Gah – I was working on a small scrappy quilt yesterday and wanted to do cornerstones, which I hate because of the issue of getting them positioned precisely when done in rows. I had used this chunky method on a quilt last year, but then couldn’t remember how I’d done it. Thank you for the tutorial! I will try it again on a new one!
Glad you found it helpful! Thanks for reading.