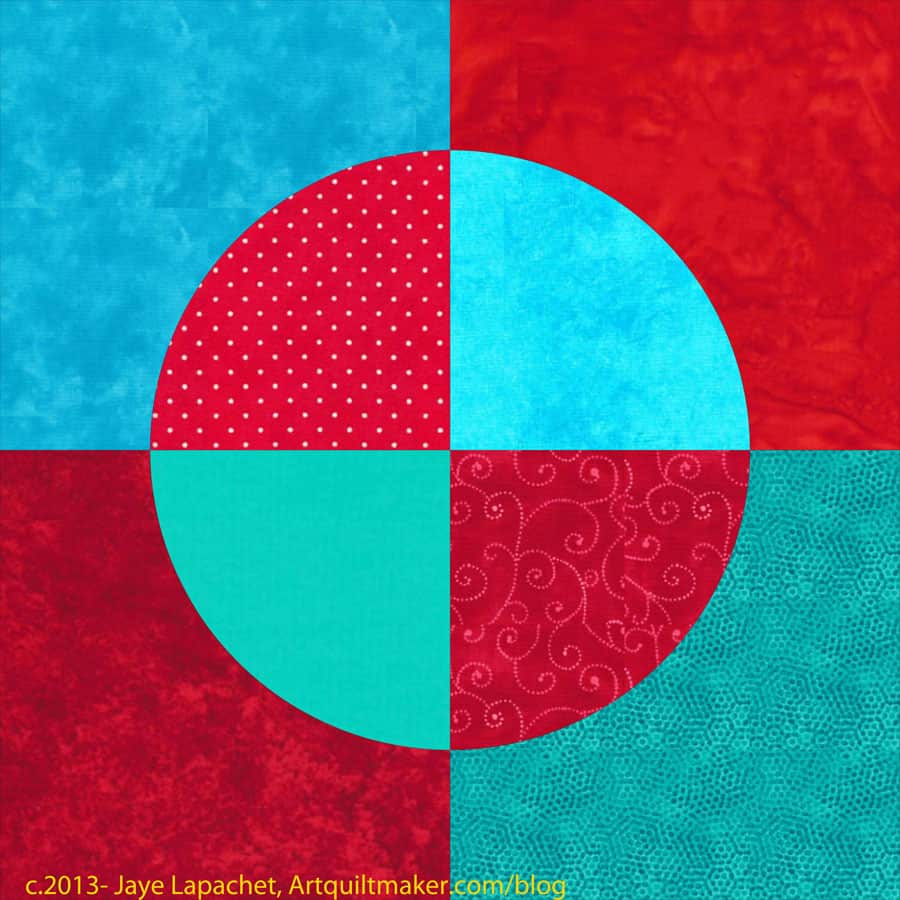
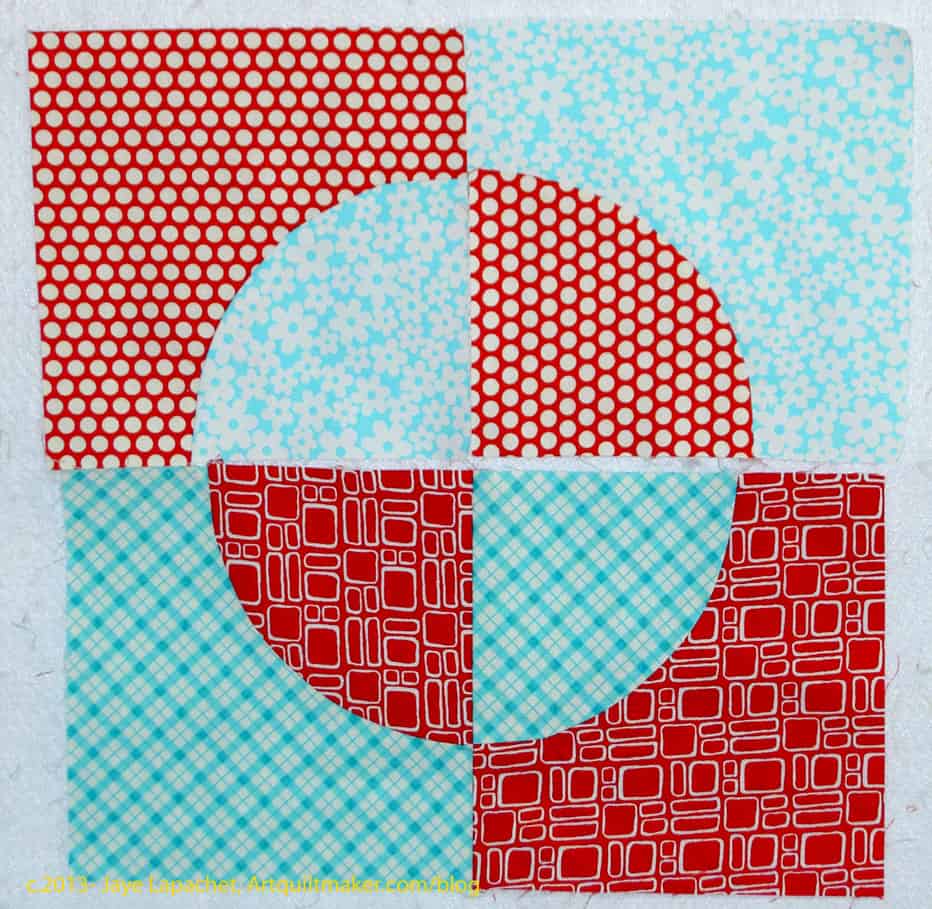
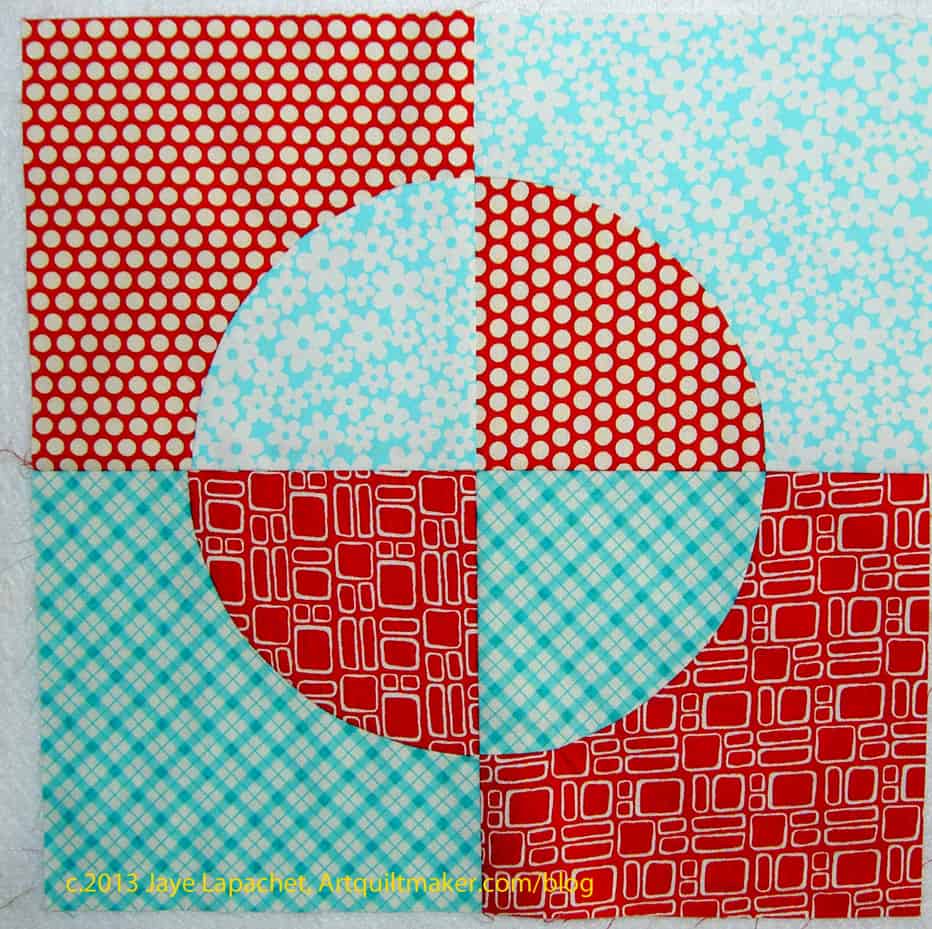
In this lesson, we will make a block called The Dove. It is a baby version of the Drunkard’s Path. I like to use the Drunkard’s Path block in this class, but is very fiddly and be frustrating for new quiltmakers. The Dove gives you practice in sewing curves and has larger pieces. If you make this block, the next logical curve practice piece would be a Drunkard’s Path block.
Supplies:
- The Dove pattern
- paper scissors
- template plastic
- glue stick
- fabric (at least 2 different)
- pen (I like the Pigma Micron & the Pilot Ultra Fine Point)
- Fabric scissors
- pins
- Sewing machine
- quarter inch foot or other marking system
- thread
- Iron and ironing surface
Use a quarter inch seam allowance.
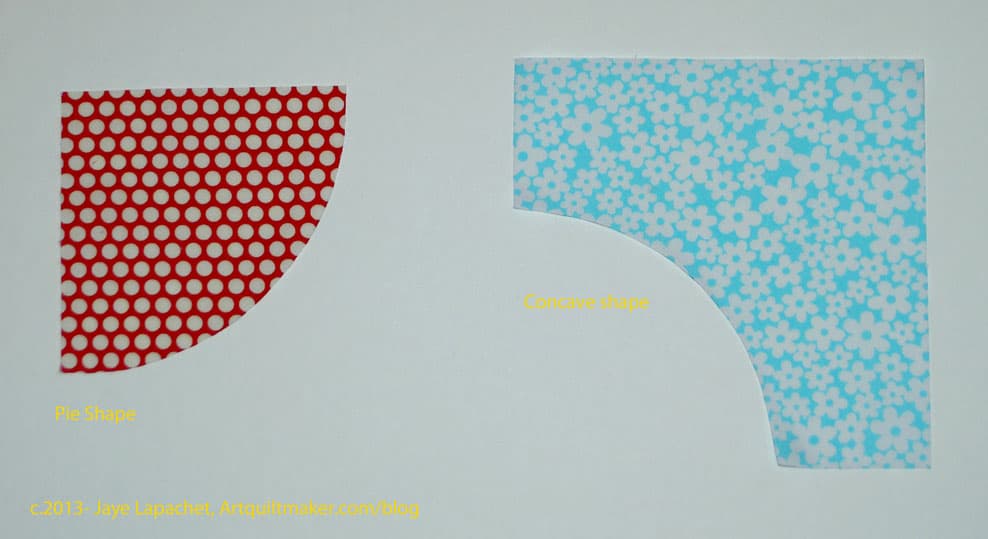
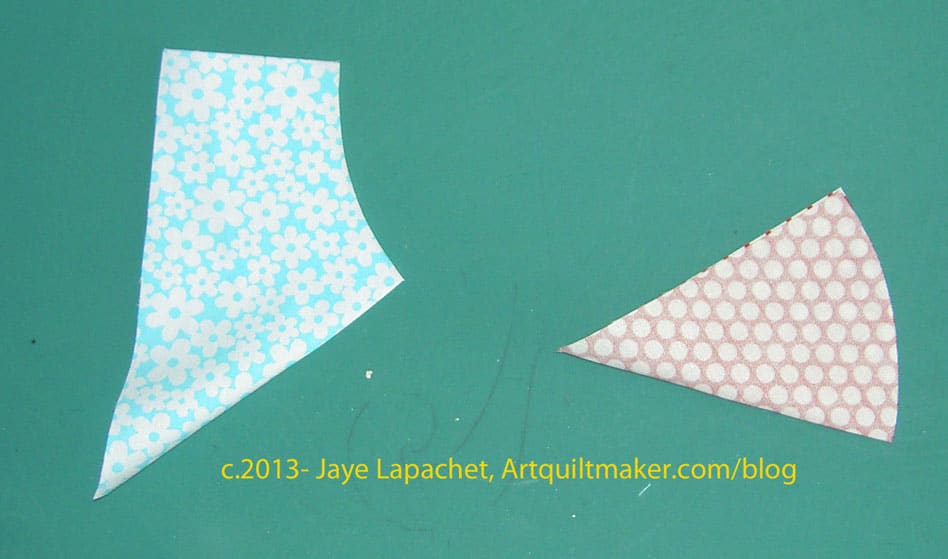
This block, as well as the Drunkard’s Path block is made from two types of pieces: a concave ‘L’ and a pie shape. The pie shape forms the circle in the center and the concave ‘L’ can be considered the background. This design has a very strong focal point.
- Take the The Dove pattern and rough cut the paper templates.
- Use the glue stick to stick the paper templates to the template plastic. You won’t need heat resistant template plastic as we won’t be ironing over the templates. It is fine to use, though, if that is the only kind you have.
- Rough cut the templates you have glued to the plastic.
- Carefully cut out the template on the seam allowance line, cutting off the rough cut paper and plastic.
- Place your fabric wrong side up on a hard surface.
-
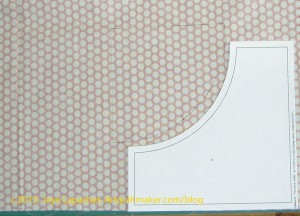
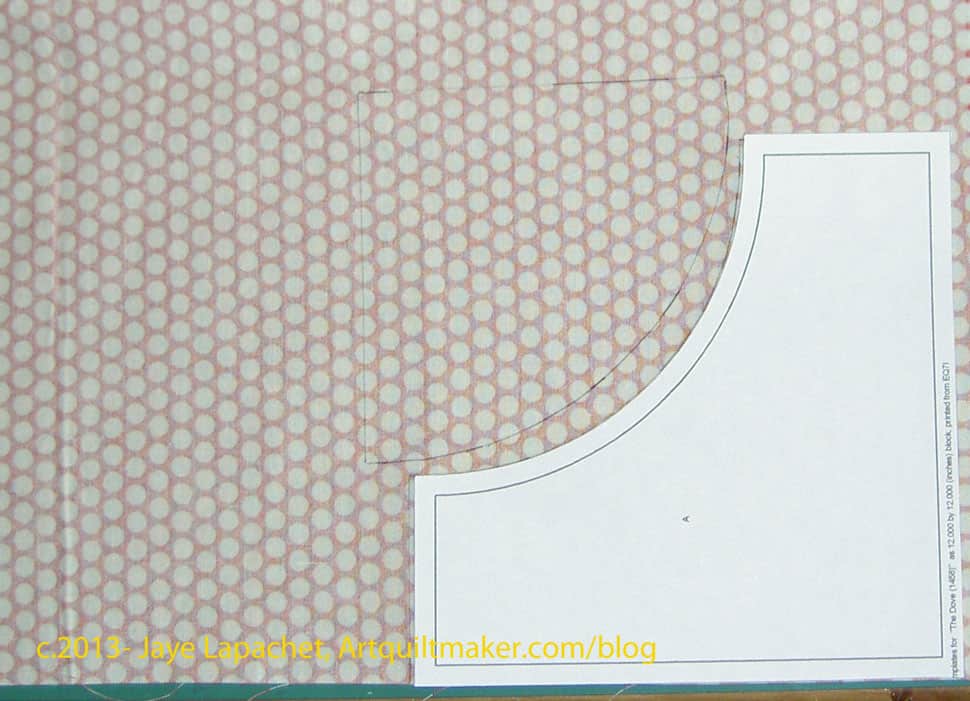
Draw Around Templates Place the templates wrong side up on your chosen fabric. Nota bene: If you are using symmetrical templates, then it doesn’t matter whether they are right side or wrong side up, but it is good to get in the habit of doing it the right way in case you use non-symmetrical templates in a future project.
- Draw around the template with your marking implement of choice. You will need to hold your template firmly so it doesn’t shift. You can also rough cut out the fabric pieces if trying to cut precisely with a long length of fabric draped over the cutting table is too difficult.
-
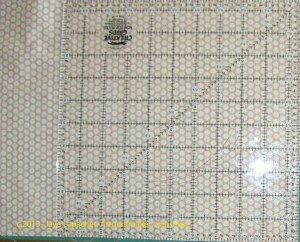
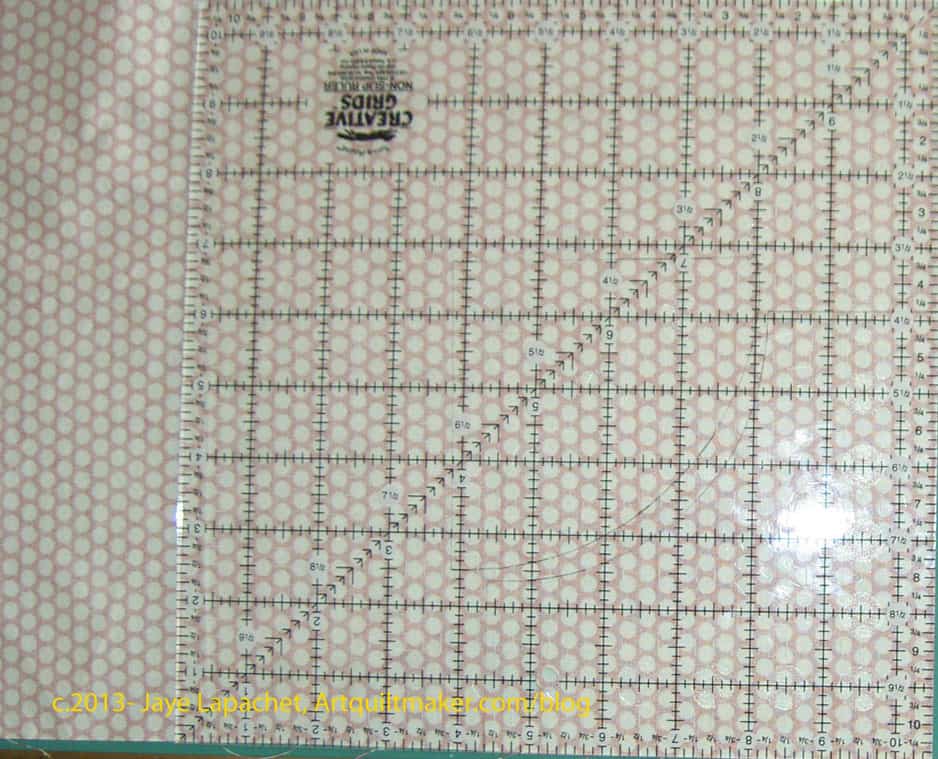
Rotary Cut 90 degree angles Cut the fabric out carefully using your fabric scissors, especially the curves. Cut the drawn line off the fabric. I used a rotary cutter for the 90 degree angles.
- Check to make sure that the fabric you just cut out is the same size and shape as your templates. You can lay the template over your fabric to check.
-

Fold Pieces in Half Take a pie shape and a concave ‘L’ shape and fold them in half. Line up the edges carefully. The halfway point that you create will be used to make sure the pieces are sewn together evenly. You will want to make the marks so the patches nest. That means you fold the concave piece in half with right sides together and the pie shaped piece in half with the wrong sides together. Mark the halfway point with a pin or through finger pressing.
- Nestle the pieces right sides together.
-

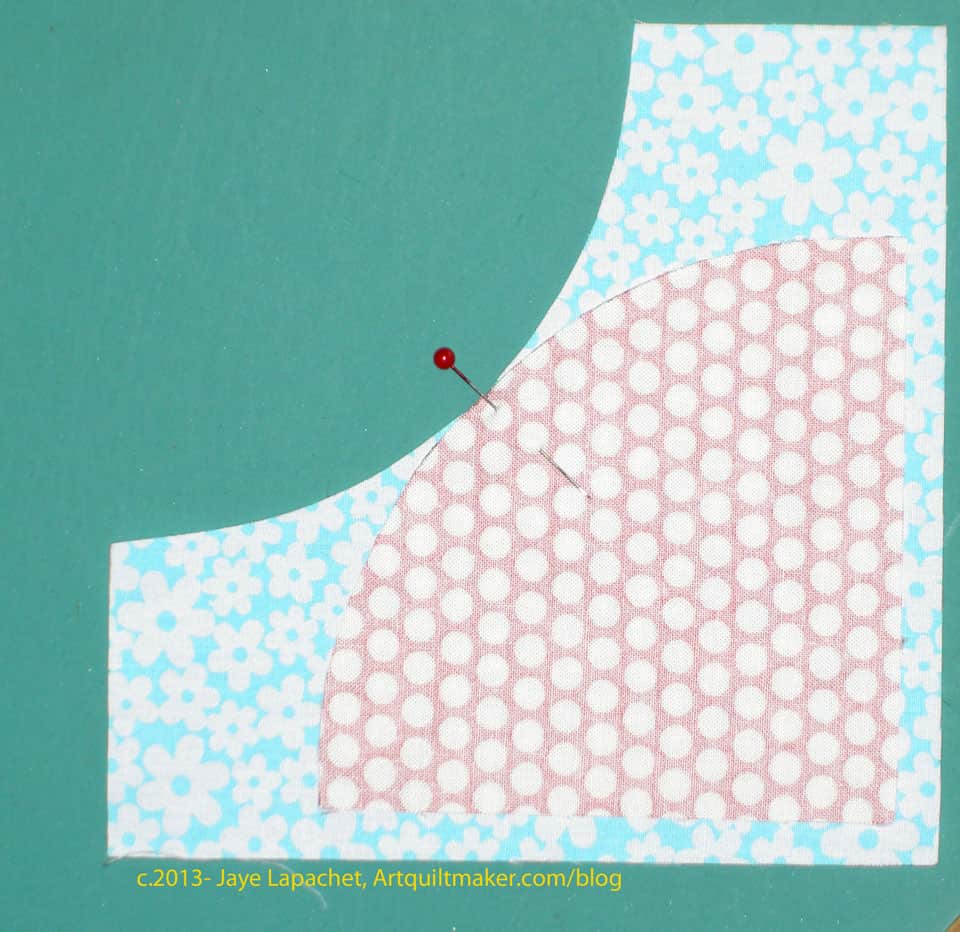
Pin in Middle To do this, line up the middle mark where you have finger pressed to align the blocks accurately.
- Place a pin in the middle at the finger pressed center
-

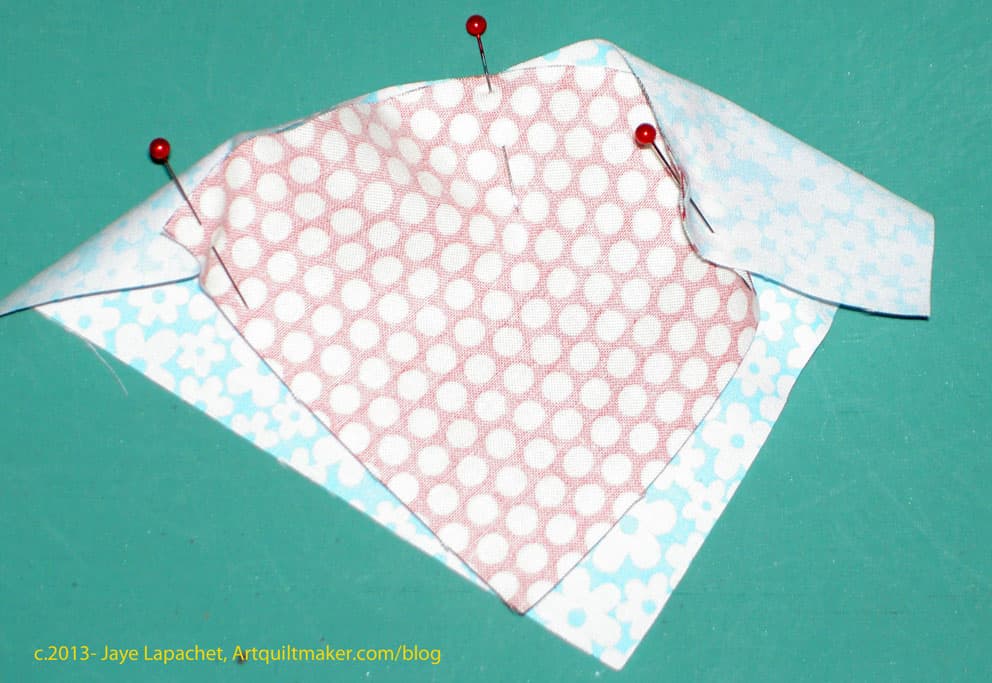
Pinned 3 times Line up the outside edges and place a pin close to the two outside edges. Because of the seam allowance, the piece will look misshapen.
- Fill in the area between the middle pin and each outside pin with pins. Ease the area between the outside and middle pins into smoothness with your fingers, lining up the edges of the fabric as you do so. Place as many pins as you need between the middle pin and the outside pin. Make sure the fabric is flat and there are no pooches. You may have to ease a bit, but do it very gently so as not to stretch the pieces. If you have to stretch and tug and pull, there is something wrong and you should check to see if your templates match your fabric pieces.
-
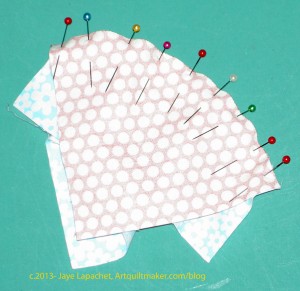
Completed Pinning Do the same with the second section between the middle and the other outside edge until you have used a lot of pins.
-
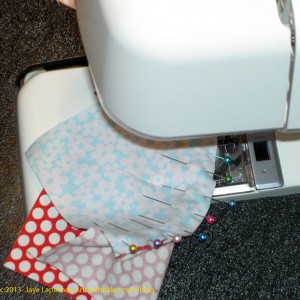
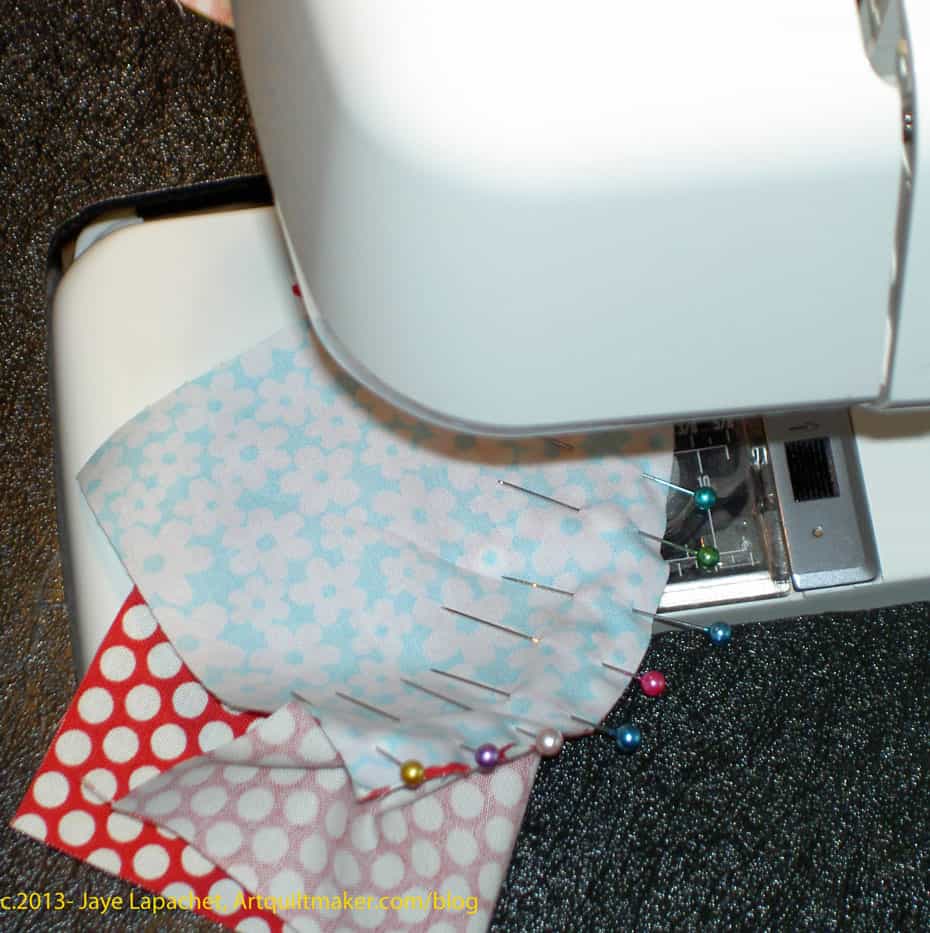
Sew Pie to Concave Piece Sew Pie to Concave piece, removing pins before you sew over them. You may want to use a stiletto or the point of a pin to keep the edges of the fabric lined up until you sew over the area where the pin was. I also use a seam ripper as a stiletto to keep the two pieces in place after I remove the pins.
-

Dove Block in Process Press carefully.
- Repeat for all of the quarter blocks. Once you have sewn the four curves. you have a four patch.
-
Dove Block in Process Sew 2 quarter blocks together to make a half, then sew the other 2 quarter blocks together so you have two halves.
- Press so that the center seams nest
- Pin the two halves together, paying careful attention to the center.
- Sew the two halves together.
- Press carefully.

GREAT work! You did it!
In a previous class, I did a tutorial on laying out a Drunkard’s Path. The fabrics and the block are different, but you can get an idea of the opportunities available to you with different fabrics by taking a look at the tutorial.
Resources
Fresh Quilting: Curves Survival Guide by Jen Carlton Bailey – she uses glue instead of pins, which is interesting. I haven’t tried it. I don’t wash my quilts because I pre-wash my fabric, so I am not sure I want a bunch of glue in my seams. It is worth a try especially if you are not a fan of pins.