
I thought I would write a little more about this pattern as it is a pretty good pattern and has interesting construction techniques.
The bag pattern is included in a book called Make it Take It by Krista Hennebury. The bag is a cover girl and is what attracted me to the book.
I had a gift to make and thought this would be a perfect opportunity to try the pattern. I made the Little Patchwork the first and was a little disappointed at how little it was. I hadn’t planned to make both, but I needed a larger tote for my gift. From the photos in the book, I thought the little tote was more of the large tote size and the Big Patchwork Tote was larger – almost the size of a Chubby Charmer.
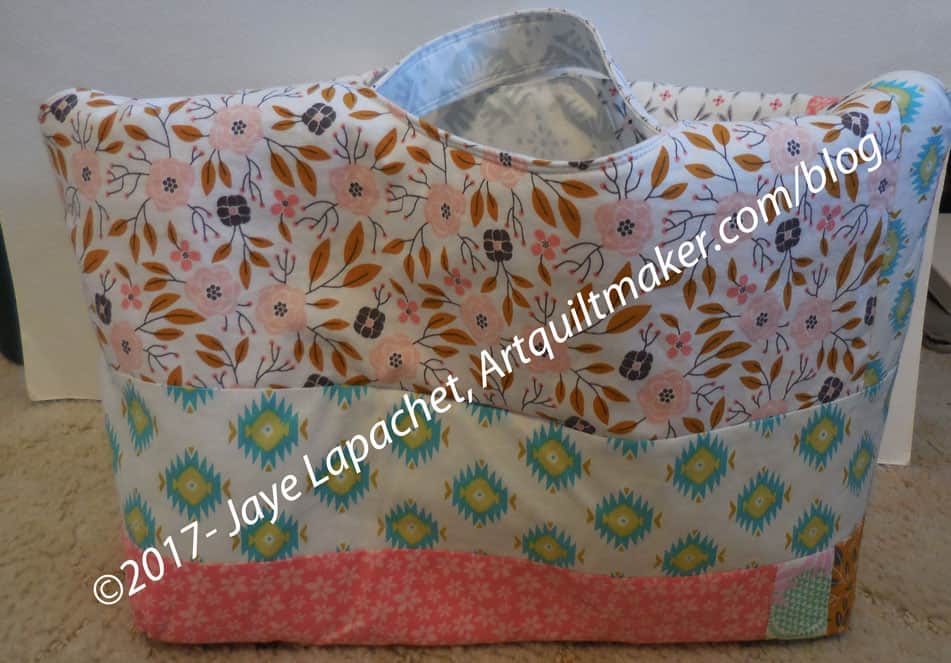
The pattern calls for patchwork sides and gives instructions for making a strip set. Fortunately, the pattern also gives the desired final size of the strip set, so the maker can cut the piece from one piece of fabric, if desired. This dimension also allows one to use something like mosaic piecing techniques if strips are undesired. Since I am using a fat quarter stack for this project, I didn’t have pieces large enough for the strips. I pieced strips together and used those. You can see that in the photo above if you look for vertical strips. I recommend piecing the desired fabrics together well in advance of the deadline for this bag as that takes a lot of time.
I used fusible fleece on the small bag and Soft and Stable on the larger bag. Both work, but I found the fusible fleece to be easier to deal with. Of course, if I had remembered to attach the Soft and Stable before I put the bag together, that would have made a difference. 😉 In the future, if I plan to use Soft and Stable, I will attach it (in the ditch stitching, perhaps) to the exterior before I put the bag together.
The interesting part is how the bag goes together. Instead of putting the exterior inside the interior, right sides together and sewing around the top, as the maker does in most bags, this one asks the maker to fold and press the interior and exterior in half and layer them. It is an interesting method that seems to work, though is hard to understand until you do it.
The problems with this bag are: no pockets, no closure. Considering the method of construction, I am trying to figure out if I can add a pocket or sew-in magnets as closures.
All in all this bag has an interesting shape and lot of room for creativity in making the exterior. I encourage you to buy the book and try it.