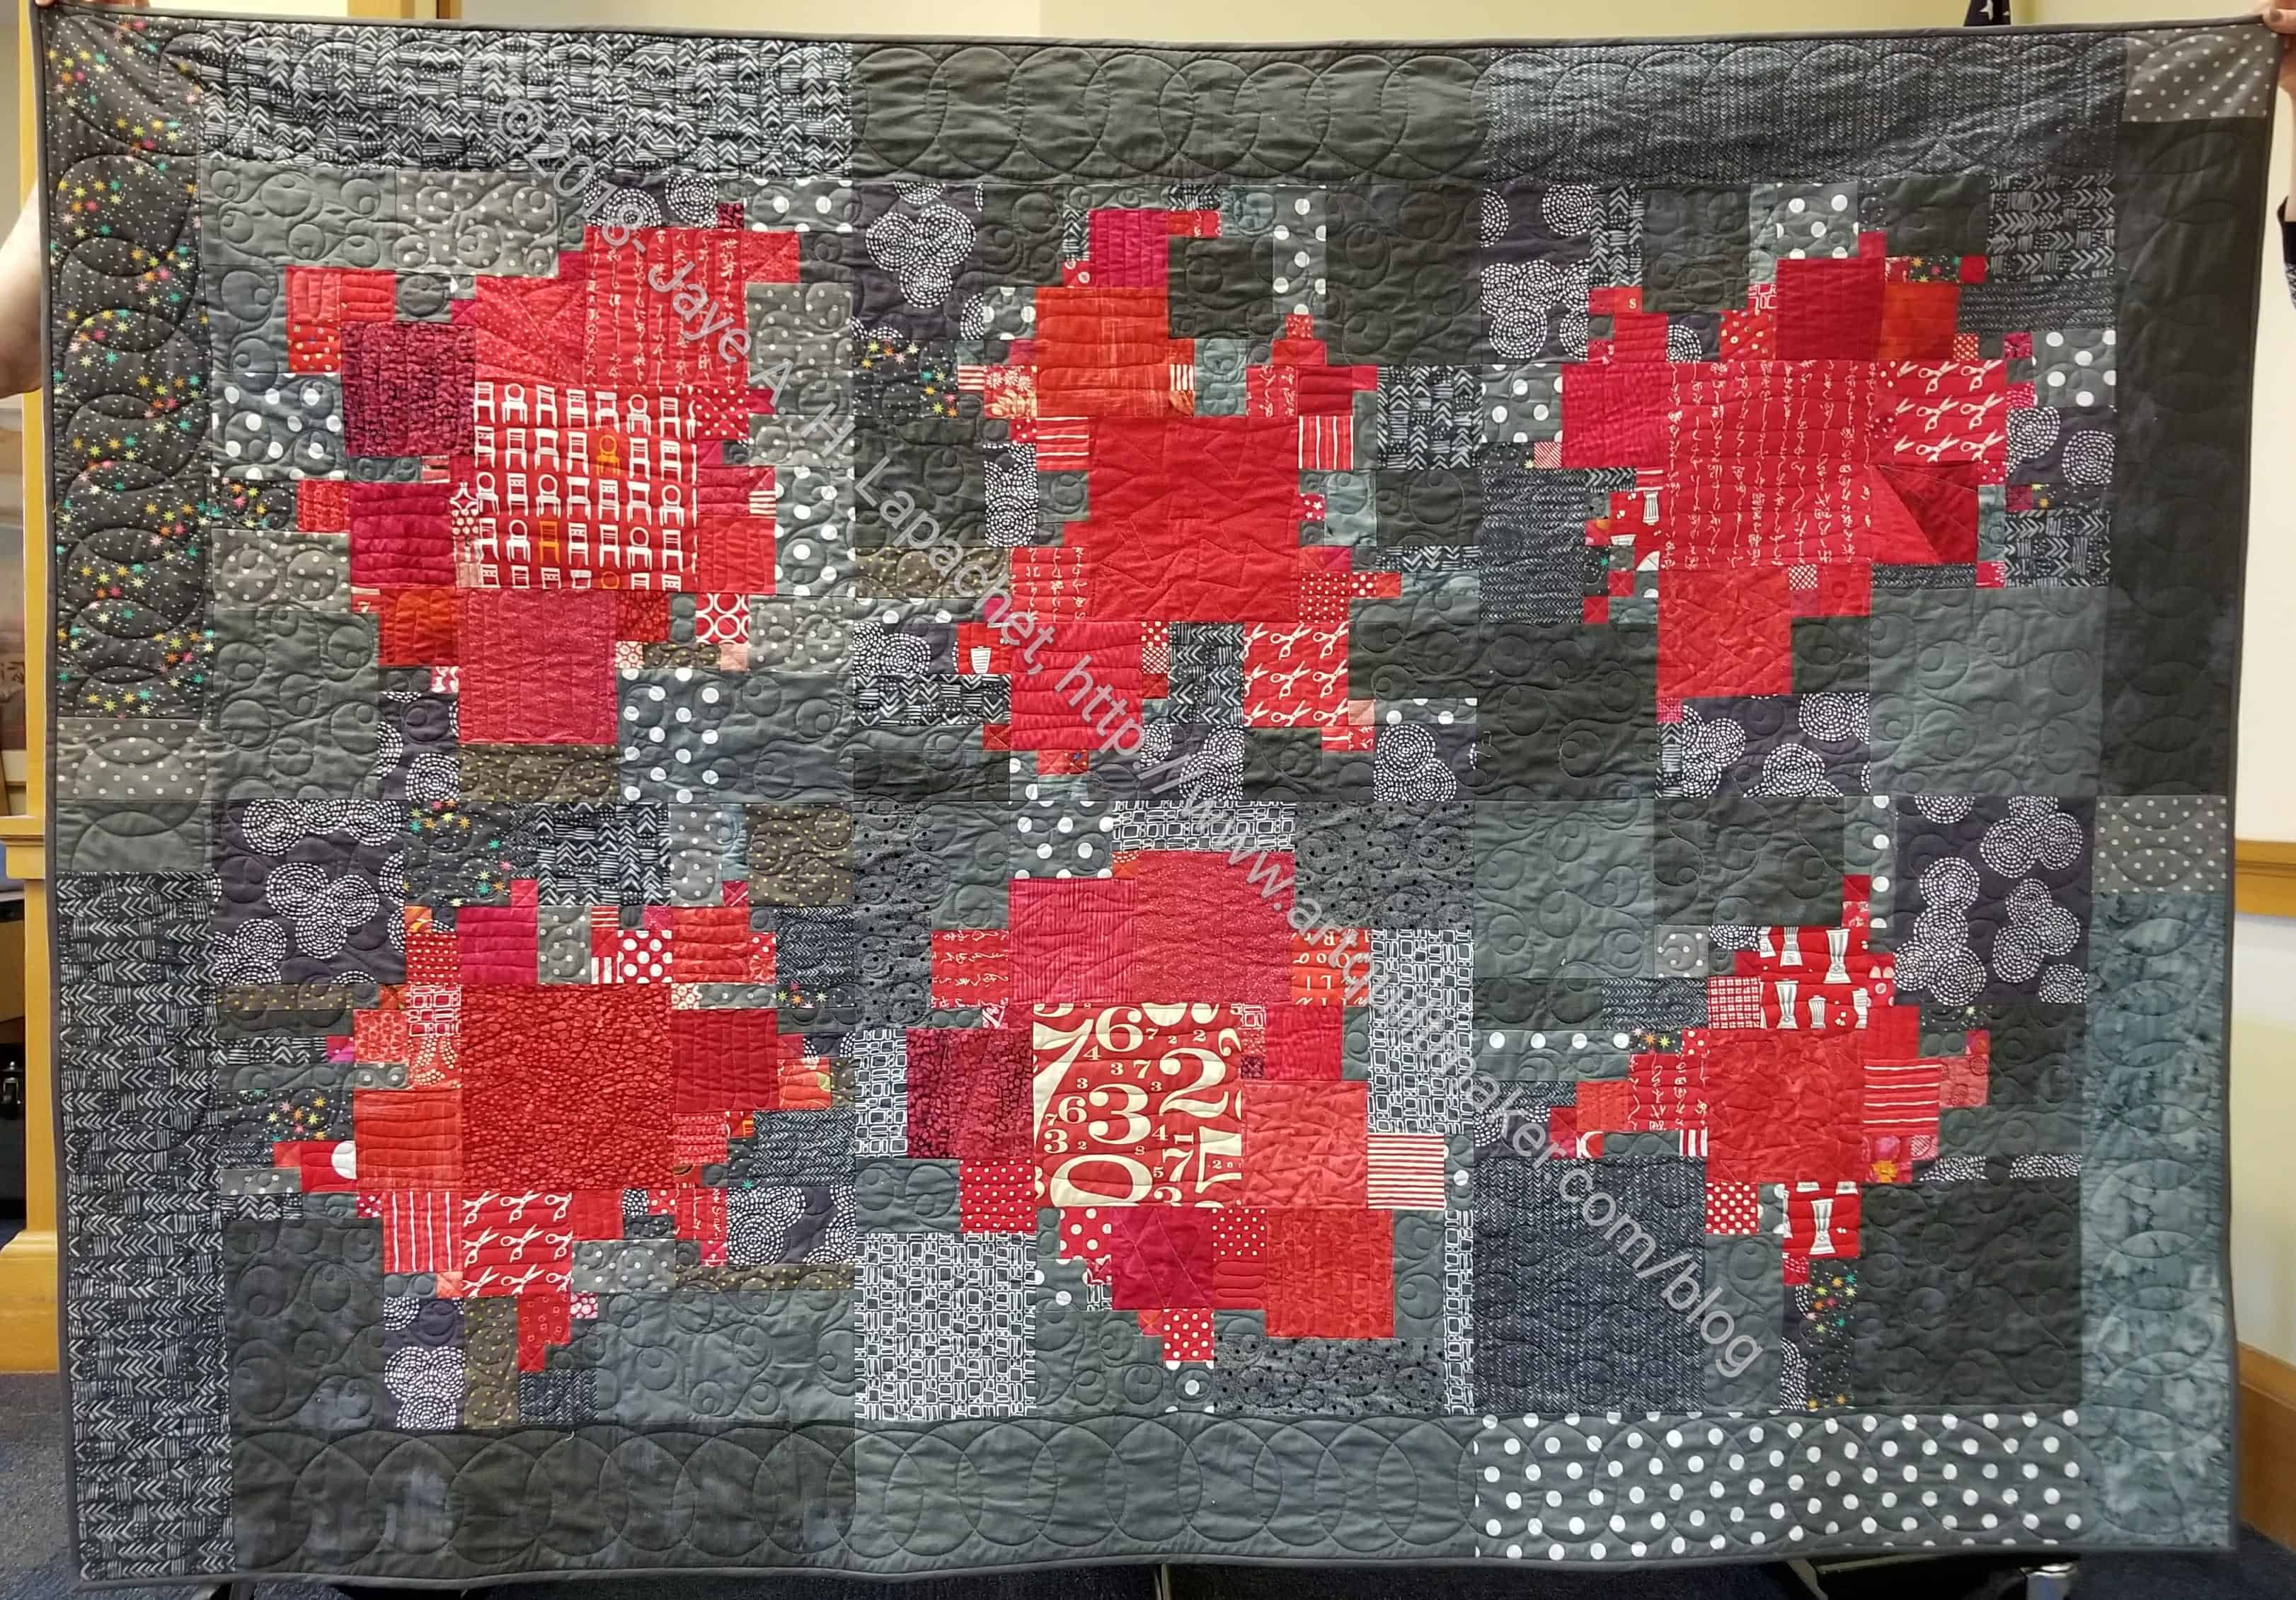
I finished the Planned Improv quilt a few days ago. Yesterday, Alison and Sonja were kind enough to hold it up for me after the guild meeting, so I could take a photo.
I really like the way this quilt came out. I don’t think the photo does it justice. I want to use this technique again and need to make time.
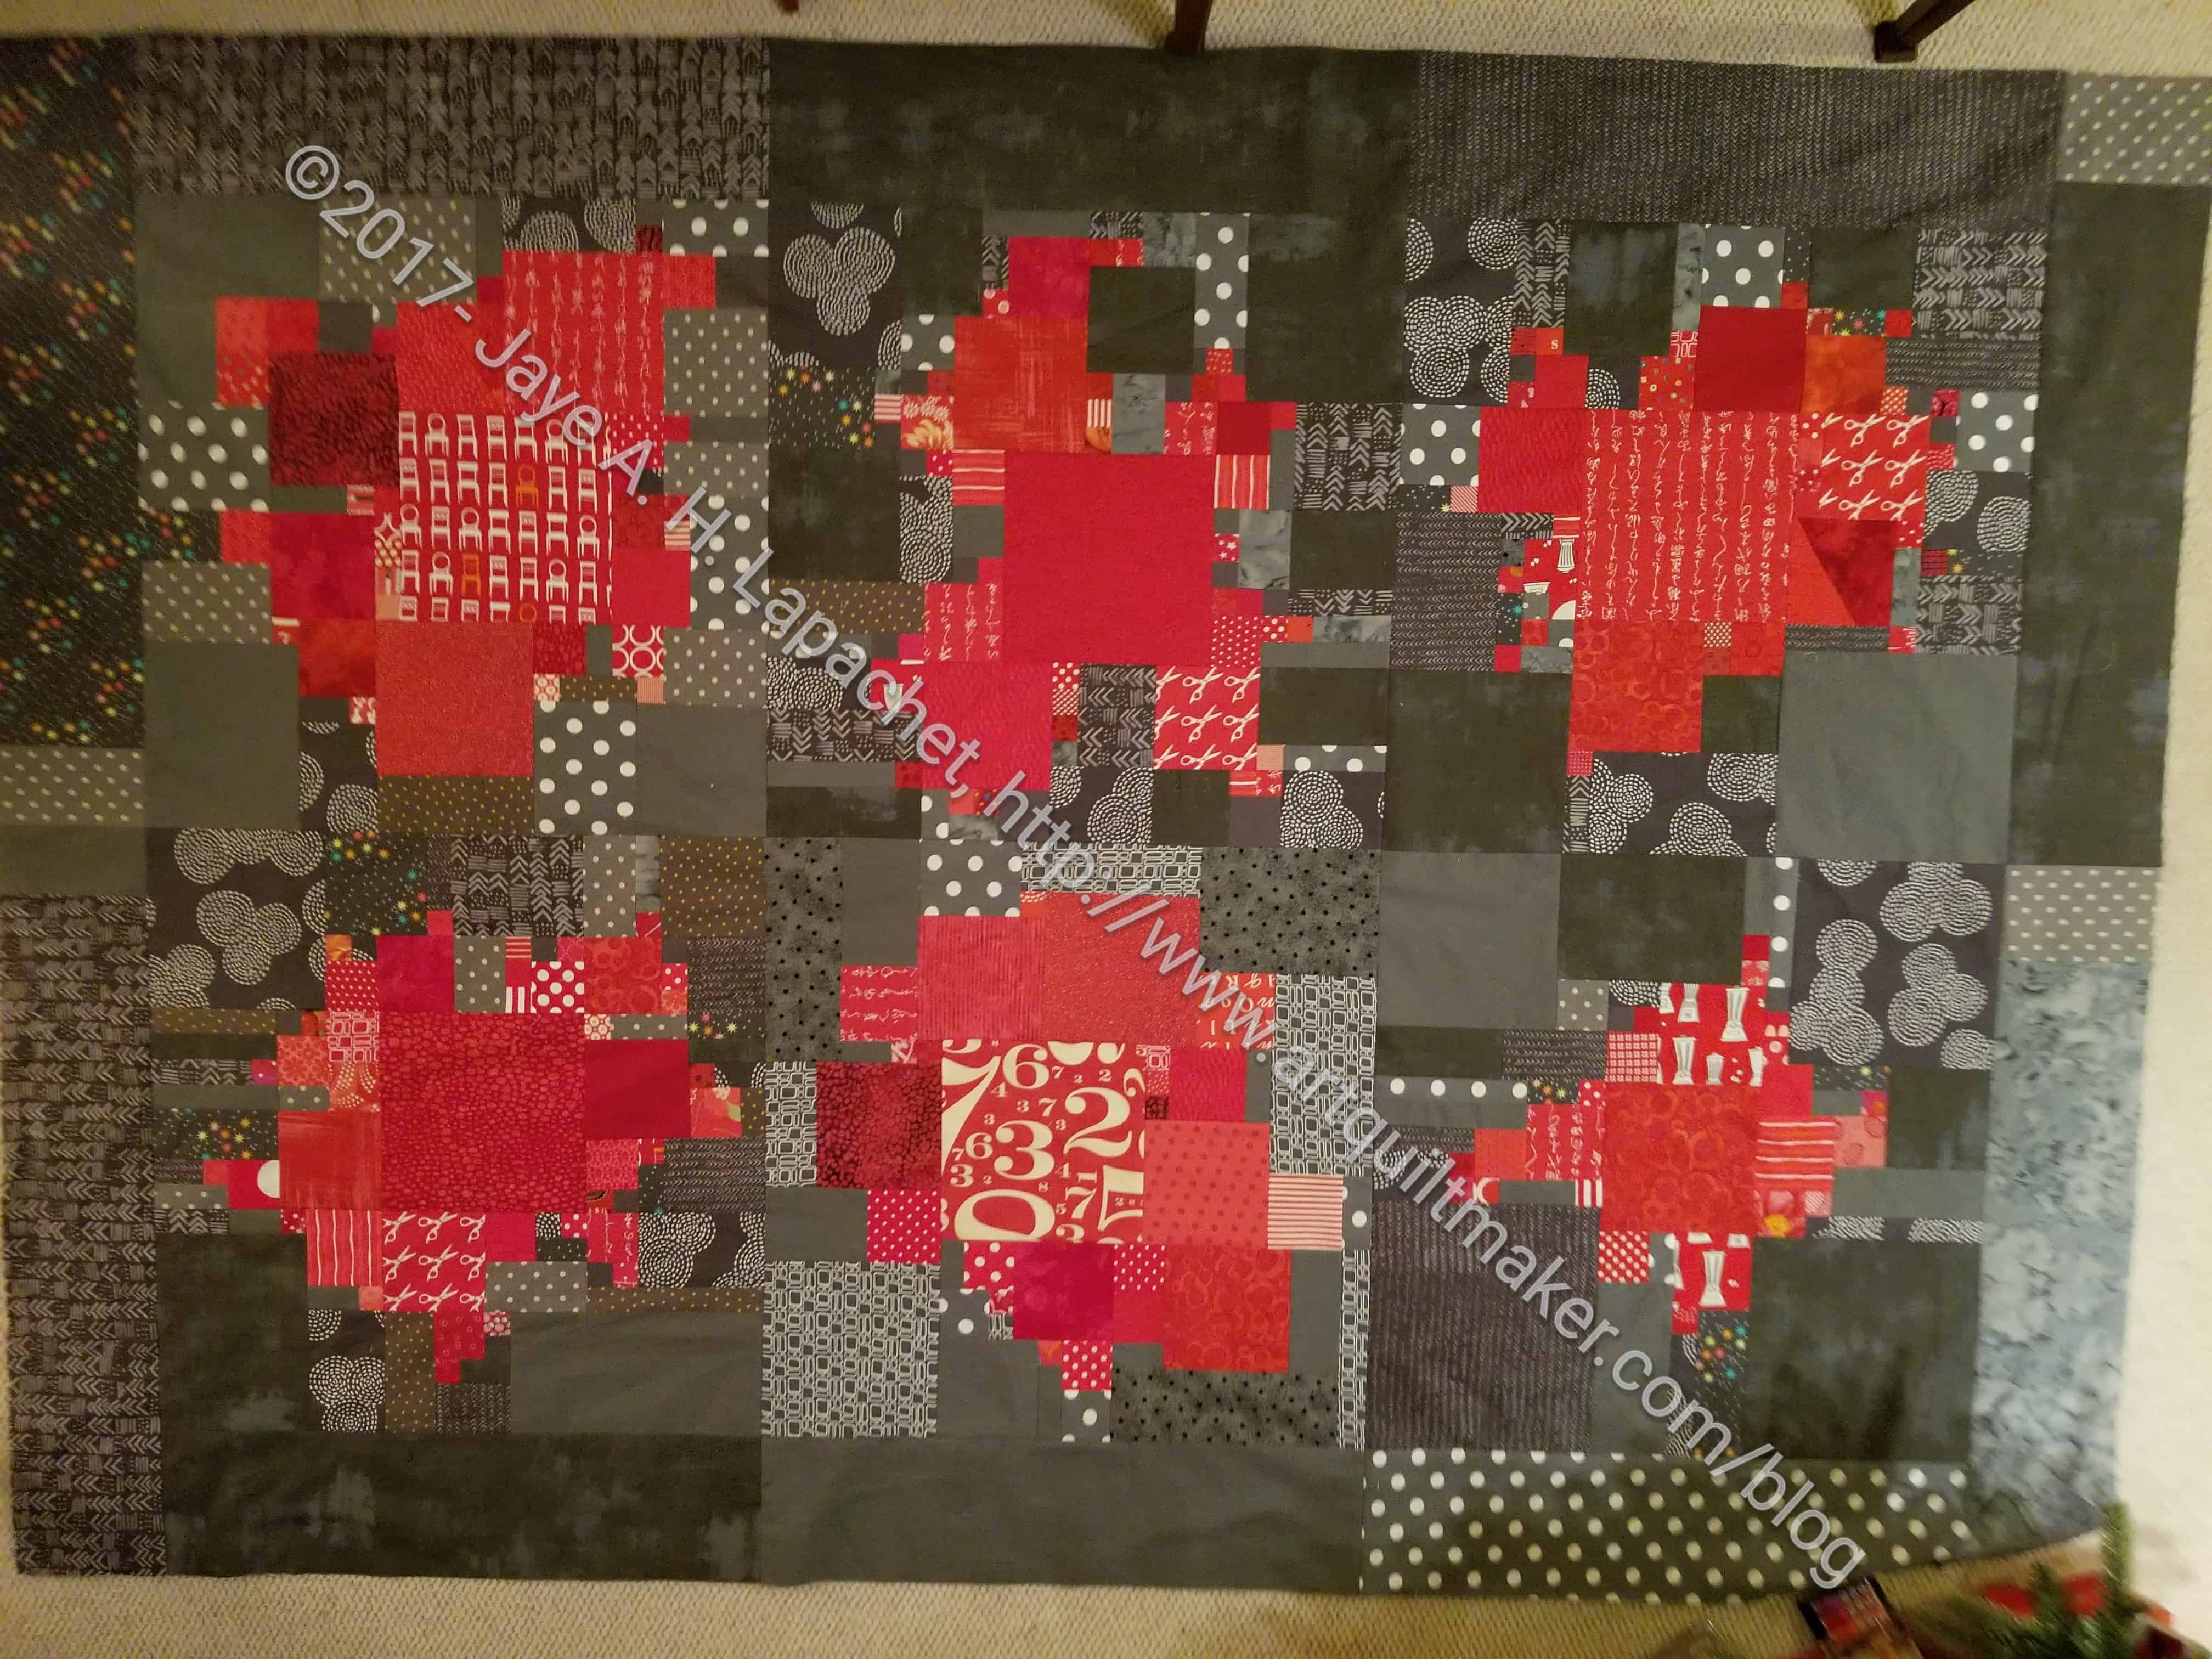
The top is finished. It came out to be about 60″ x 84″, which I think is a great size. No, it isn’t bed sized, but it will be a good couch, snuggle quilt.
I cut the border pieces to fit each block and sewed them on to the blocks, then sewed the blocks to each other. It was pretty easy to match up the seams using this modified ‘chunking‘ method. It is somewhat scrappy within both colors – interesting, but not psychedelic.
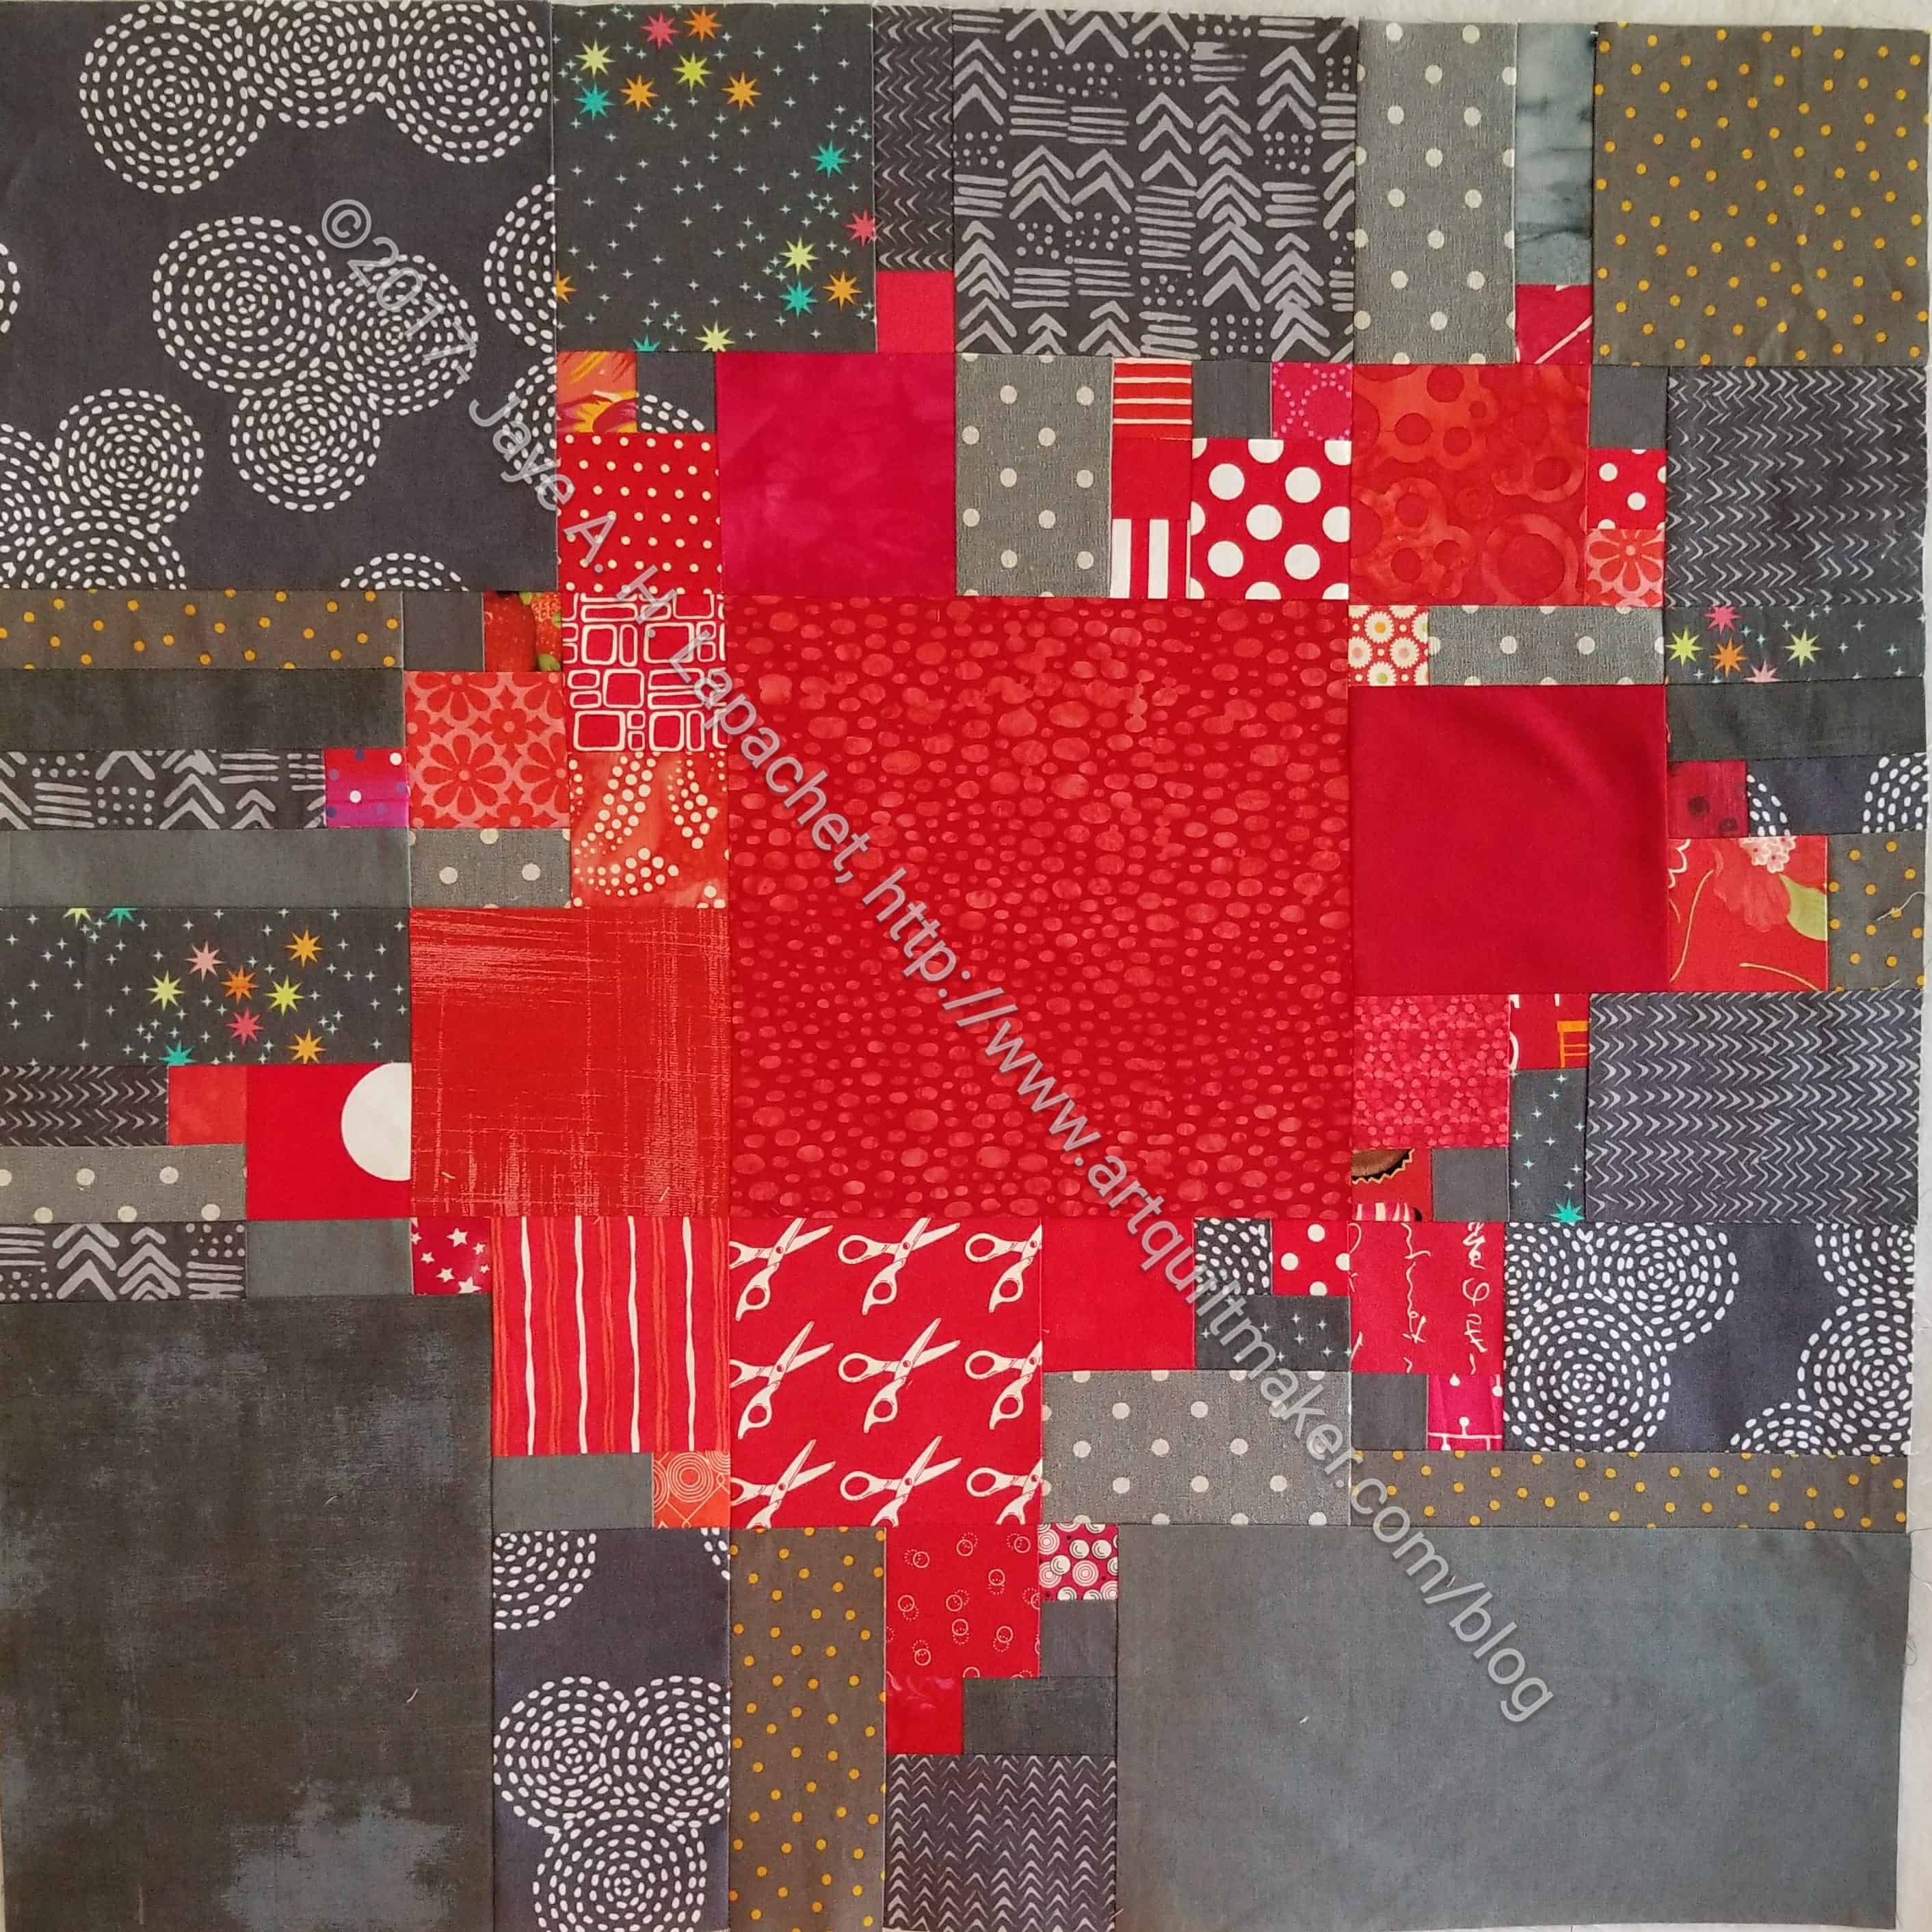
This is the last block before I put the quilt together. As with the others, I like the way it came out. I think I might like to consider making a whole quilt using Sarah’s technique, eg cutting much larger pieces, arranging them, calculating the background and then sewing the whole quilt together. I could possibly use this technique with the FOTY patches, though it might not be necessary.
I have immersed myself over the past couple of weeks in the Planned Improv process. I finished block 3 a few days ago and am pleased with how it came out.
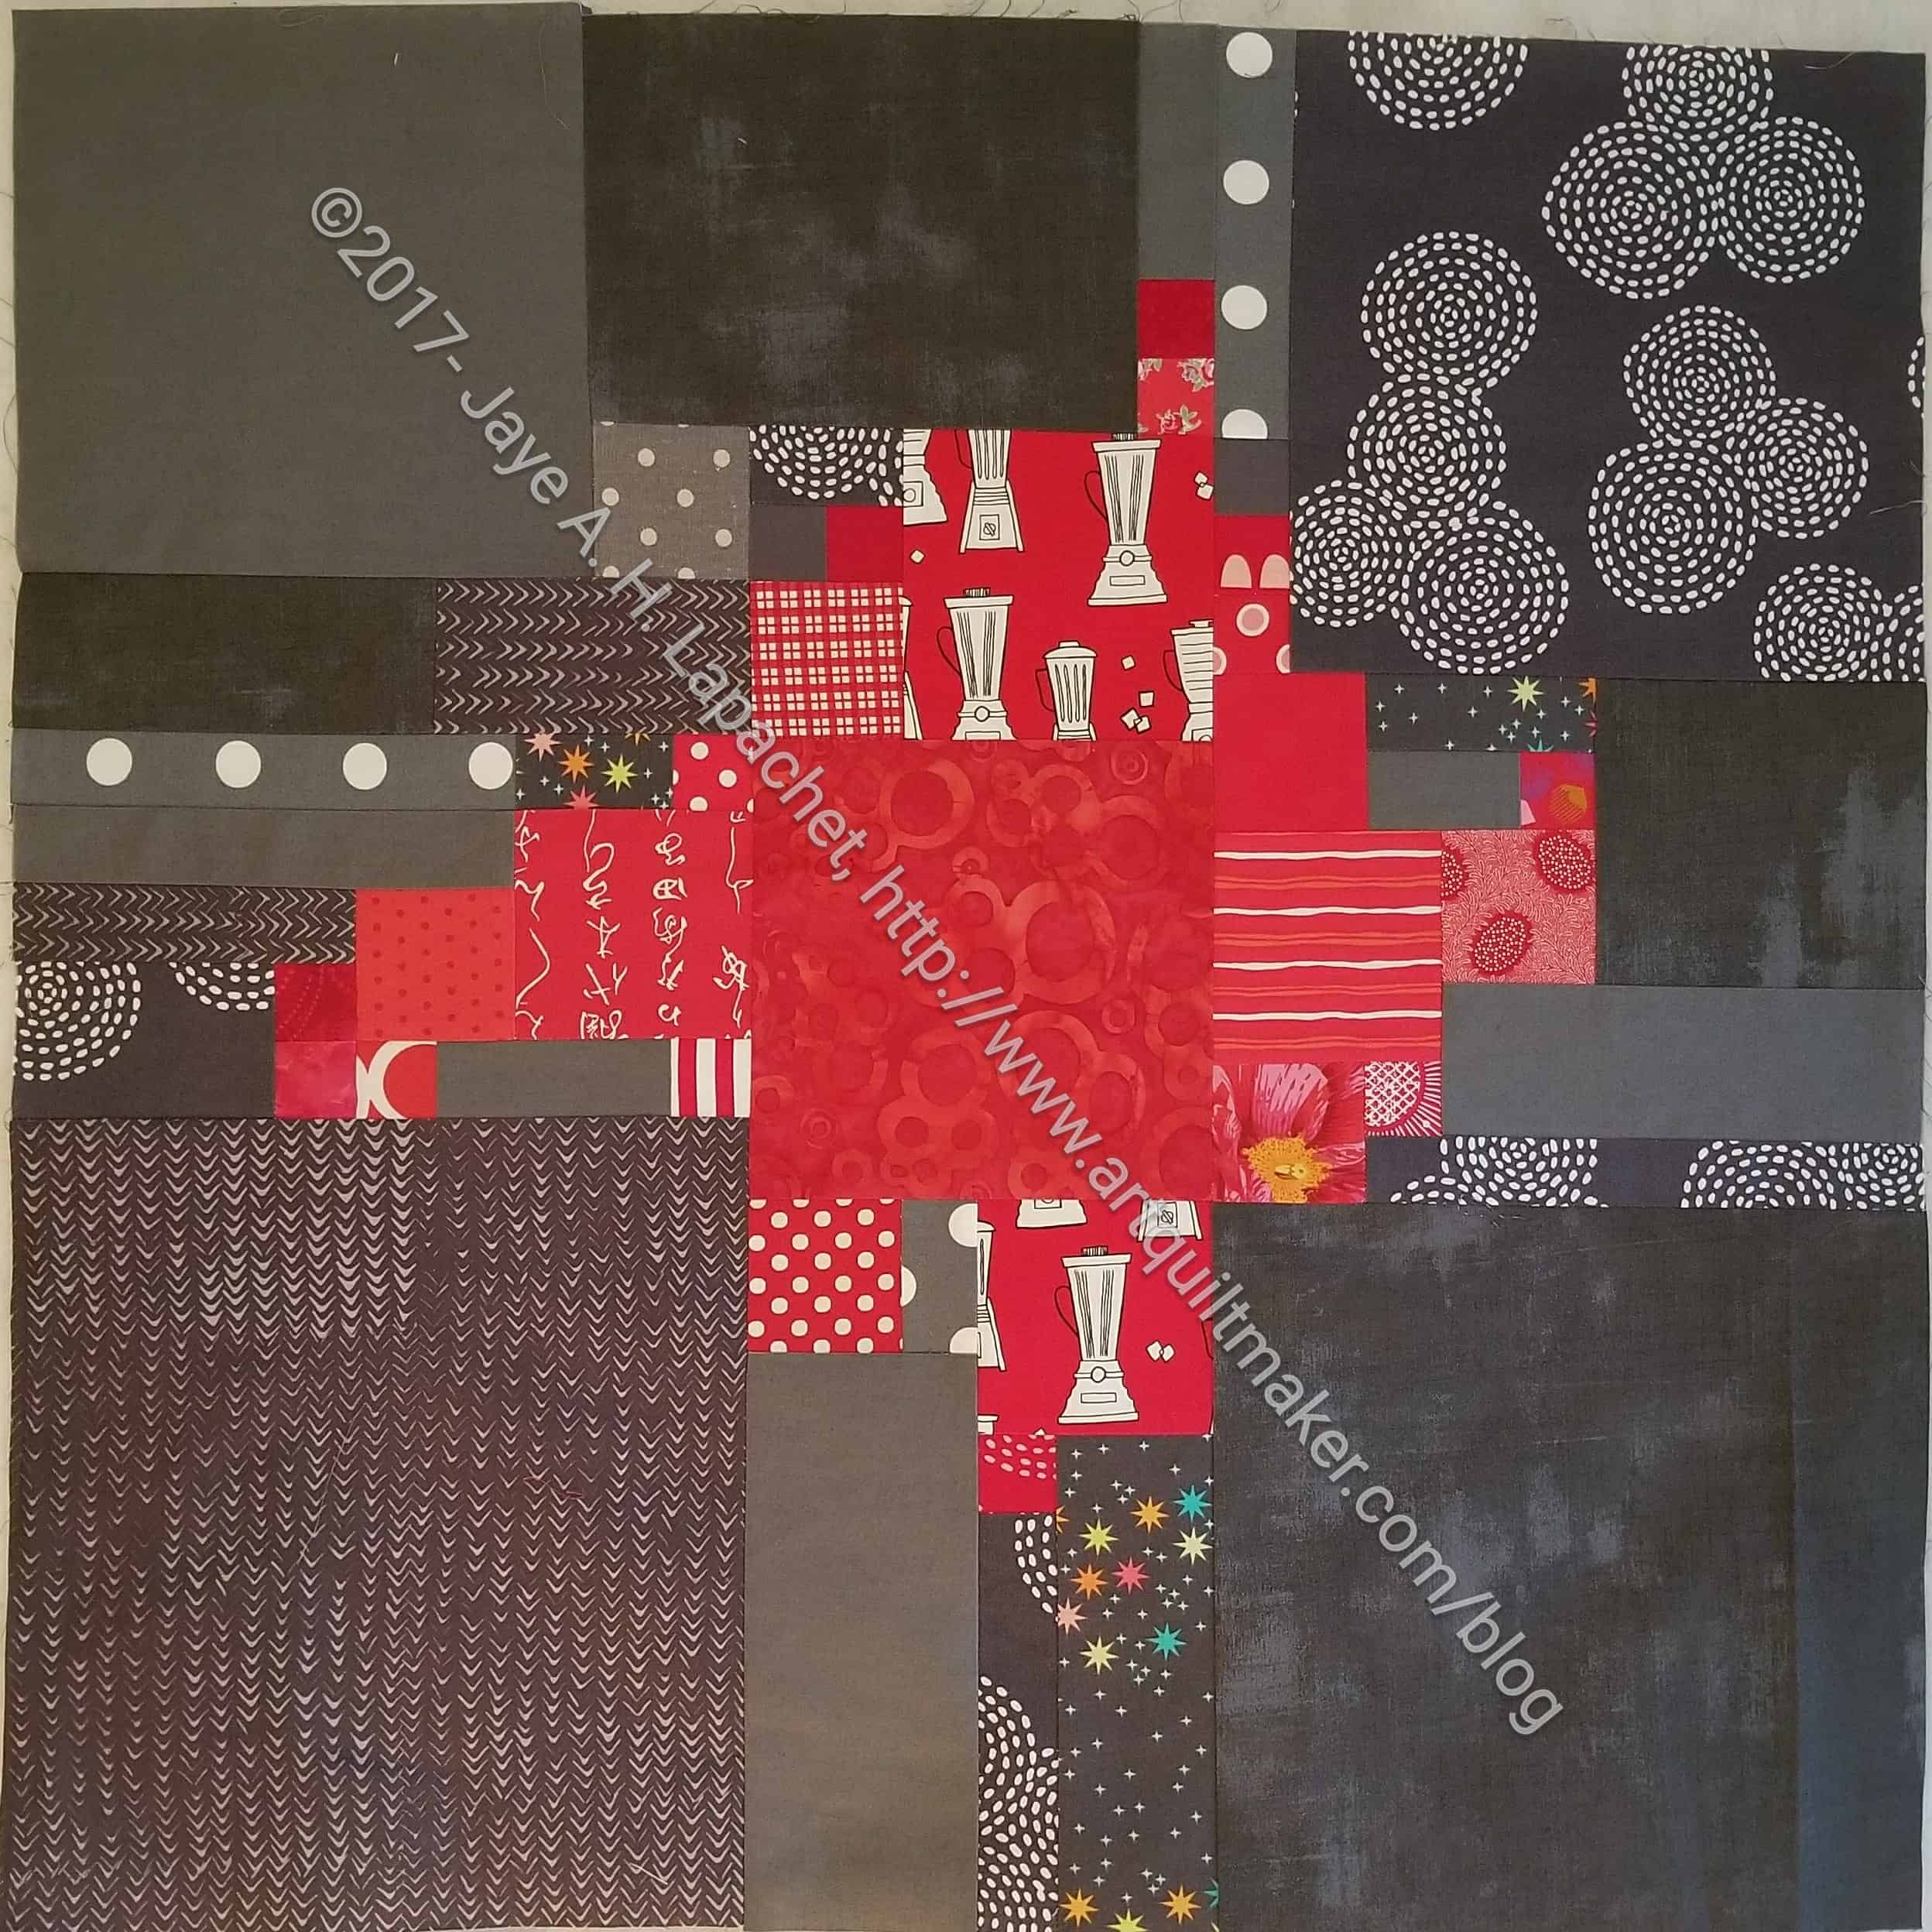
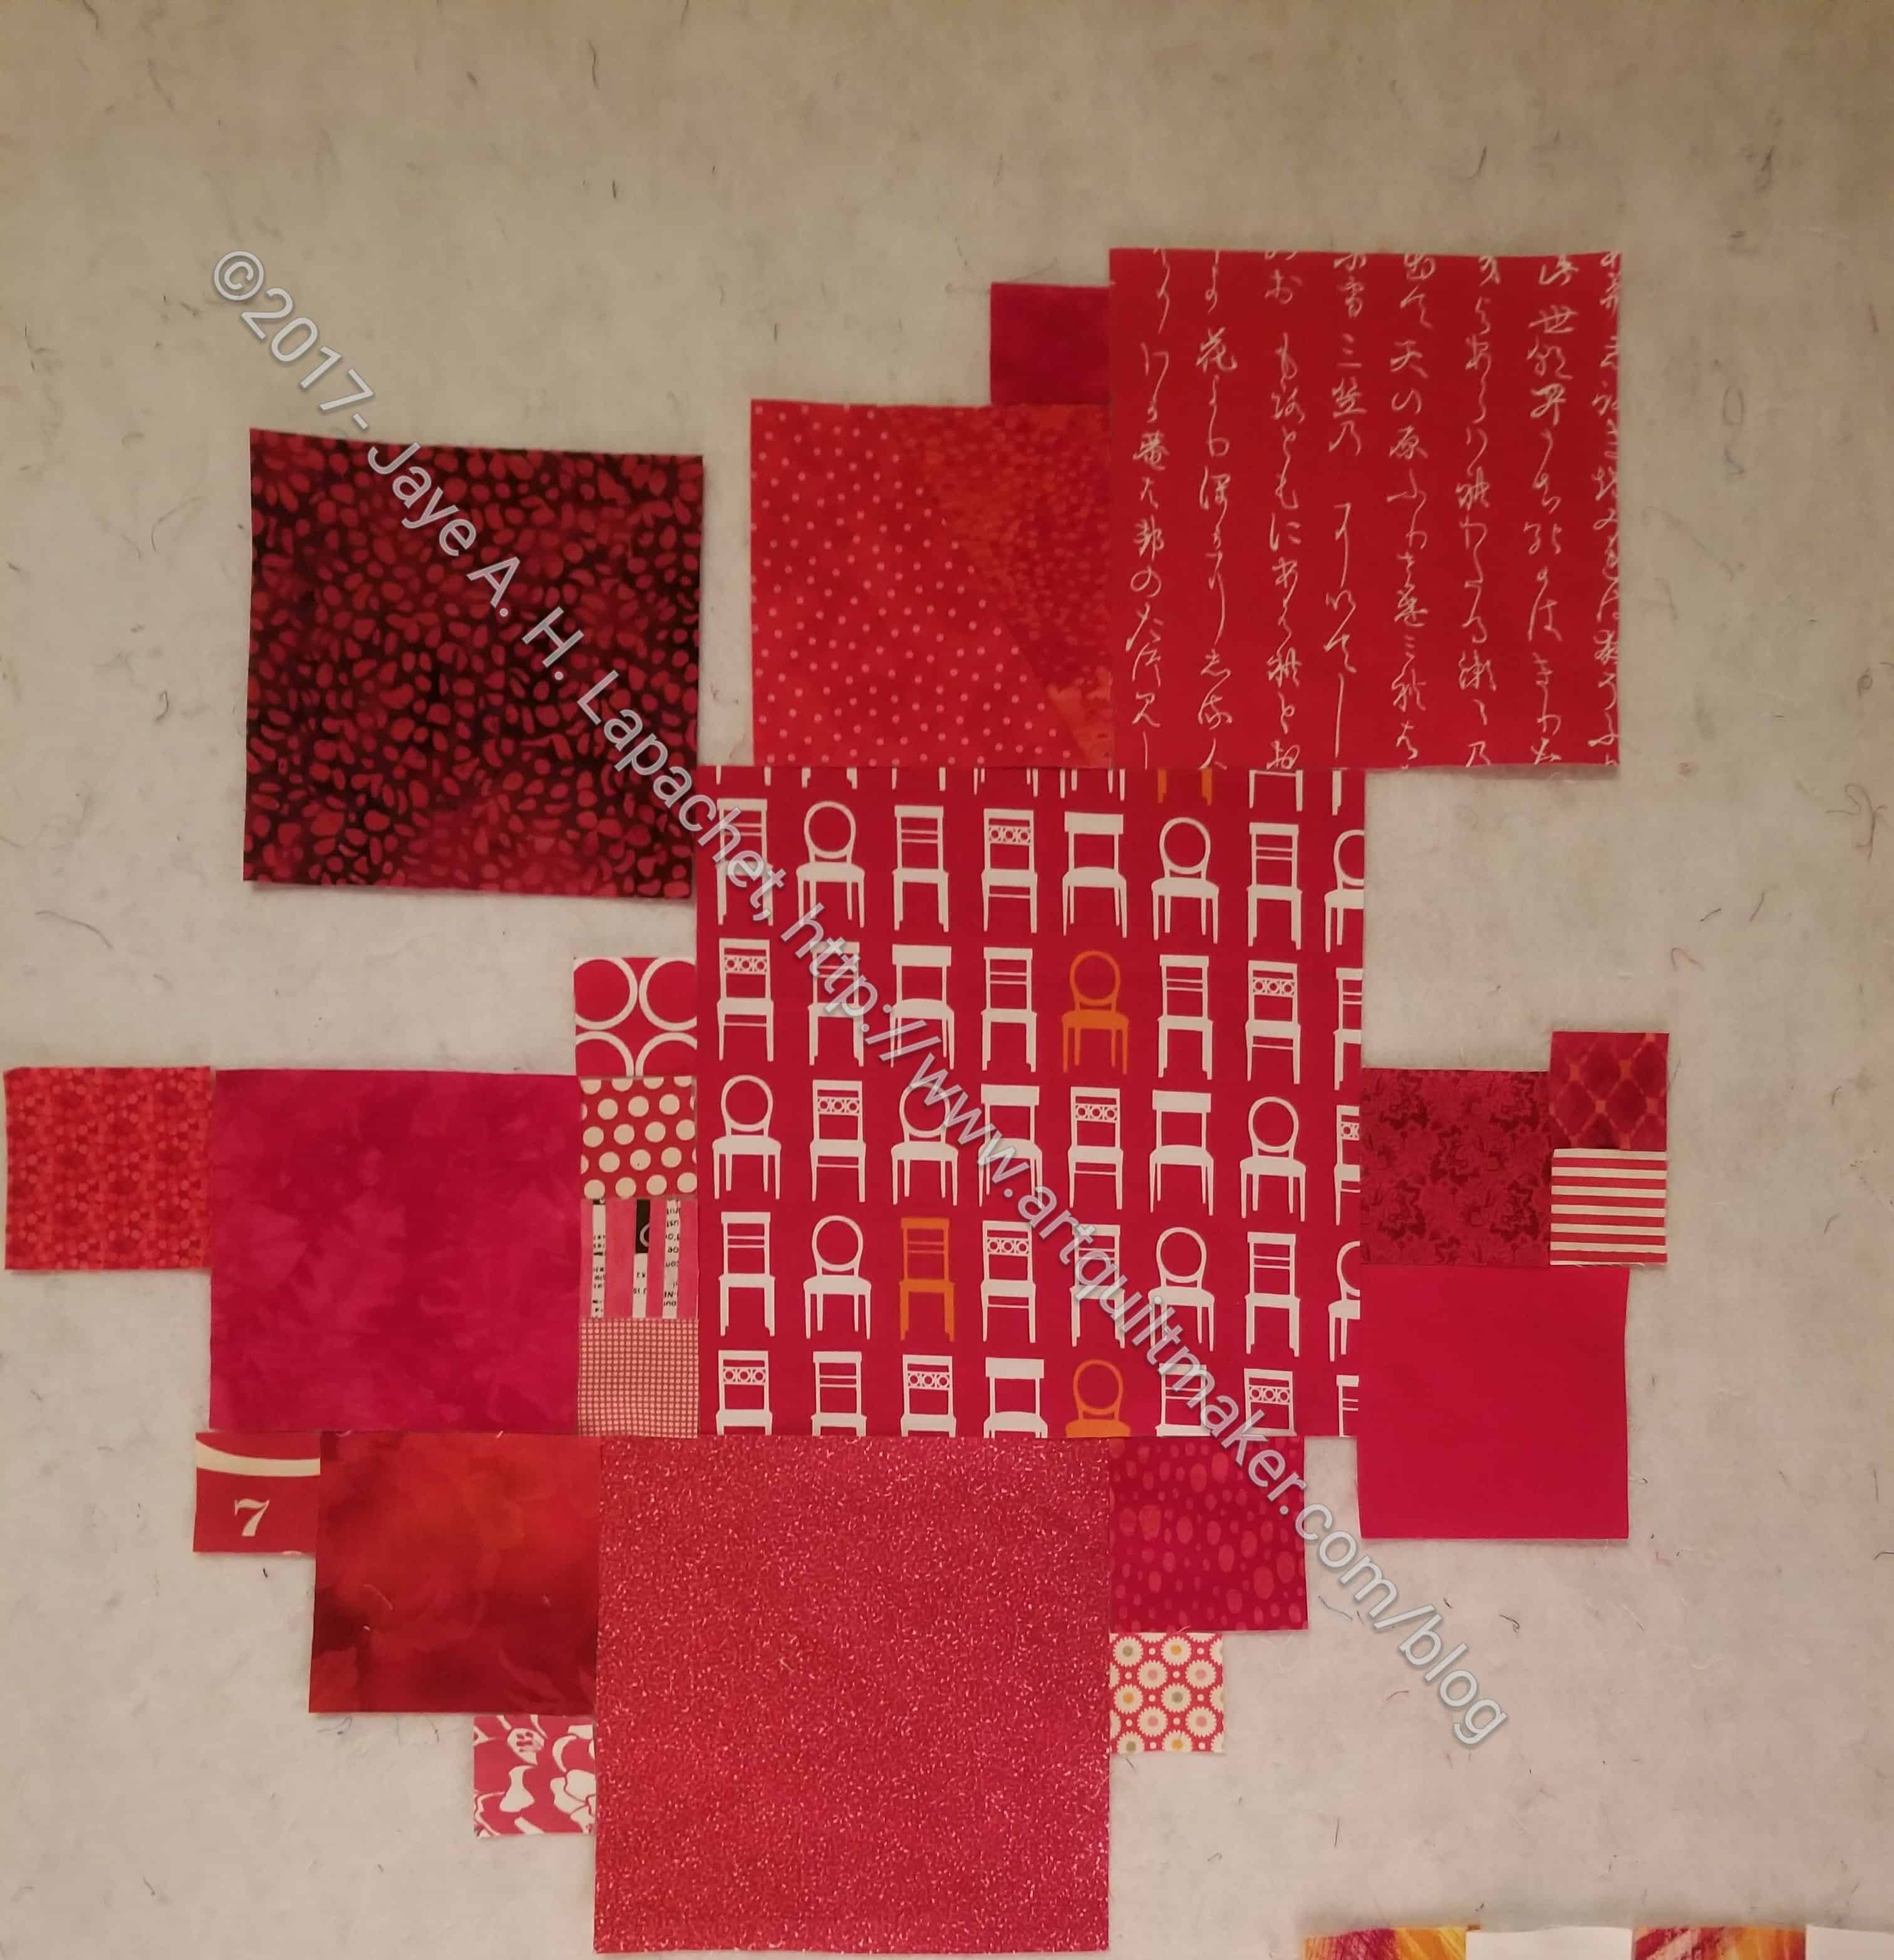
I decided to start on a new Planned Improv (from the Sarah Goer class) block to work on in between the gifts and Christmas stuff I had to make. I put the first block on the design wall and started with the same idea.
Planned Improv block n.2 – 1st draft
My first iteration was ok.
As I worked on it, I looked at the balance of shape, size of blocks and color of red.
Some problems I am running into are:
not enough choices of squares. The solution is that I need to cut more squares in different sizes.
Impatience. I need to slow down and look at my piece and add squares until I get something good.
Running out of background options. I don’t mean I don’t have enough squares cut; i mean that I don’t have very much dark grey yardage. I don’t think I really want to buy more, but I also want some variety, so I may need to buy more.
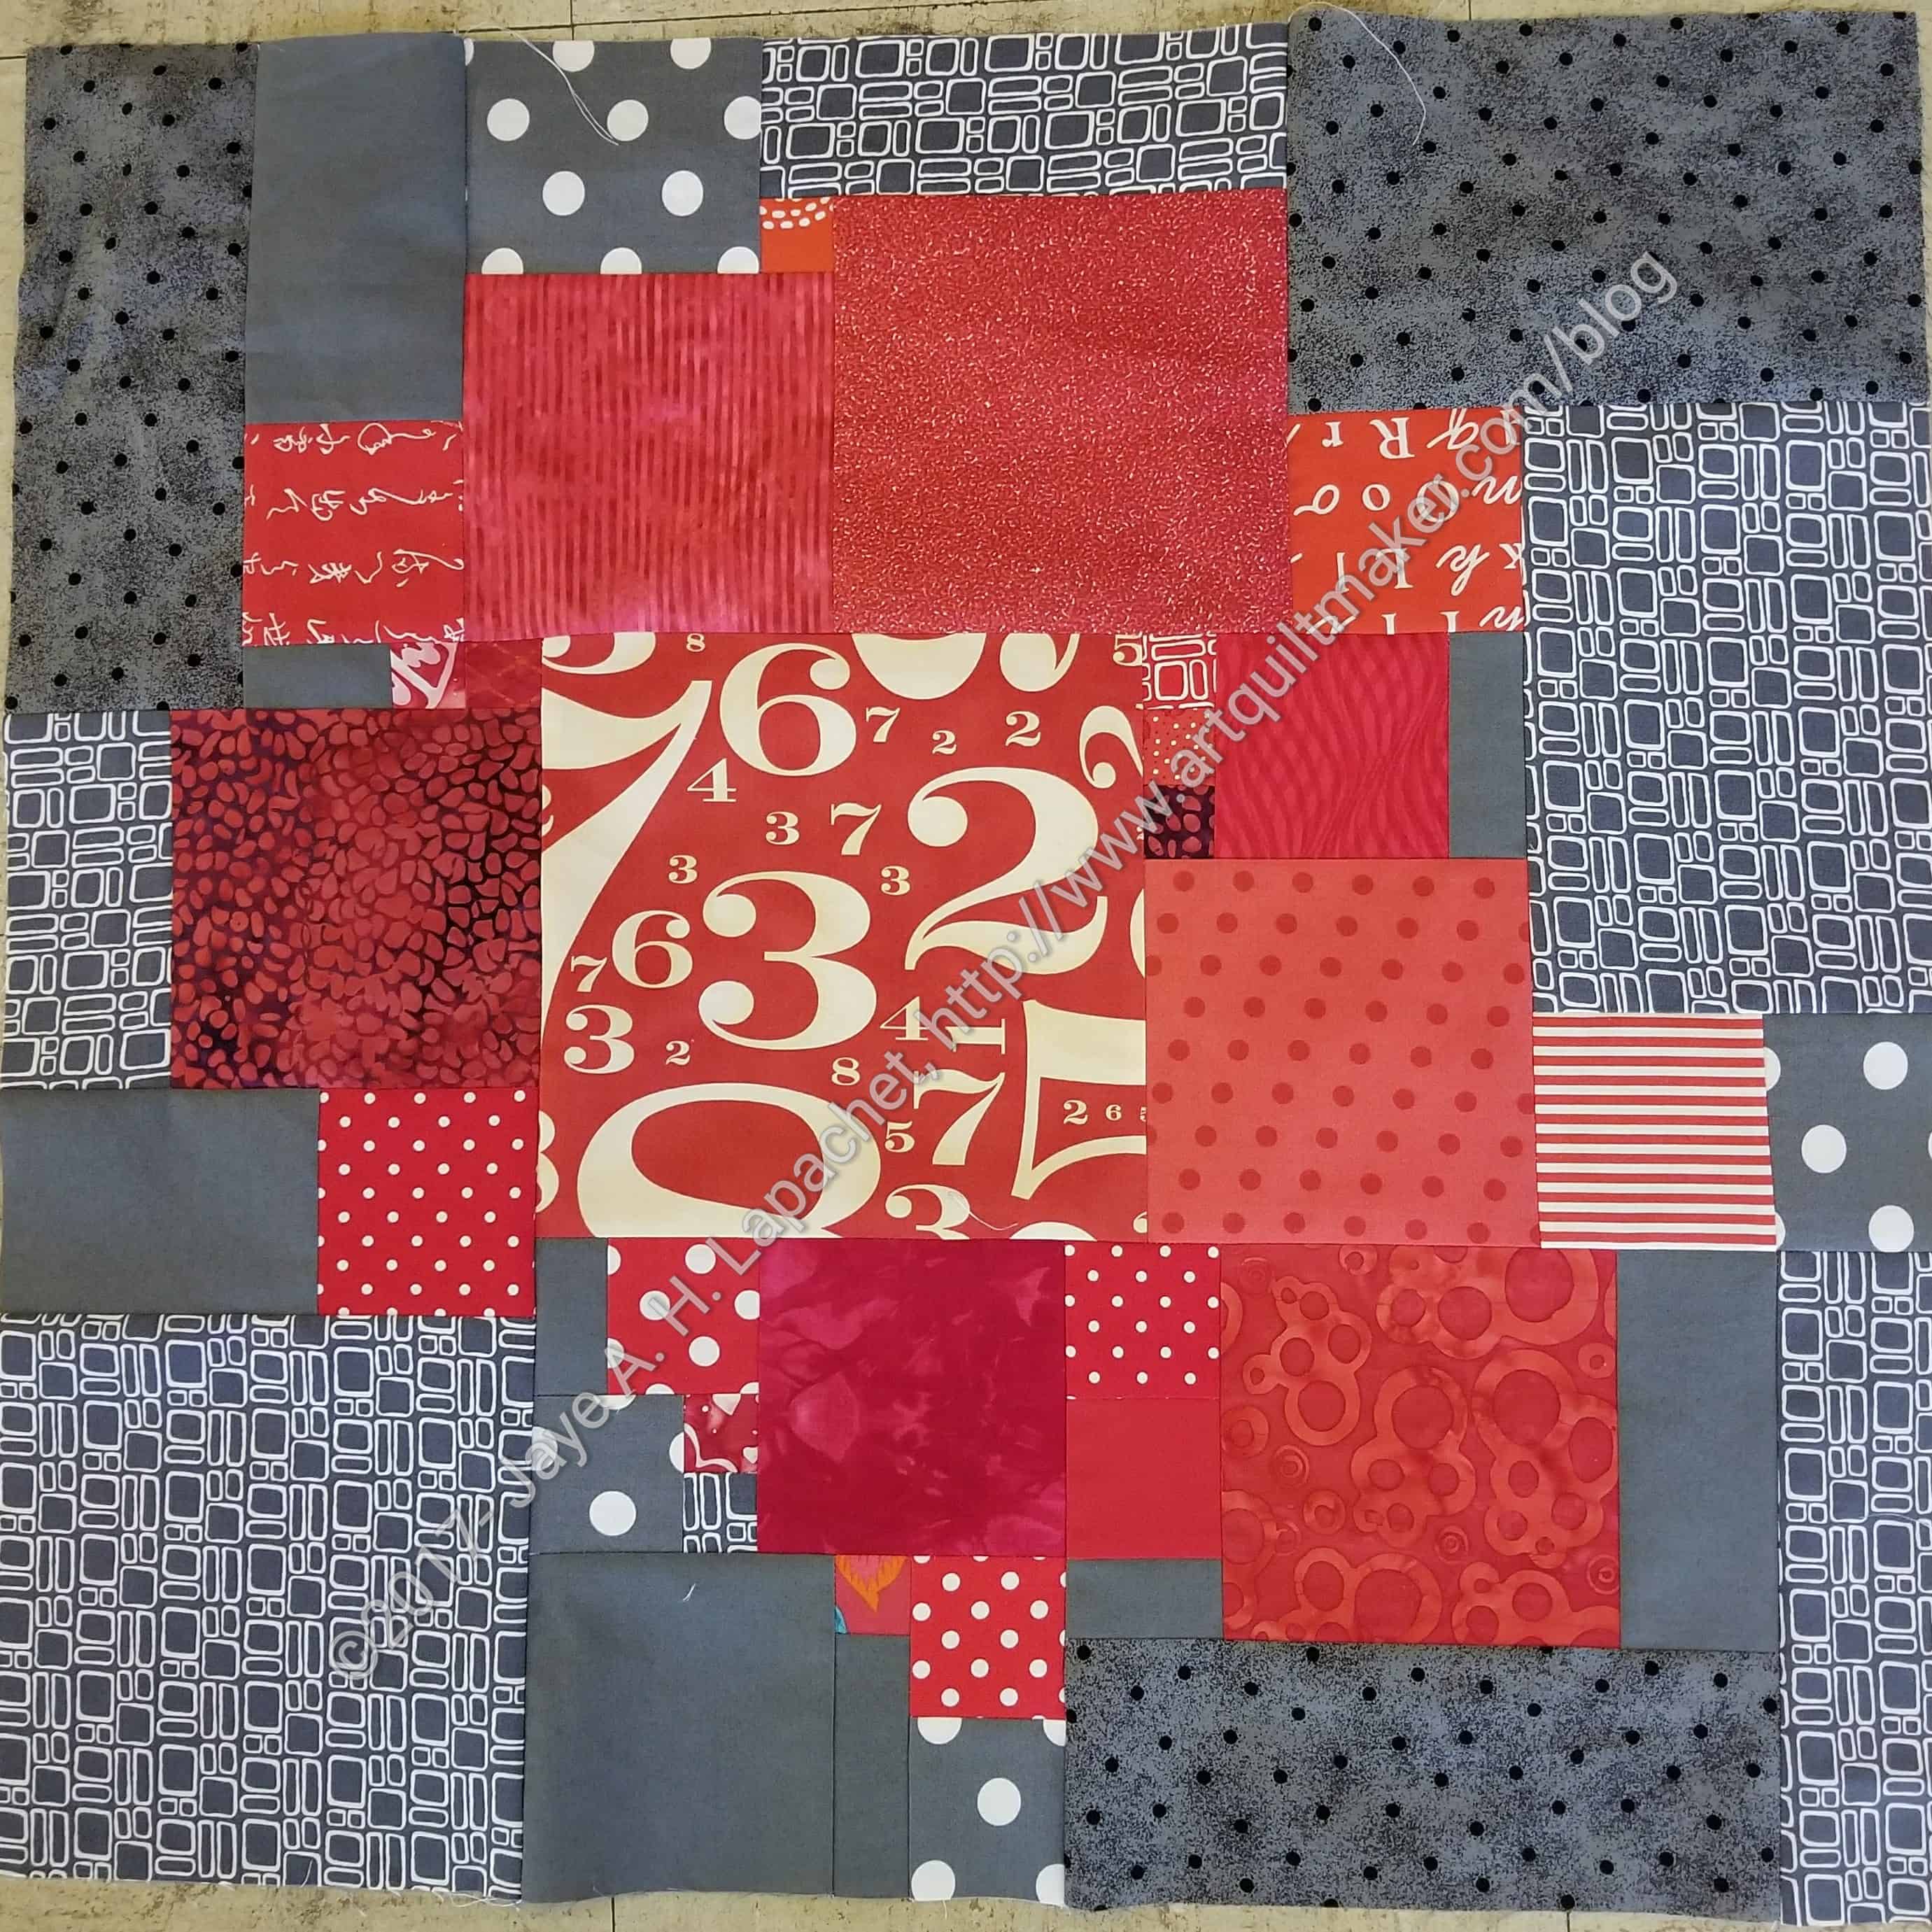
Planned Improv block n.2 in process
I am sewing my final design together and I am pleased with it. The only thing that I need to worry about are partial seams. There are a lot of them in this block. I am not scared of partial seams and have a tutorial for those of you who haven’t done them, but they make me sigh. I just wasn’t thinking when I decided on the final layout. Oh well.
Saturday I took a class through BAMQG with Sarah Goer. Sarah is a GREAT teacher and her class, Planned Improv, is fabulous. I liked it, mostly, because it was a design technique that I can use beyond the class. It is a technique that could be similar to using Electric Quilt, but sometimes I need to sit down with graph paper and scribble.
I went to class thinking that I would expand the technique and use it for one of the Niece-phews quilts, if it worked out. I had one nephew in mind, so I brought reds for the foreground and dark grey for the background. I thought I could make a pillow cover for a gift if i was not willing to commit to making a quilt using the technique.
The technique is great. Mary C asked me where this technique had been all her life and I wondered the same thing. Another thing I liked about this technique is that it isn’t quite improv, but it is not a buttoned up pattern either.
Planned Improv Class Block
I am pleased with the way the block came out. I think it has potential for becoming a quilt.
The block is 25×24, so I don’t have to make many of them to have a large lap quilt. I have some squares cut, so I can make another block soon.